Featuring Premium Parts from
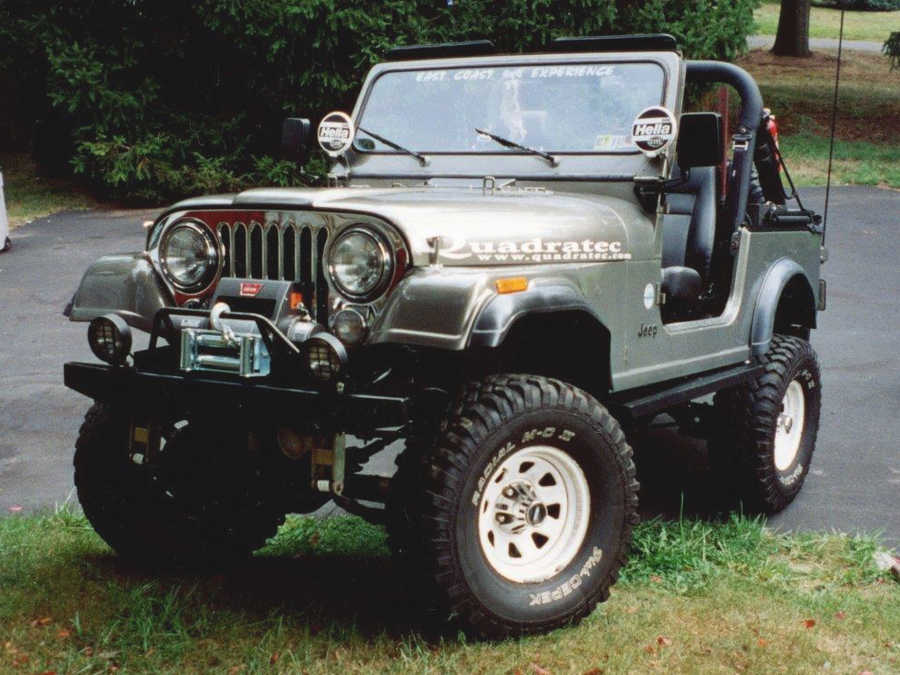
It was my senior year in high school (1998) and I had big dreams of driving a CJ7. I actually located one that fit my Budget for $500 and she was a beauty (For sale in the parking lot of a bar). 1982 Jeep CJ7, 258 straight 6cyl and all factory. This was exactly what I wanted and I could actually drive it home. My dad and I started a mild restoration with some body work and a quick cheap paint job (Done by my dad, of course, in our garage). Yeah, it had some runs and dust specs in the paint, but she was awesome. We kept everything else stock. Did the normal tuneup, replaced the ignition cylinder as it was stolen at one point and a screw driver was the method of starting the Jeep... and off I went.
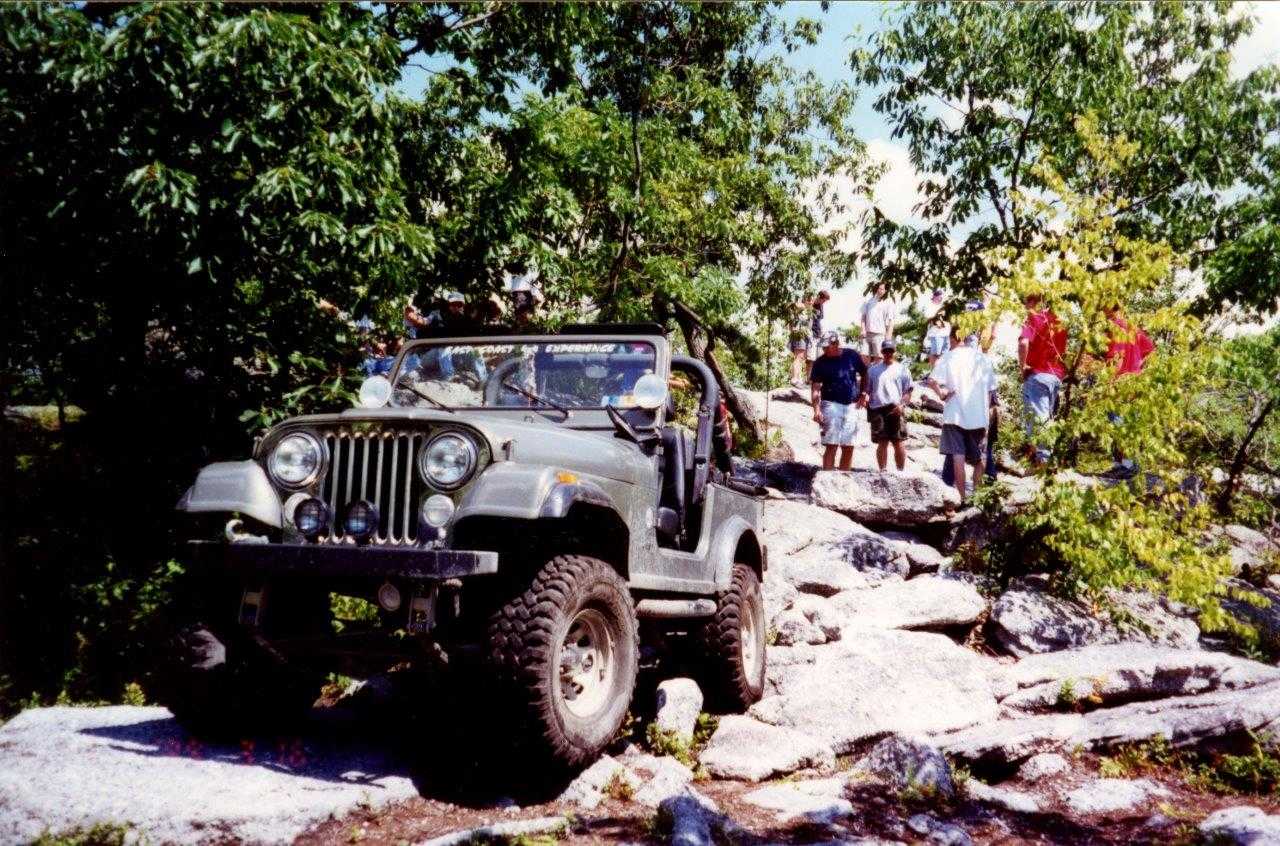
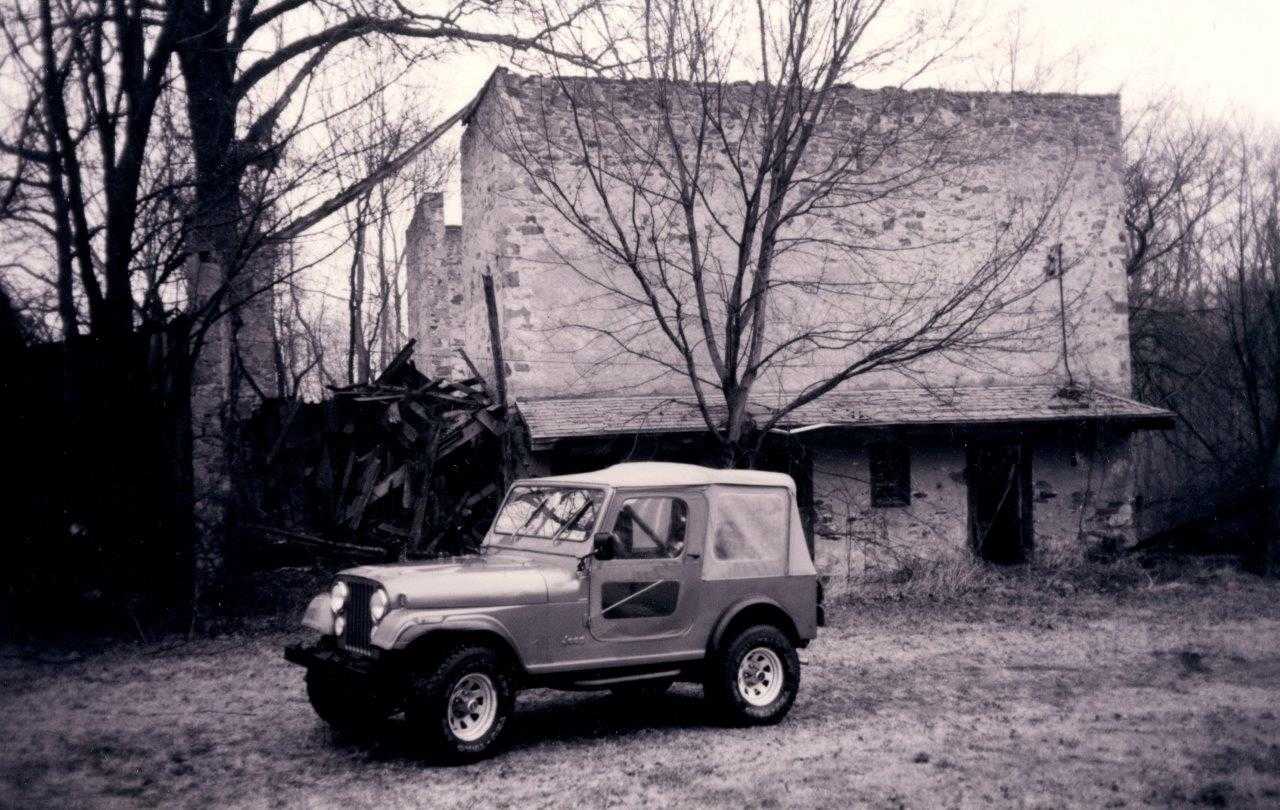
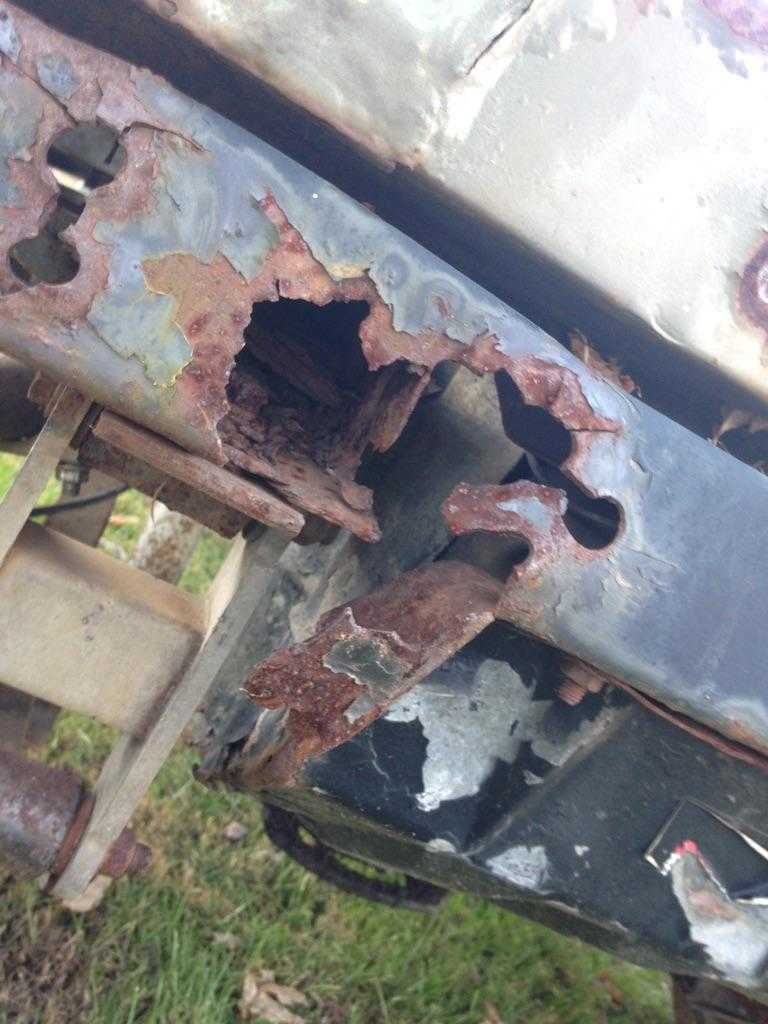
The trusty CJ got me through College, many wheeling adventures, many broken parts, a few modifications (aka 4.5" lift), many memories, and then misfortune happened (2003). It would not pass inspection due to the frame and body rot. It only had 2 body mounts holding on tight. I got a new body tub and started to disassemble the Jeep. Fast forward to now... Life happened, leaving the Jeep is still in disarray. A beautiful wife, 4 kids, and many, many (mostly completed) house projects. It was time to overhaul my CJ, which has been a lawn ornament for too long. My wife agreed and I had permission to start the Jeep project. As we both know, this was going to be a big project with many hours of Daddy in the garage.
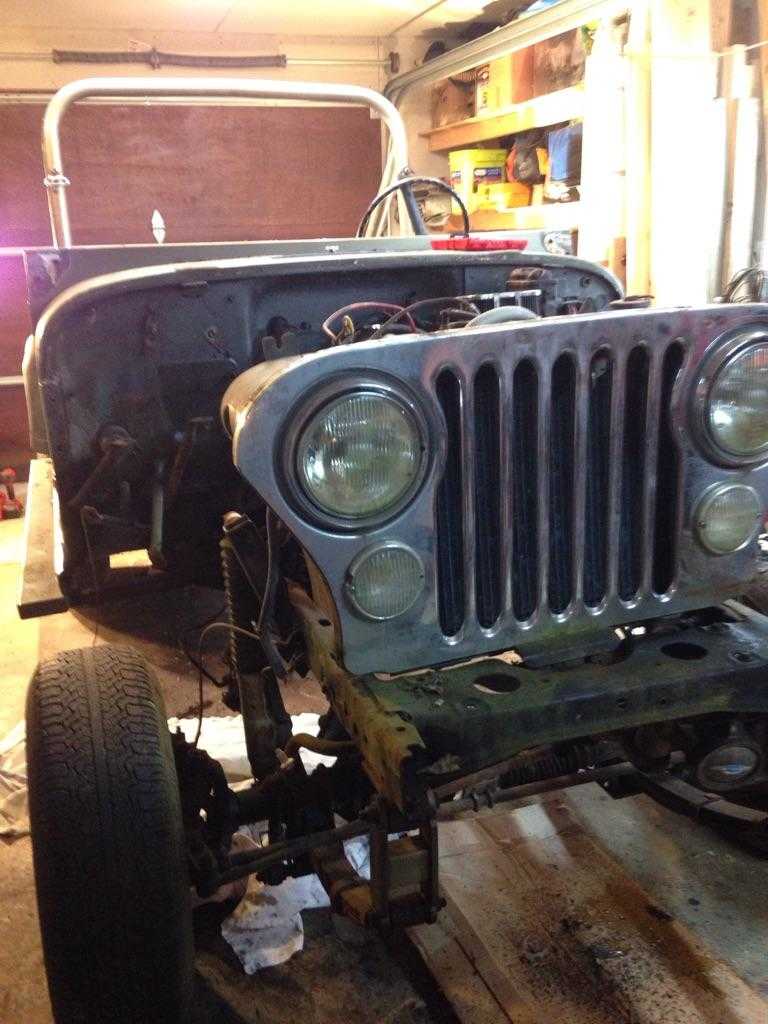
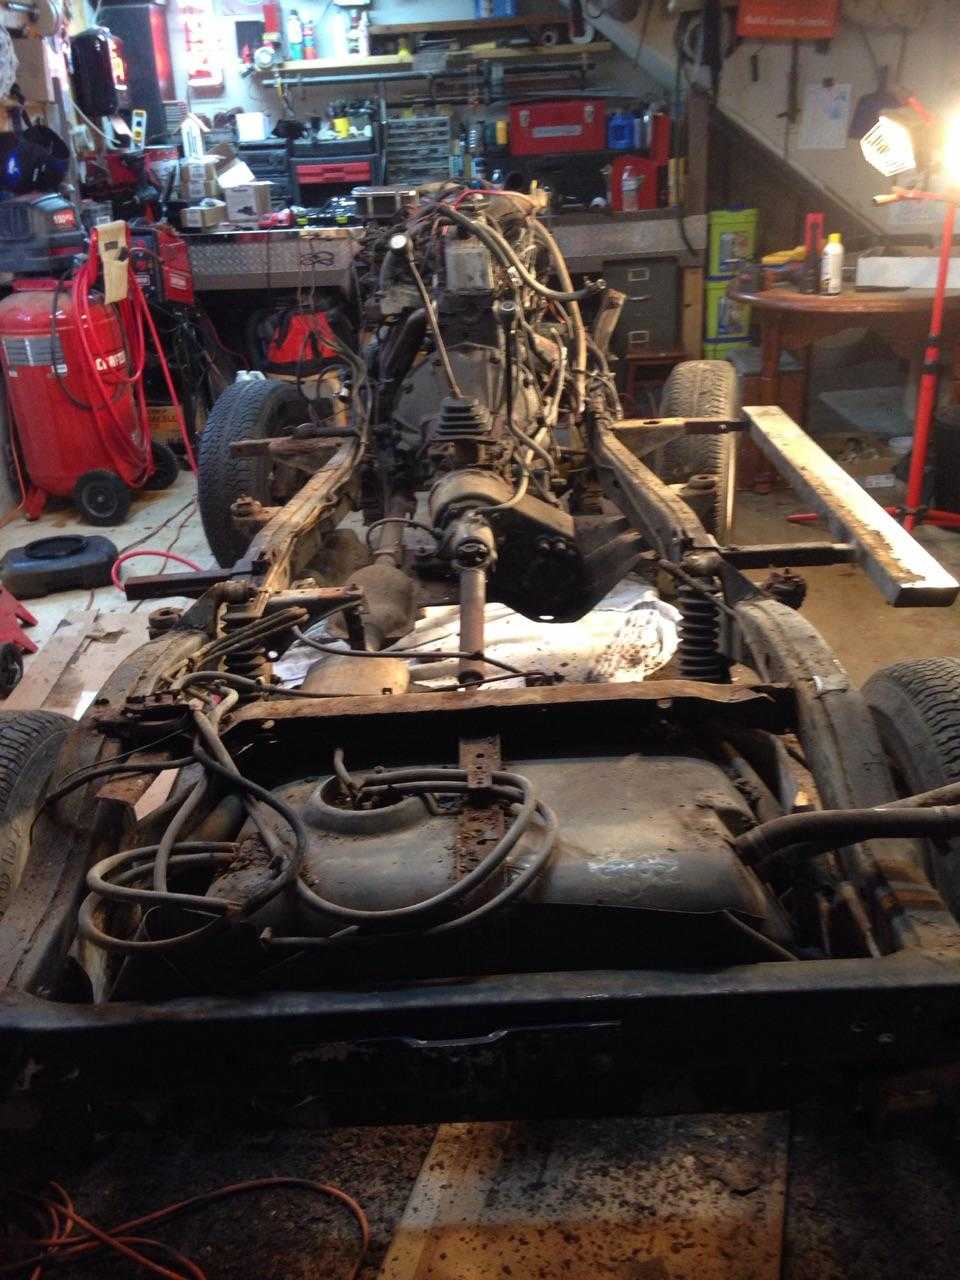
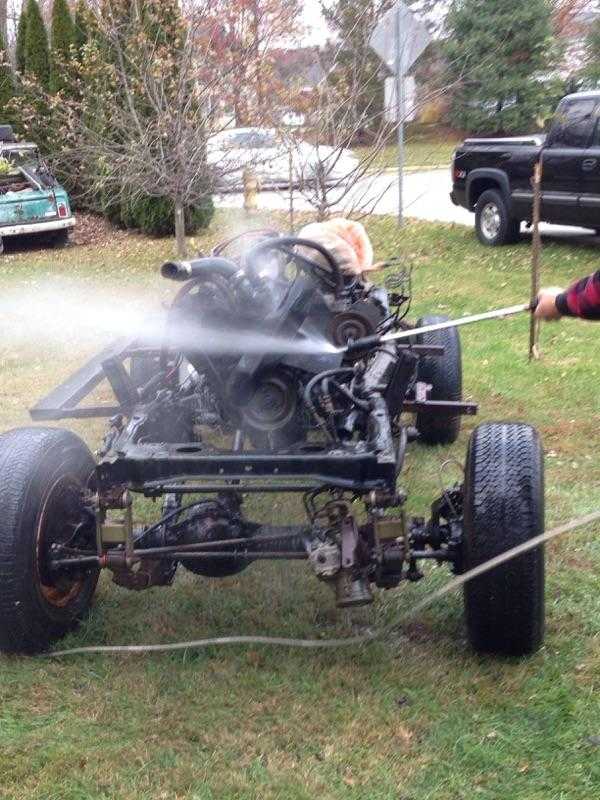
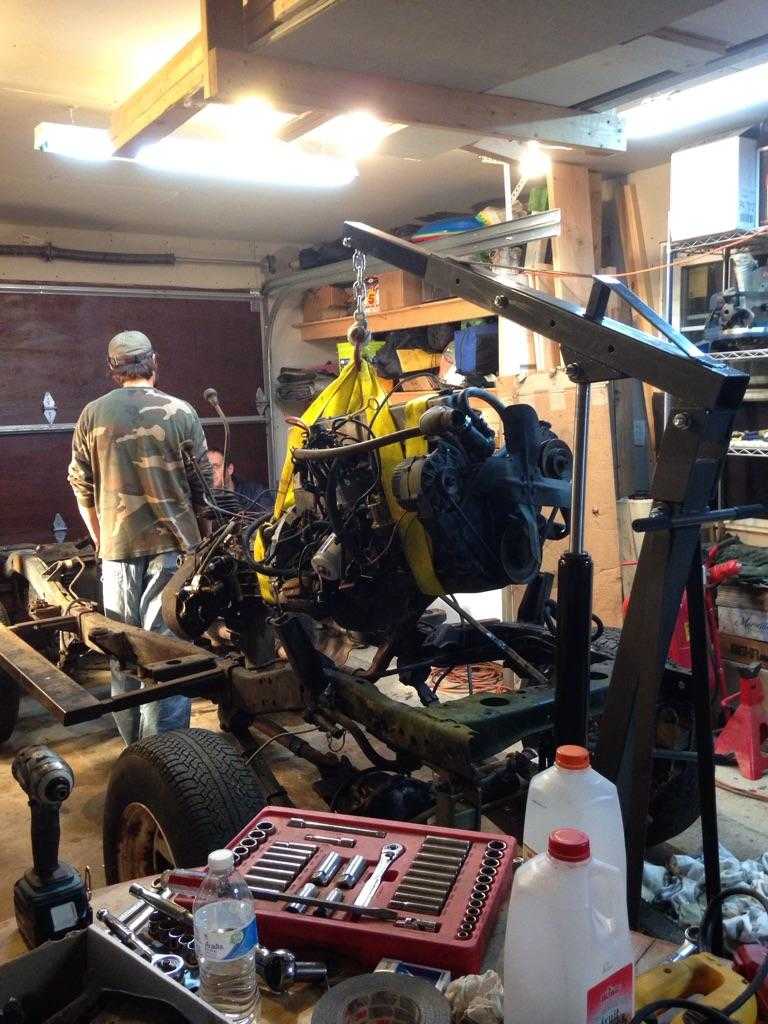
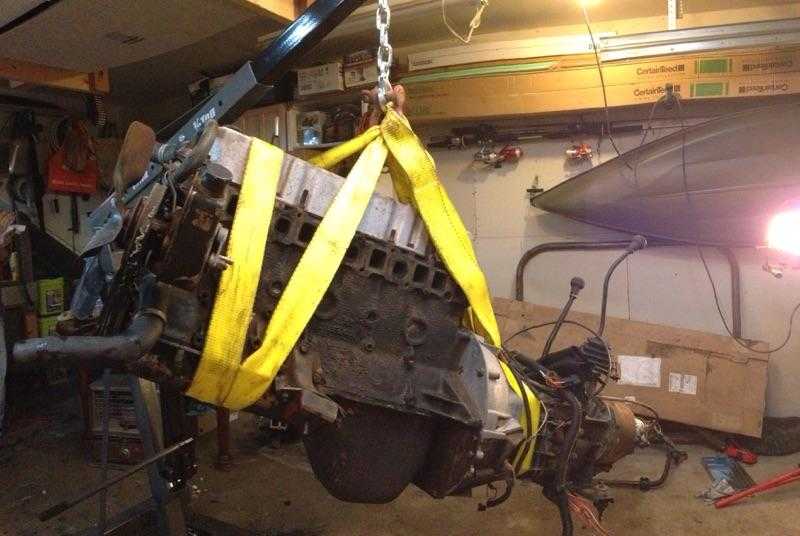
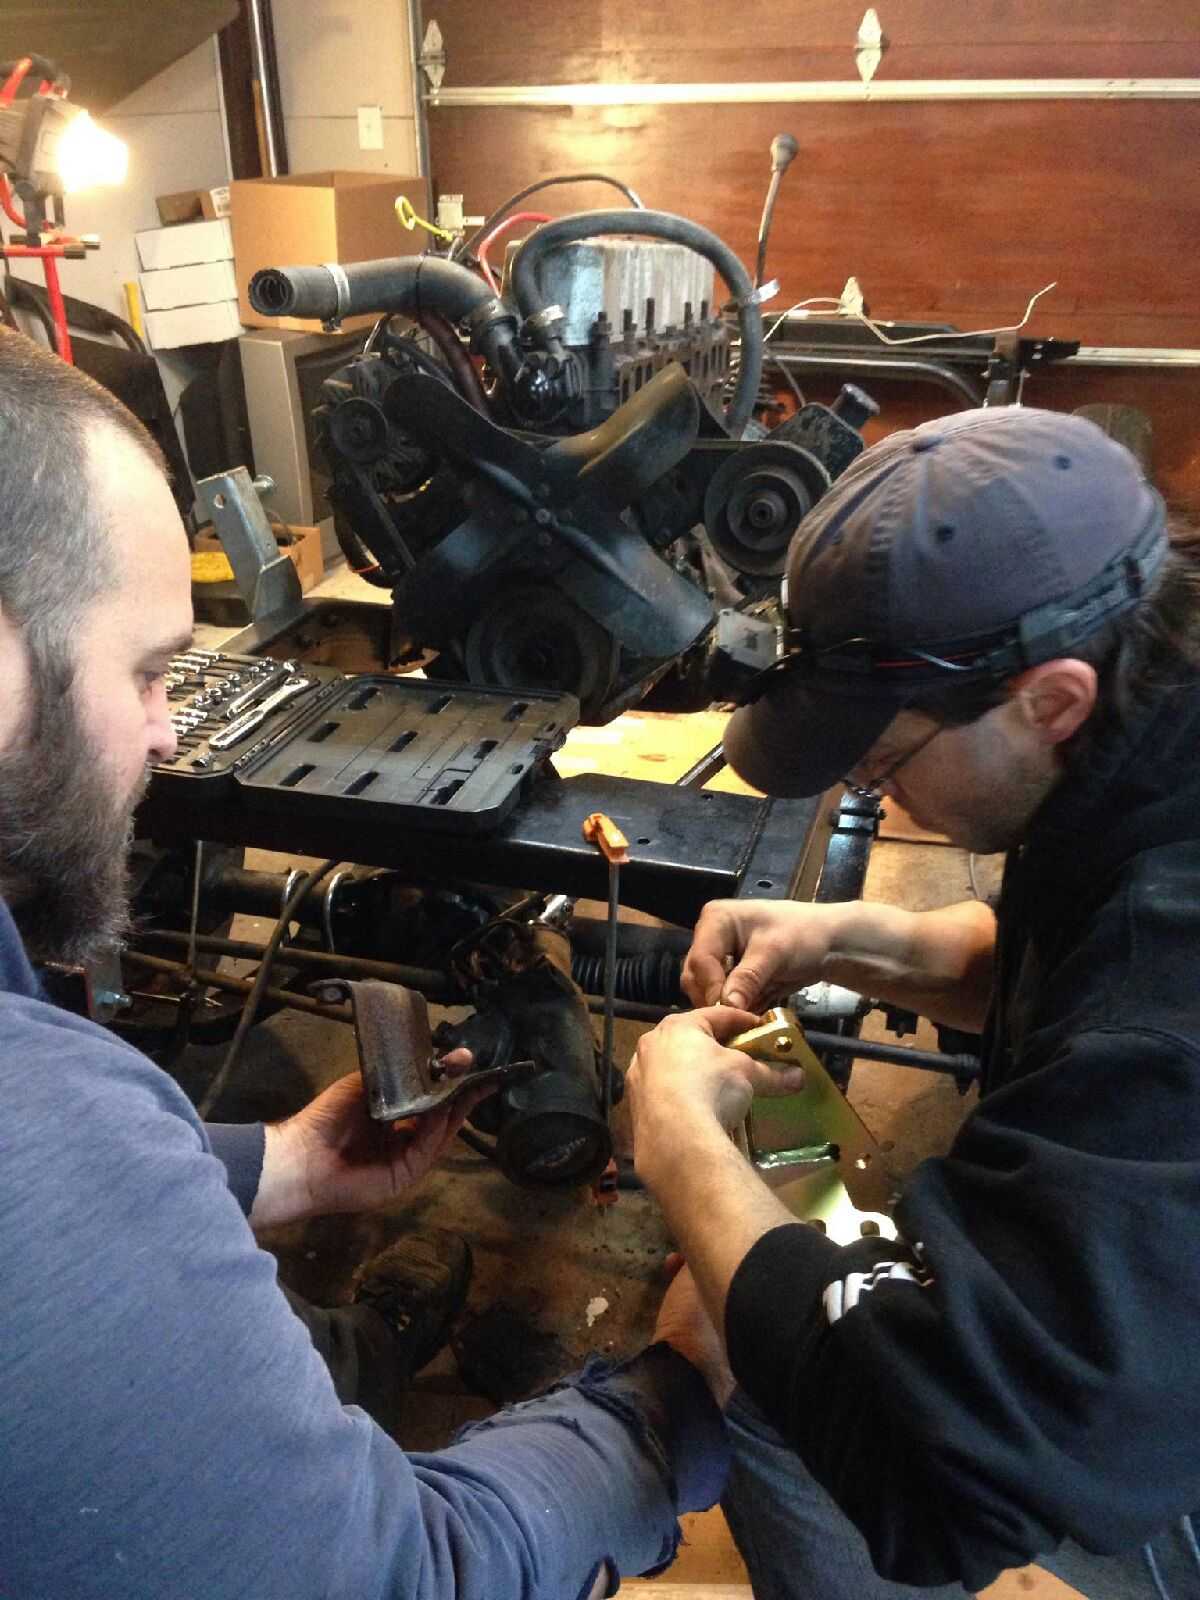
Time to tear this Jeep apart. Fenders and hood came off really easy, but the Grille gave me a lot of trouble... Just 1 bolt and that bugger was stuck. I ended up cutting it out, which was really hard to get to get access to. And then there was the tub... There was only 2 body mounts holding on and the rest were completely gone. We disconnected everything, so we thought. Every time we went to lift off the tub there was something still holding on or attached. Like one emergency brake cable, or the rear frame brackets on side of tub by the gas tank (which I never even knew were there). Check out all the rust on the floor from removing the tub... It was everywhere. Once the tub was off it was time to give the Engine, T-case, and Transmission a good cleansing. We decided to remove the Engine/T-case/Trans as one piece with a tow strap which worked really well. It was a long day, but we are ready for the next phase now. Just want to say thank you to my brother-in-law and his buddy for the help as we were able to tear this down in one long day. Cheers!
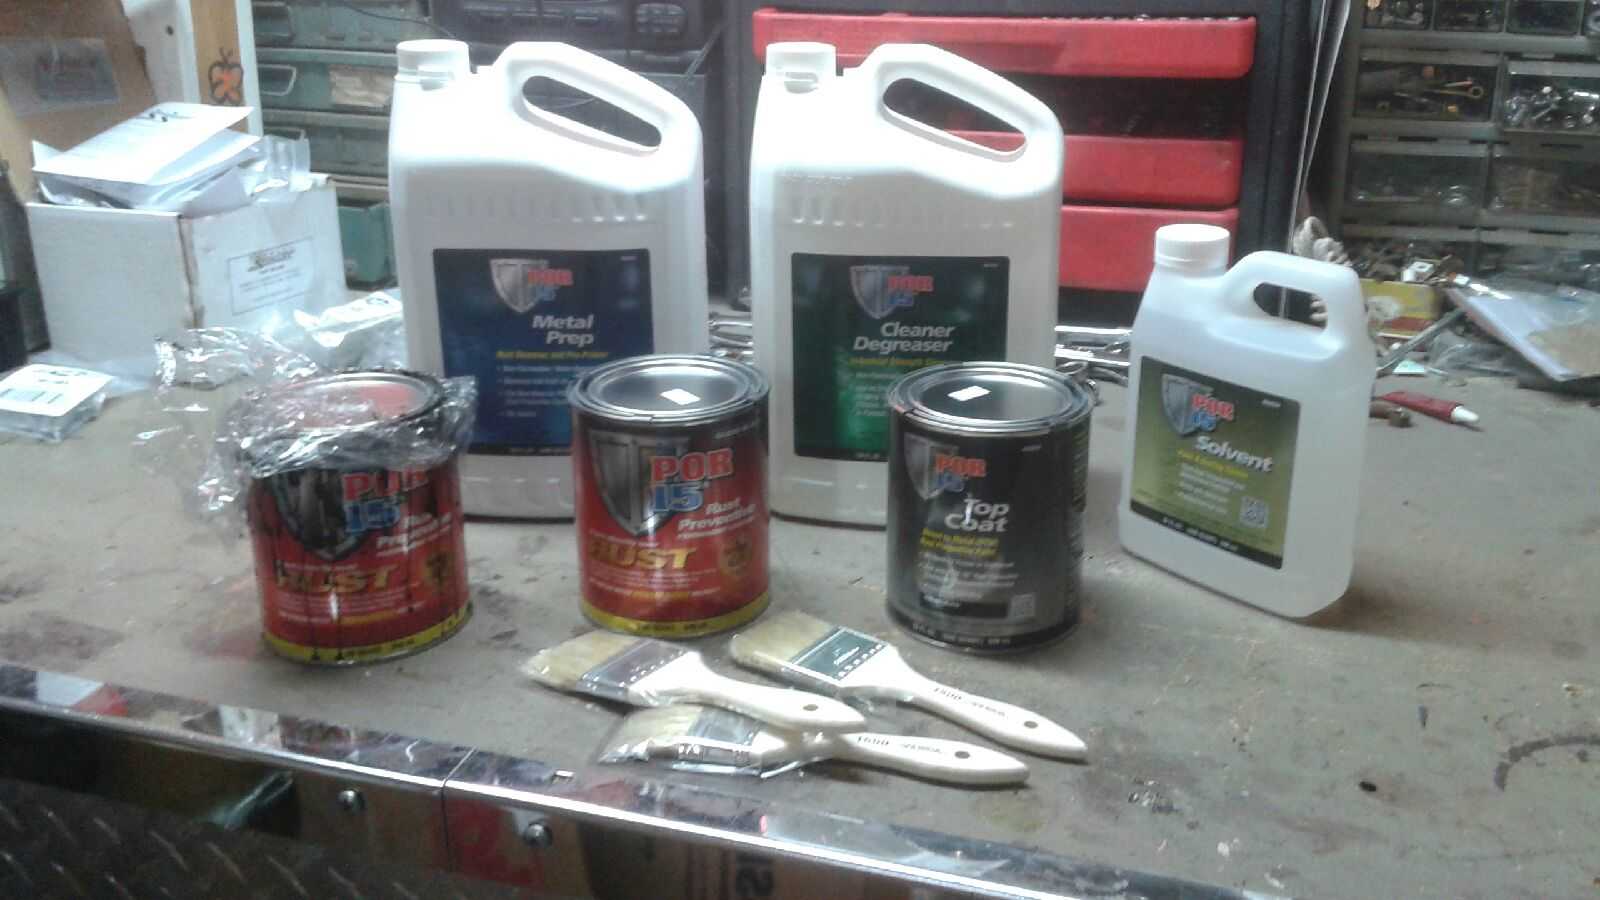
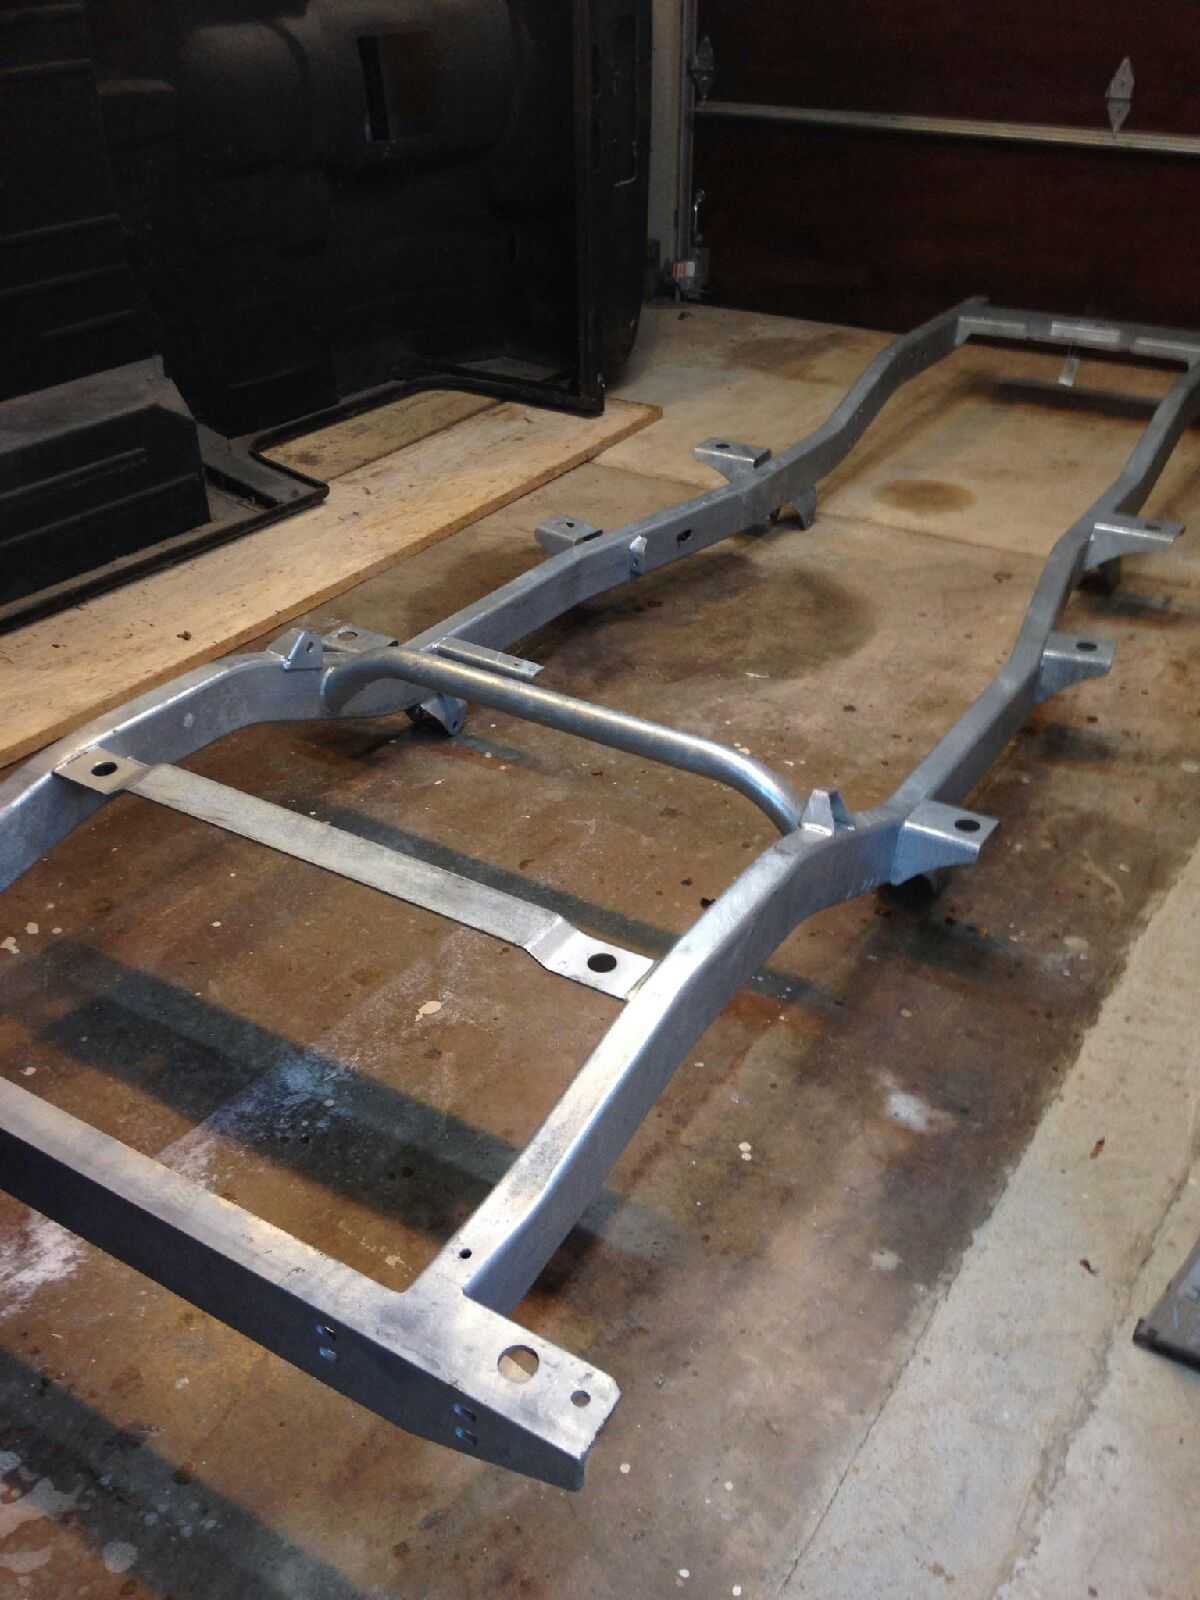
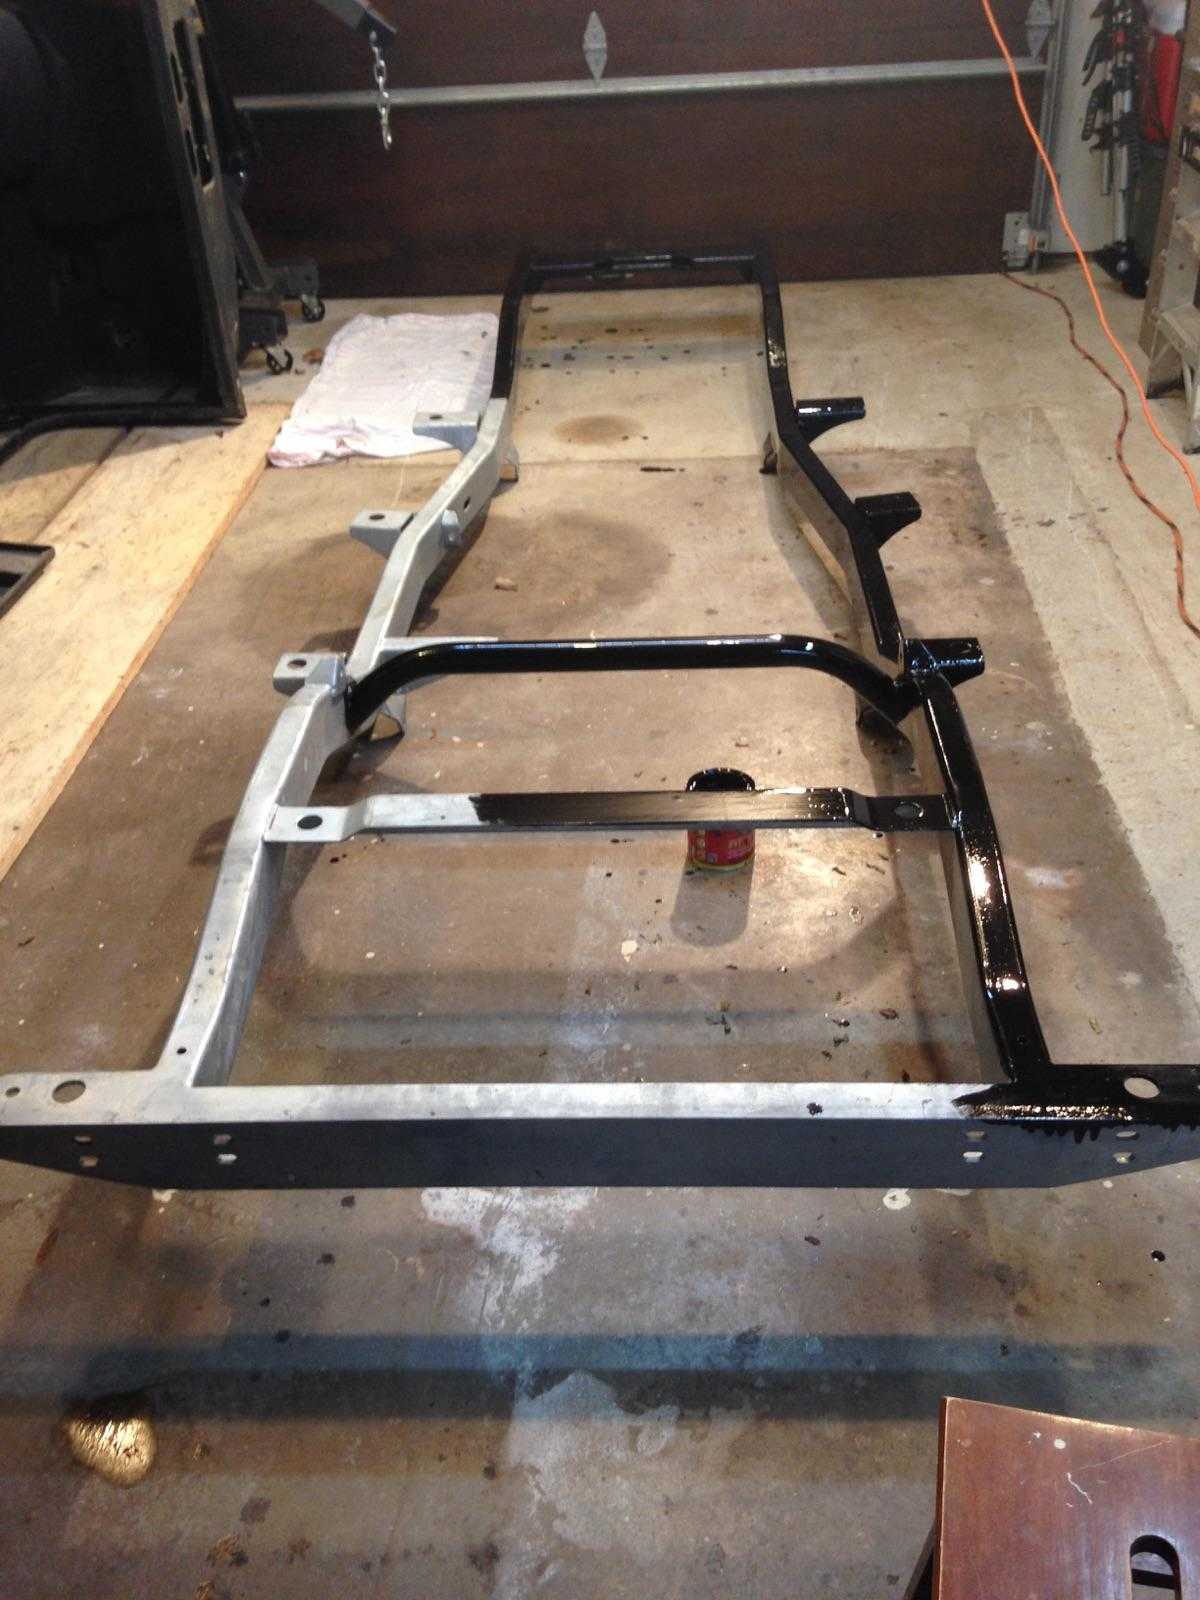
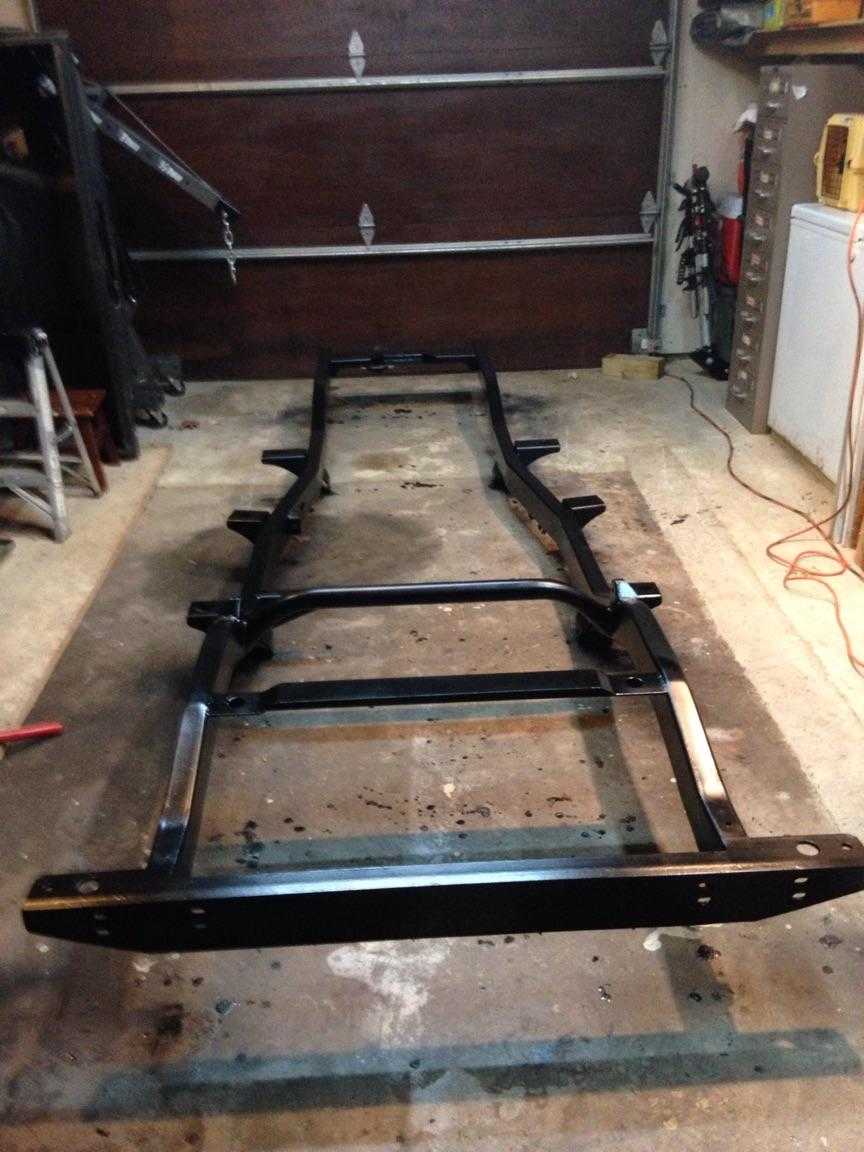
Let the fun begin... Starting with the frame and some awesome paint. Yes, I need a new frame and I want this one to last for my kids kids kids. And got it galvanized. Now the key is to prep and paint it properly to protect it for many years to come. The salt here in Eastern PA is a killer and Por15 is here to the rescue. First thing was to degrease with Por15 Industrial strength cleaner and degreaser (Por15 #40101). Get the gallon as you will use this for everything and it will stay. Second is the Por15 Metal Prep (Por15 #40201) to etch the surface and get the gallon on this also. Just spray it on (Don't forget to have a spray bottle handy) let it sit for a little and wash off well with water. Now an important step is to make sure it is really dry. I let it sit in my garage with the kerosene heaters running to make sure it was truly dry for a few days. Third is the Por15 Rust preventative coating (Por15 #45004). Now for this step I would buy it by the quart because it does dry in the can once opened, but this stuff goes a very long way. You can put some saran wrap under the lid to help seal though. This is the night I will be pulling an all niter... I need a total of 4 coats and have to wait 2-3 hours between coats. You do not want it to fully dry and you want it just a little tacky between coats. I just got some cheap throwaway brushes to apply the 2 coats of Por15 Rust Preventative. Now this does need a top coat as it is not UV protected. So, step four is the Por15 Top Coat (Por15 #45904) and I put 2 more coats of this on. I sprayed this coating on inside and out. Thin out with Por15 Solvent (Por15 #40404). Make sure you wear gloves because Por15 will not come off your skin until you skin wears off. This is serious paint and I will be using it on many parts throughout my build. Cheers!
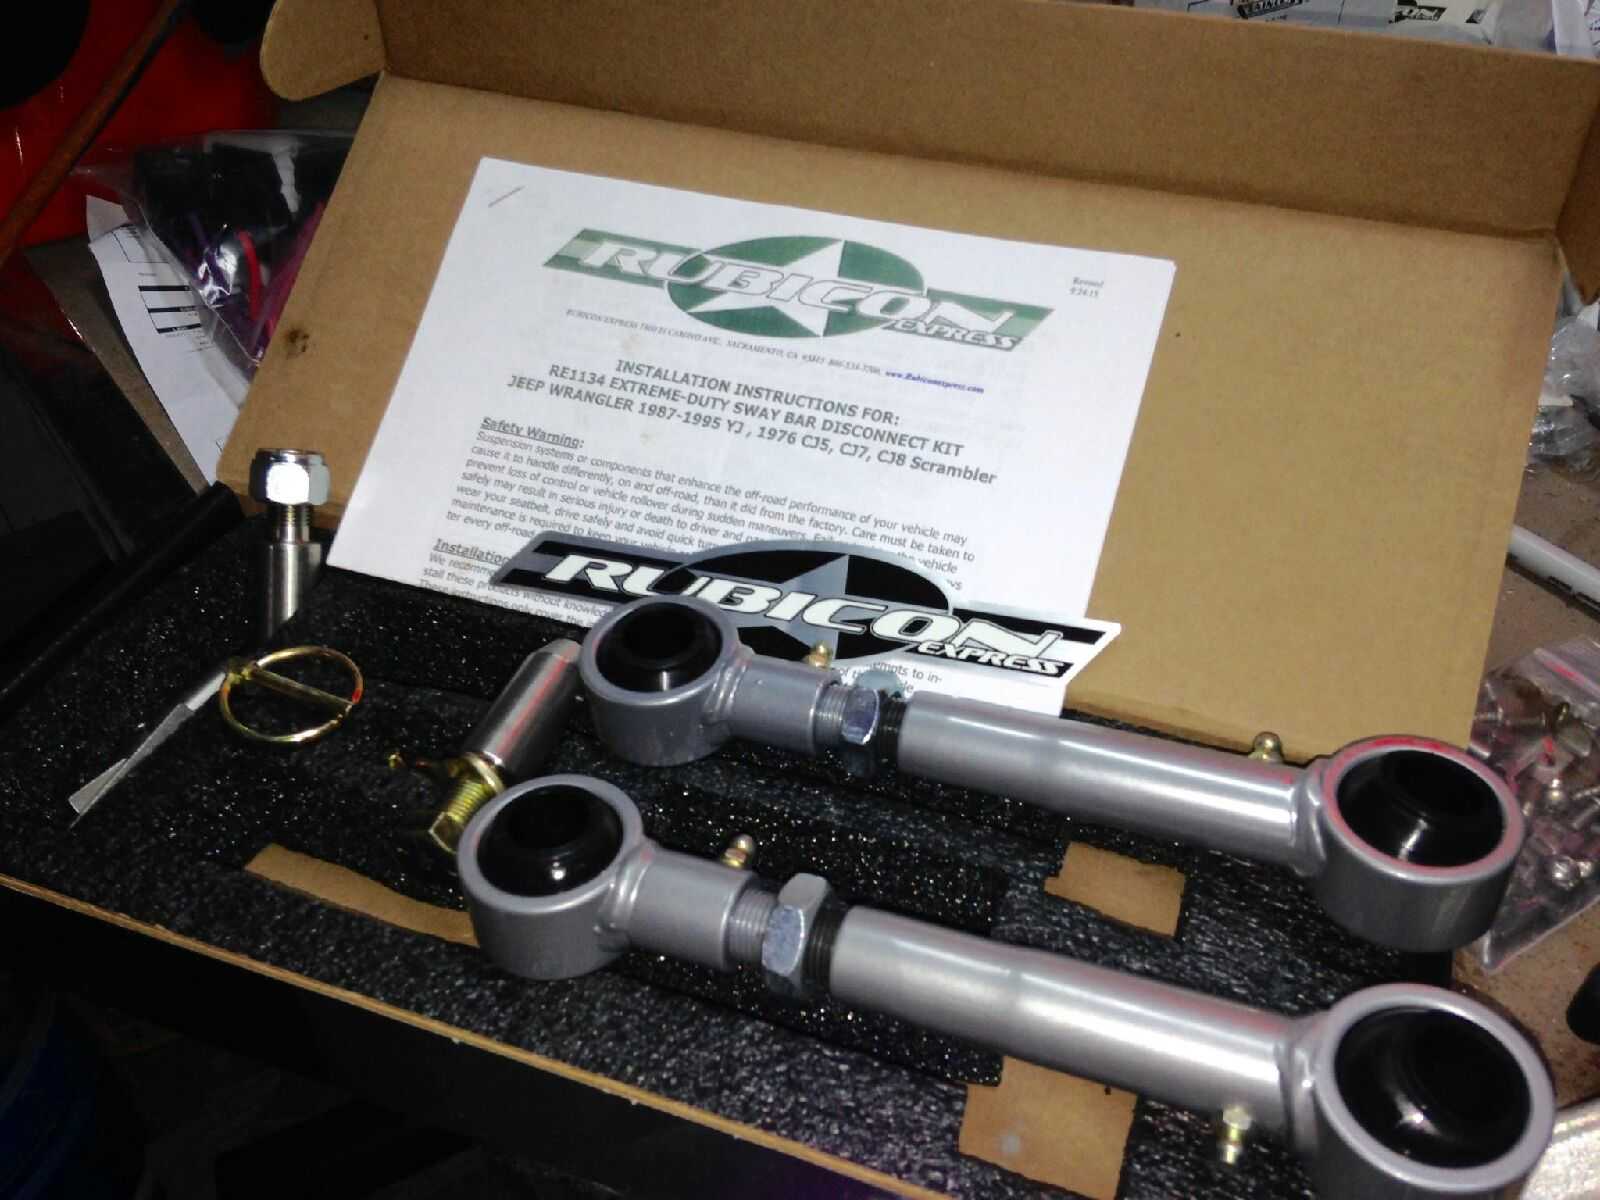
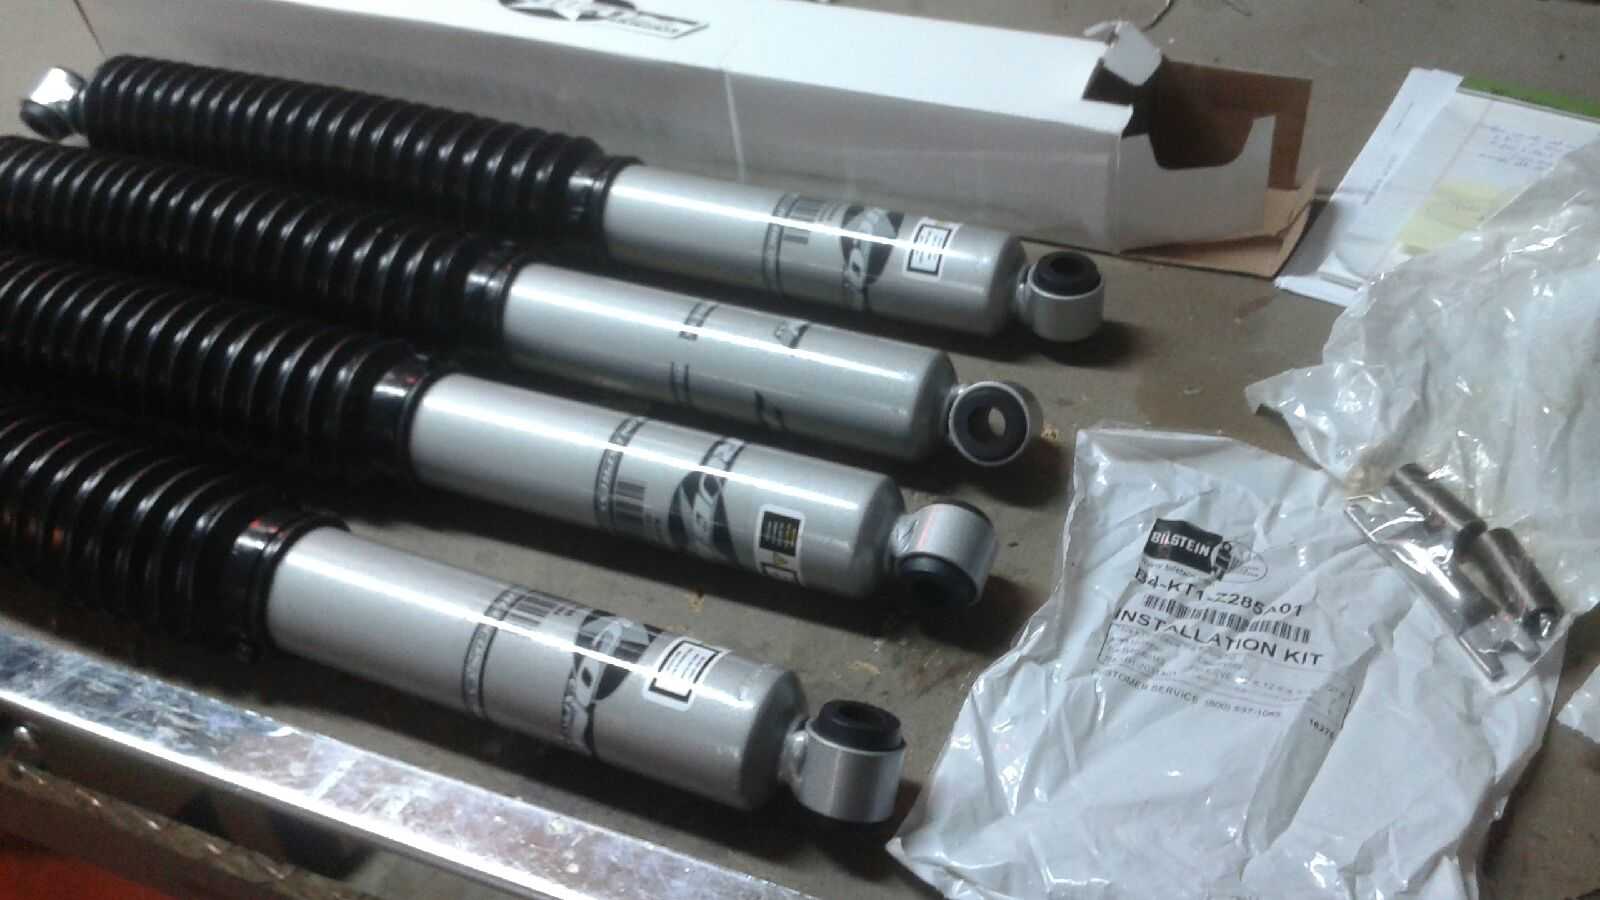
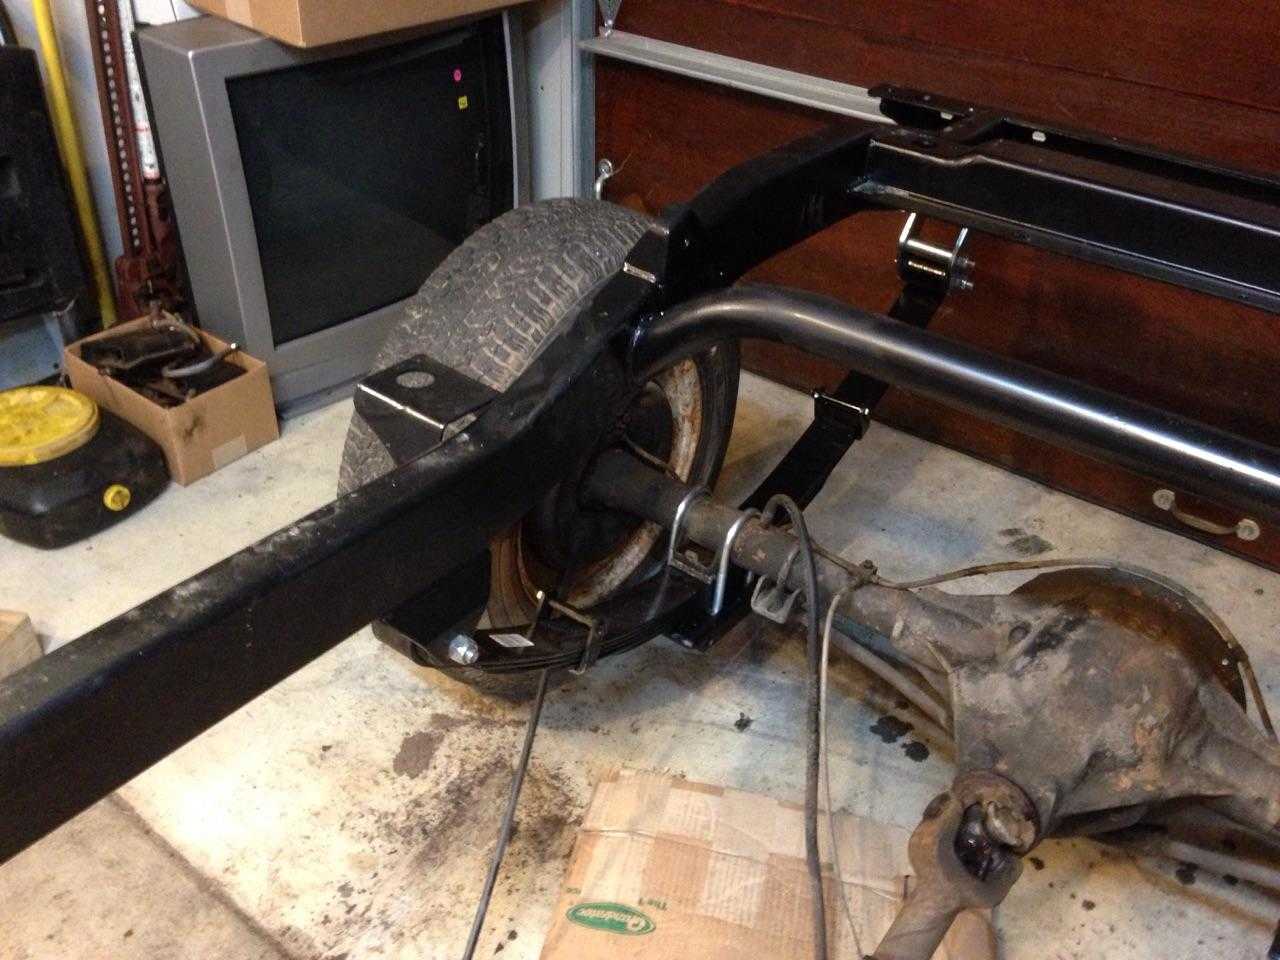
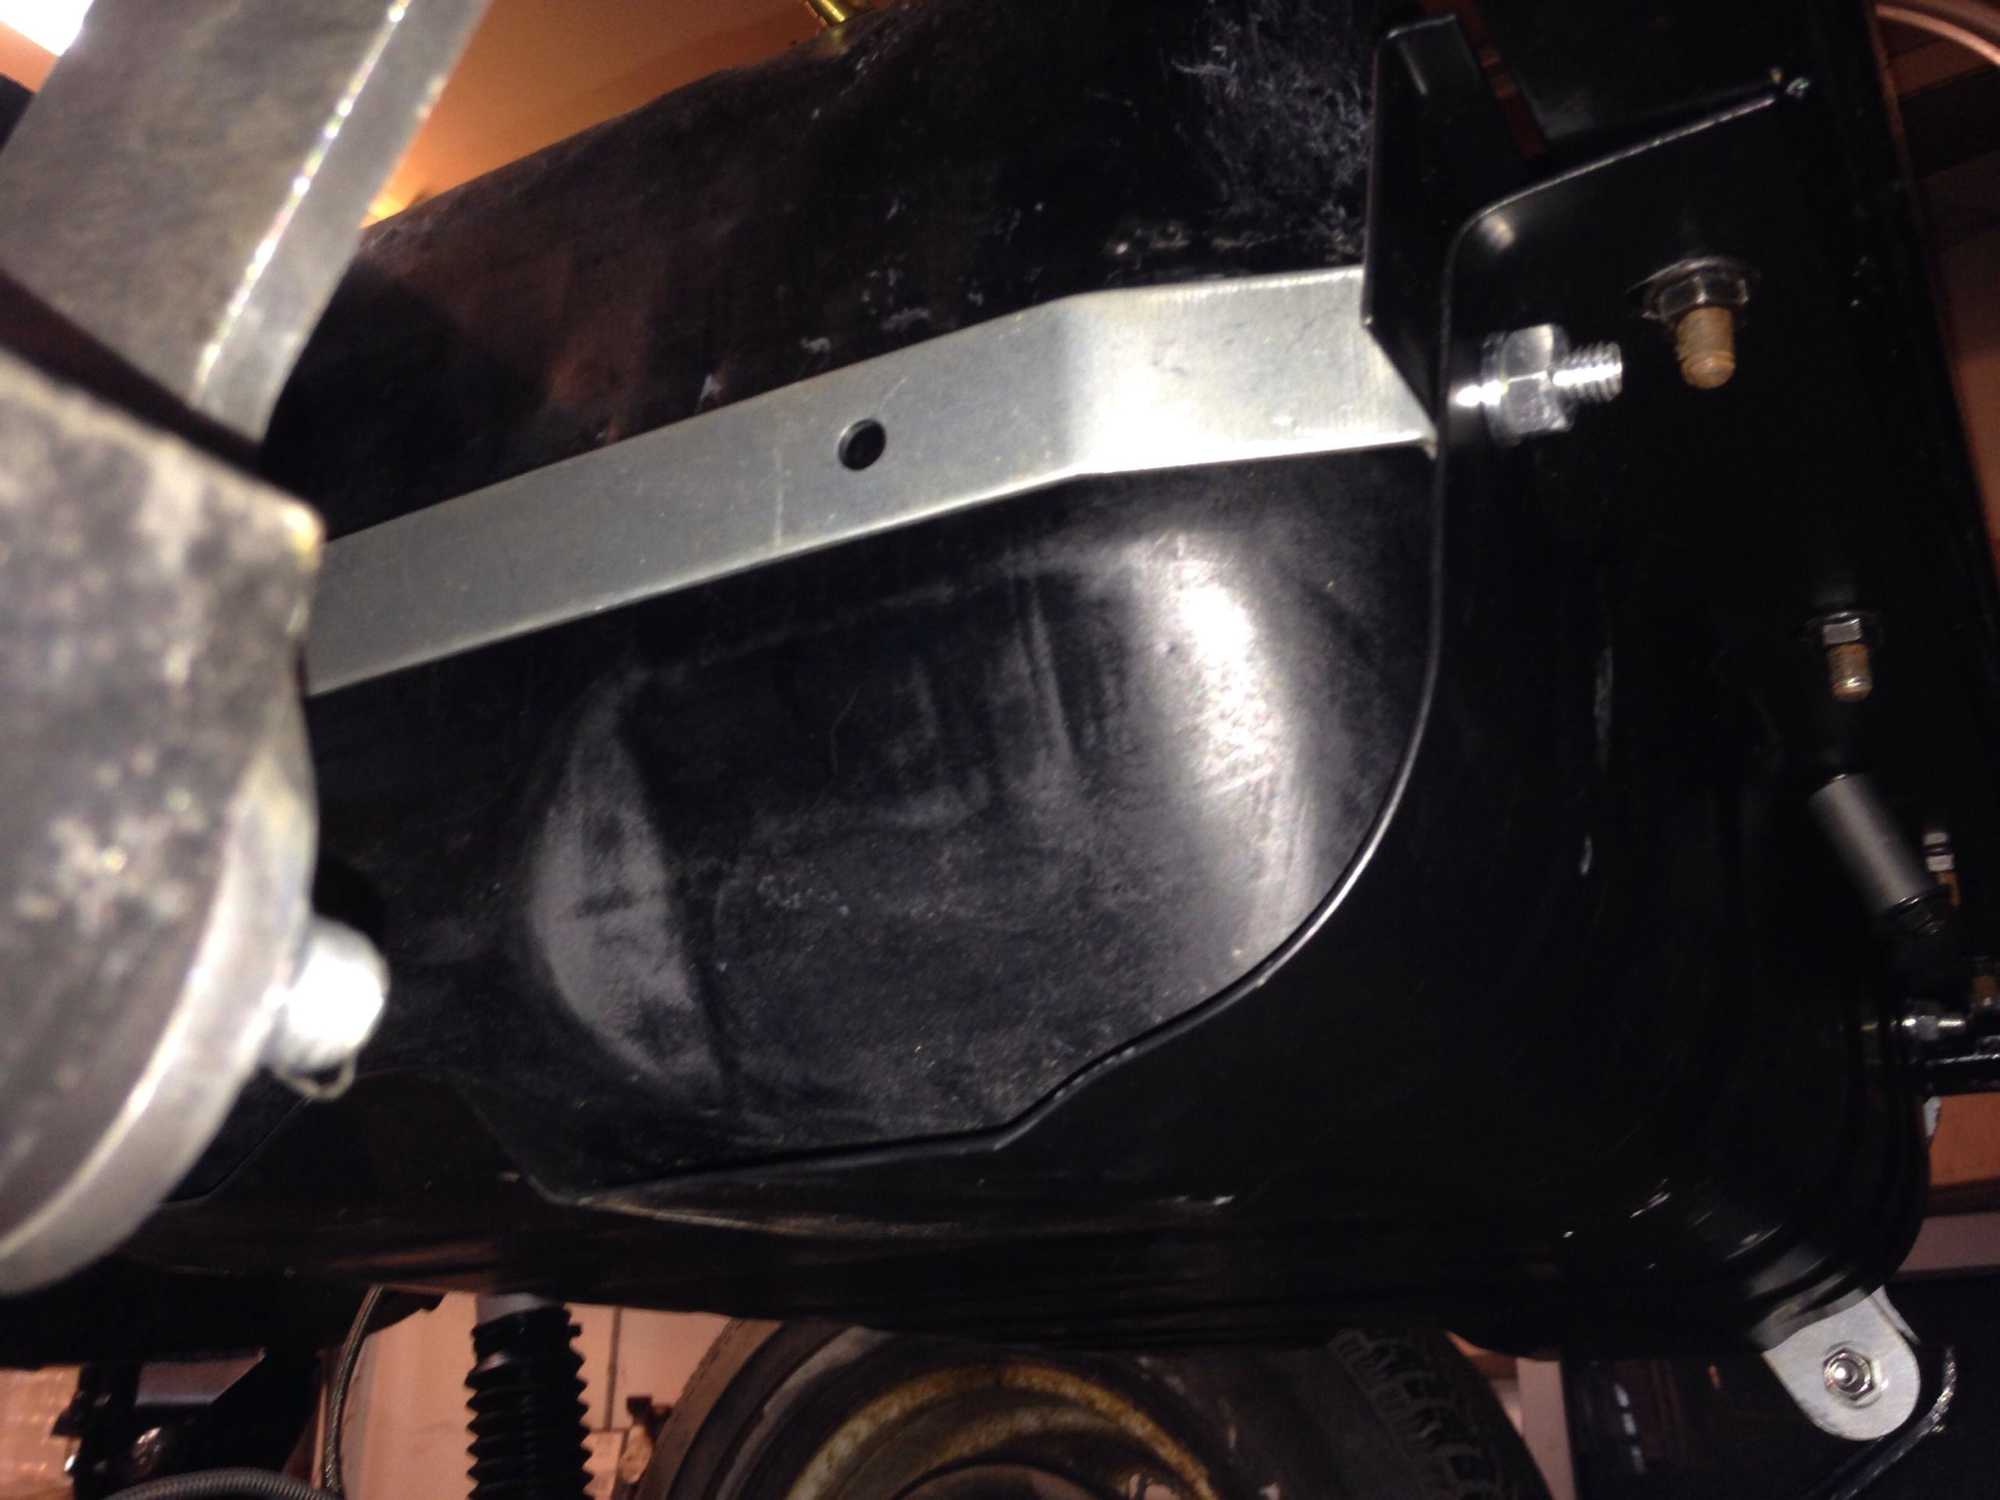
Ready to install the Rubicon Express lift... I decided to go big with a 4.5" Rubicon Express Extreme Duty lift with Mono Tube shocks (RE # RE5525M). This is one of the best and most complete kits in the market for a CJ. The springs plates are massive and really heavy with a skid plate built in. Also the holes are slotted to make them more universal and easier to line up. It comes with shackles, brake lines, drop pitman arm, transfer case drop kit, and quick sway bar disconnects. Many less expensive kits out there offer these items separately. The springs are a YJ spring for more stability, better ride and more strength. With these military wrap style springs you need to make sure you put the end with the military wrap on the non-shackle side. If you don't, the extra wrap on the spring eye may hit the center bolt on the shackles. The shocks are made by Bilstein, so you know they are awesome. And check out the pic of the swaybar links... They are sweet. The rear shackles are a boomerang style and the fronts are tapered to match the original shackle hanger. This kit makes me excited to finish the build and have some fun wheelin. Thank you Rubicon Express. Cheers!


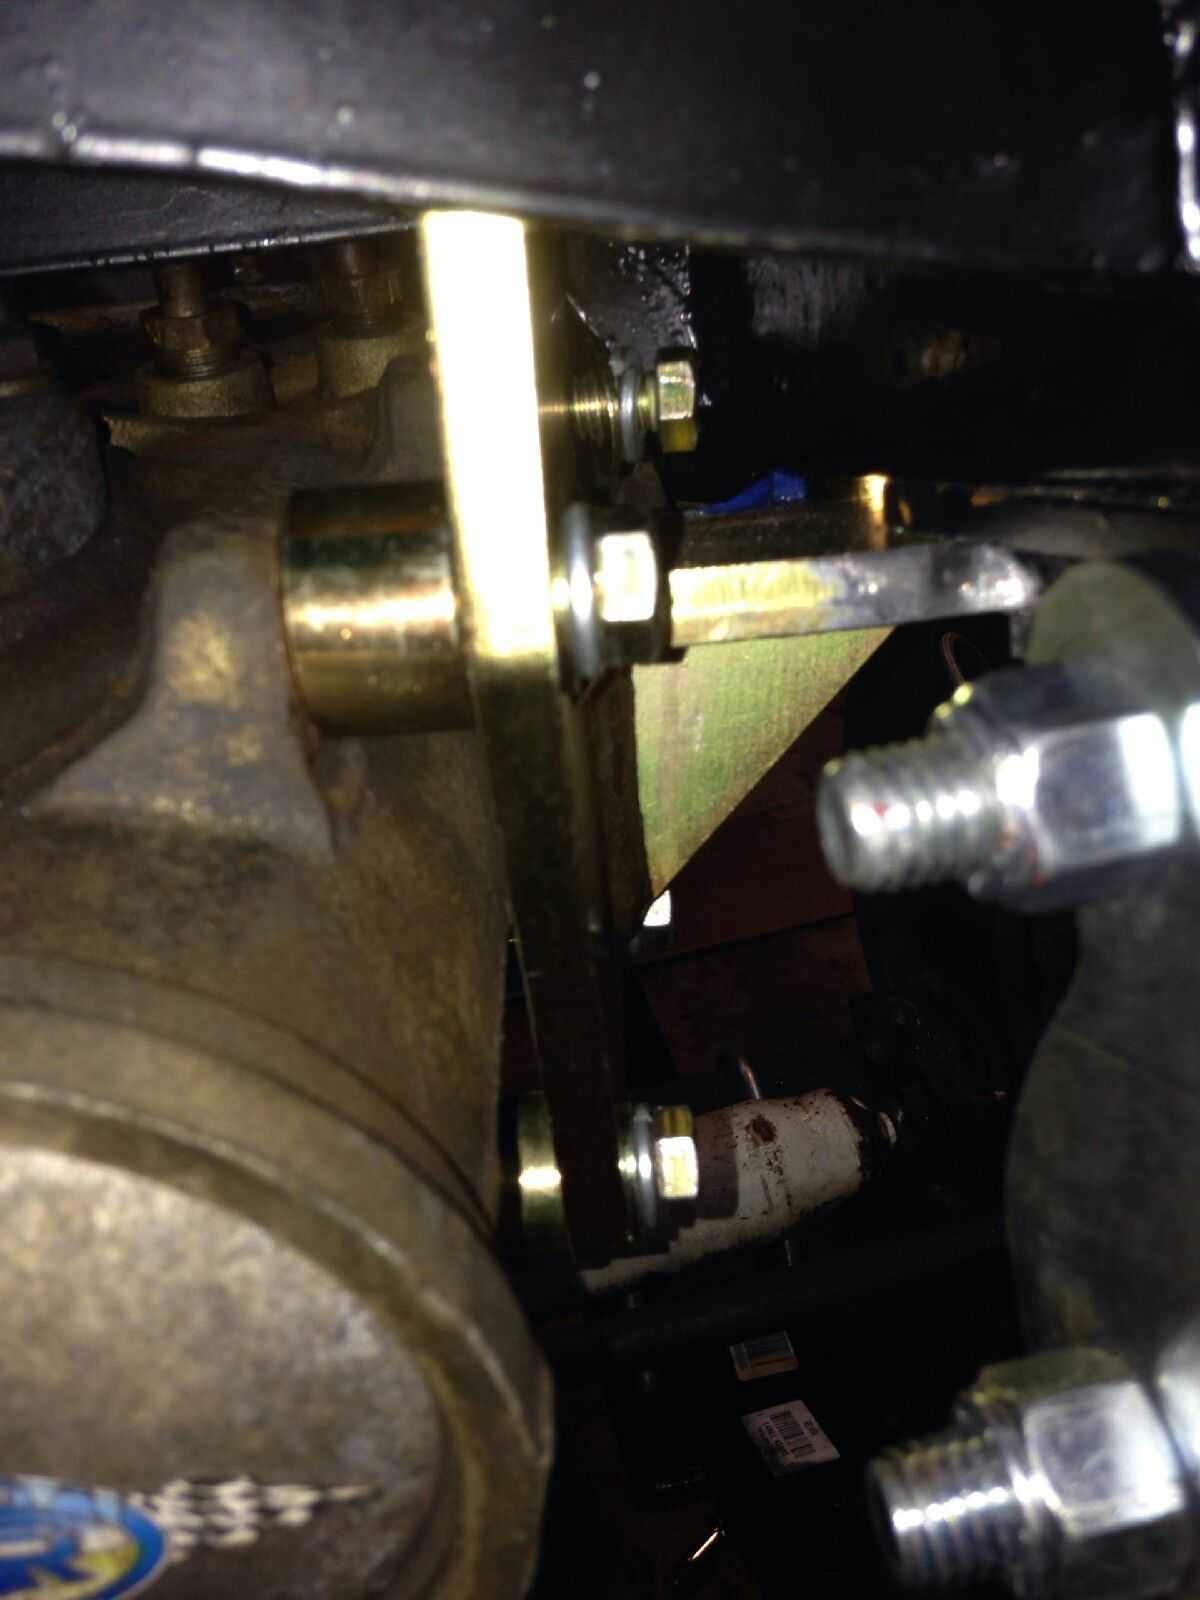
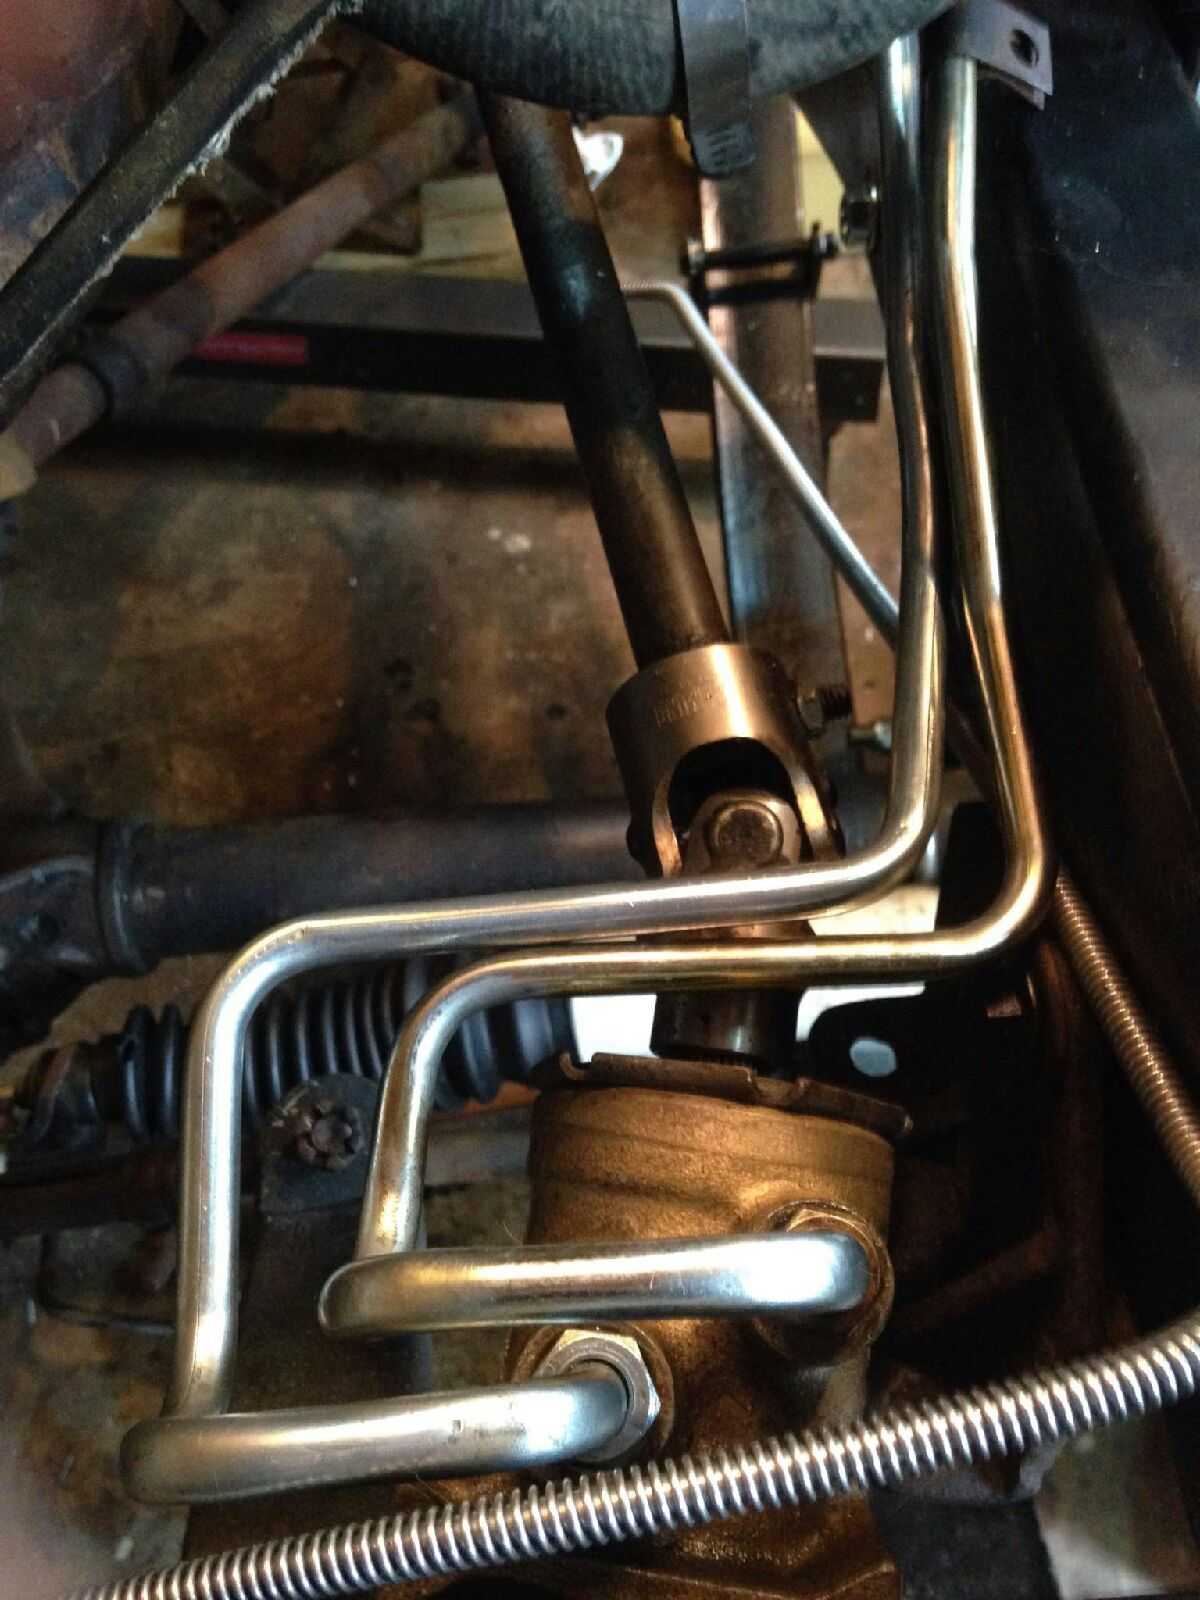
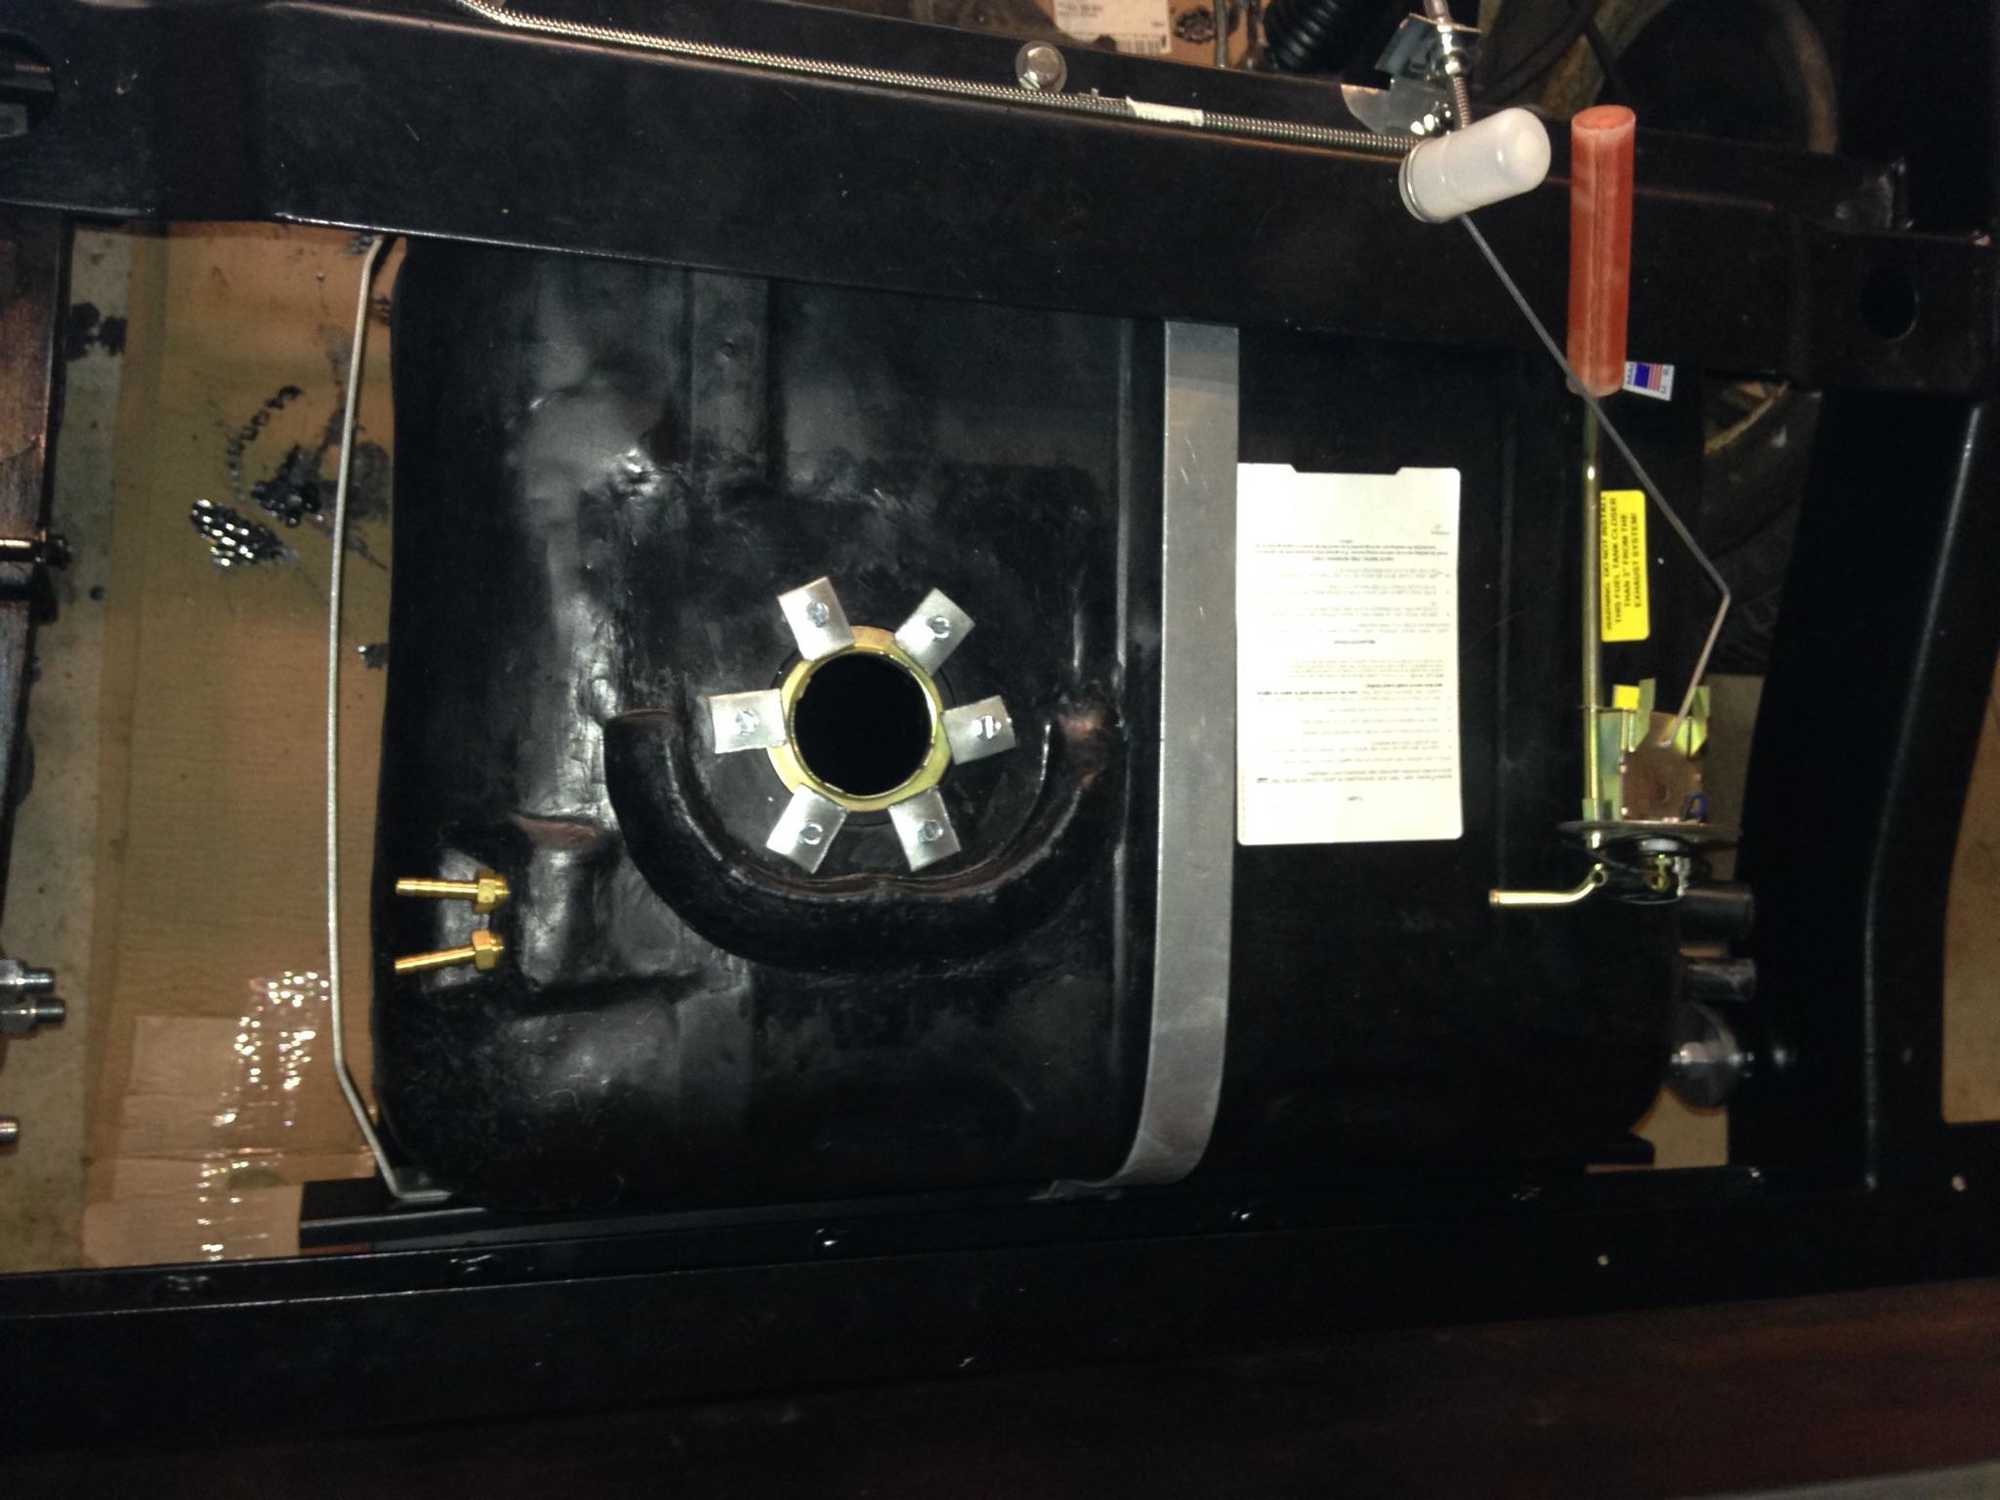
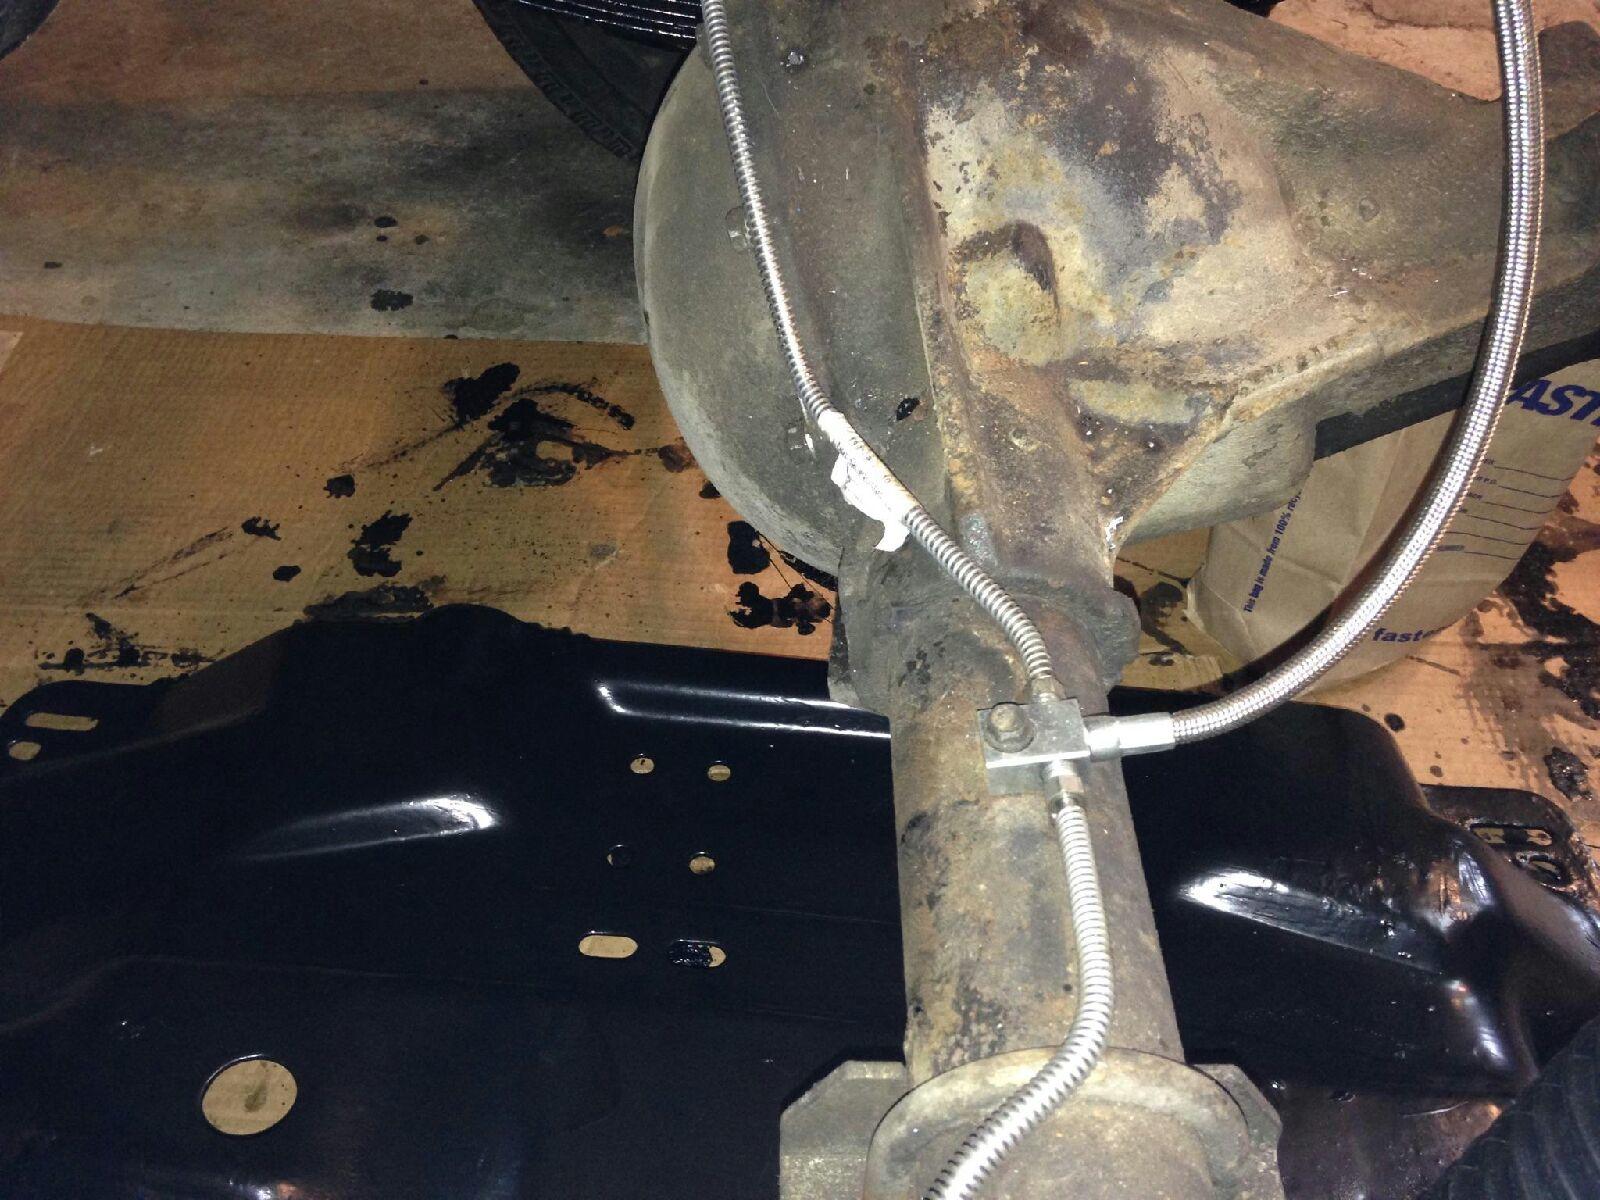
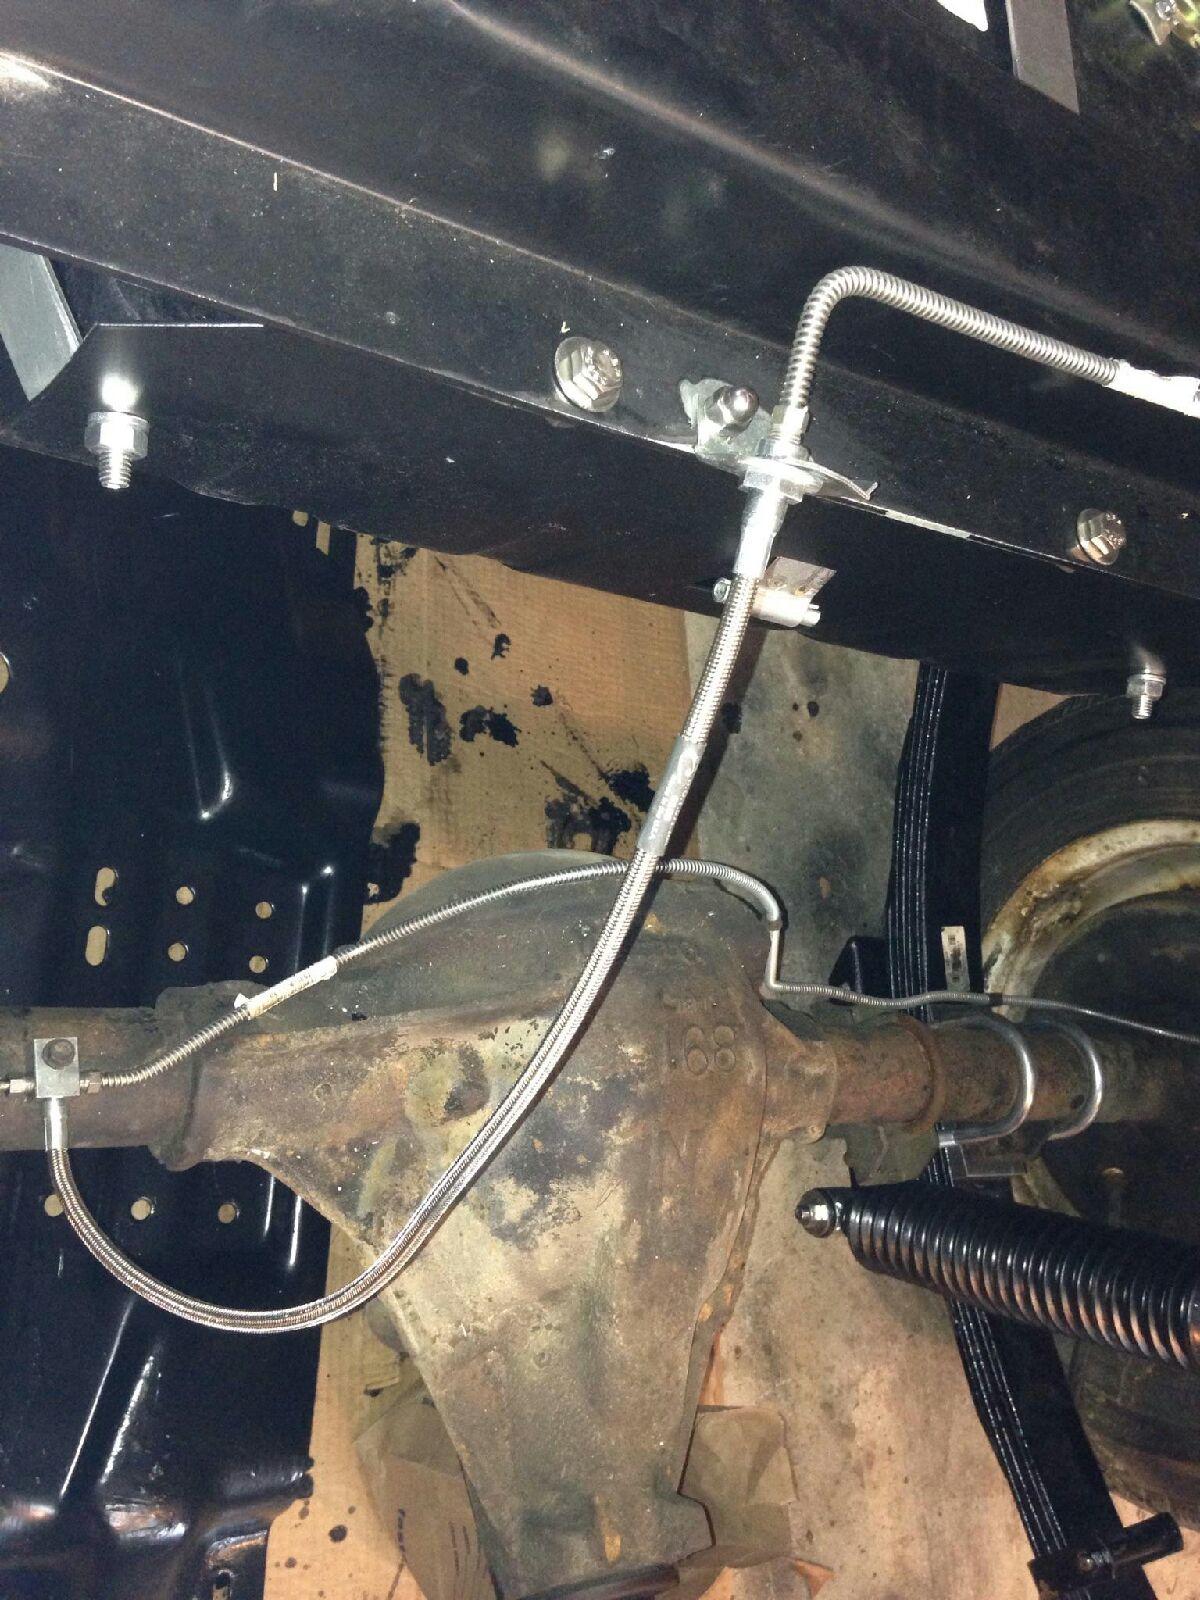
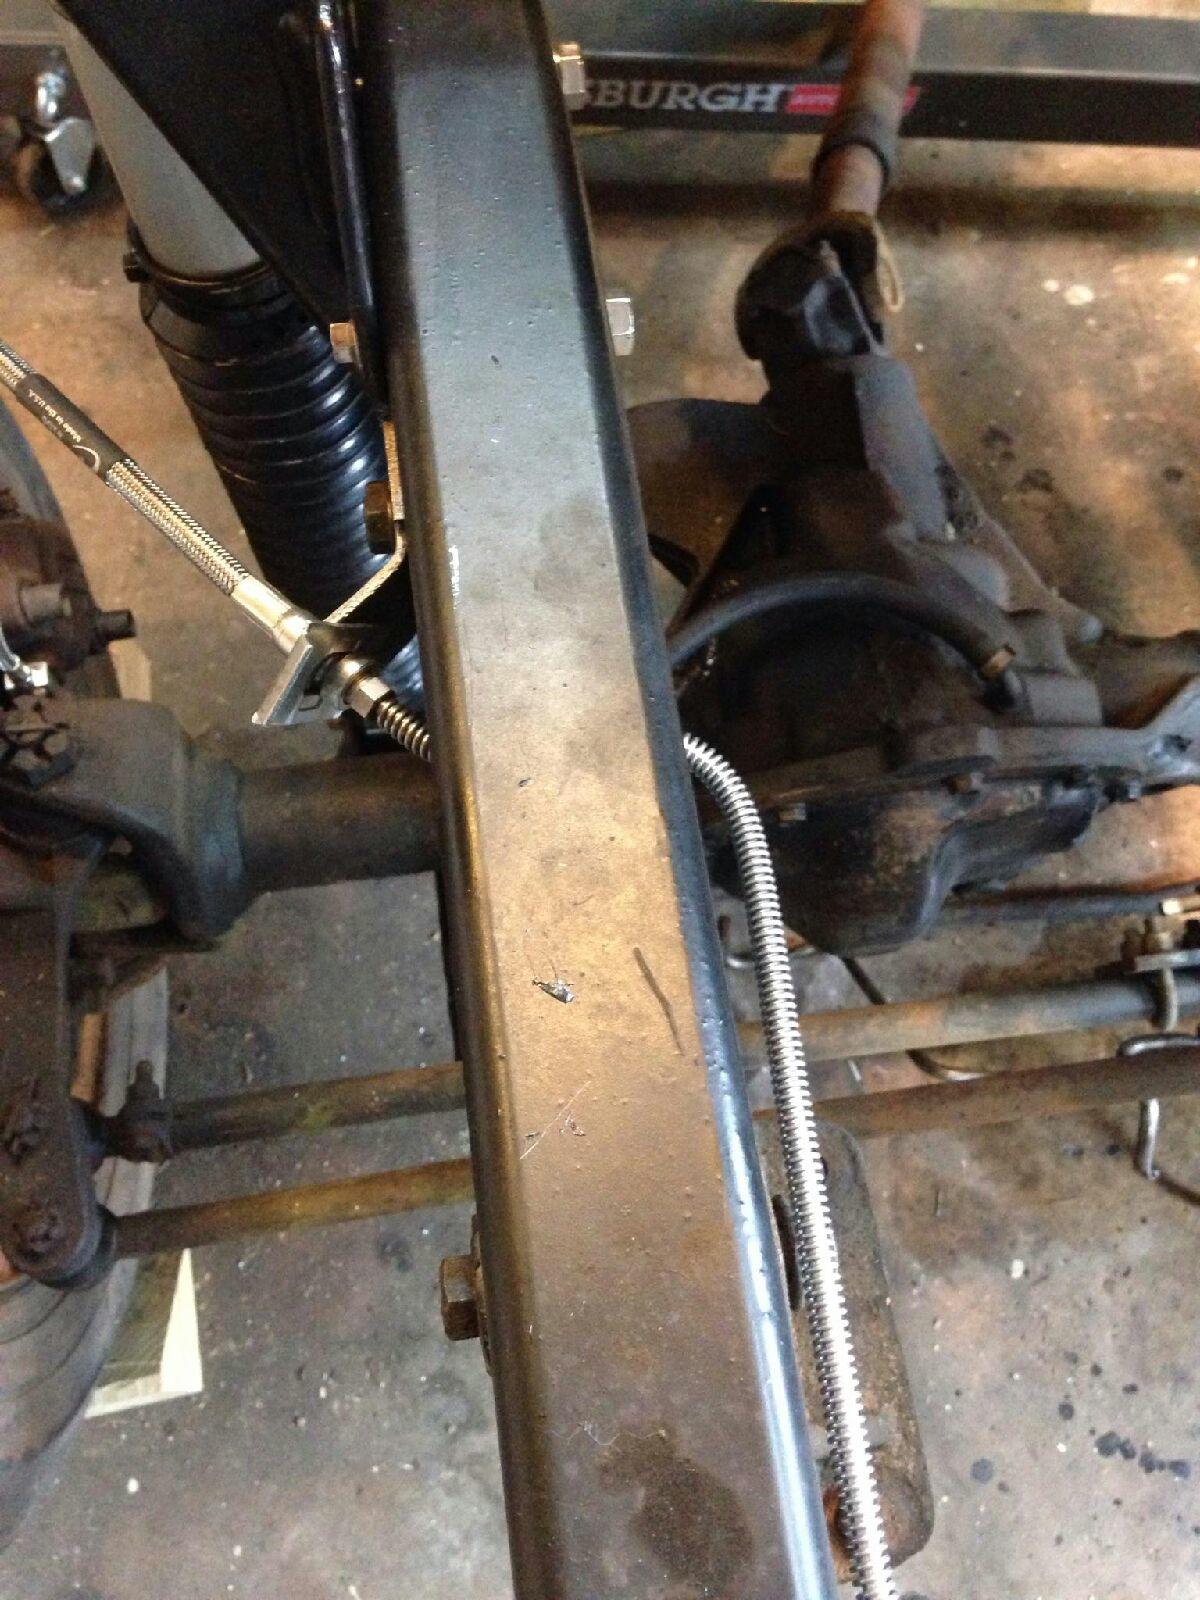
It is now time to start the brake lines and Fuel lines. The old brake lines are in really bad shape and are in desperate need of replacement. Classic Tube is the way to go. They offer pre-bent stainless steel kits that are a direct replacement of the original setup. I have disc front and drum rear with manual brakes so I needed Classic Tube JE1003SS. Also, for the 6 cylinder engine I needed the 3 fuel lines... Classic Tube Vapor Line JEV1003, tank to pump JEF1003 and the return line JER1003 . Don't forget the Classic Tube Frame rail clips CLPS-1. This stuff is top notch quality and all stainless so I will never have to worry about rust. As you know rust is a big problem here on the east coat.
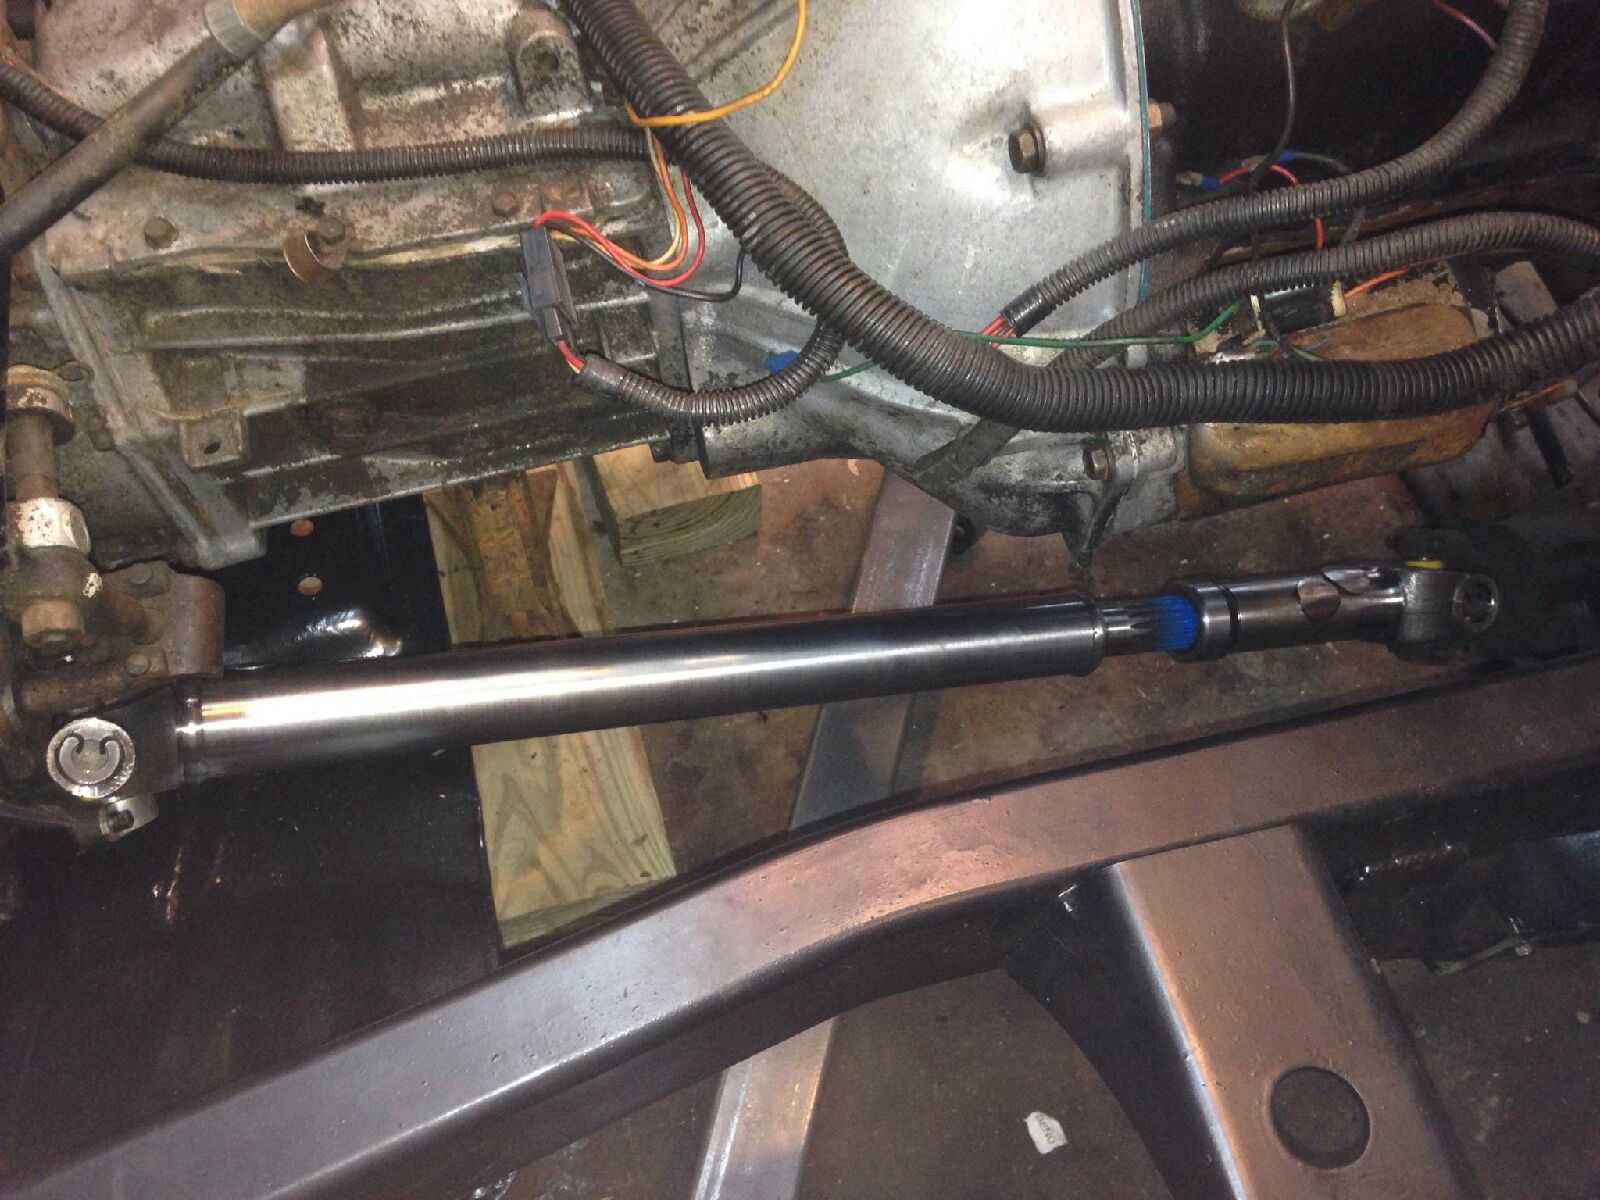
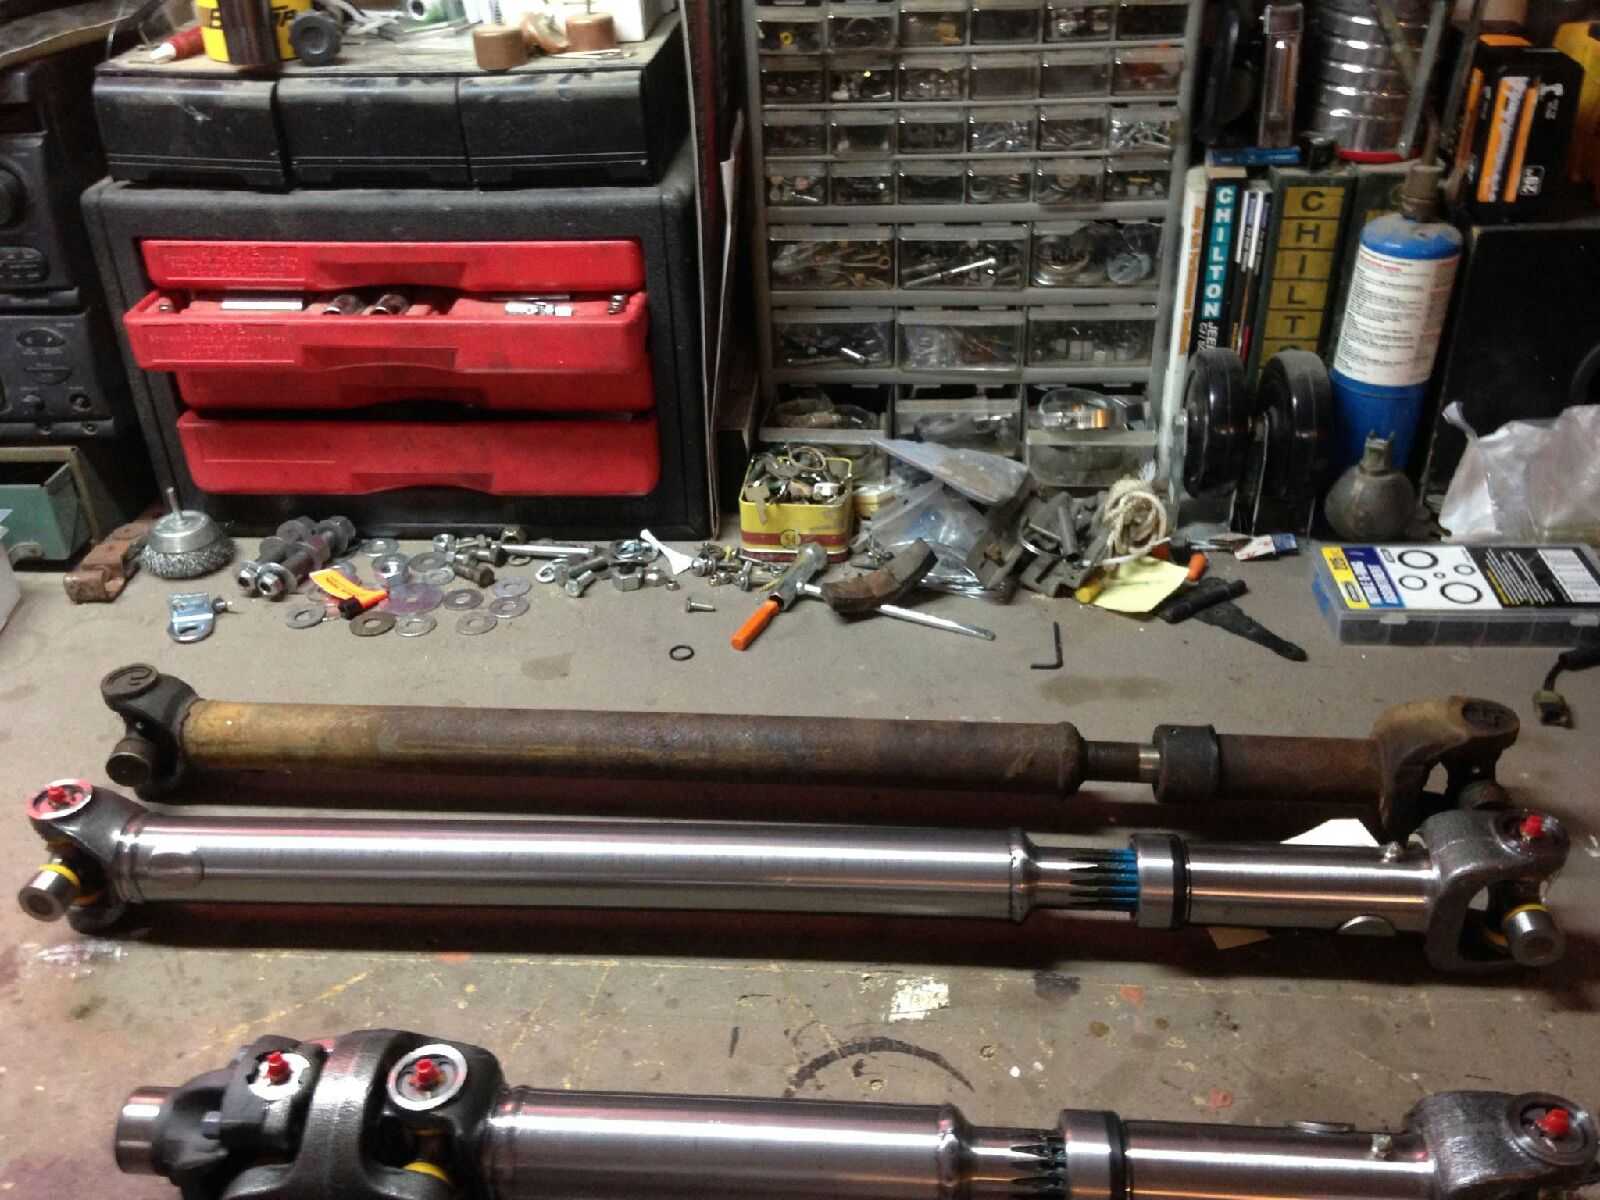
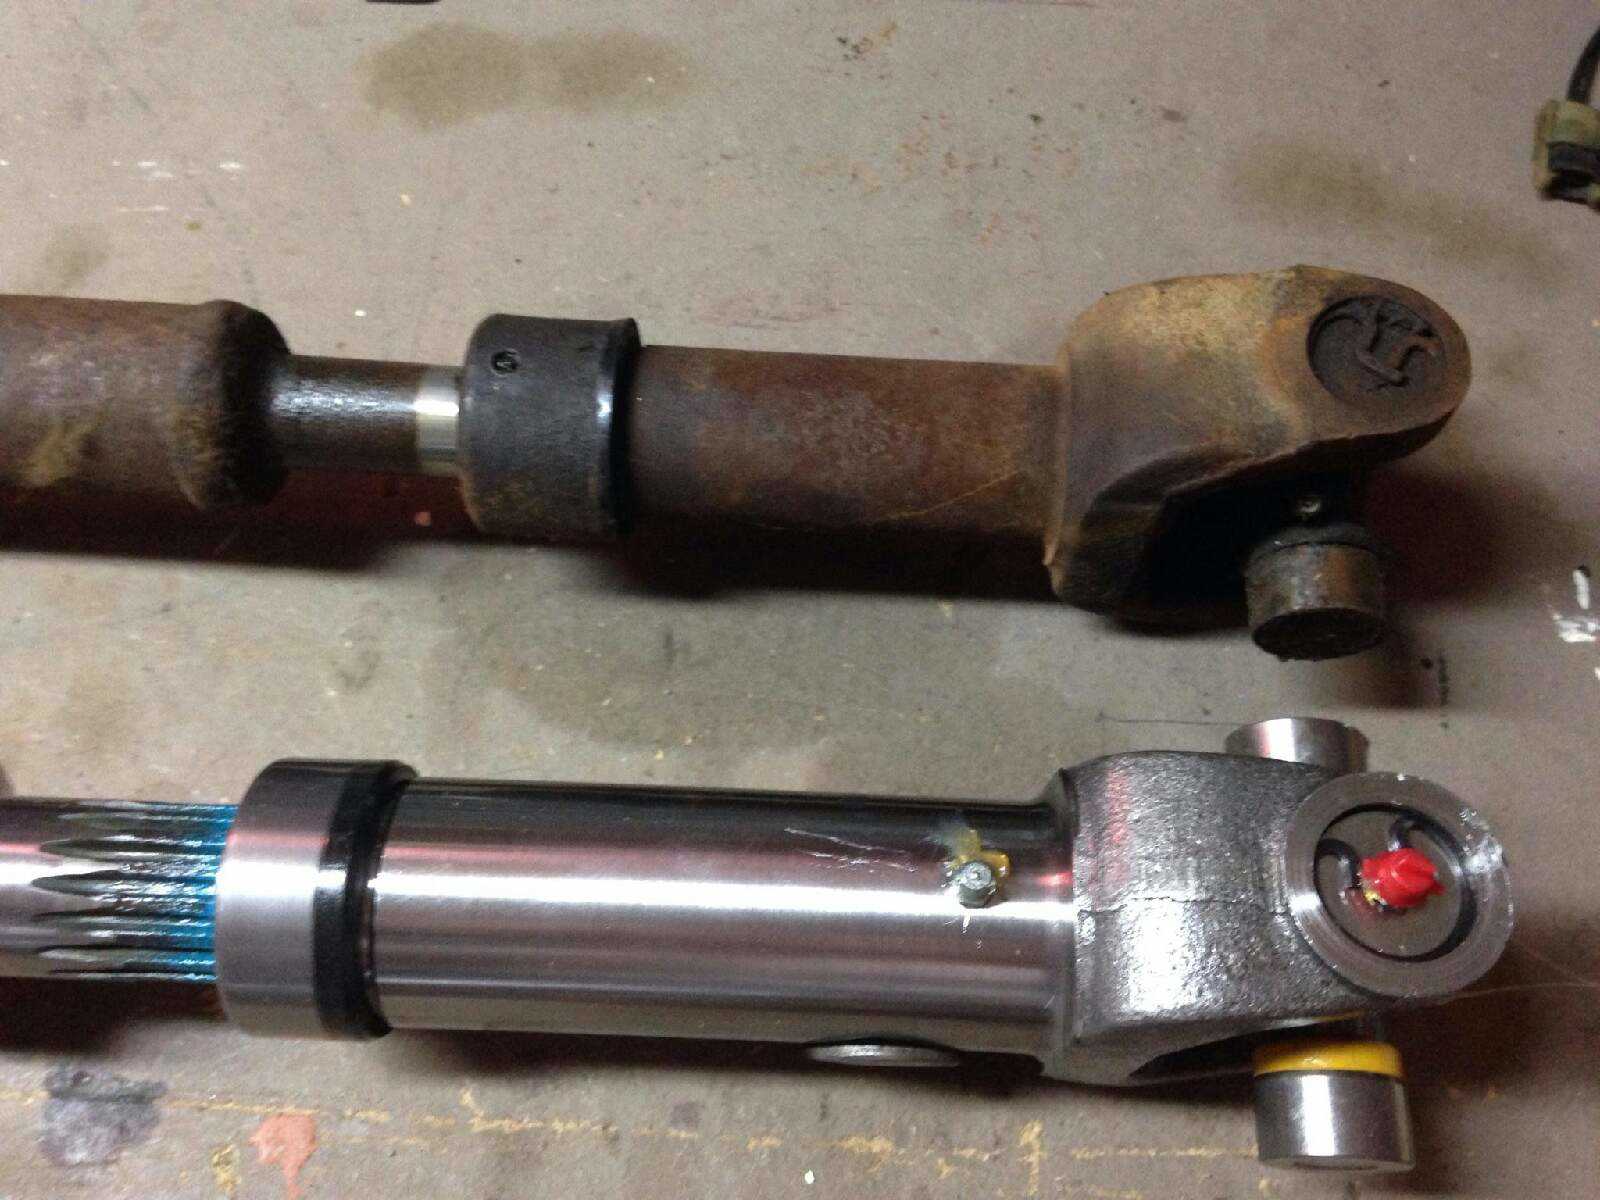
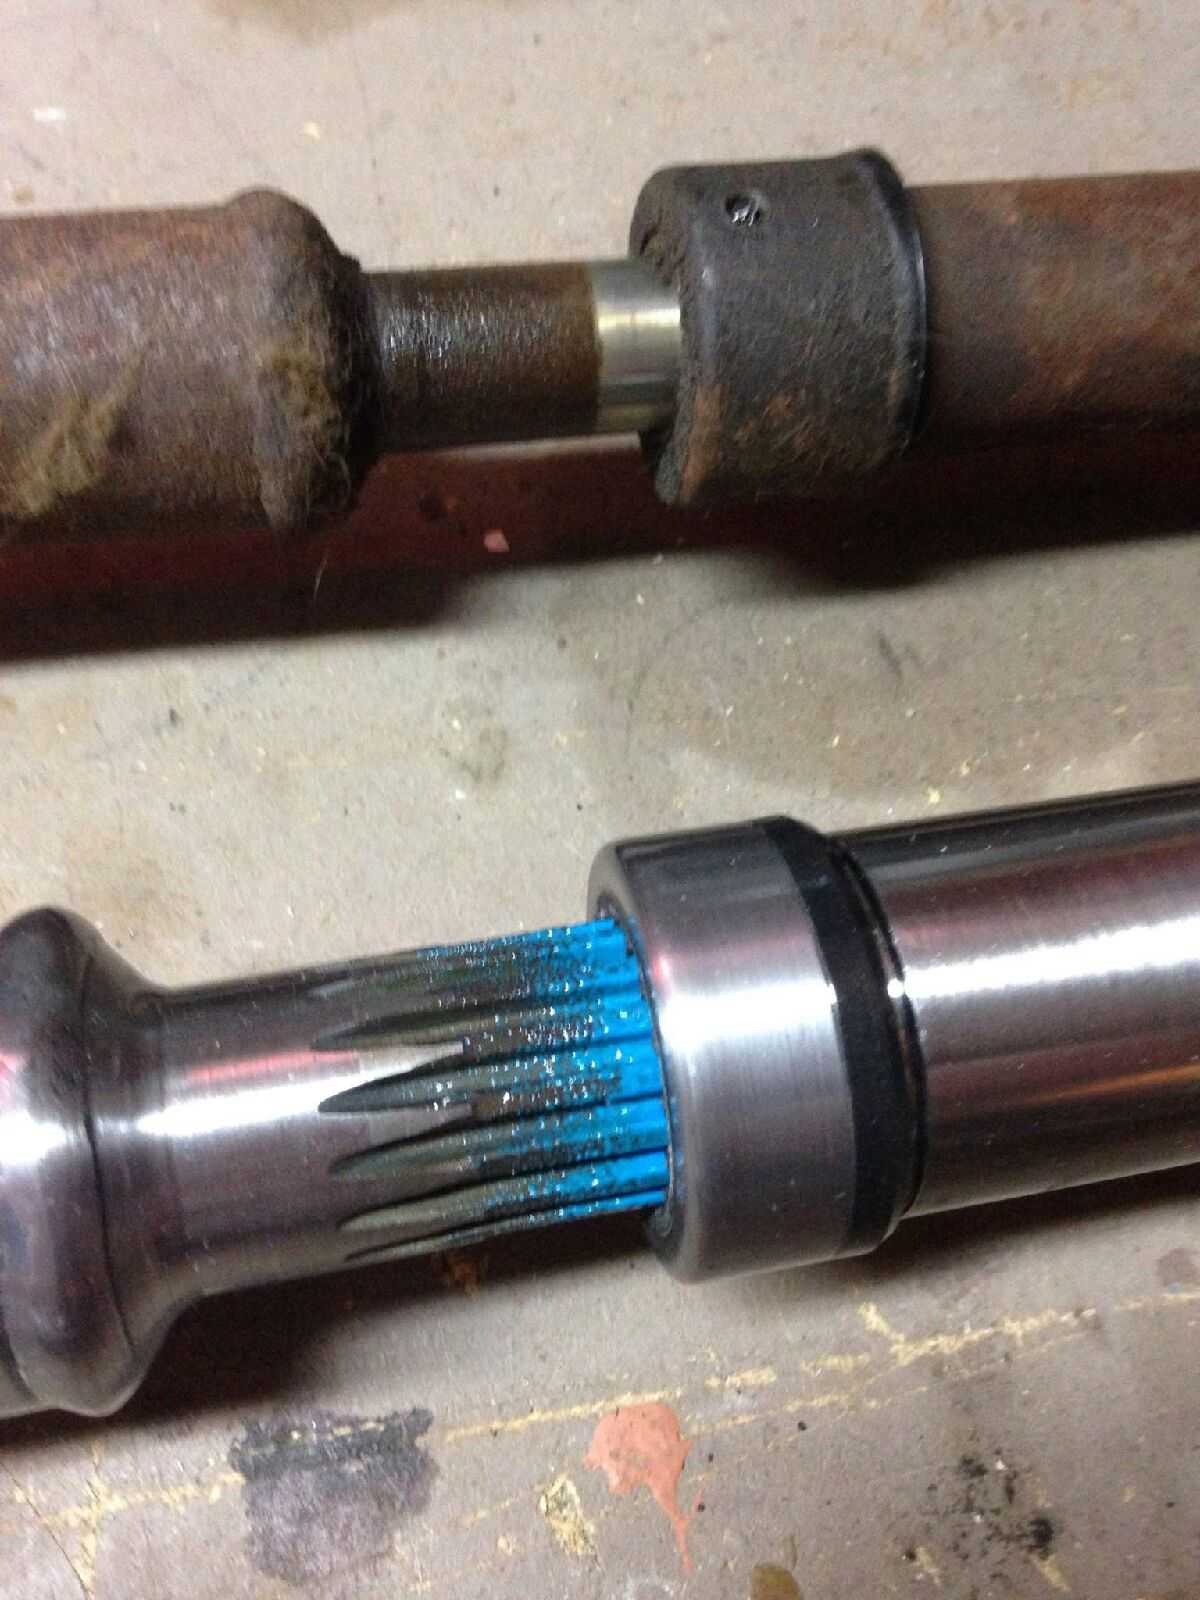
Drive shafts are here and time to install. Need I say more than Tom woods... This was quick and simple especially on the front. Just 8 bolts and 4 straps for the front and it was installed in less than 5 minutes. The rear I opted to get the CV style, so I did need to install the new yoke on the transfer case side. Check out the size difference in the splines. They will custom make them to your specific specs and ship the next day. Now that is service. This shaft is made for abuse and I am thankful for great quality products that are made here in the good old USA. Thank you Tom Woods.
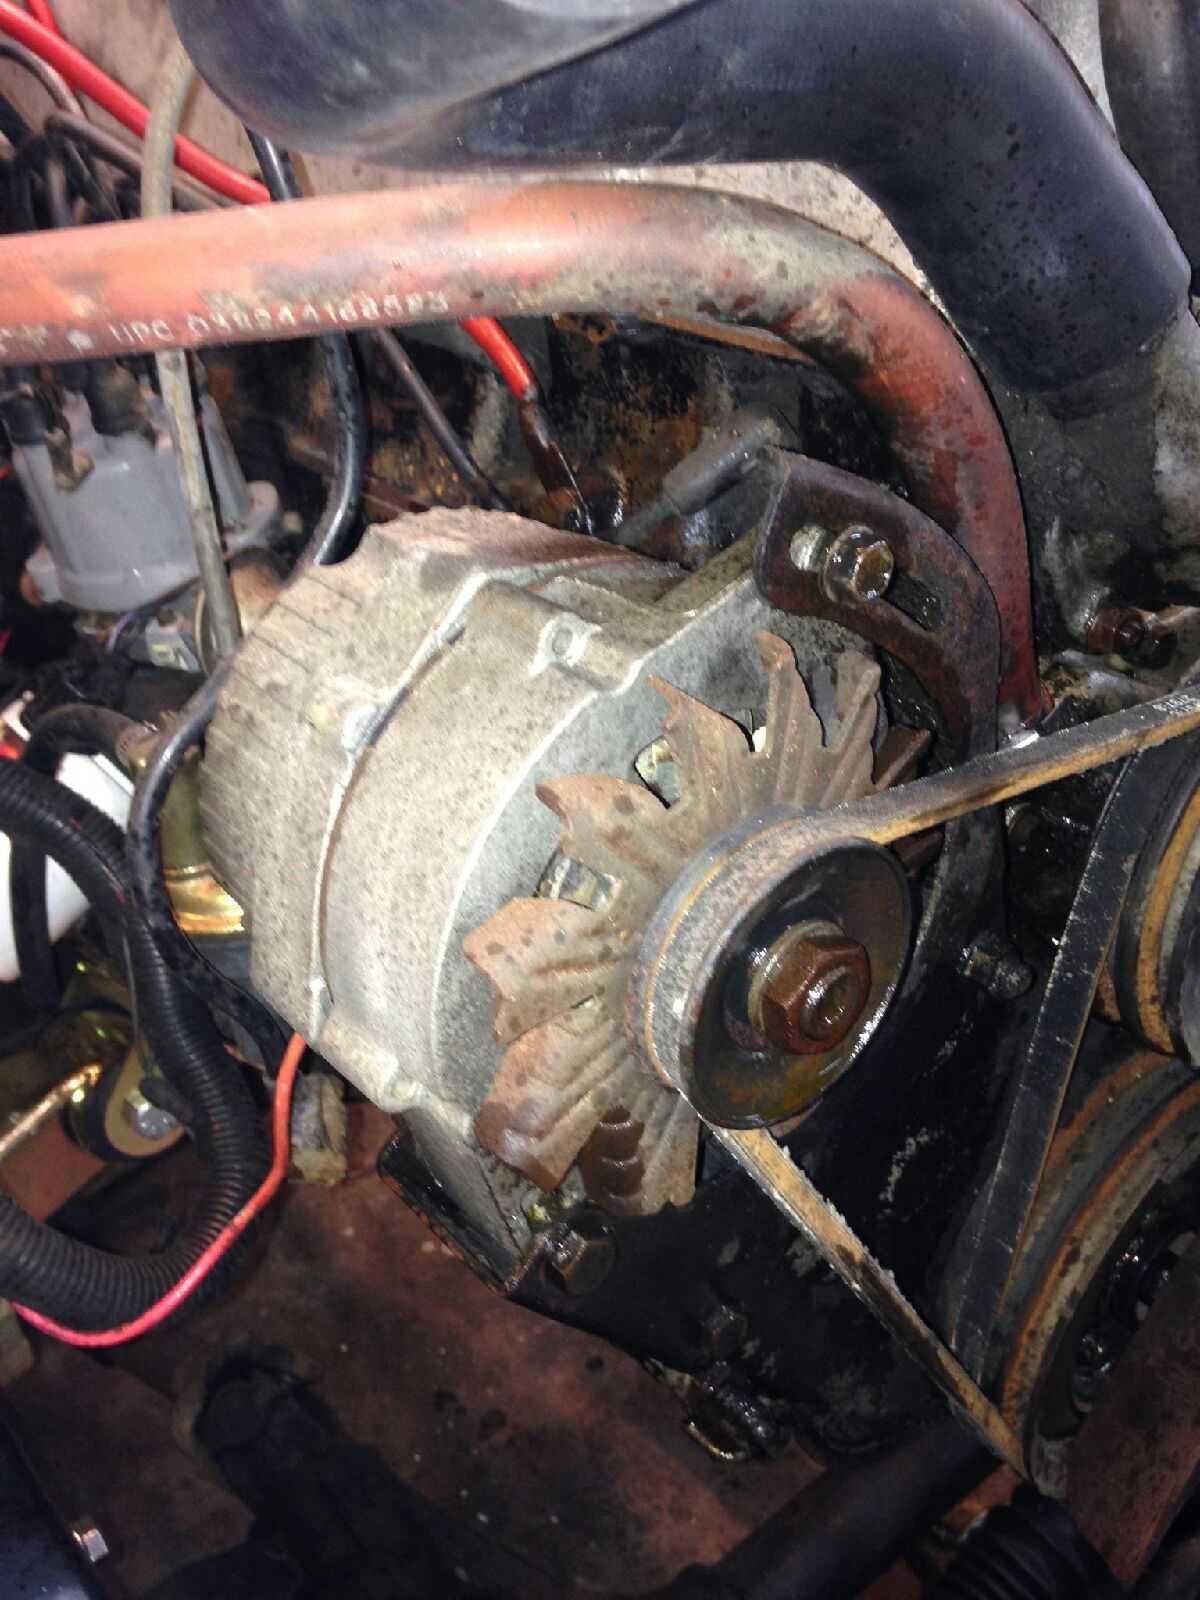
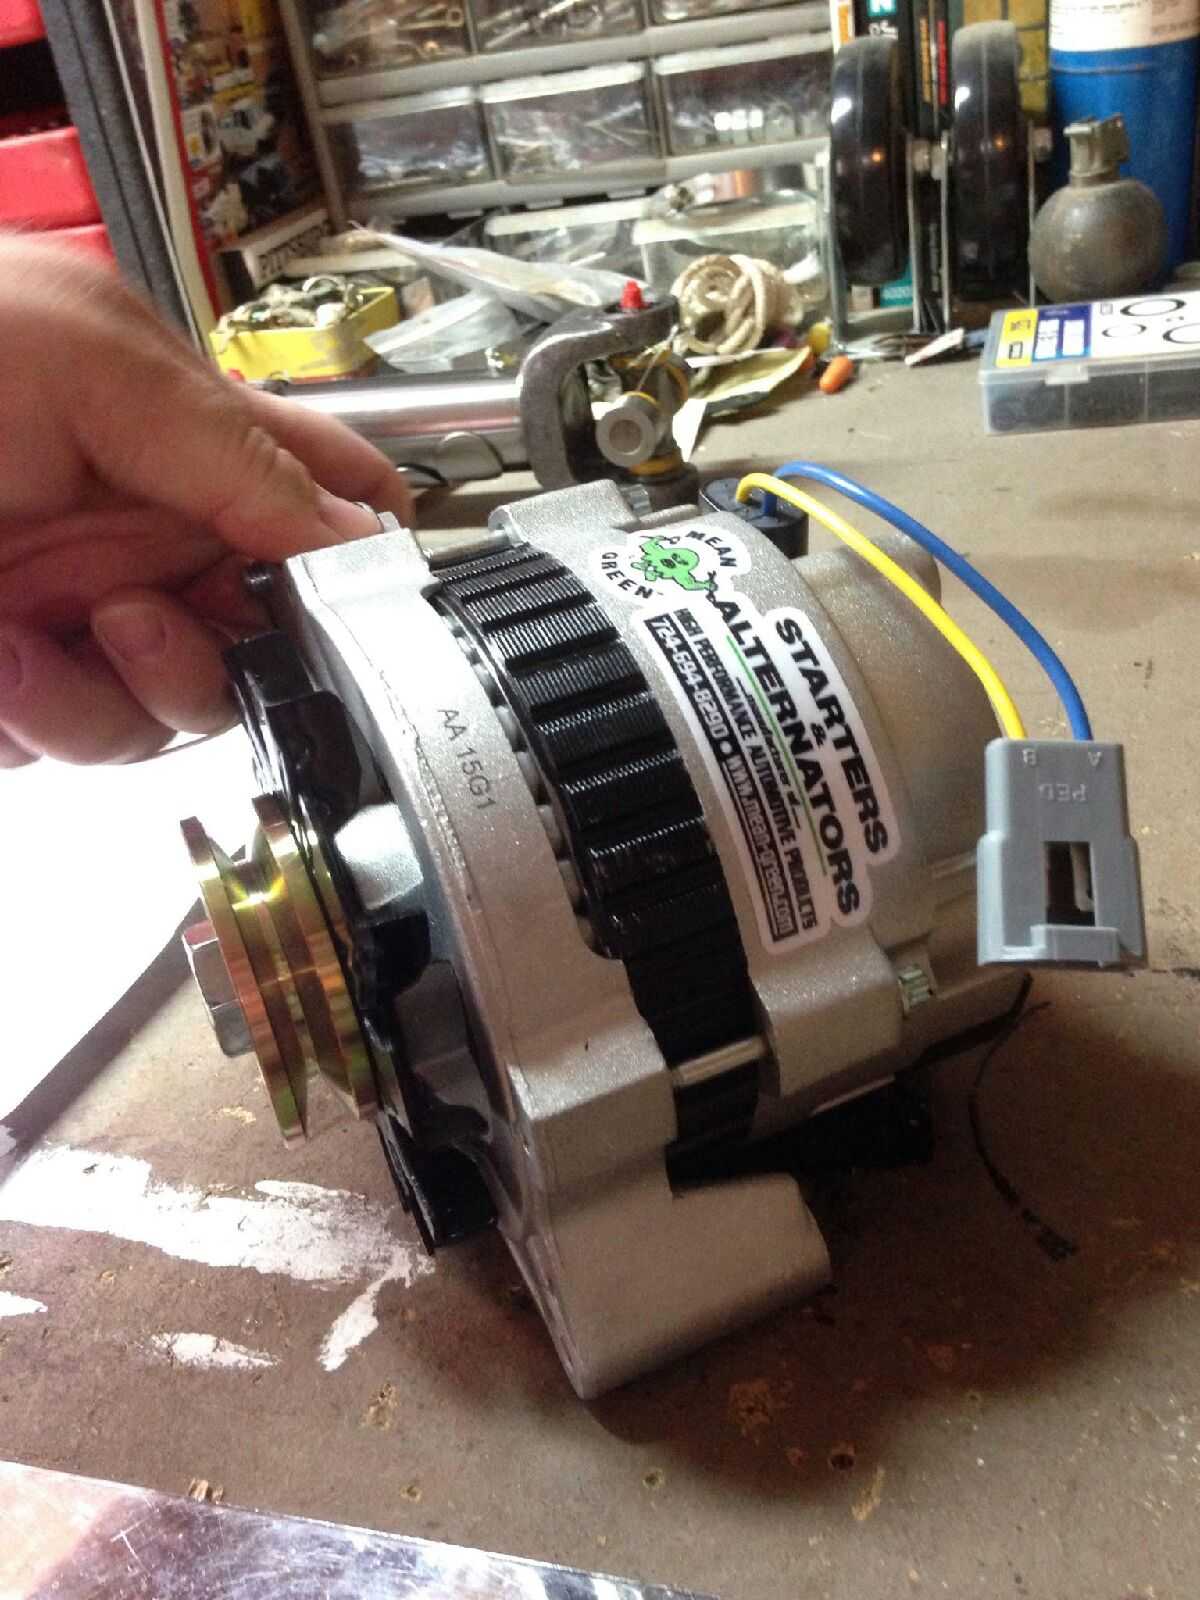
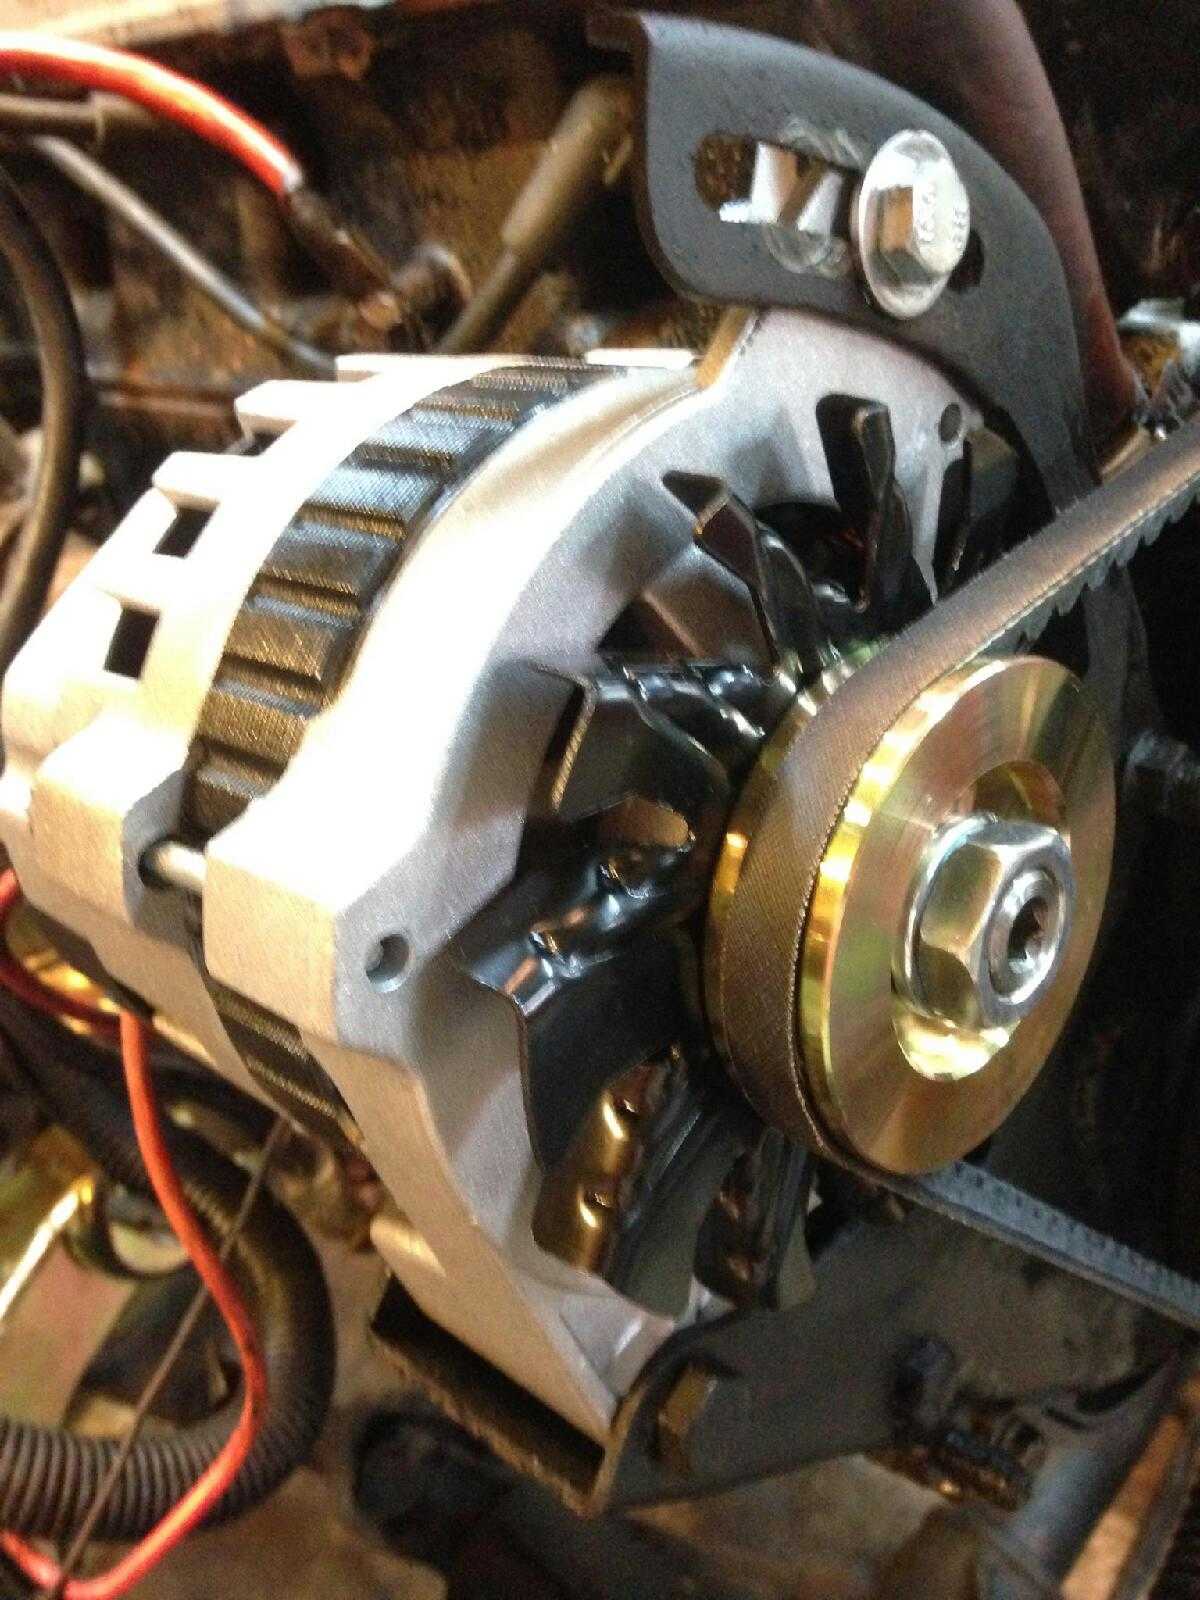
Another quick and easy install with a Mean Green Alternator MG7127. Just 2 bolts, plug in the harness and done in less than 10 minutes with a new V-belt Crown JY013411. This Mean Green Alternator will give me 140 Amps to take care of all my needs, which is more than double it originally had. I will be doing a Mean green starter later in the build also.