Featuring Premium Parts from
Parts Installed
Audio & Electronics
Body & Frame
Bumpers, Towing & Racks
Engine
Interior
Lift Kits & Suspension
Old Man Emu 2945 Rear Heavy Duty Coil Springs
Old Man Emu 60087 Front NitroCharger Sport Shocks
Old Man Emu 60088 Rear NitroCharger Sport Shocks
Lighting
Rigid Industries 40200 Radiance Multi-Trigger Harness
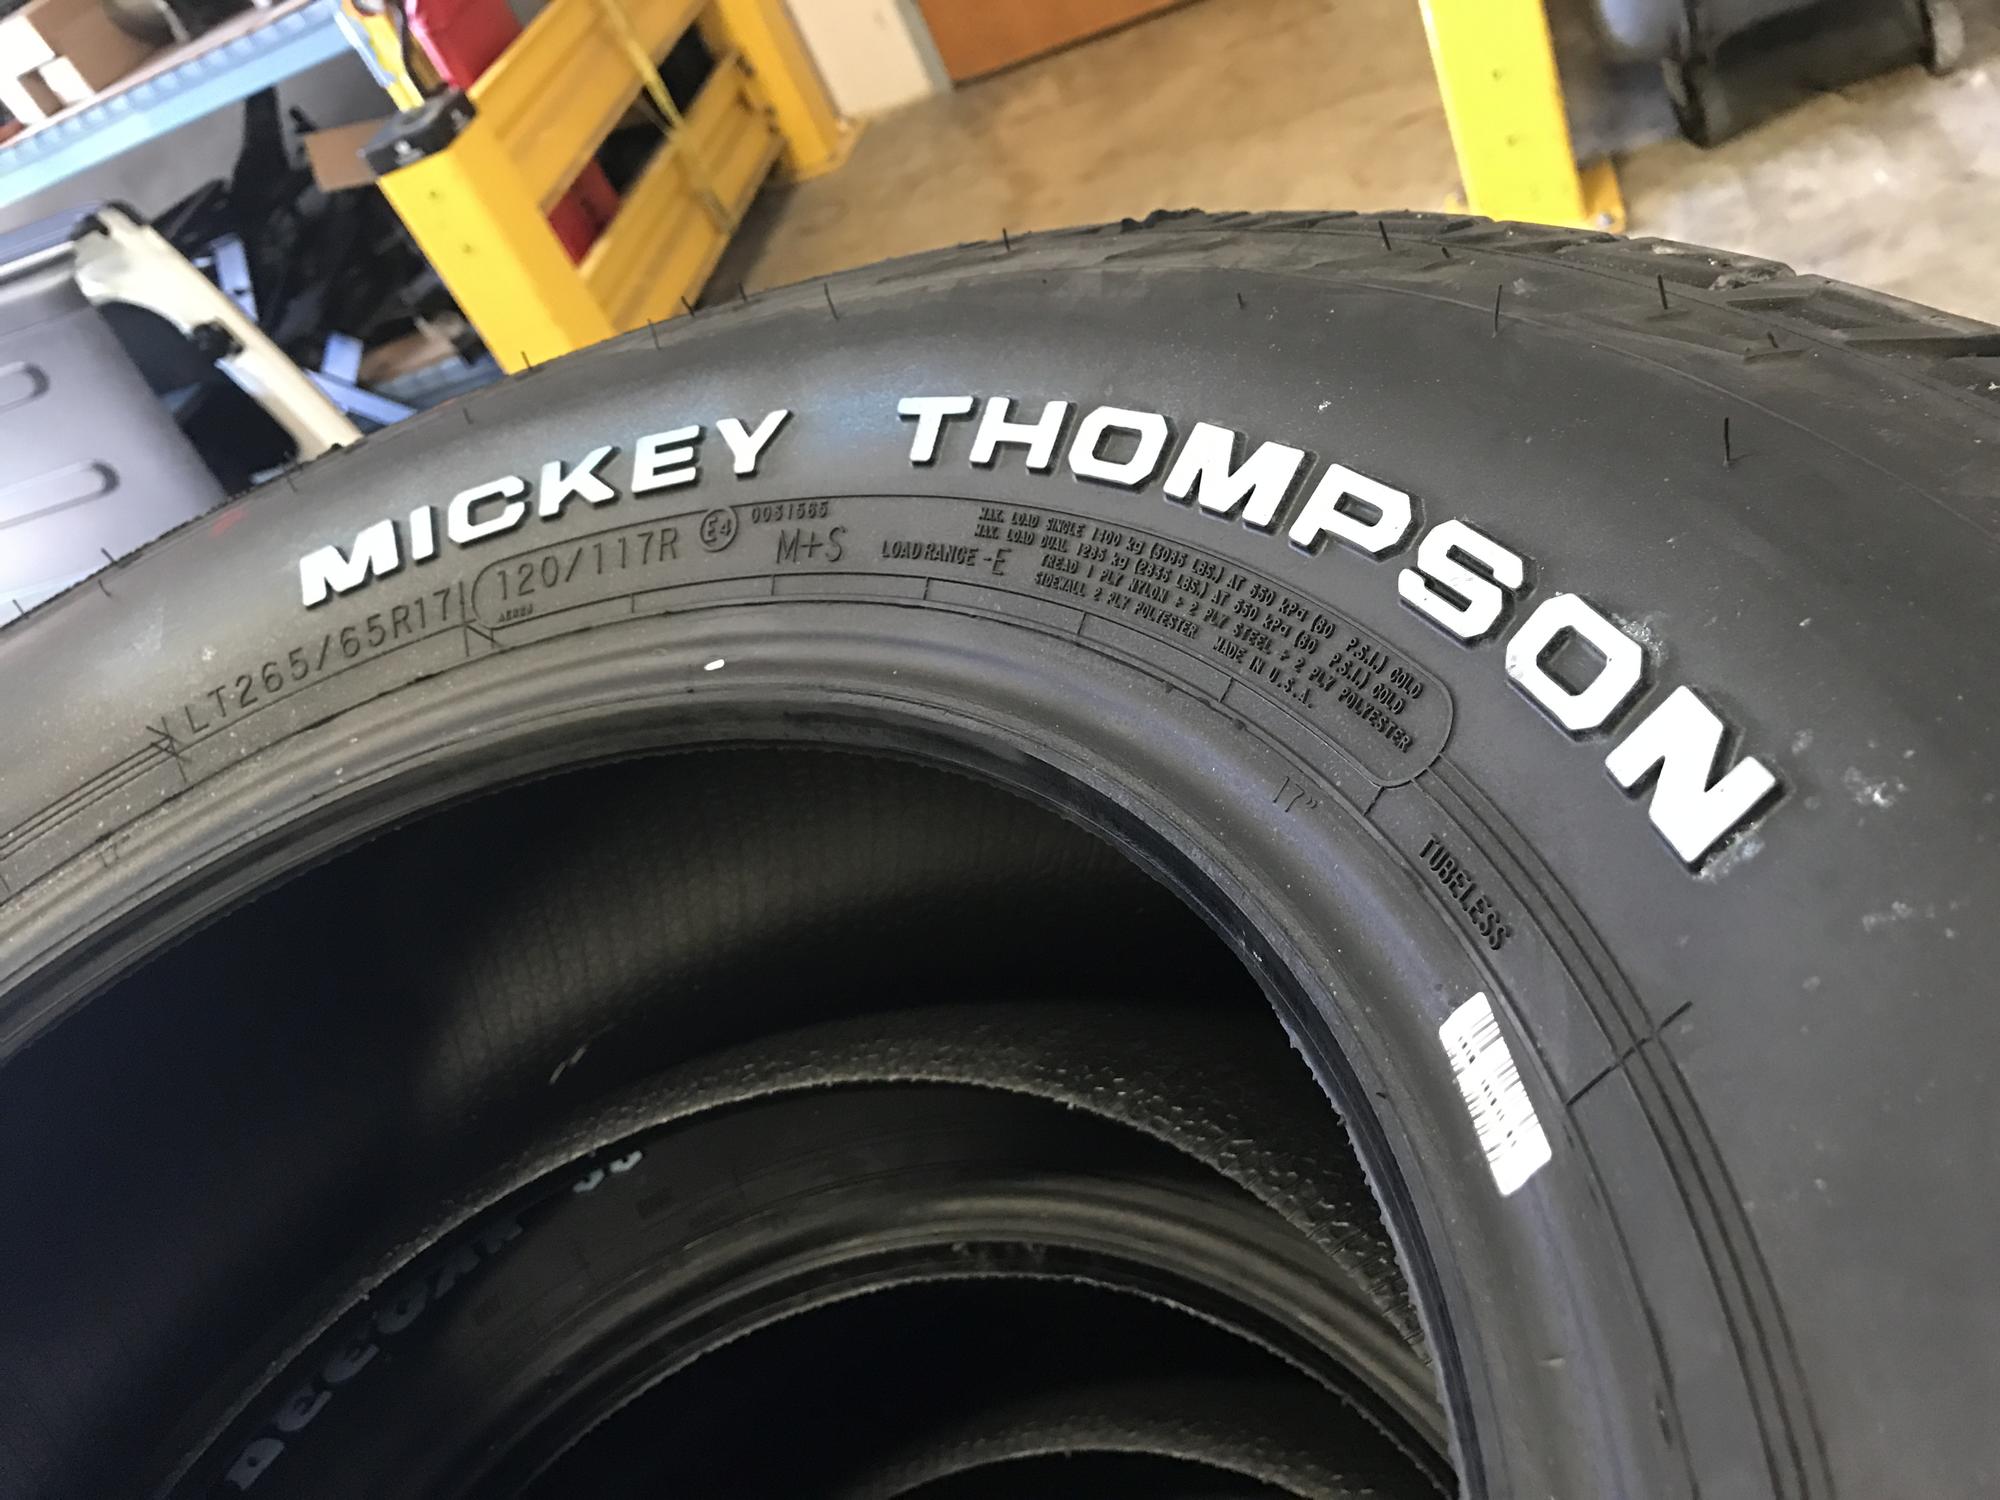
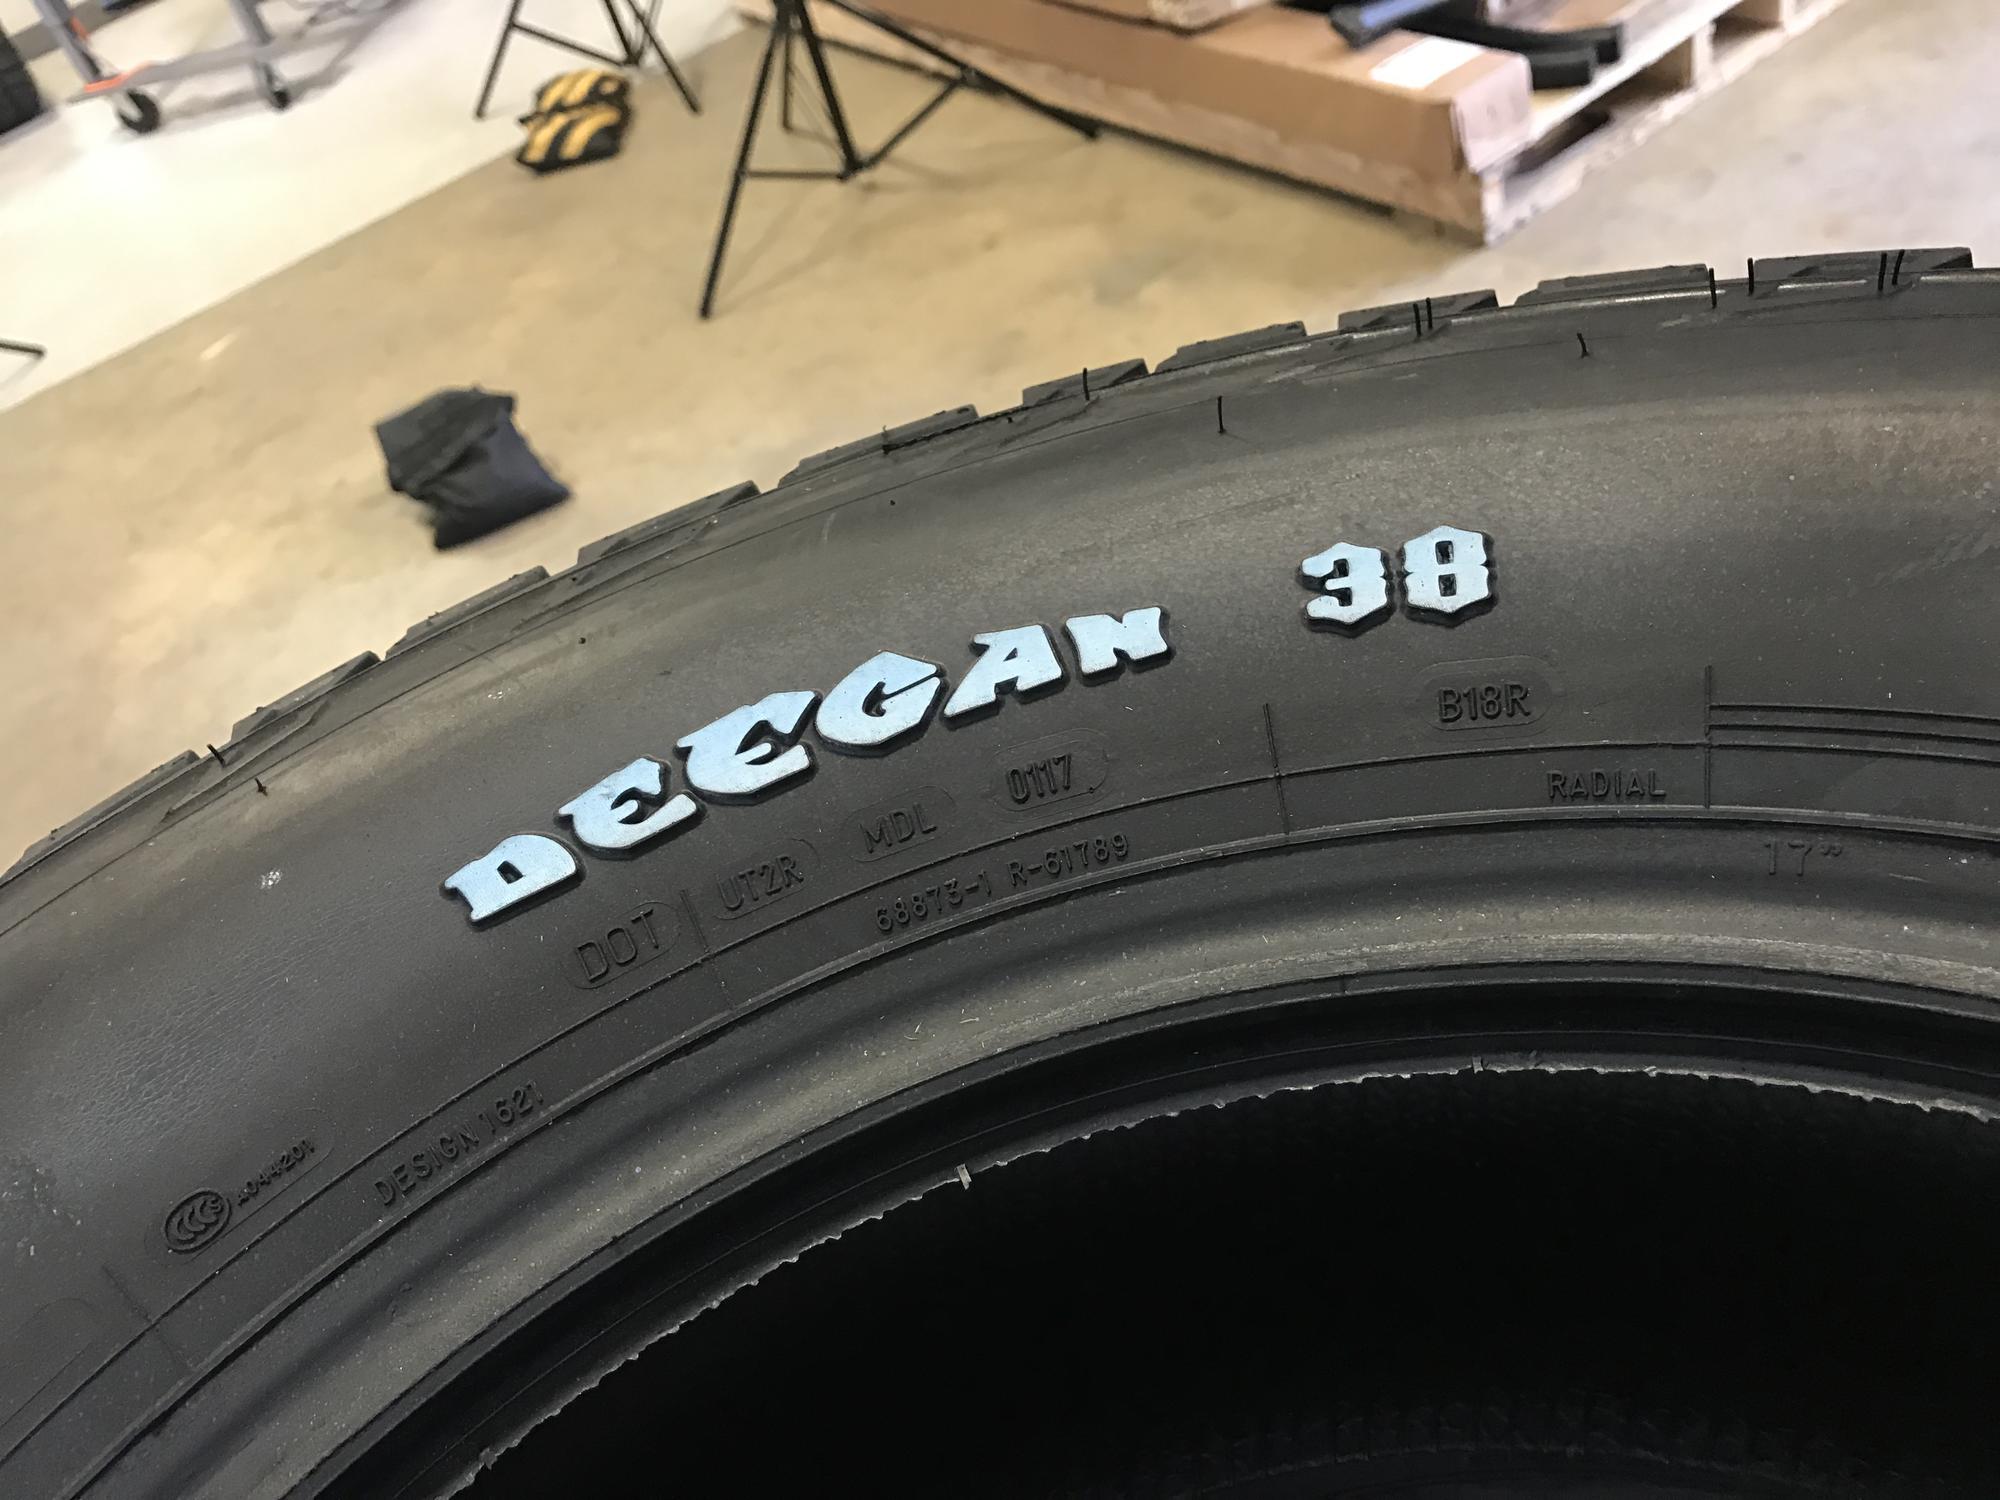
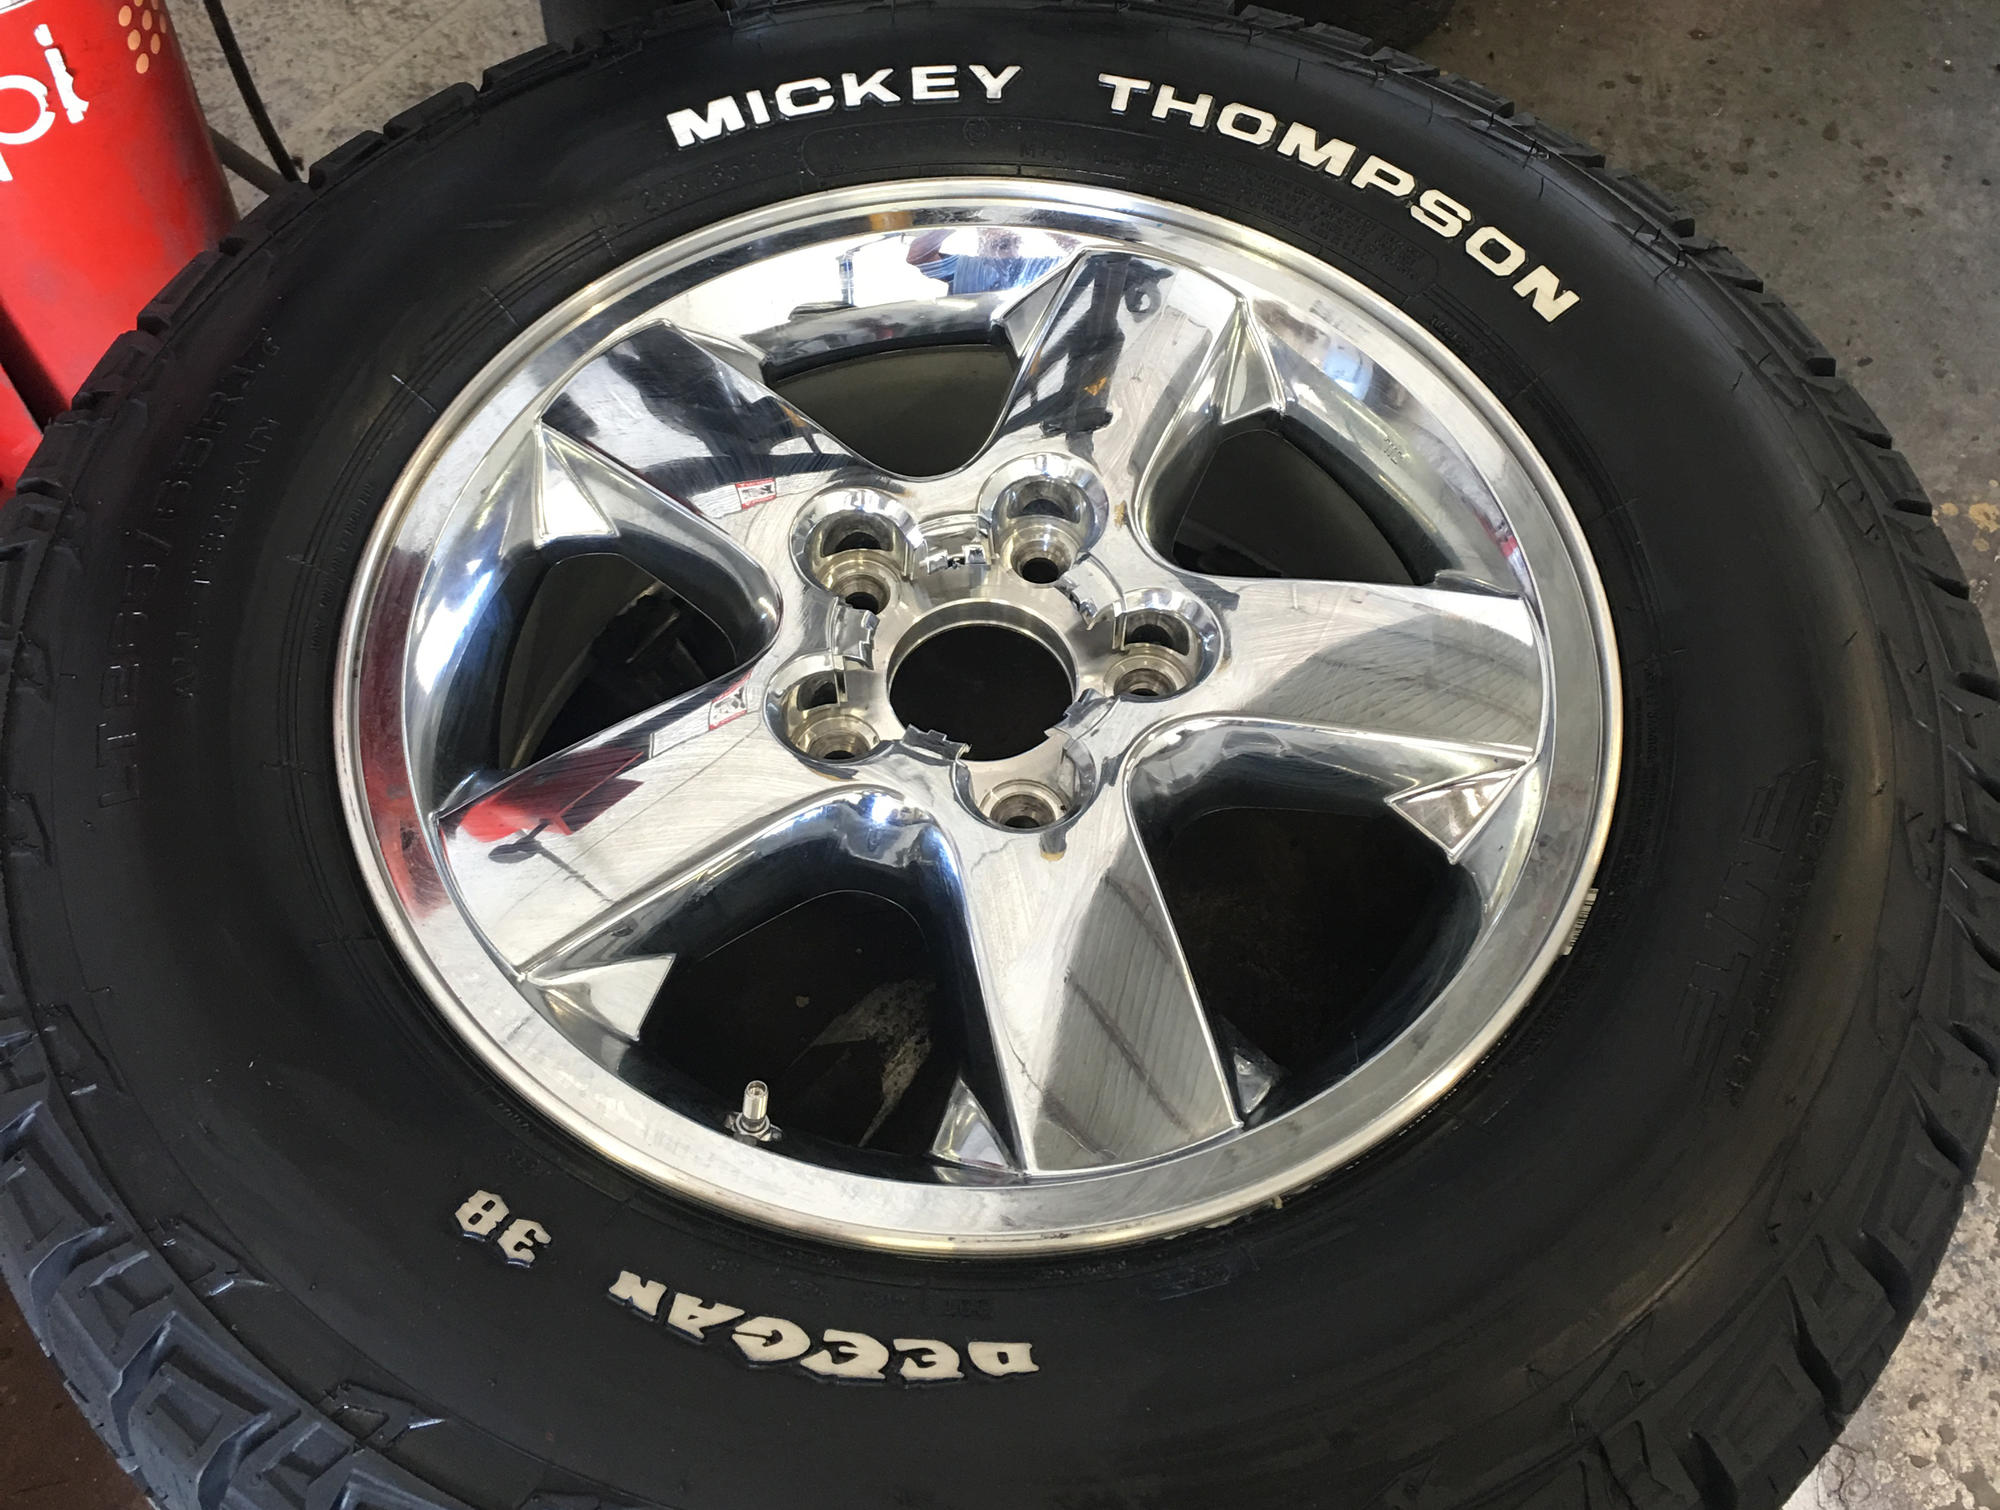
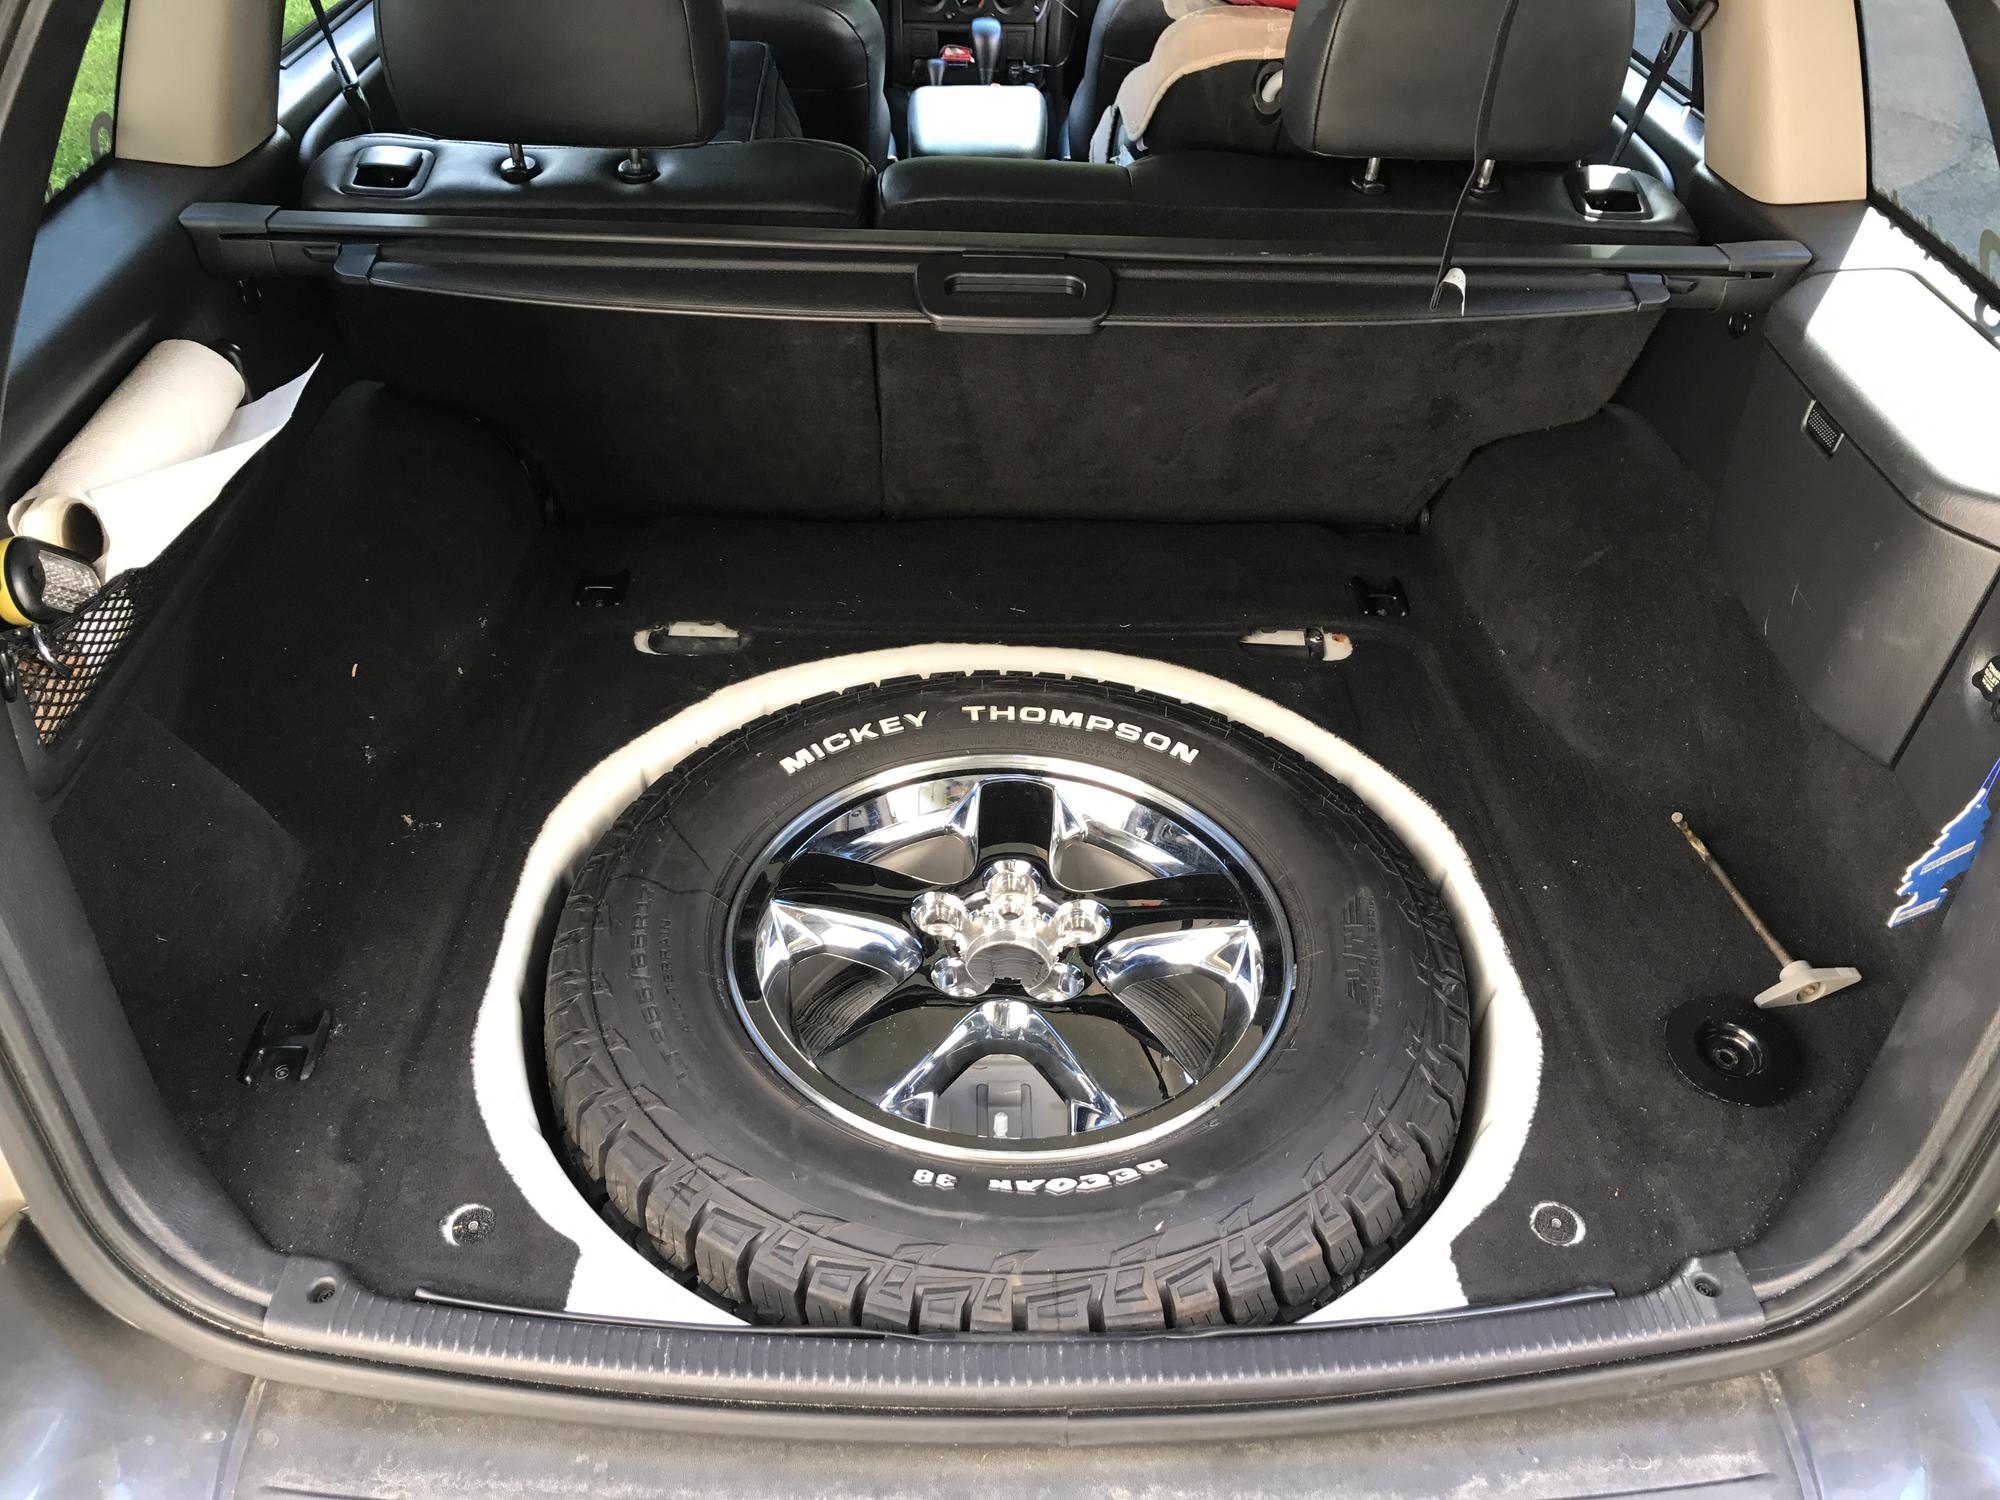
Tires
A few months ago I sold my vehicle that I had been using for my daily driver which left me with my '92 Cherokee, Cherokon (check out more on Cherokon here) to commute back and forth to work. Don't get me wrong, I love my Cherokee. It's a very fun and capable Jeep that has taken me on many great adventures. Driving it to and from work wasn't so bad for a few weeks, but I failed to mention that my commute is about a 35 mile drive each way that takes about an hour and includes everything from winding two-lane roads to a stretch on I-95 through Wilmington. So, it didn't take too long before I was on the hunt for something a bit more refined and comfortable for everyday use.
Off to the internet I went. I scoured Craigslist and AutoTrader for a few weeks. Went back and forth about just what kind of car, truck or Jeep would be the best fit. I had a check list of features I wanted and capabilities that my new vehicle would have to be up to the task of completing. Comfort was high on the list. Automatic. Leather seats, preferable, but not a deal breaker. It had to have enough room for the family and all our stuff, and had to be able to tow the boat, a 21' Wellcraft bowrider (approx. 3,500lbs), in the summertime. And it still had to be fun to drive. Oh yeah, and my budget I gave myself was $5,000!
Given the budget, I was willing for the mileage to be a little on the high side, but still wanted to find something nice. Being able to tow about 5,000lbs. ruled out a car. I found myself looking at Toyota Tacomas and 4 Runners. I have some friends with Tacomas and they love them and I've always had and interest in them as well. I was also looking at Grand Cherokees, both the WJ and the WK. My girlfriend has a '04 WJ Overland... which I love driving. It's comfortable, can tow the boat, has leather, AWD, and it's fun to drive thanks to the High Output 4.7 V8! While it may seem I little silly to have two Grand Cherokees in the family, I'd be lying if I didn't say that I was a little jealous that I didn't get to drive the WJ everyday. So that settled it. I focused my search on 2004 Grand Cherokee.
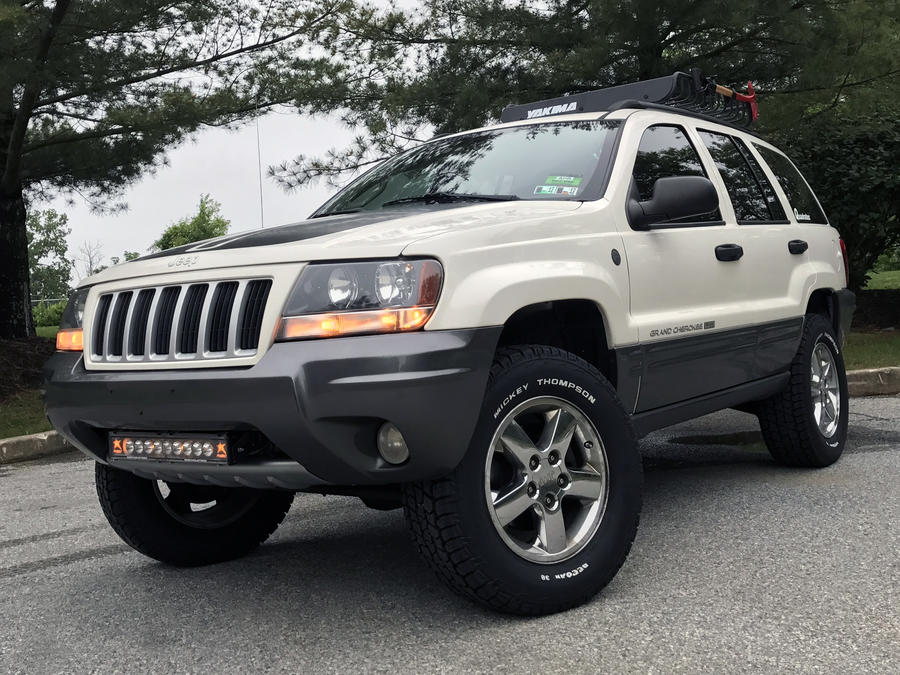
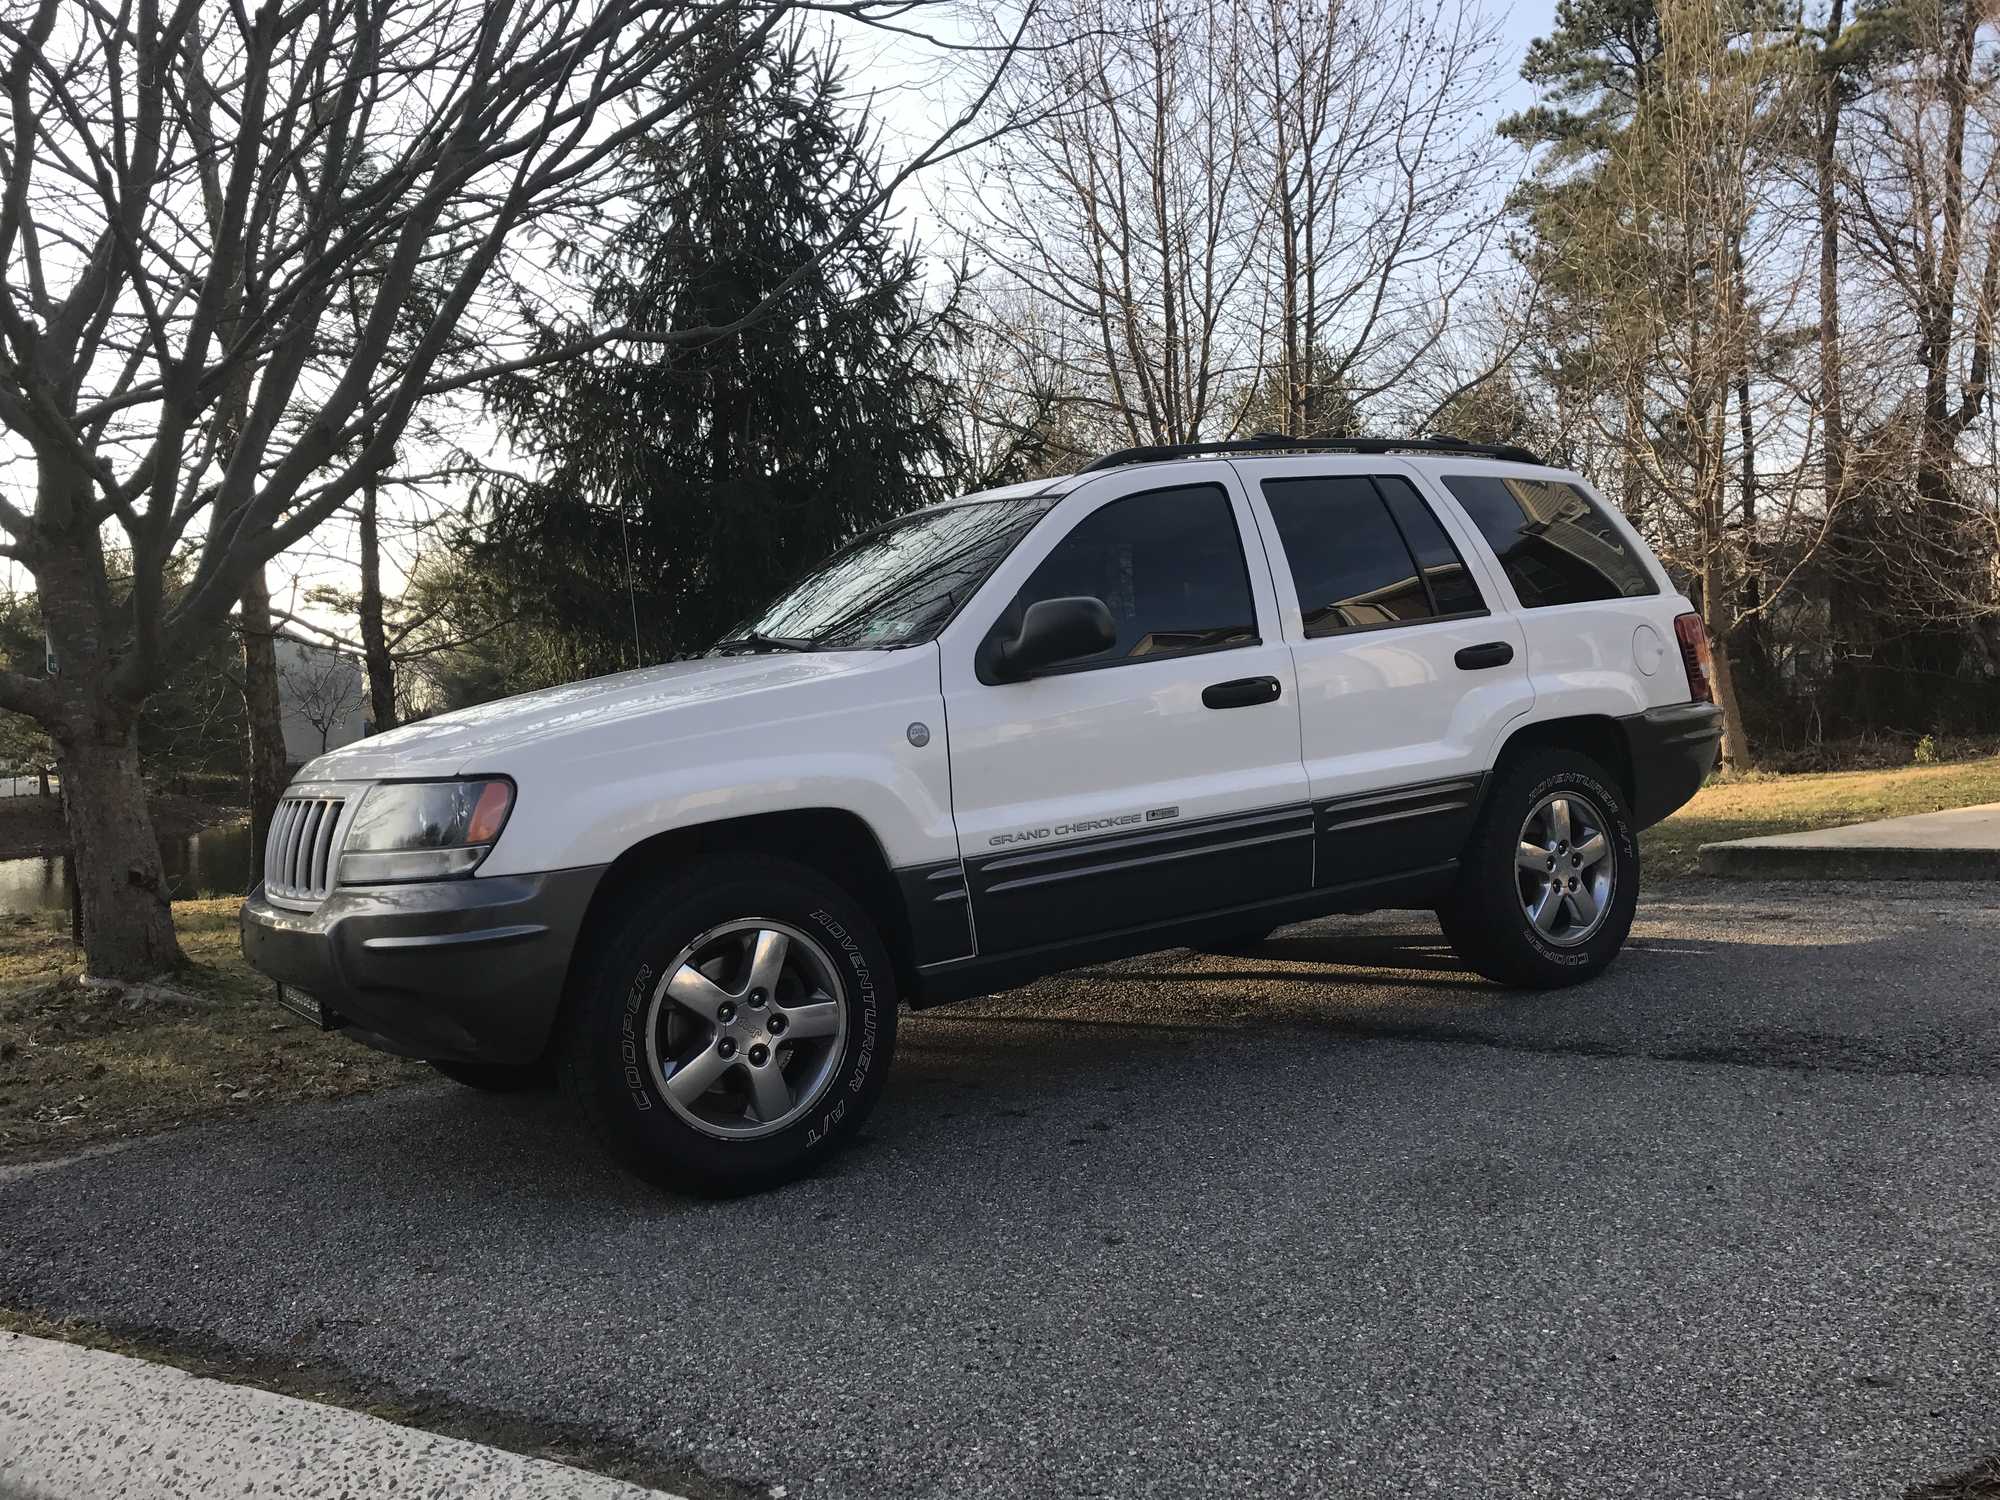
I was specifically looking for an '04 model year, as they are known to be the best of the 99-04 build range for the WJ. I really like the updated look of the '04 vs. the earlier years, both the exterior styling and the interior seating. I was also focusing on Limited and Overland models, basically because I knew they would include all the features that I really liked, leather, etc, but also because they had all painted body cladding and tend to look better over time than the black plastic trim on the Laredo models that commonly fades over time. I also knew I wanted the V8 in place of the 4.0L straight six. While the six is a great motor, I have over 200,000 miles on the 4.0L in my XJ, I wanted the extra power provided by the 4.7L for towing the boat. I found a few promising Grands for sale, but none had really "checked all the boxes" as they say. Until I stumbled on a pristine Columbia Edition!
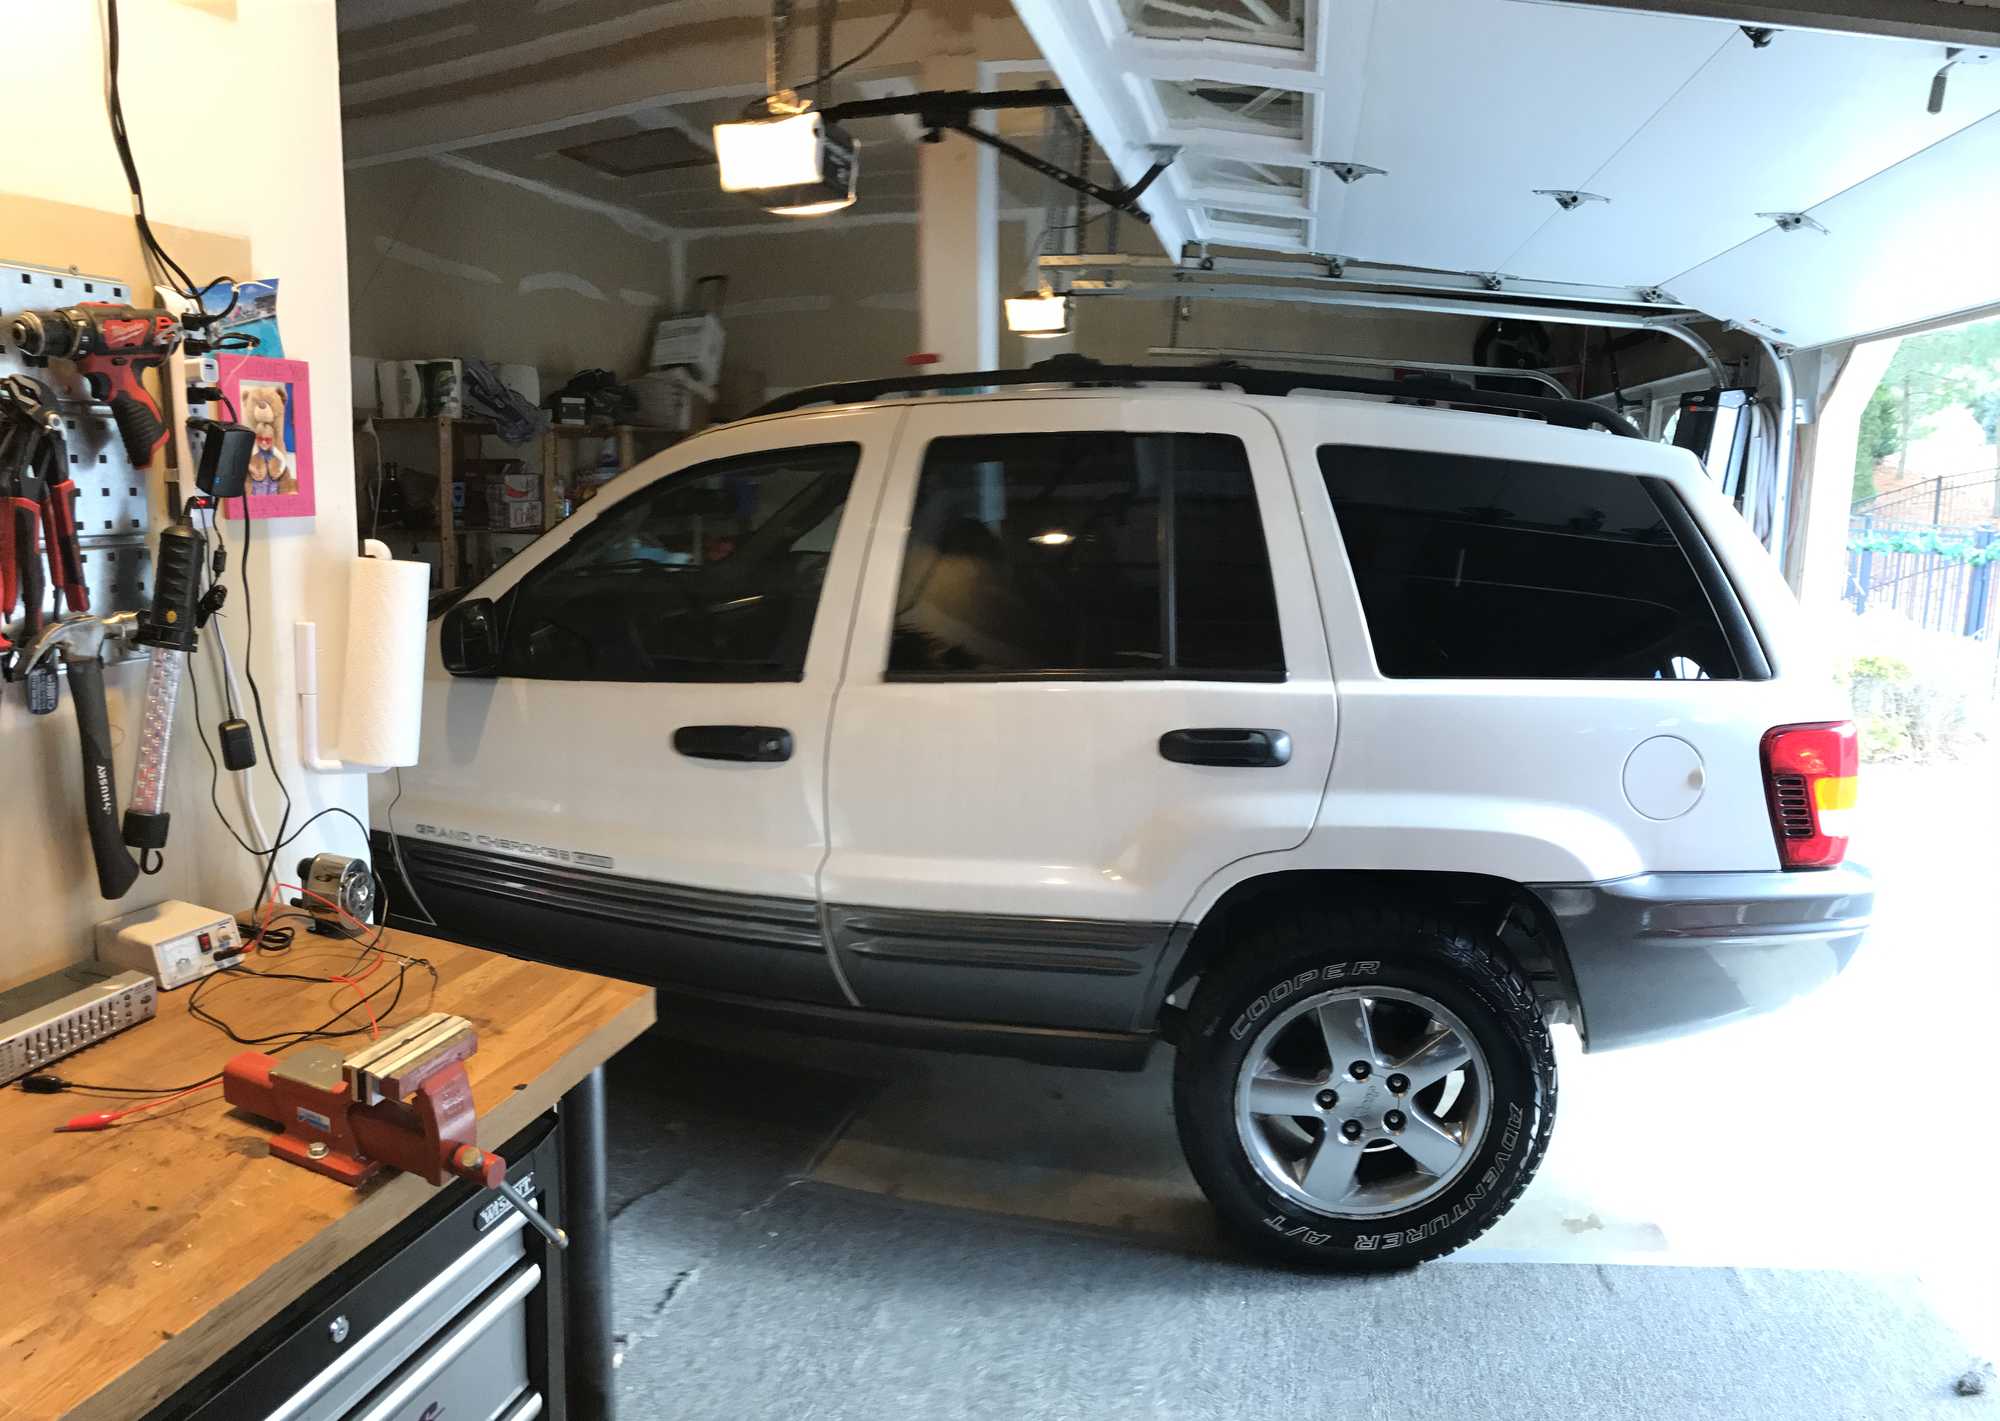
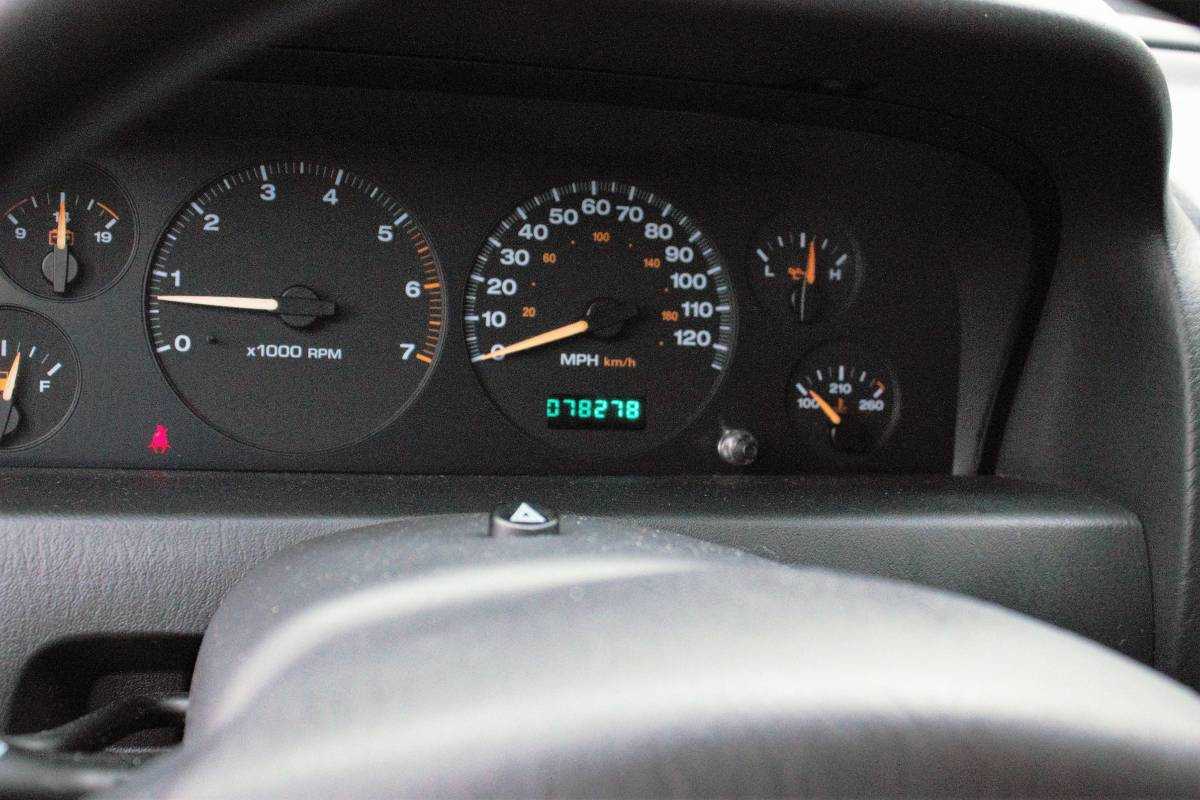
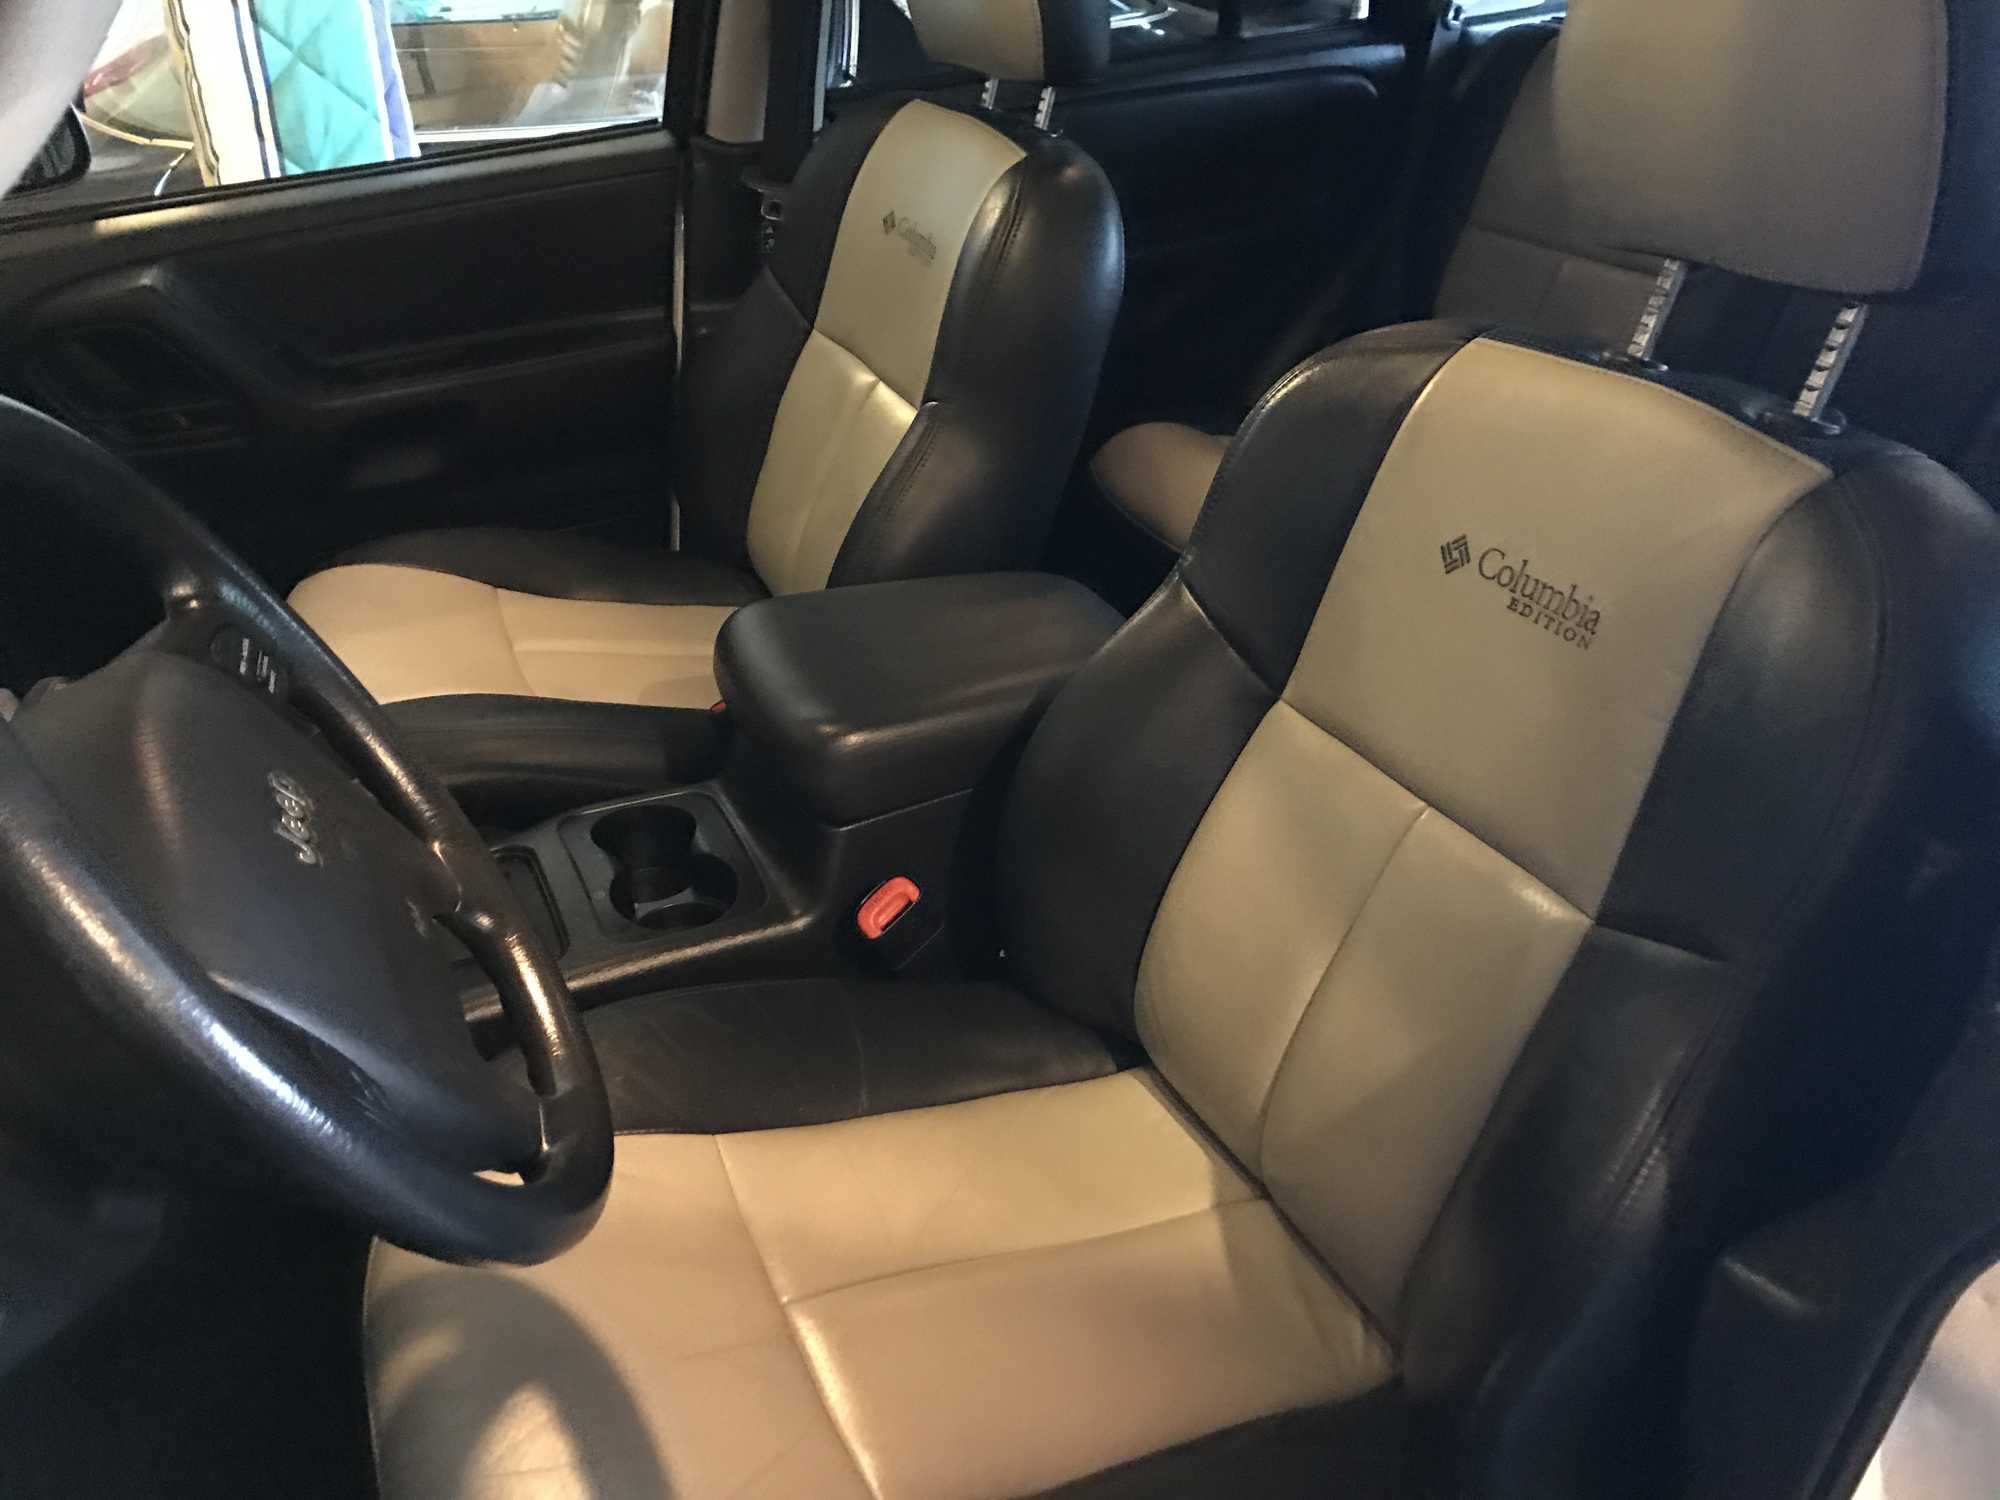
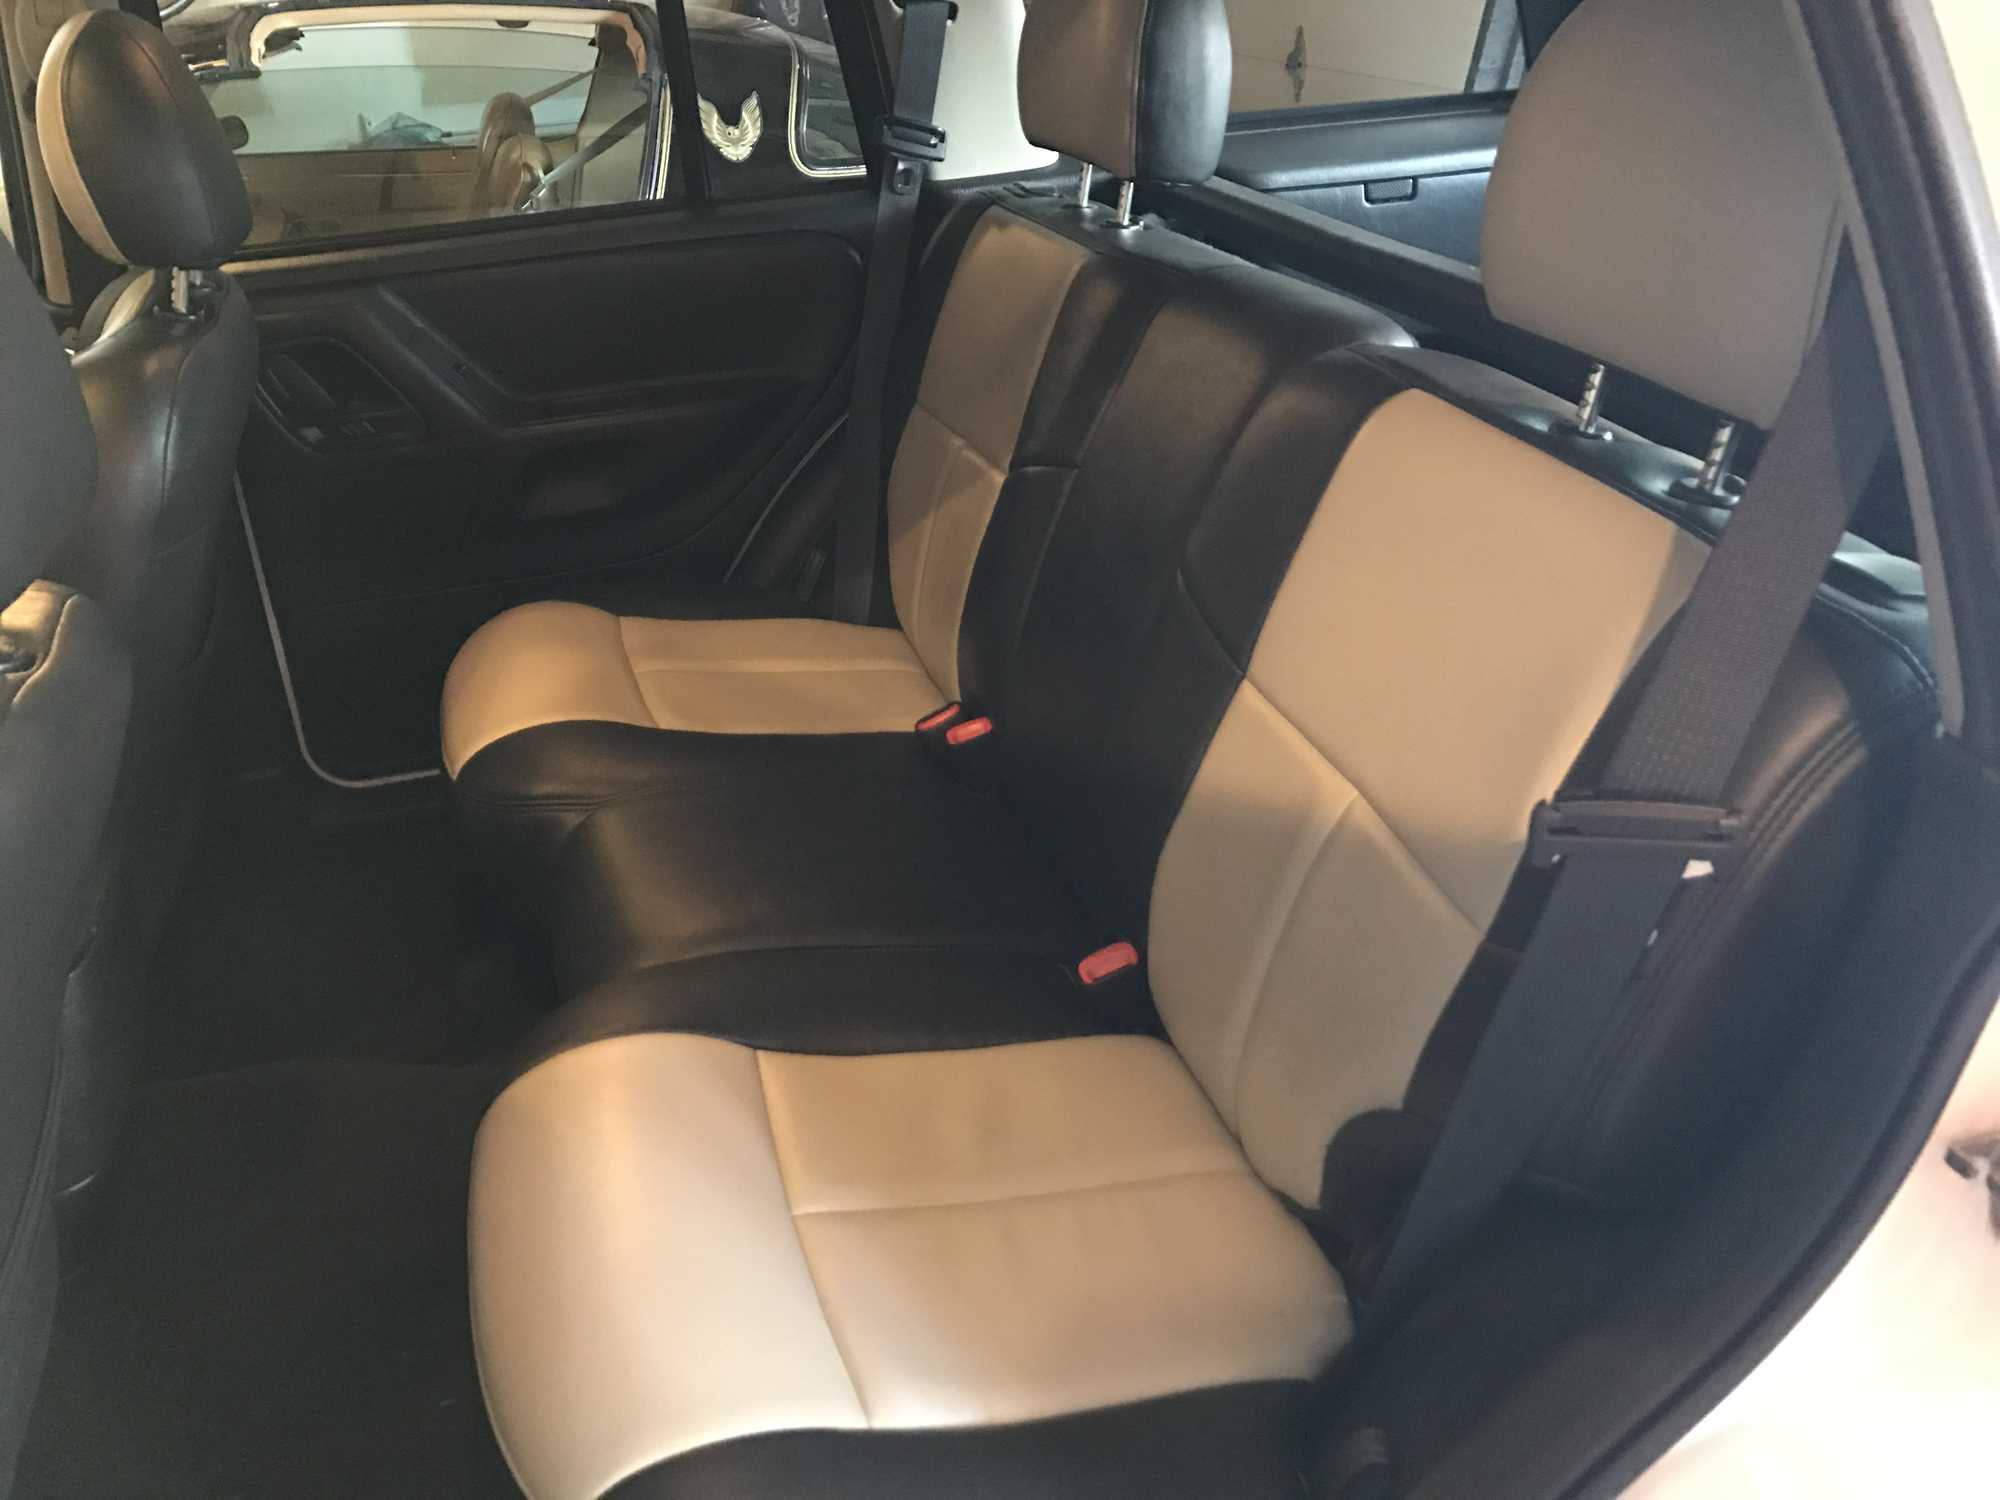
This Grand literally met every requirement I had. It had been garage kept, and was in beautiful condition. It had less than 80,000 miles on it, and had been optioned with the High Output 4.7L V8, Towing package, 44 rear with 3.73 gears, and it even had leather seats! Now, Columbia Editions were never available in leather, so this was a bit of a mystery. The seats were the appropriate color scheme and even had the embroidered Columbia Edition logo. Even the seller had done a little research, but had never seen another Columbia with leather. After a bit of investigation, we found a small logo on the map pocket on the back of the driver and passenger seat that read Classic Soft Trim. Best guess is the original owner, either through the dealer or shortly after purchase, had the Columbia Edition seats copied in Leather and had the seats re-upholstered. I loved the two-tone look of the Columbia and the fact that the bumpers and side cladding were PAINTED a deep gunmetal silver instead of being un-painted plastic.
Even though I ended up just a bit over budget... I couldn't be happier with my latest Jeep! There are a few things I'd like to add that weren't originally an option on the Columbia Edition (which was basically a highly optioned Laredo), but overall the plan is to keep it very "daily-driveable" and comfortable, with a few improvements to make it a bit more capable.

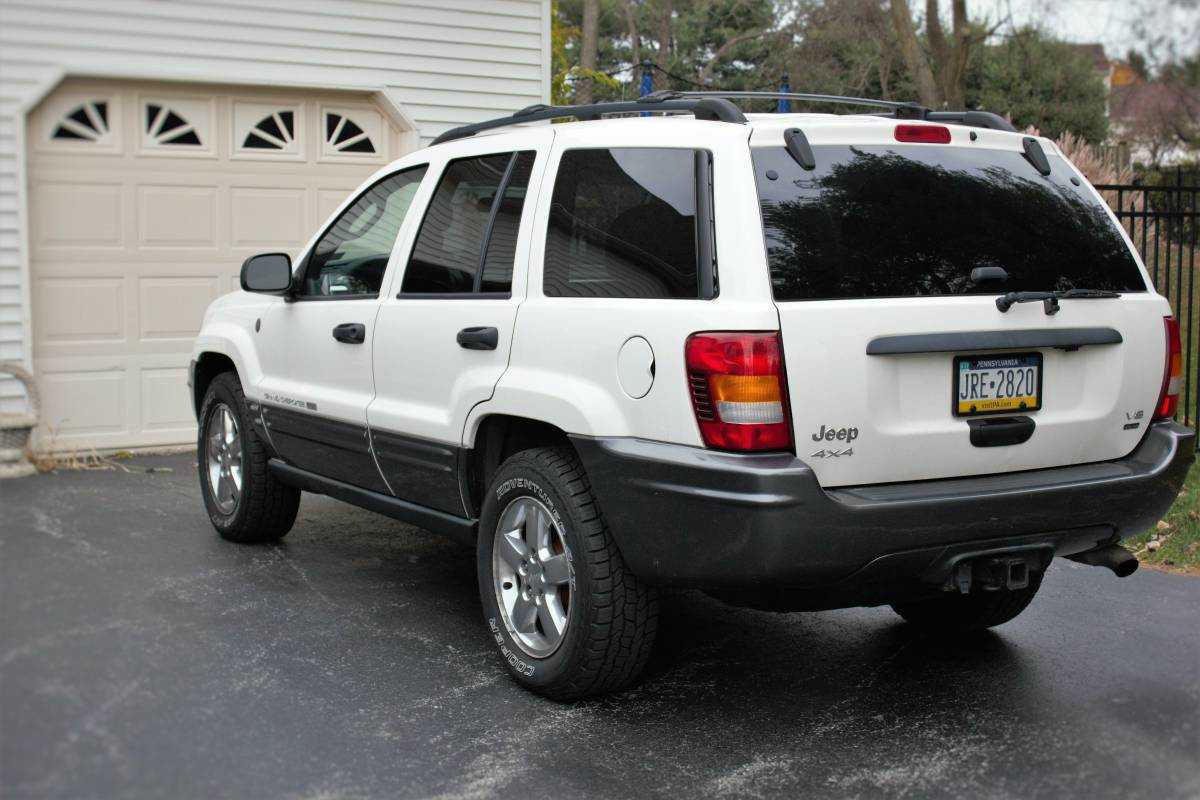
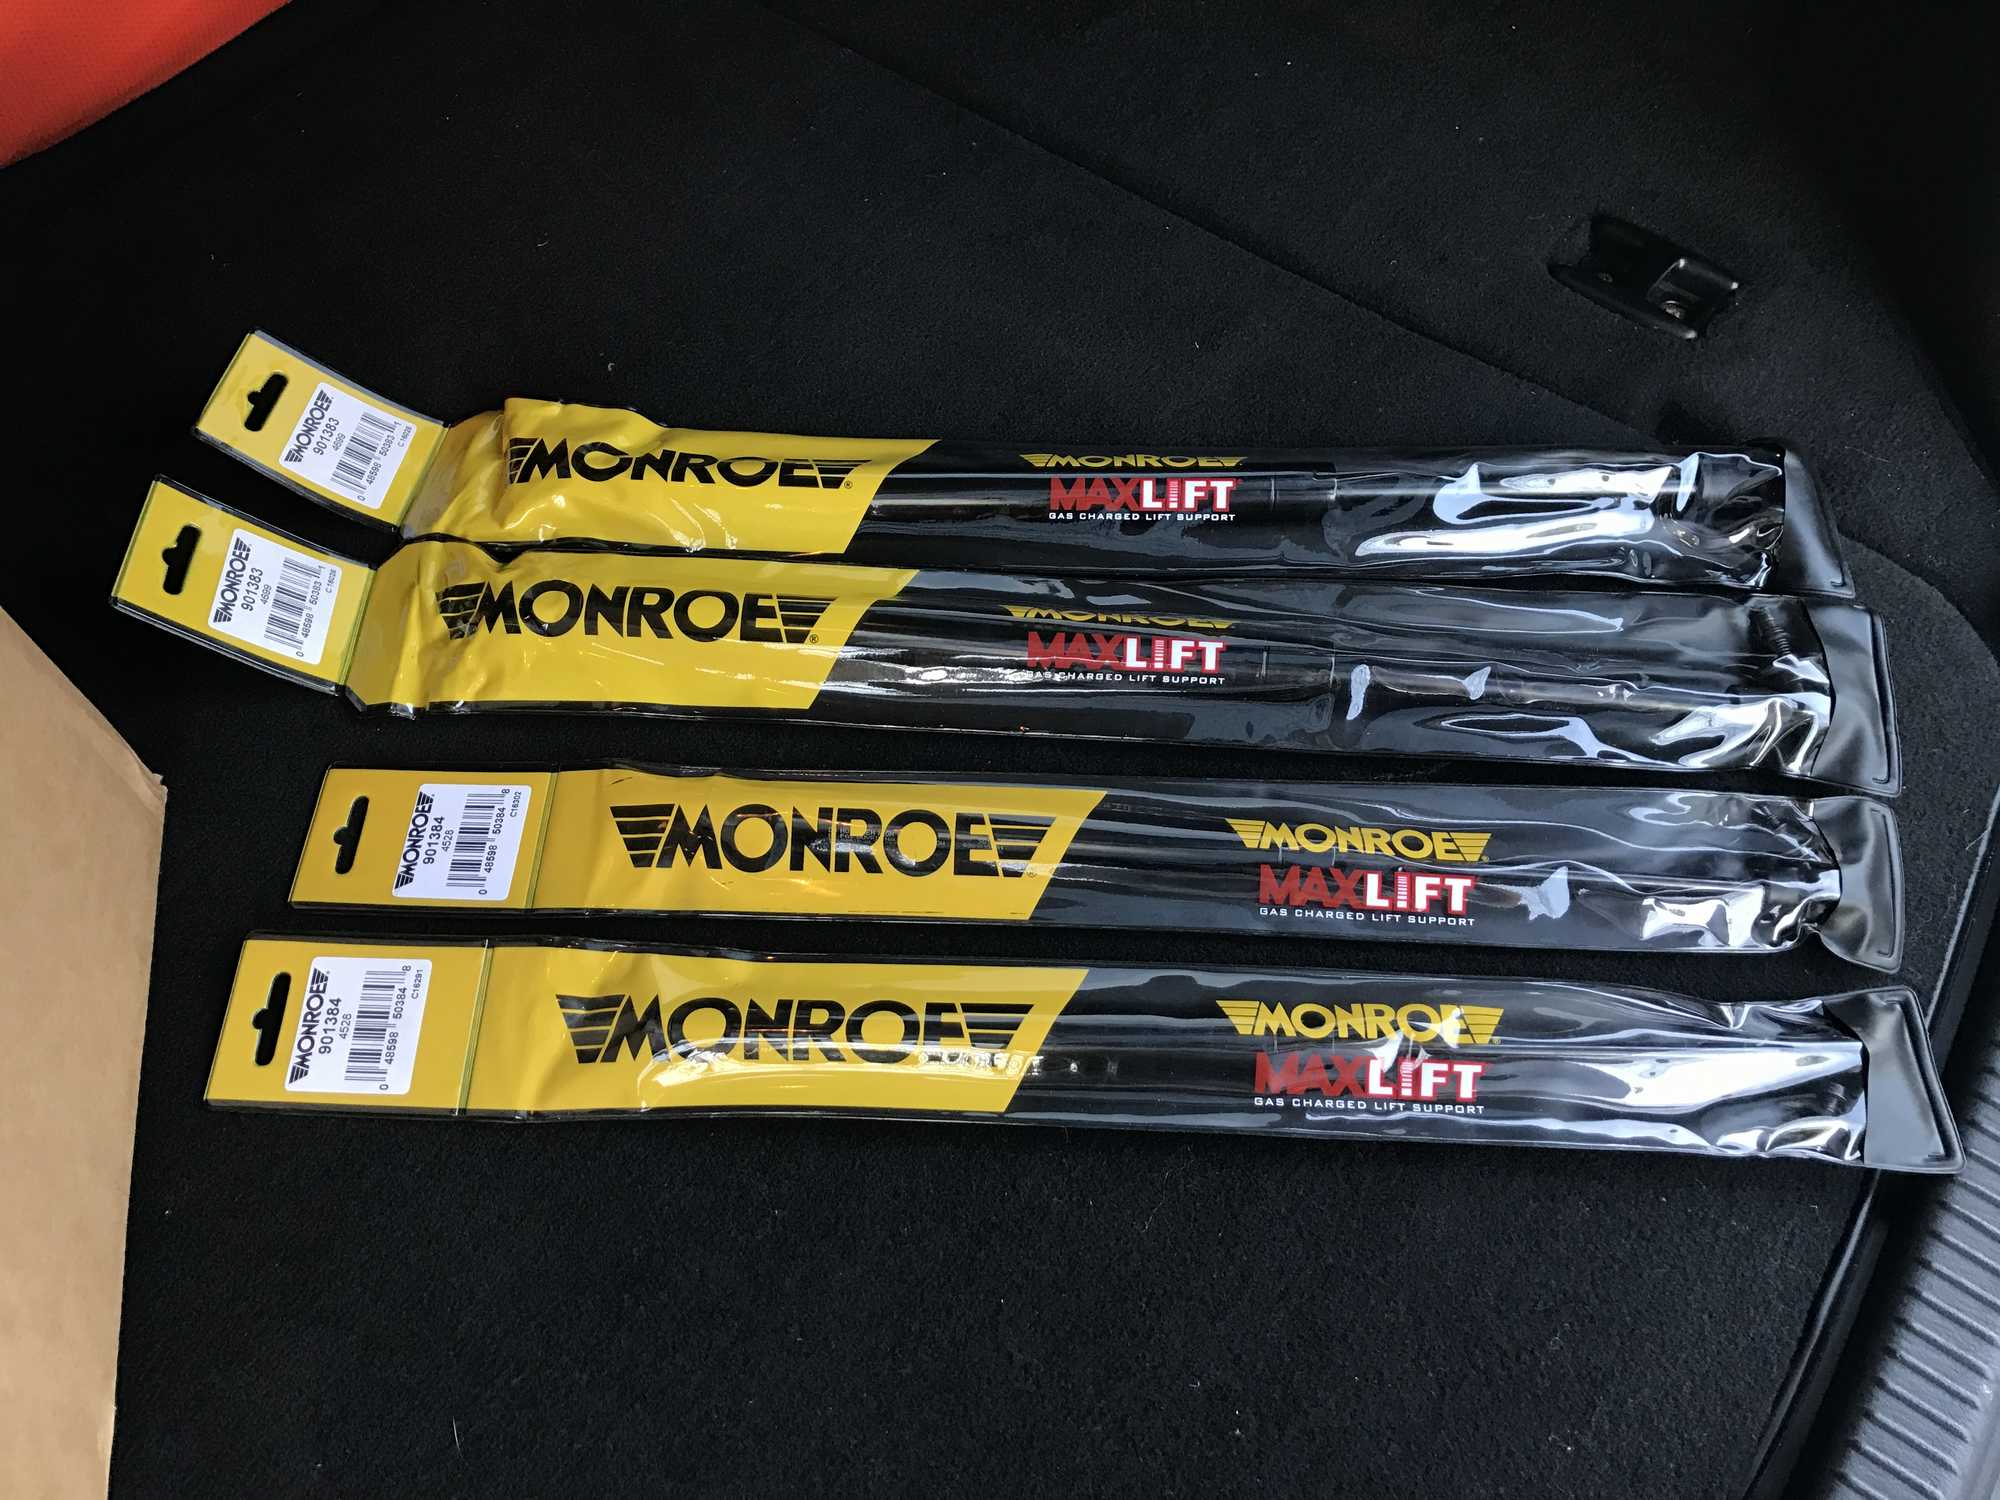
The first project for the new Grand is to knock out a couple quick routine maintenance tasks and repairs. Namely a quick oil change is in order, along with replacing the worn out lift gate and lift glass gas struts on the back of the WJ. The hatch struts aren't completely shot, they will keep the hatch open but they won't lift the hatch under their own power. The glass struts on the other hand are completely blown out. And the pivot points on the struts are rusted so badly that the hatch binds when opening. And the Jeep has been cranking a little slow during startup, so a new battery is probably on the docket as well.
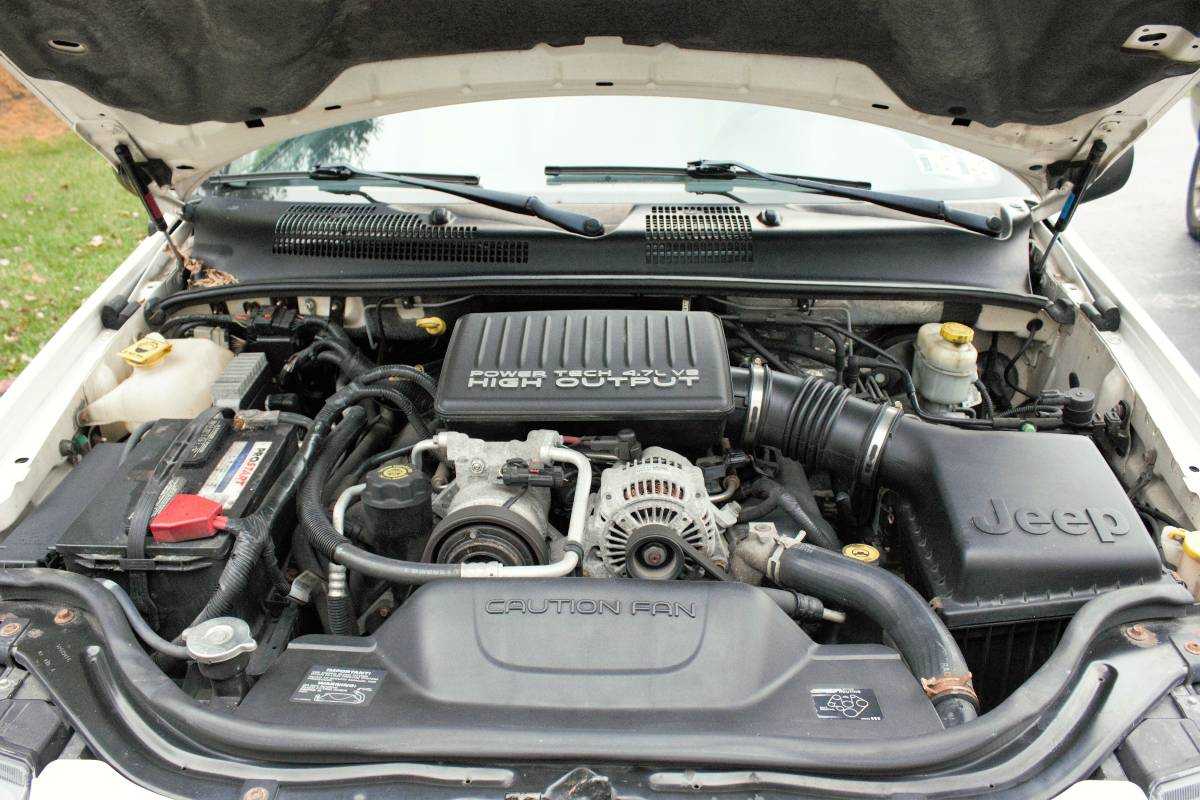
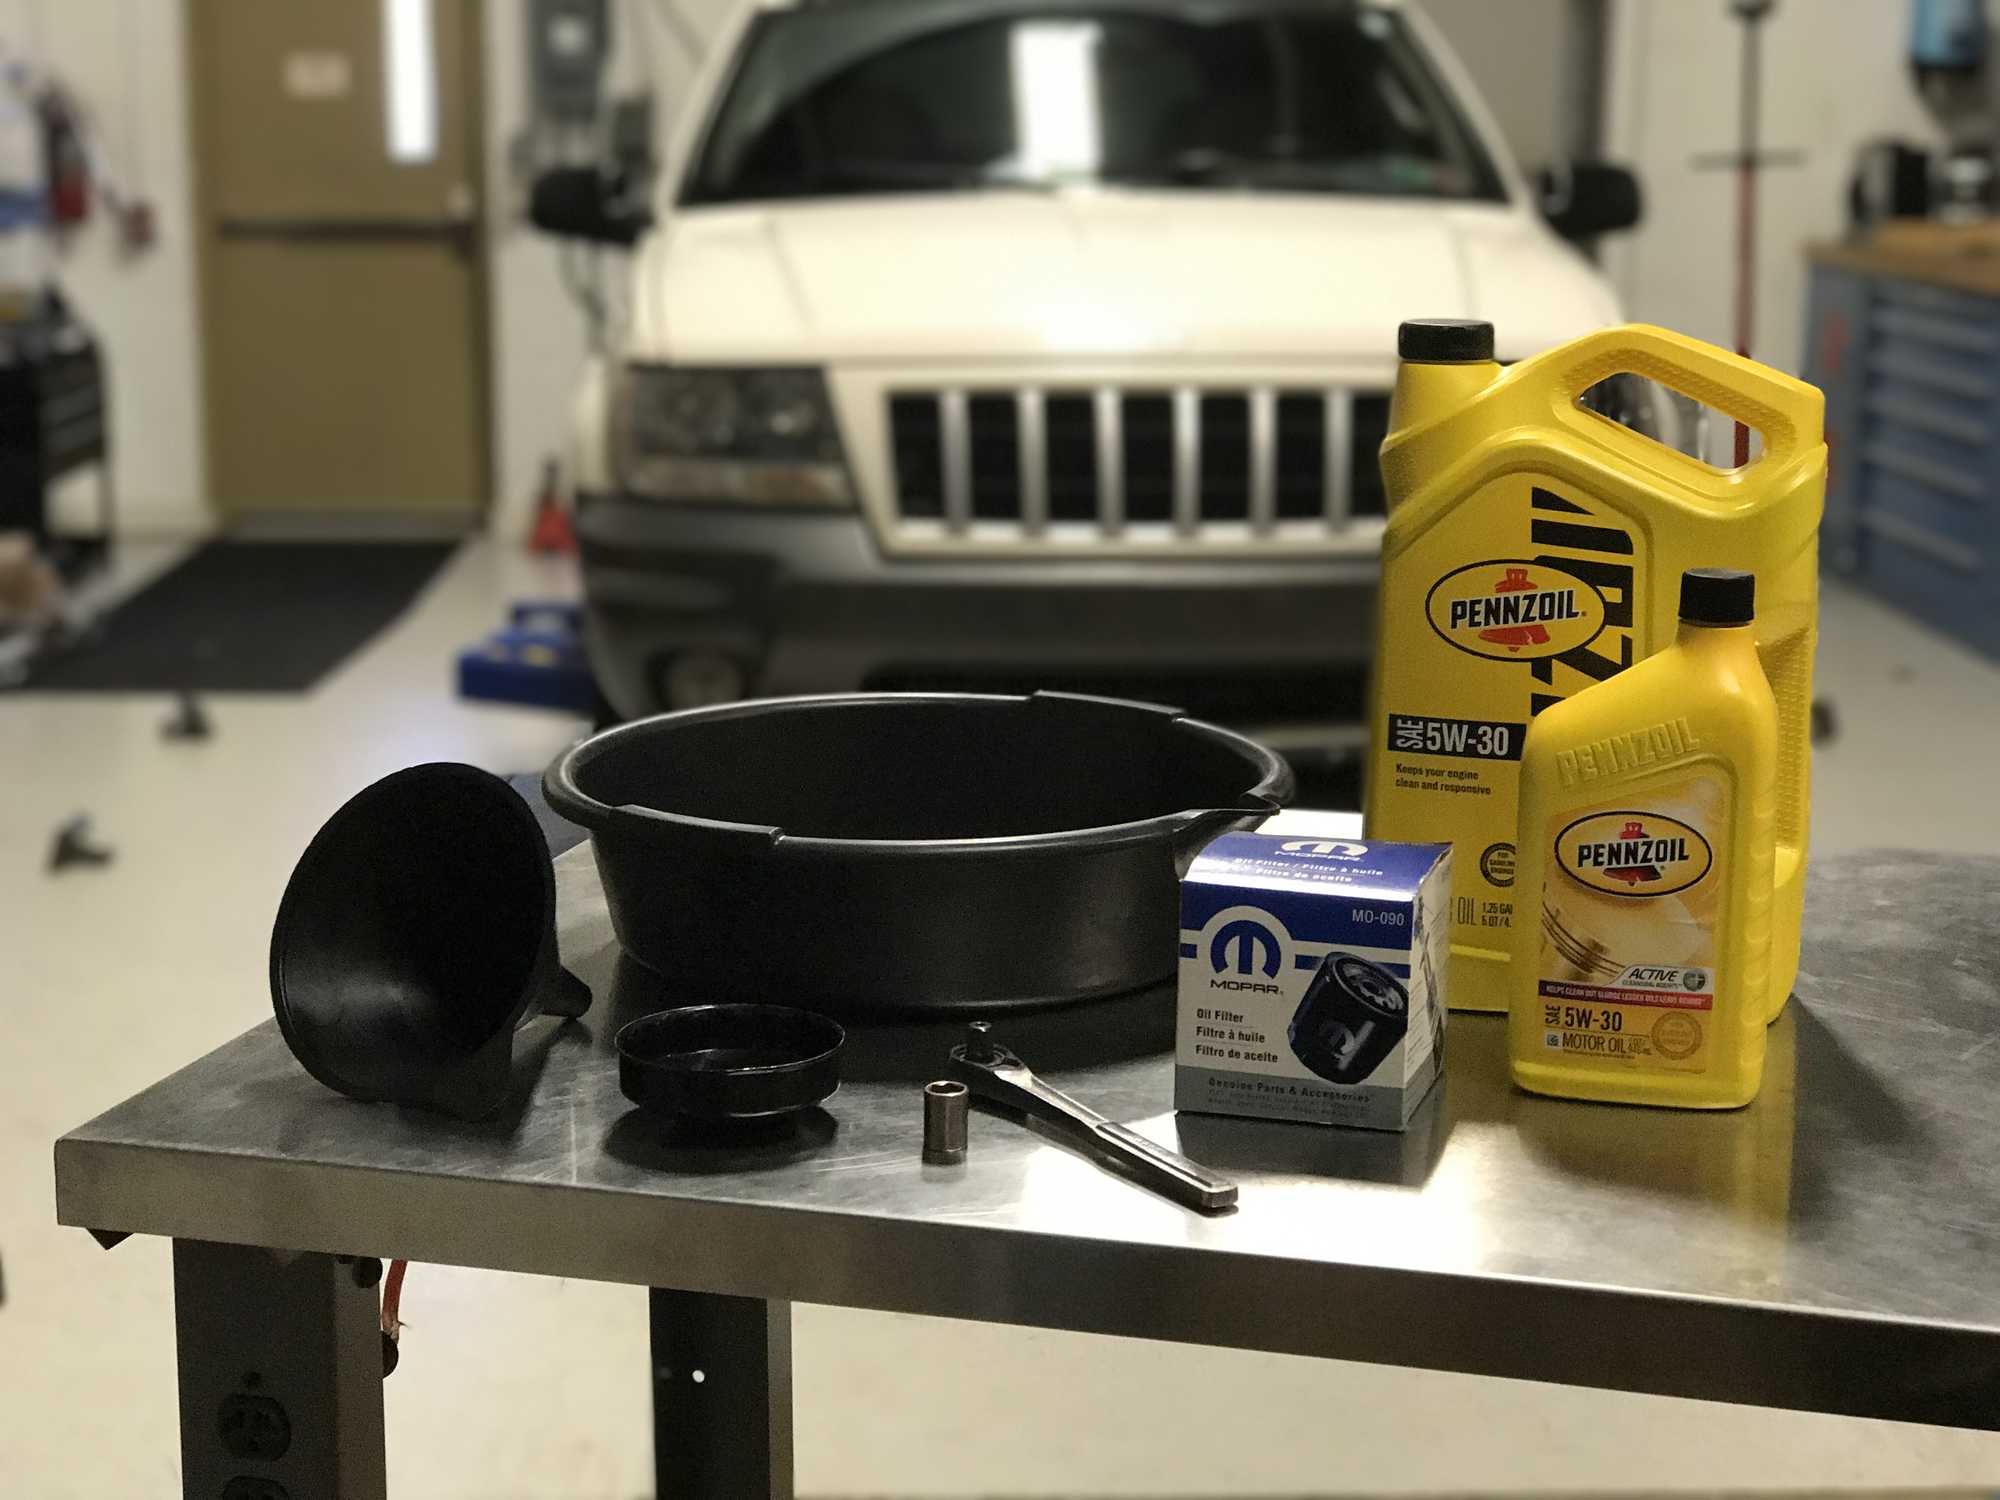
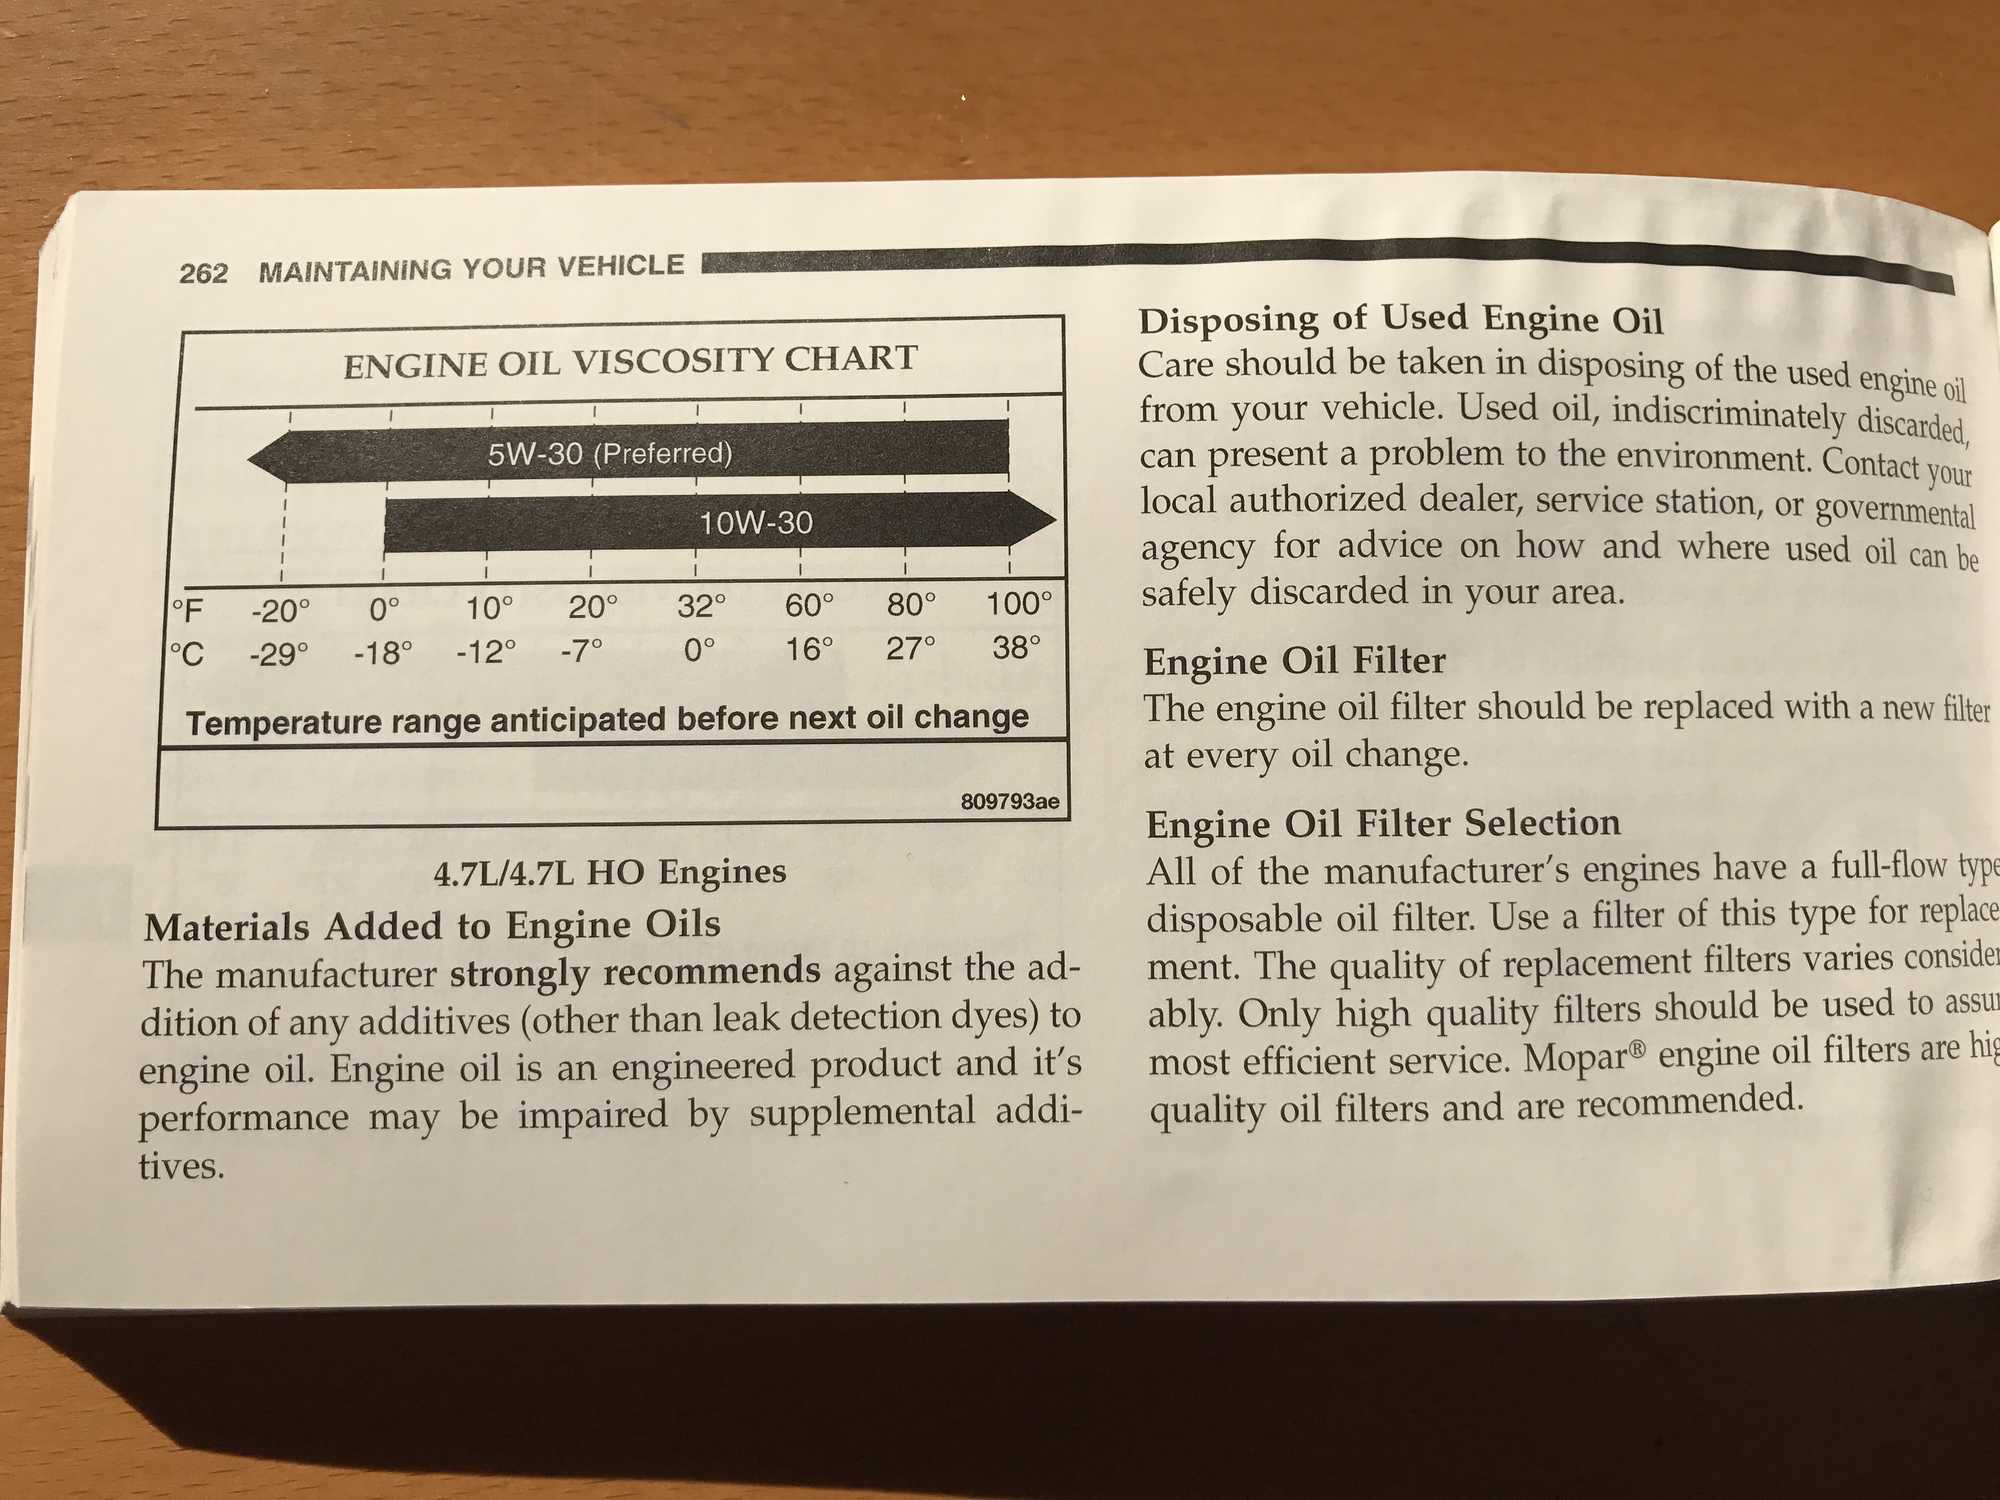
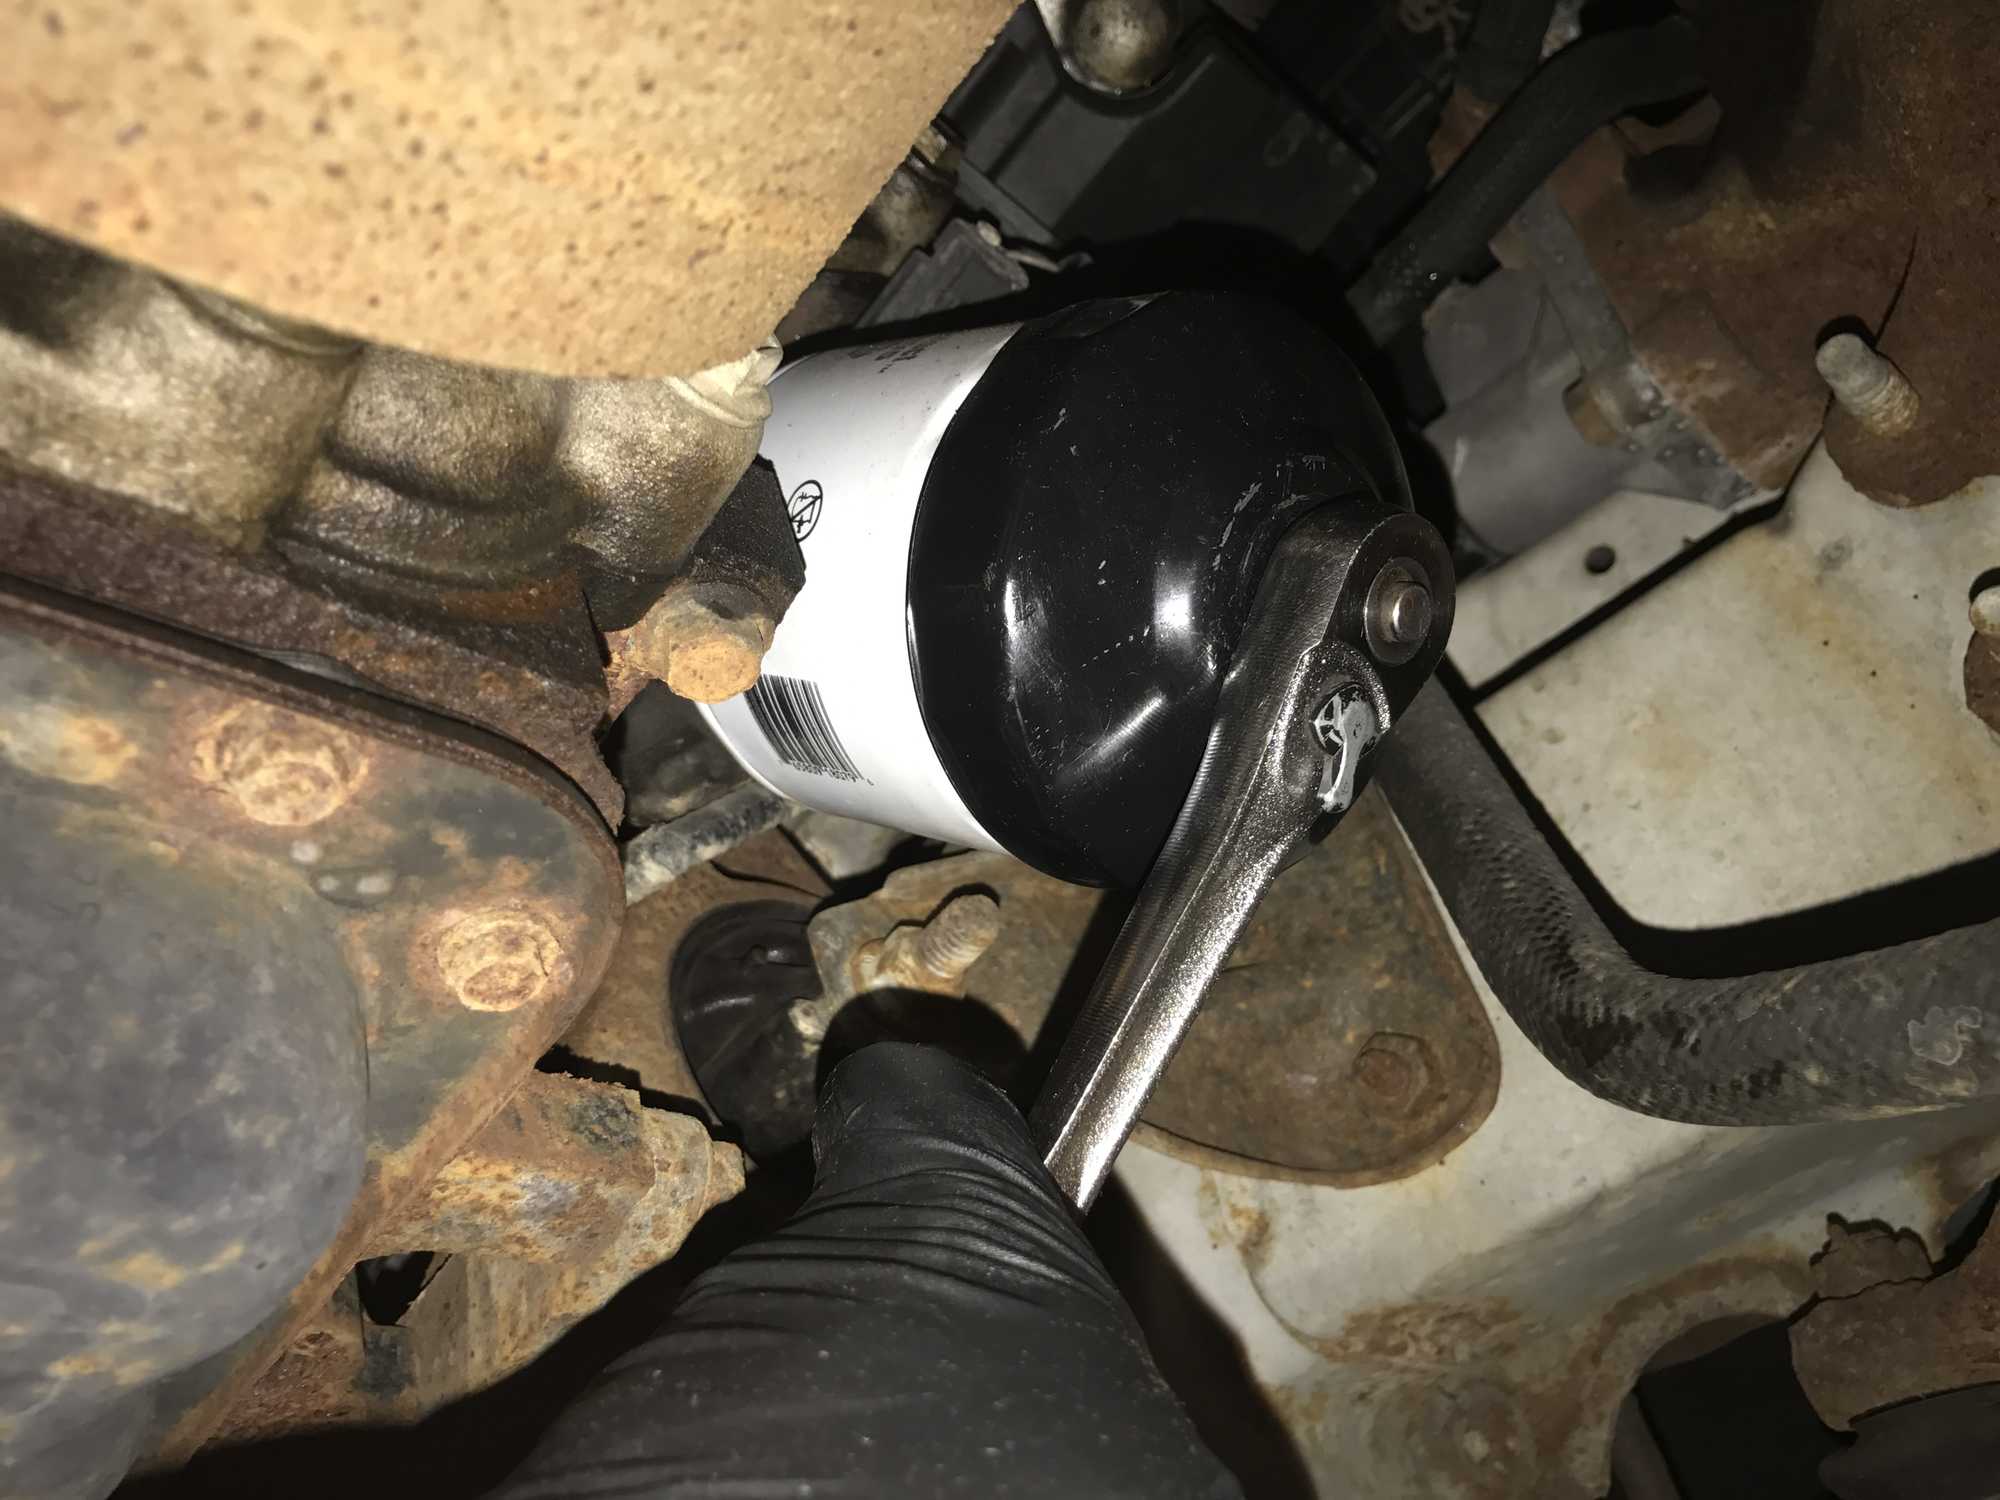
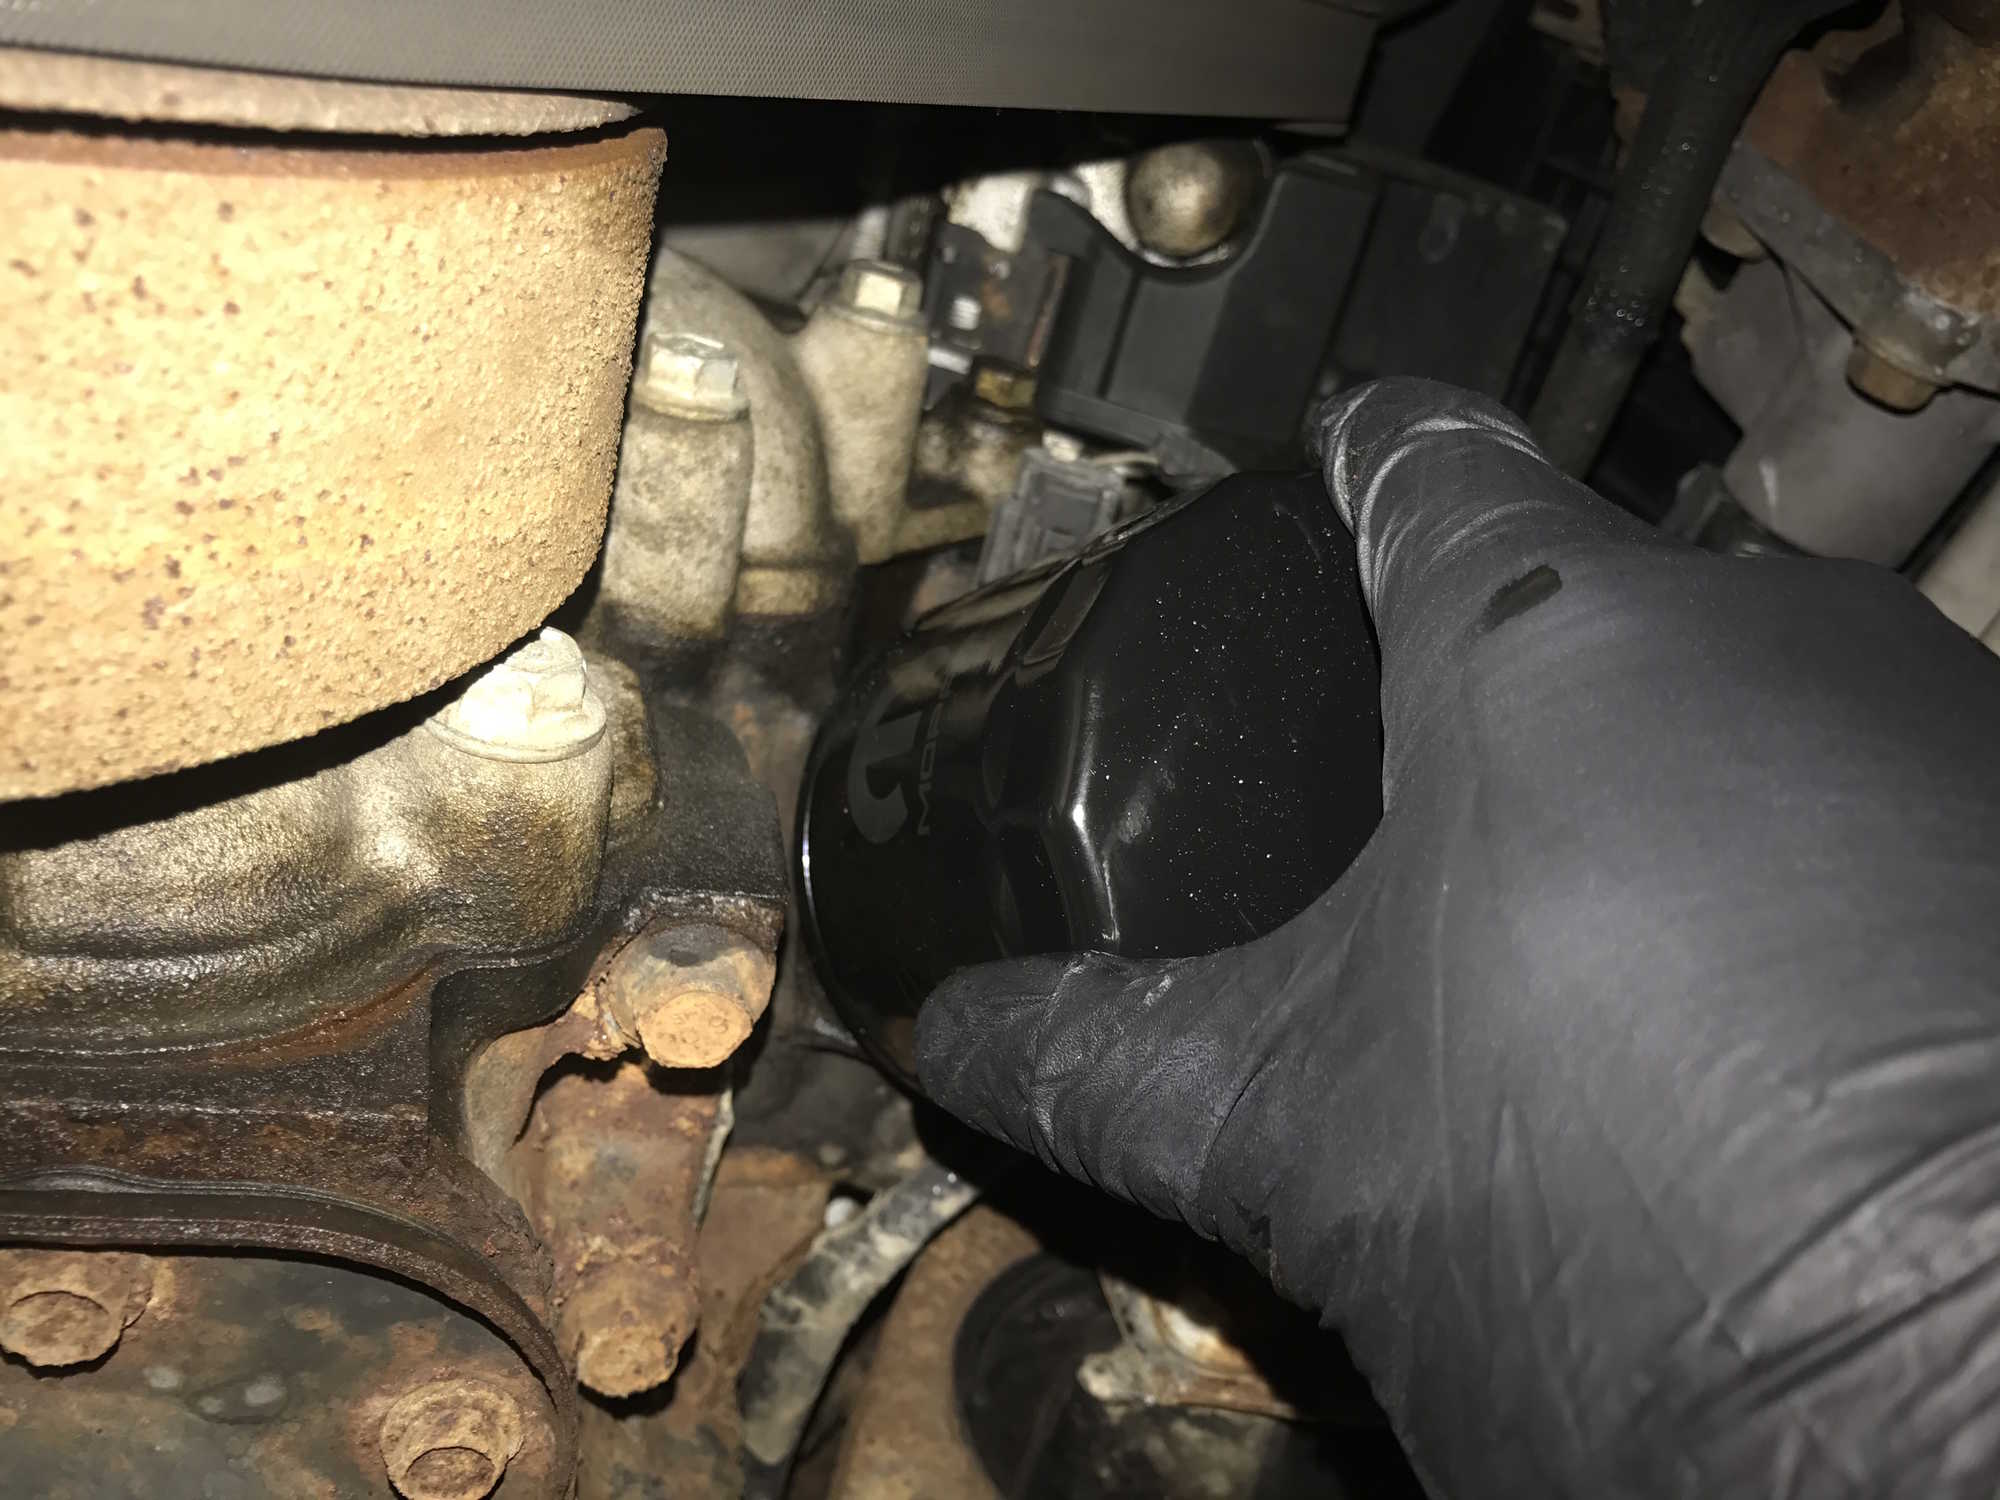
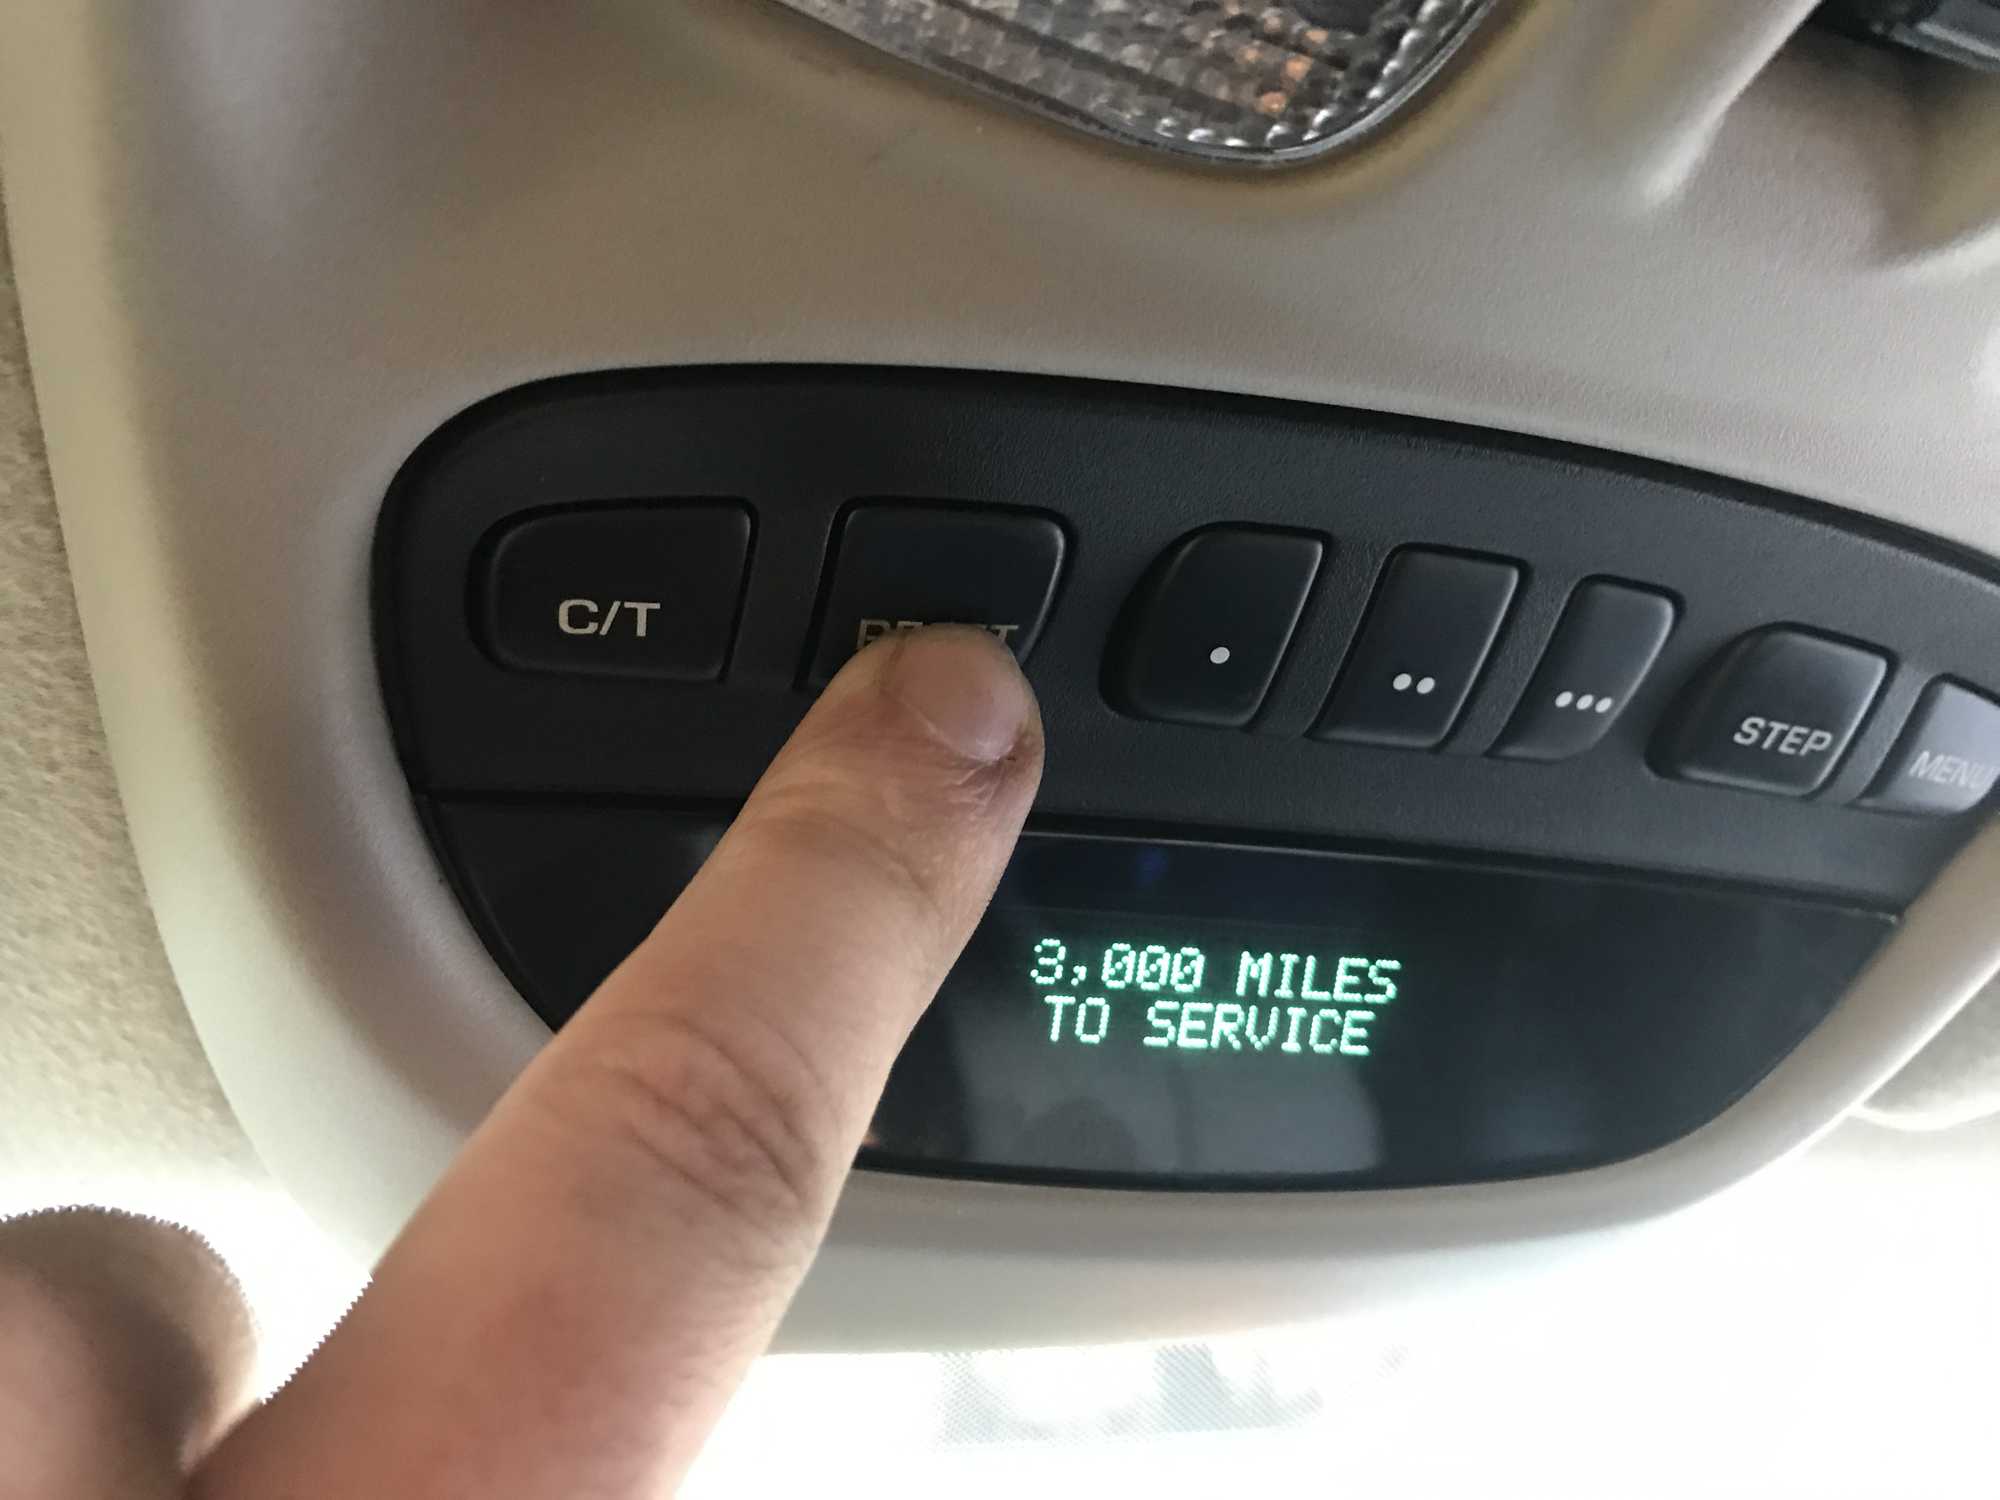
Even though the previous owner said the oil was changed fairly recently, one of the first things I like to do whenever I buy a used vehicle is to change the oil and check the rest of the fluids. There were some discrepancies between the express lube sticker on the windshield and the EVIC module service interval, so by doing a quick oil change I can be 100% positive on when it was done last and on exactly what oil was used. I personally like to use OEM Mopar Oil Filters in my Jeeps whenever possible. They cost the roughly the same as an aftermarket filter, and I can be sure they're up to Jeep's specs for my engine. I also prefer to use good old conventional Pennzoil Motor Oil. Unless my engine specifically calls for synthetic, in my years of experience Jeep engines run best, and leak the least with conventional motor oil. Especially one's with a few miles on them. Hey, if it ain't broke, don't fix it, right?
The oil change process is pretty simple on the WJ, with everything easily accessible. I have a full write-up on the job, including all the tools needed, fluid capacities, specs, etc. that you can check out - How To Do an Oil Change on a 1999-2004 Grand Cherokee 4.7L V8
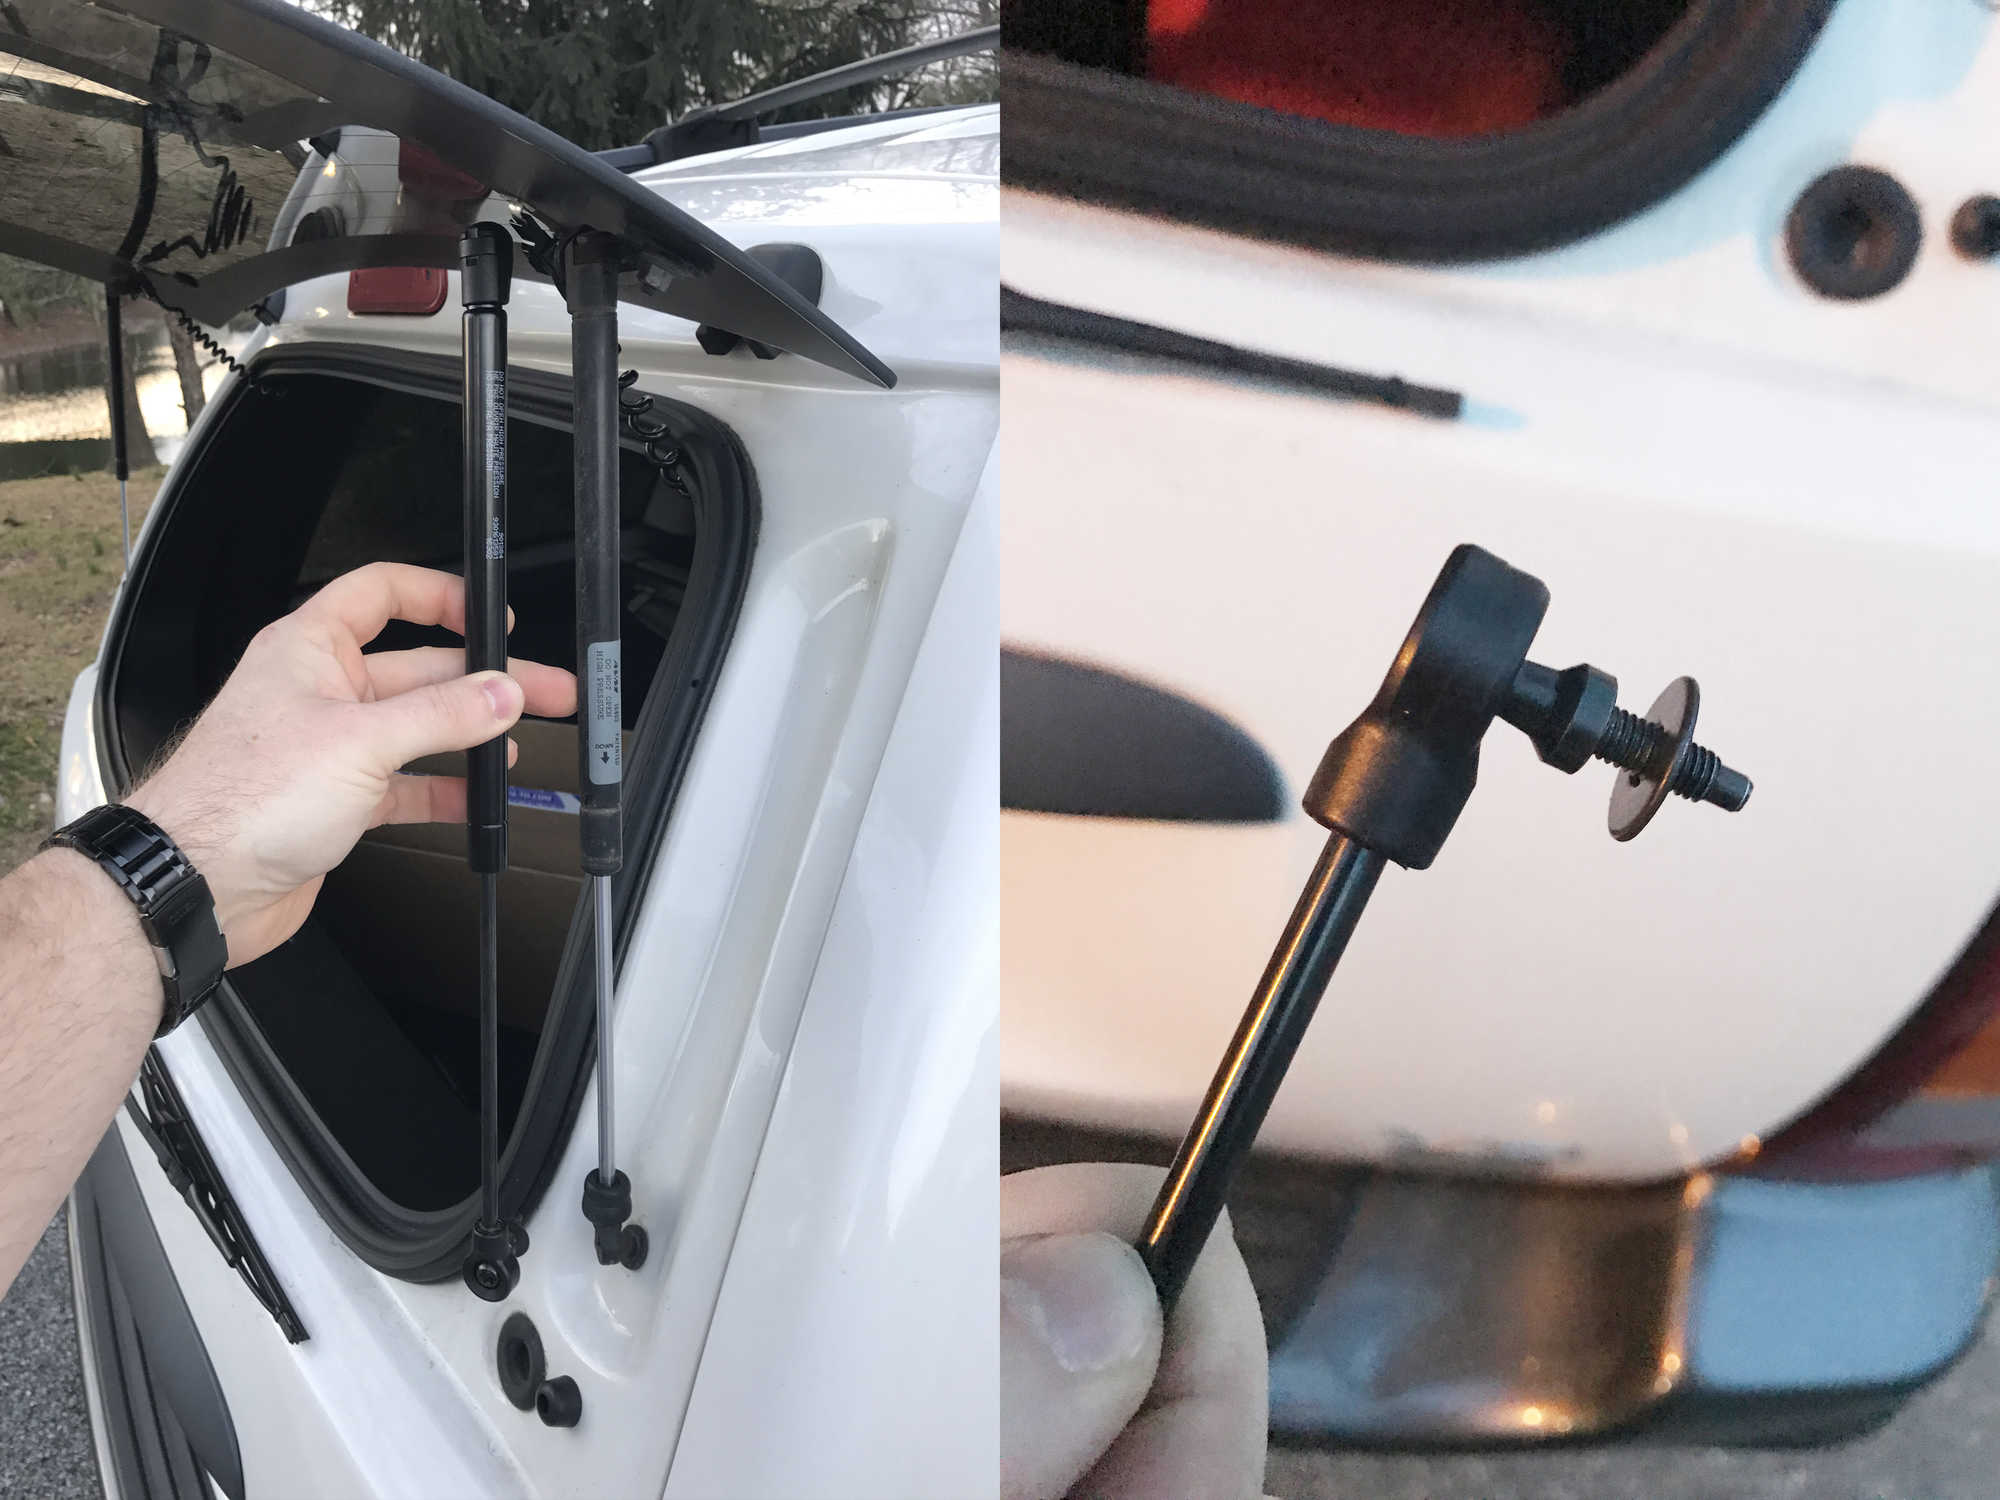
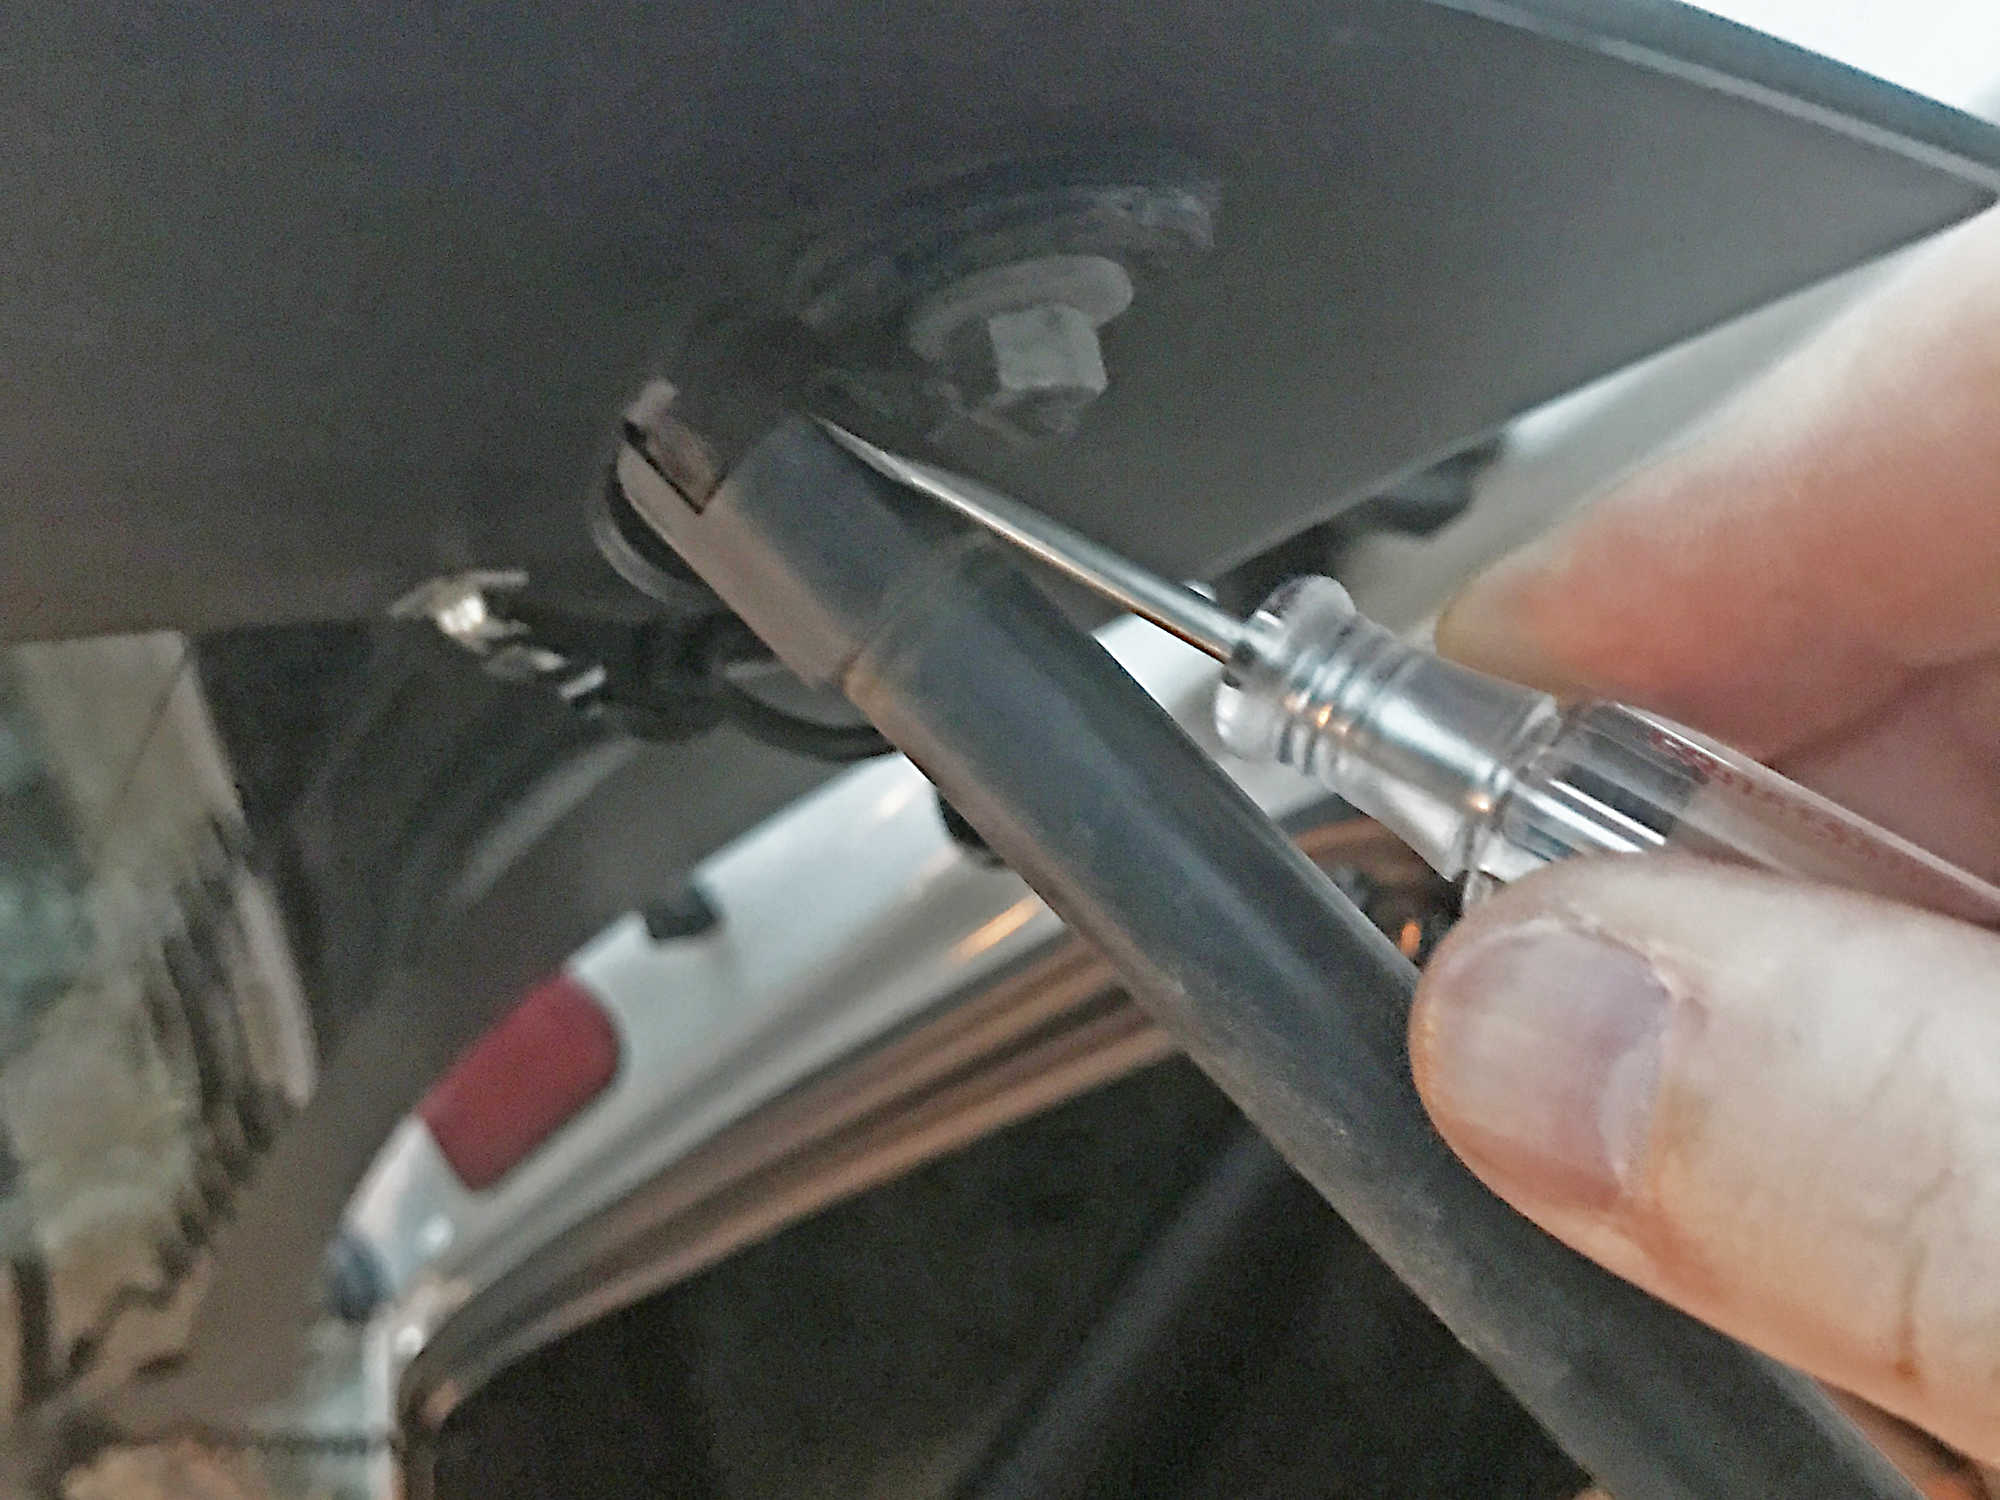
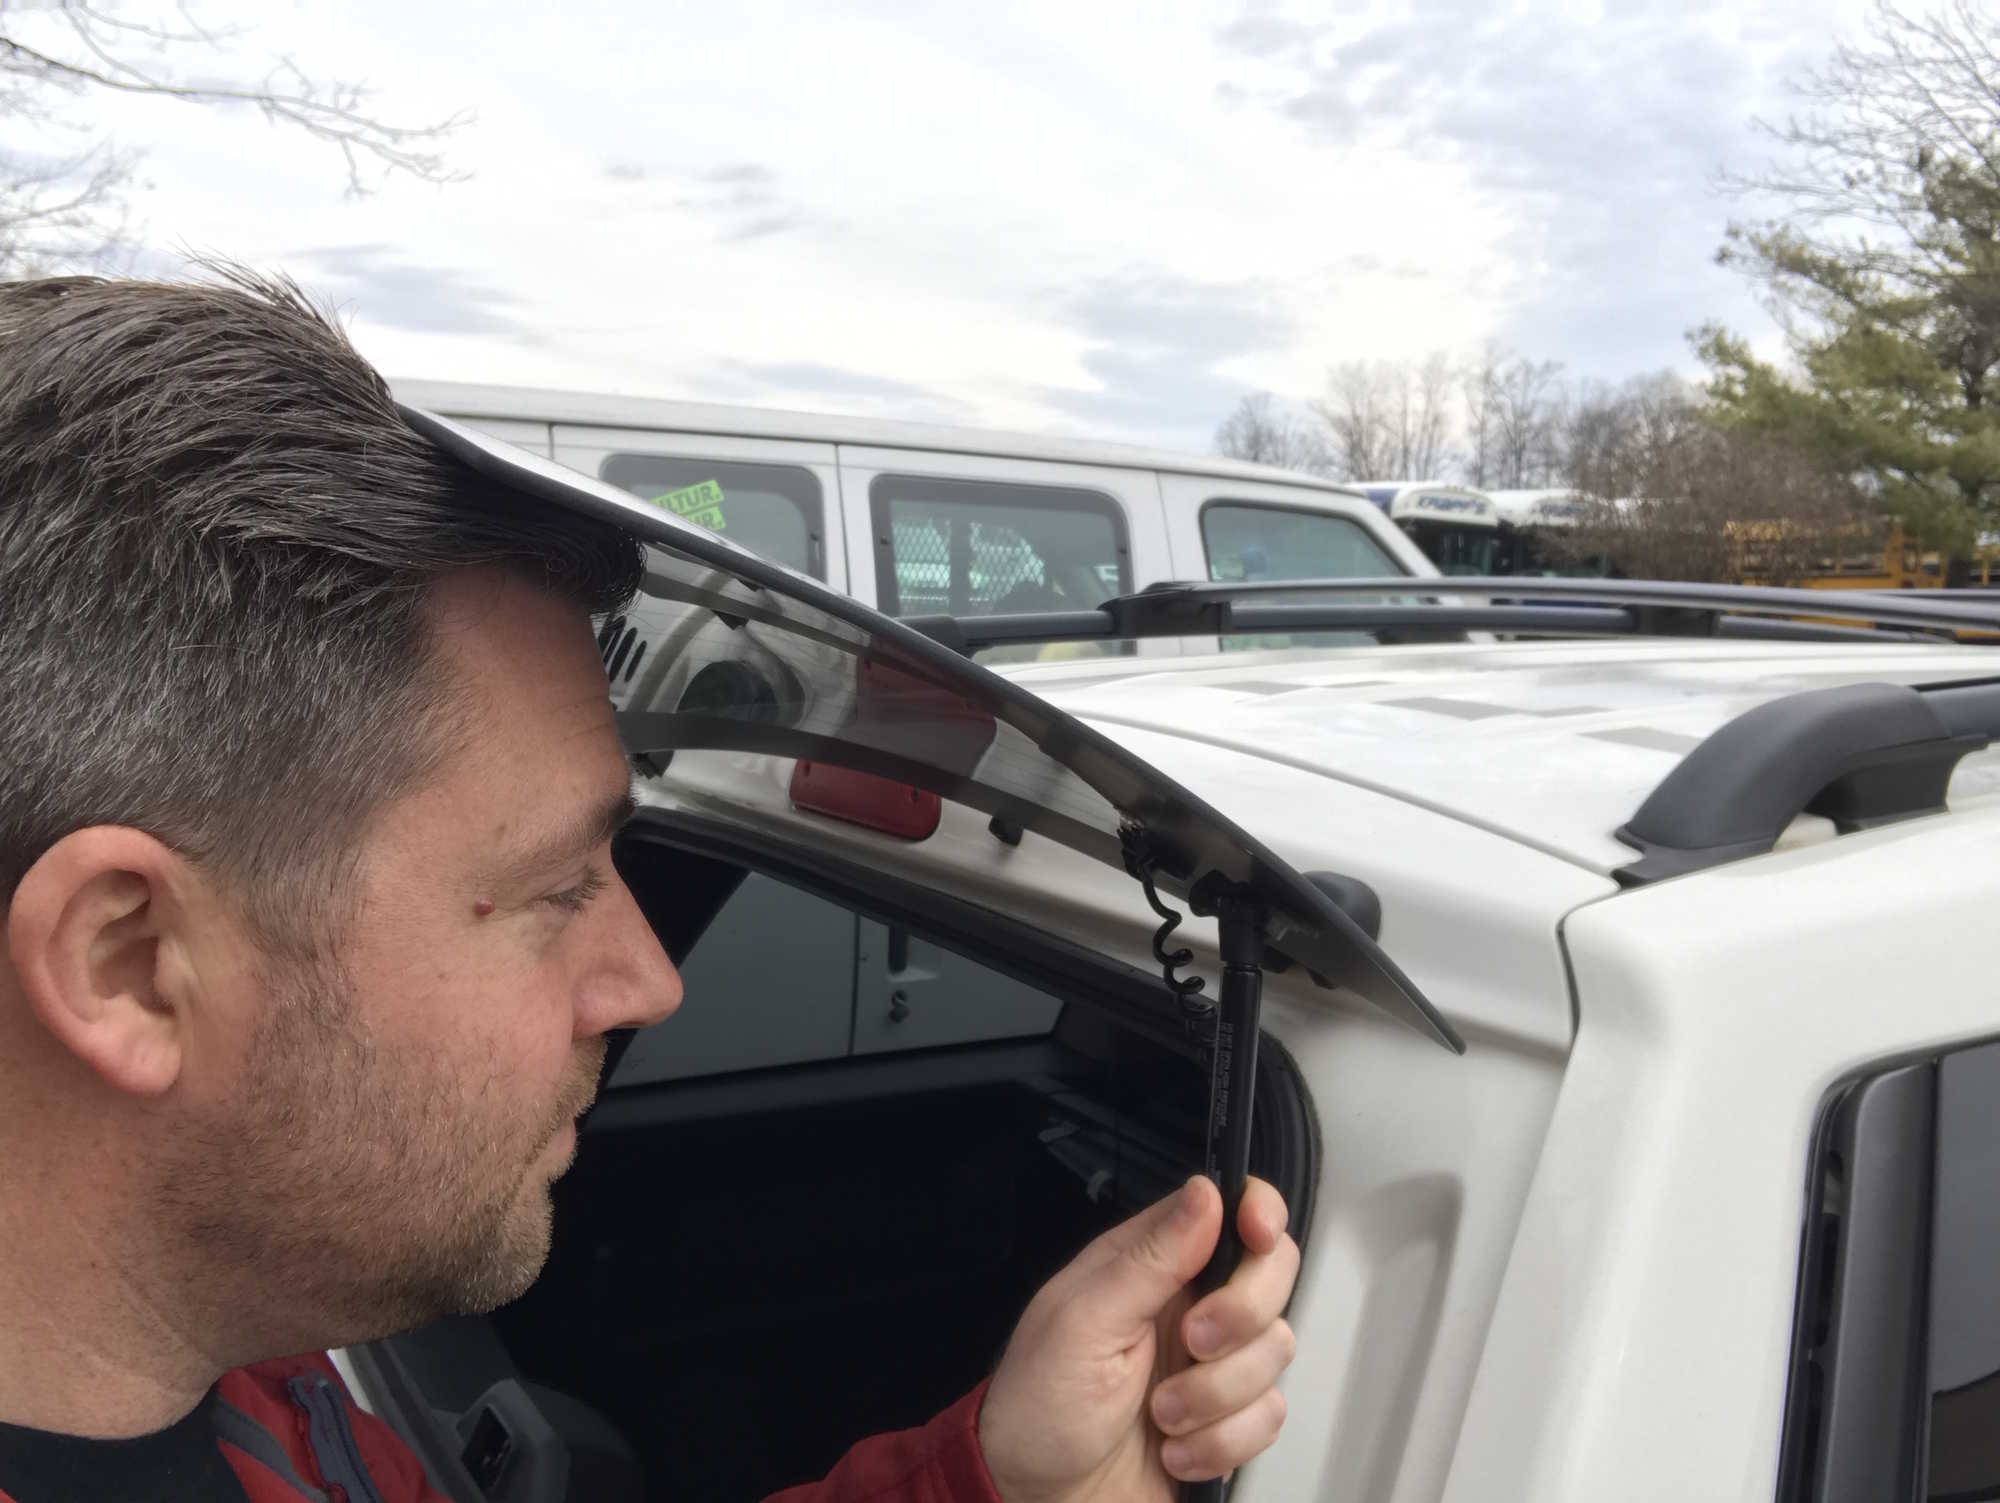
After finishing with the oil change, the next step was to get those gas lift struts swapped out. This is another super easy job, and if you've owned any vehicle with worn out hatch lift struts, after you install new ones you'll wonder why you didn't replace them sooner. For the WJ, you'll just need a T40 Torx bit, socket wrench and a small flat head screw driver. For the liftgate you'll want to use a 2x4 to prop up the liftgate or a friend to help hold it while you replace the struts because it is much heavier than it appears. On the other hand, the liftgate glass struts are easy to do yourself, as your head is a great support for the glass while you swap out the struts. Doing one side at a time, simply un-bolt each strut at the bottom, and then remove the top. The bolts are pressed into the end of the struts and they remain attached. The new struts should already have new bolts on them. To remove the glass strut at the top, simply pry the metal clip away from the strut body with your screwdriver and it will pop right off the ball mount bracket on the window. Snap the new strut socket on to the ball mount. You don't need to pry open the metal clip to install, just push it on. For the hatch struts, remove the torx bolt at the bottom and then the top to remove the old strut. Then simply replace it with the new one. Then do the same process on the other side. It's so nice to be able to pull the handle and watch the new struts lift the hatch open all on their own! For more information, check out the full write-up - How To Replace Liftgate and Liftgate Glass Support Struts on 1999-2004 Grand Cherokee
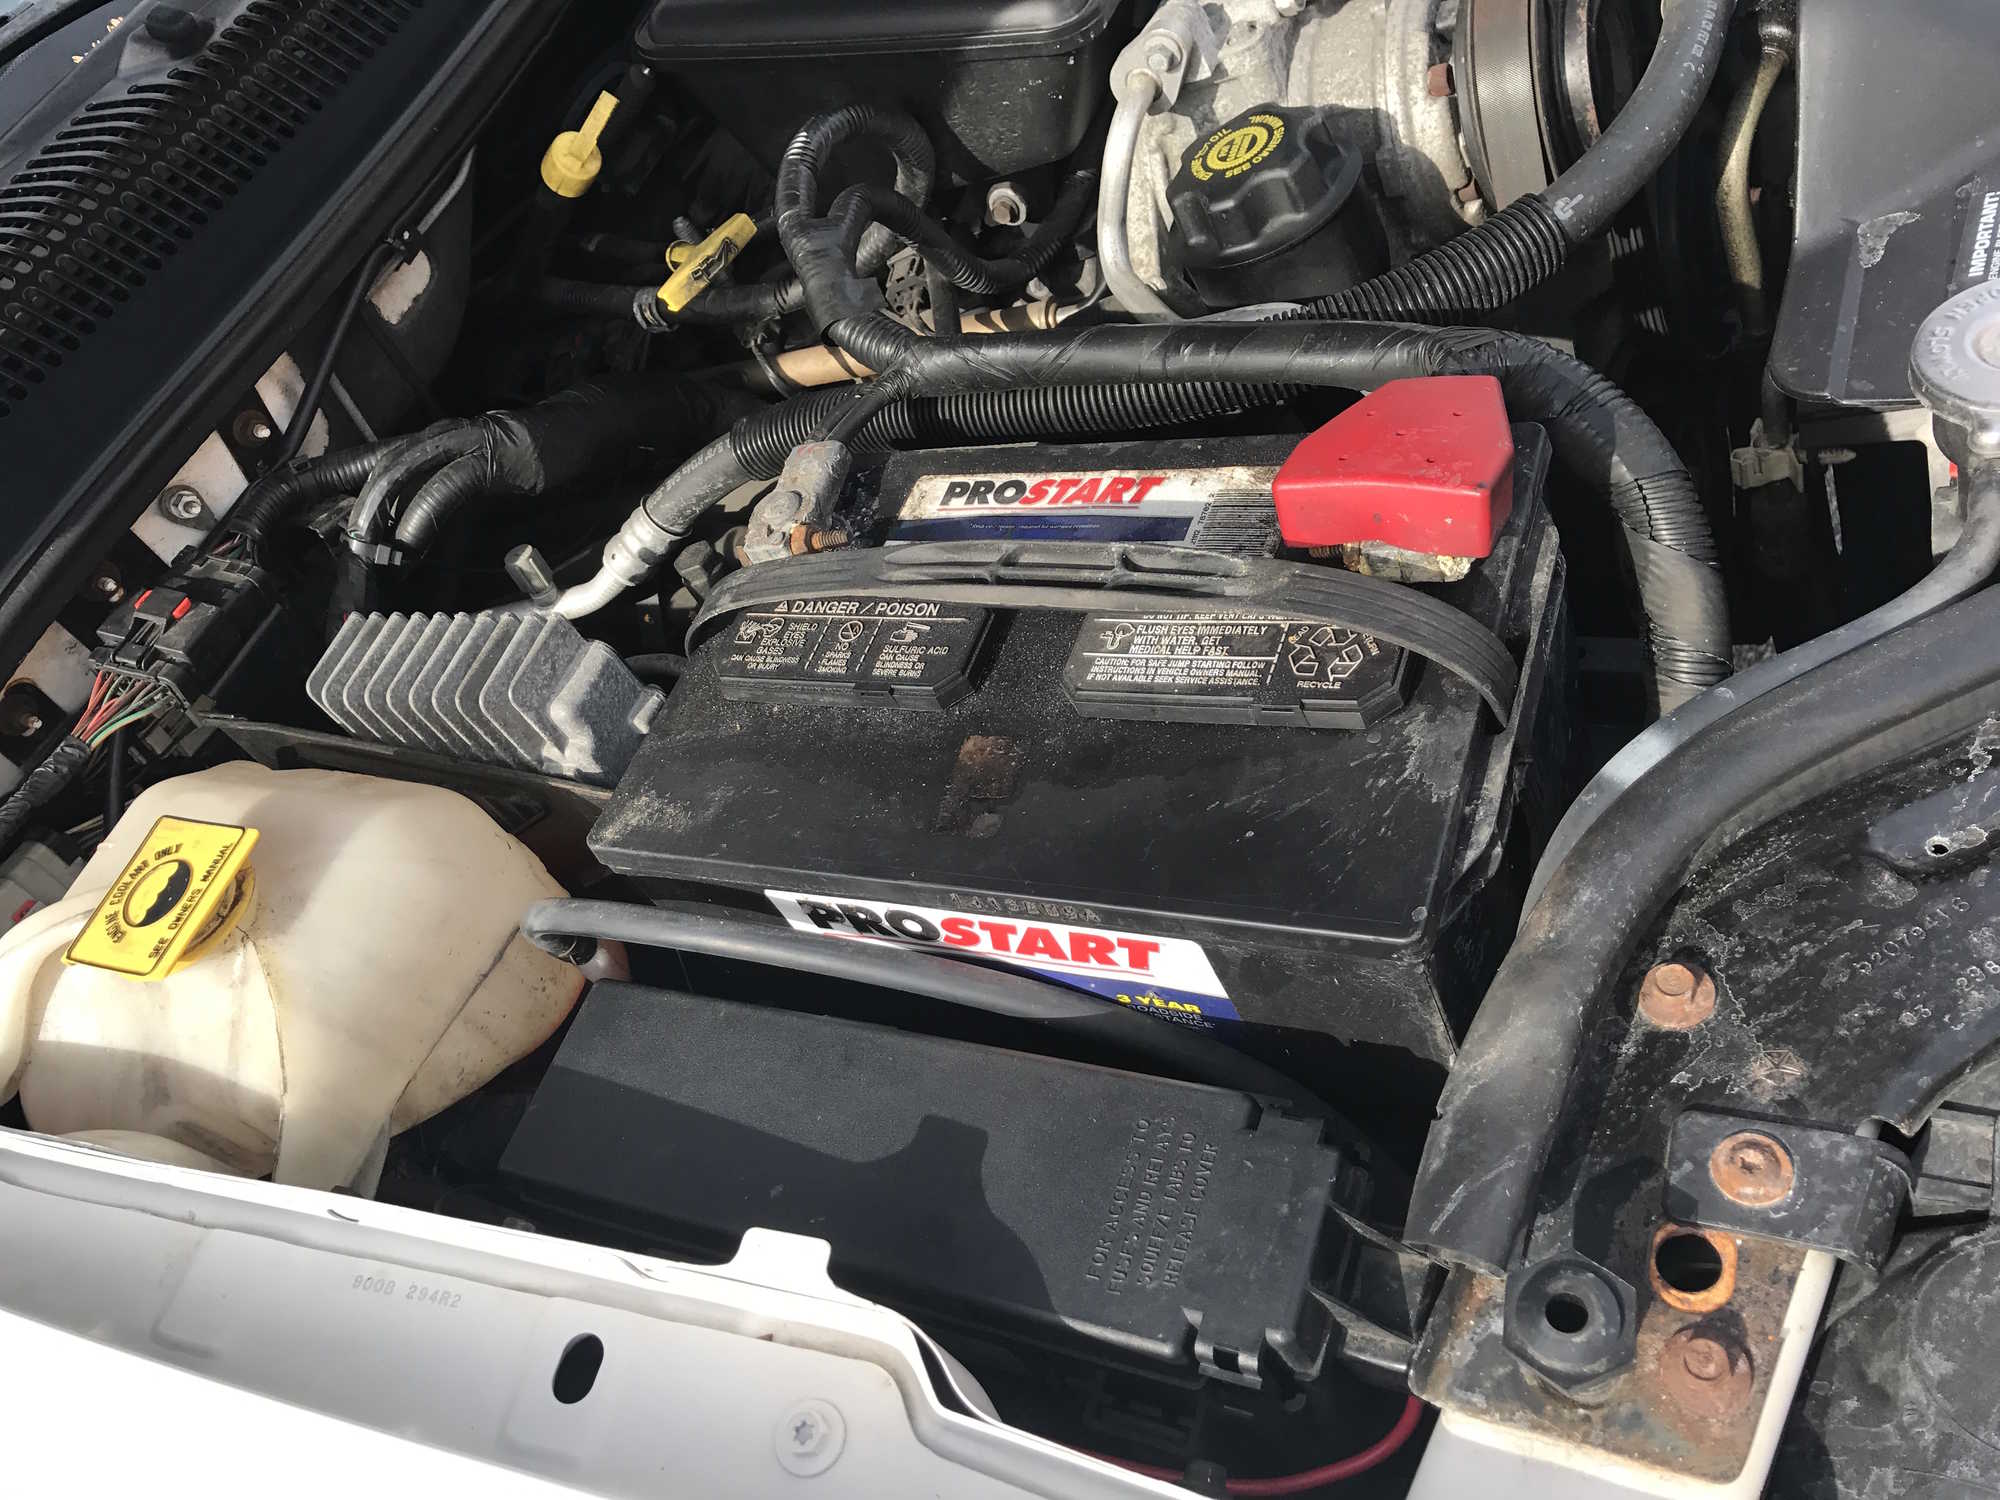
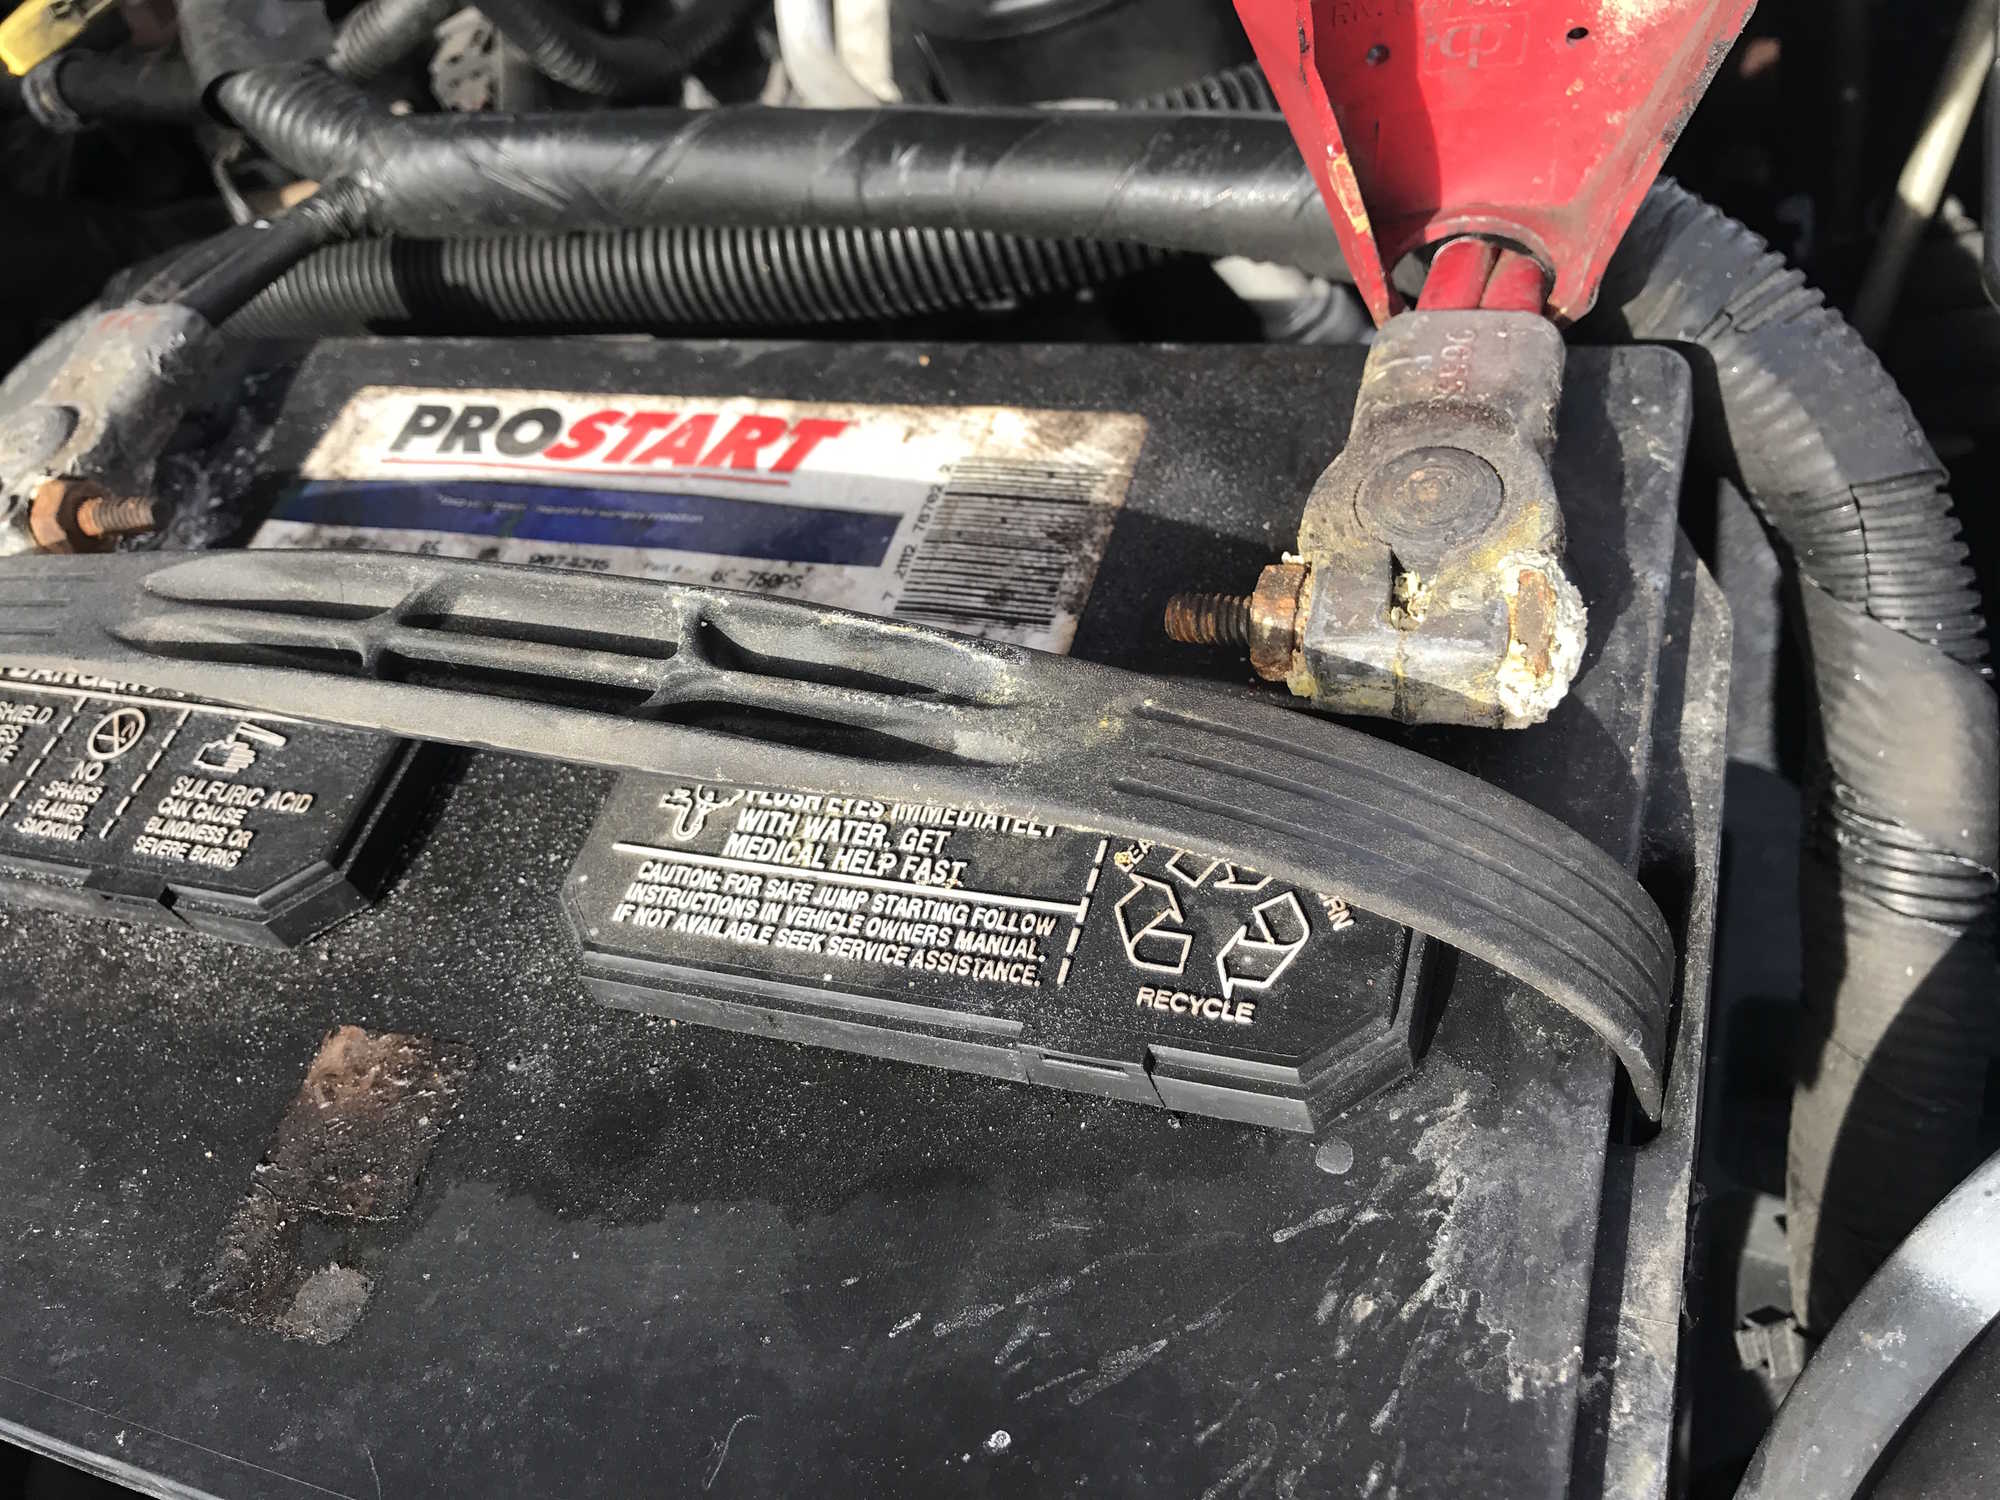
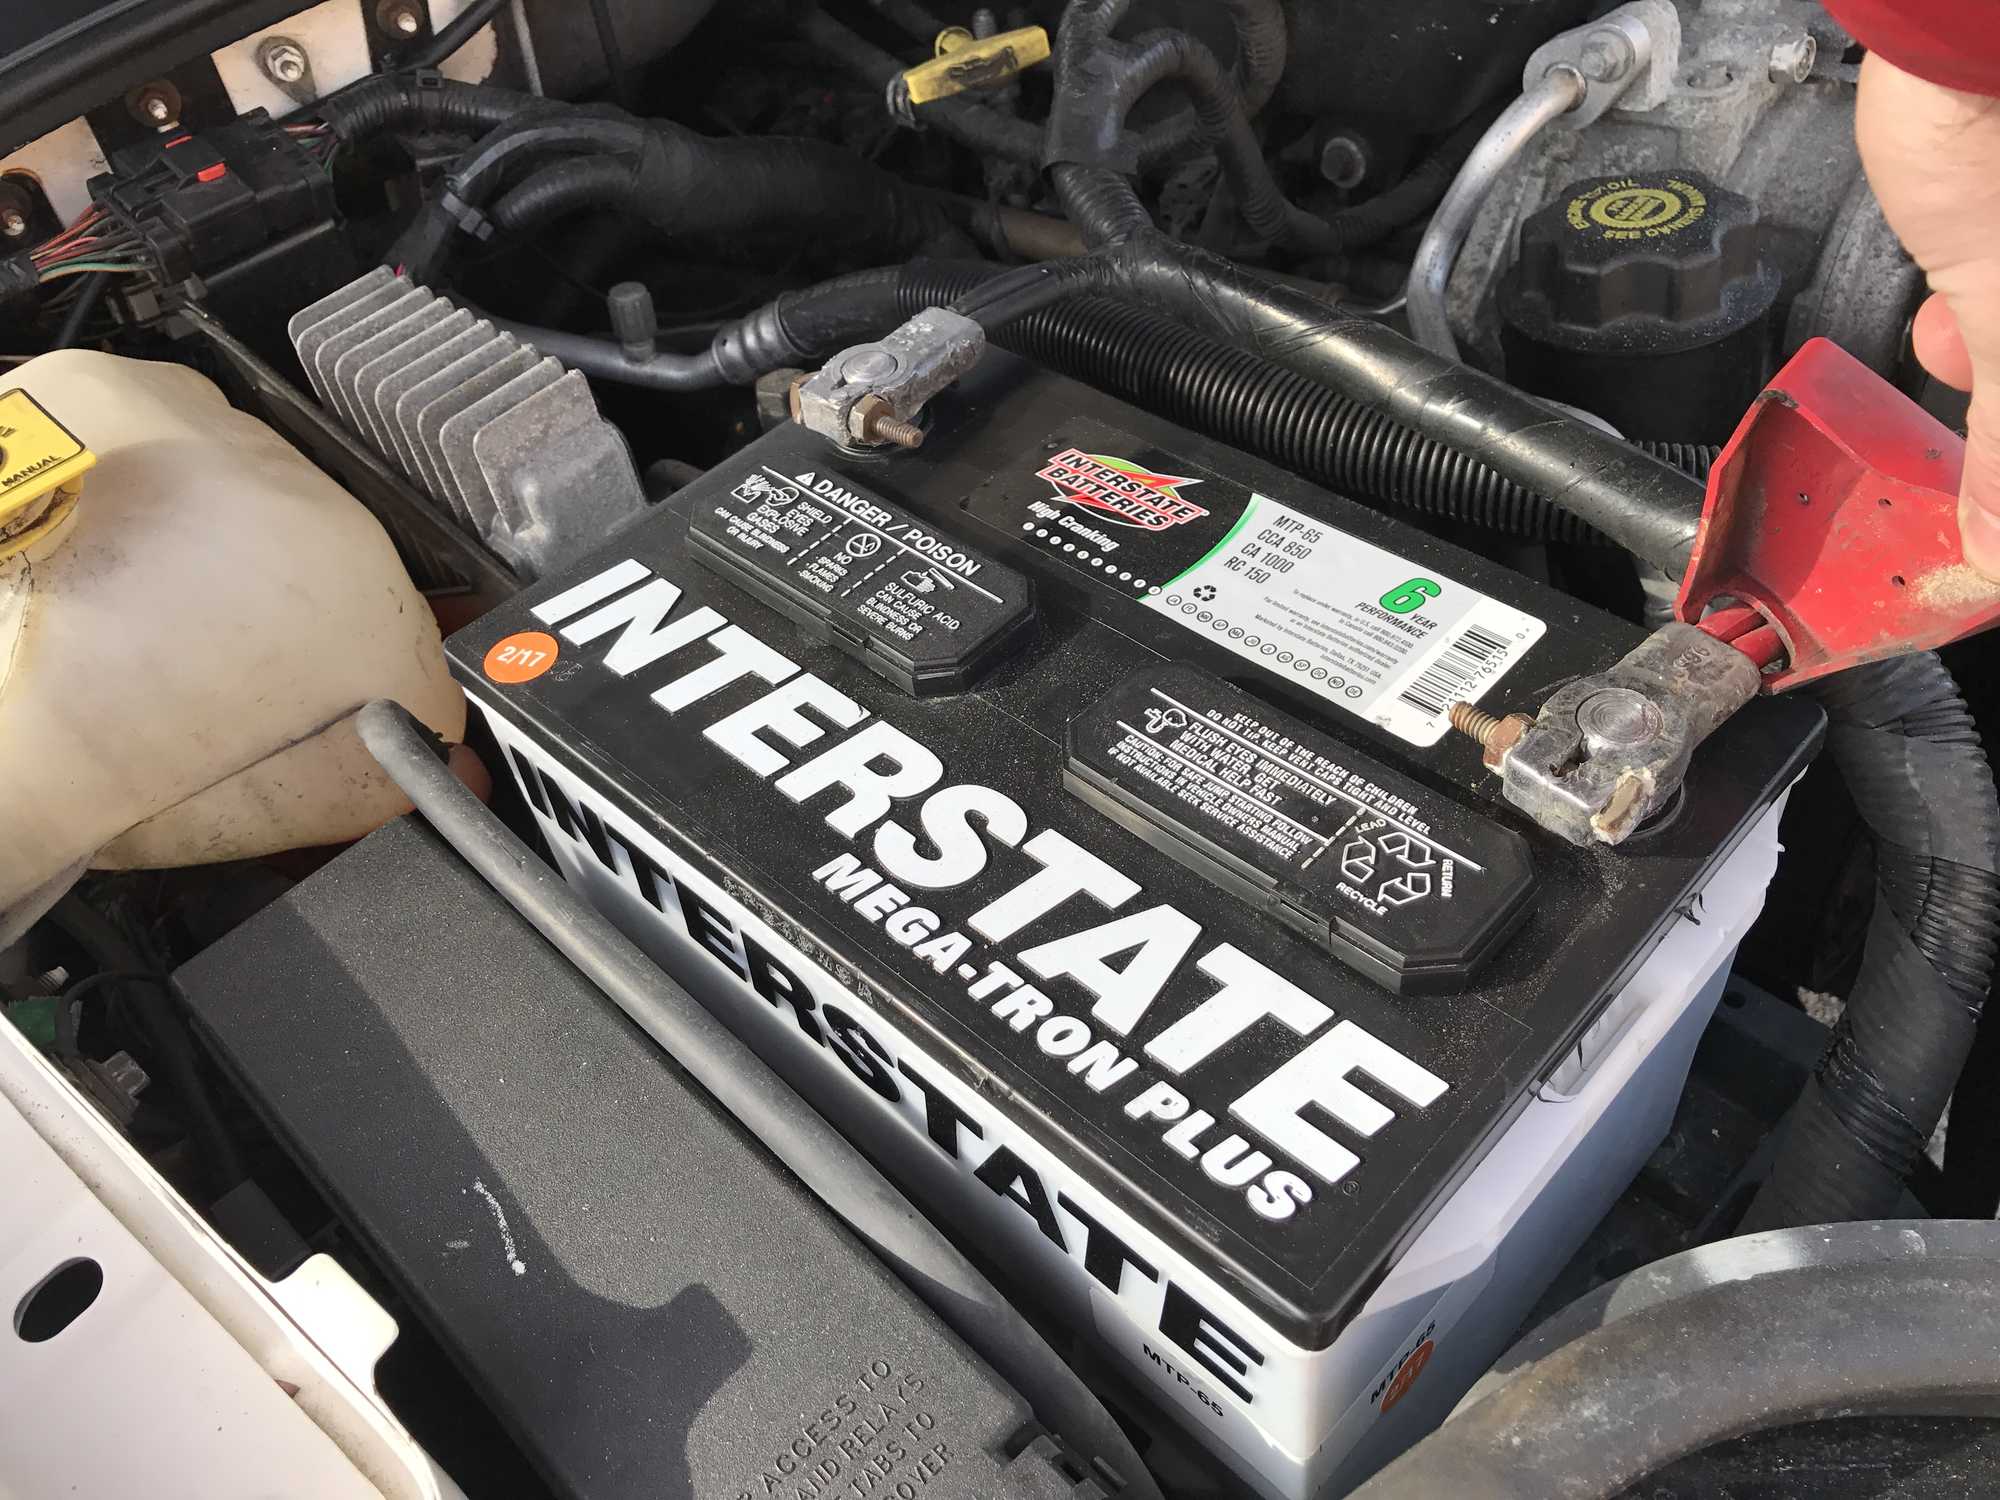
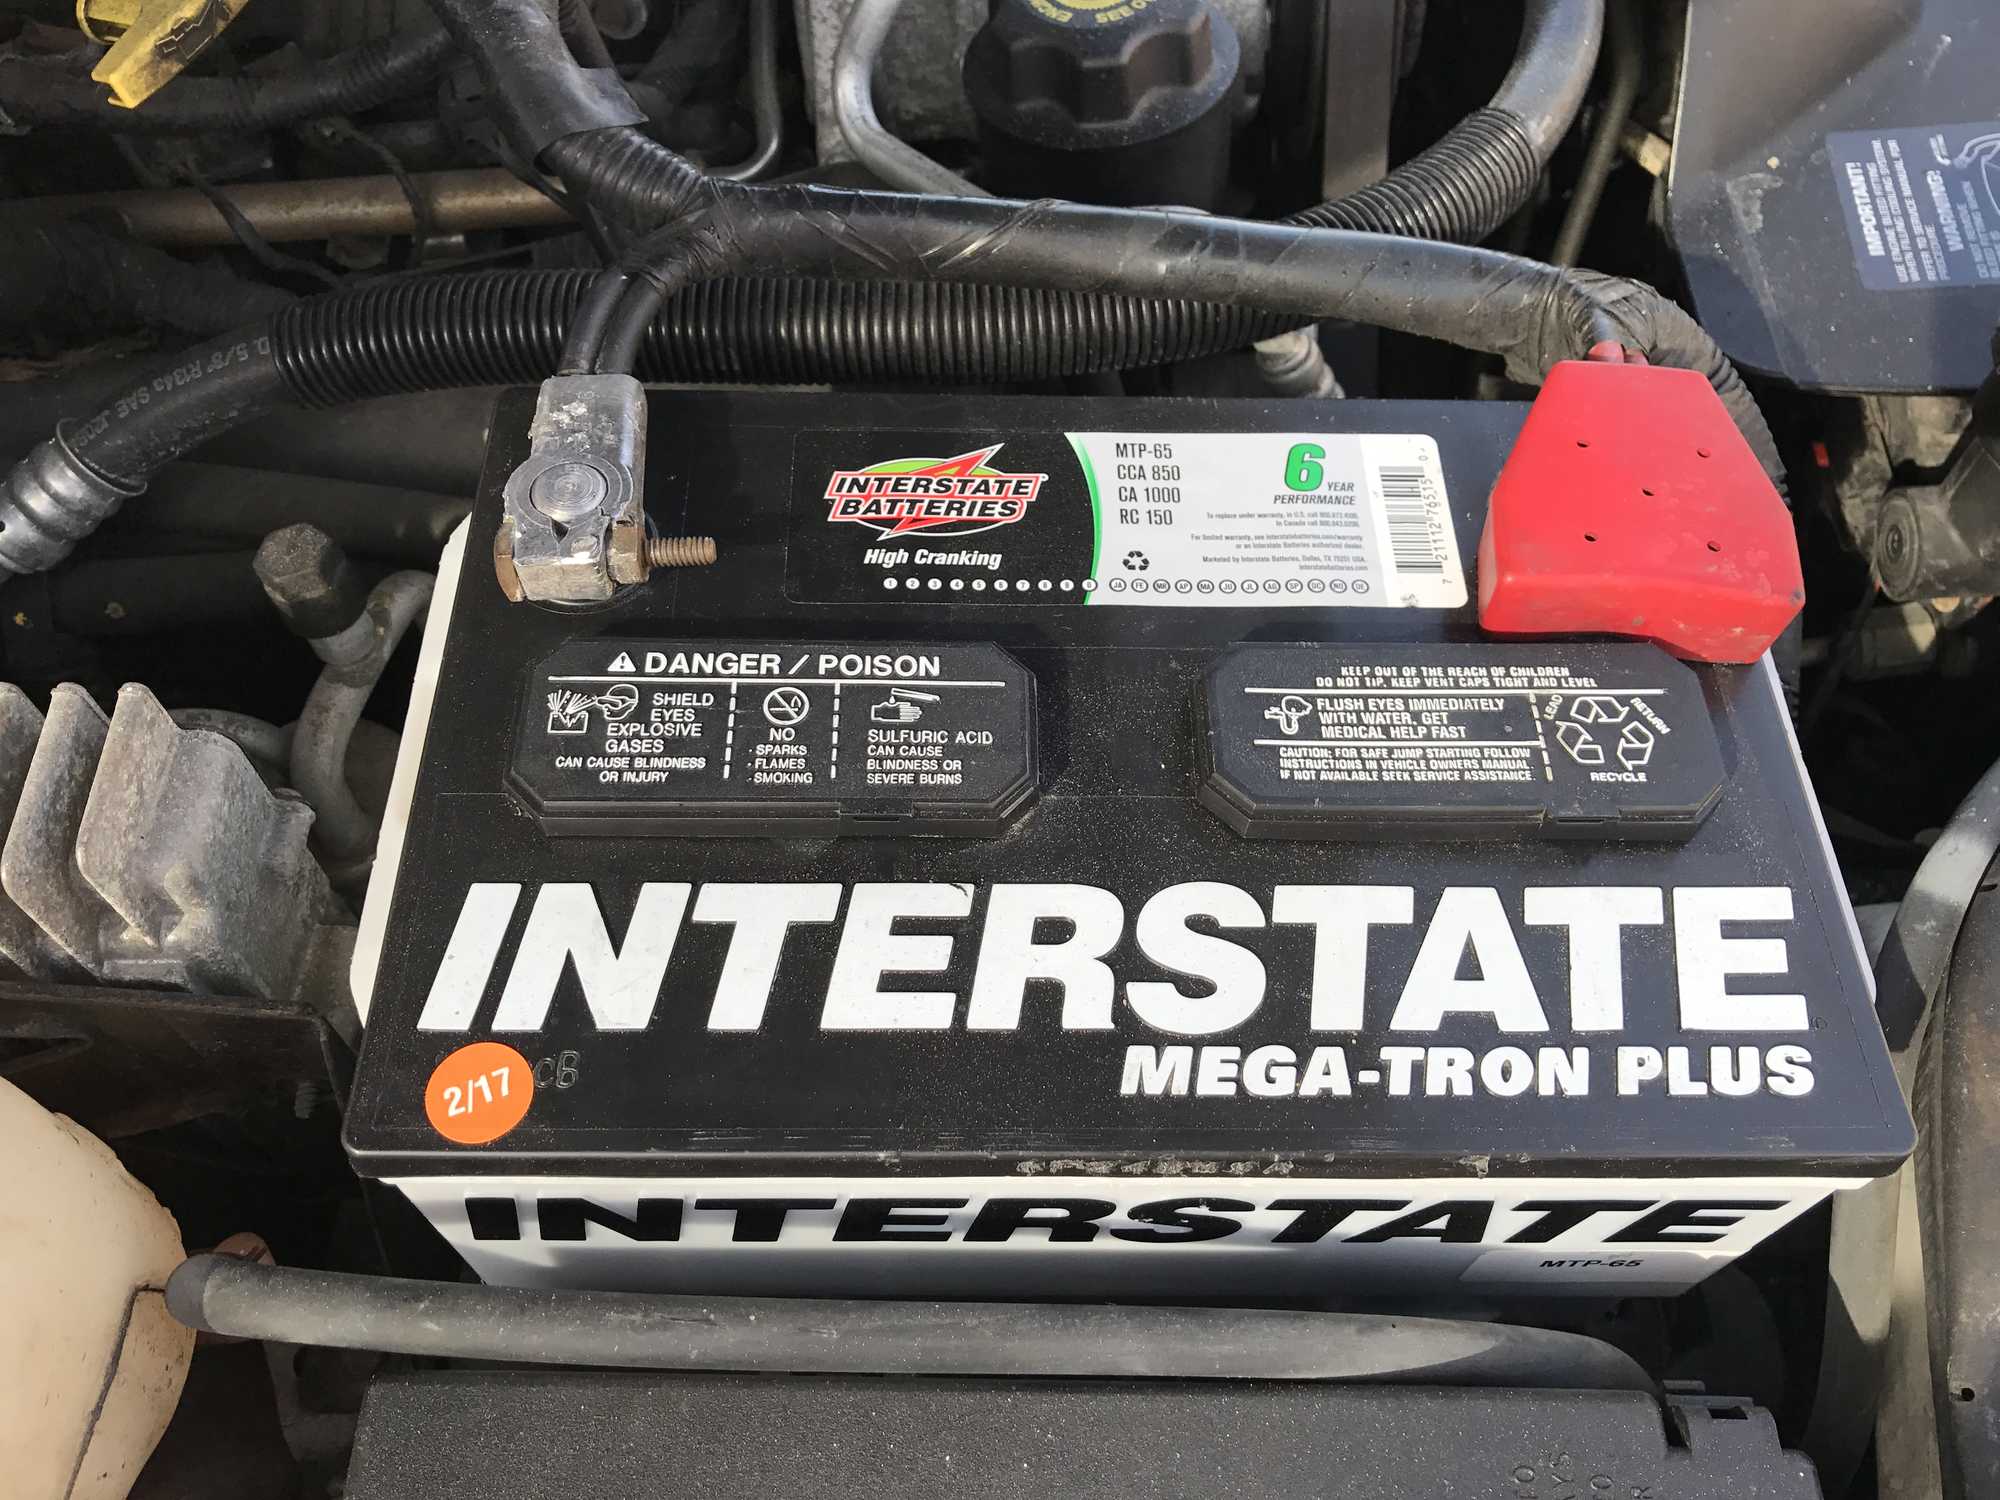
The final job for today is to replace the old worn out battery with a fresh new Interstate Battery. Even though the battery was still holding a charge, when starting the Jeep it was cranking slowly and sounded like it was low on amps. It didn't help that the positive terminal had a fair amount of corrosion building up on it. While I could have thrown the battery on my CTEK MULTI US 7002 12V Battery Charger and run it through the recondition mode, the battery was already past it's warranty period and since this Jeep is going to be my daily driver and weekend explorer, I don't want to run the chance of the battery dying and leaving me stranded. A new Interstate Mega-Tron Plus that offers a 30-month free replacement and six-year performance warranty seemed like cheap insurance for years of worry free starting. After cleaning the terminal clamps with a wire brush to get rid of the corrosion, I applied a light coating of dielectric grease to help prevent the corrosion from returning and then got the new battery installed and hooked-up.


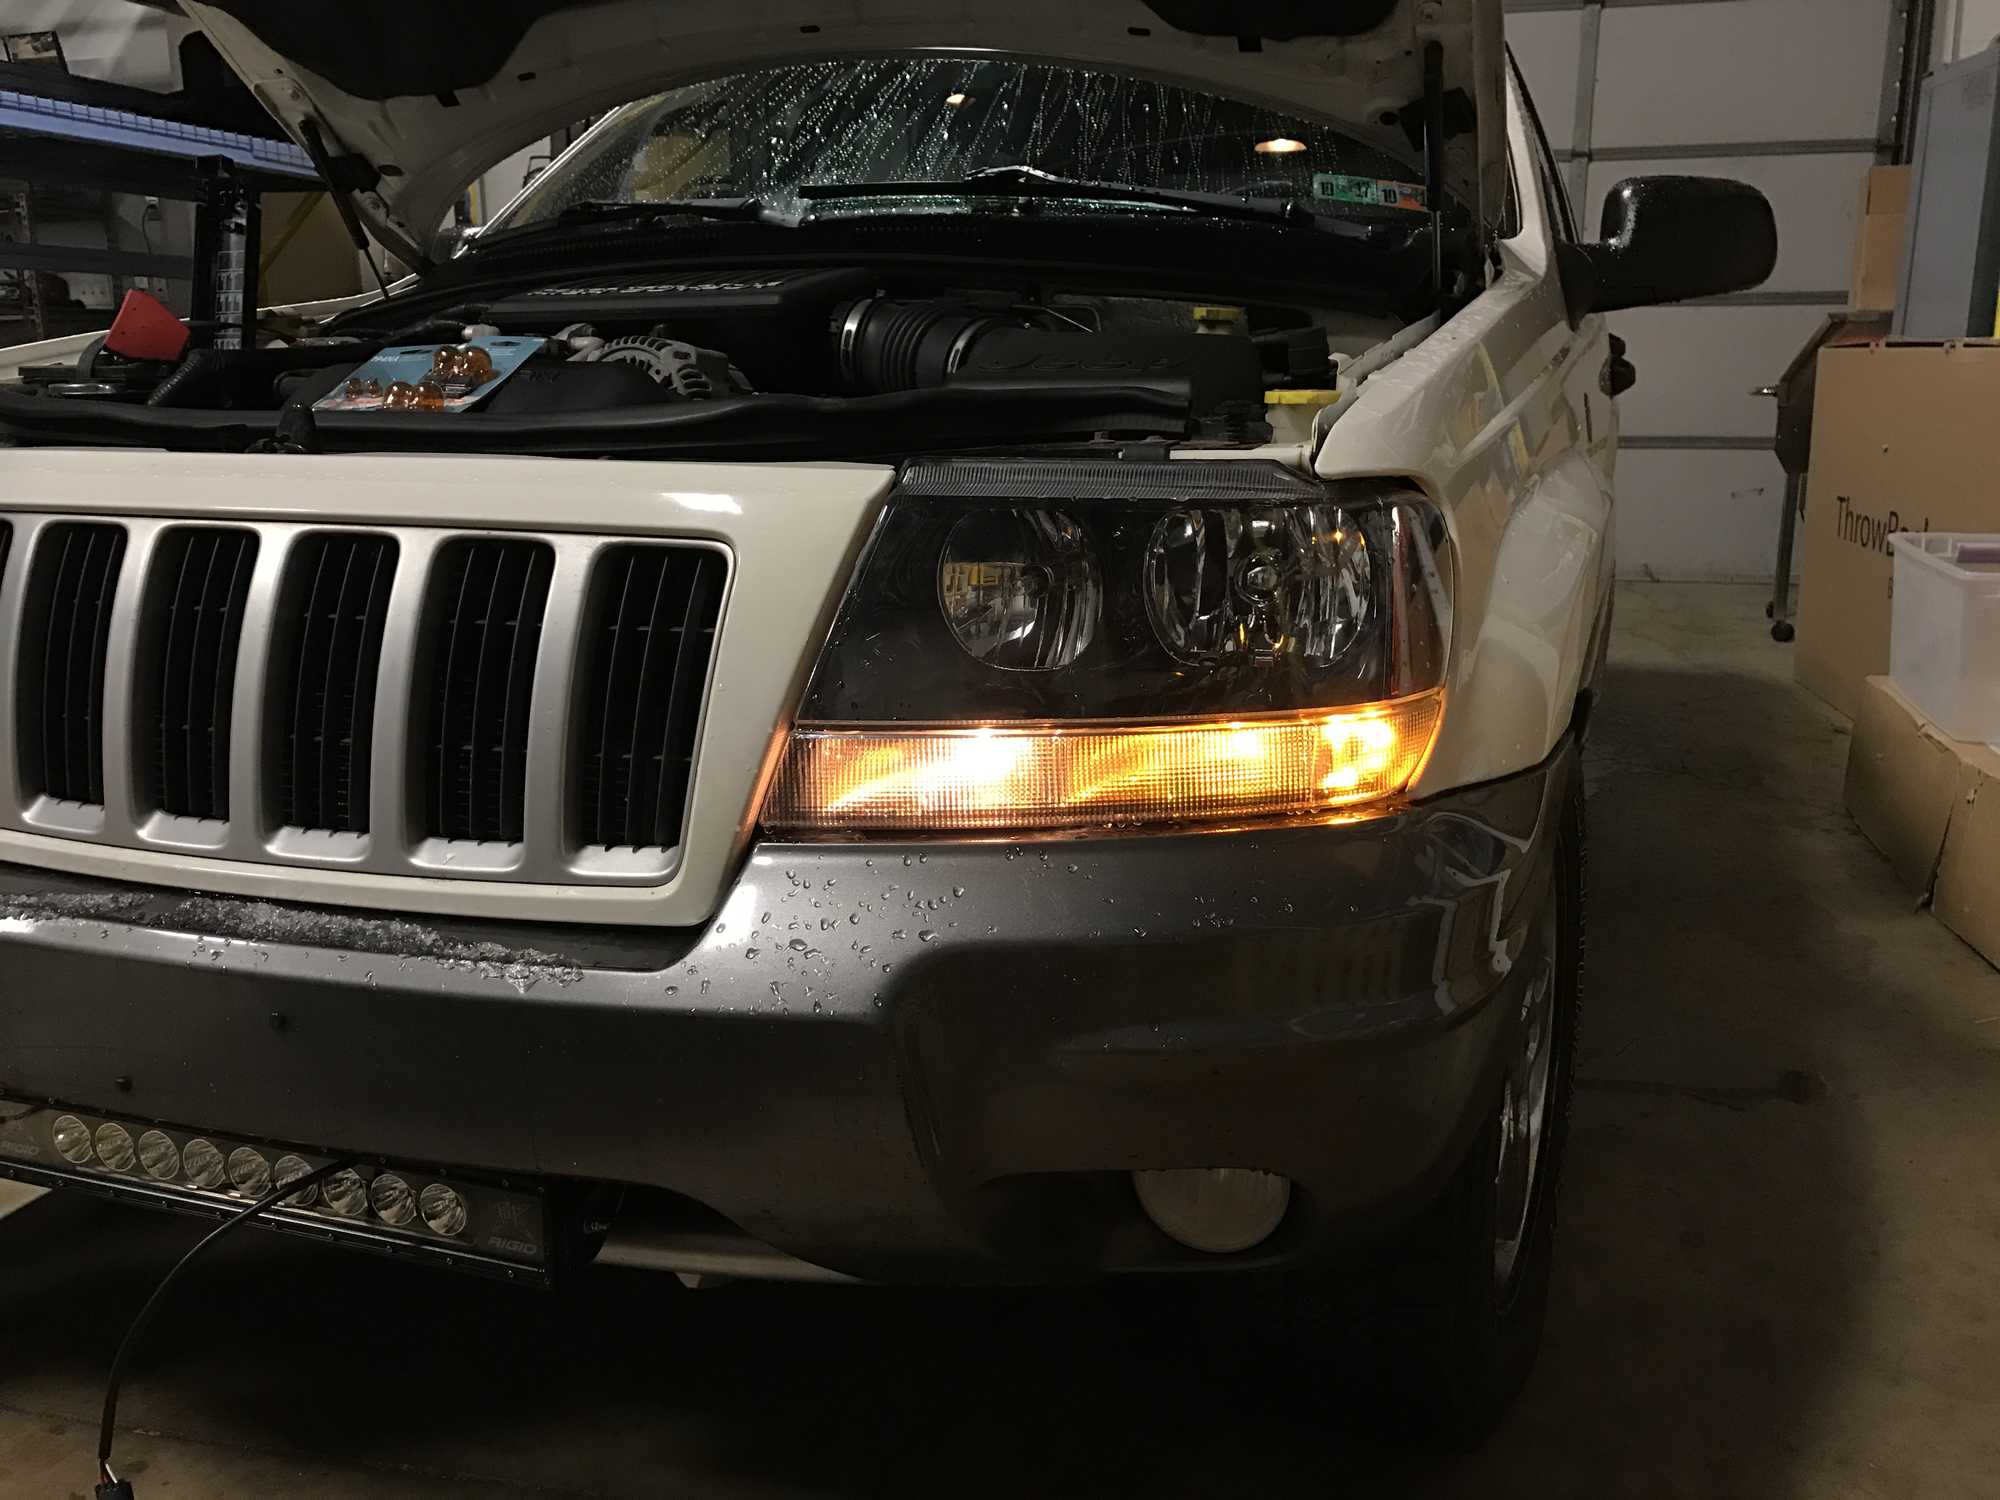
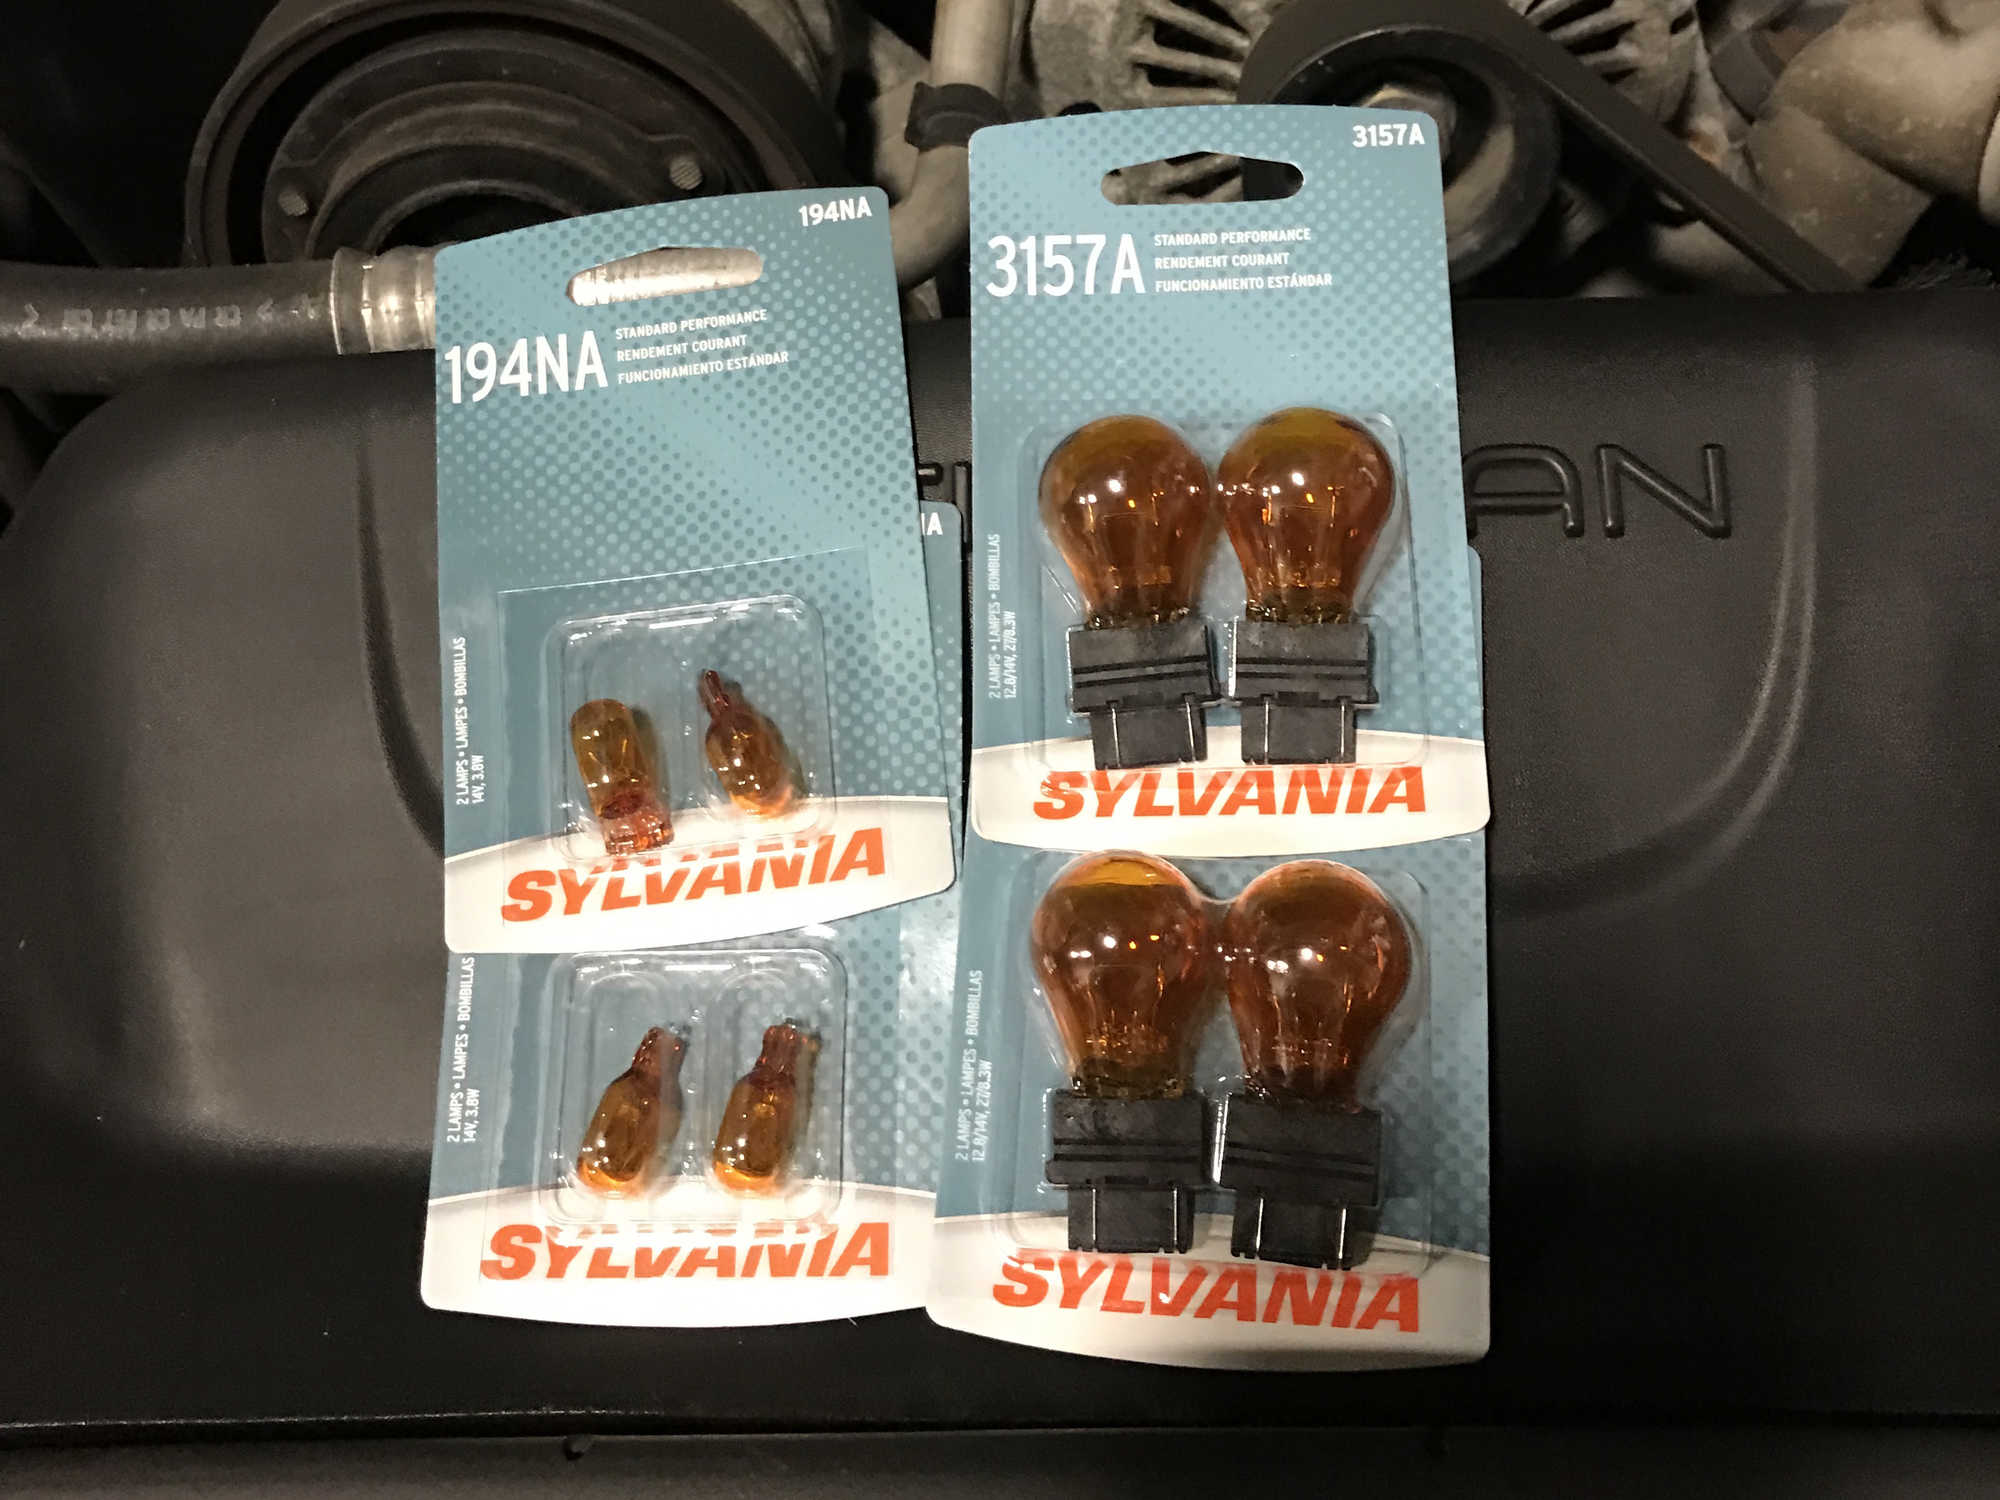
Driving my '92 Cherokee at night is an absolute pleasure, thanks to my Truck-lite LED Headlights and the abundance of Rigid LED lights. Sure most of them are for off-road use only, but I'd be lying if I said I never used any of them on road, especially on lightly traveled two-lane country roads. So to say the Columbia was lacking in the lighting department would be an understatement. I knew I would have to add some auxiliary lighting to make night-time driving a little better, so of course I turned to Rigid. I also wanted to replace the faded, worn out looking amber marker lights in the headlight housings, both from a standpoint of personal preference (I can't stand the multiple shades of amber) and safety.
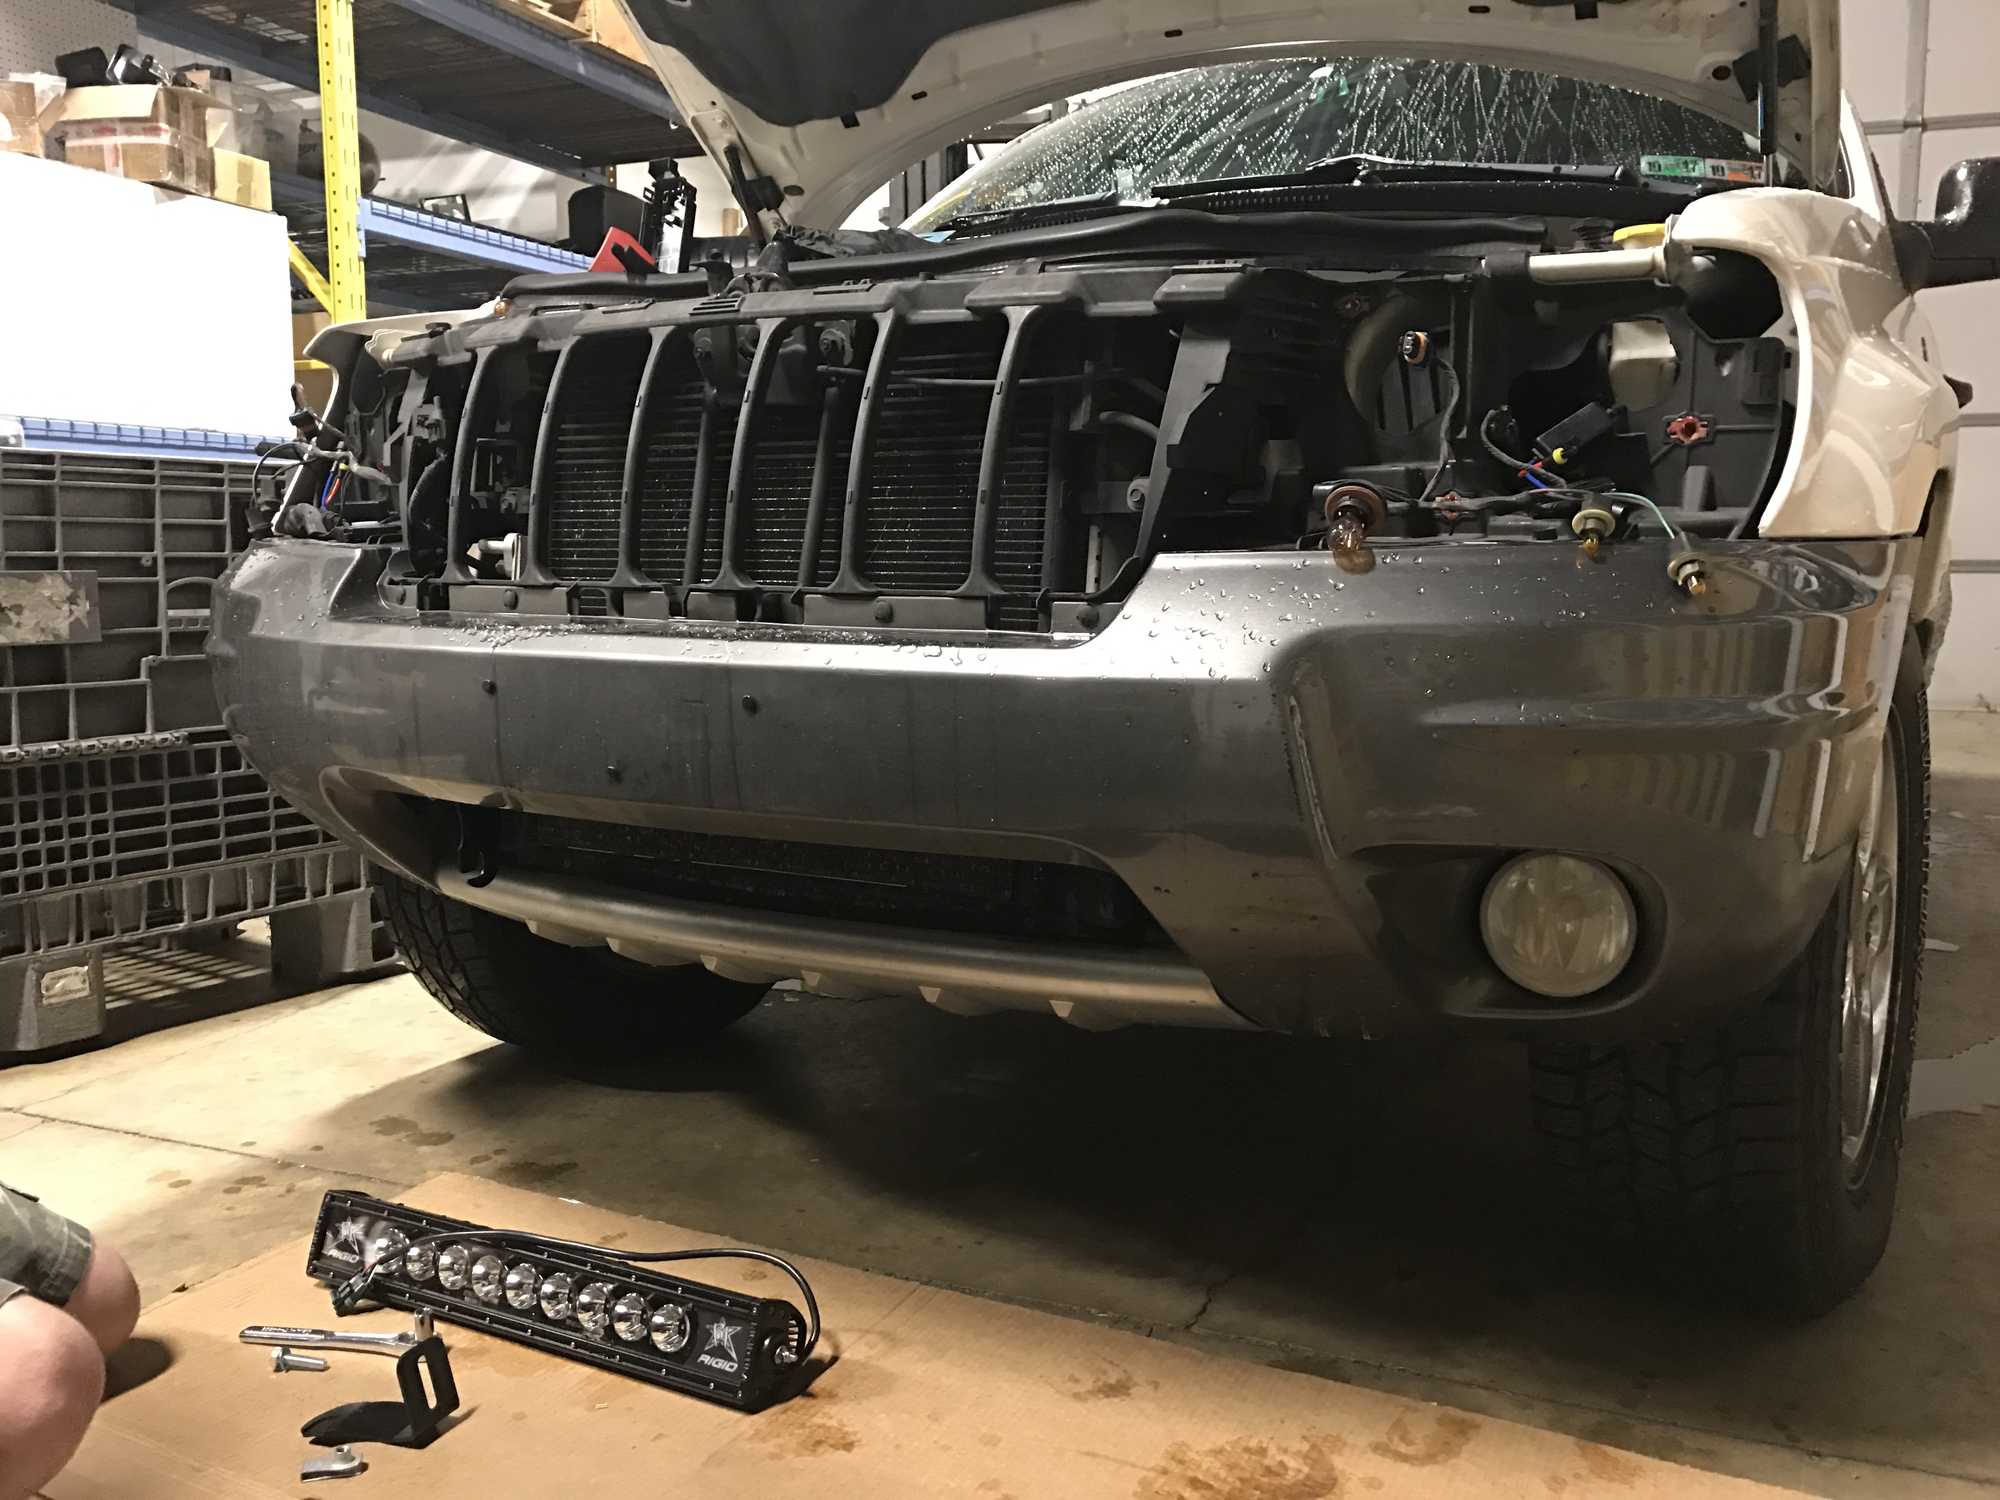
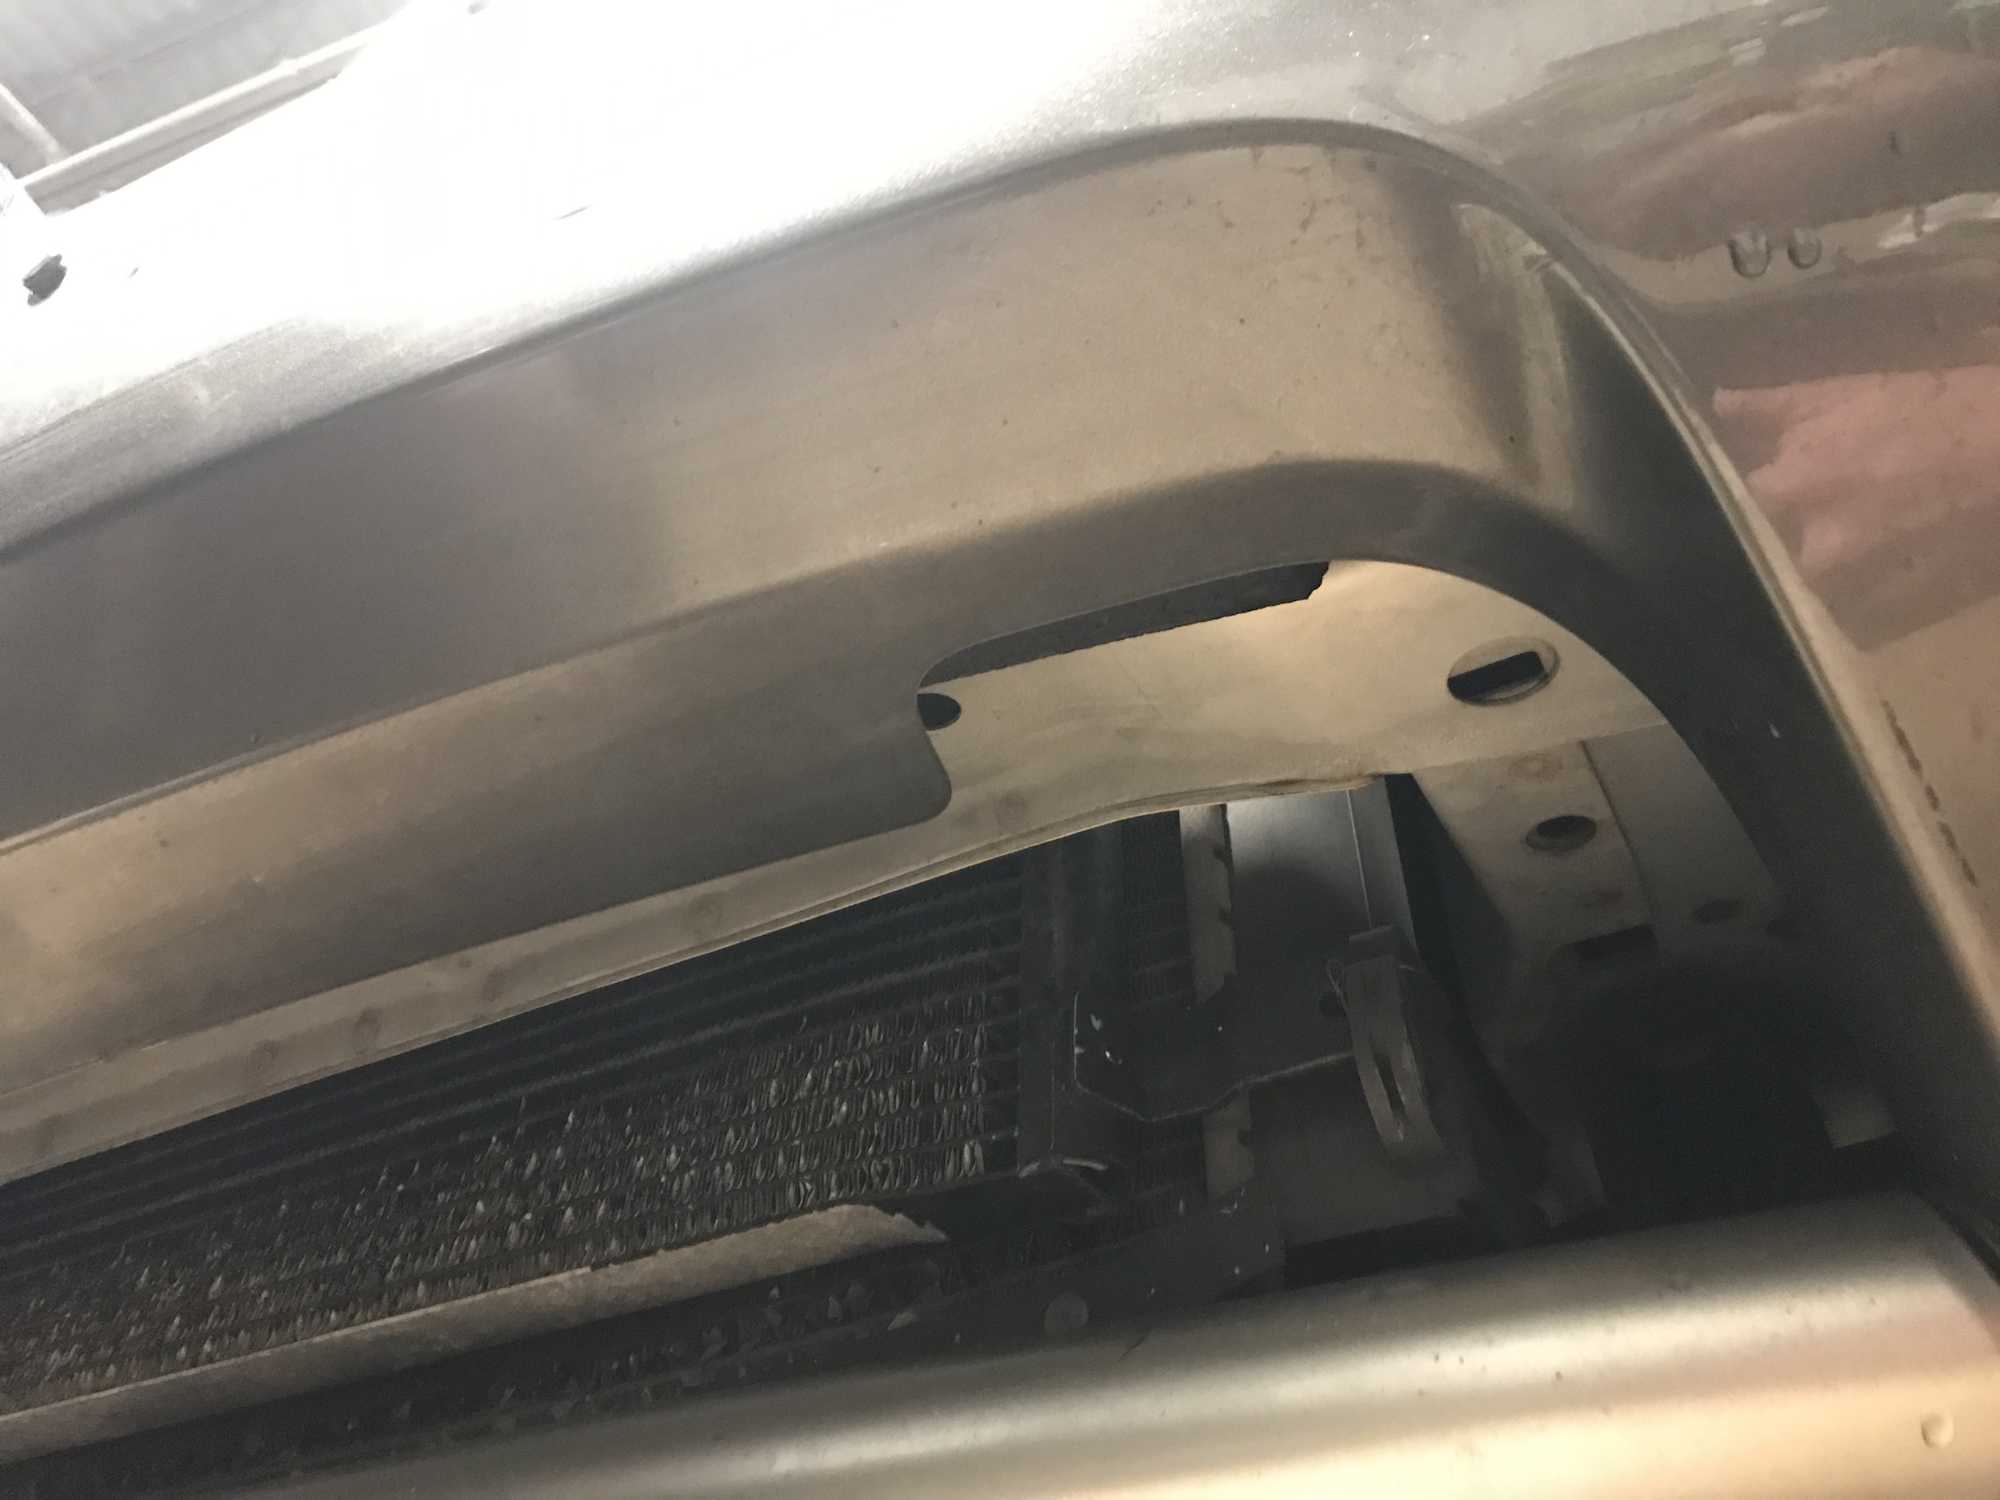
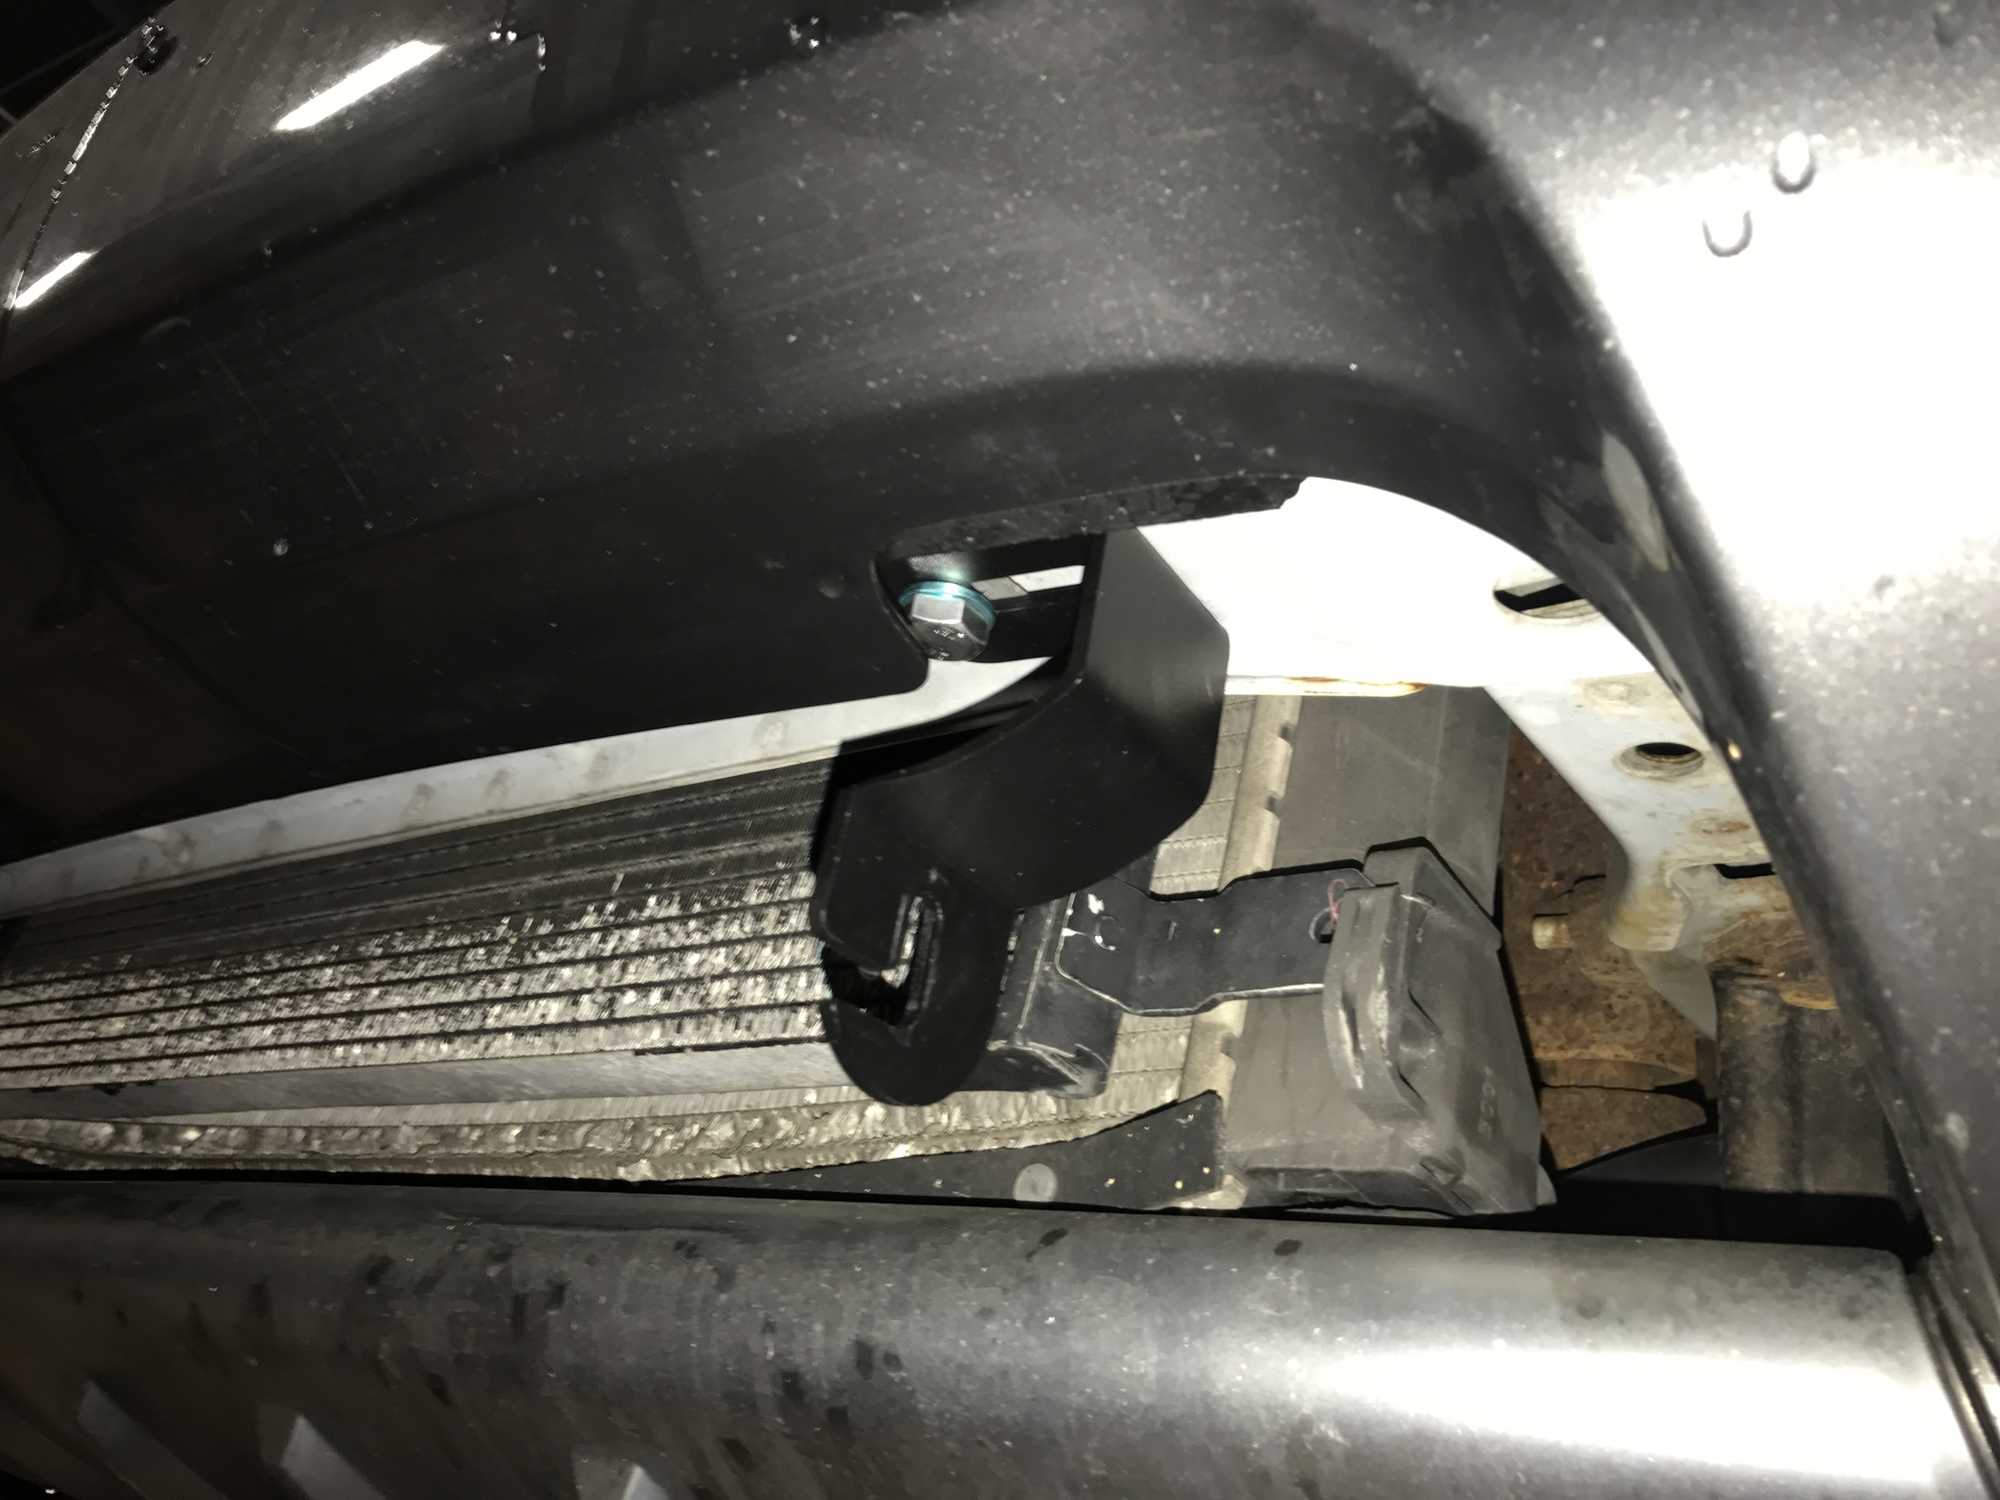
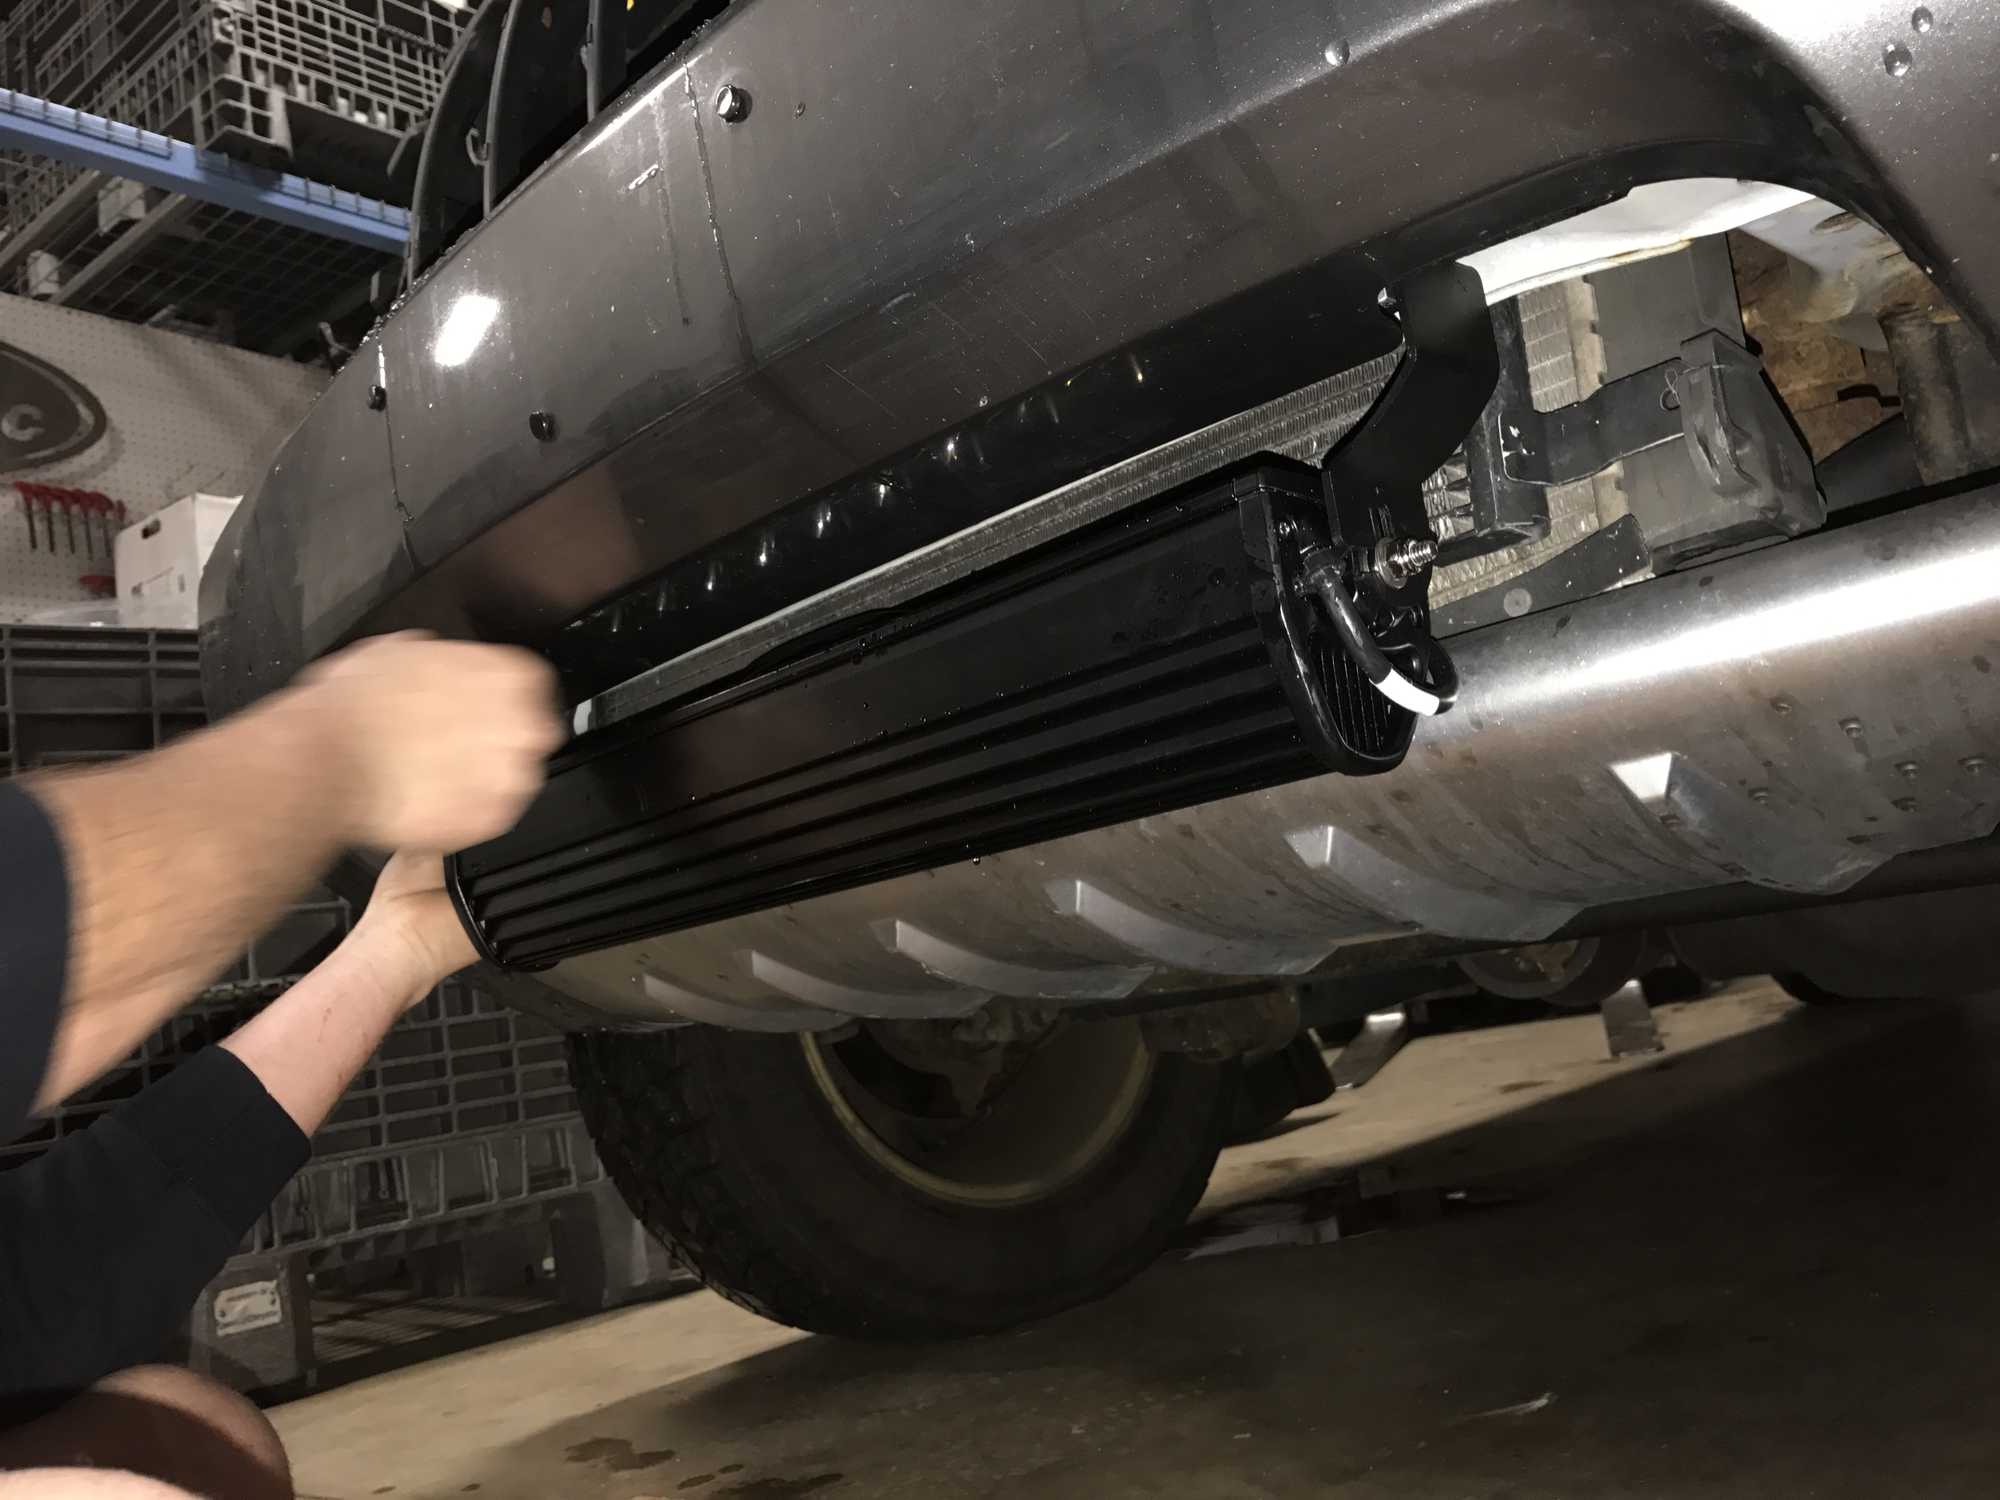
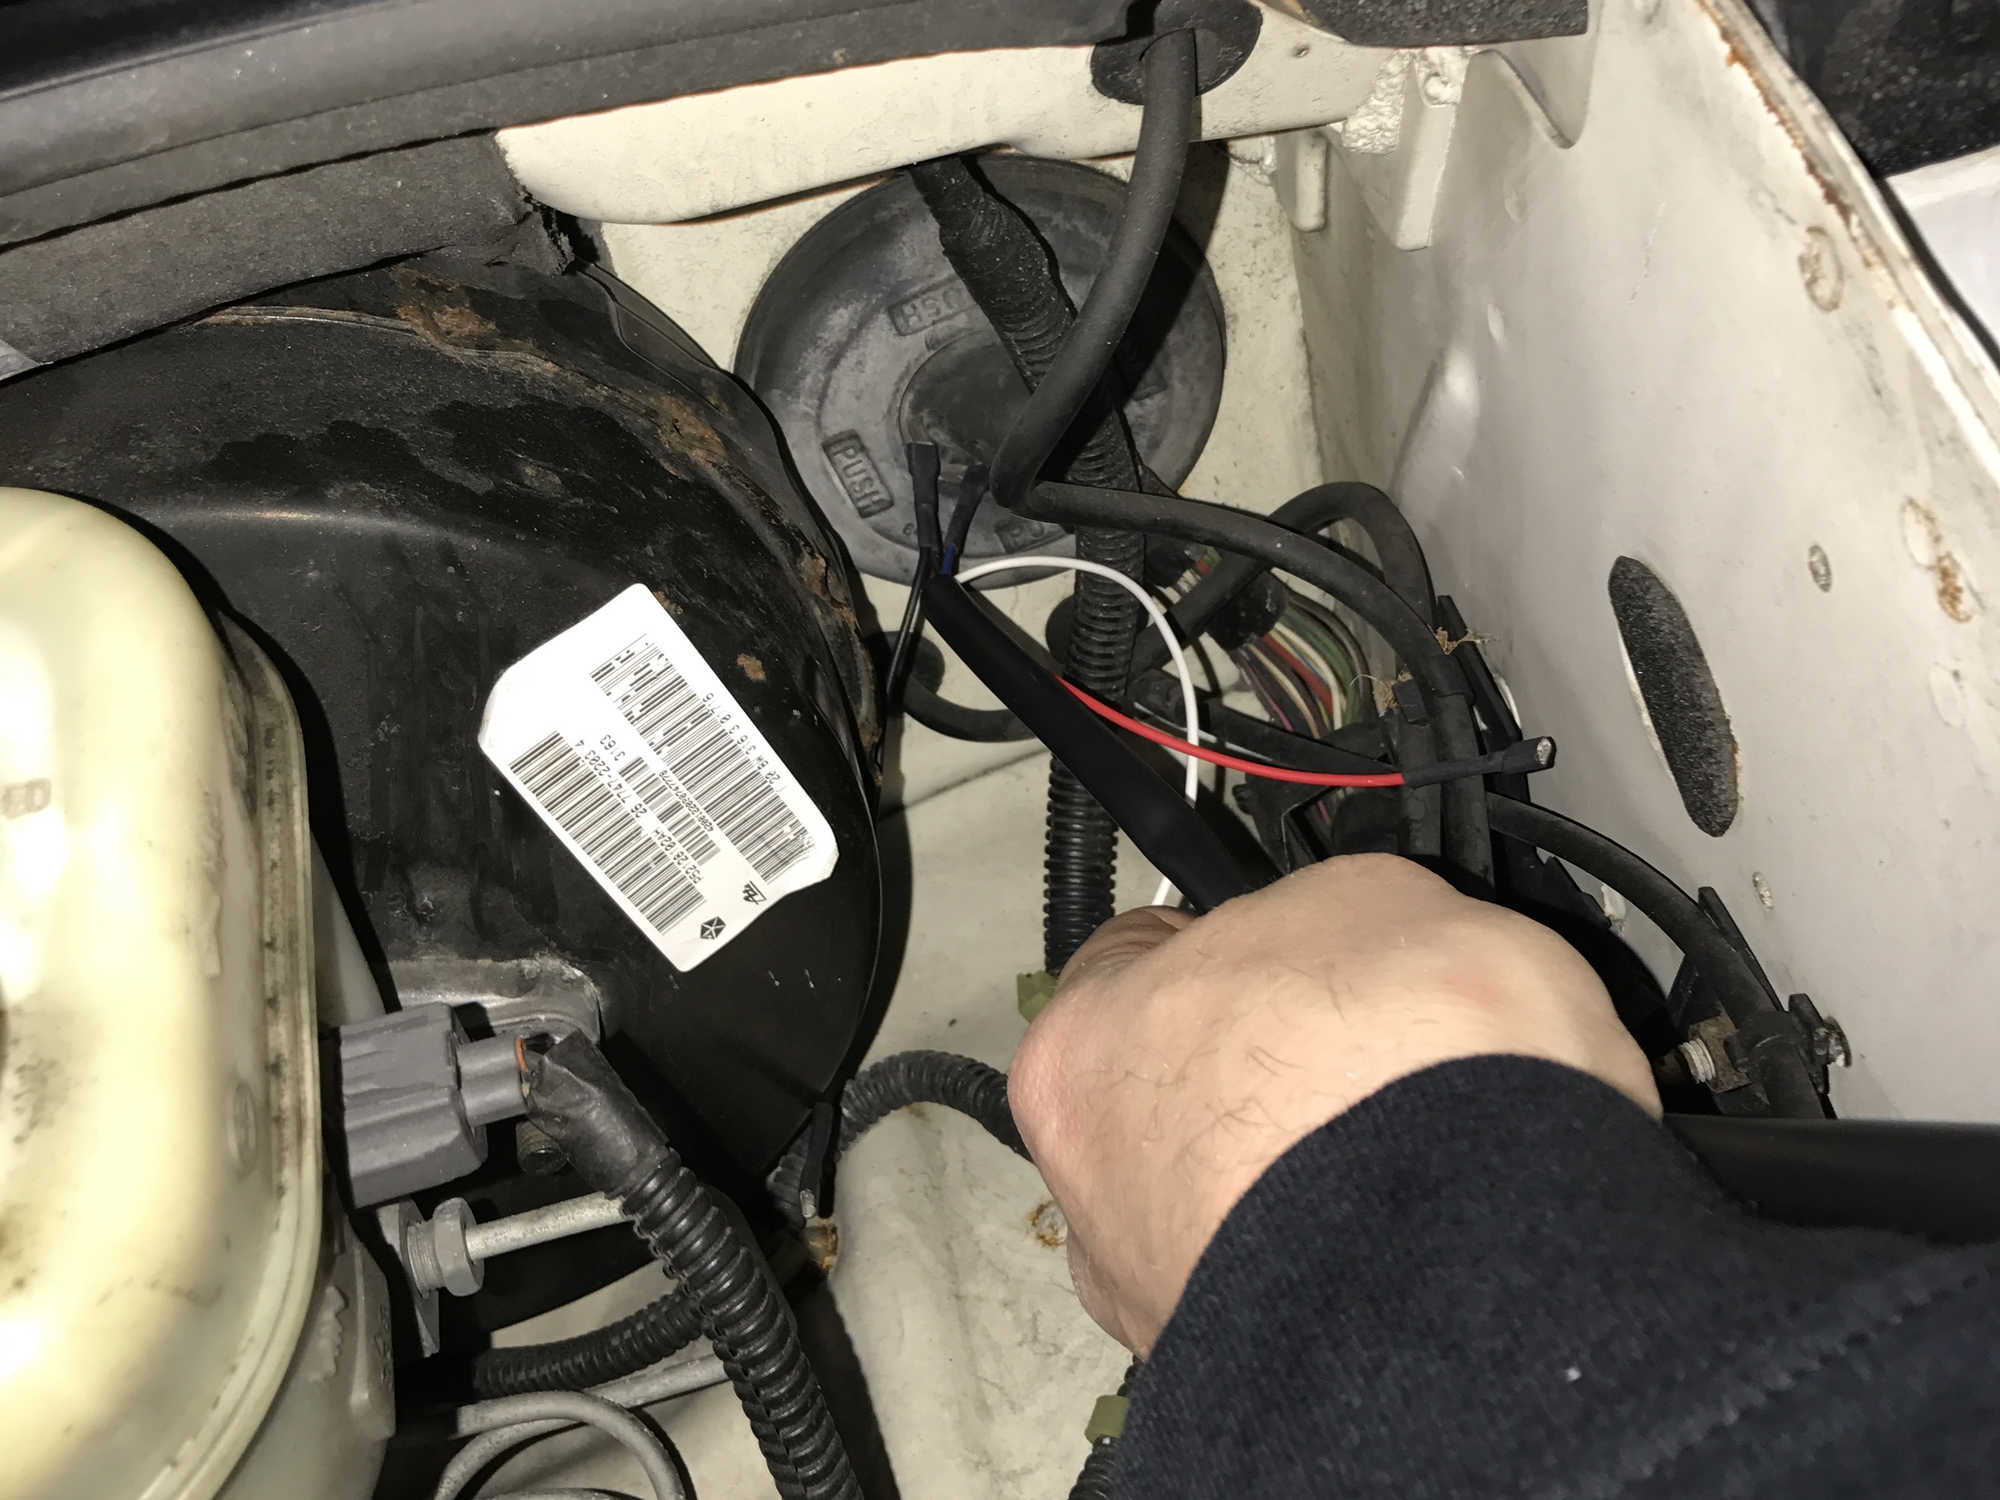
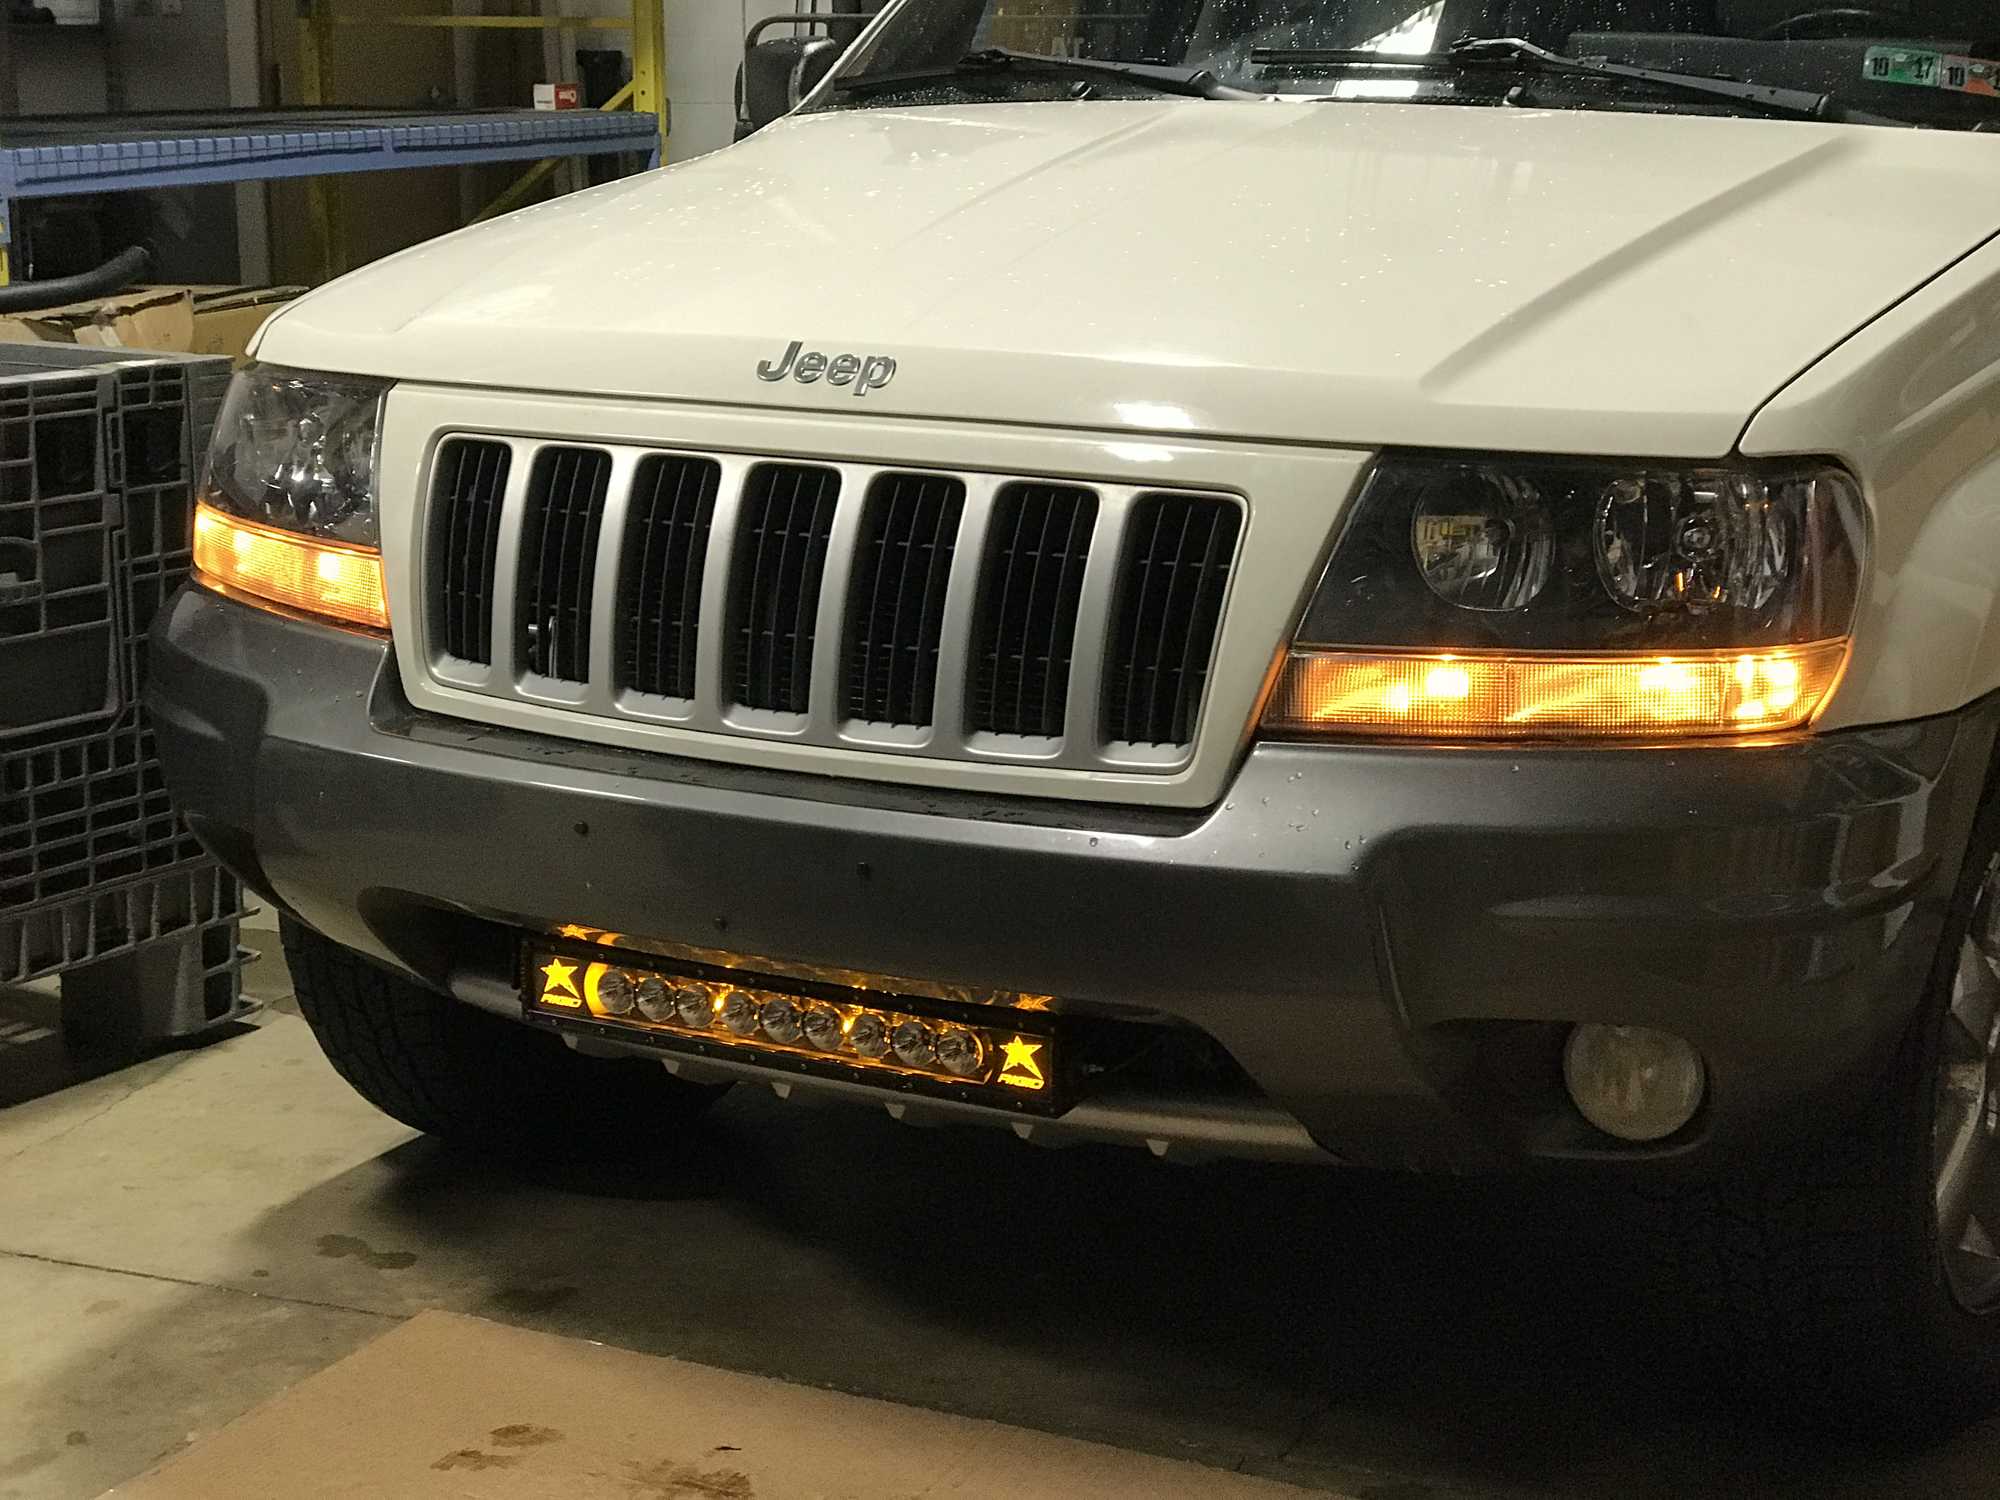
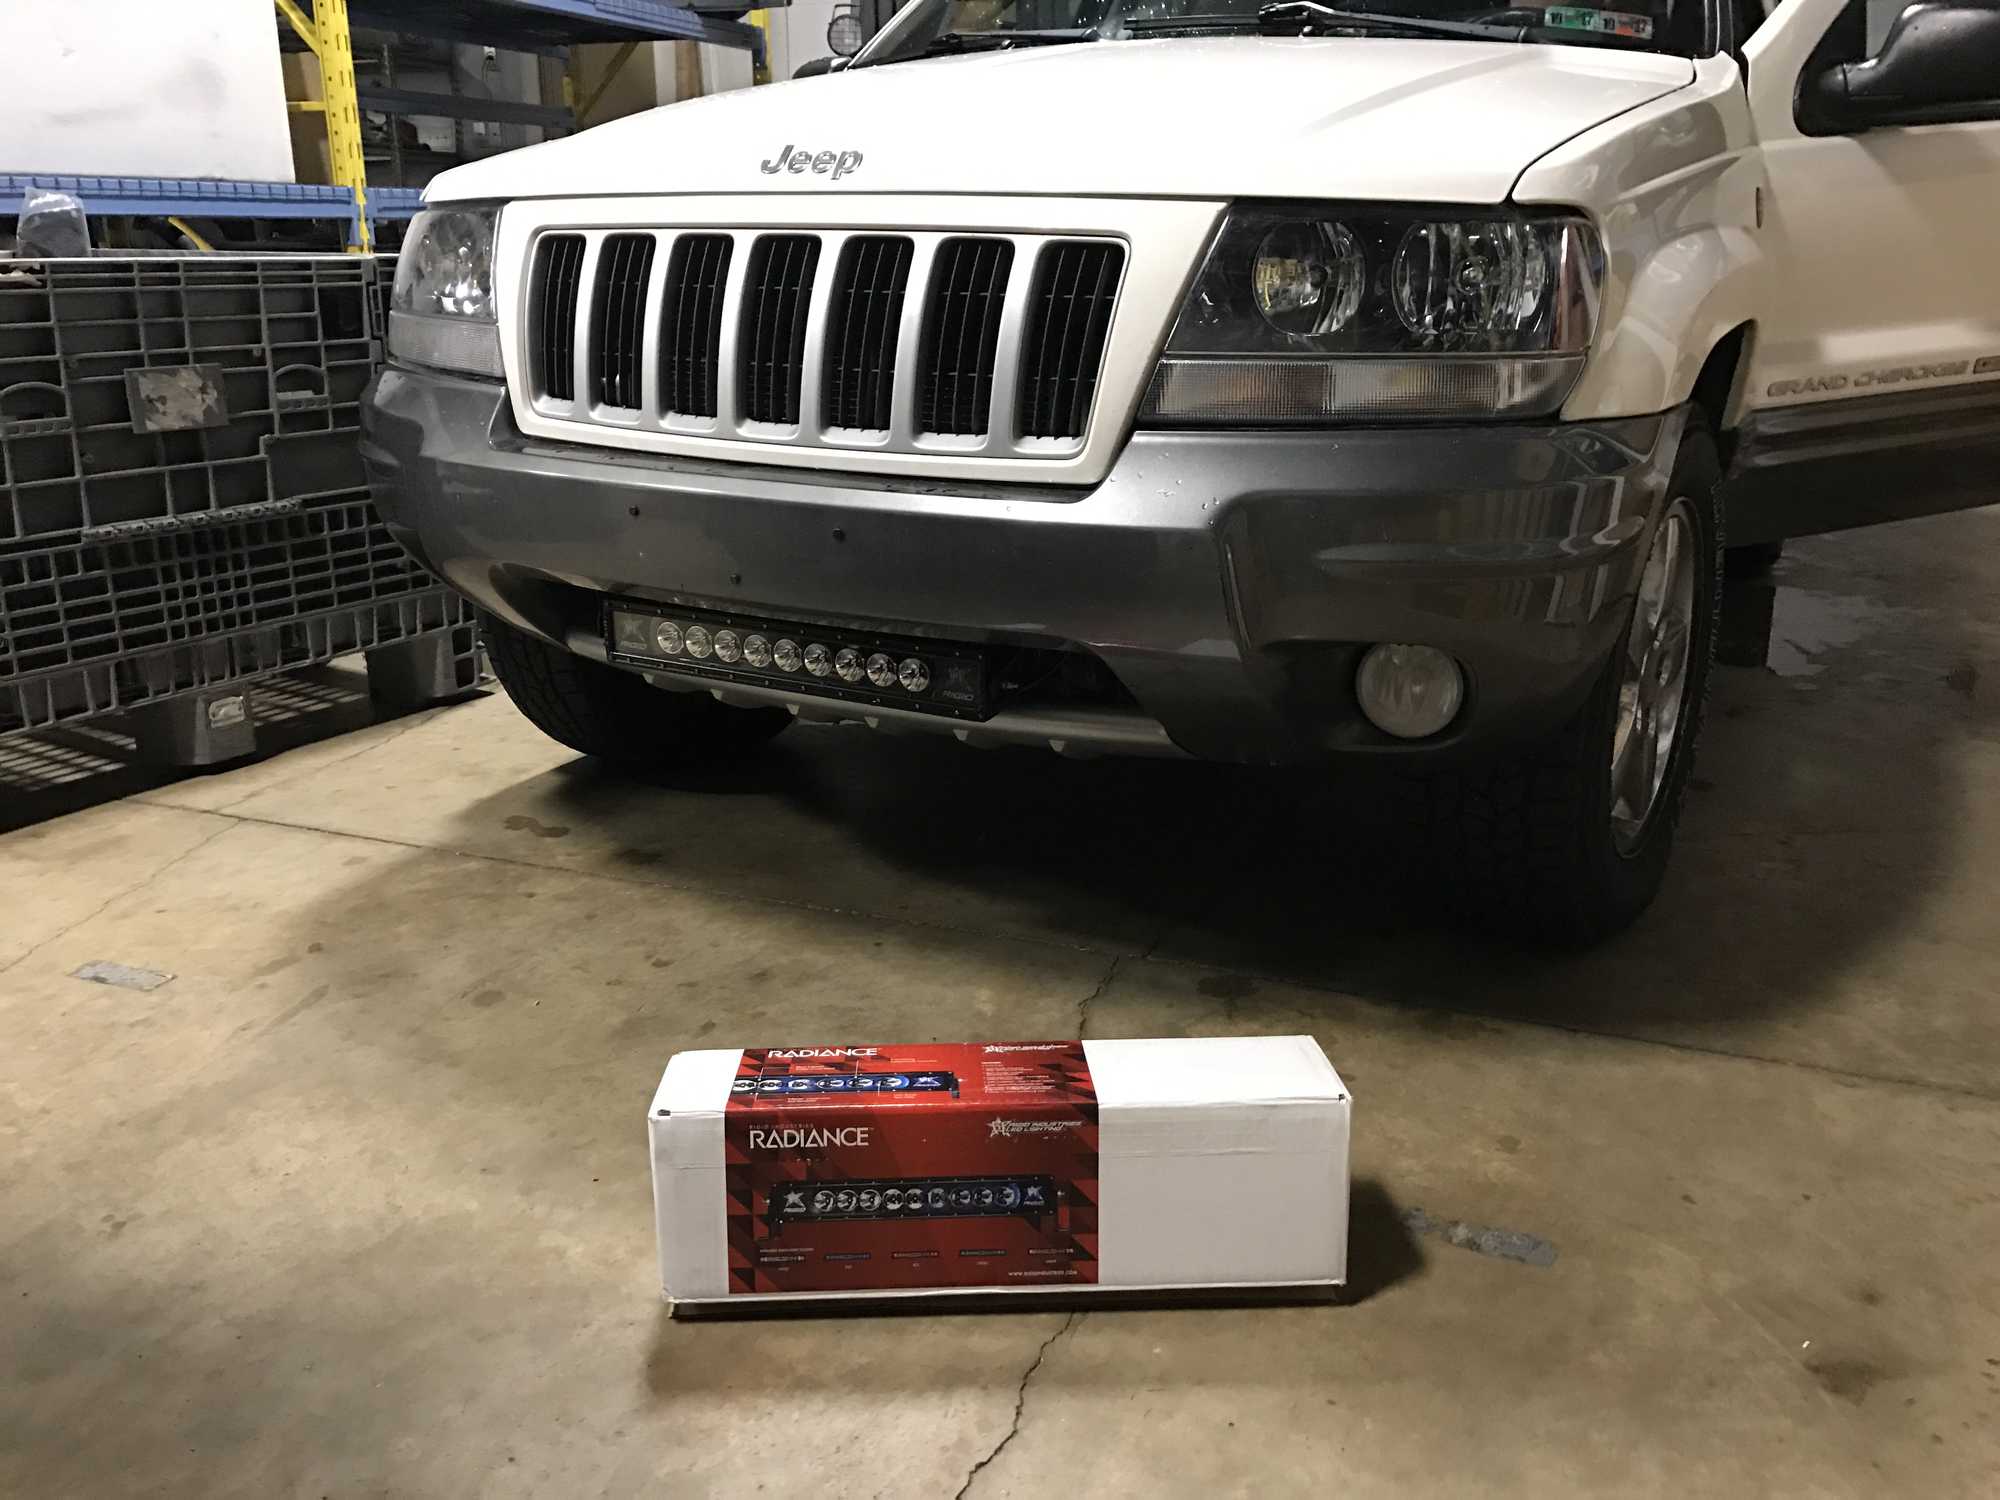
I have a 50" Radiance™ LED Light Bar on my Cherokee that looks great with just the back-lighting on and lights up the trails at night. Rigid's quality and the very affordable price point of the Radiance line made adding a 20" Radiance bar in the lower grille opening a no-brainer! Unfortunately Quadratec doesn't offer any mounting brackets that fit the WJ, so I turned to 4x4 Fabworks for their 20" LED Bumper Brackets. They installed easily, especially since my WJ doesn't have the factory tow hooks... yet. I ran the Radiance Wiring Harness through the engine bay, and then through and existing boot in the firewall. The dash panel just below the gauge cluster seemed like the perfect place to mount the switches for the Radiance's backlighting and the primary lights.
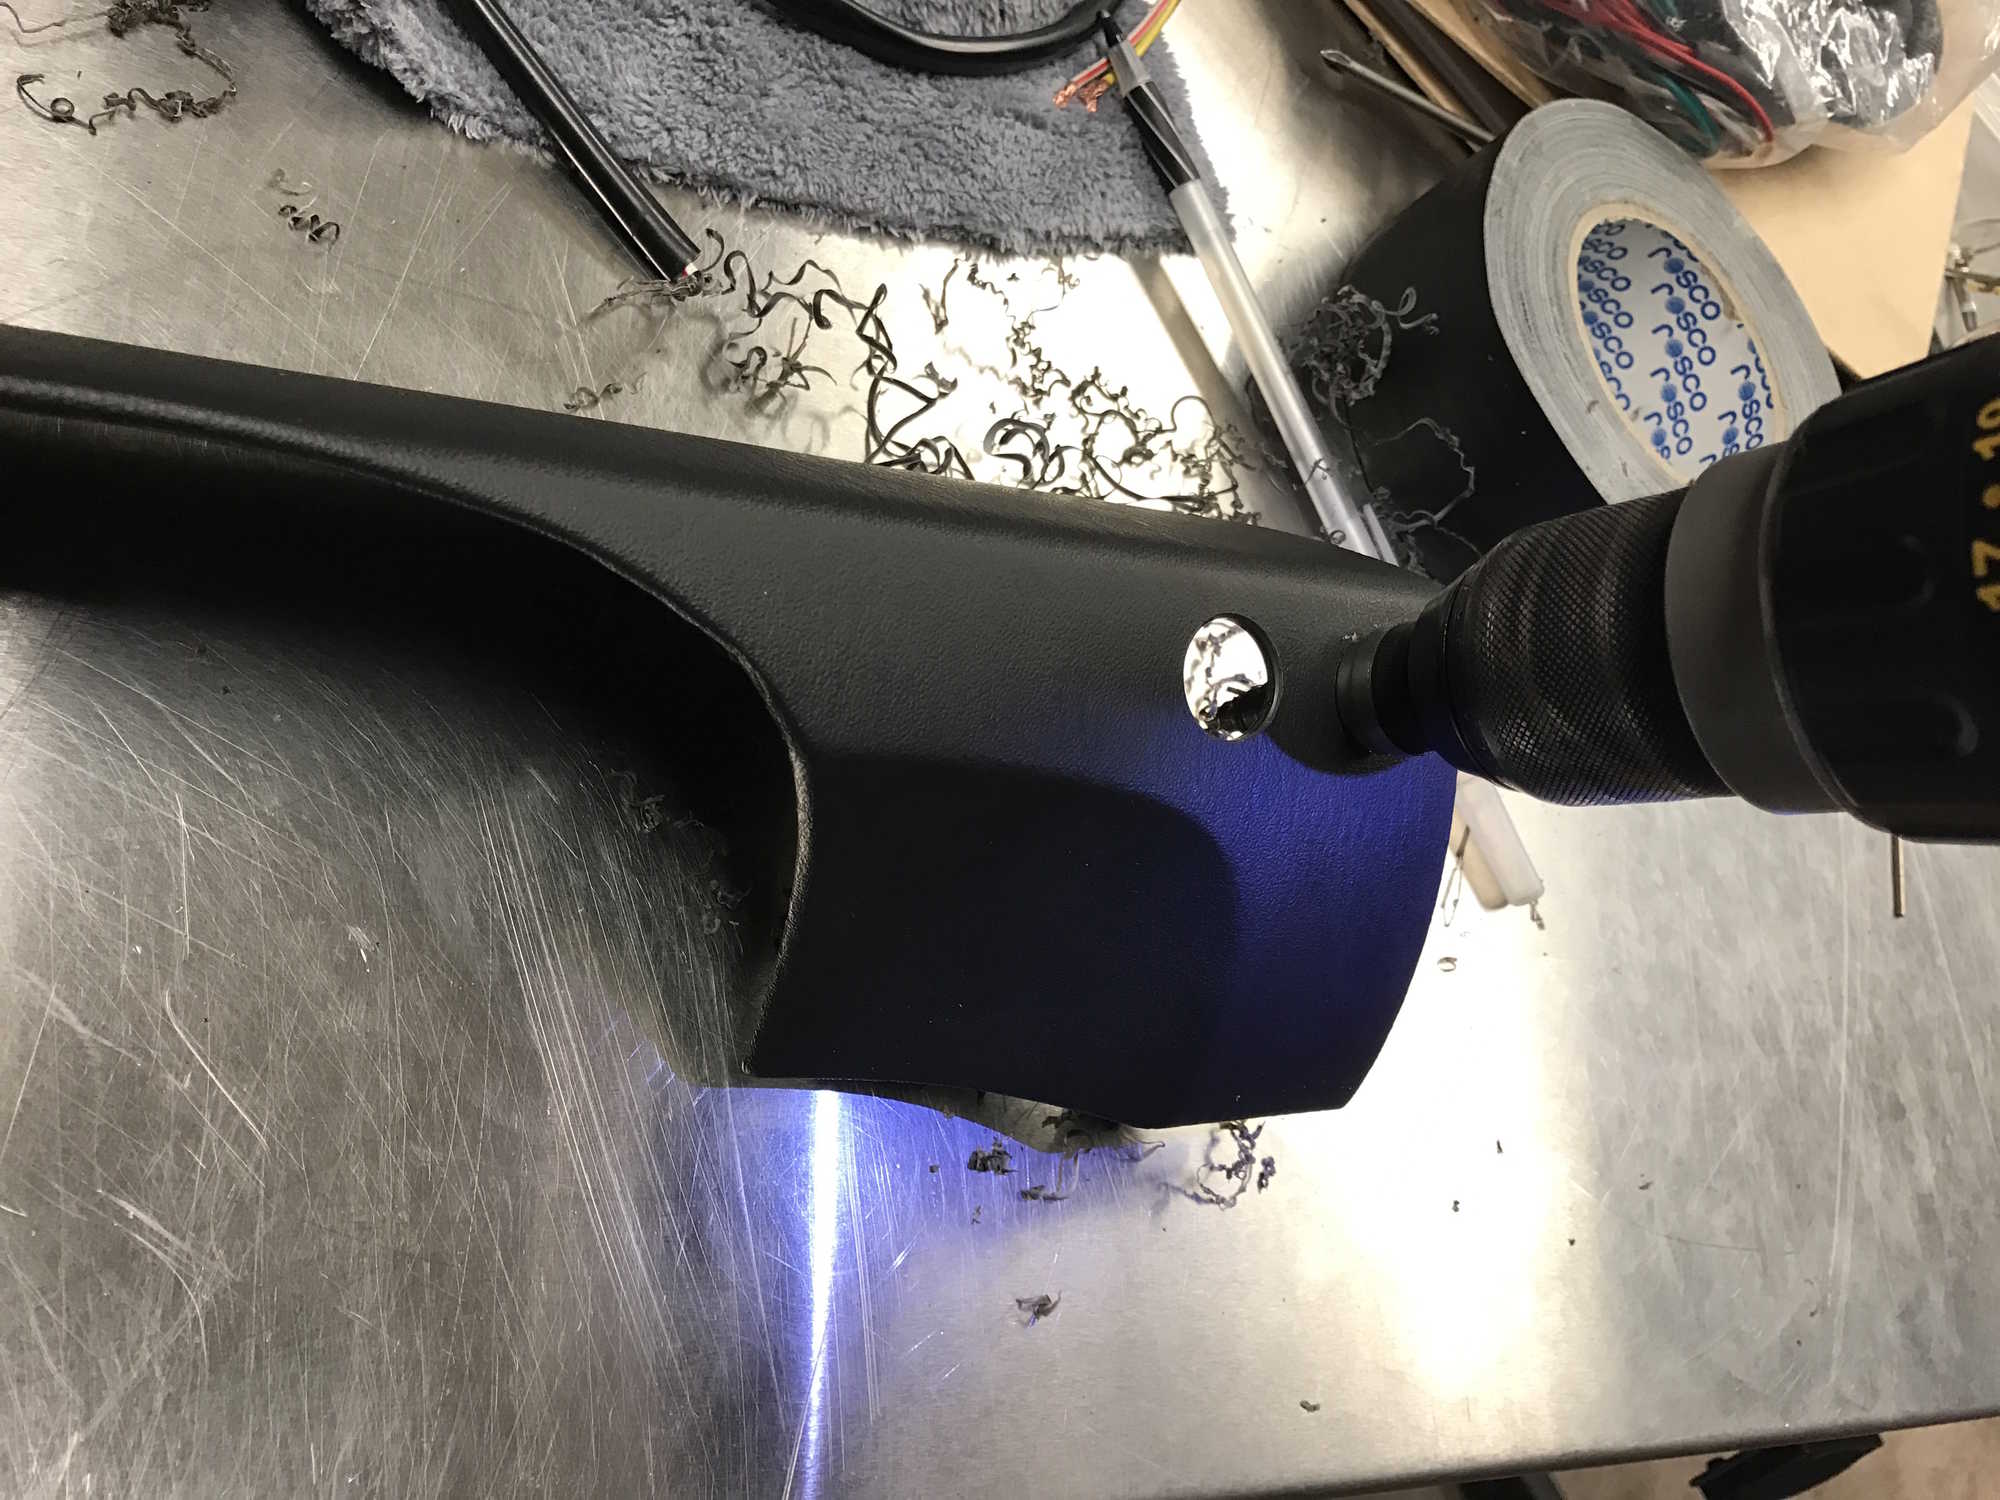
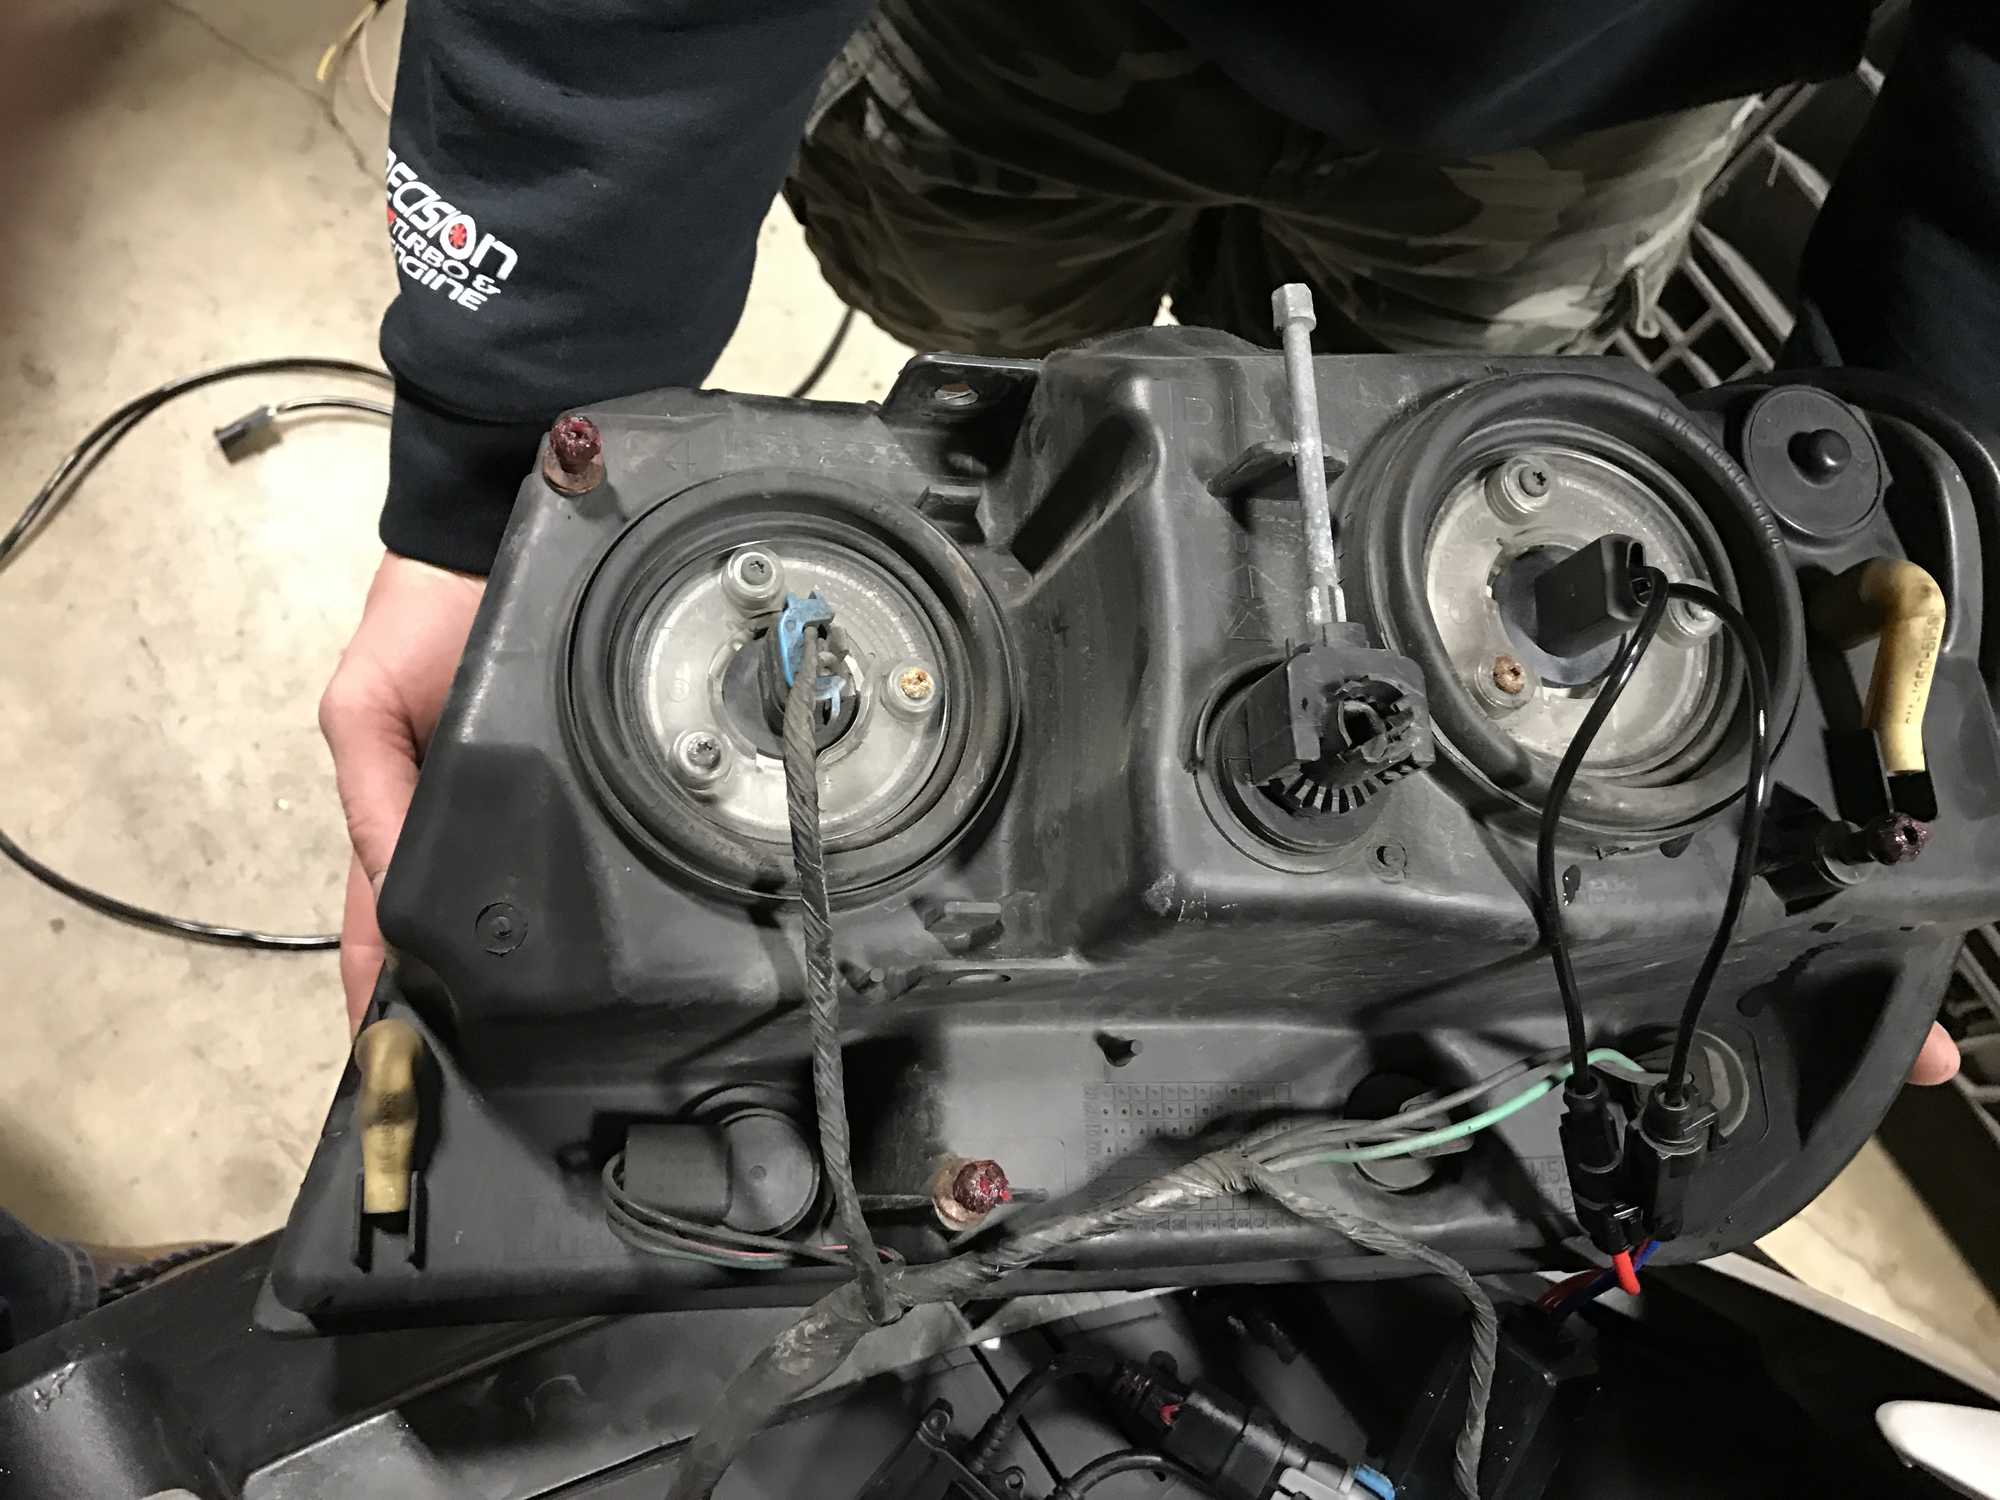
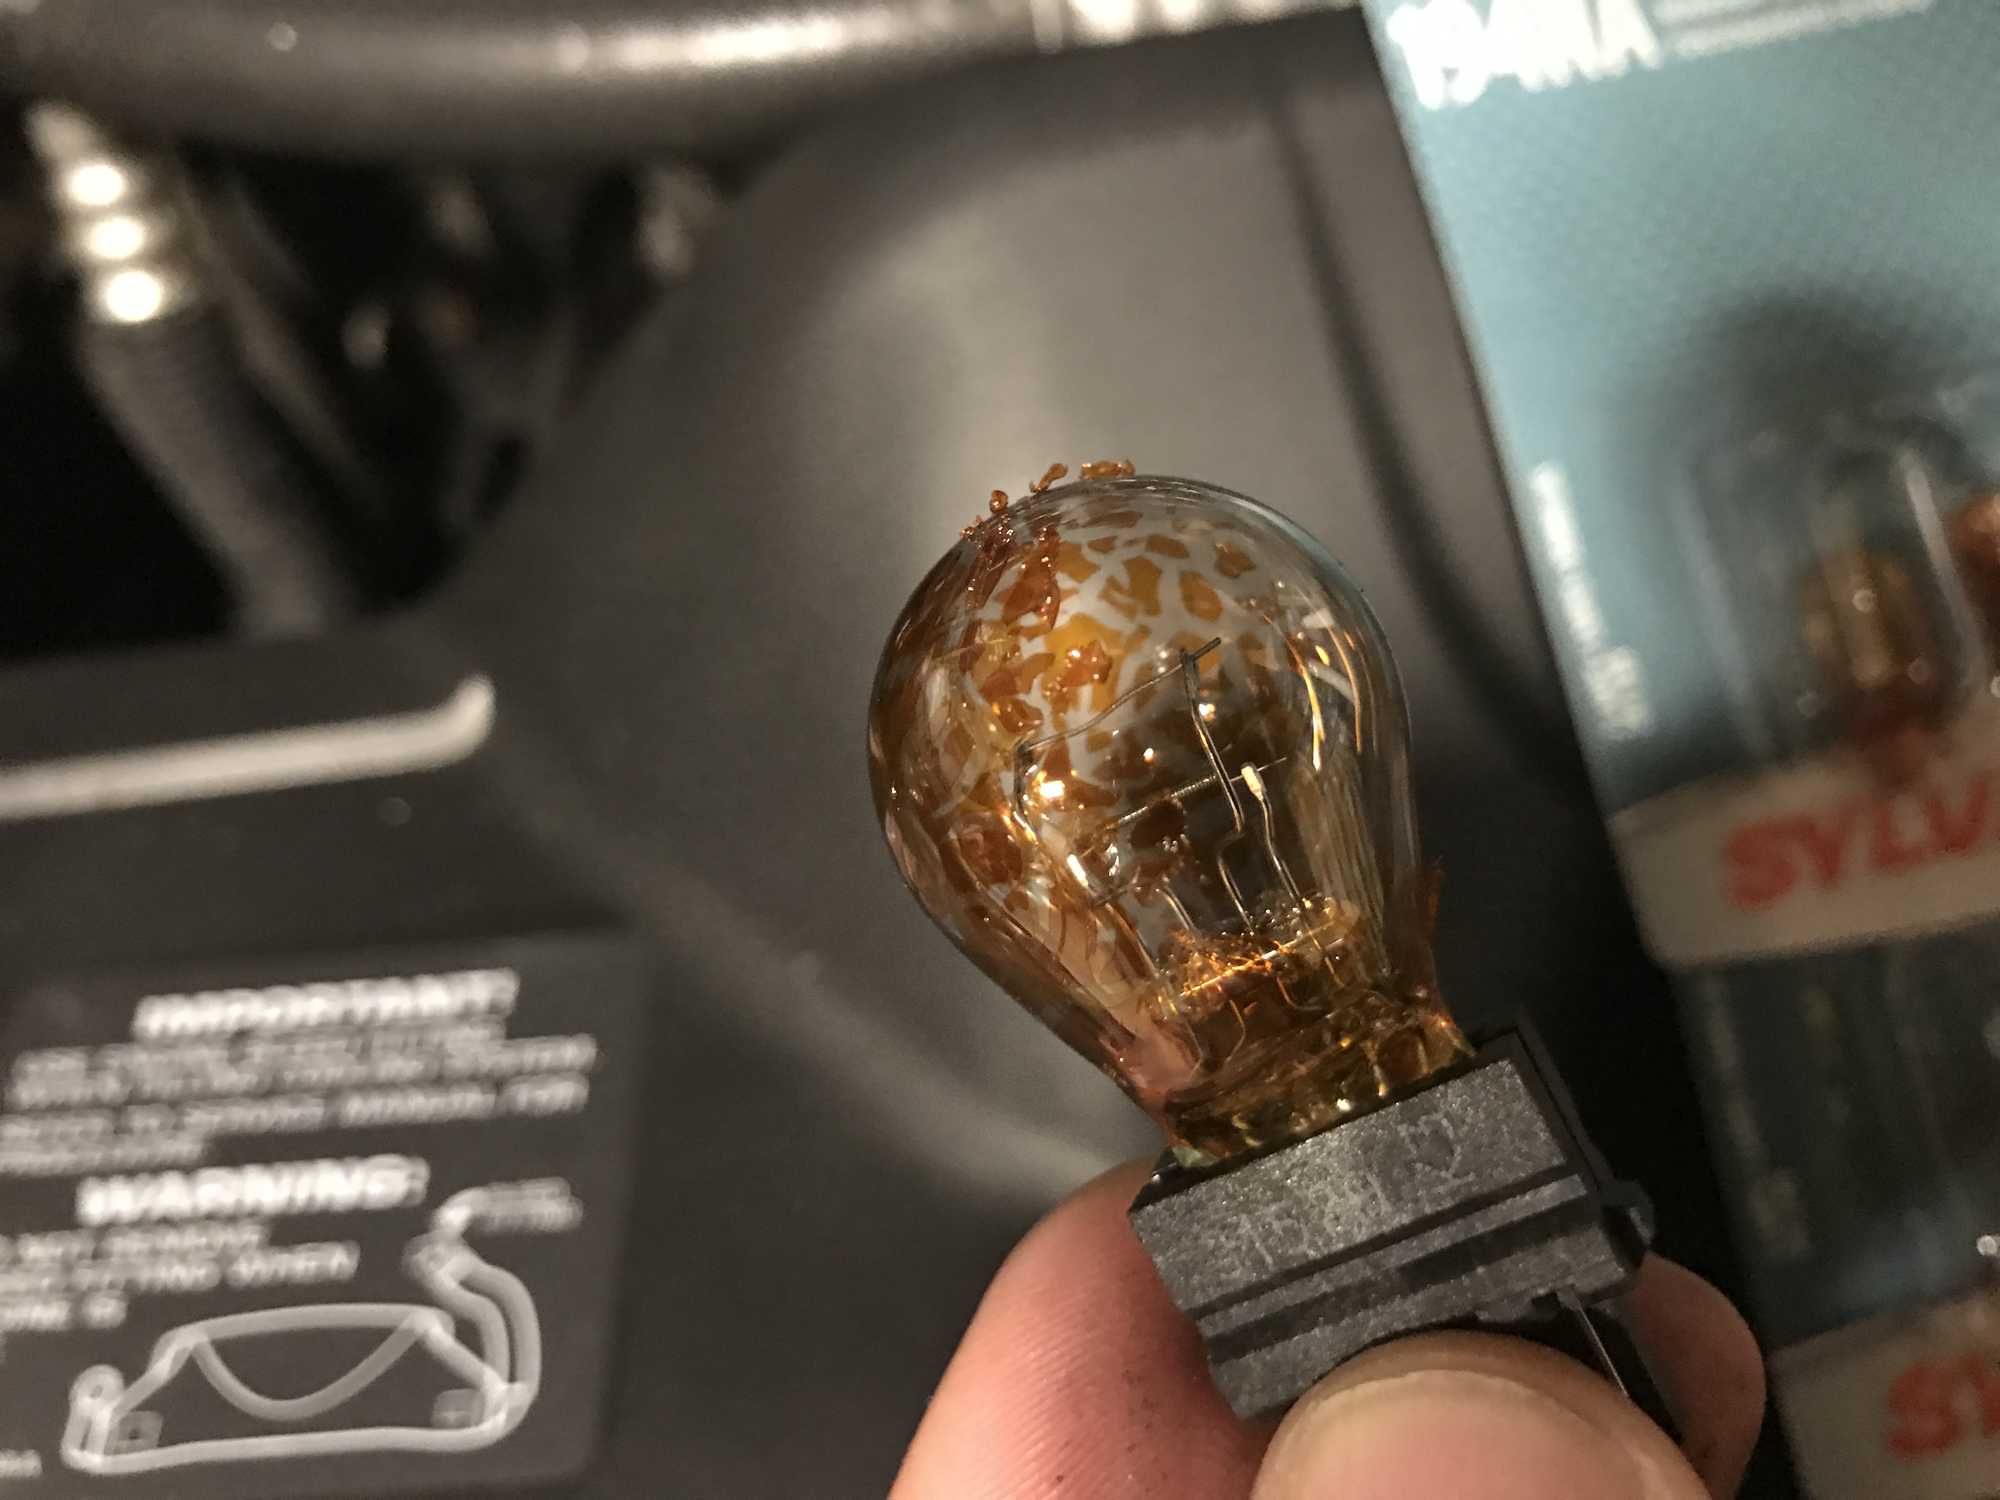
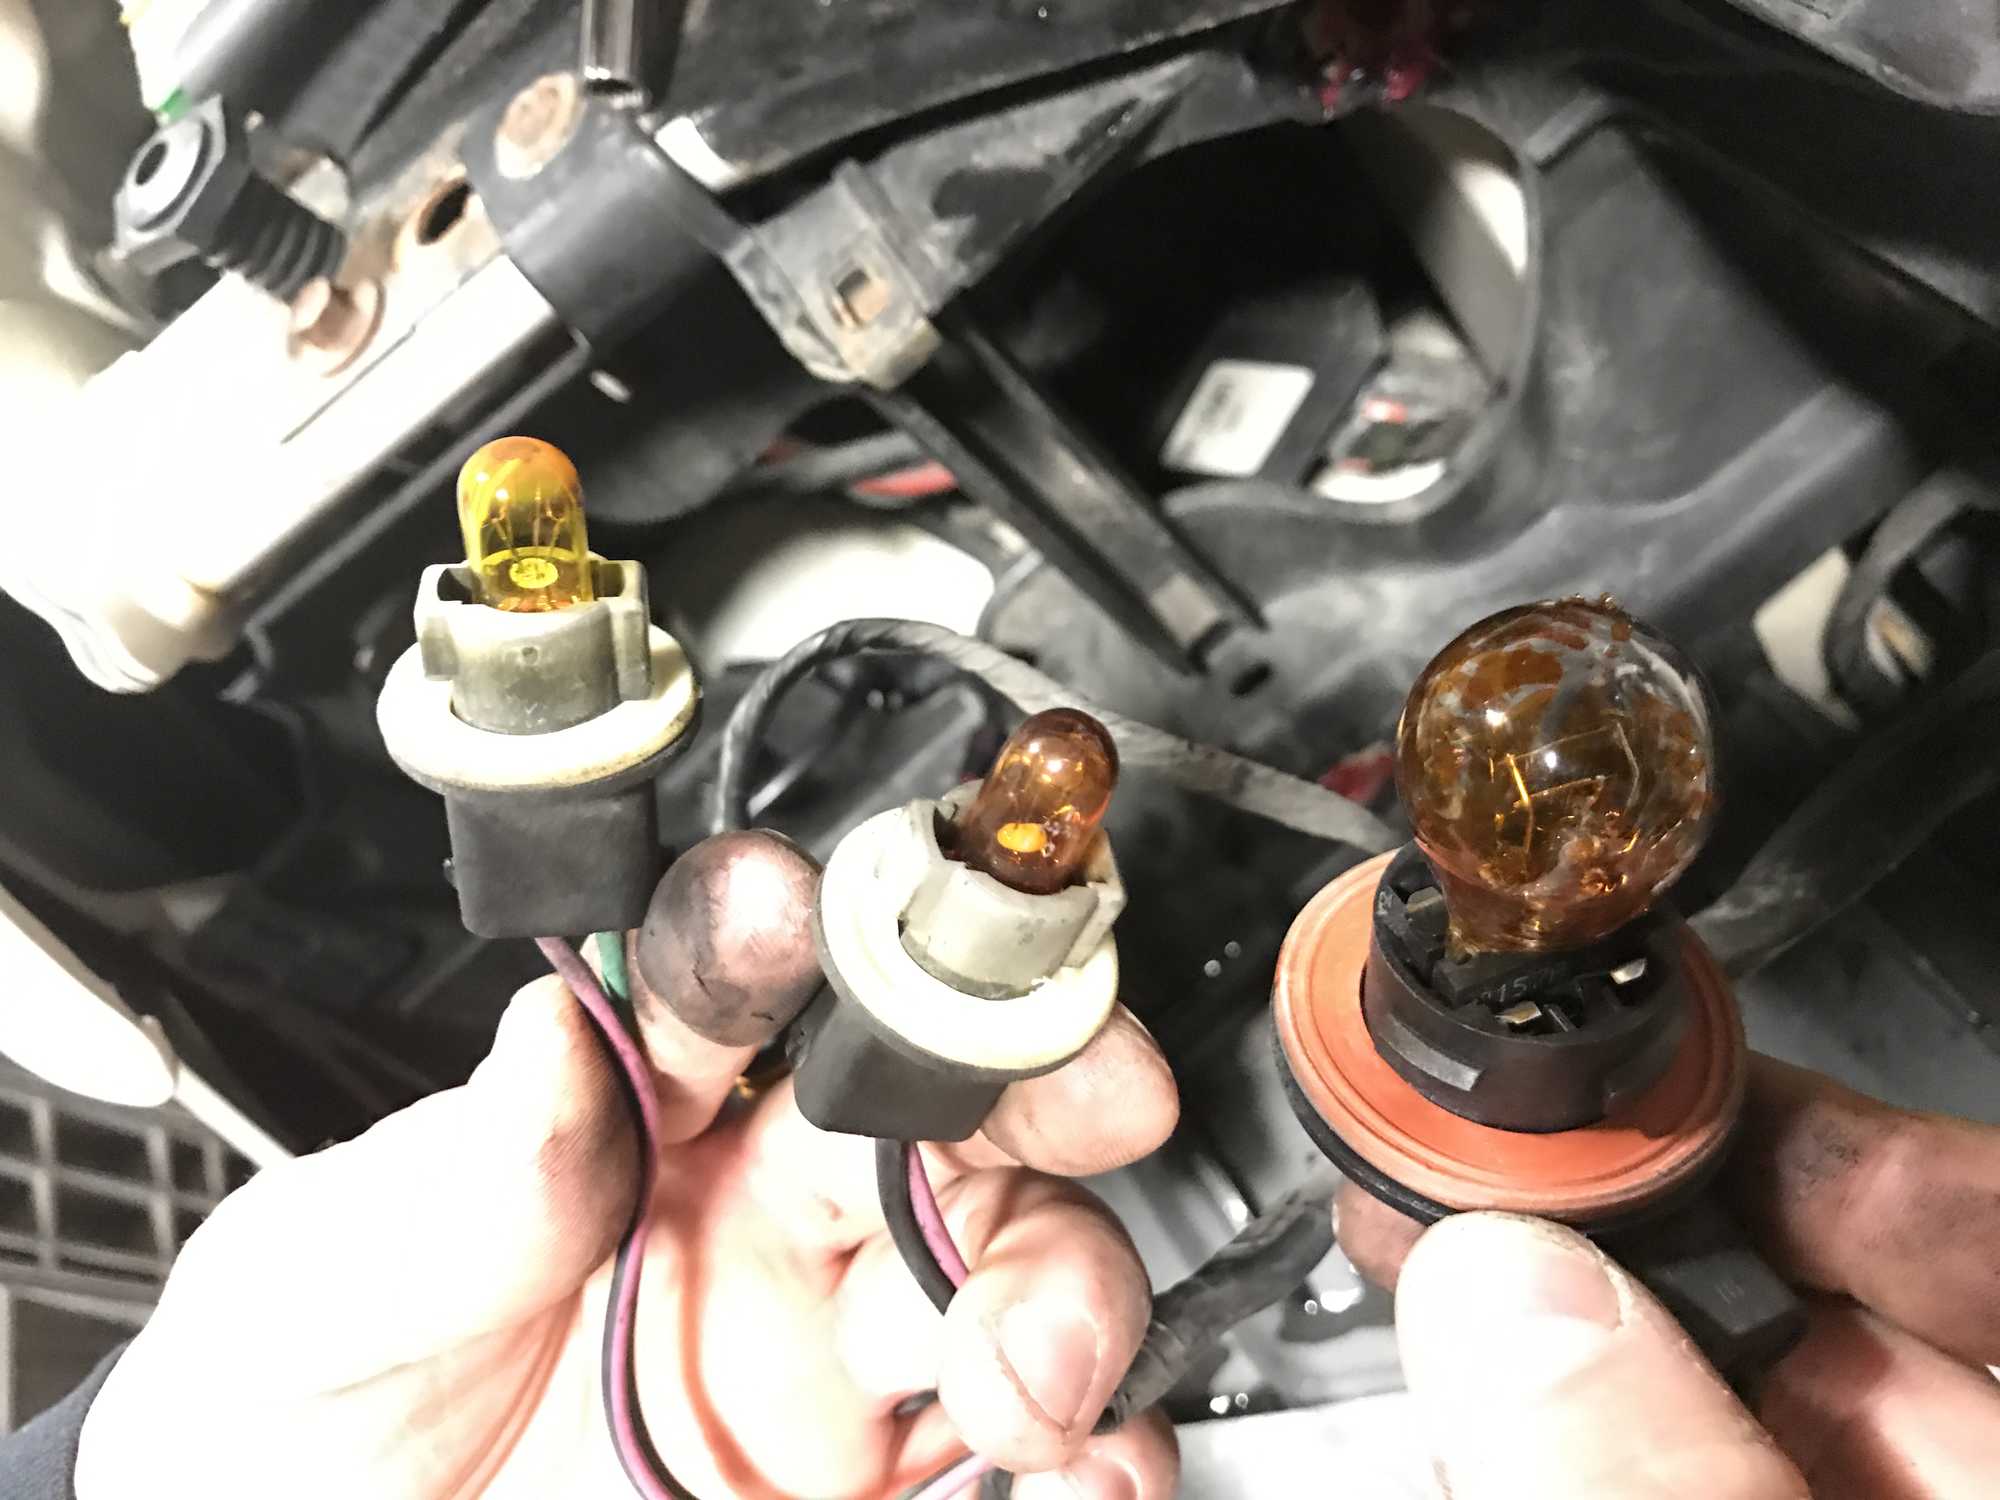
Since I already had the front grill pulled apart so I could cleanly run the Radiance wiring harness, is seemed like the perfect time to take care of the worn out marker lights. To remove the headlights, you just have to remove the one 7mm bolt on top of the headlight, then pull HARD to unclip the 4 ball & socket clips on the backside of the headlight. You can see just how badly faded some of the bulbs were. The amber coating on the larger bulbs had completely crackled and flaked off after years of use. I wore a pair of gloves while swapping in the new bulbs, just to be sure I didn't get any oil from my skin on the glass, that could lead to premature fading or cracking of the new bulbs. Once everything was replaced, it was a simple job or replacing the headlights and putting everything back together. Check out the differnce!
Parts Installed

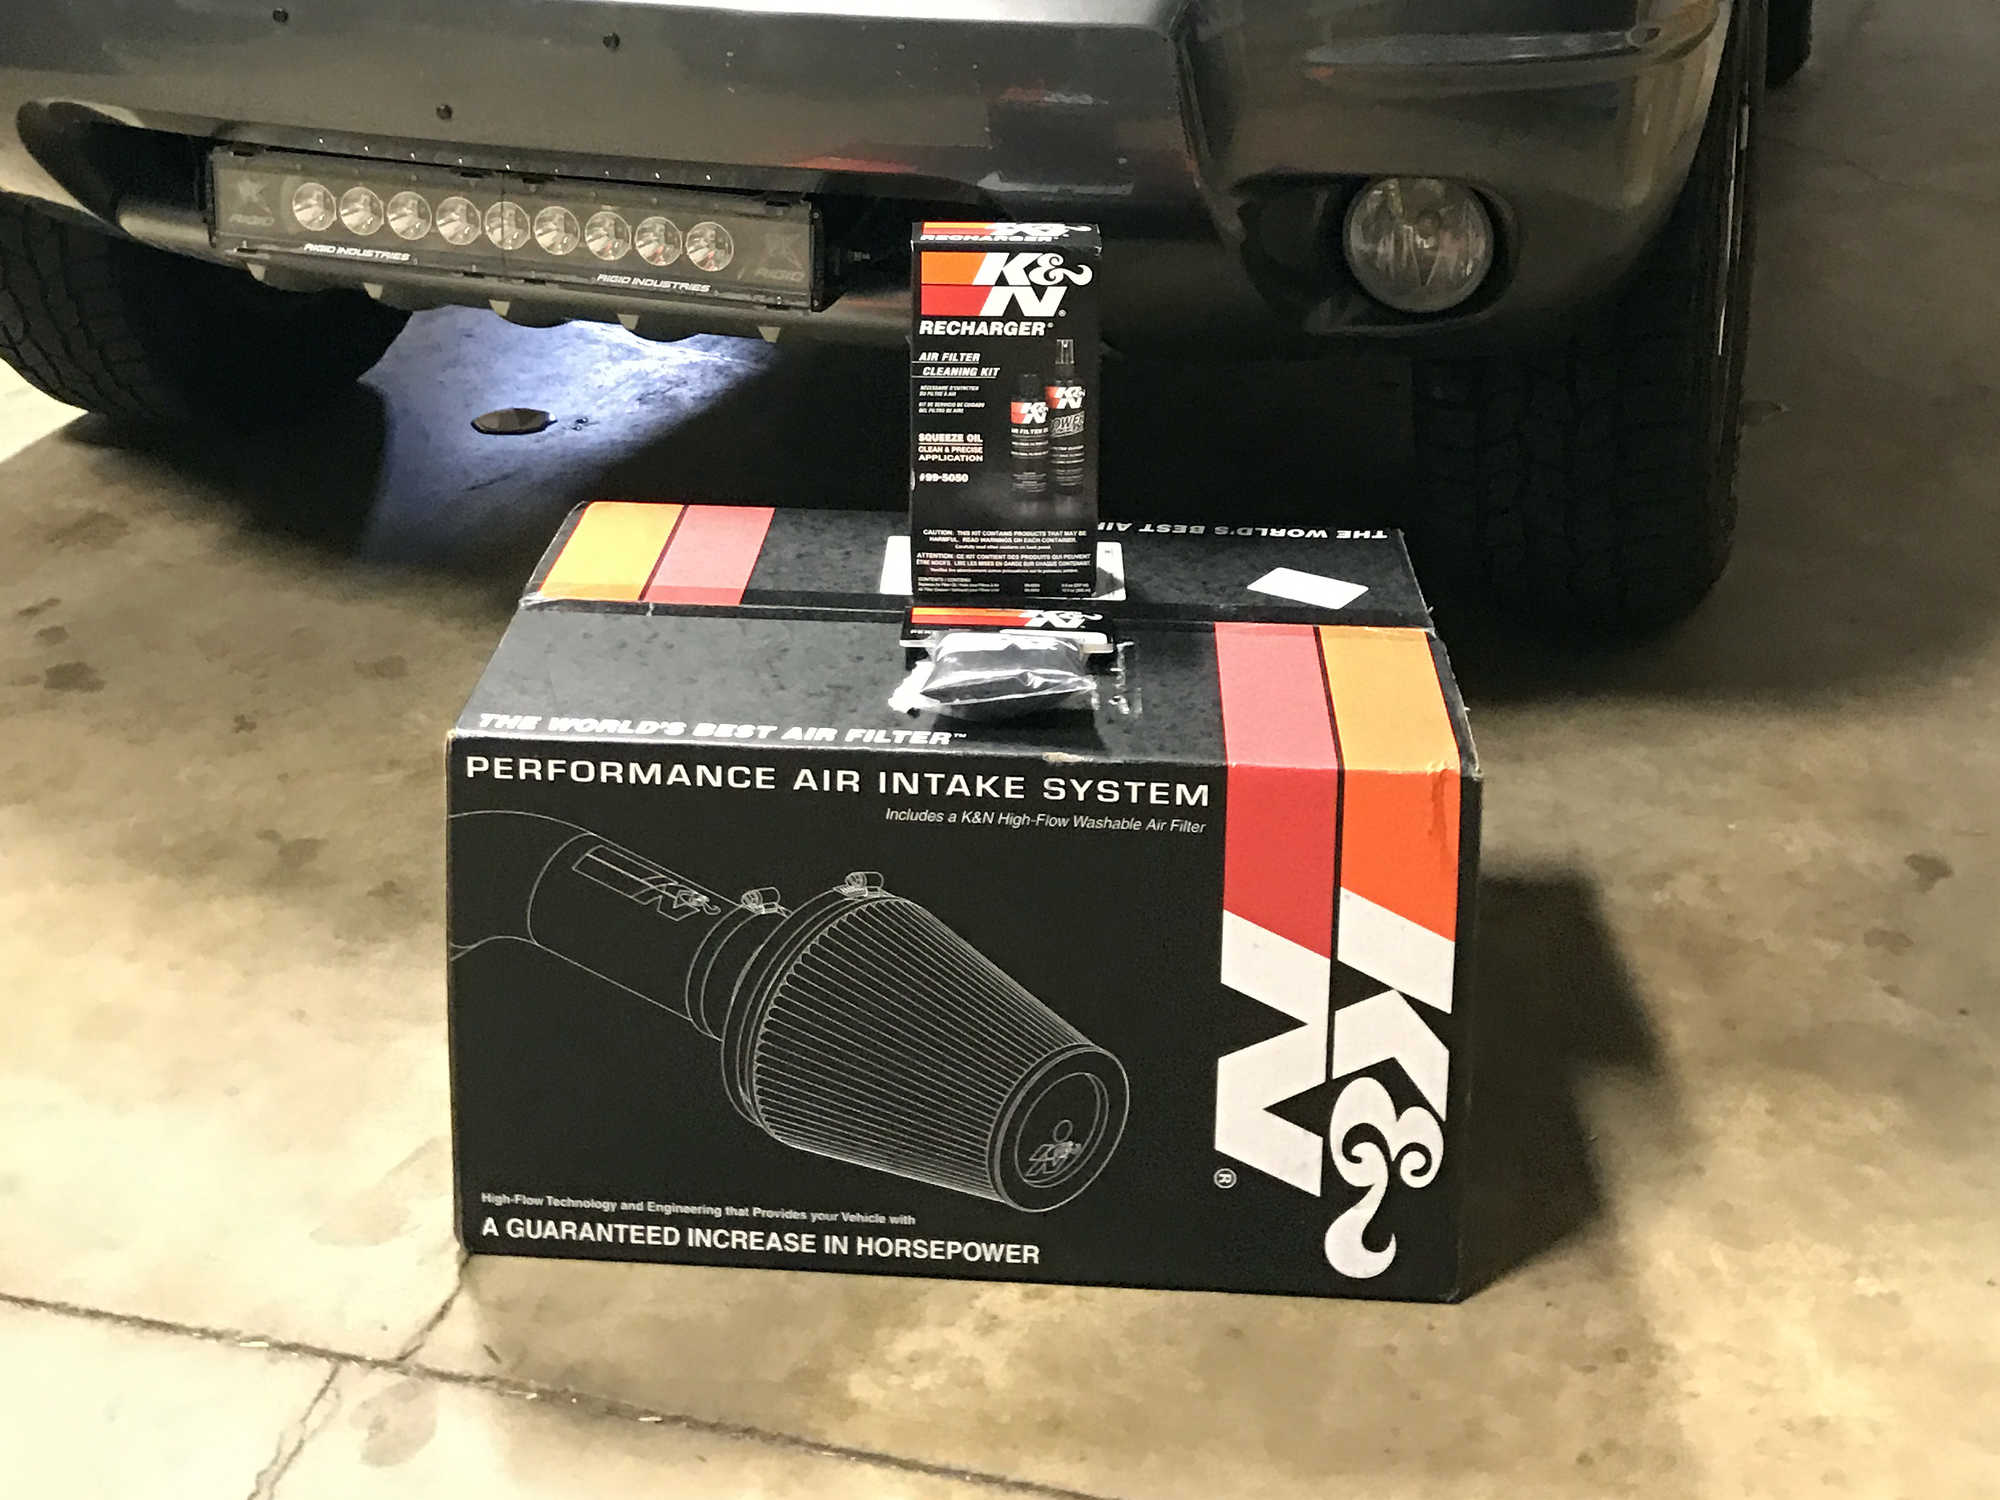
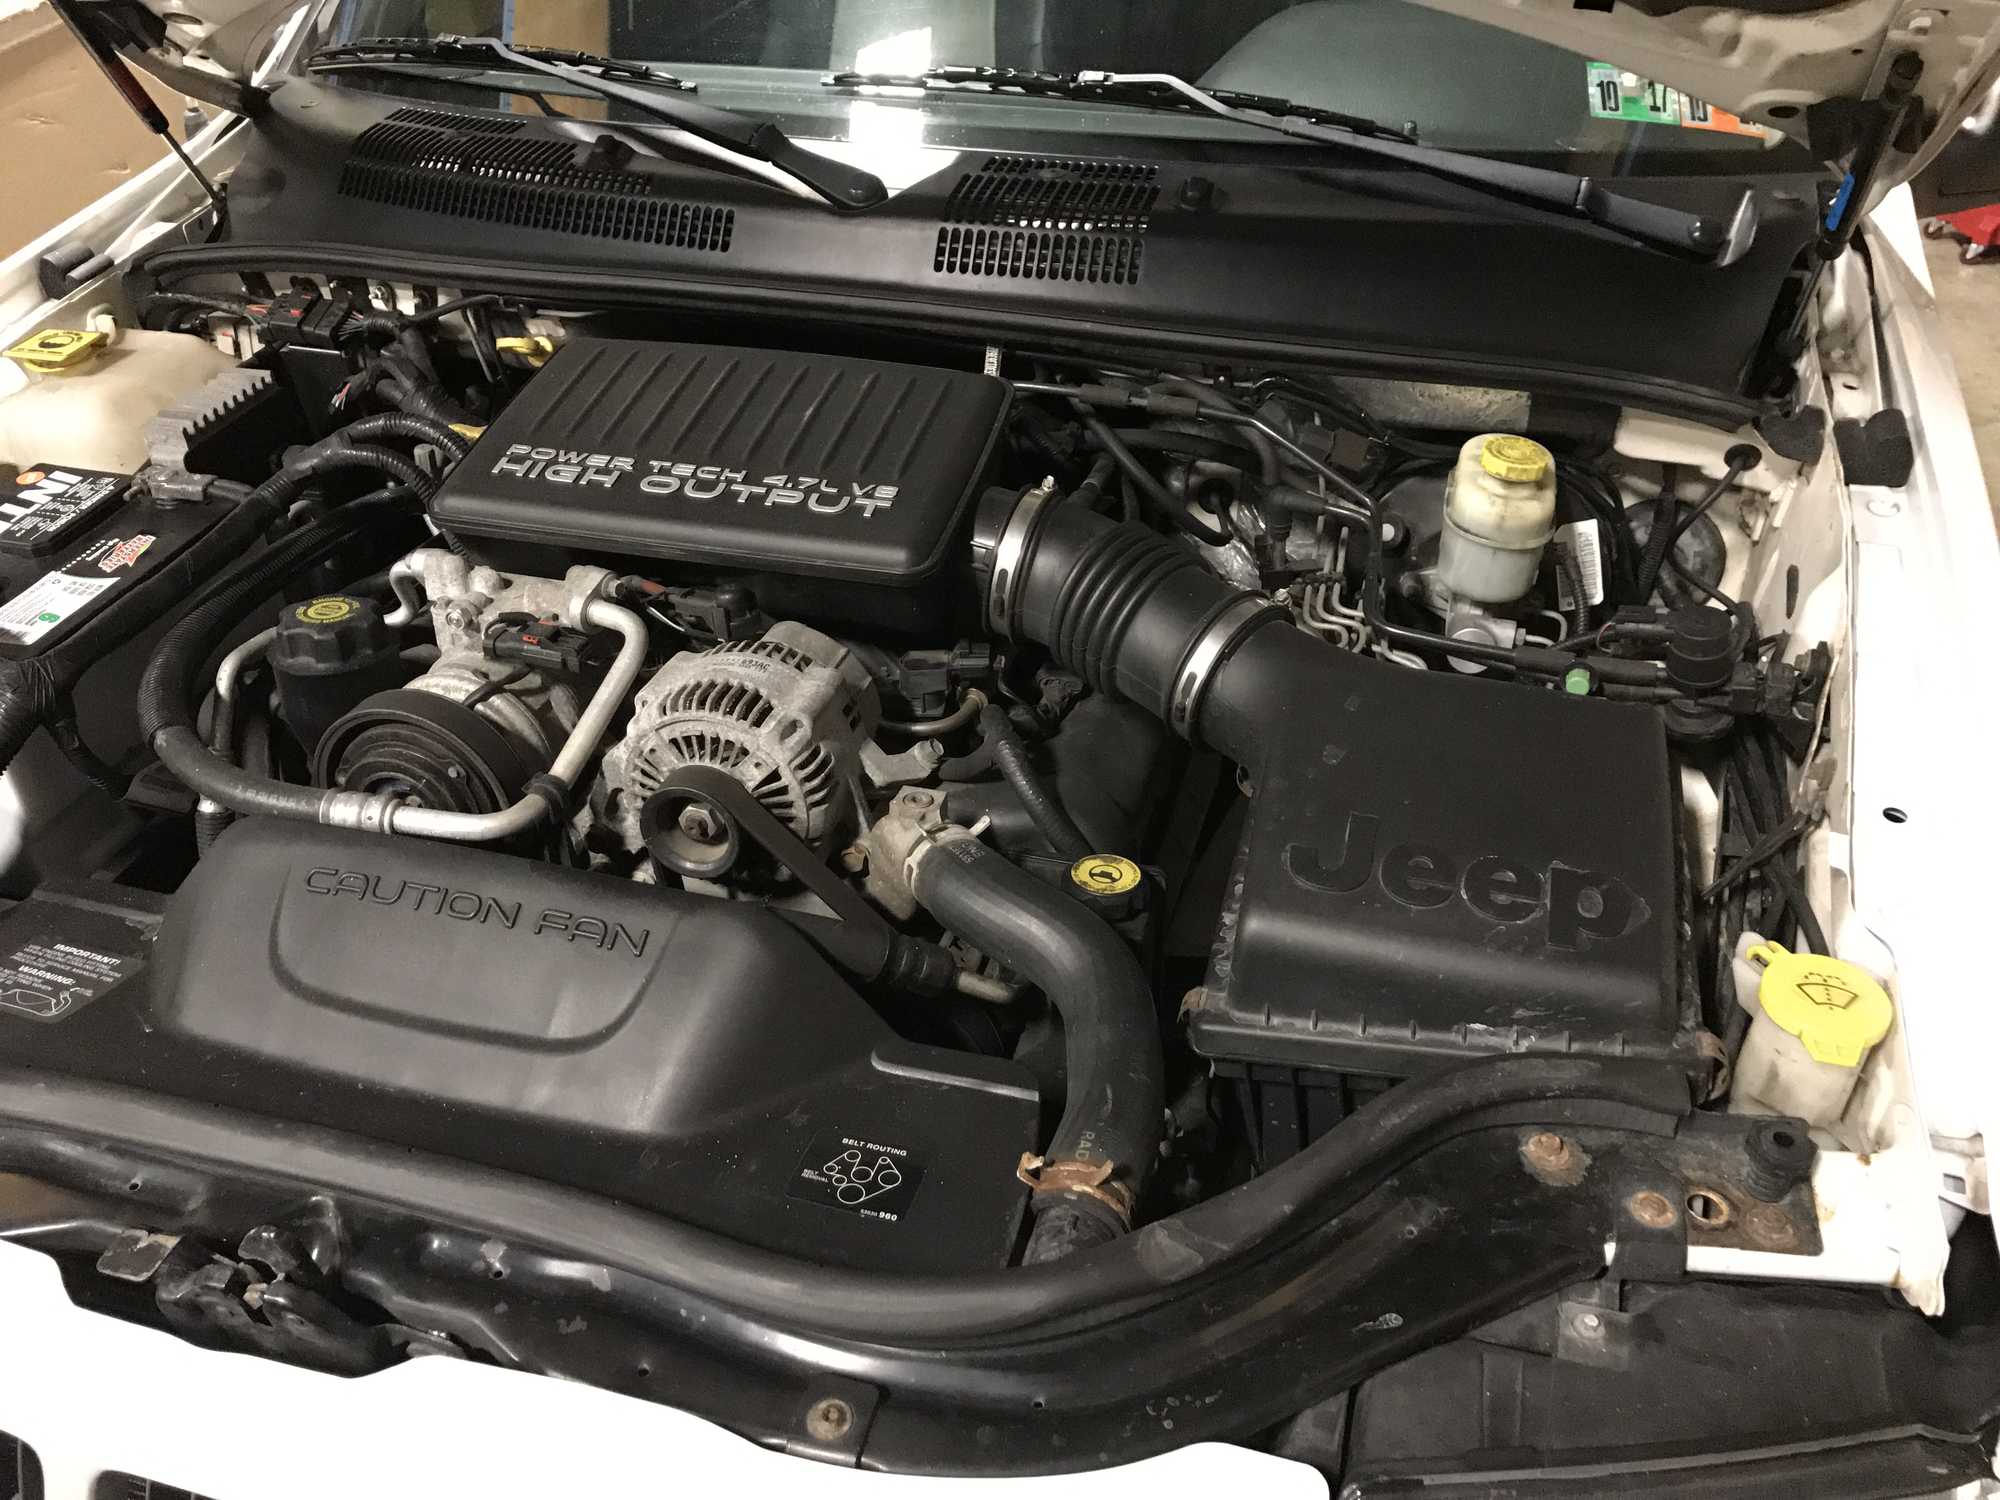
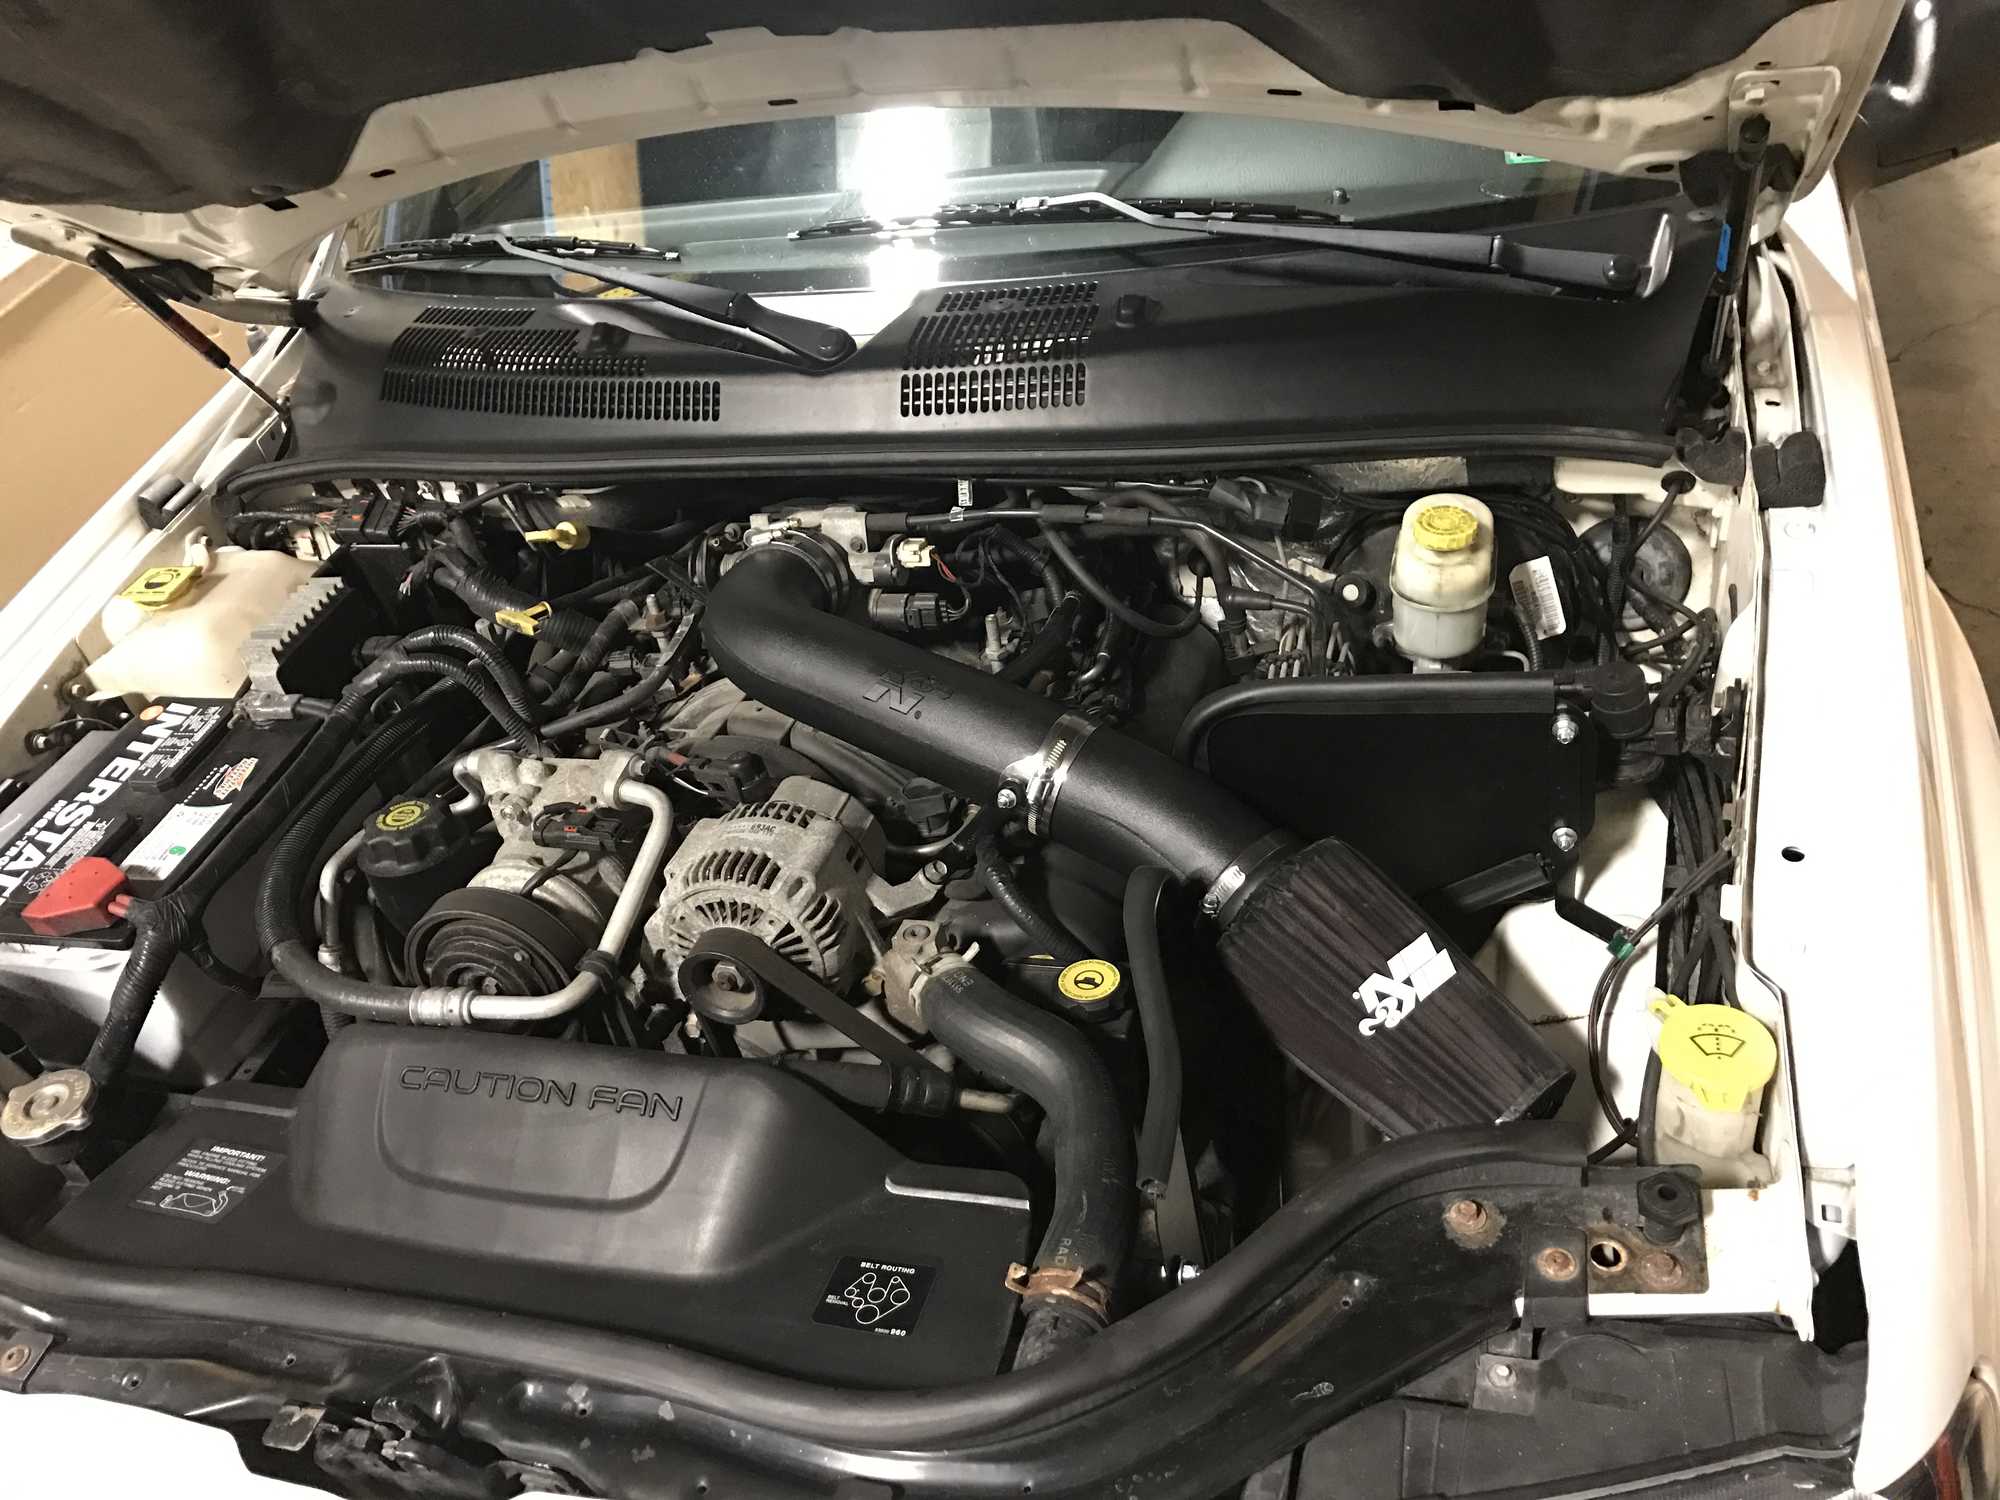
Of course one of the first things I had to "fix" on this Jeep was the restrictive stock air box and intake plenum. Something just doesn't feel right when you're driving around in a V8, especially the High Output version, and you can barely hear the motor. The factory intake was designed to please the masses, offering a good balance between fuel economy, power and sound level. An aftermarket intake system like the K&N 57 Series FIPK offers better performance with horsepower and torque gains over the stock unit. The heat shield helps to isolate and direct cold air to the intake, and the new filter is washable and reusable which is an added bonus.
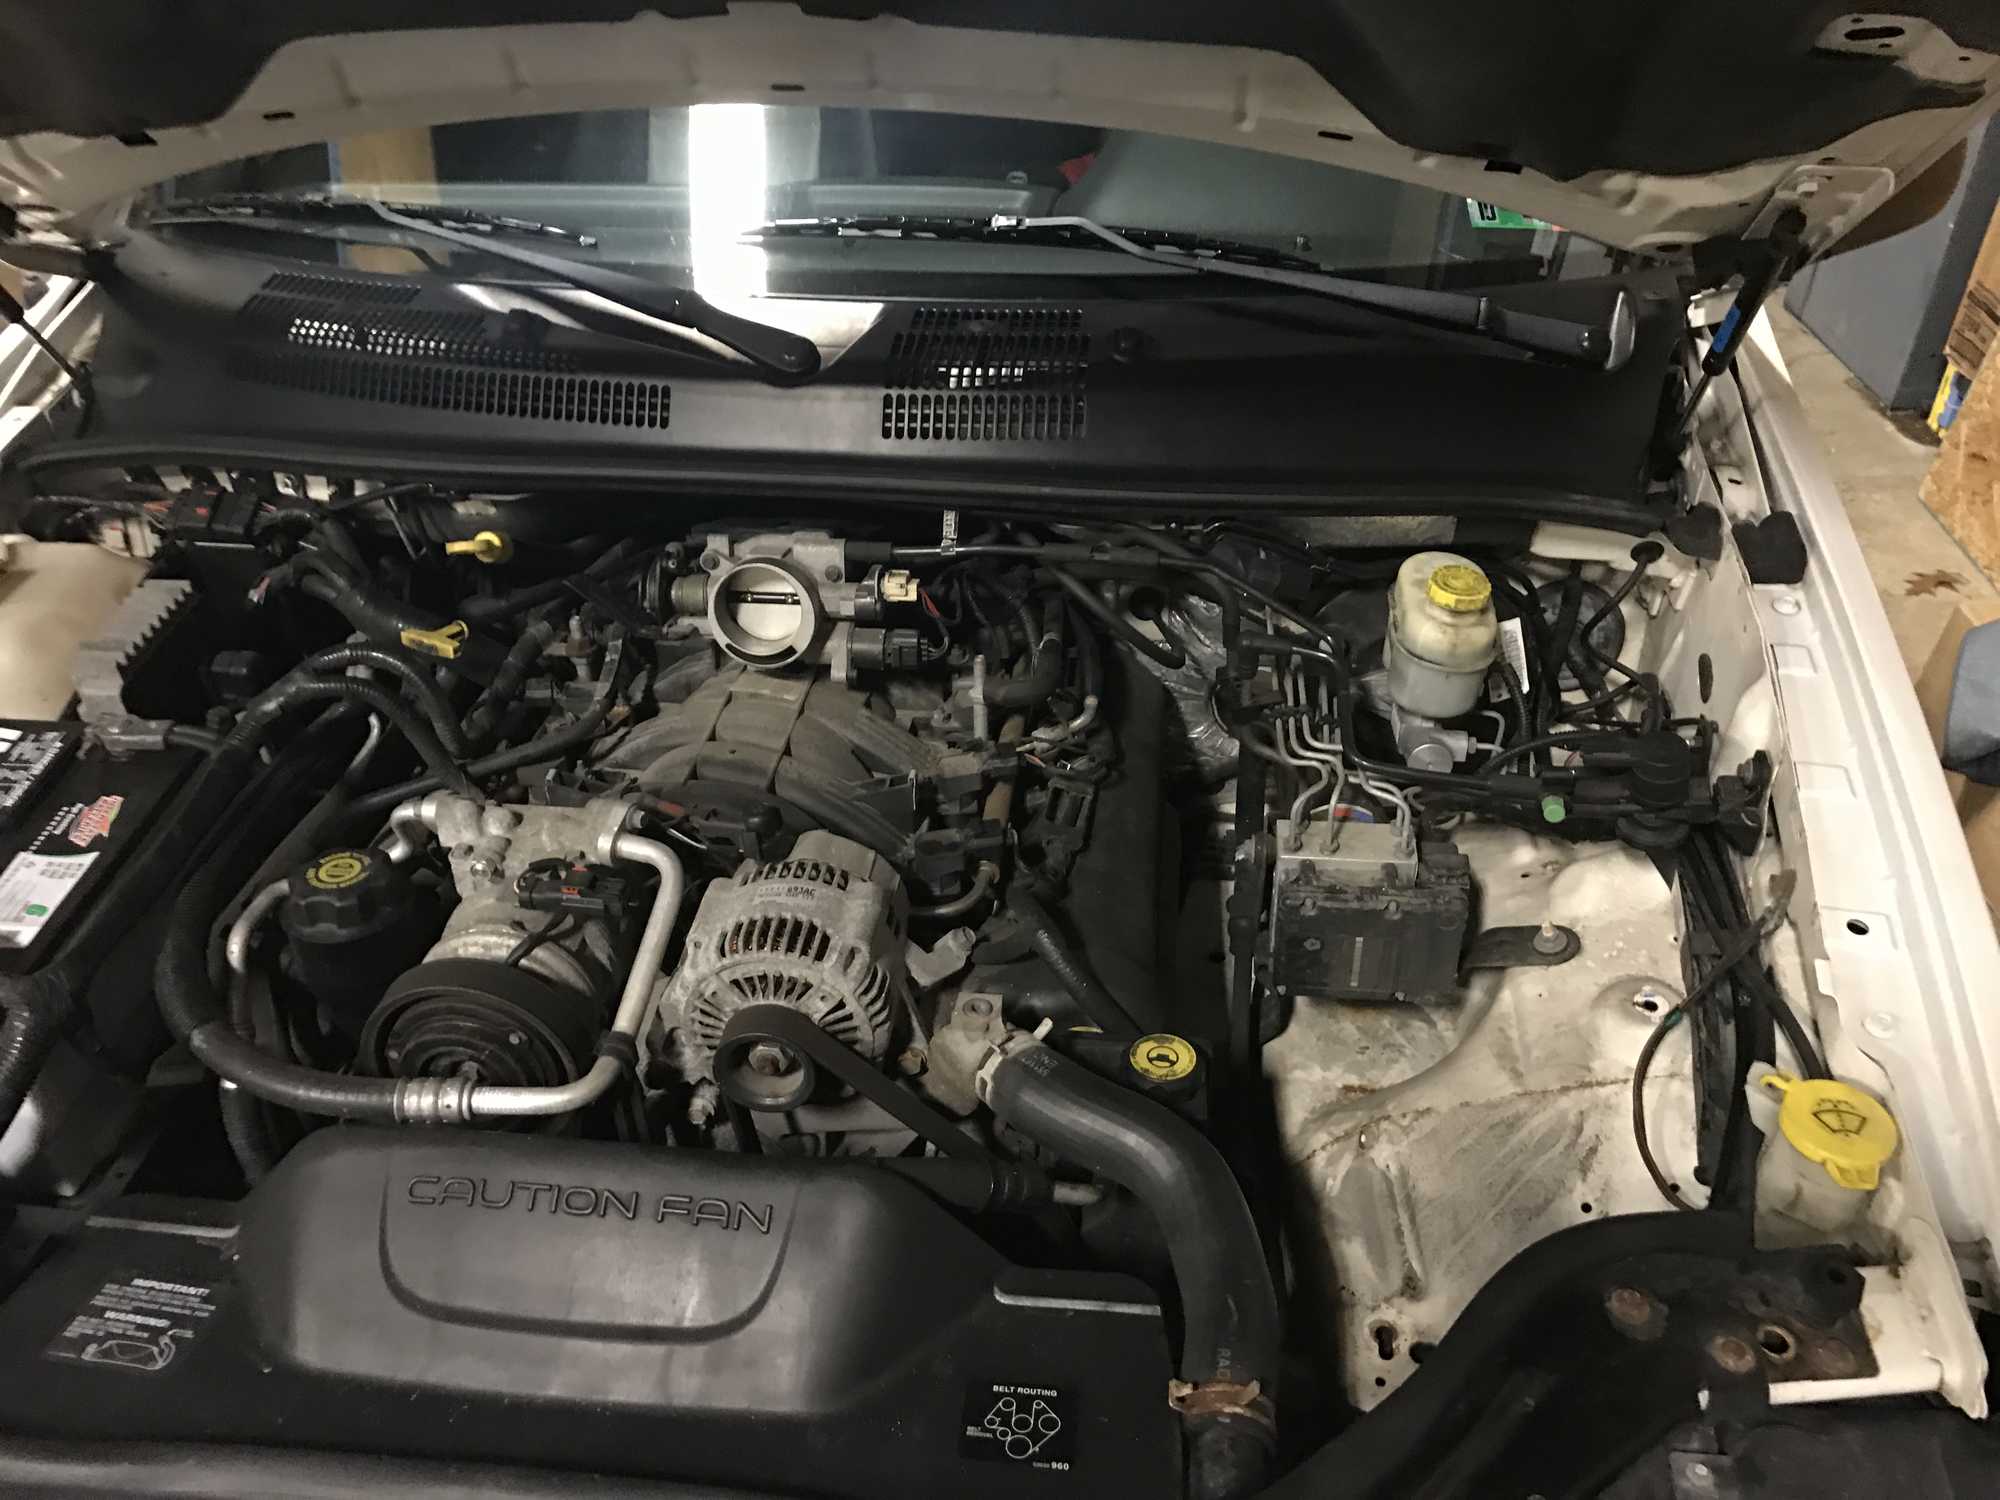
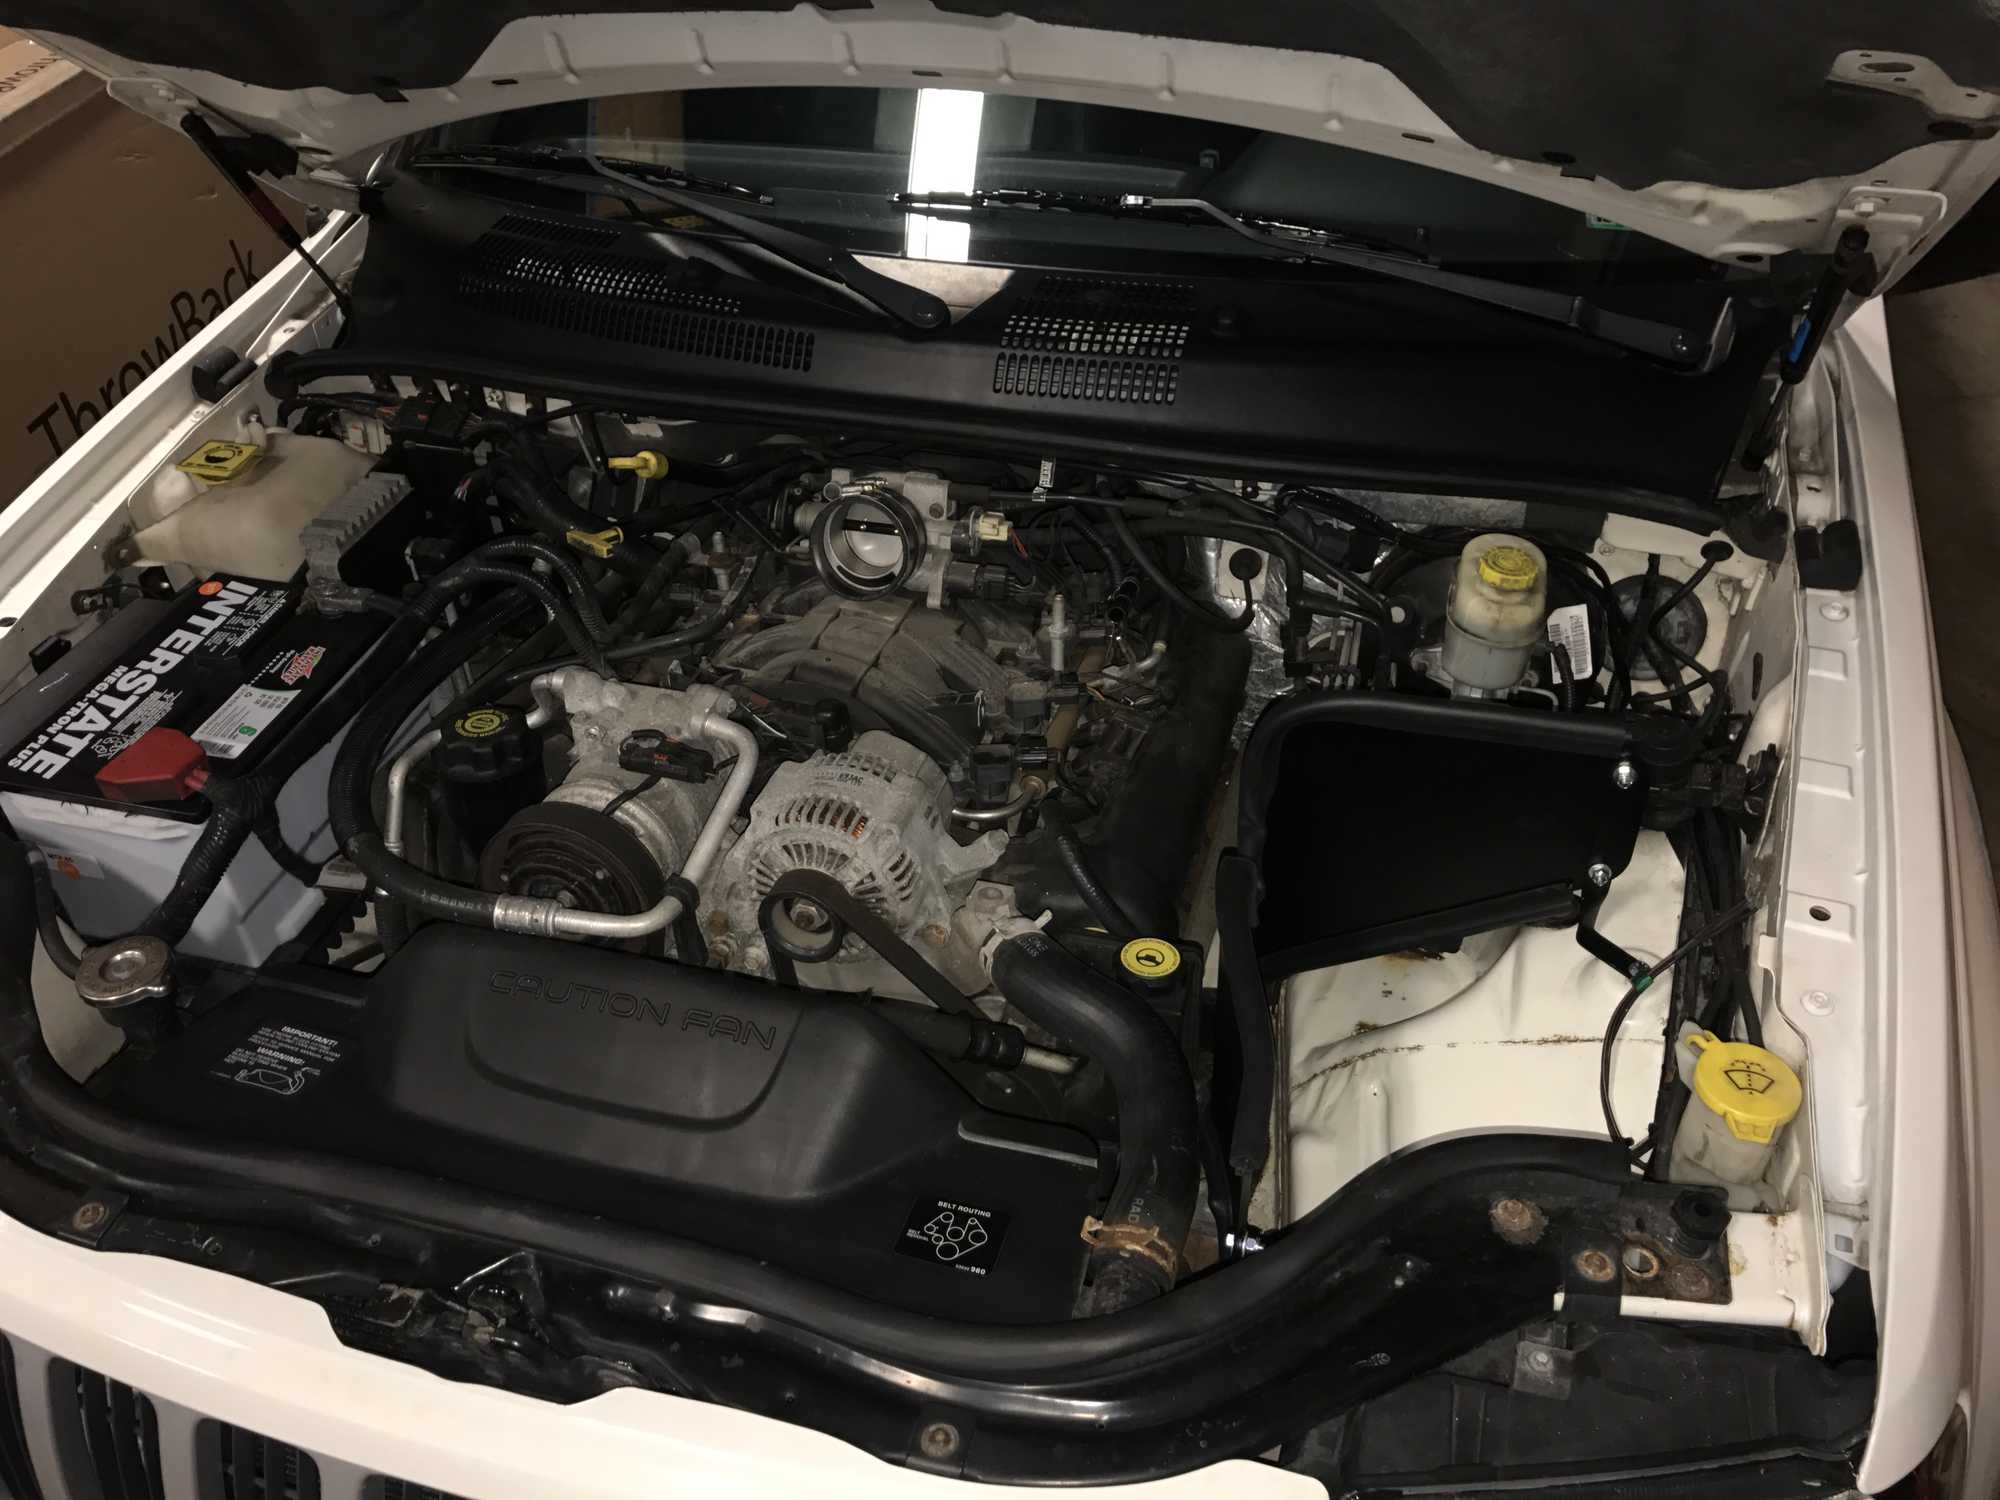
The installation was pretty easy and only took about a hour from start to finish. Removing the factory air box and plenium was just a matter of loosening a few clamps, removing a couple nuts and bolts and disconnecting the crankcase vent hose. The toughest part of the job is reaching the 3 nuts that retain the airbox to the inner fender because you have to reach into the wheel well to access them. Having an extra pair of hands would definitely make this step easier. The new heat shield assembles quickly and simply bolts to the fender. Then all that's left is to install the K&N intake tube and tighten a few clamps that hold the tube to the throttle body and the filter to the tube.
After installing the K&N FIPK, I immediately noticed the difference in the way the intake sounds. Especially under acceleration my Jeep has a much more aggressive and powerful growl than with the quiet stock intake box. Acceleration also feels a bit quicker than before. Of course we're not talking supercharger power... but you can't beat the cost to horsepower ratio of a new air intake!
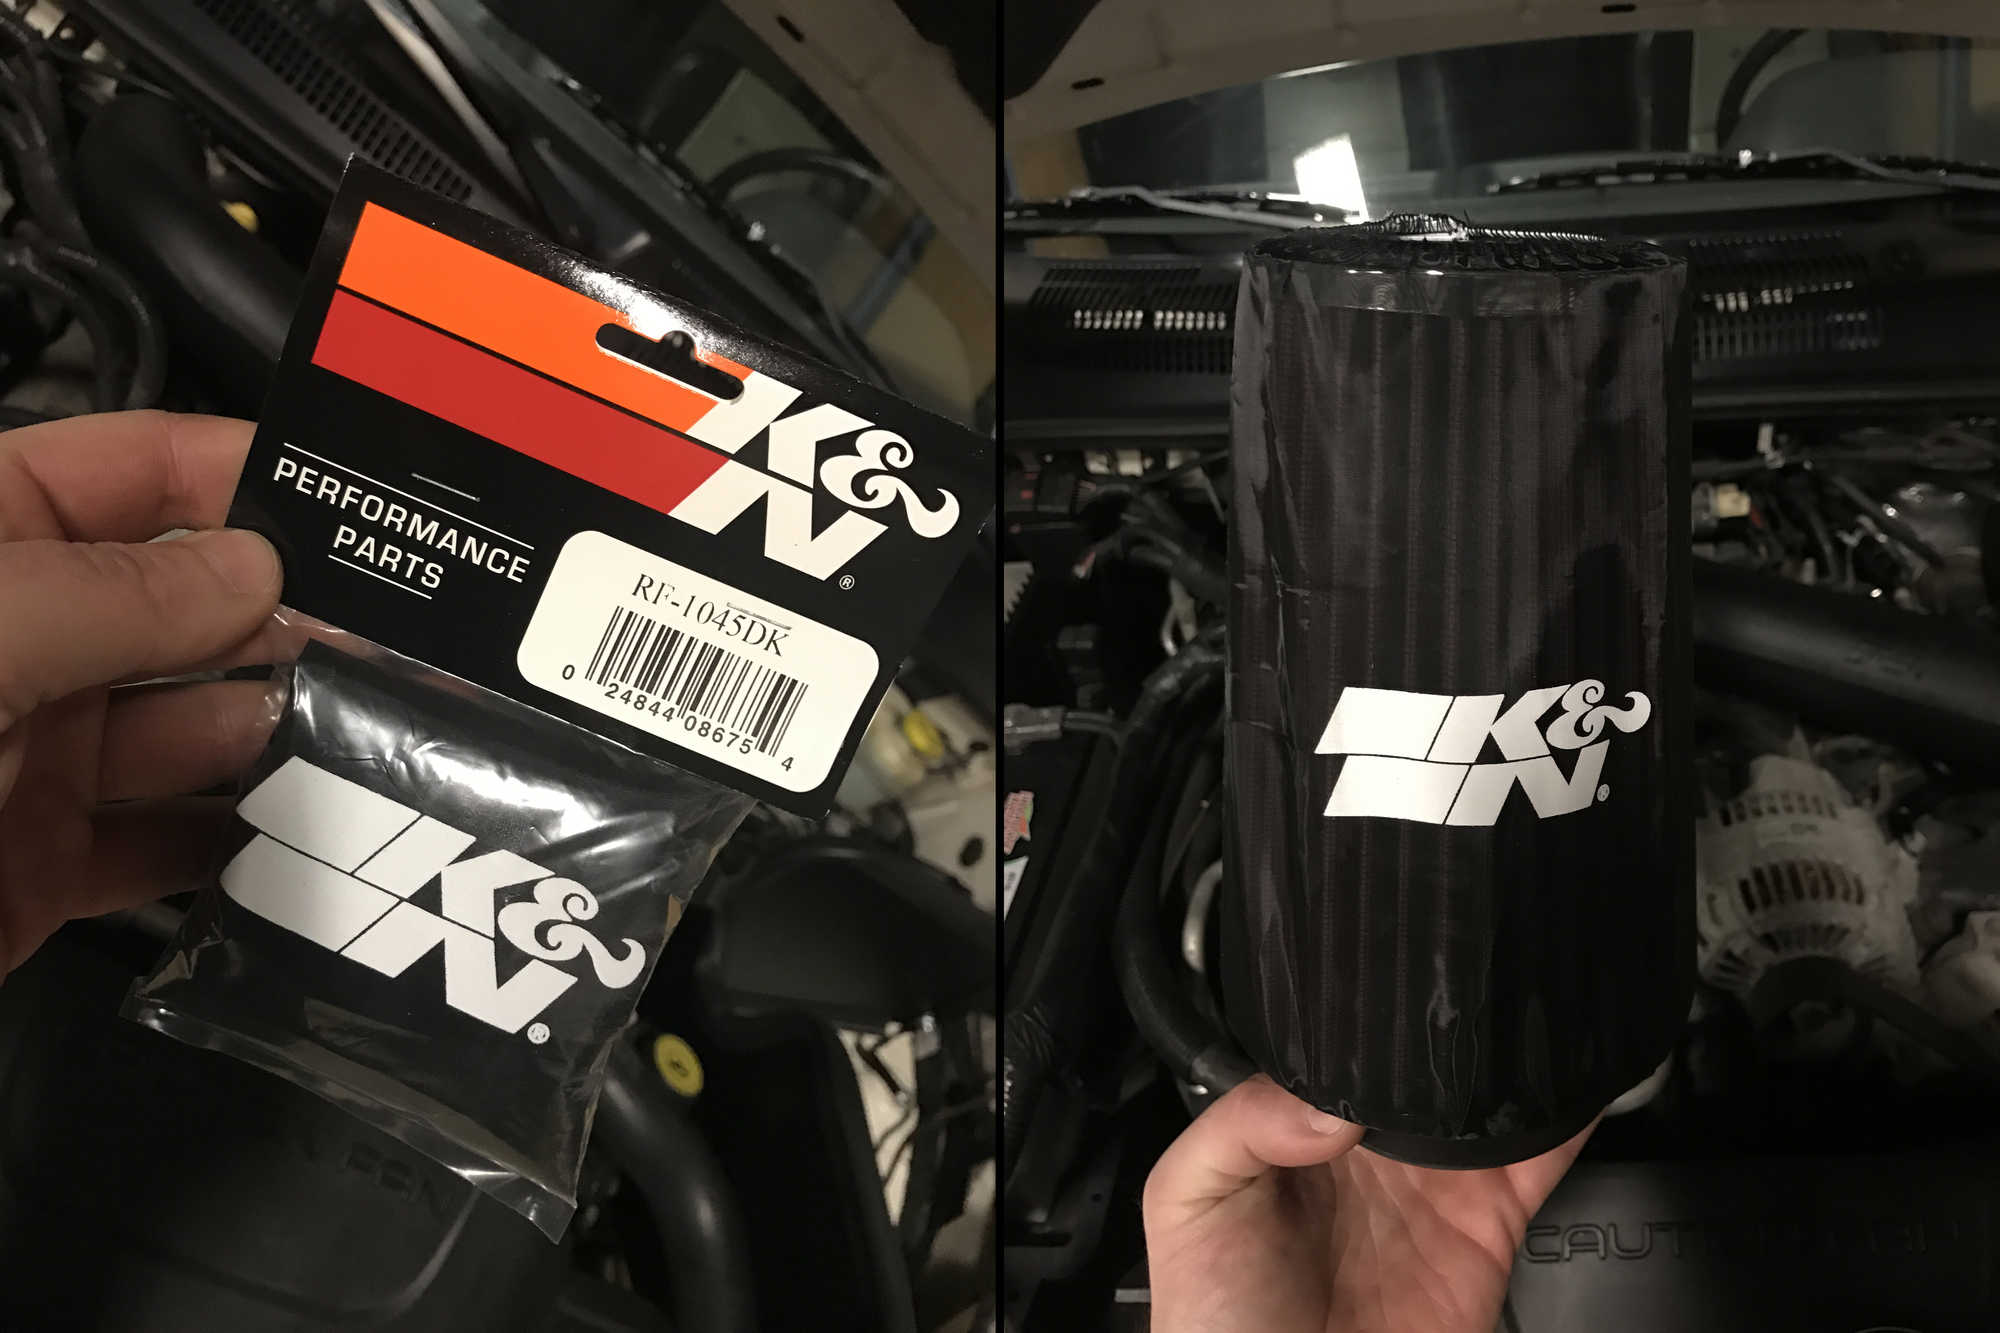
I also installed a K&N DryCharger Wrap on the filter to help keep the air filter dry. K&N offers two types of filter wraps, the PreCharger and the DryCharger. The PreCharger wrap is specially designed and made to extend the service interval of a K&N filter when used in extremely dusty conditions by stopping small dirt particles before they reach the filter. The DryCharger also stops small dirt particles, but also helps to repel water, preventing splashes of water or mud from saturating the filter.
Parts Installed

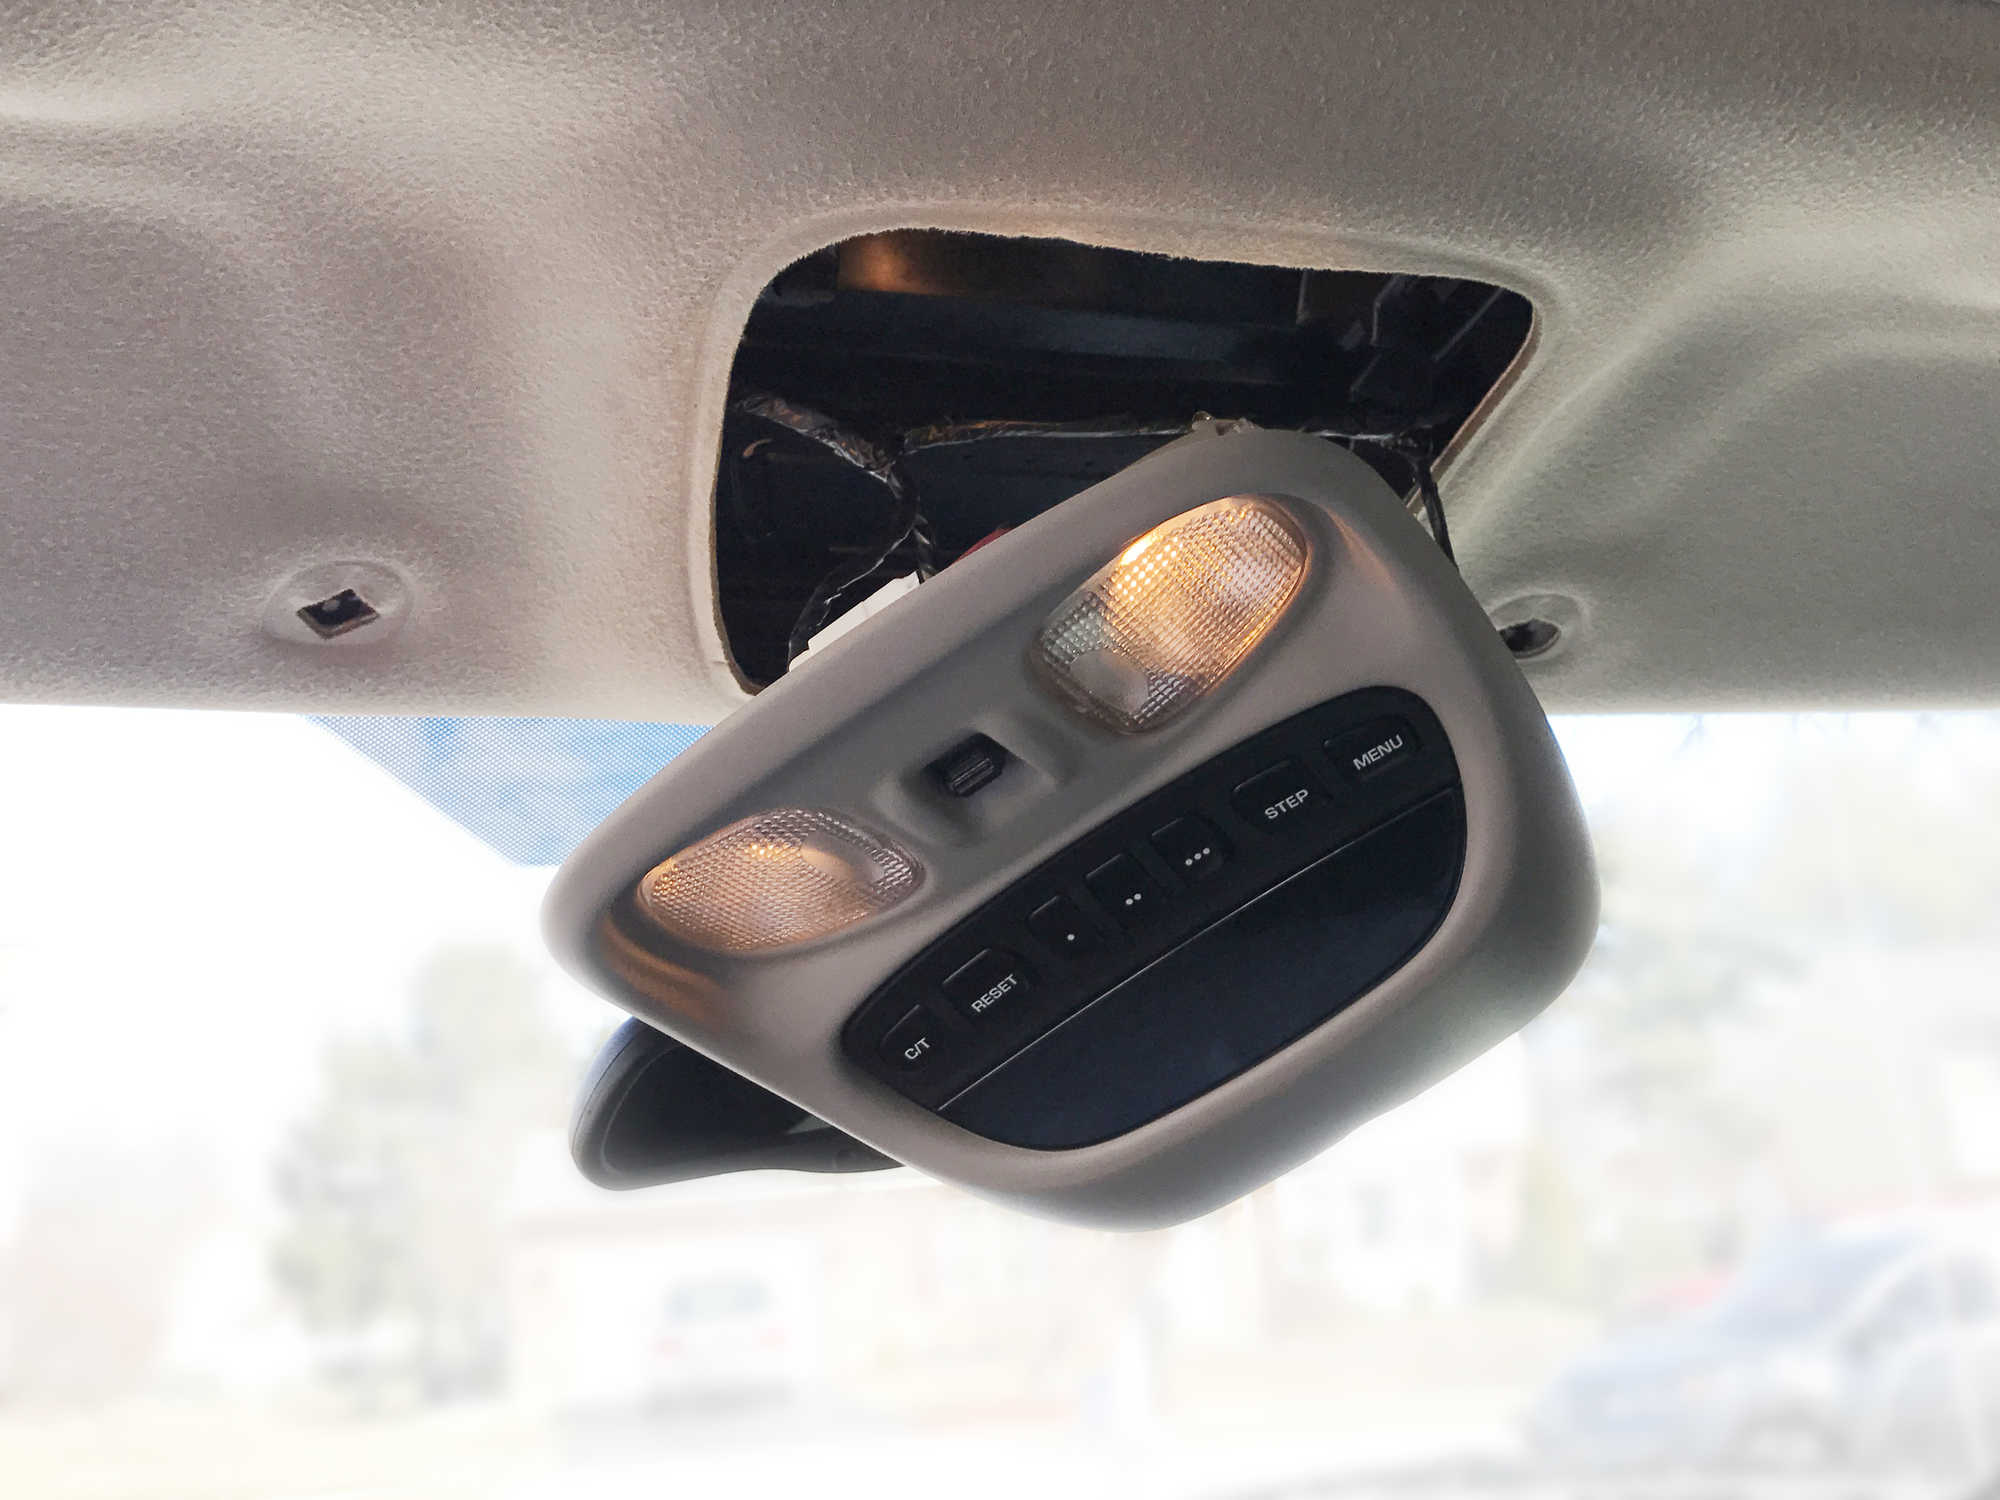
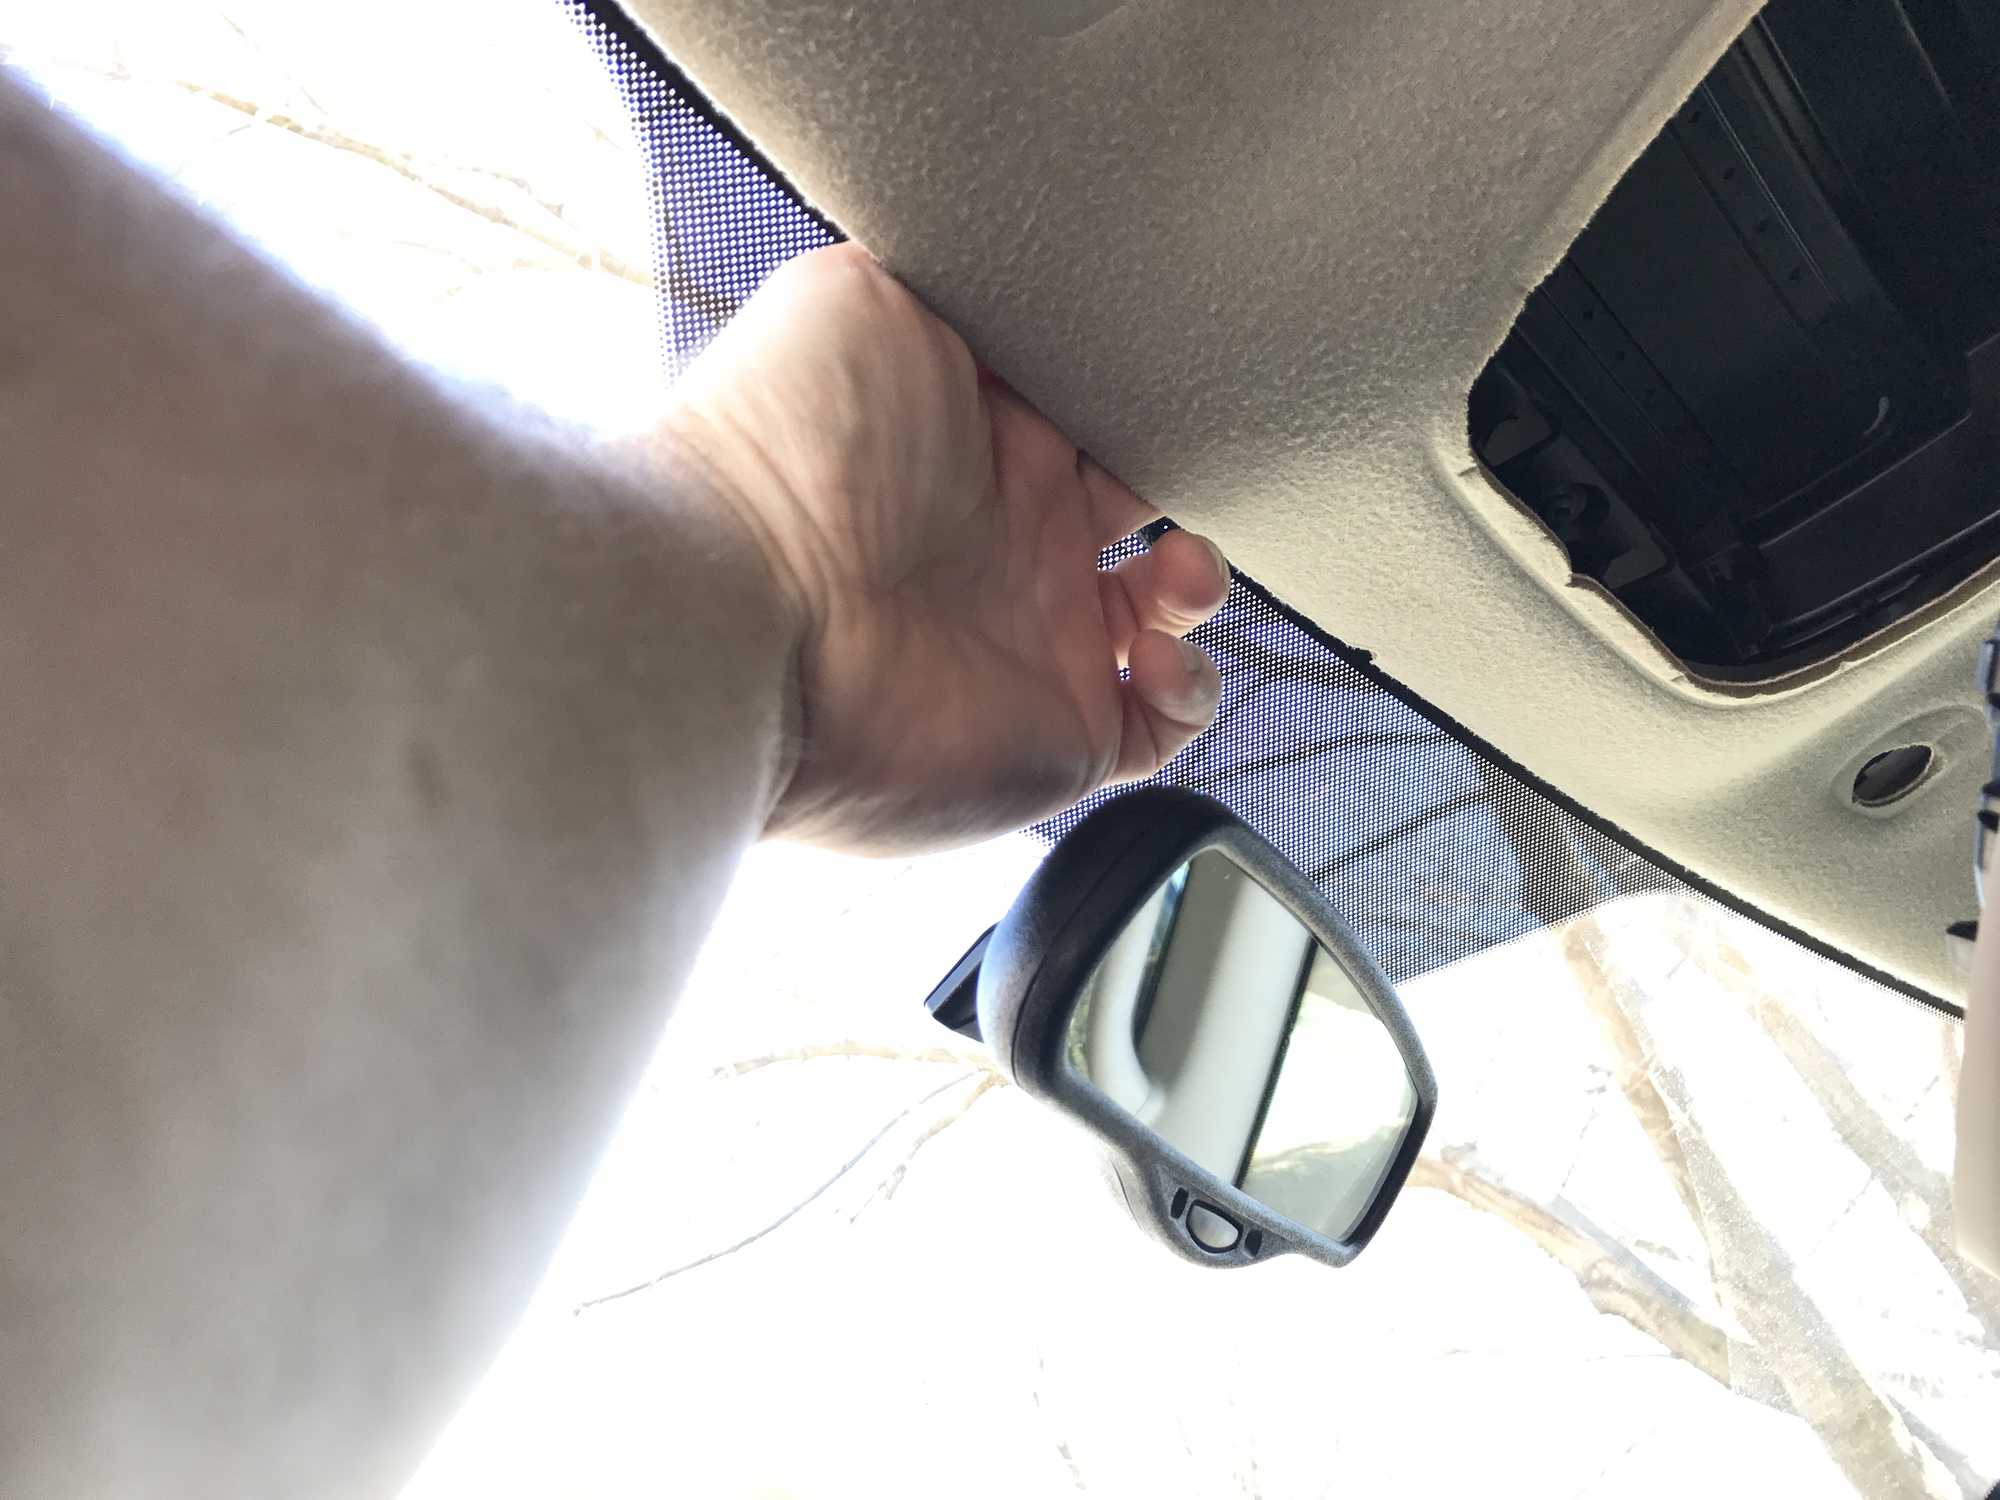
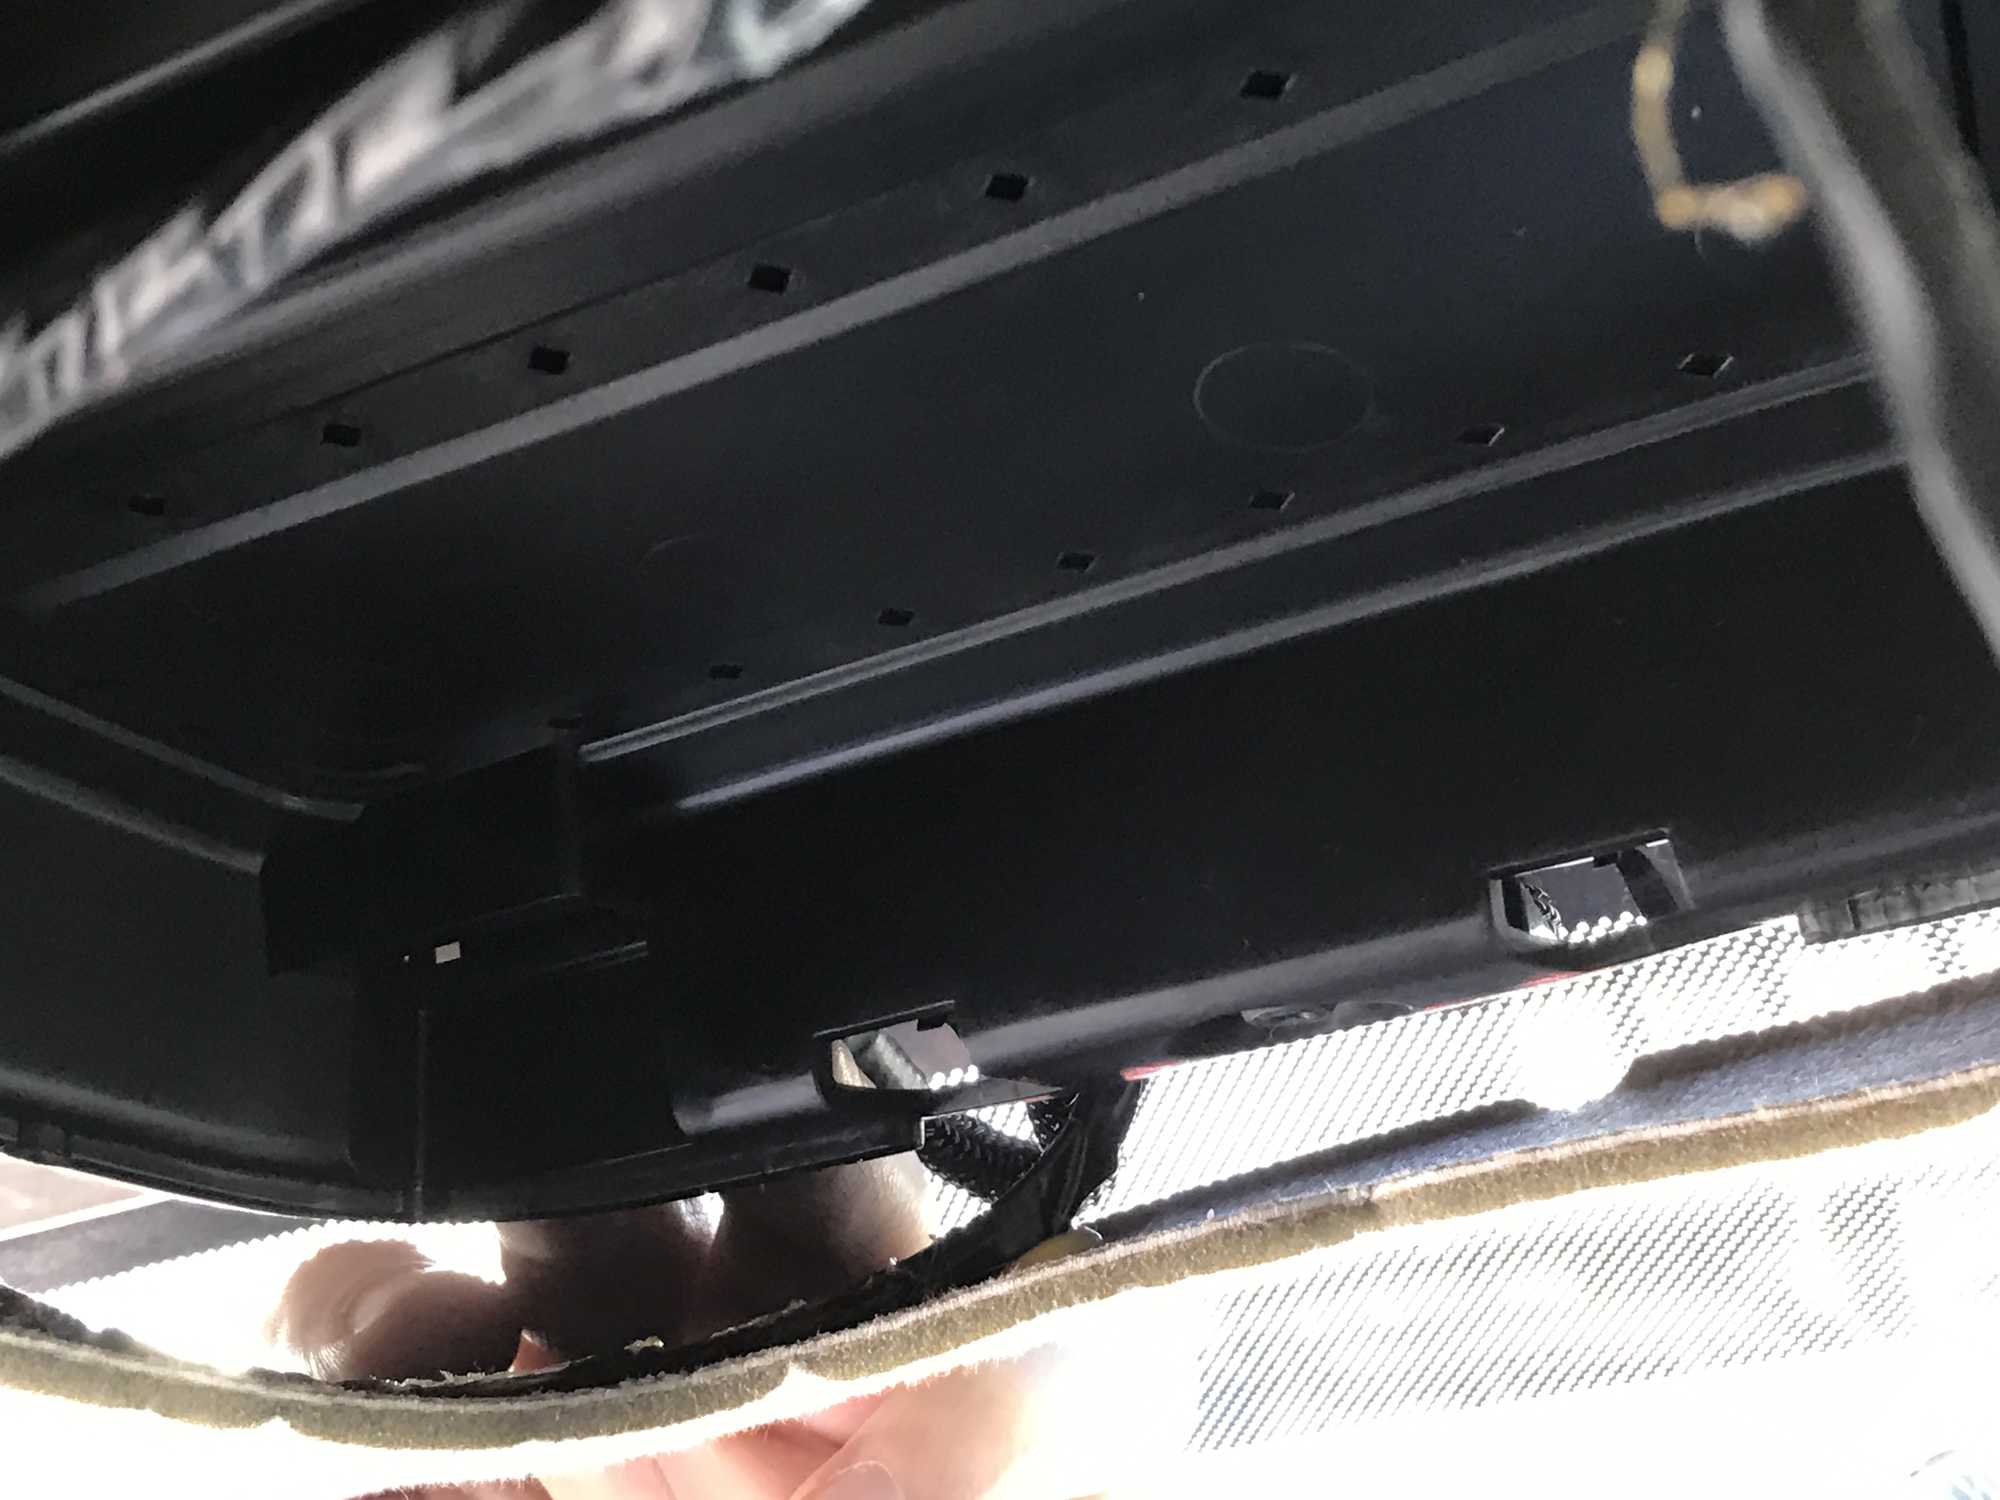
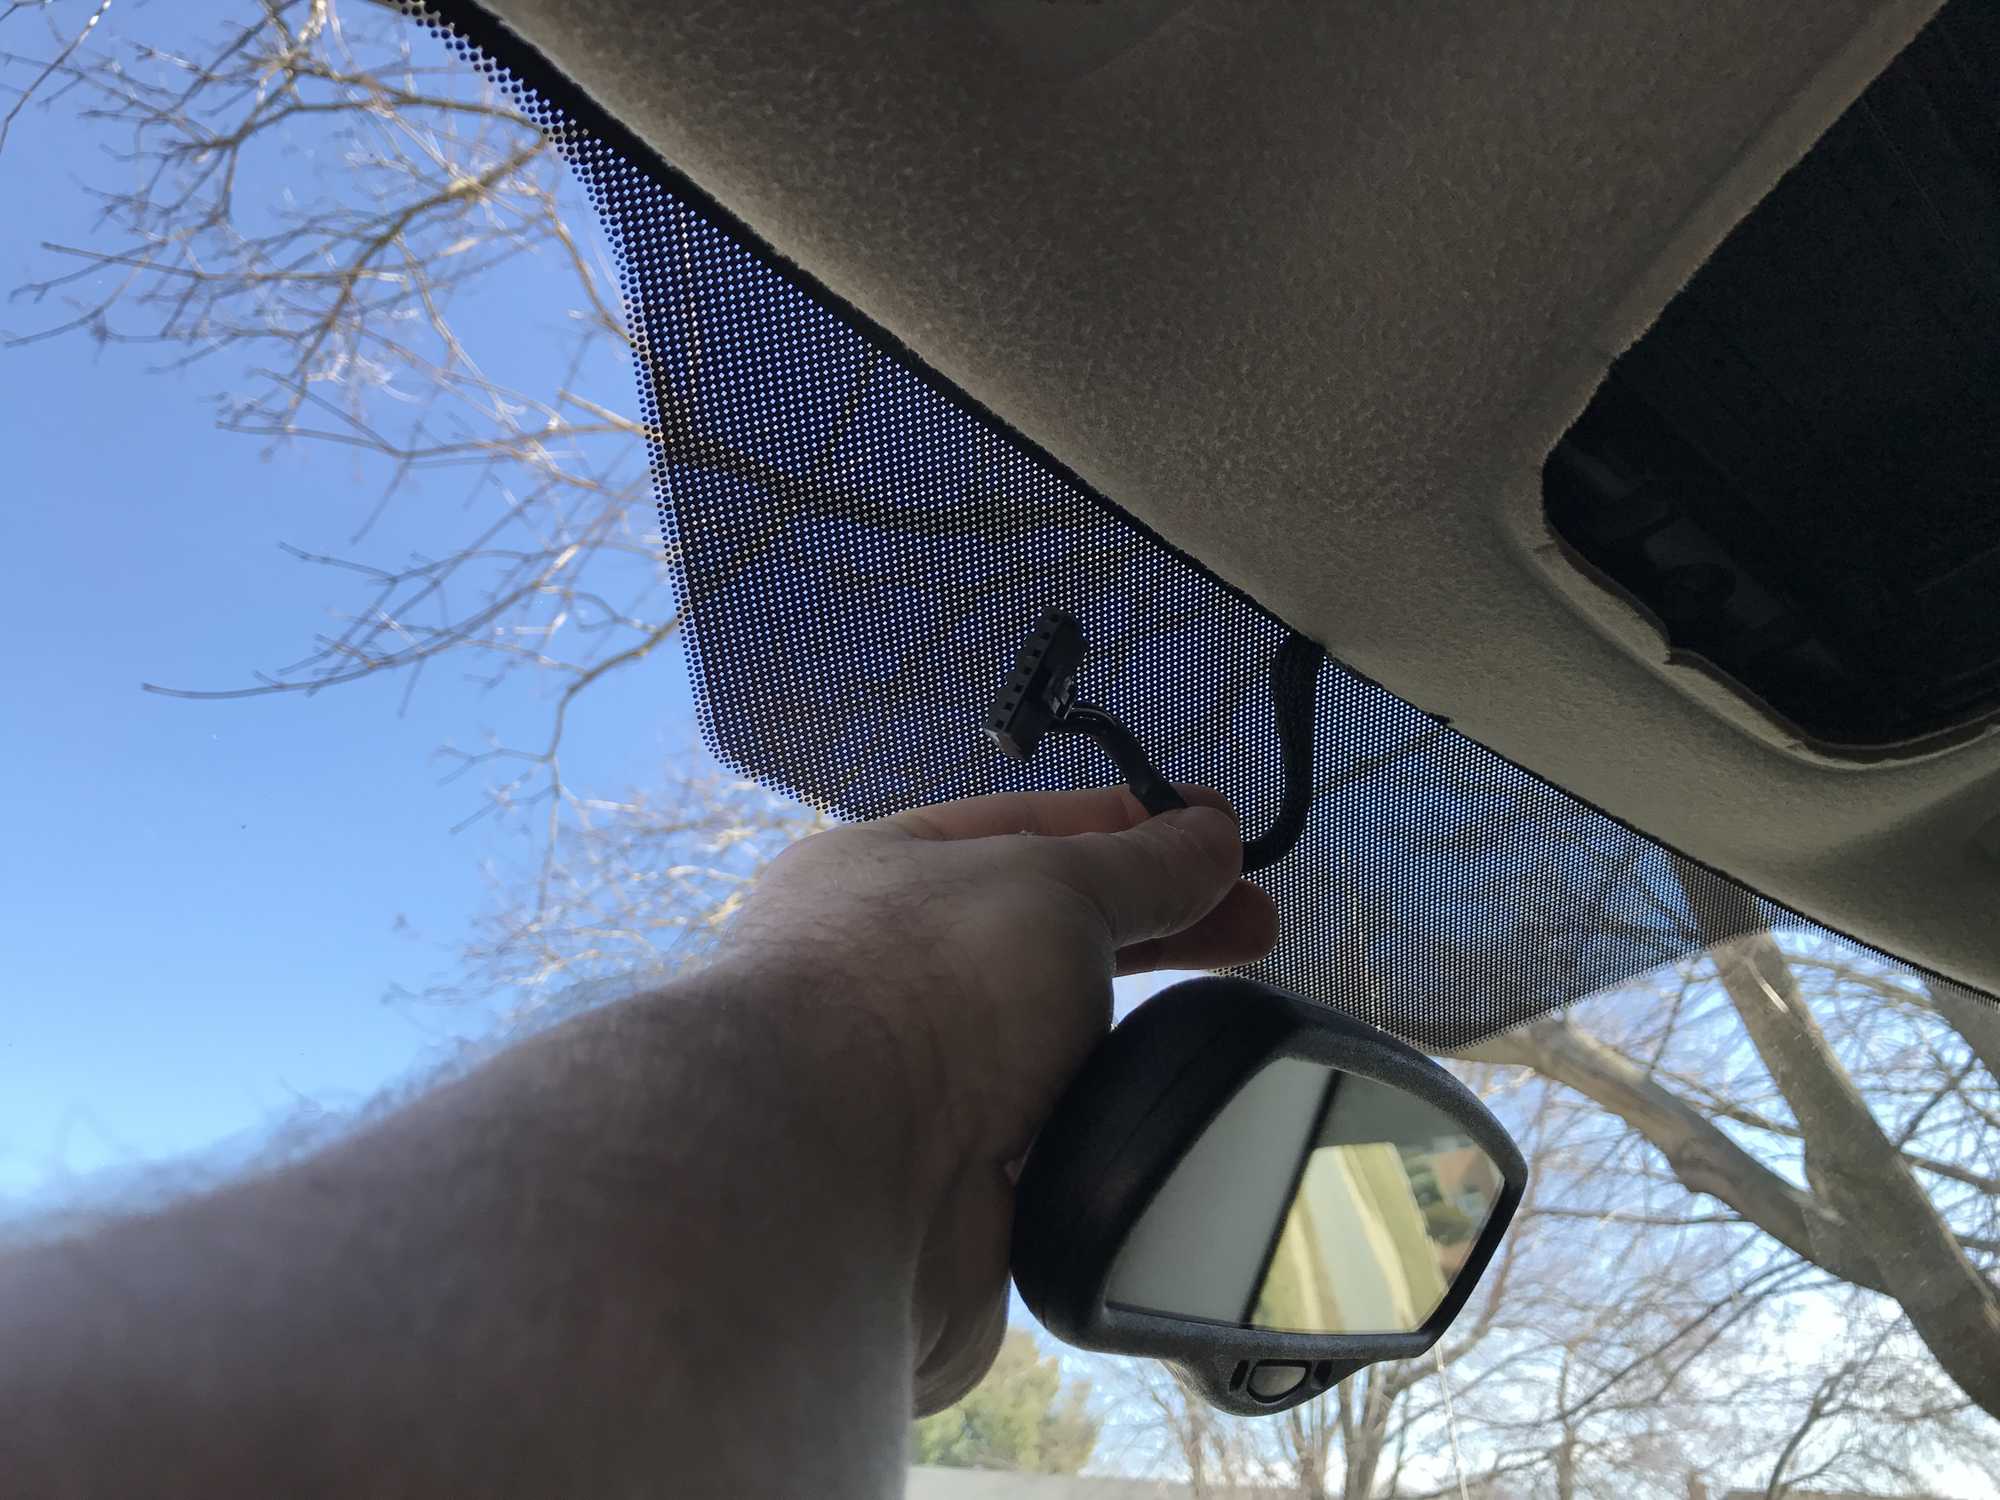
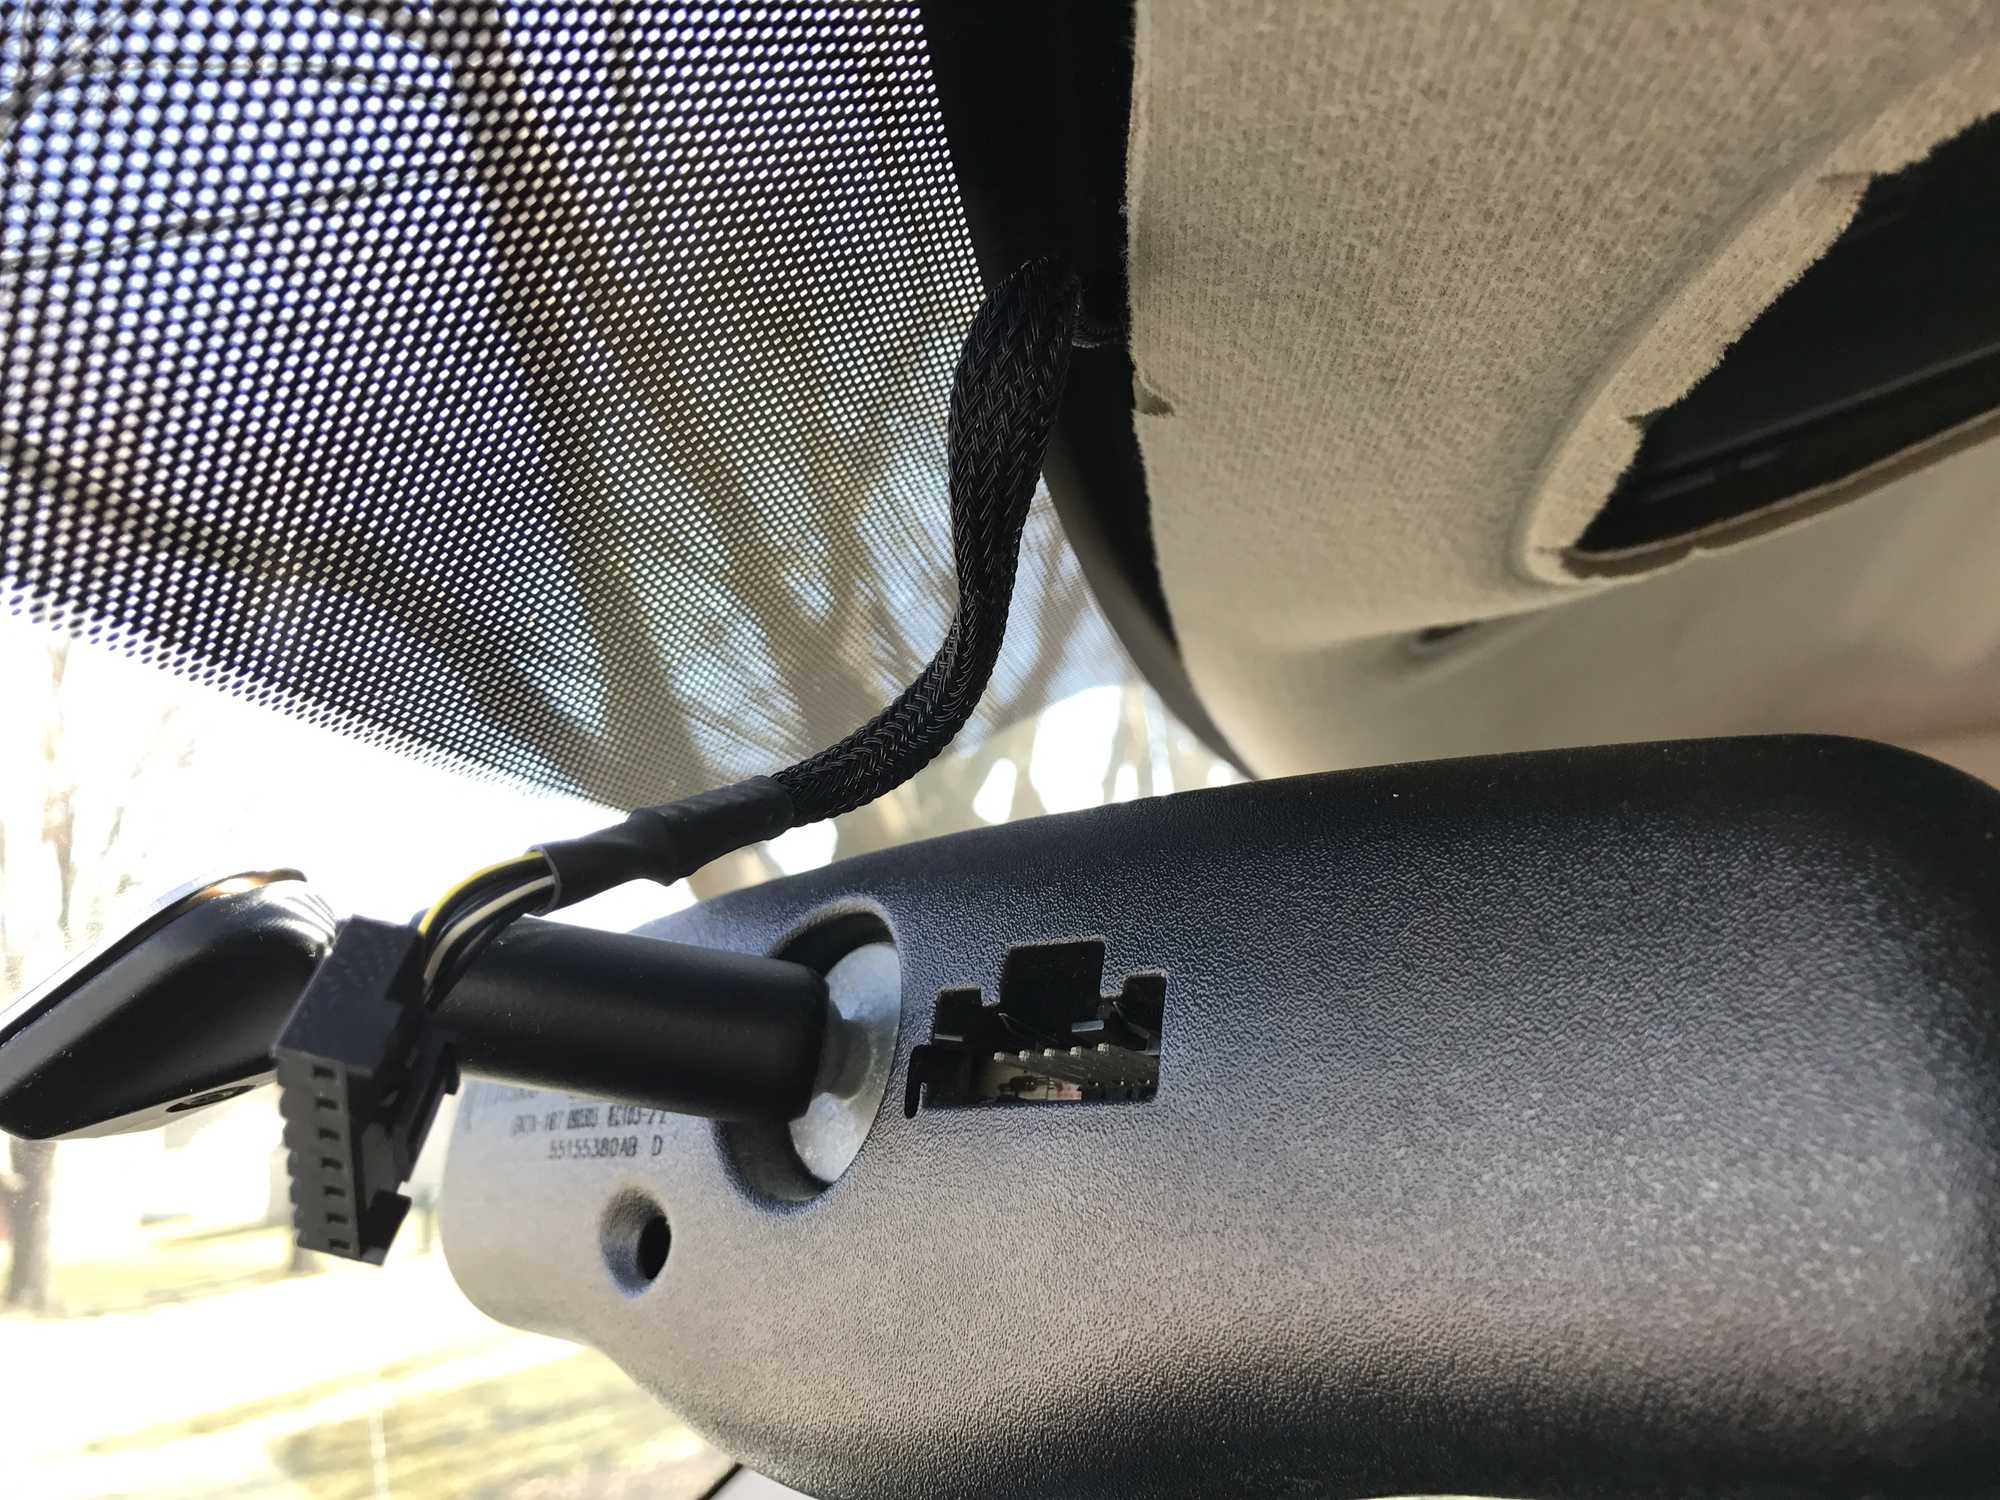
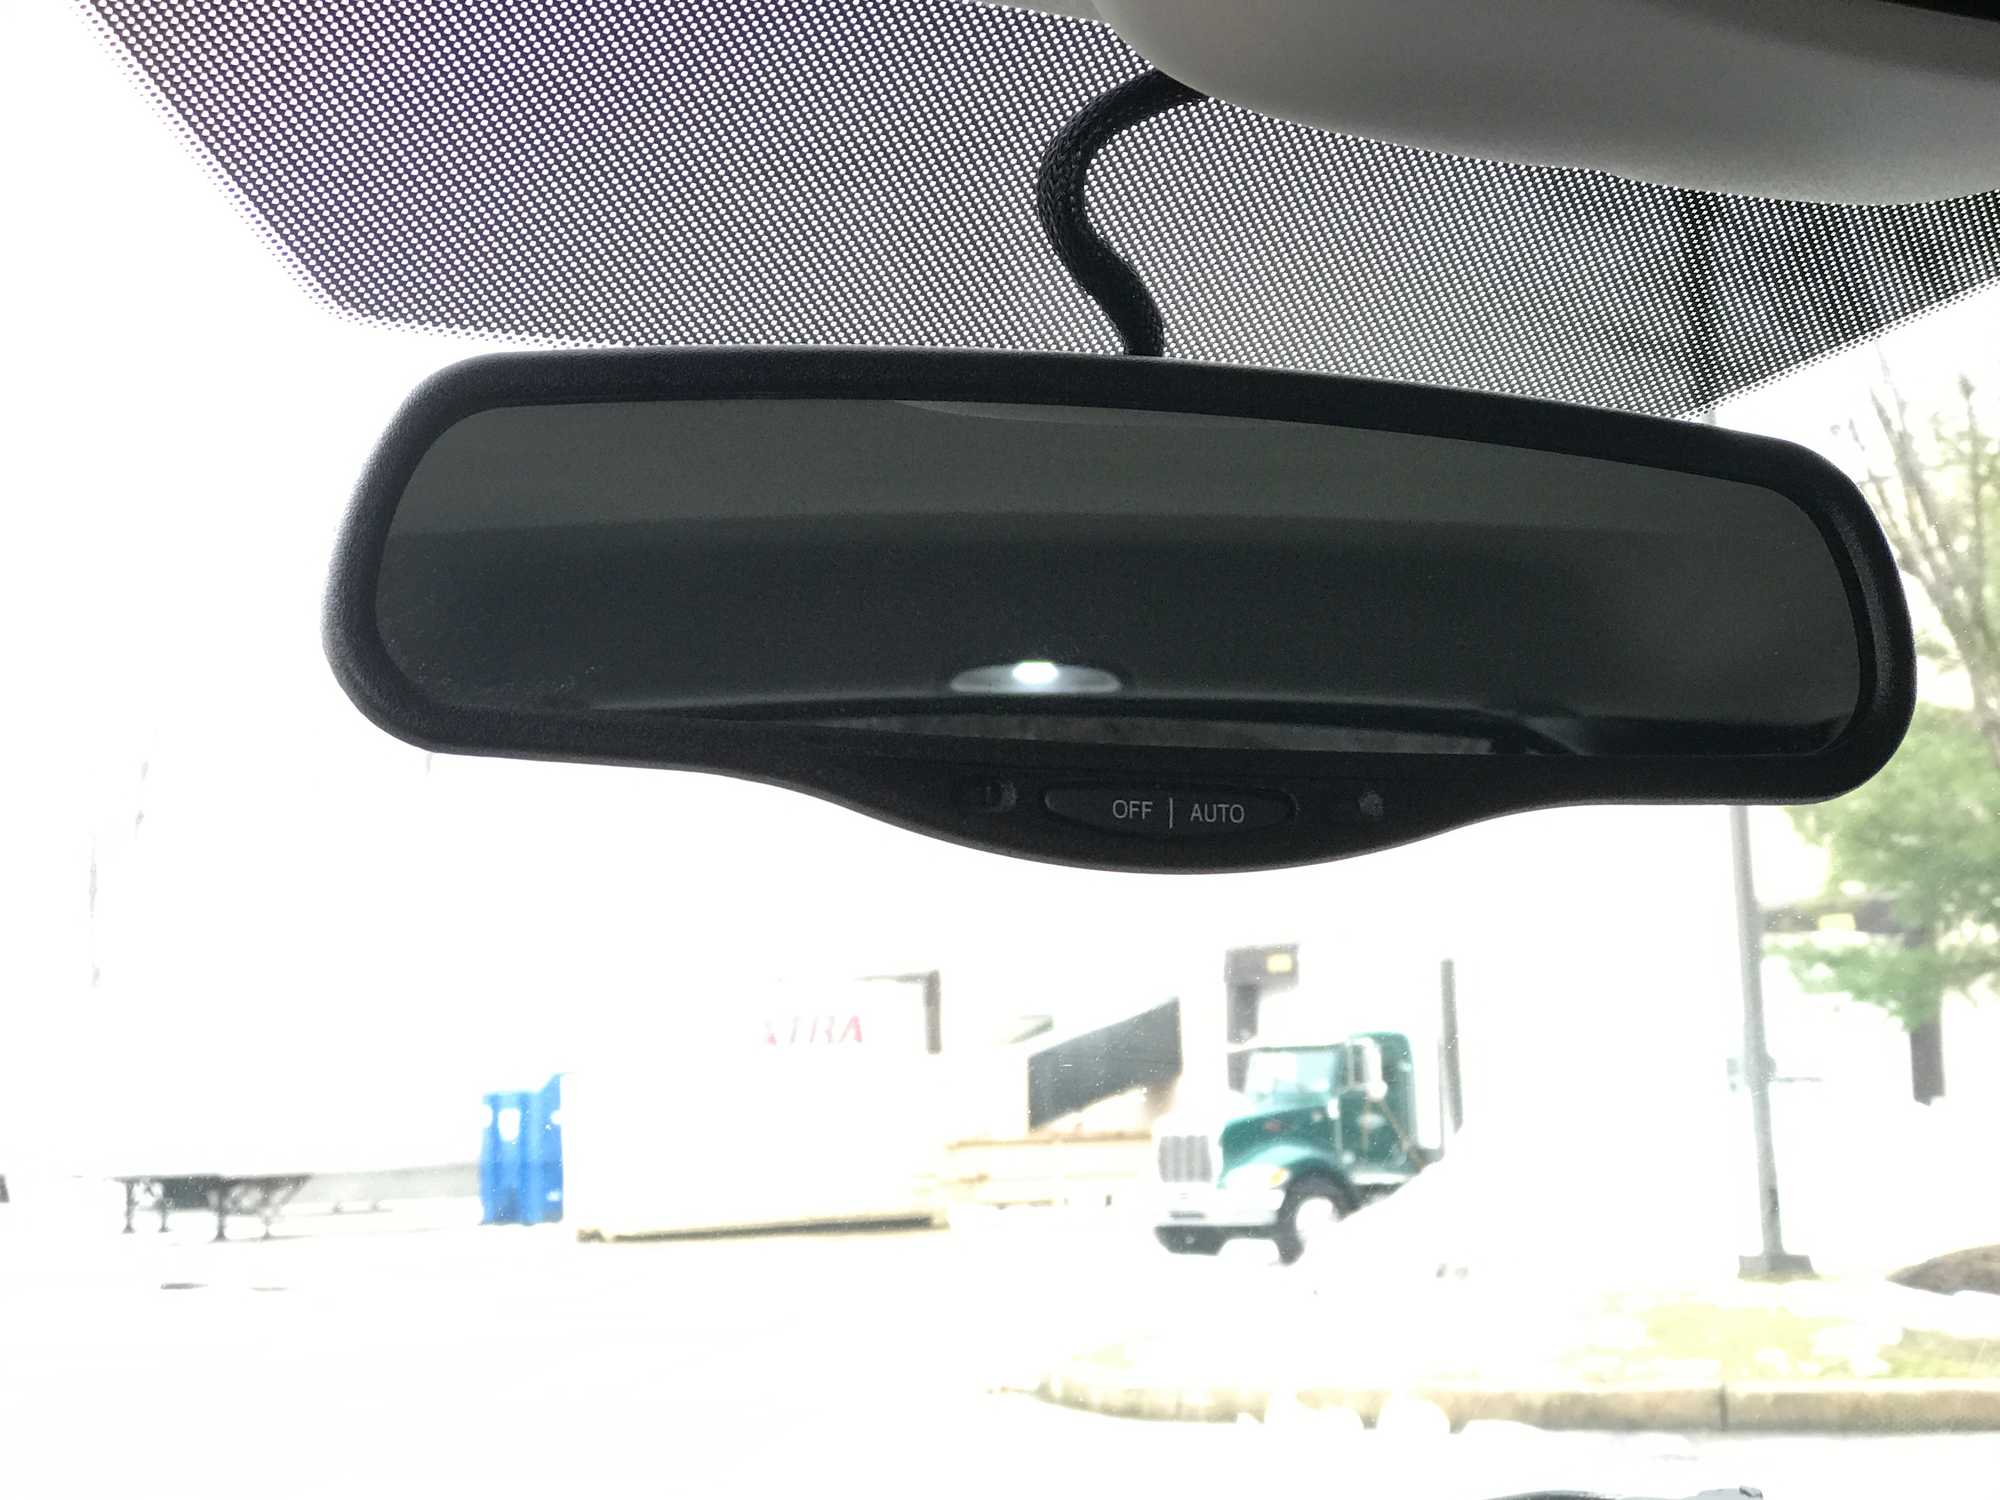
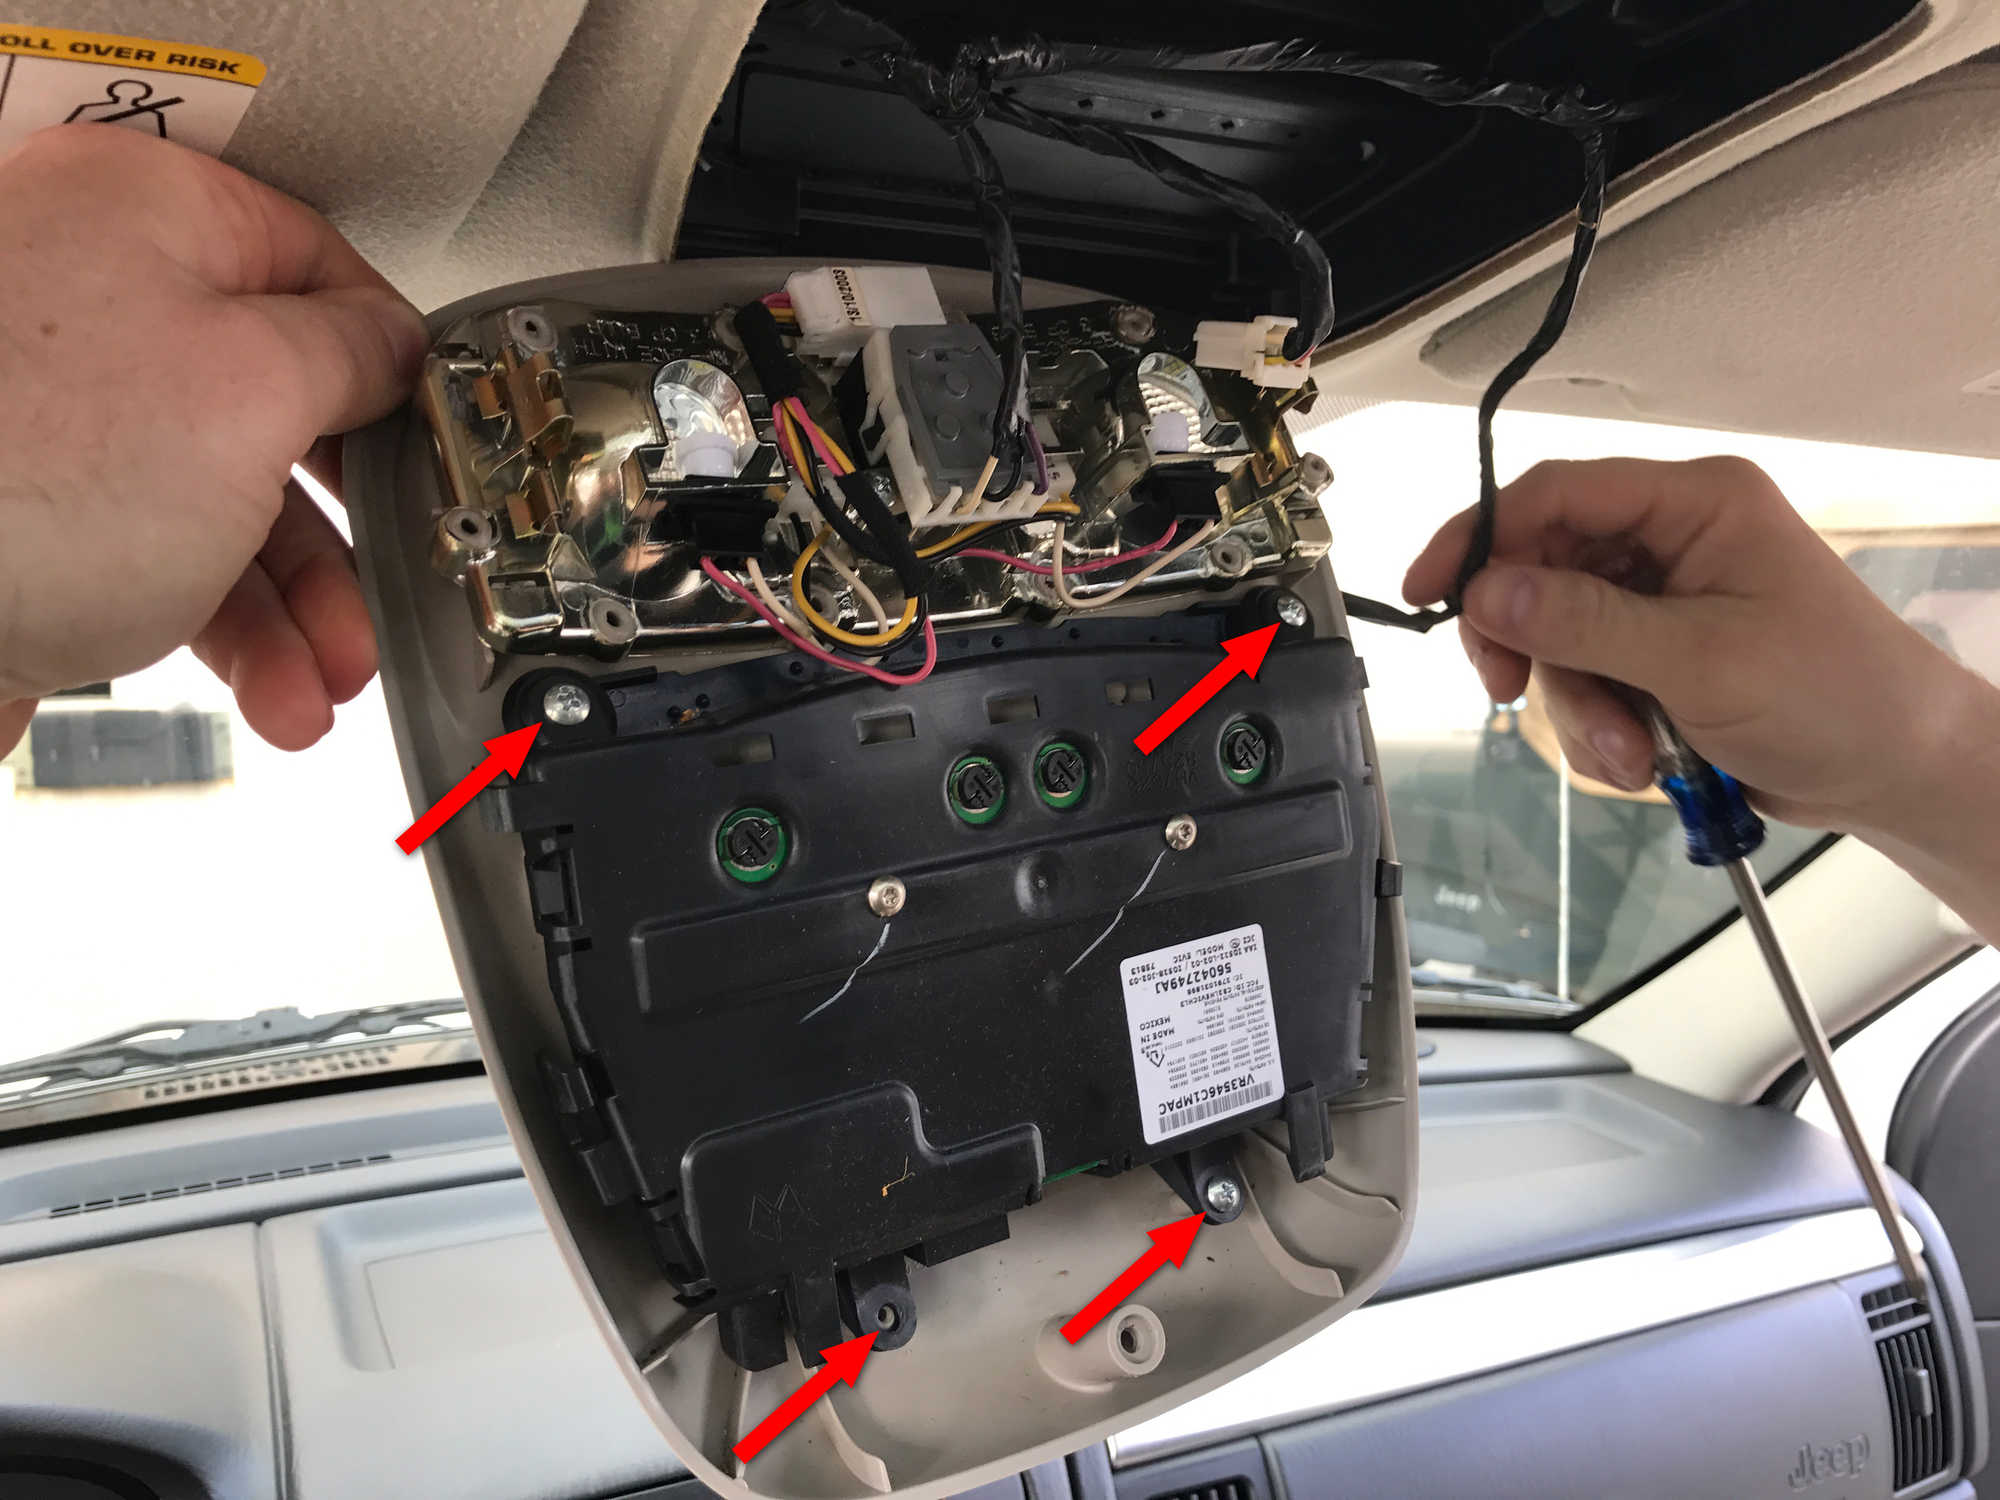
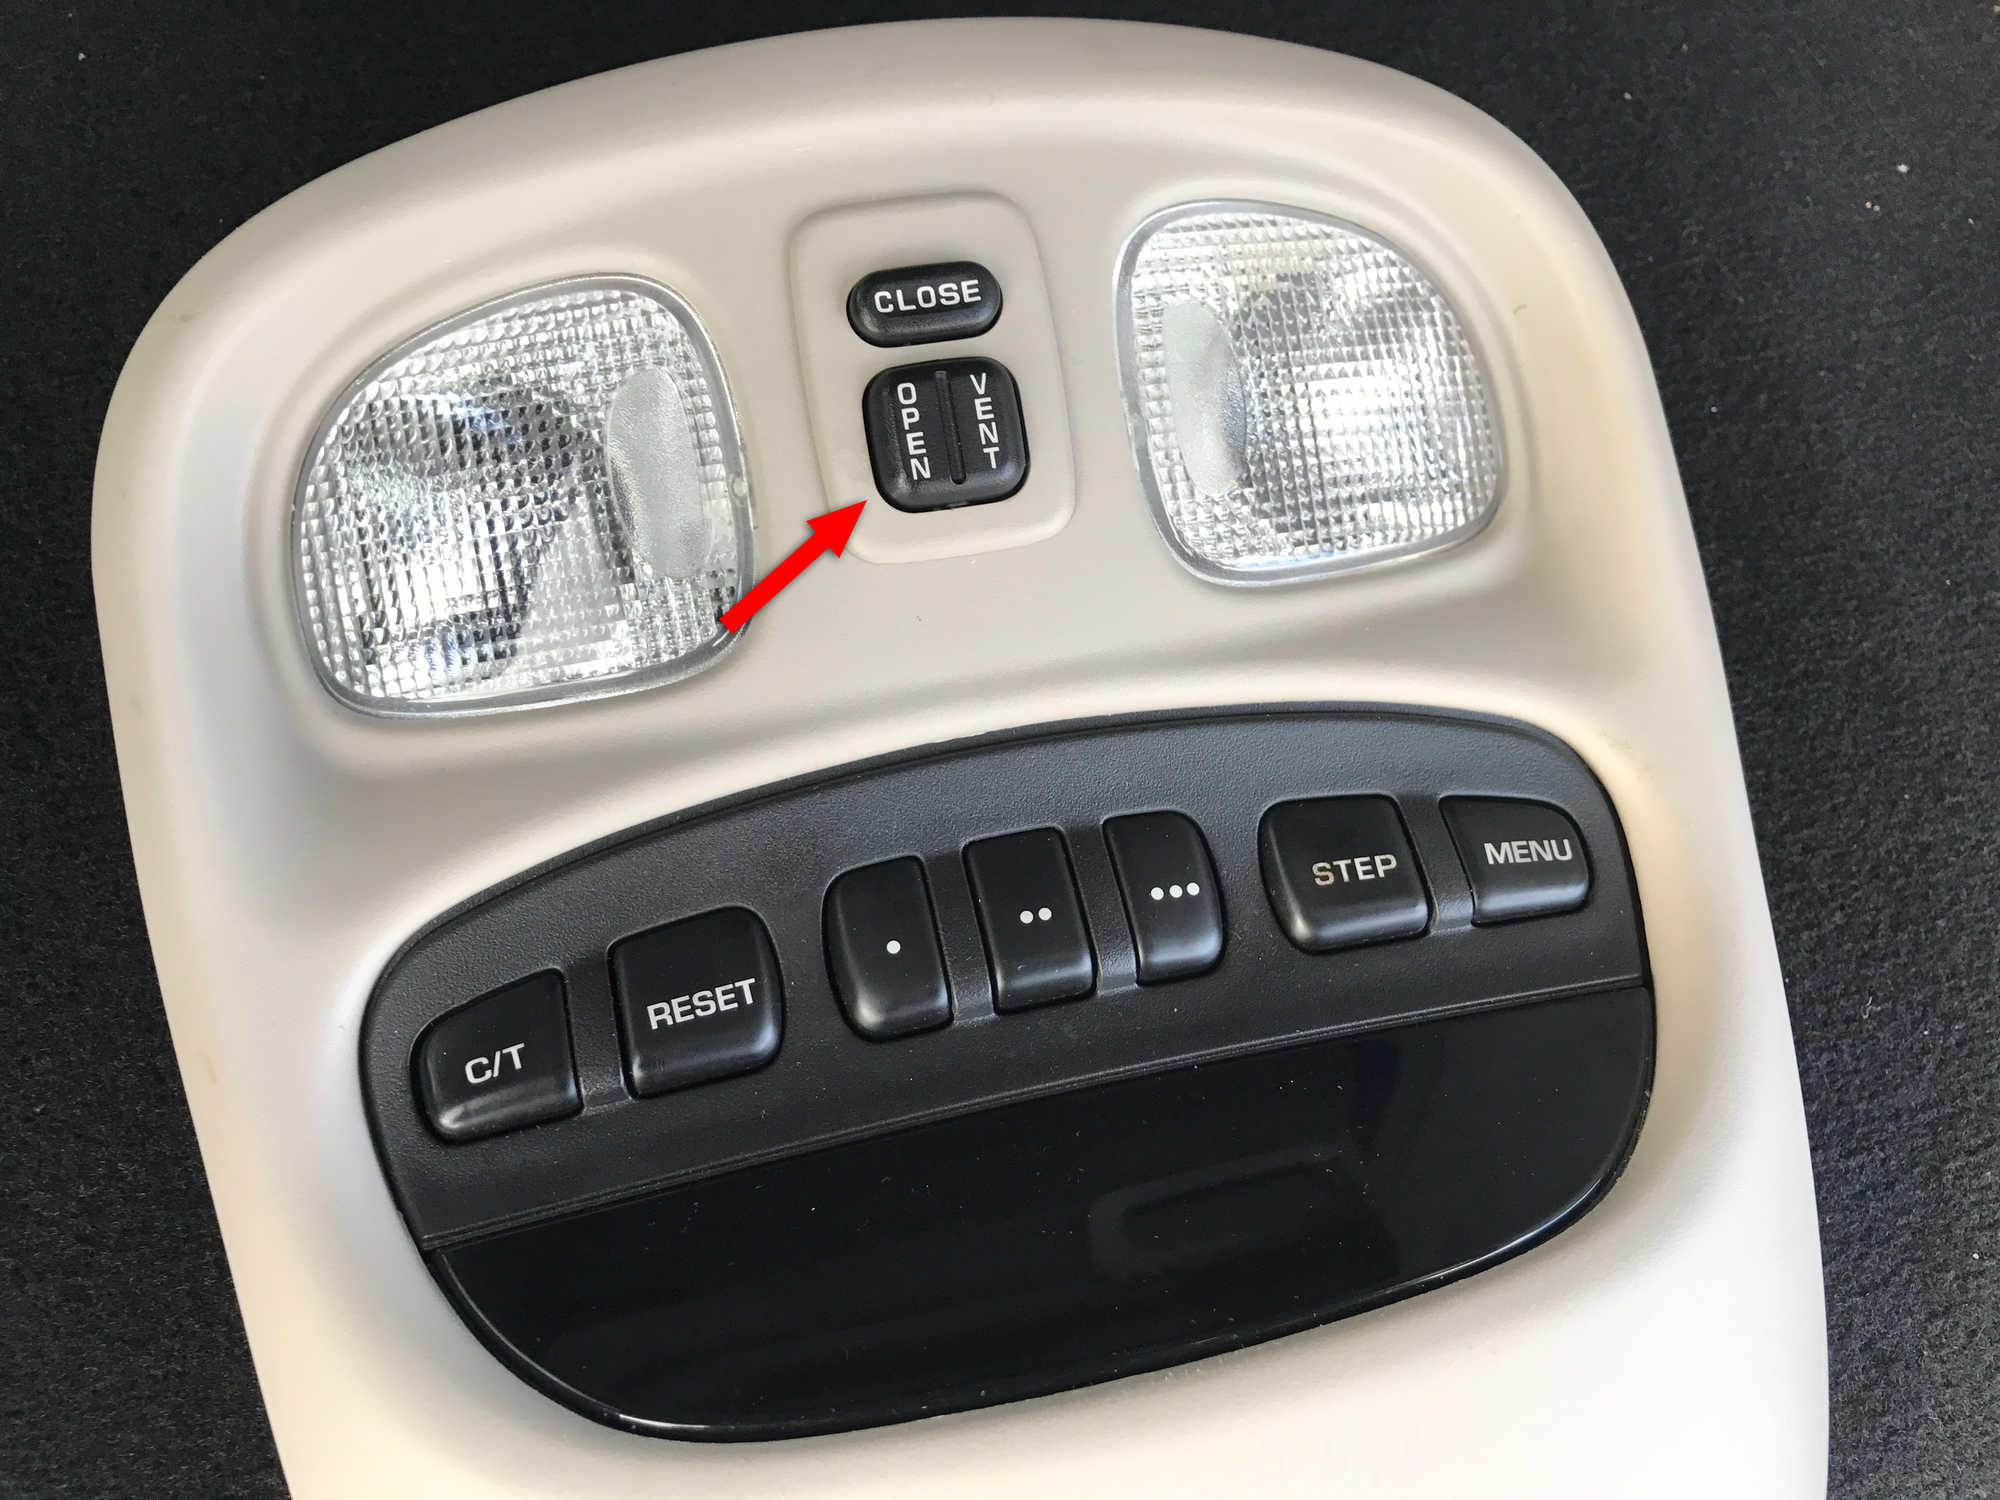
When I bought my WJ there were a few factory options that it didn't have. So I set out to a few auction site to see if I could hunt down some discontinued OEM Mopar parts. First up on my list was the auto-dimming rear-view mirror. The mirror was a super easy swap thanks to the fact that all the wiring was already there from the factory. It was just hidden up behind the EVIC console. Installing it was as simple and loosening the set screw on the mirror arm, sliding the standard one off, and replacing it with the new one. Then I just had to fish the wire harness out from the headliner and plug it in.
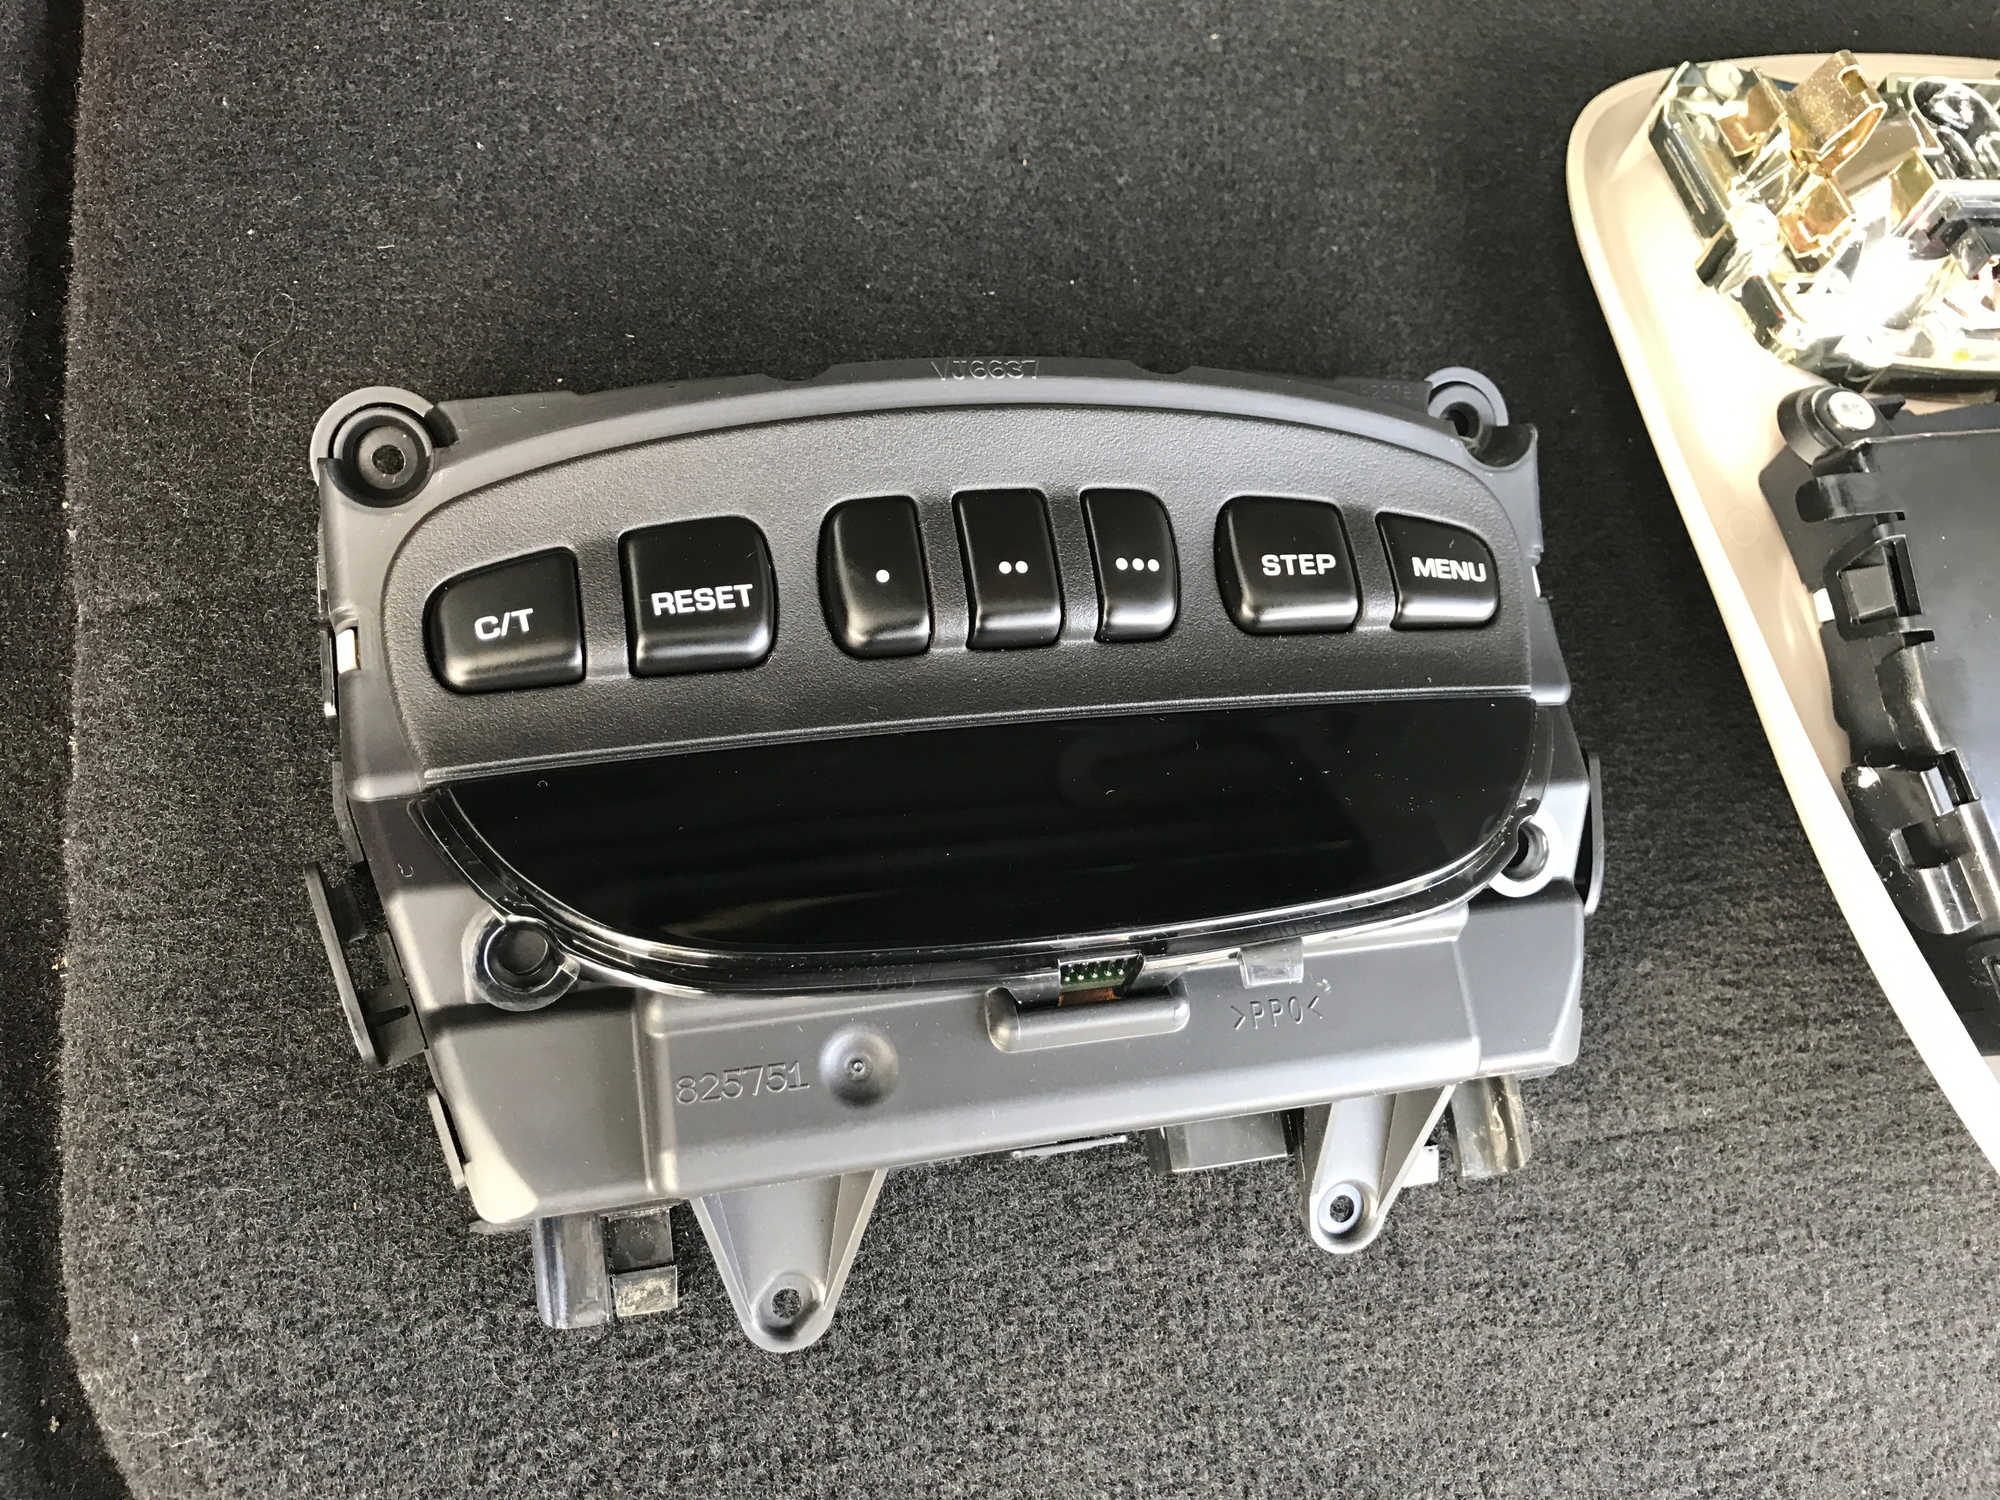
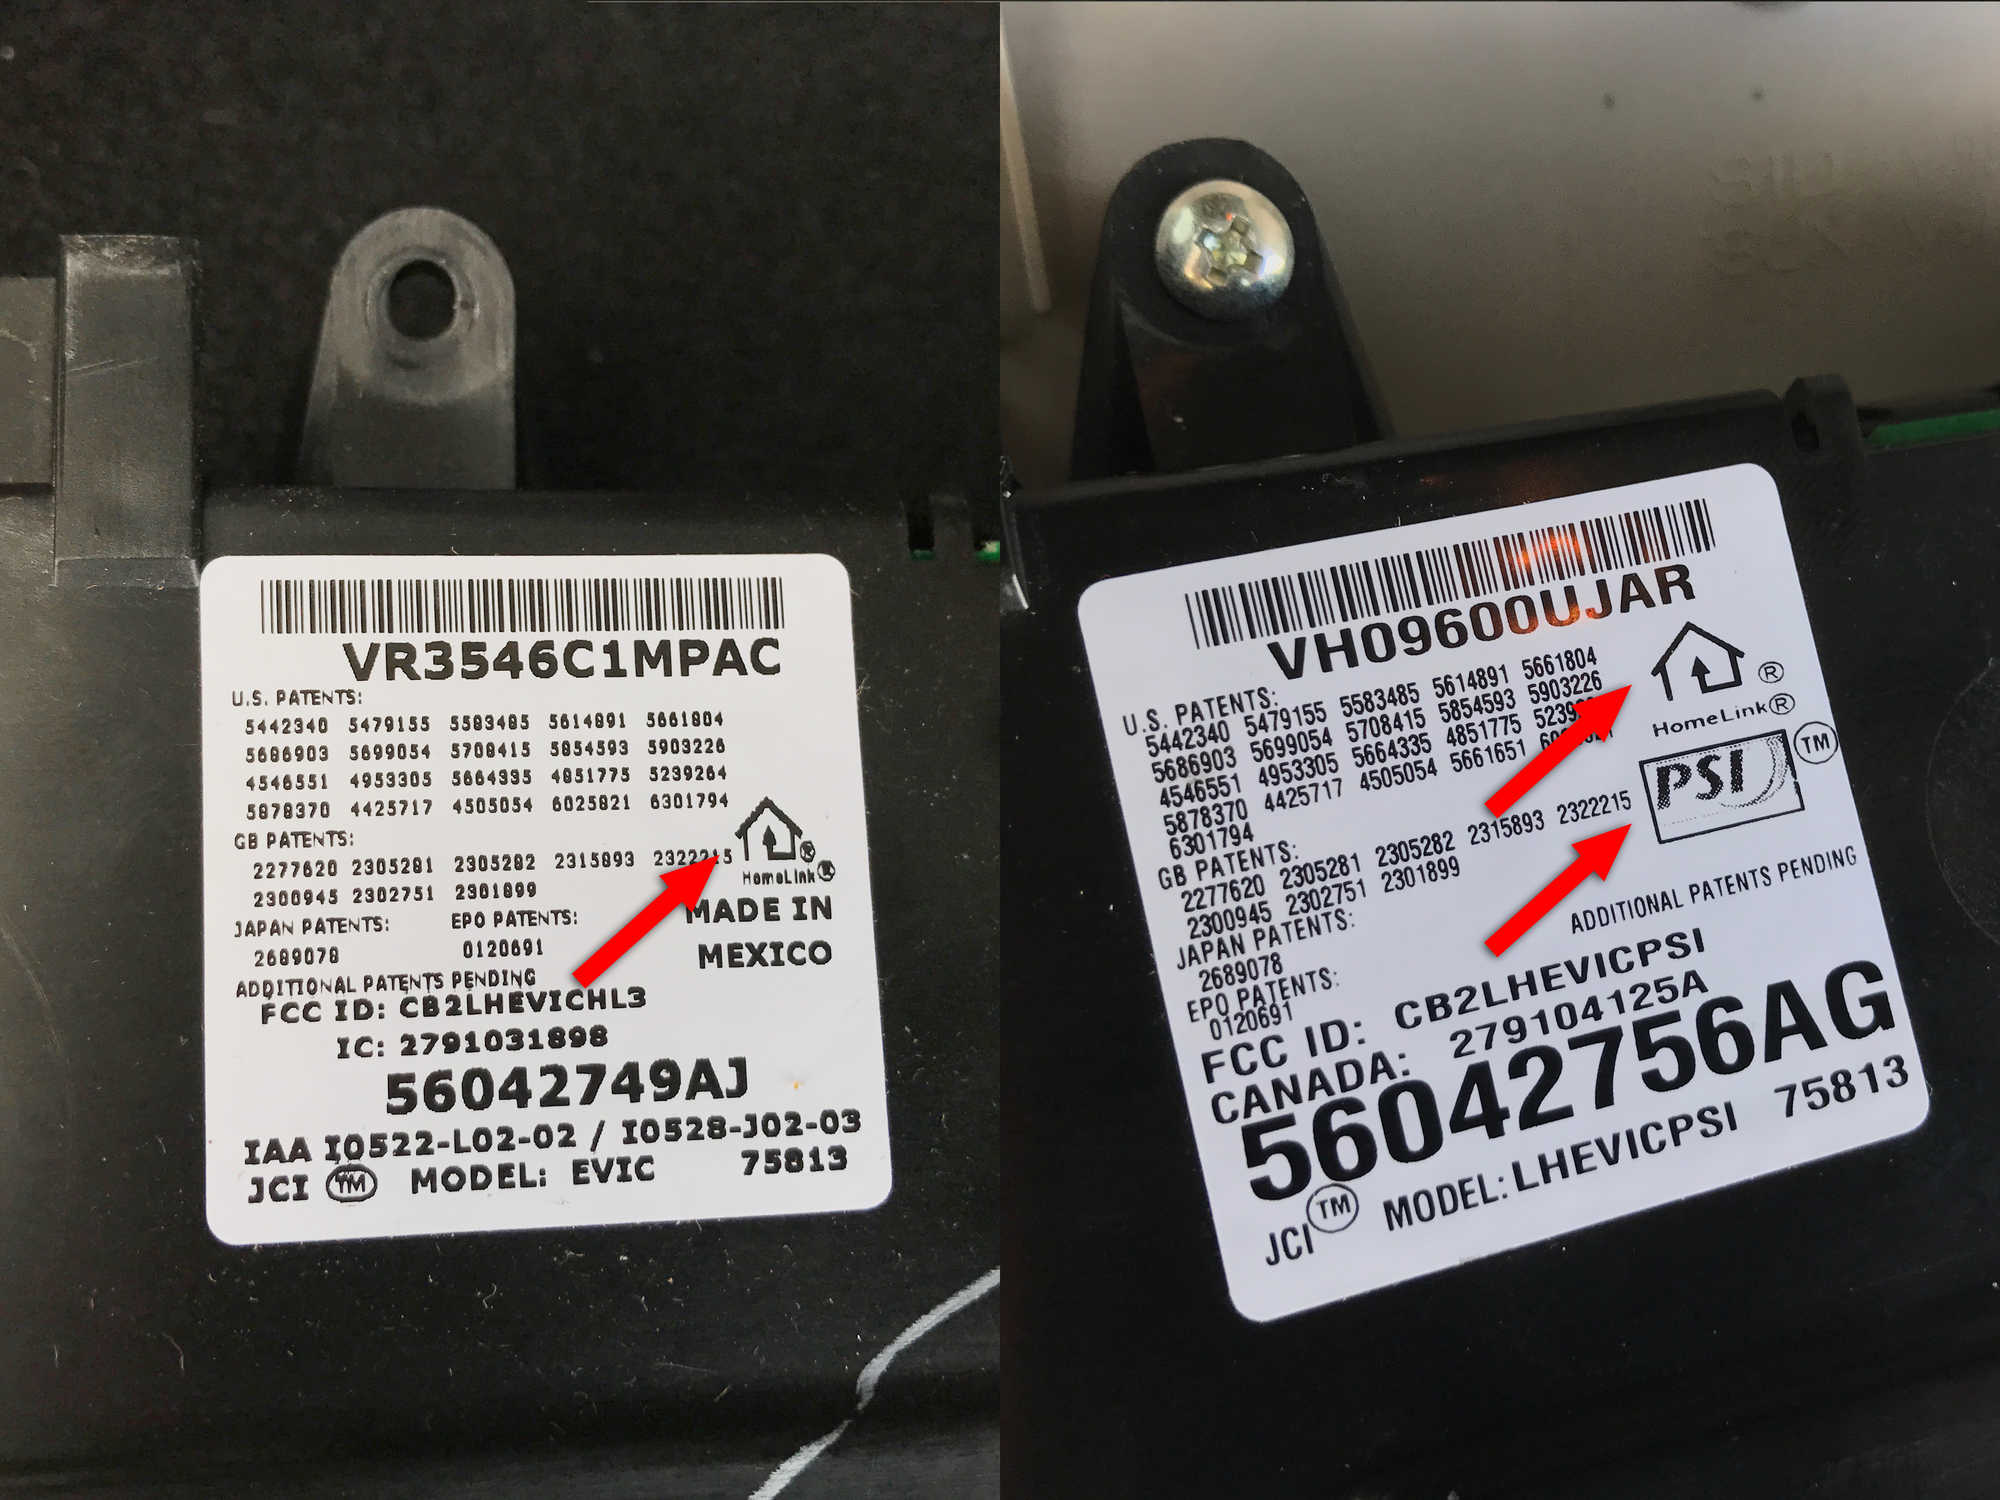
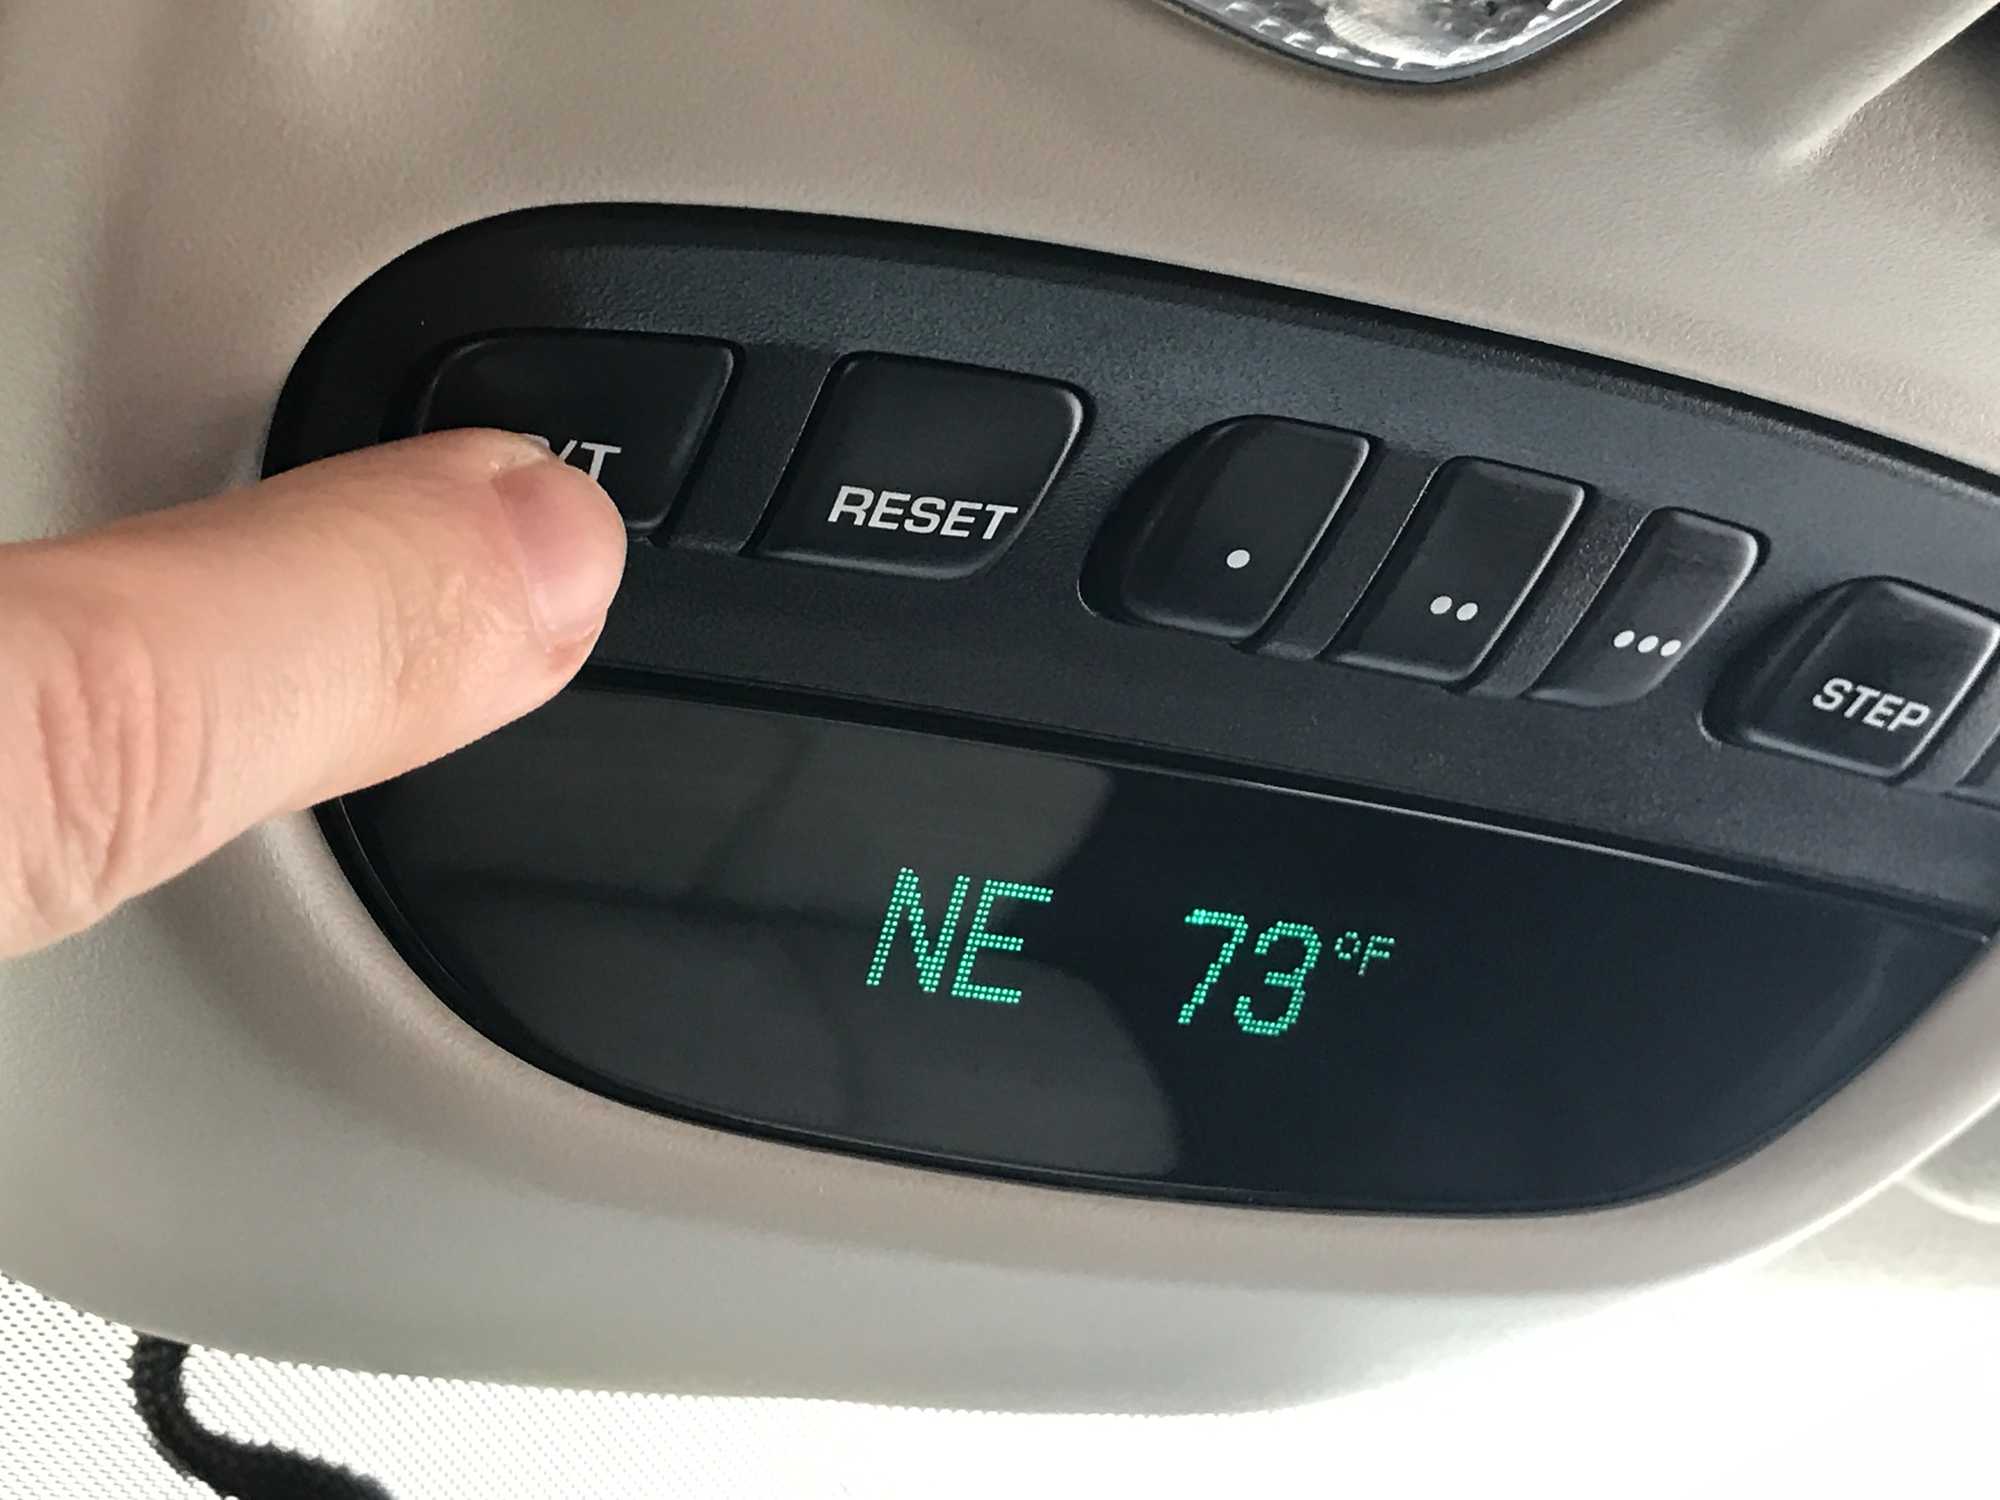
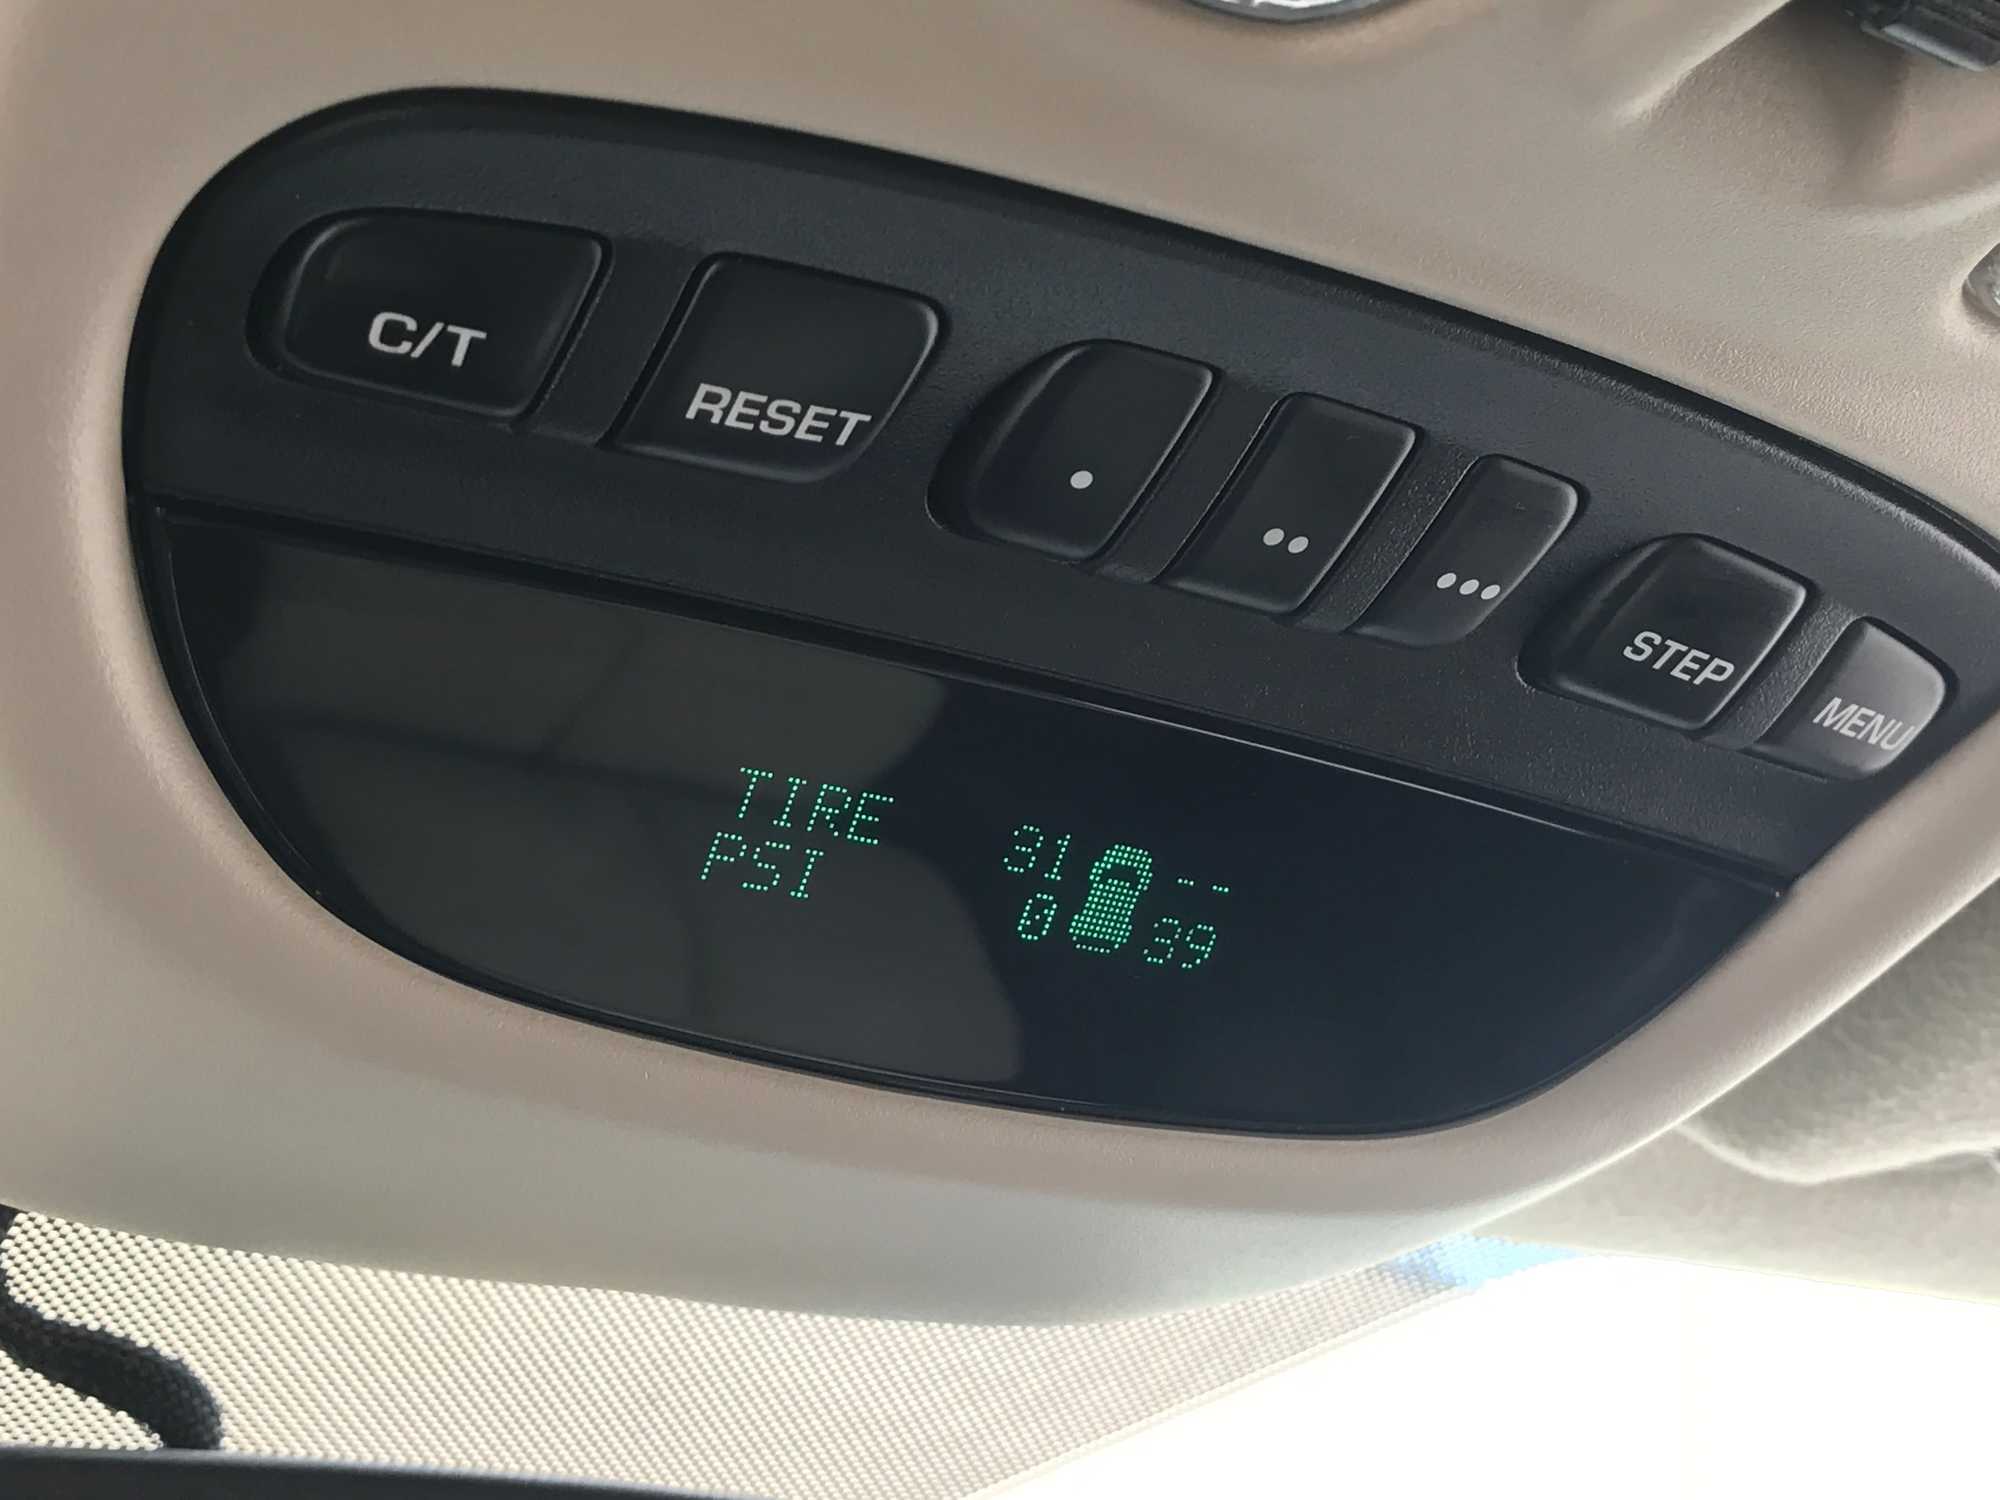
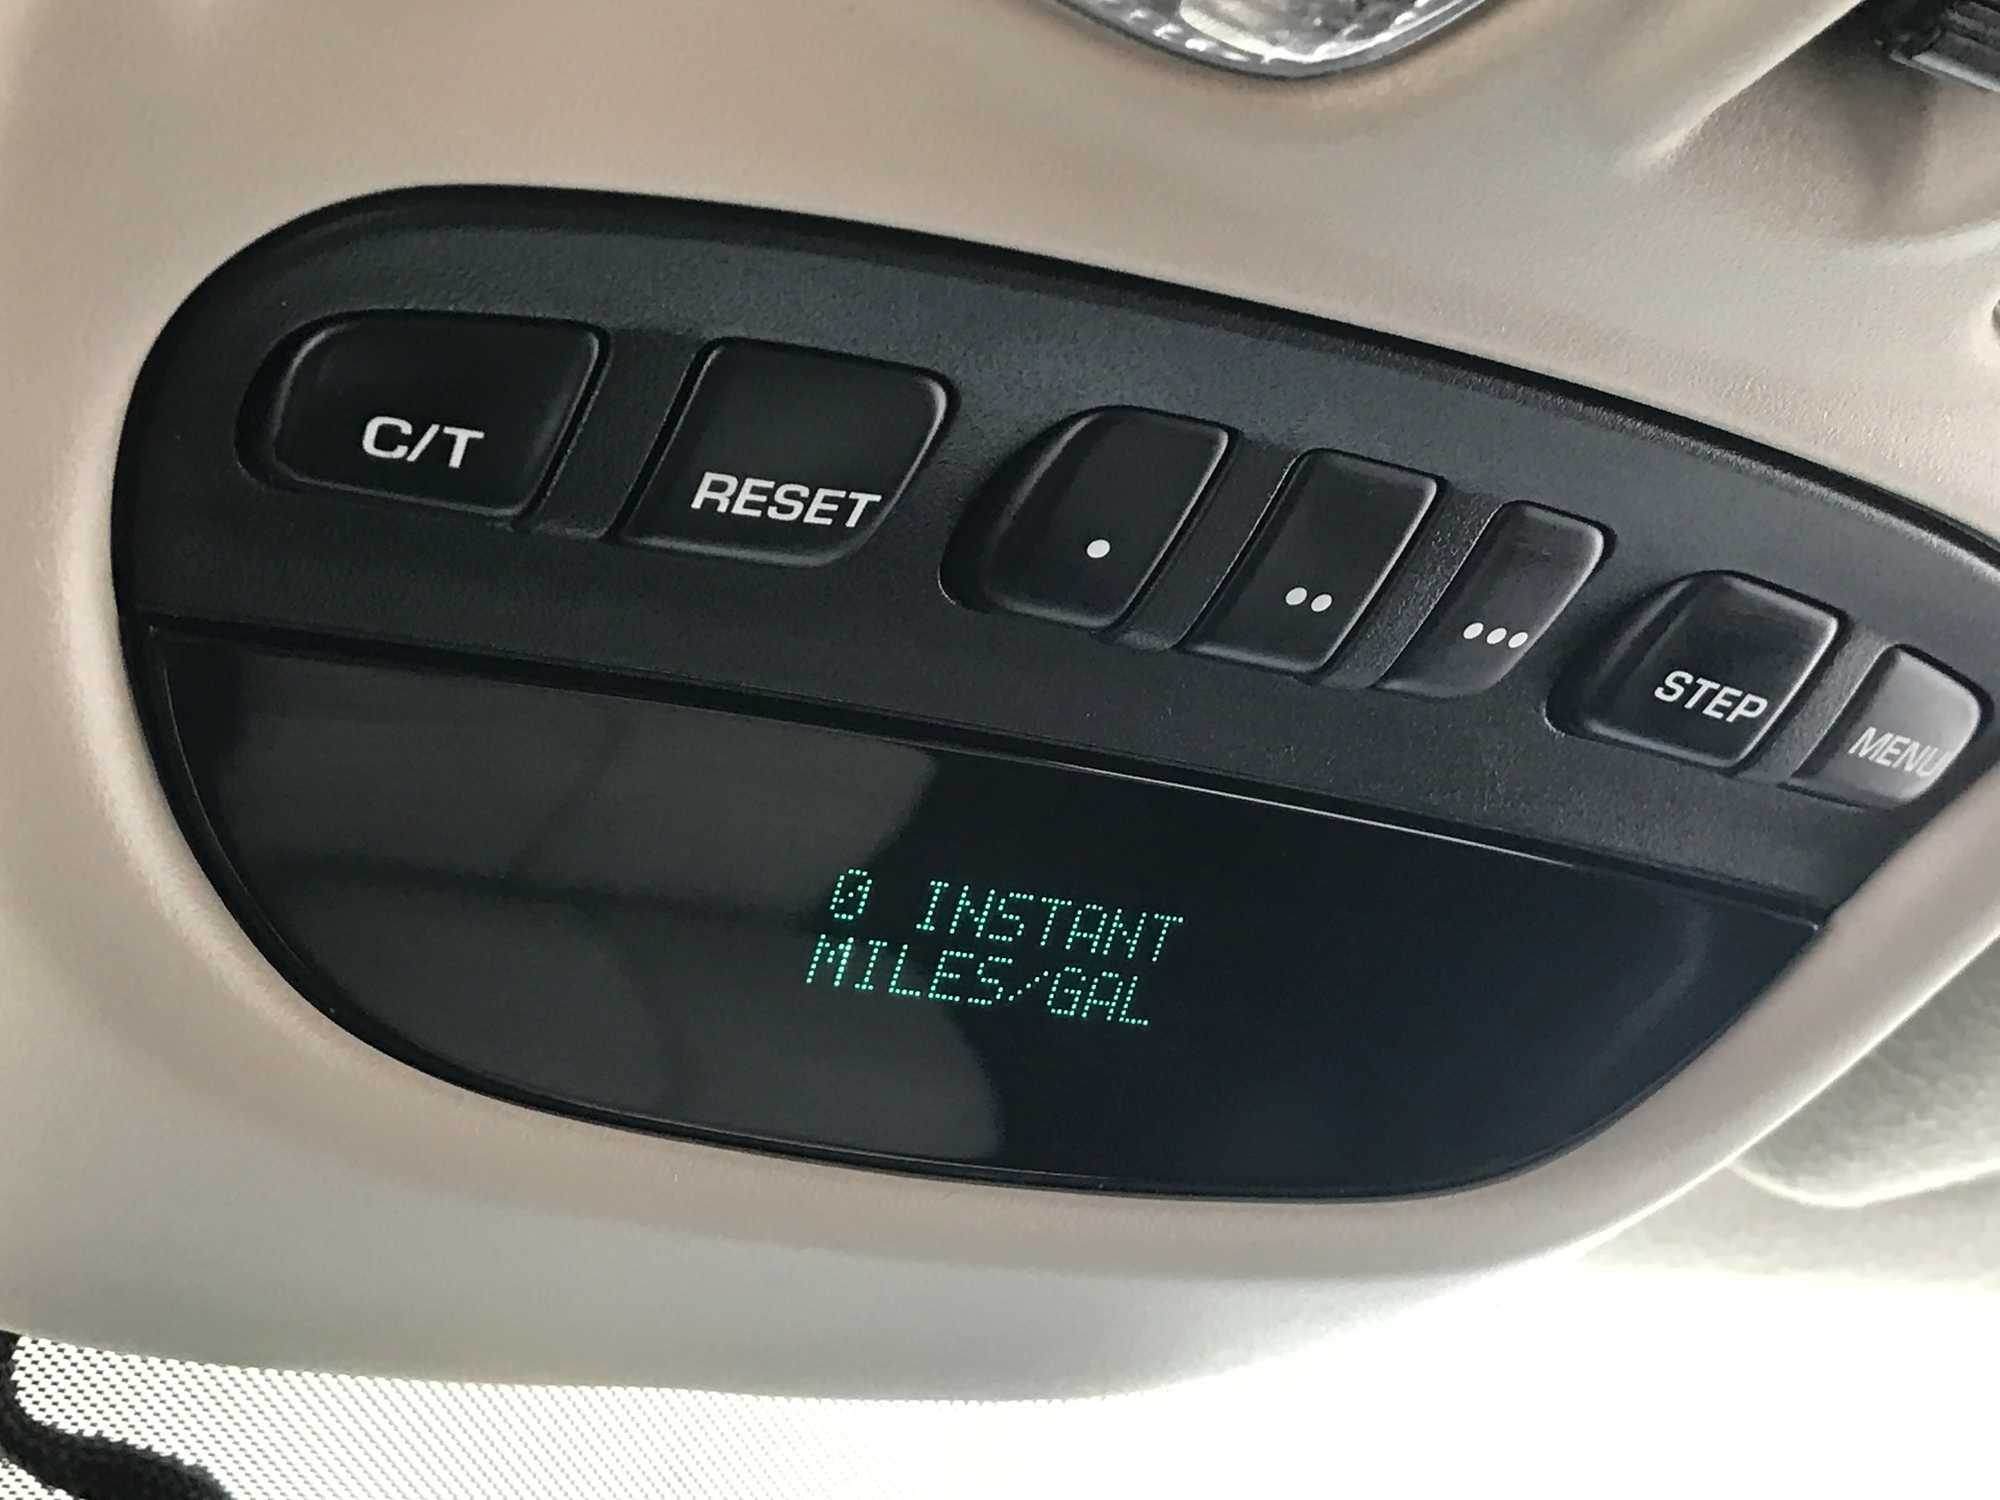
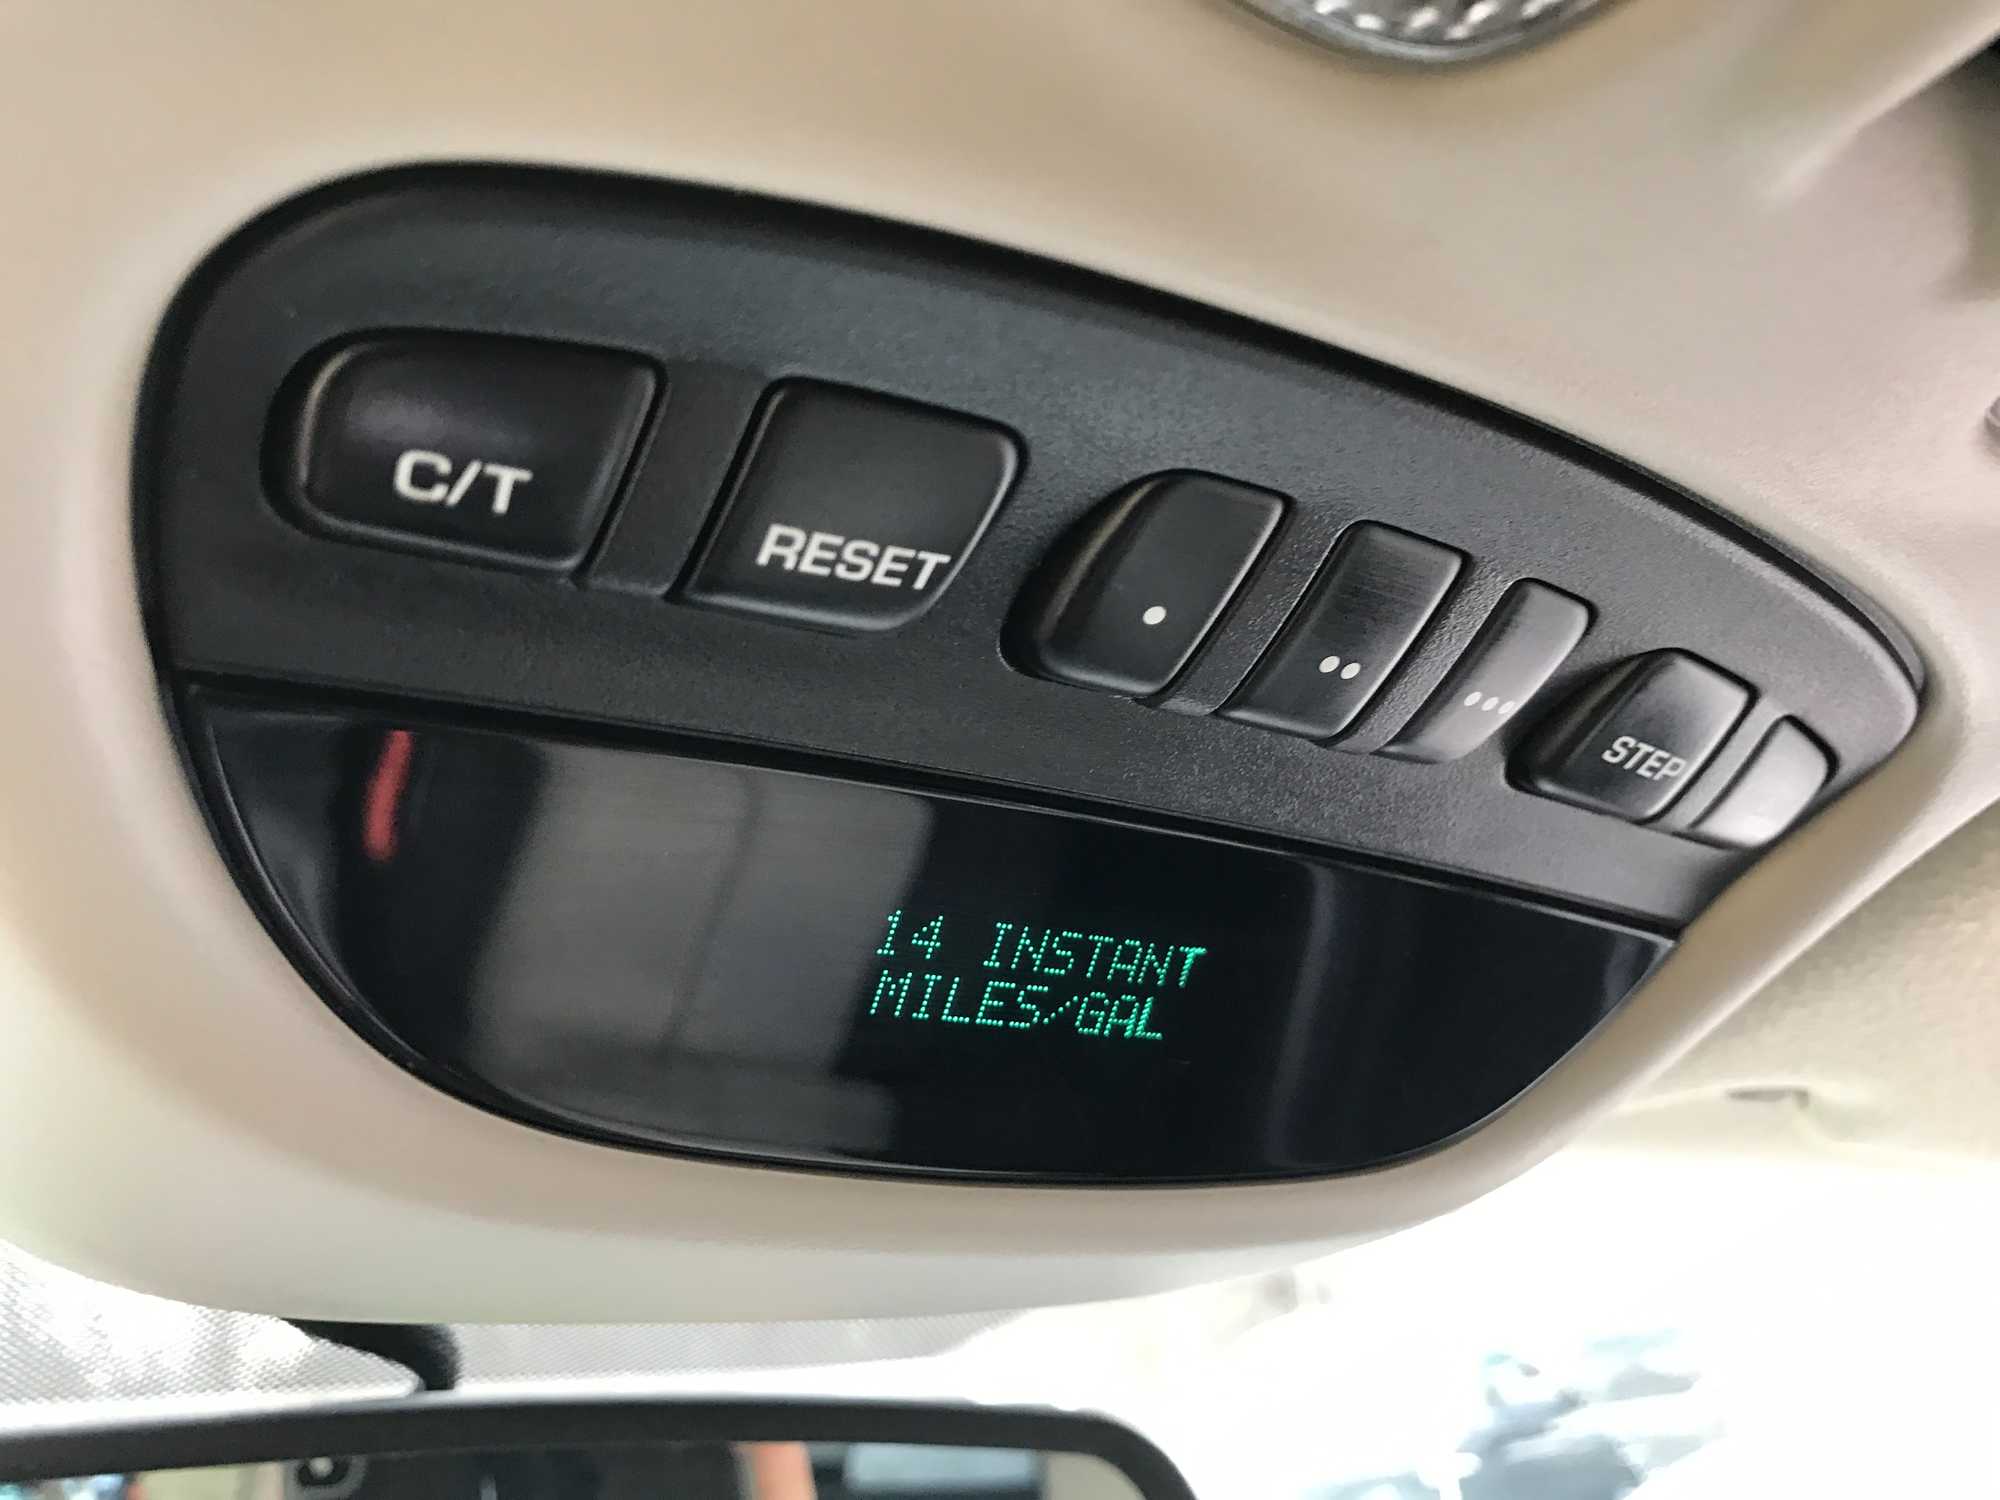
Since I already had to pull the EVIC module down to access the wiring for the mirror, this was also the perfect time to swap it out for one with more bells and whistles. The EVIC that was in my Jeep already had the homelink buttons which was nice, but I really like having the TPMS especially on a daily driver. Thanks to the model year / part number breakdown on wjjeeps.com I was able to narrow down my search to the 02 year EVIC module that also happen to have an instant MPG feature. Really I could have lived without, but hey, since I was changing it out, might as well get all the OEM options, right? The module I found was actually out of a Chrysler 300. I couldn't swap the entire console in because the WJ and the 300 used different sunroof switches for some reason, but it was just as easy to unscrew the module from the console and simply swap it over.
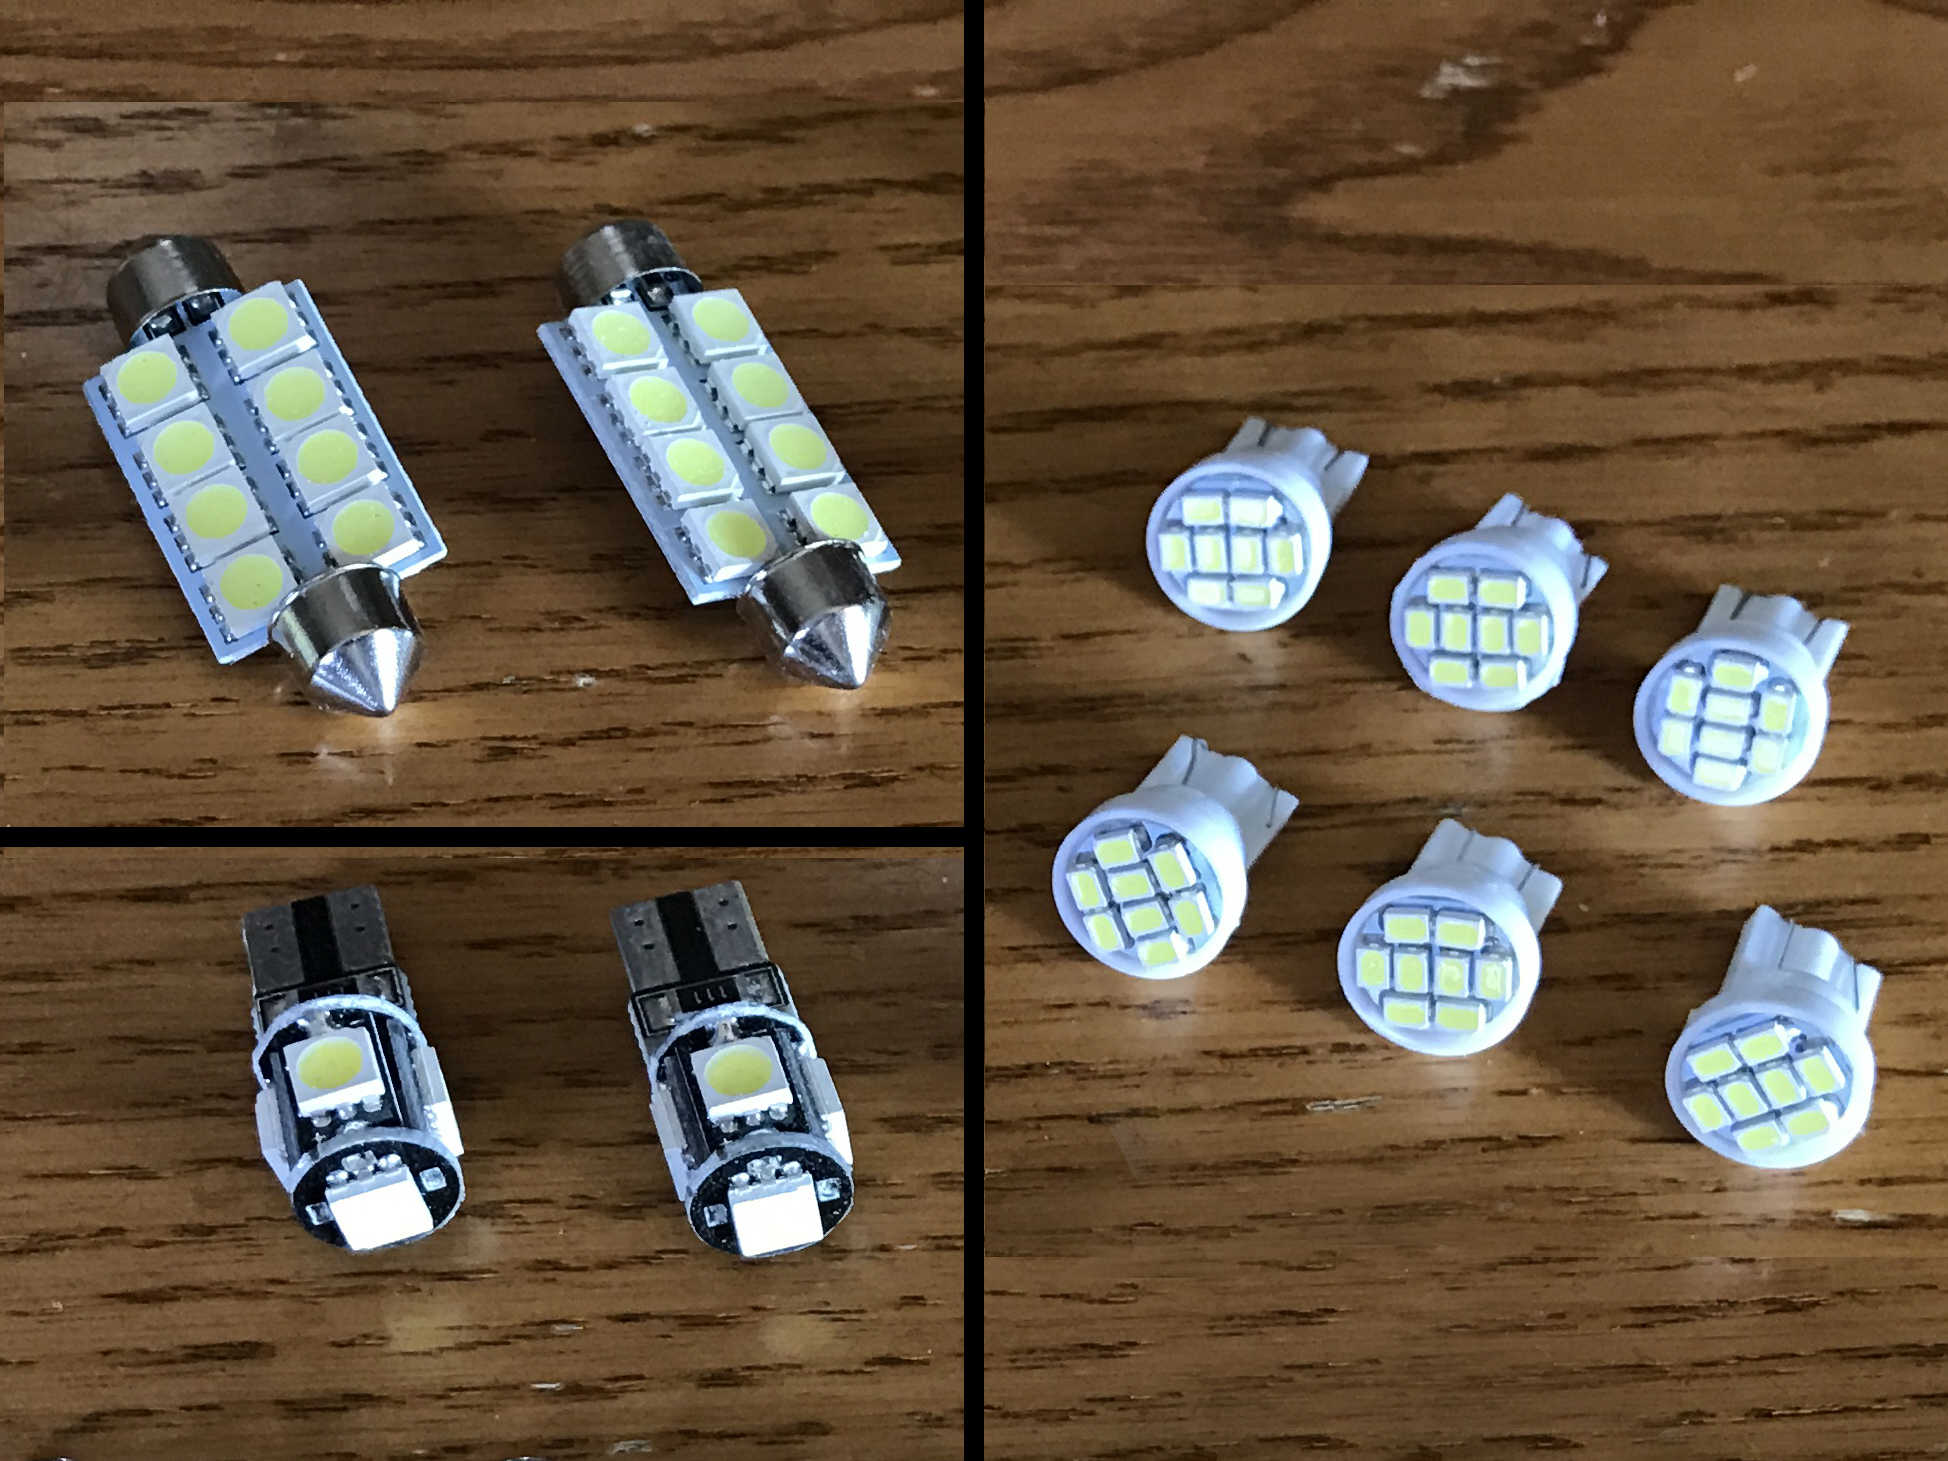
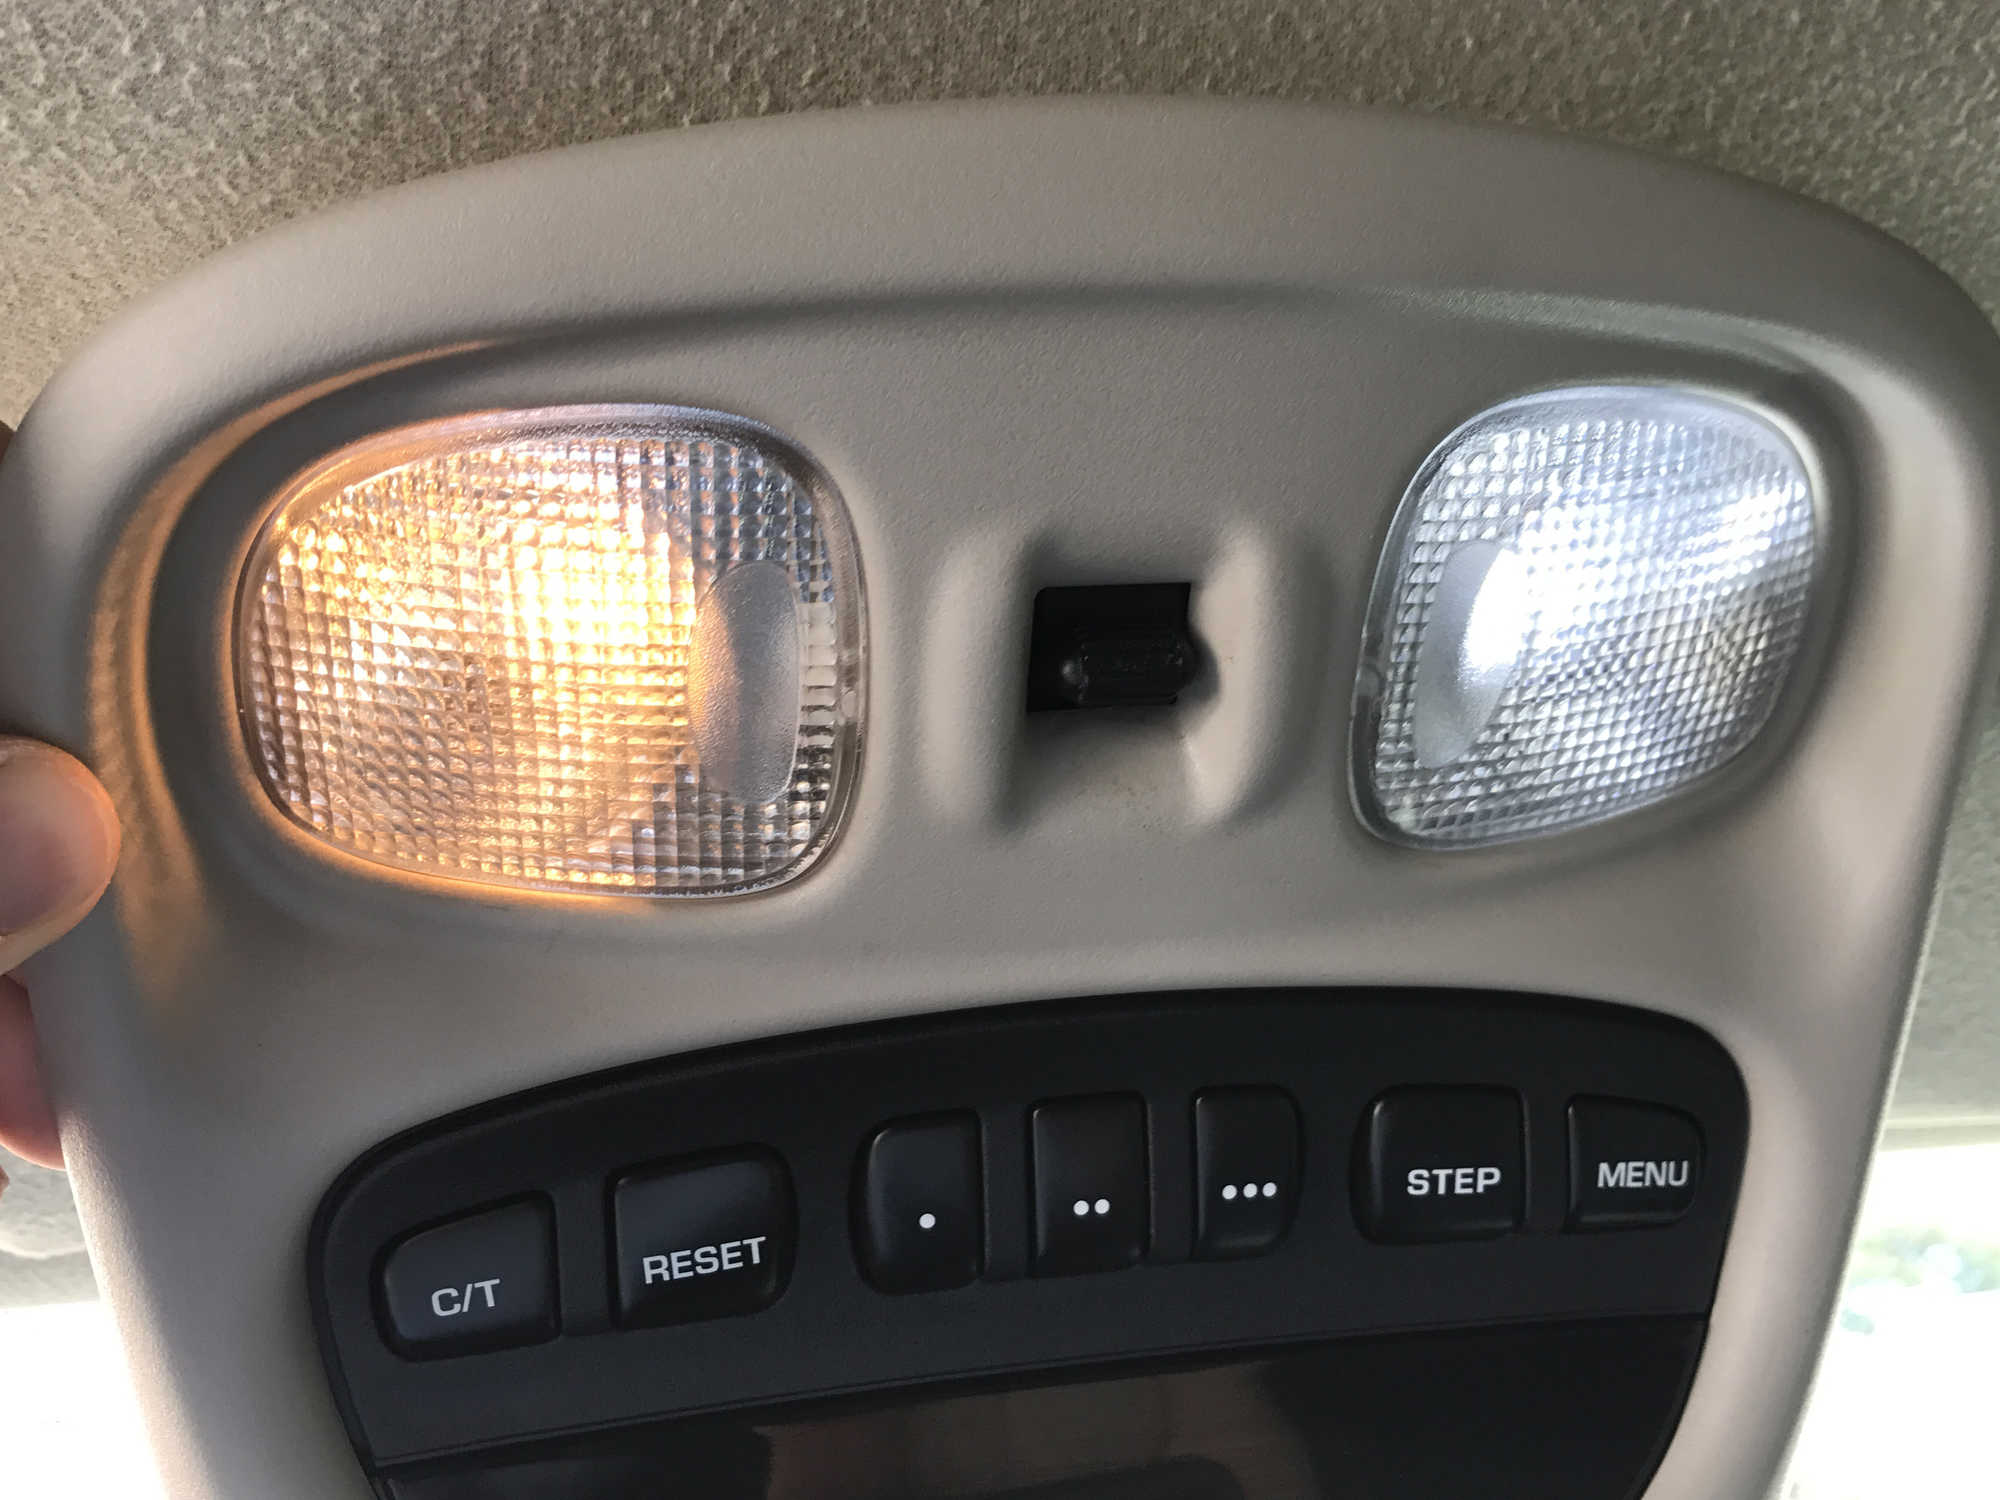
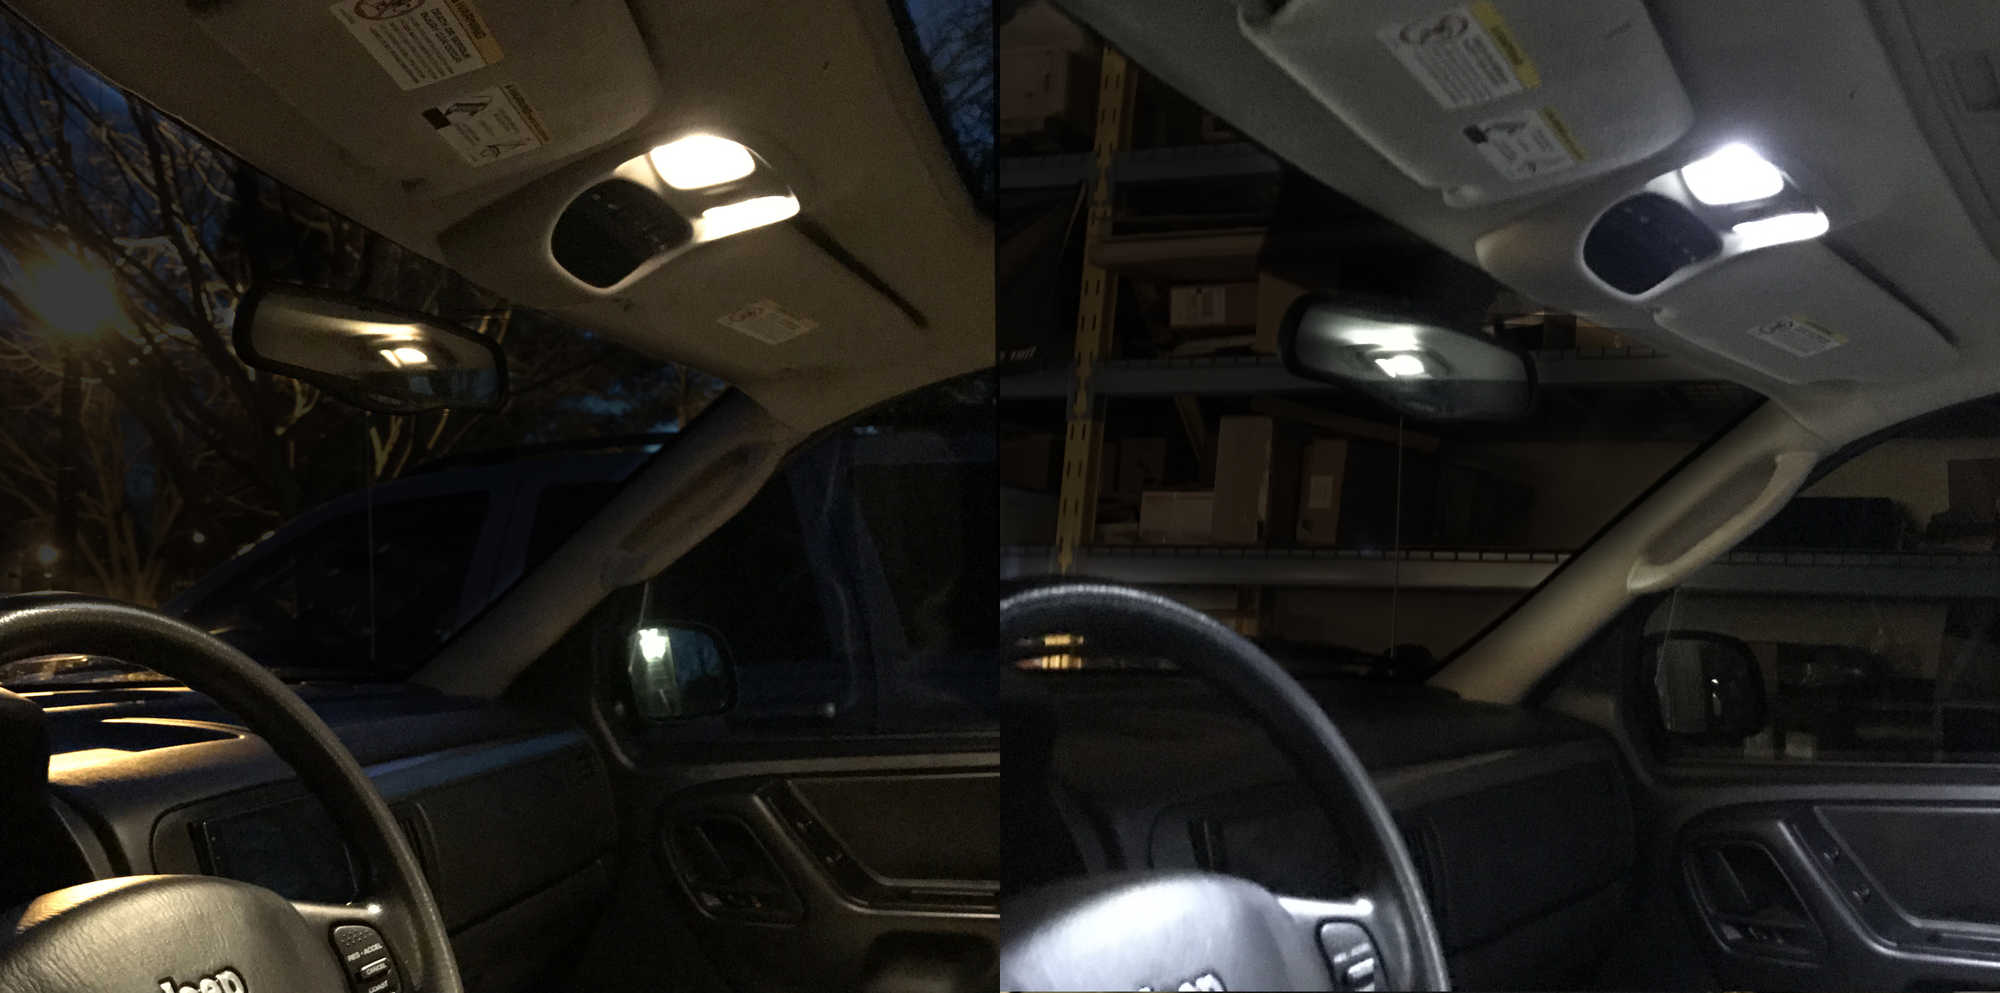
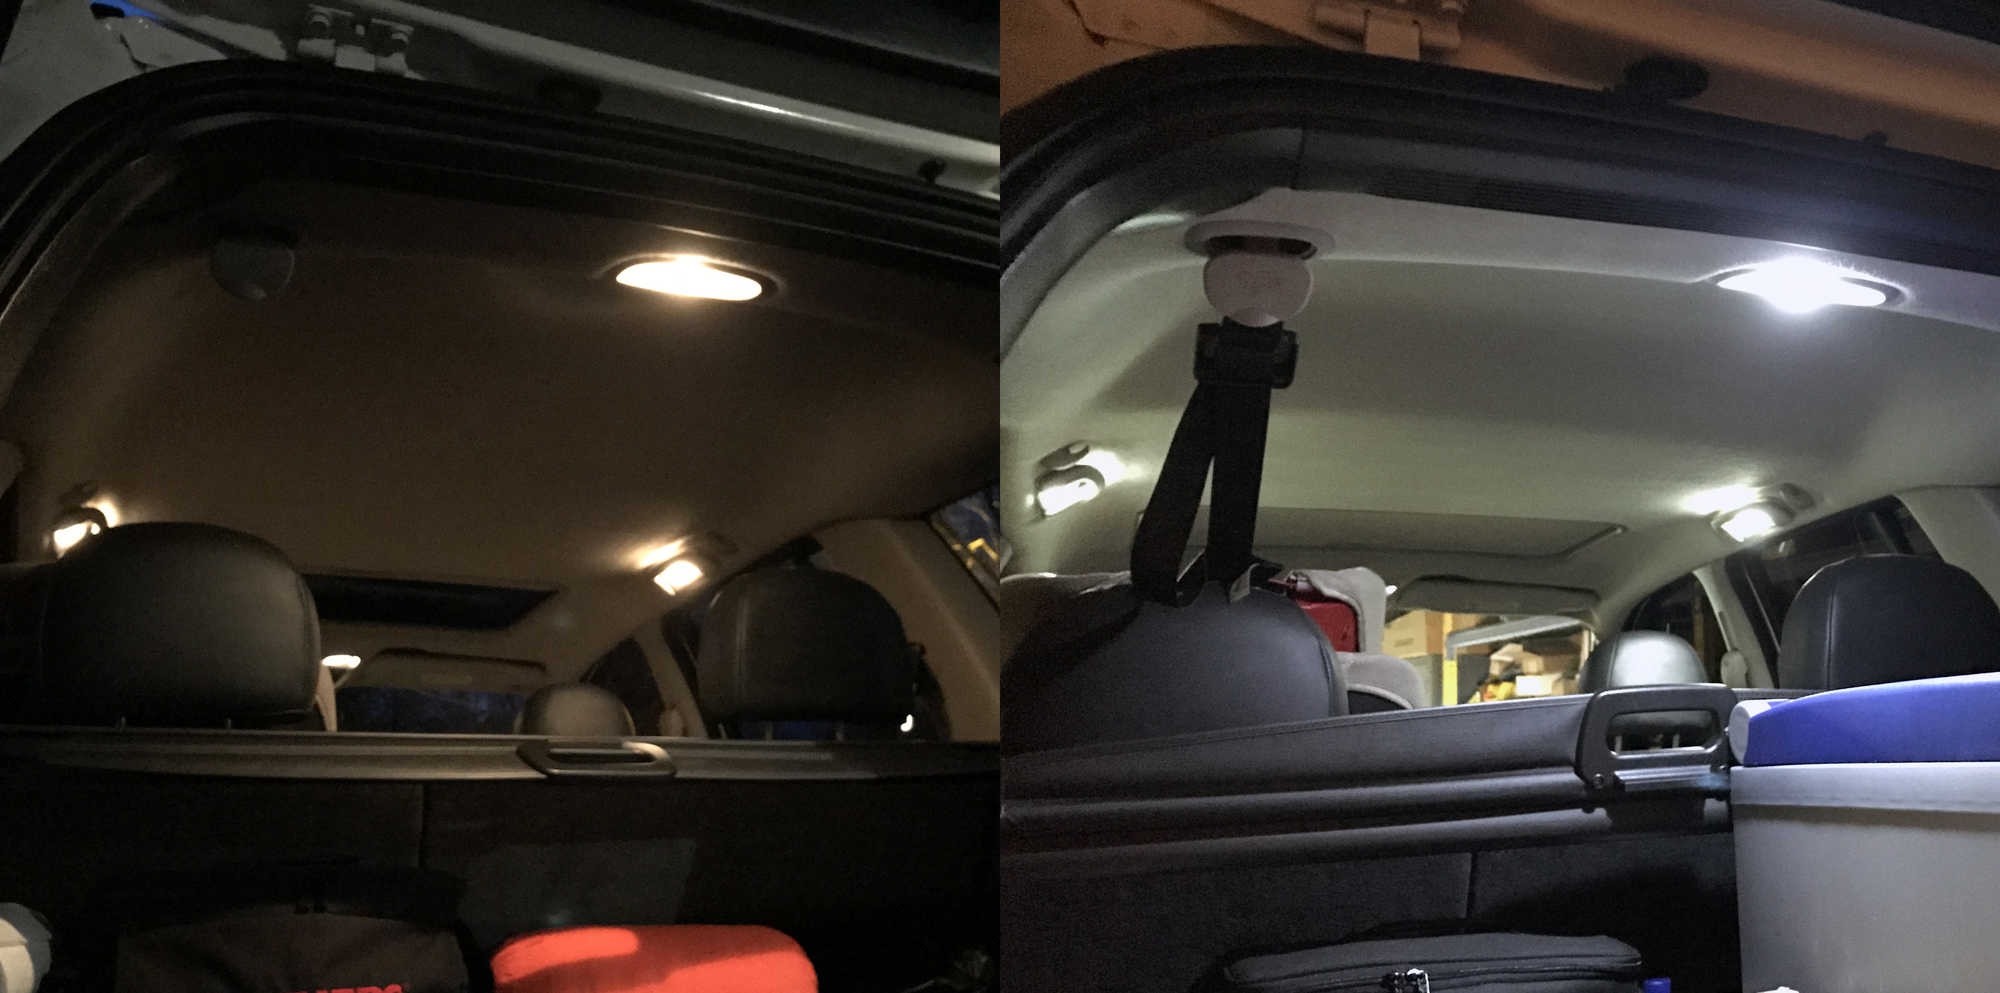
Finally, while I had the console down, I took the opportunity to install some LEDs in the map lights as well as replacing the rest of the interior lights with them as well. Just a creature comfort thing really, but they're nice and bright at night. It'll definitely make finding something buried deep in the bottom of a bag in the back of the Jeep while on a camping trip much easier at night. And I got the front windows tinted to match the factory tint on the rear windows as well. Mostly just out of personal preference because I like the way it looks, but it also helps keep the interior cooler in the summer and makes the interior a bit darker, making it a little tougher for prying eyes to see what I might have in my Jeep.
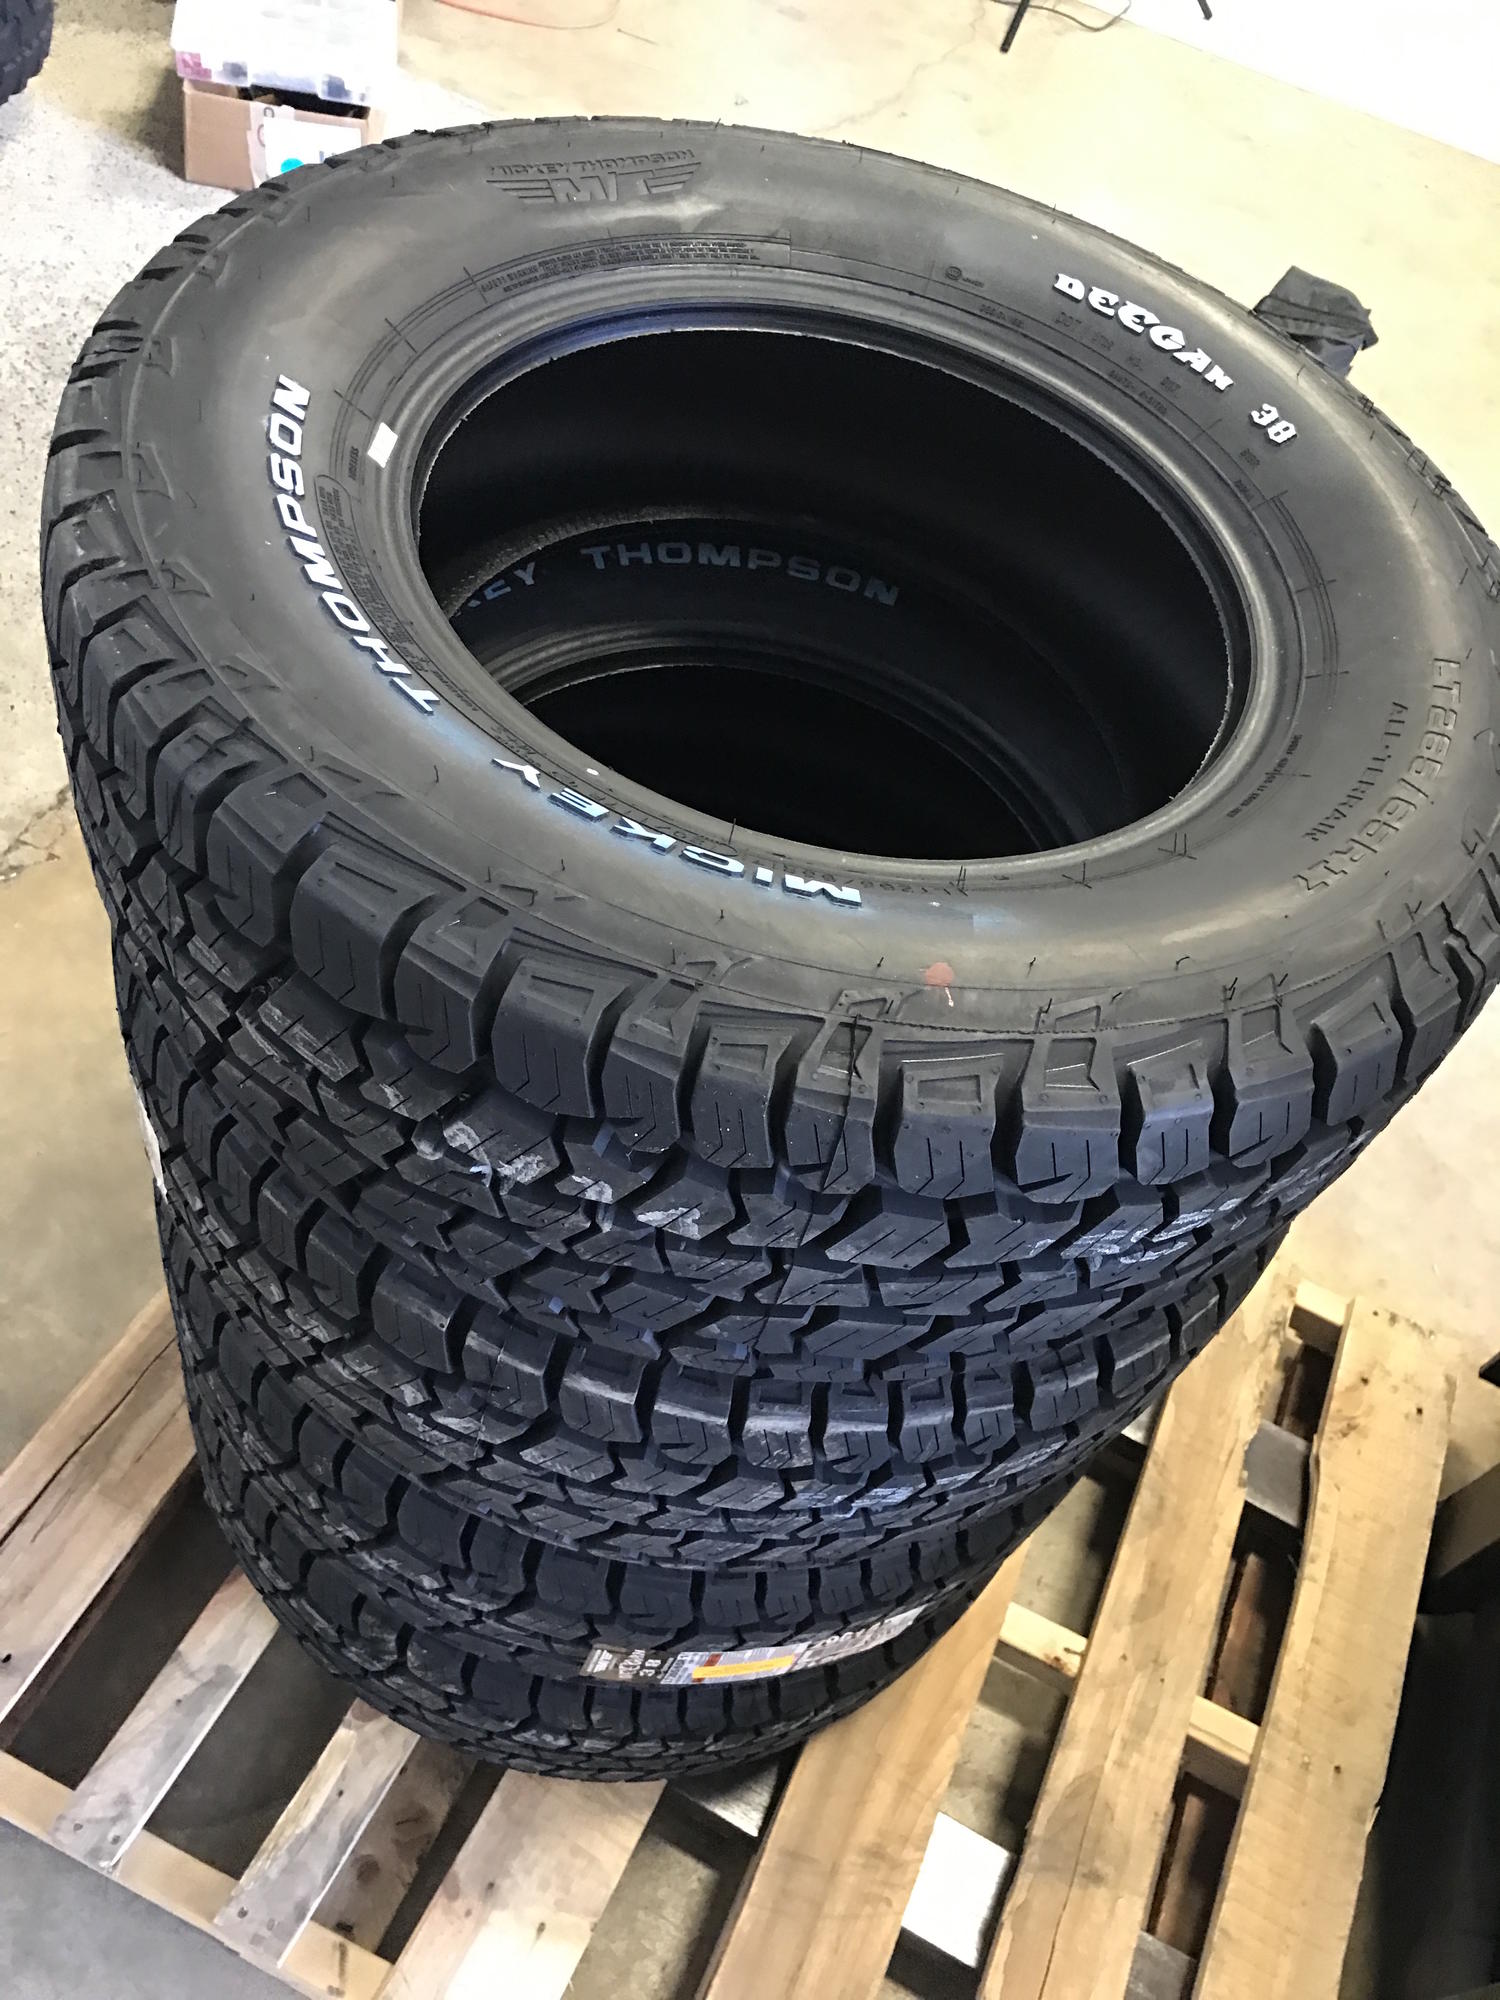
Tires and suspension will be next up! I'm going to be giving the brand new Deegan 38 all-terrain tires from Mickey Thompson a try, and to make room for a slightly larger tire size I'll be installing new springs and shocks from Old Man Emu.


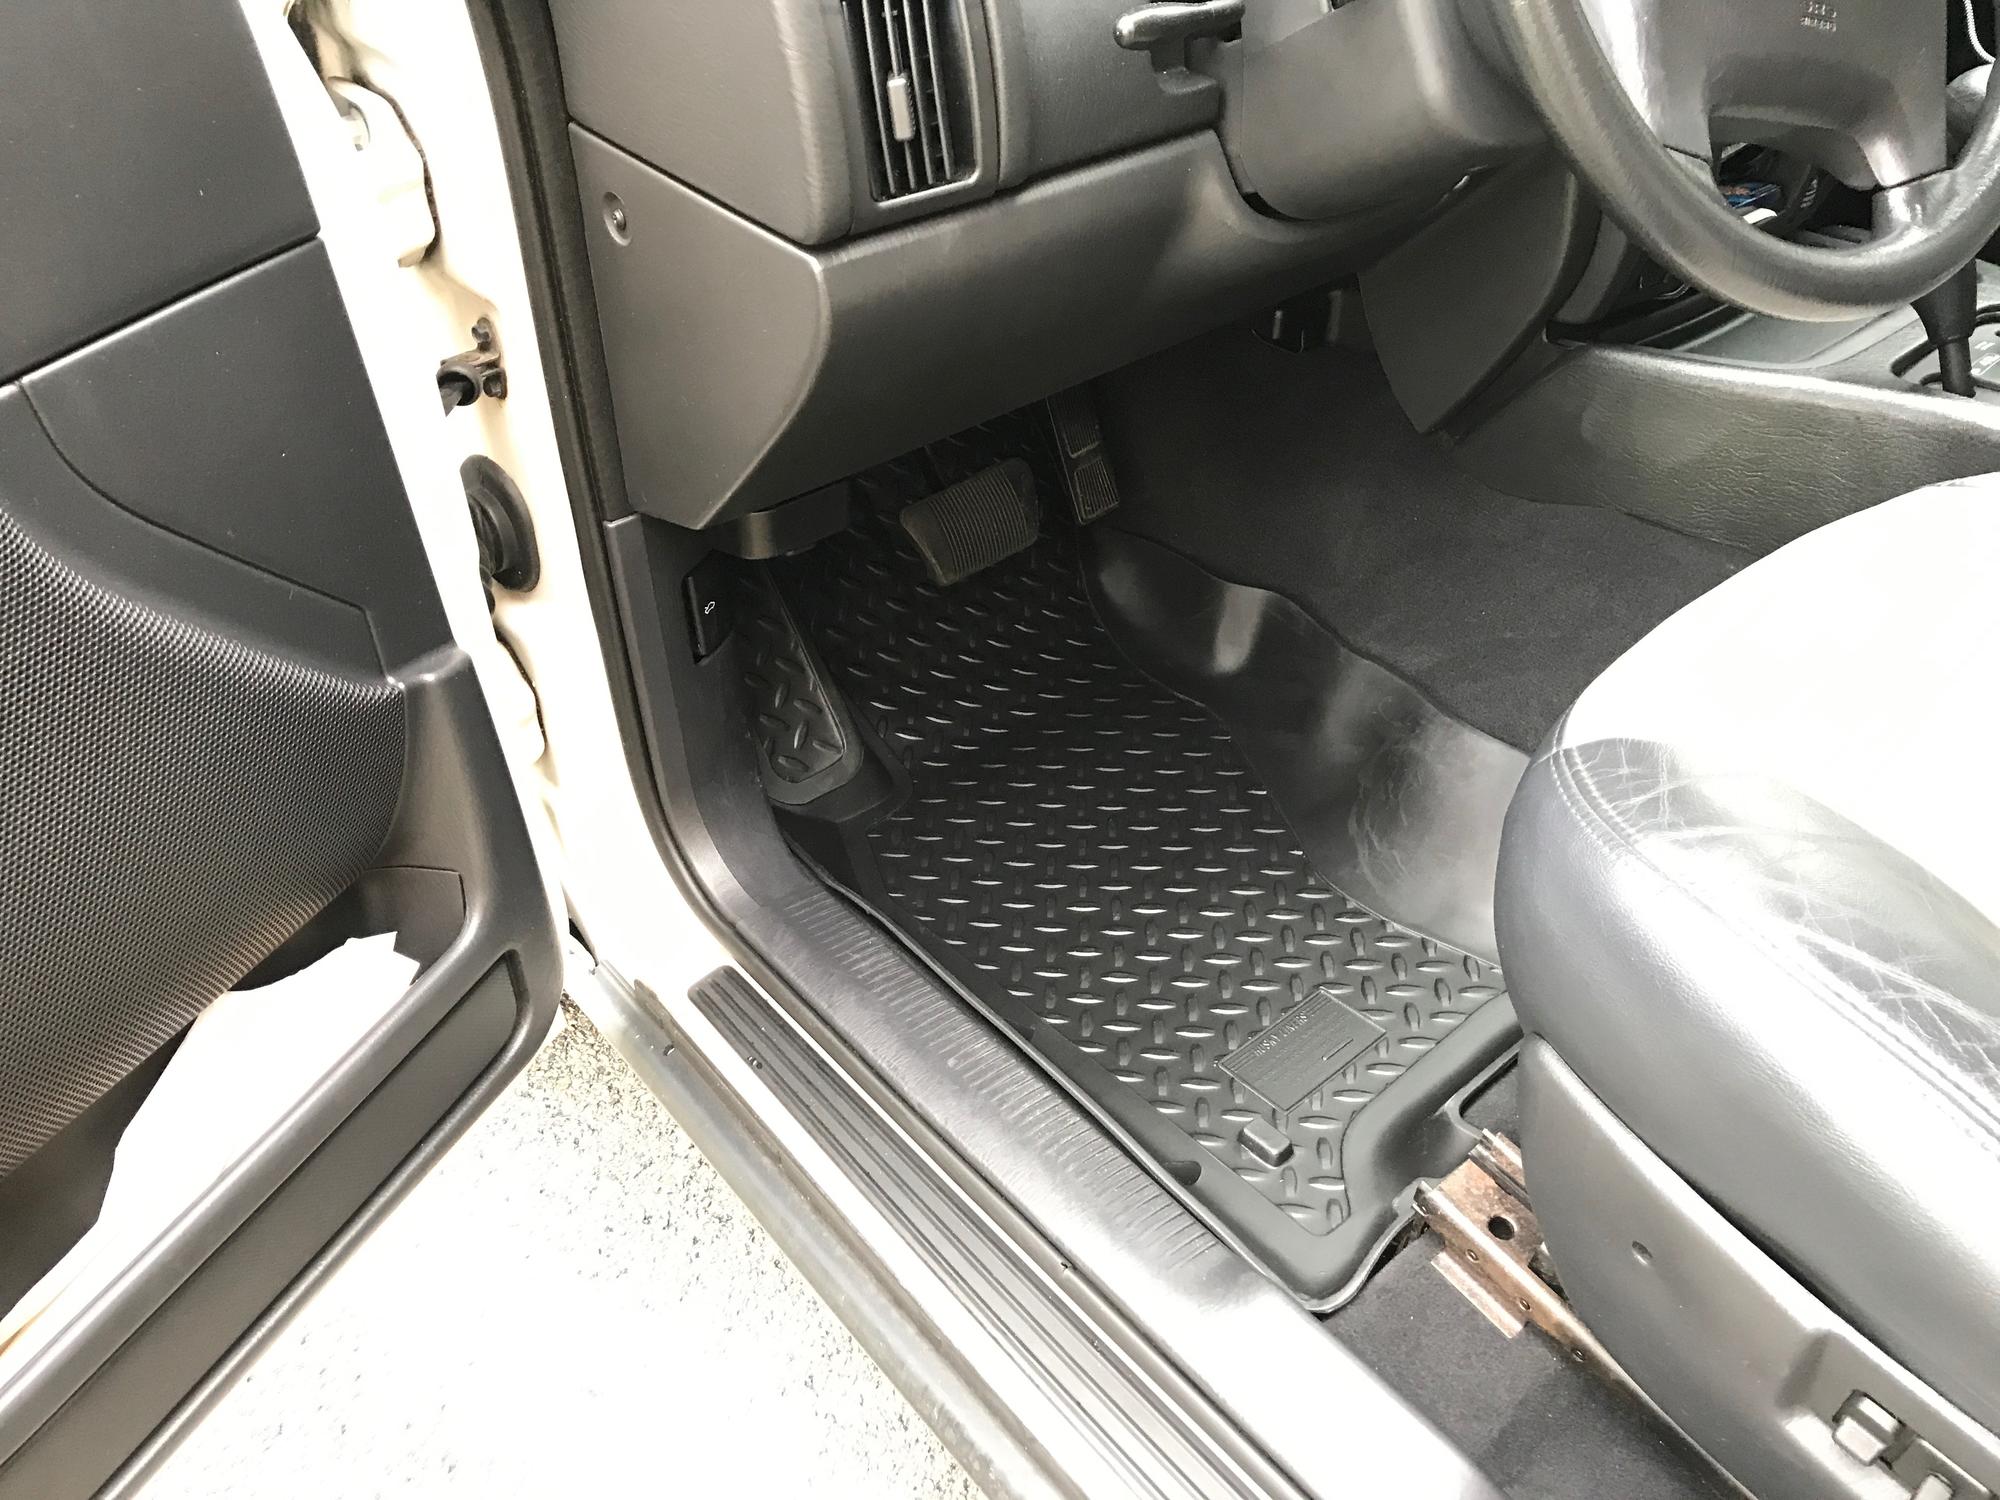
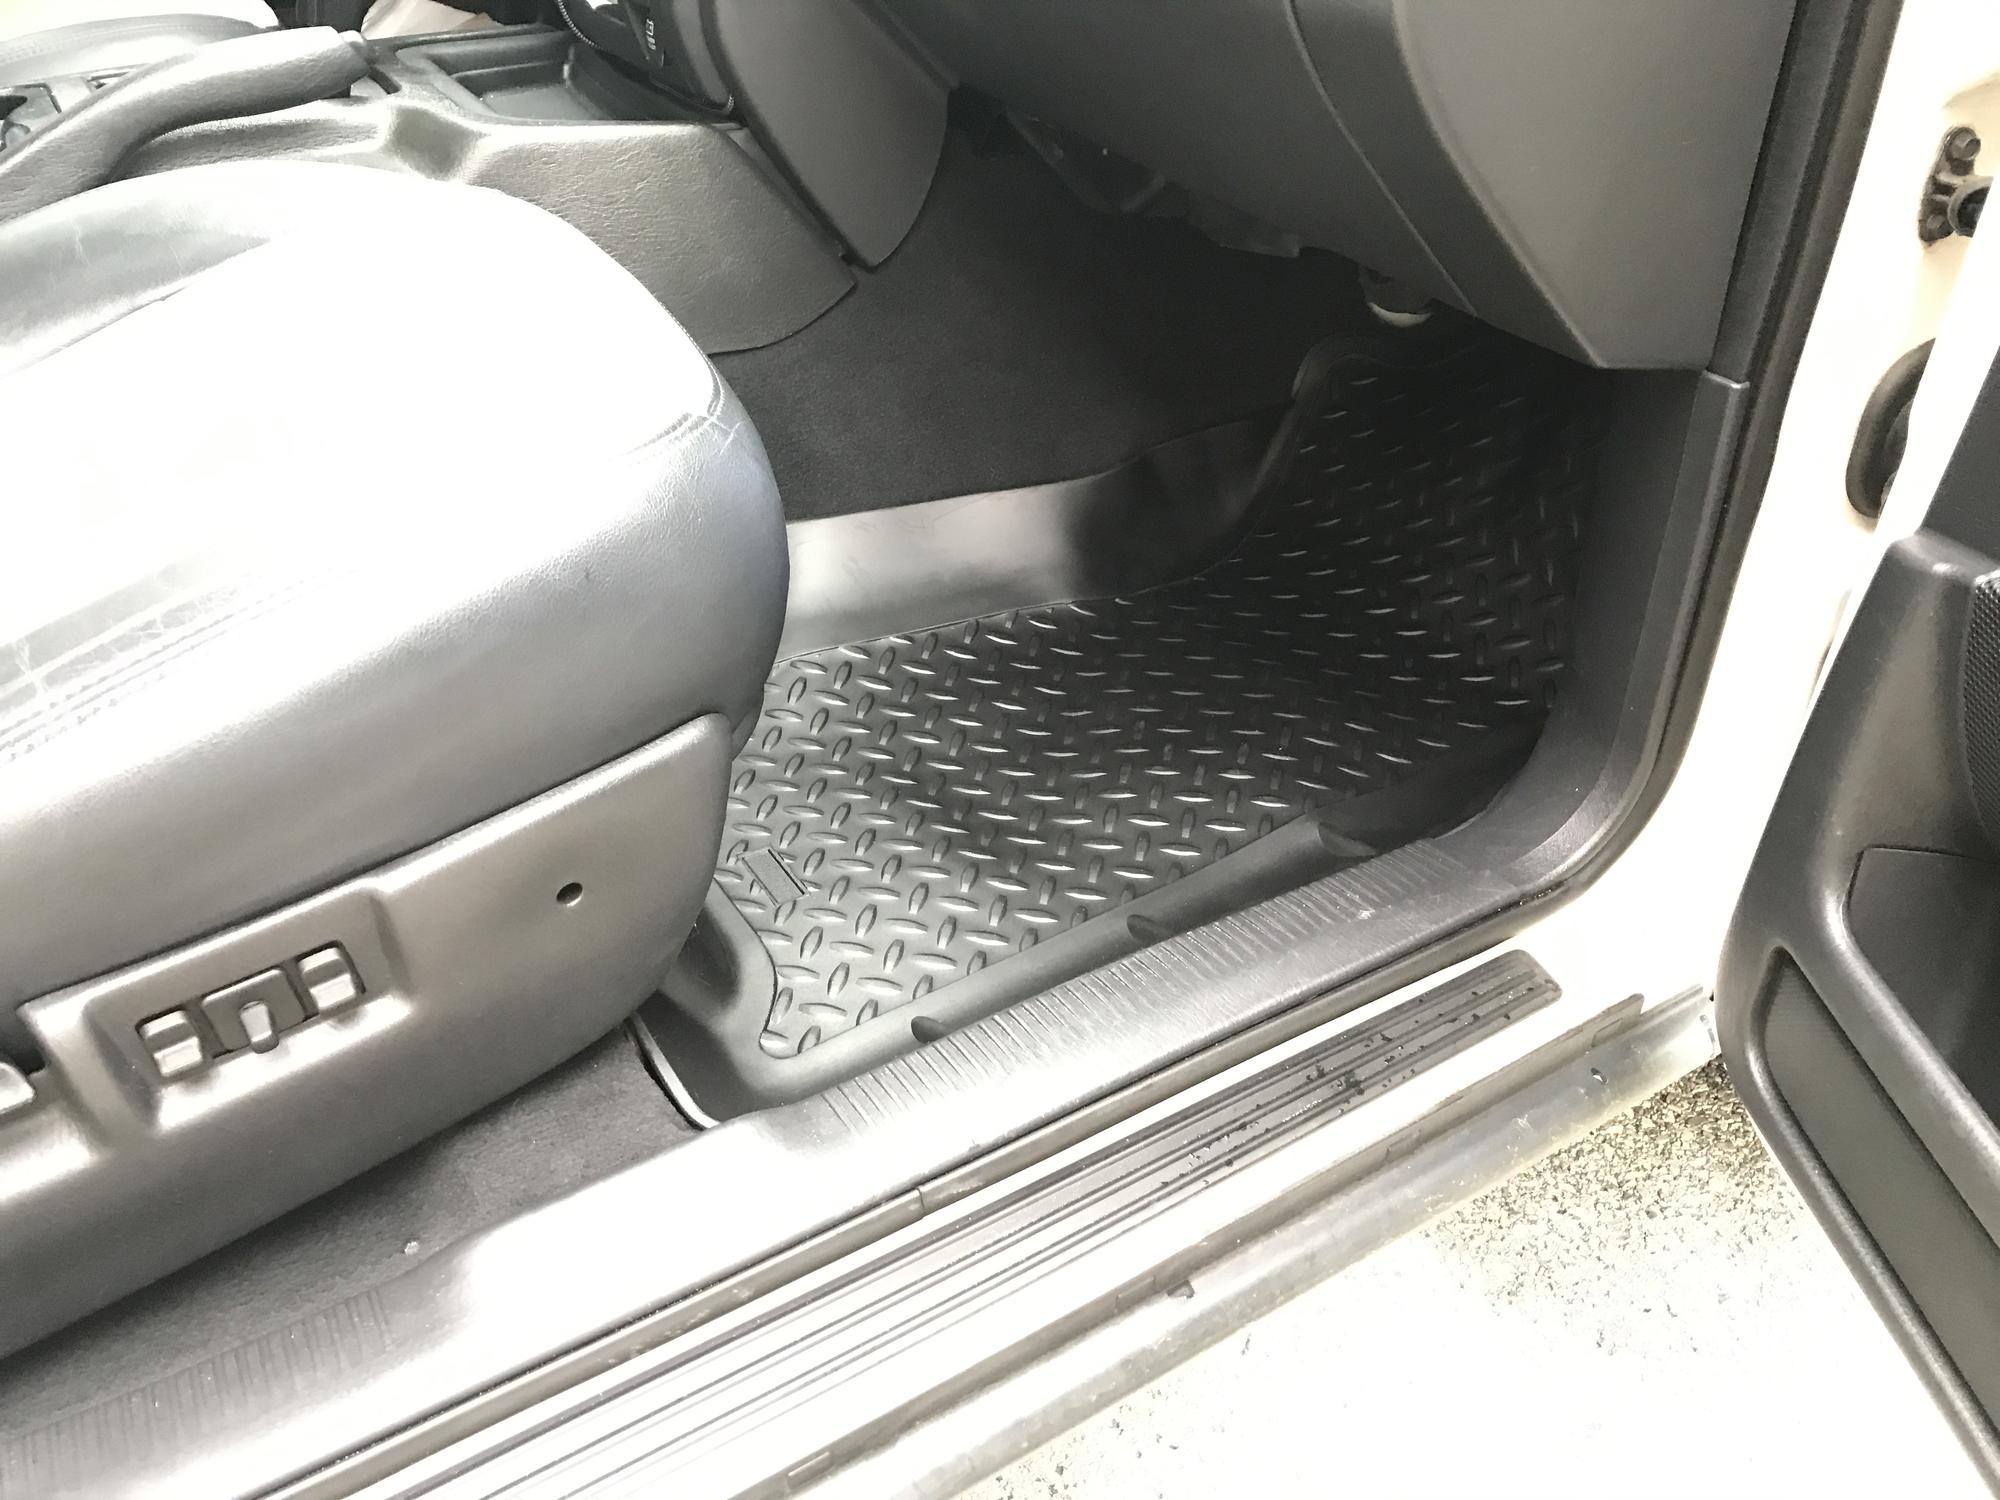
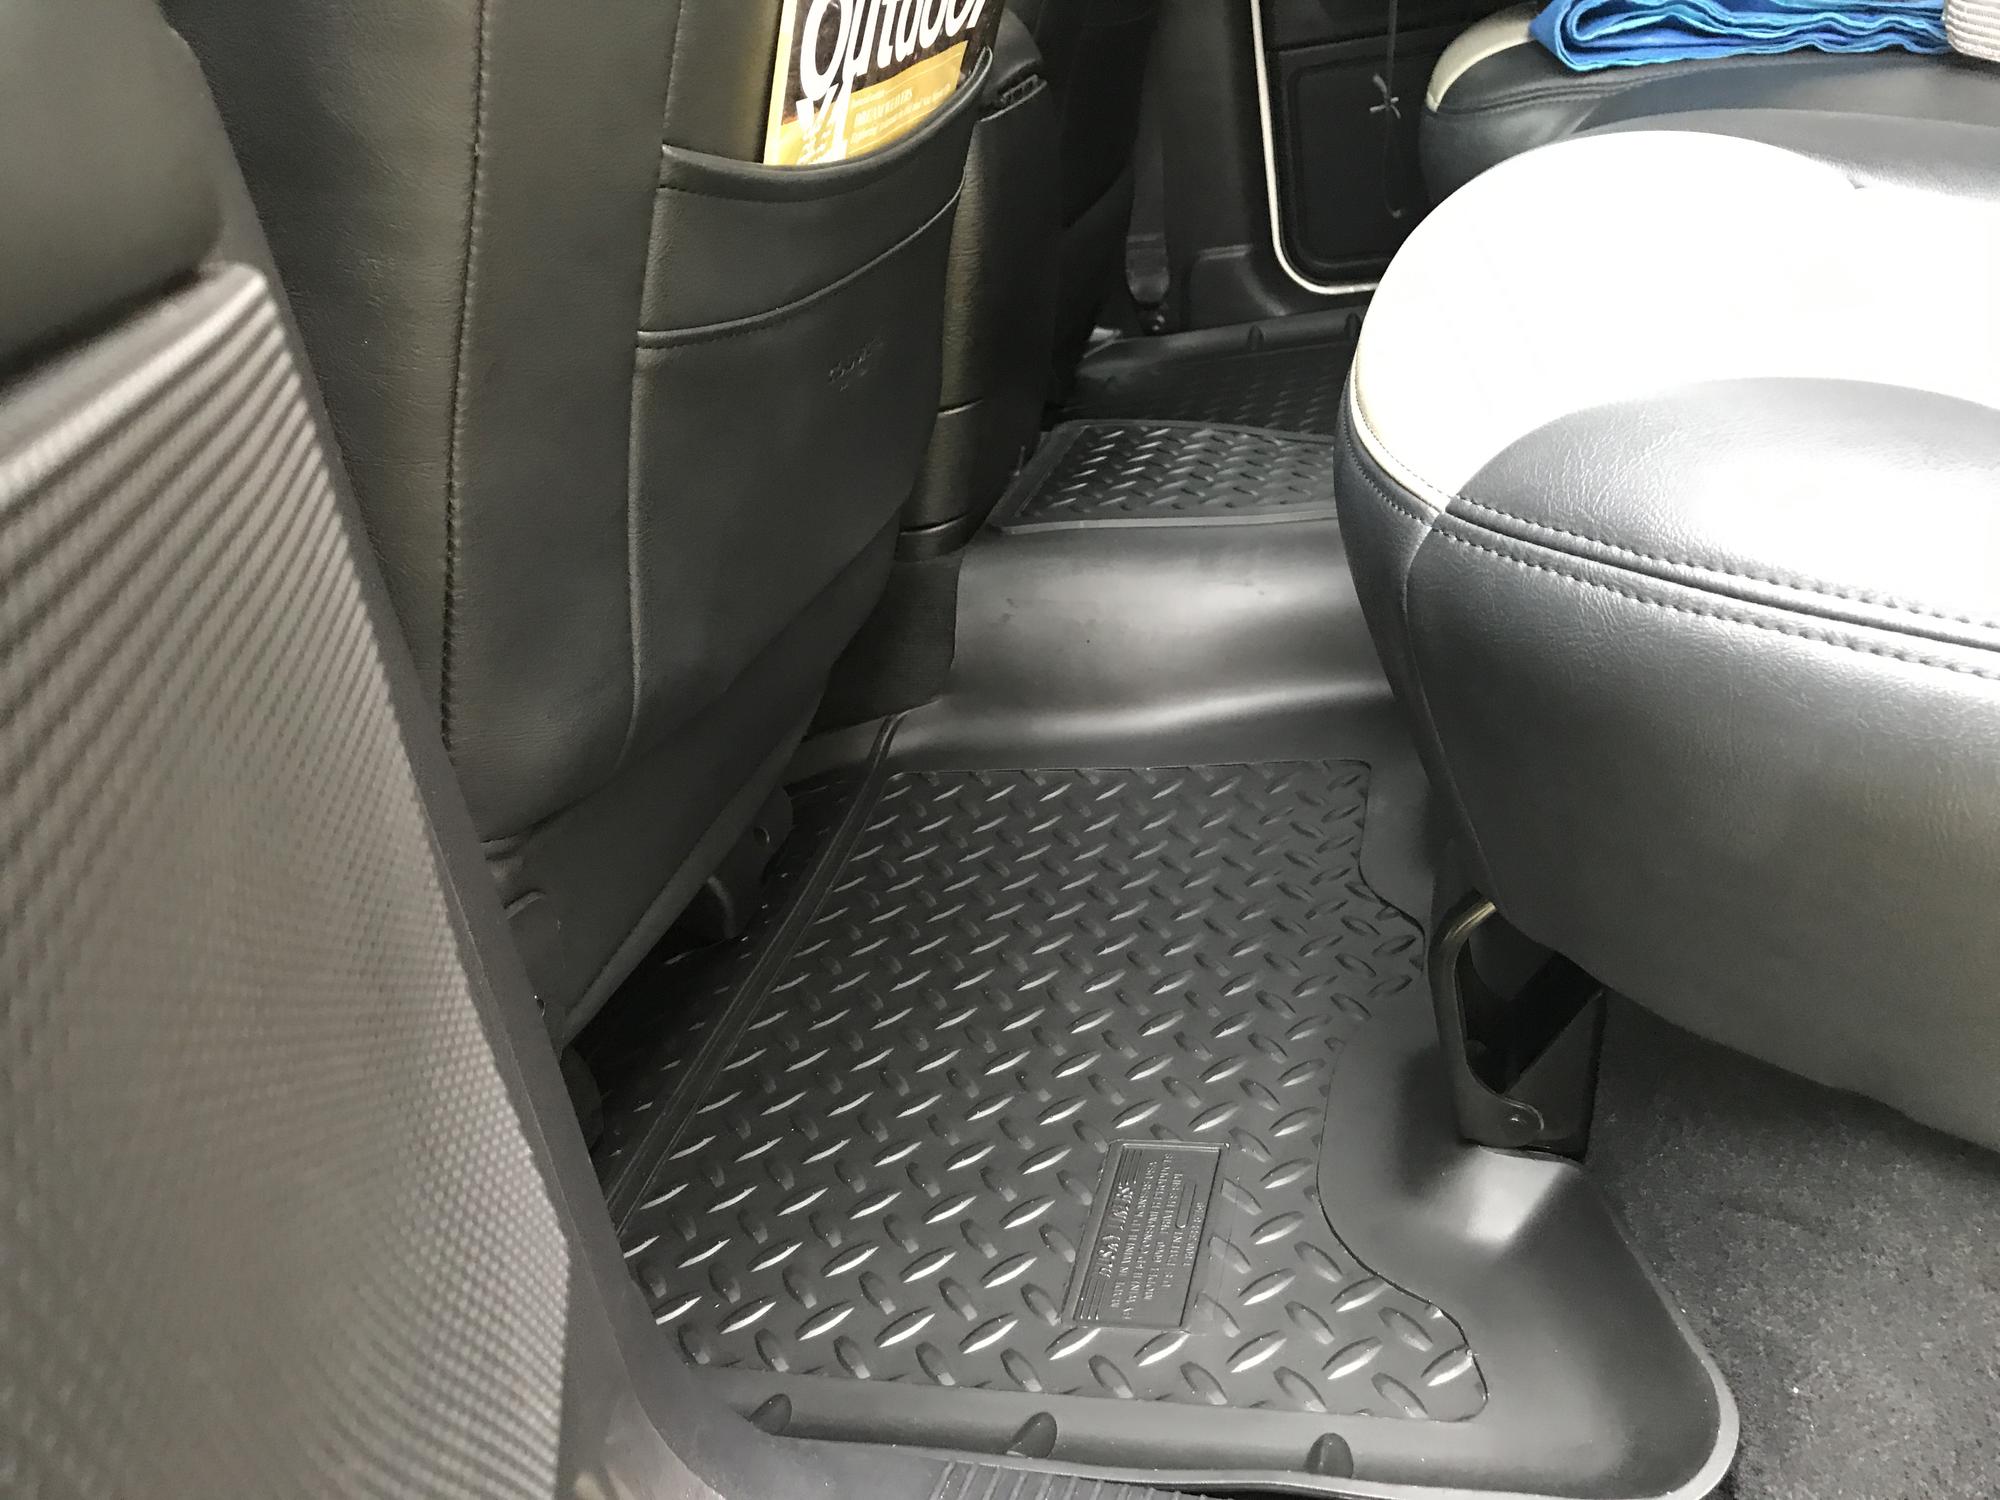
A quick addition was made to the interior in the way of some Husky Floor Liners. These should keep the carpet protected and make the job of cleaning out the Jeep much easier after some off-road exploration. The fit is absolutely amazing. They contour to the footwells perfectly, and extend up the sides and around all the seat mounting brackets perfectly. One of the things I like about the Husky Liners over some other floor mats, are the fact that they don't have any cut outs in them for floor anchors, but instead are backed by hundreds of nibs to keep them in place. This insures that any water, mud or whatever will stay in the mats, and not leak through to the carpet.
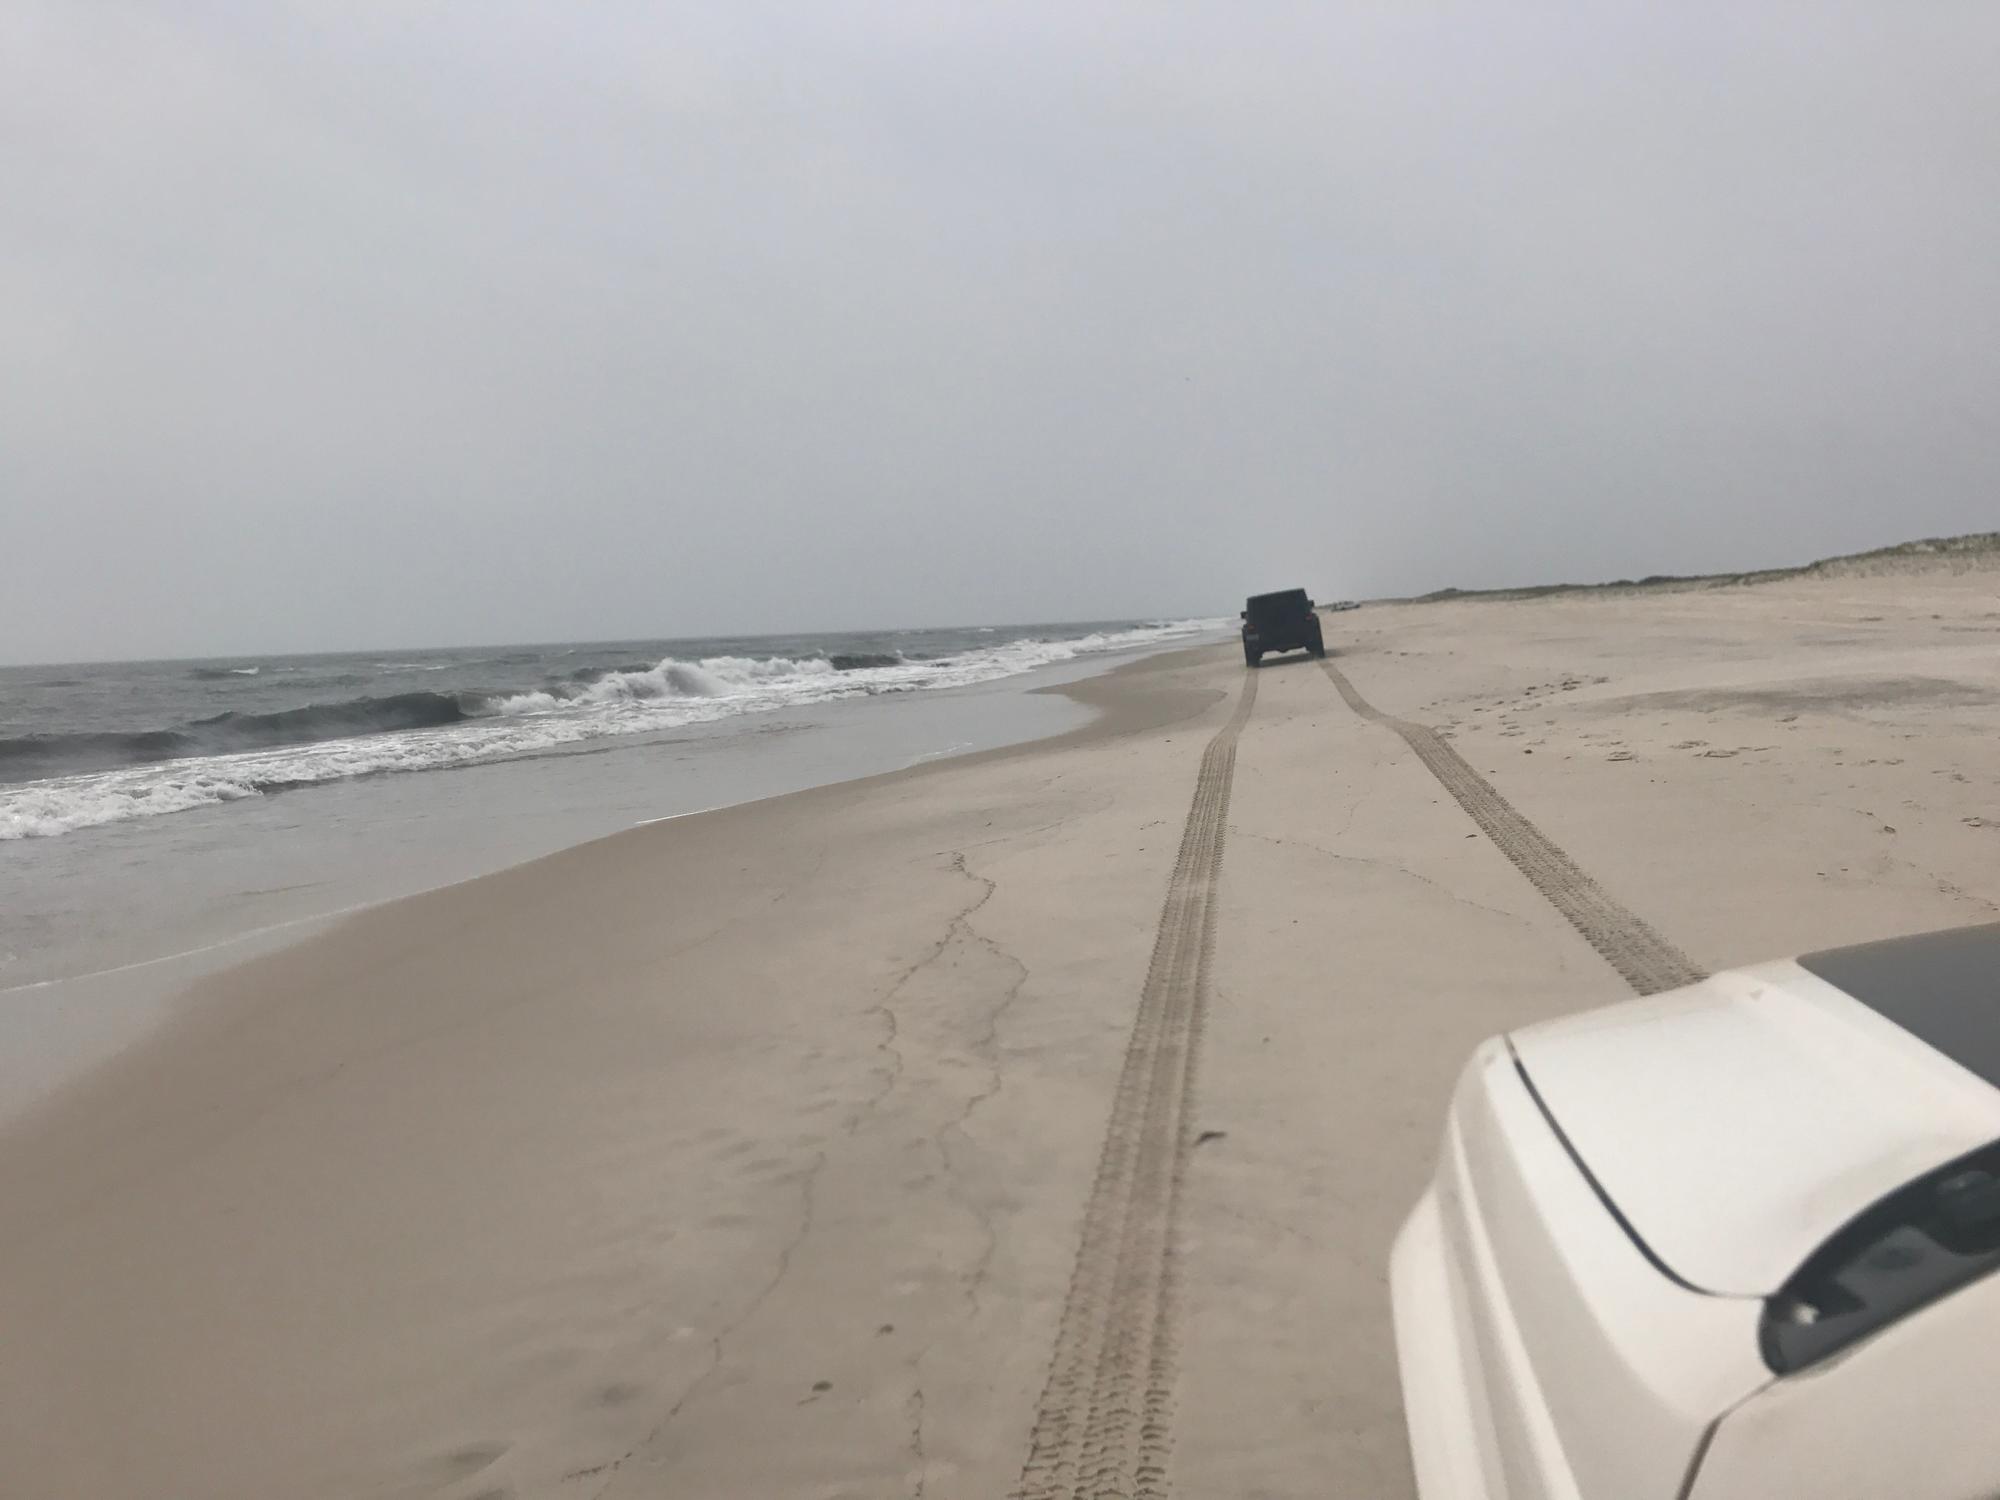
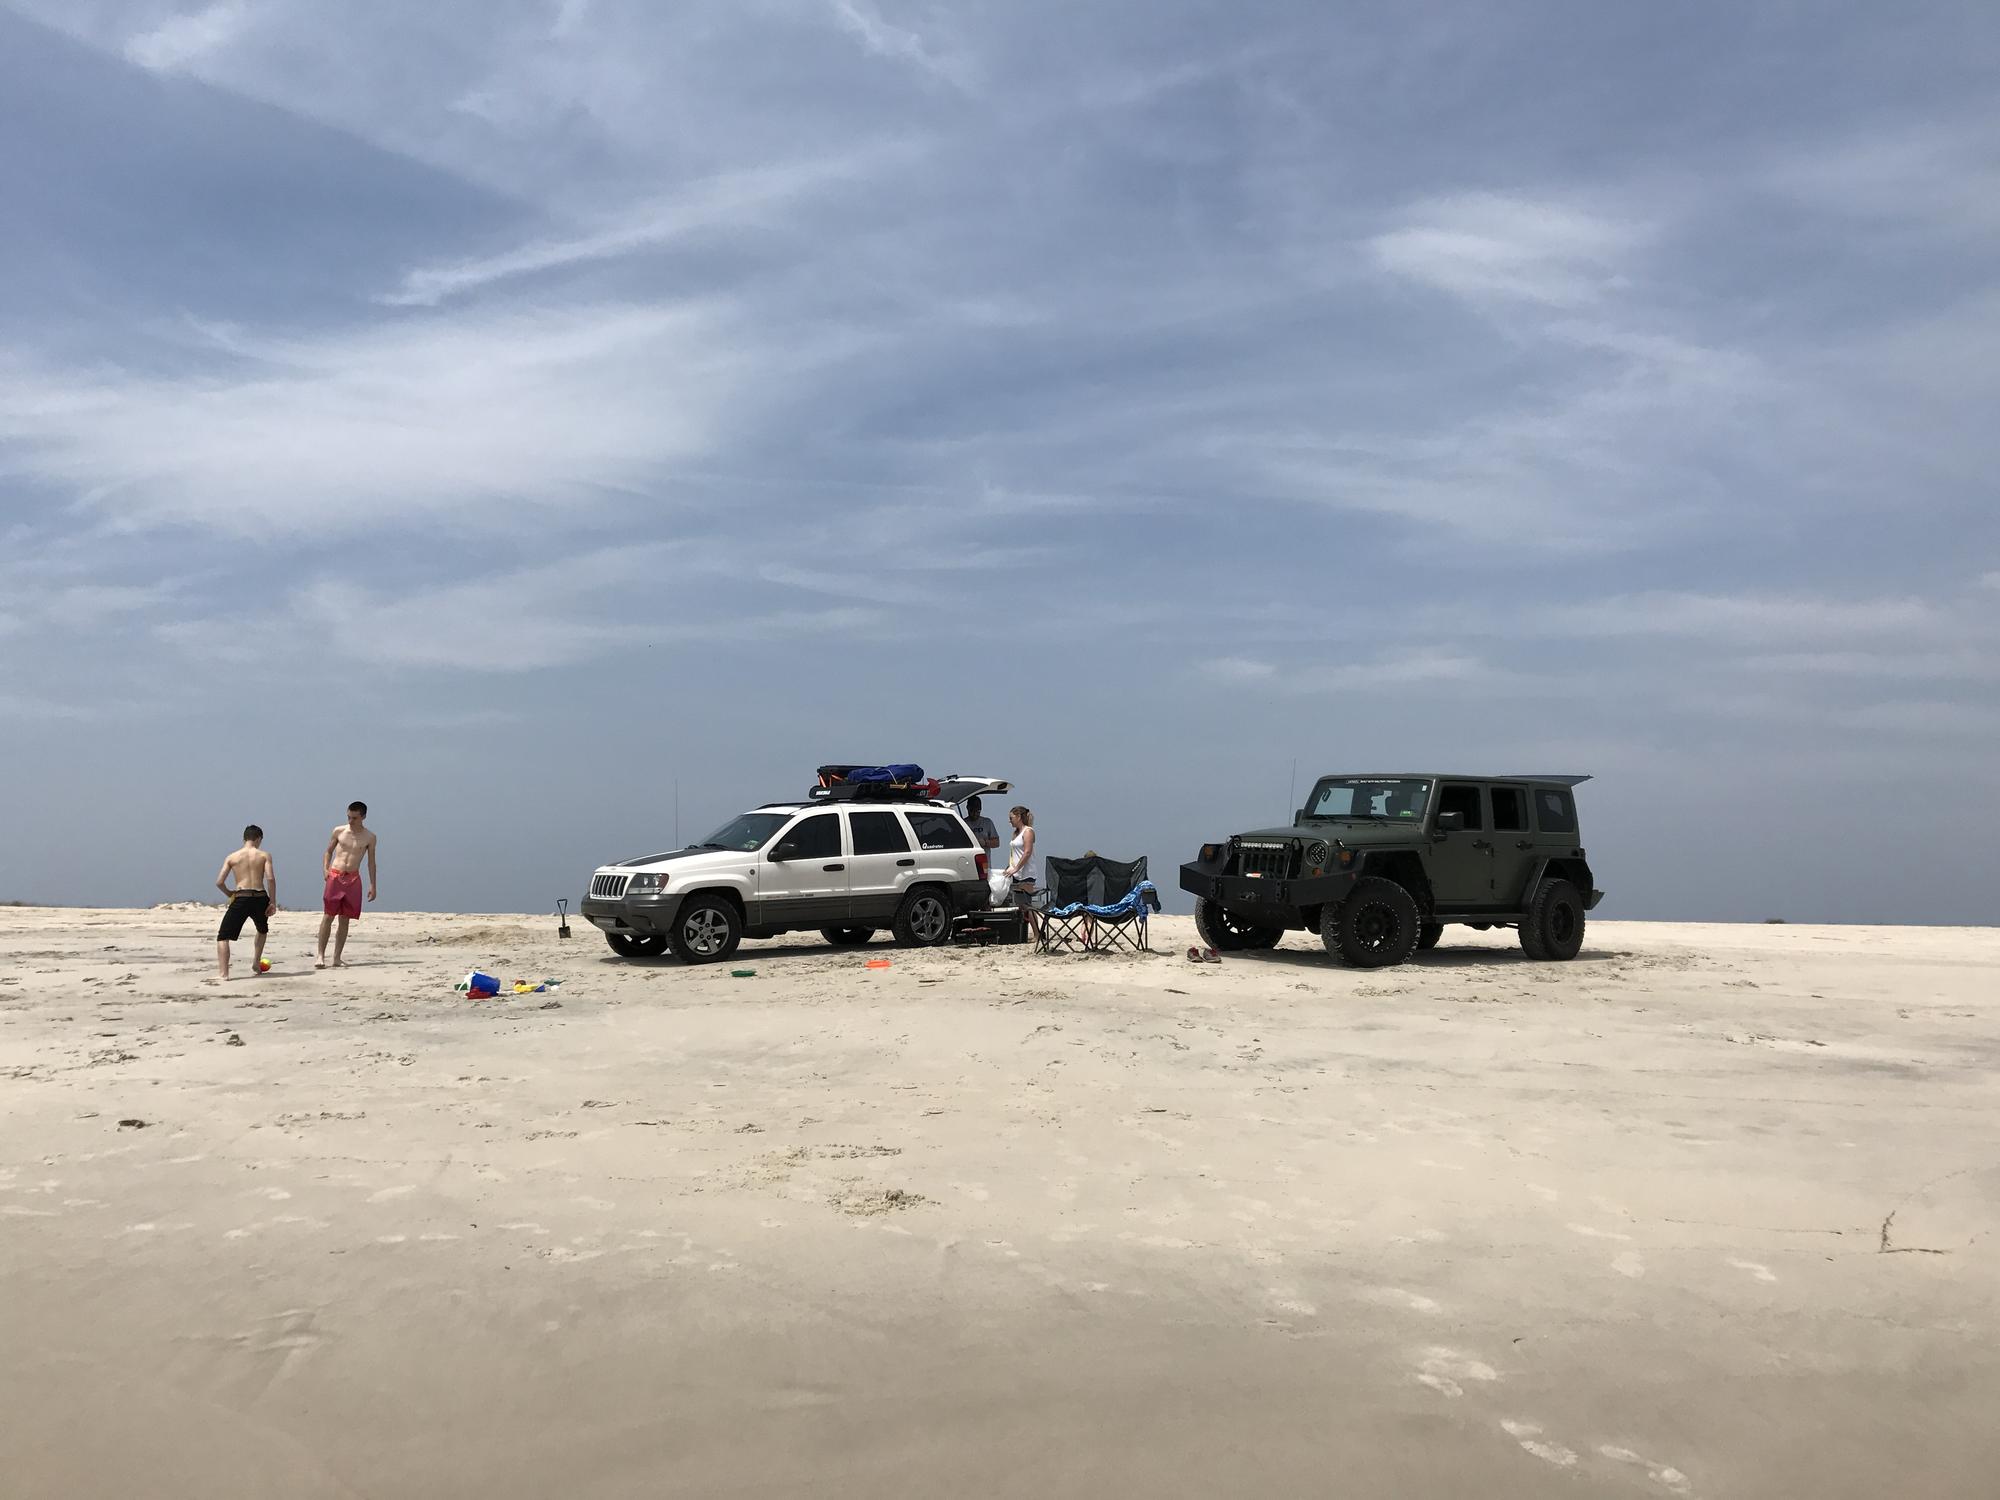
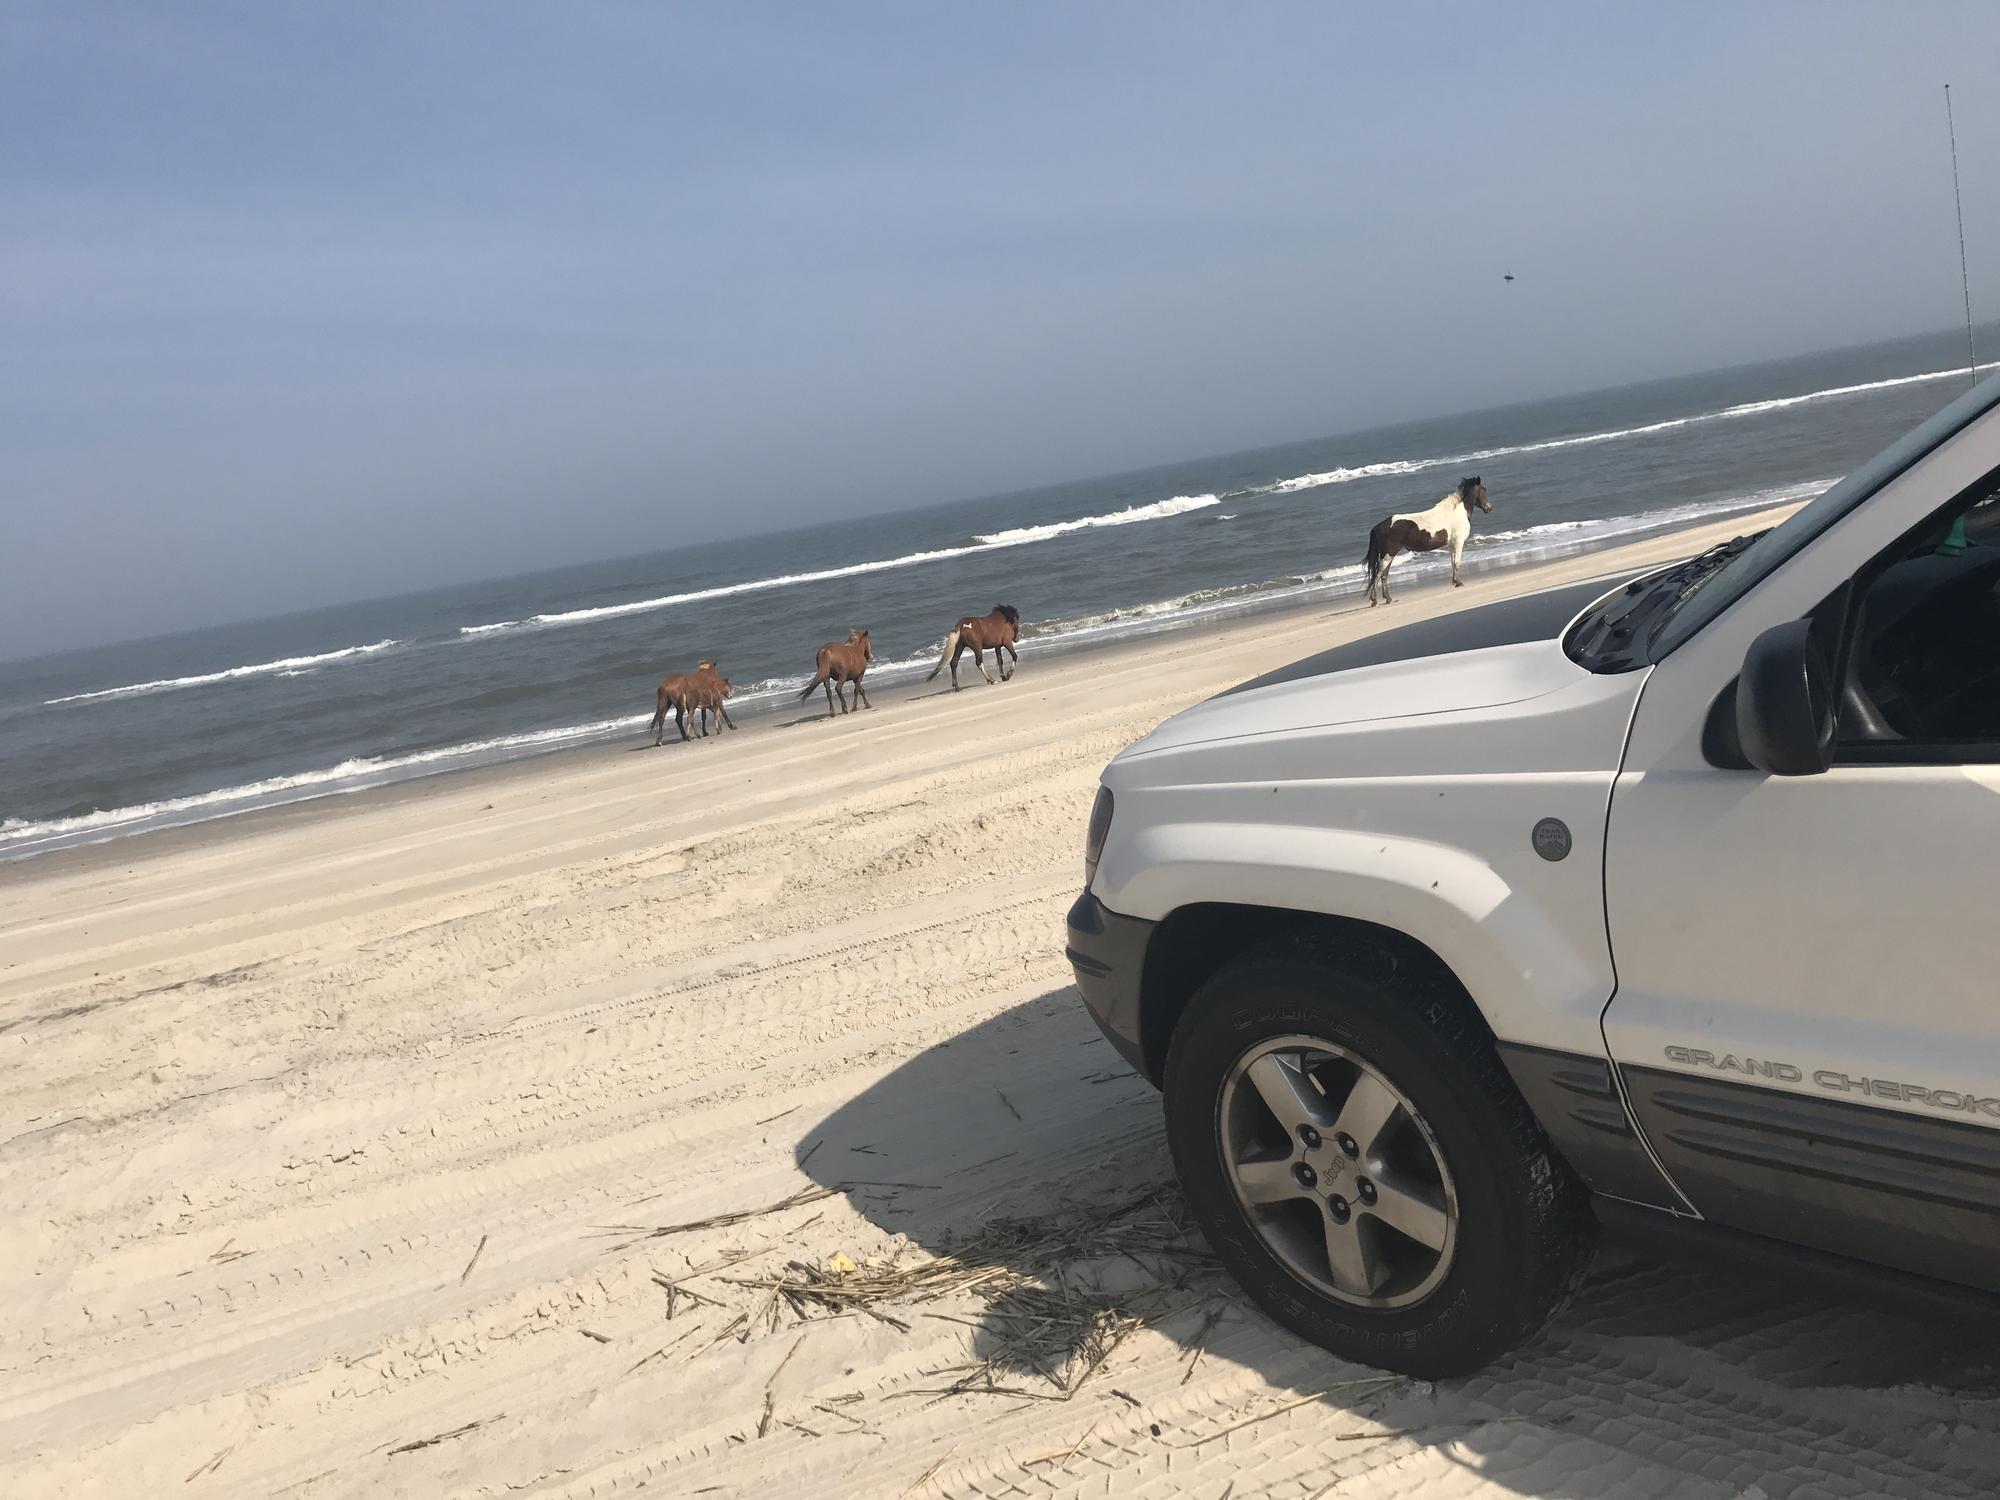
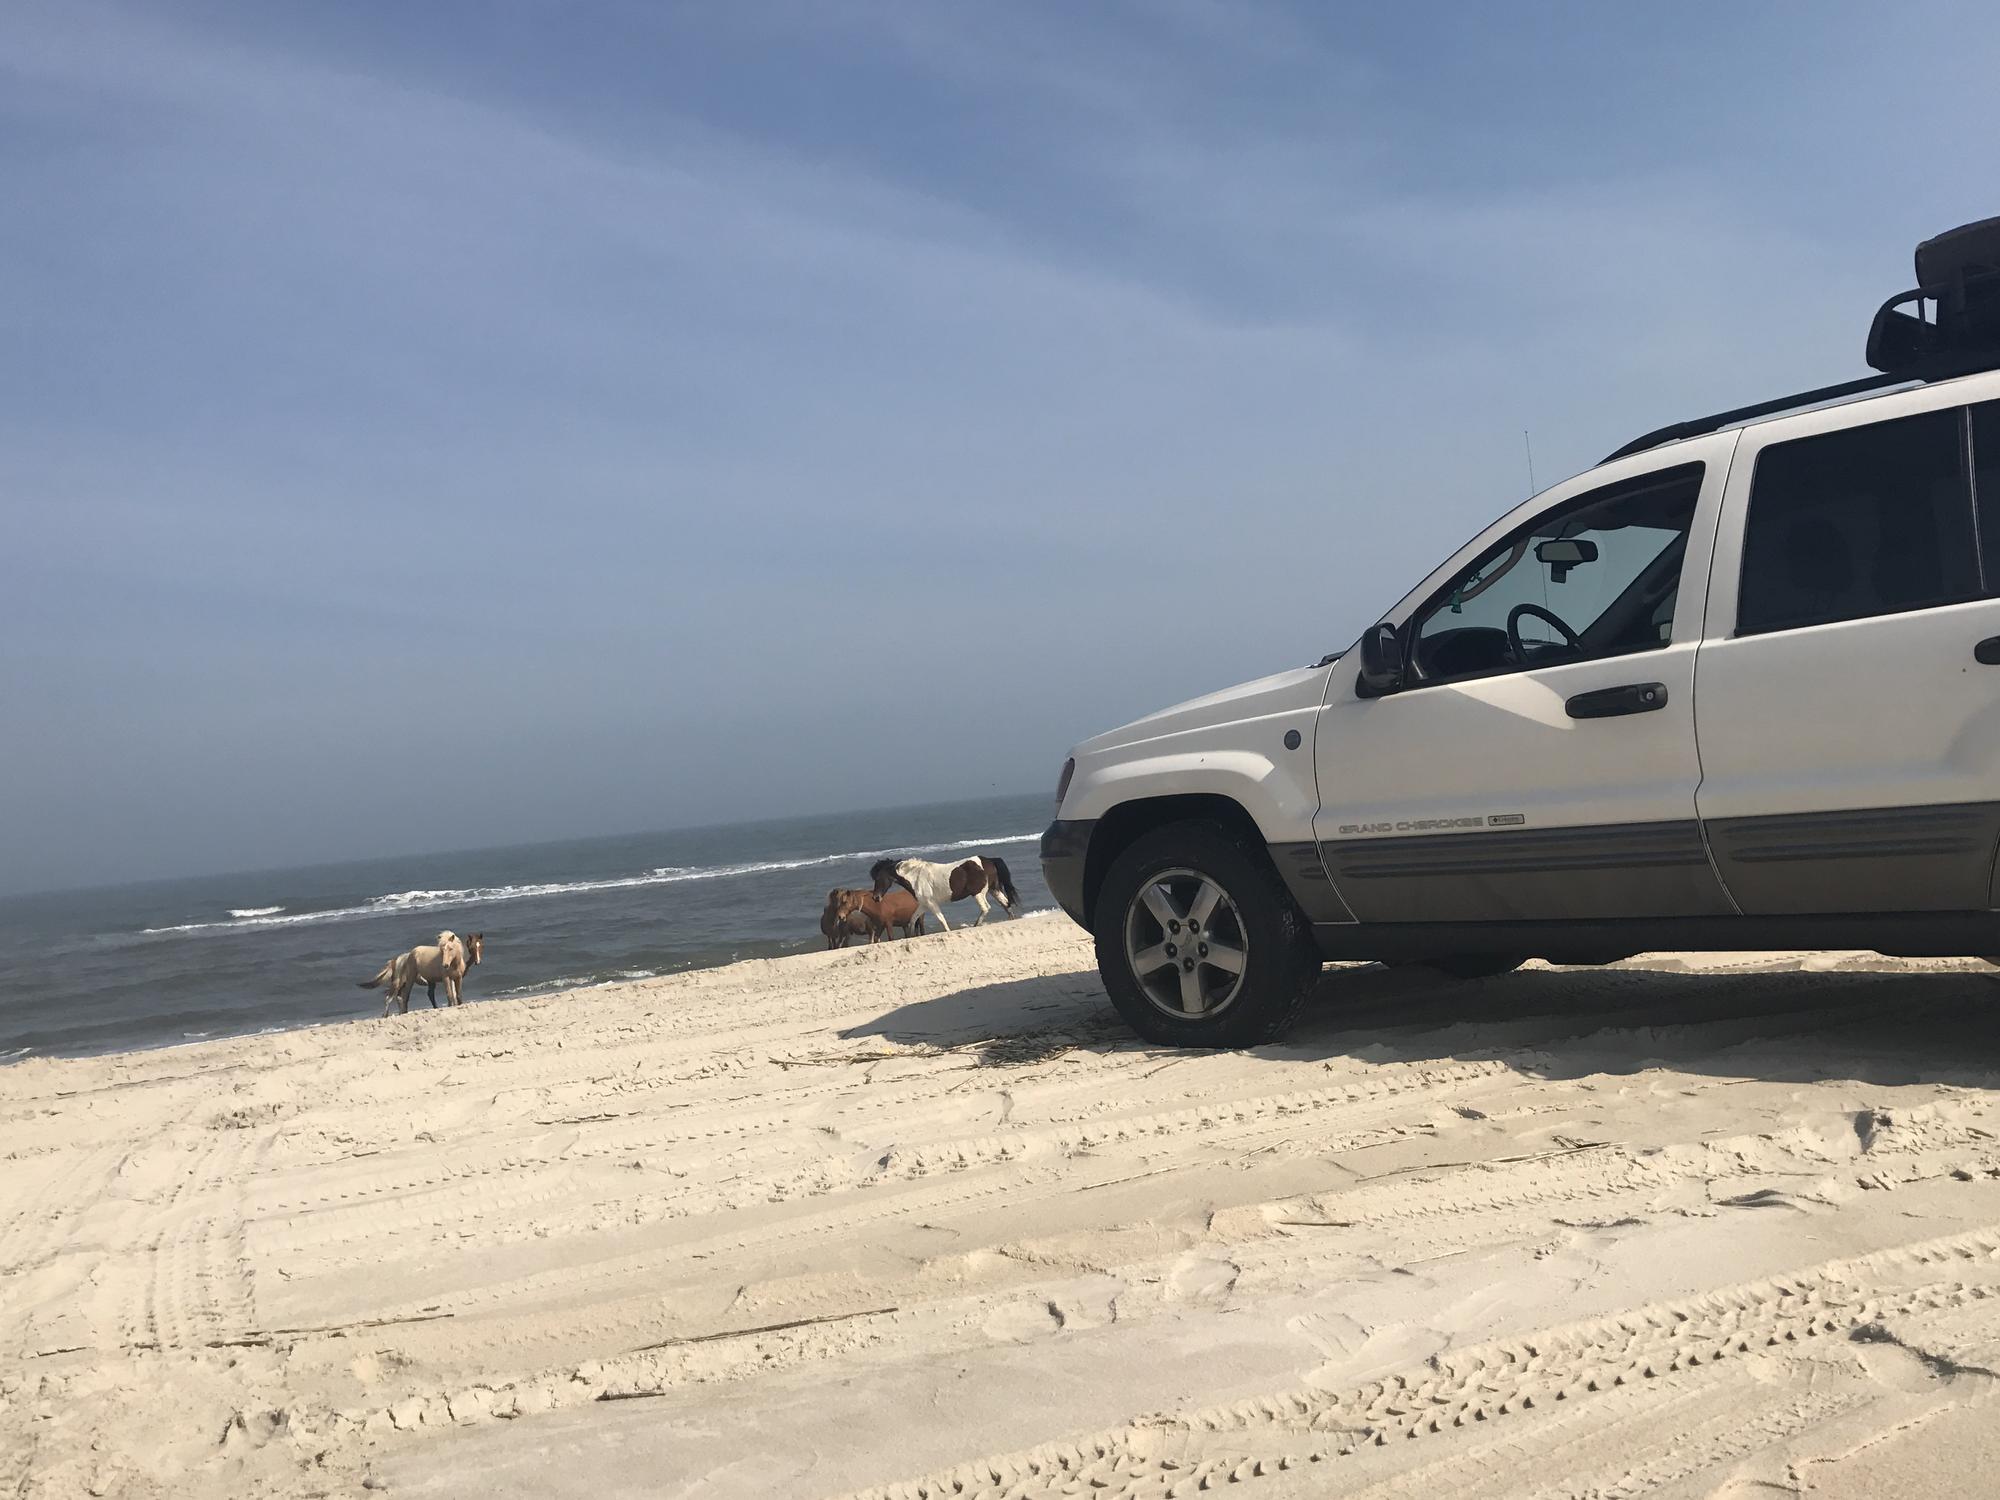
The Husky Liners were installed just in time for to get the WJ out on it's first "overland" trip! We packed up the Jeep and headed down to Assateague Island National Seashore for a weekend of camping. Even with the Yakima basket on the roof, and a Quadratec Aluminum Cargo Basket in the rear hitch, the Jeep was packed. I'm going to blame that on the girlfriend and the kids who packed like we were heading on a 2 week excursion, not a 2 night camping trip. Even so, the Jeep handled the trip great! I was comfortable in the driver seat at least.
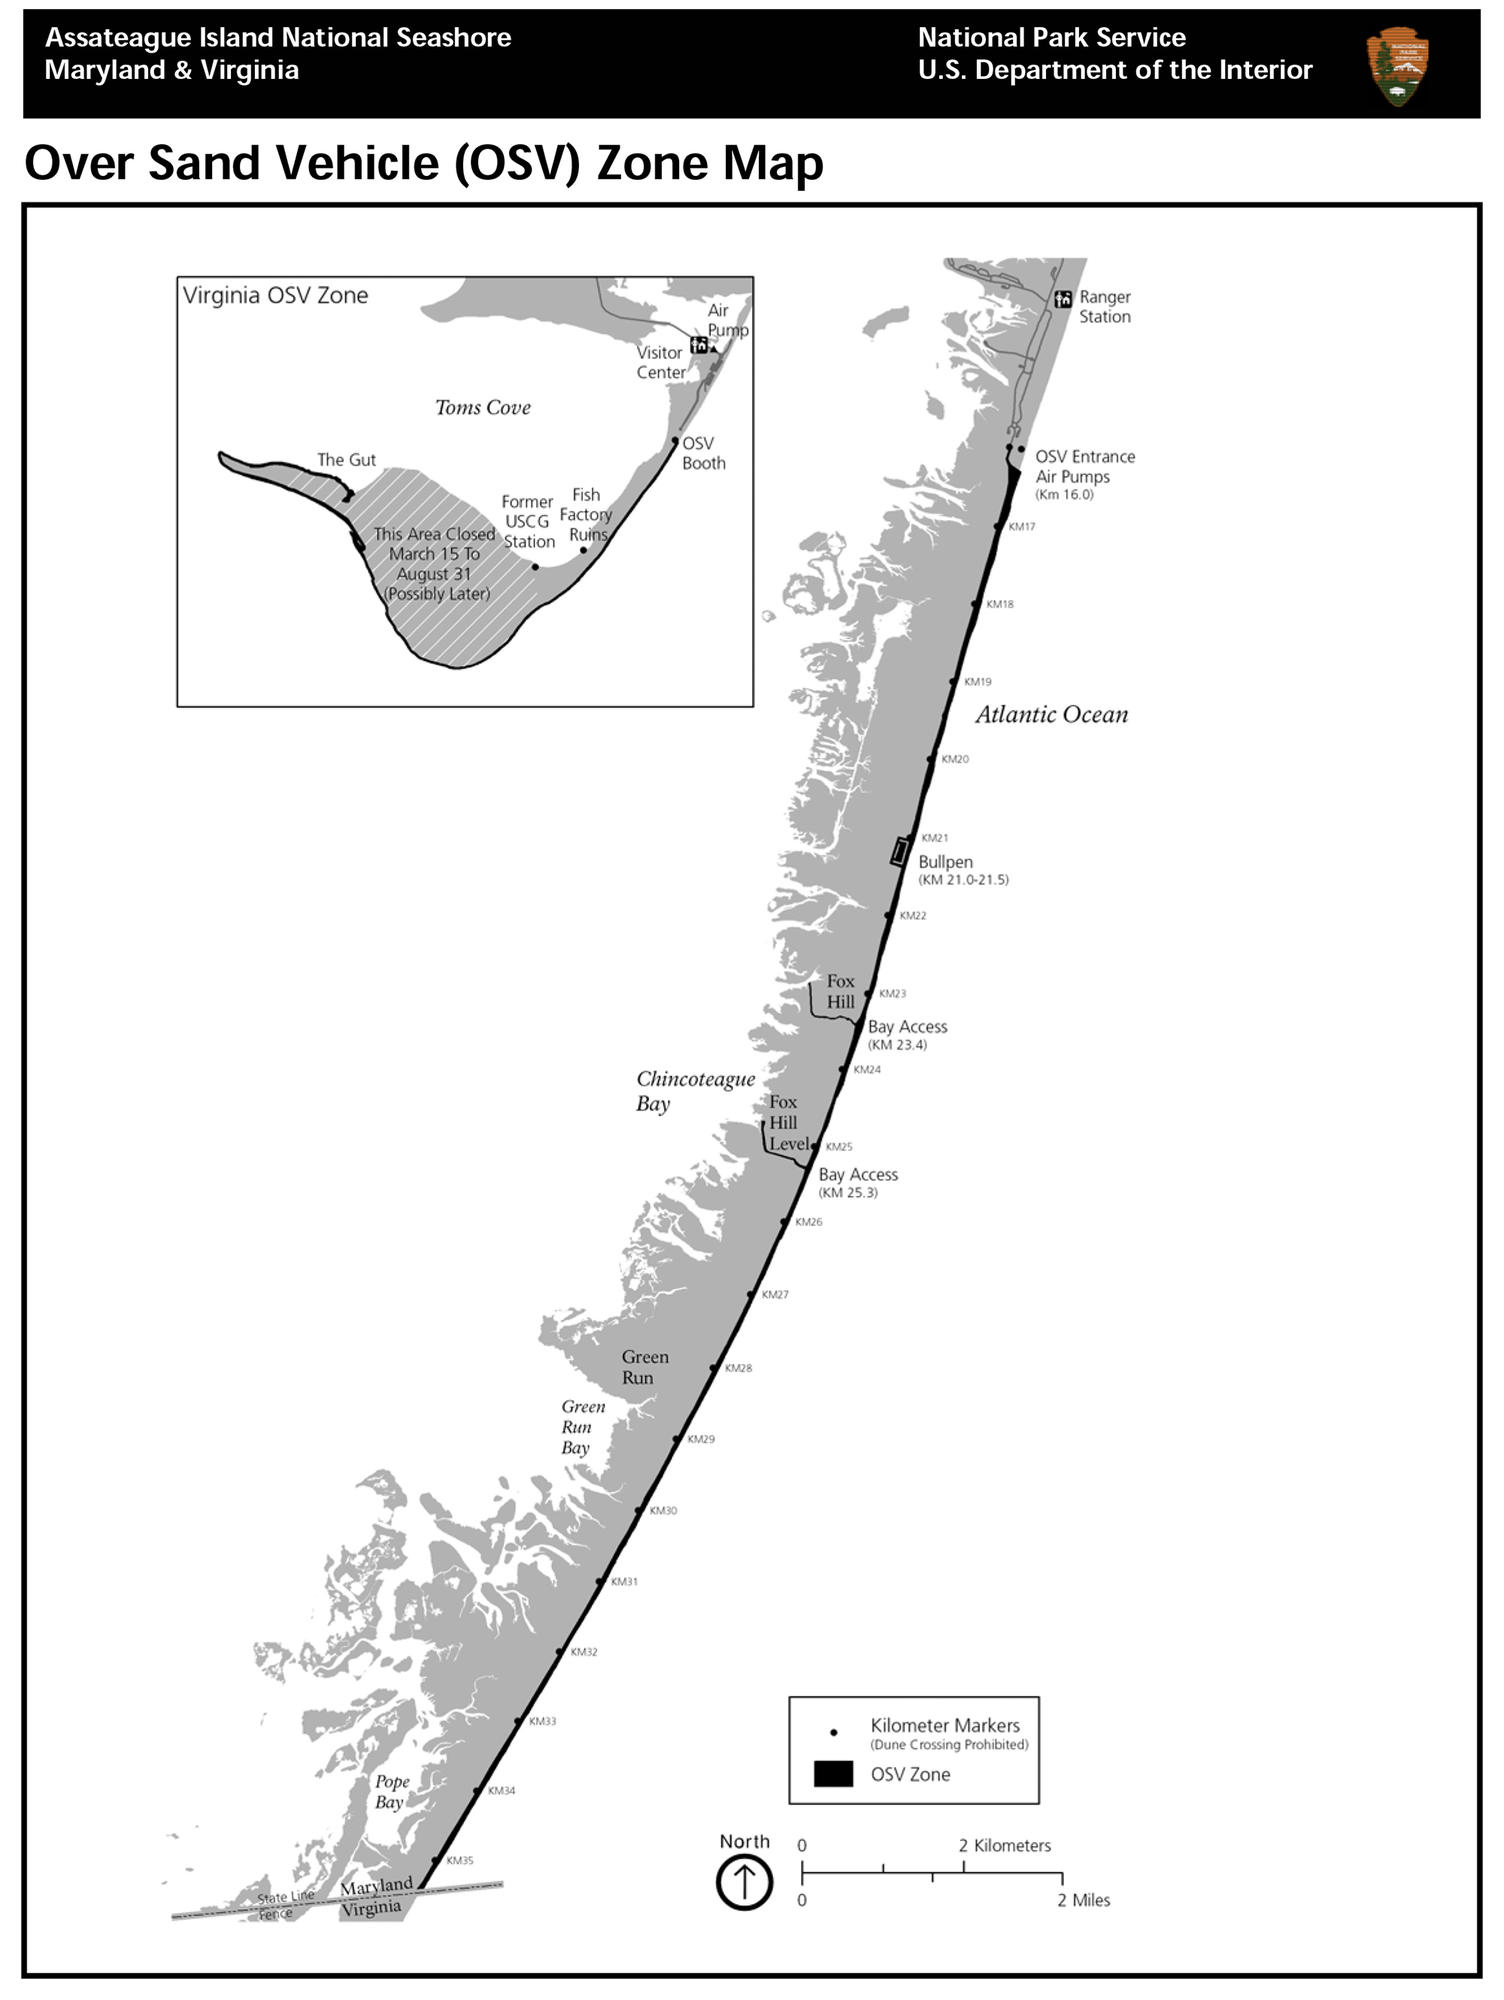
After the first night camping, we set off to the ranger station to purchase an Over Sand Vehicle (OSV) pass for the Jeep and meet up with some friends before heading out on the beach. The pass is good for the year, so we'll definitely have to make a few more trips back. I plan on coming back down during the colder months to do some hiking on the island when the bugs are gone, as they can get pretty heavy, especially on the bay side of the dune. The park mandates that you have a few safety / self-recovery items in your Jeep. If you've done any type of wheeling or off-road driving before, you'll likely already have most if not all of the items in your Jeep.
OSV operators in designated zone must carry the following equipment:- A shovel with a blade at least 6" square and at least 18" long.
- A vehicle jack sufficient to lift one wheel clear of the sand.
- A jack support that is at least 12"x12" of non-bending steel, 5/8" plywood or 1½" hardwood.
- A tire gauge with a minimum reading of 15 pounds or less.
- A tow rope or tow strap, chain or cable with a minimum pulling strength of 6,000 pounds and at least 10 feet long. Minimum diameter is ½" for nylon or Dacron ropes; ¾" for all other ropes; ¼" for carbon steel cable; 5/16" for chain links.
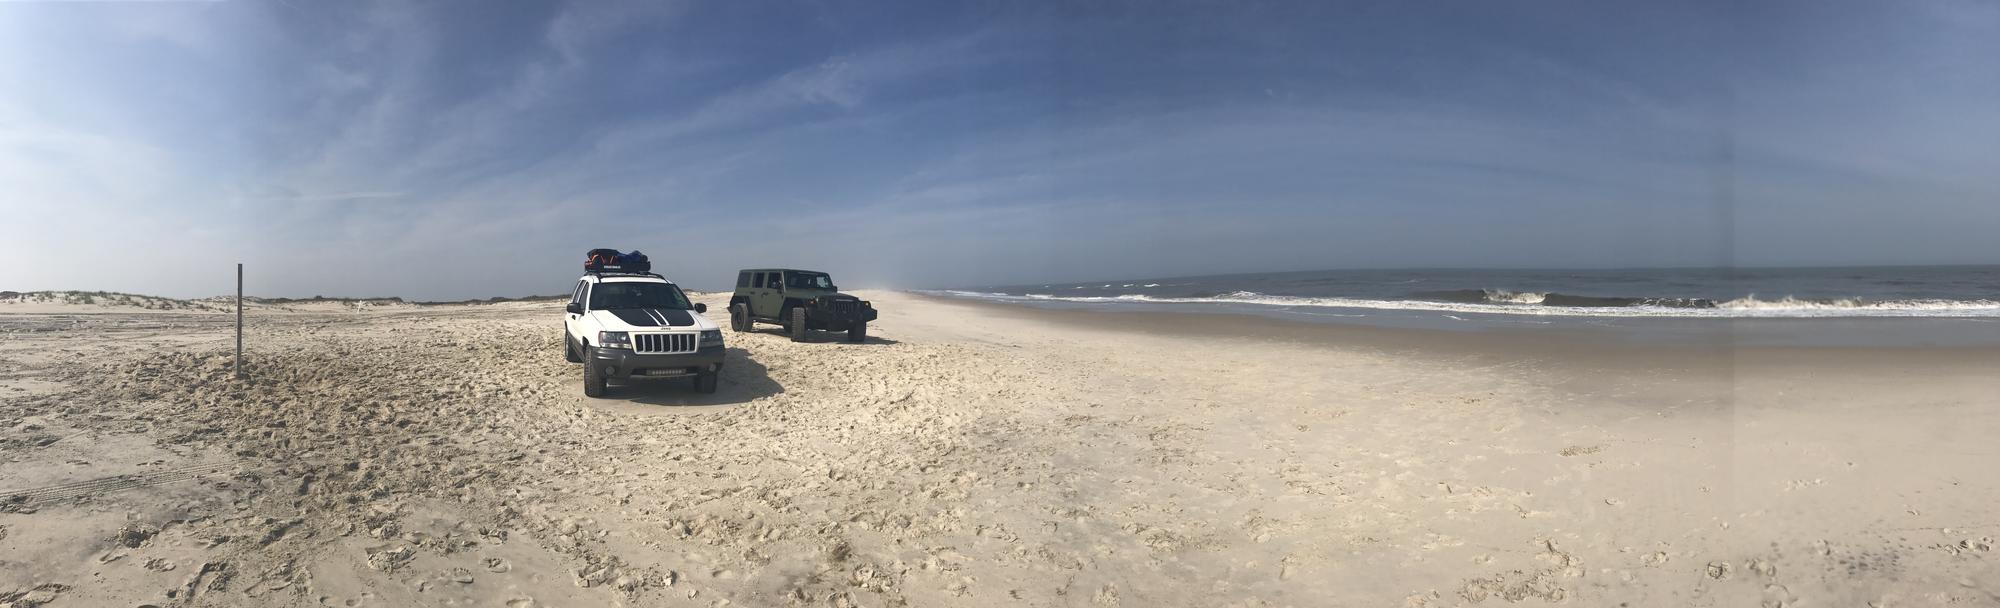
The park limits the number of vehicles that can be on the beach at any given time to 145 vehicles on the Maryland side of the island and 48 on the Virginia side, which can be both good and bad. On a busy summer day when there are plenty of surf fishermen trying to get out on the beach, you'll want to make sure you get on the sand early, as it's a one on / one off process once the beach fills up. Once you're out on the beach however, you'll appreciate that limit. With 13 miles of beach to explore just on the Maryland side, limiting the access to 145 vehicles keeps the beach feeling very open and not at all crowded. There were stretches of beach where we couldn't see another vehicle at all while driving which was a very awesome feeling.
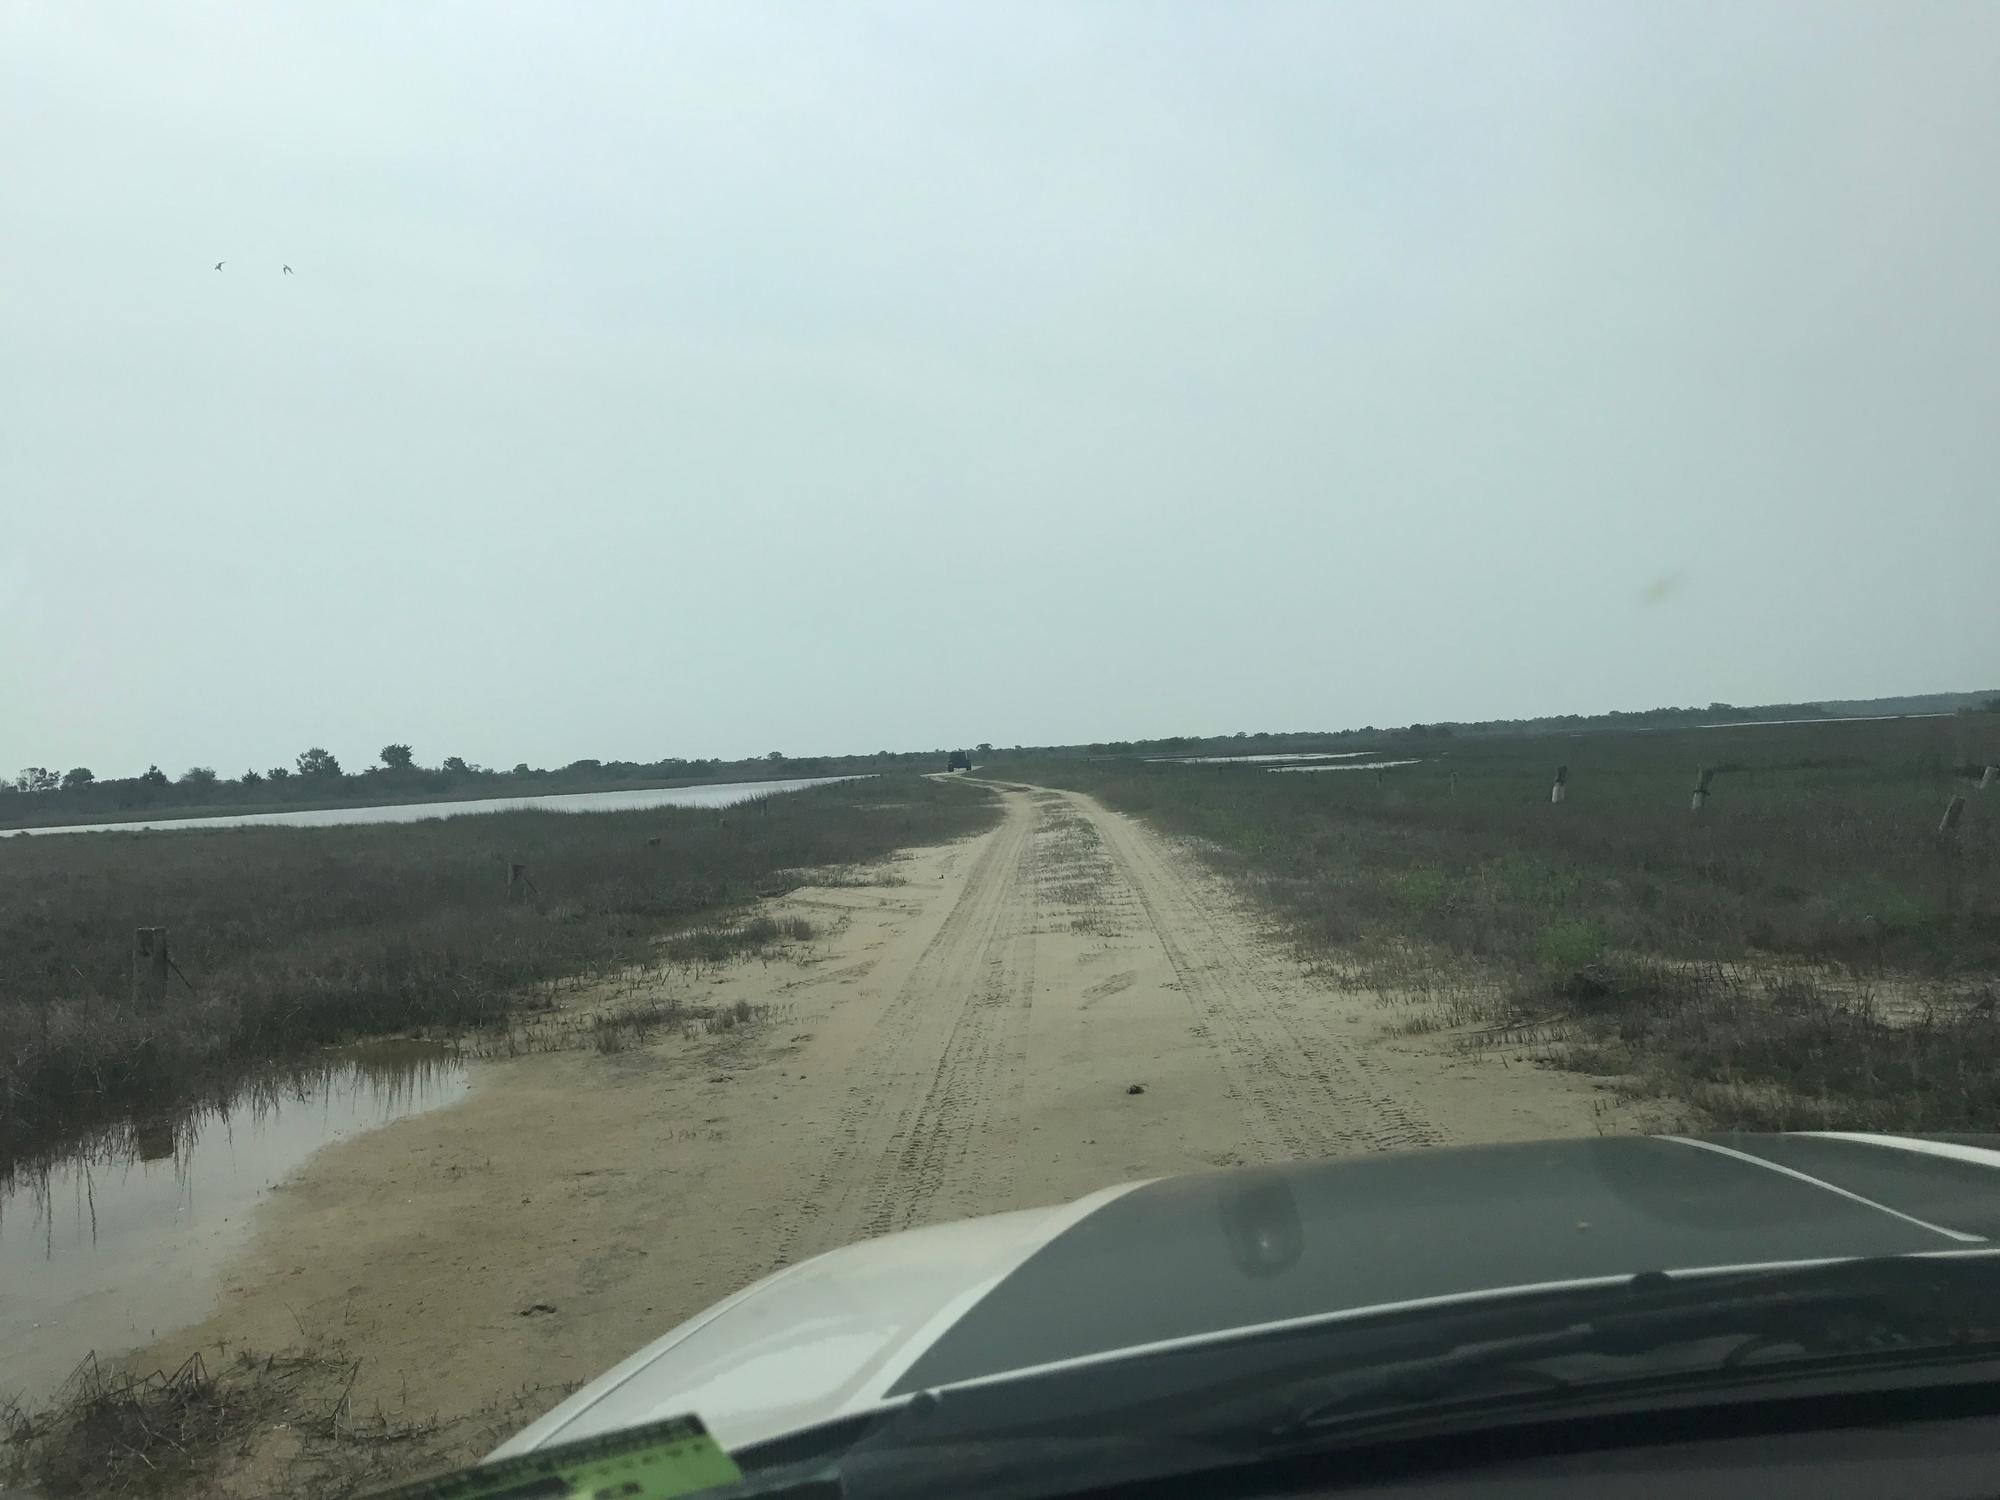
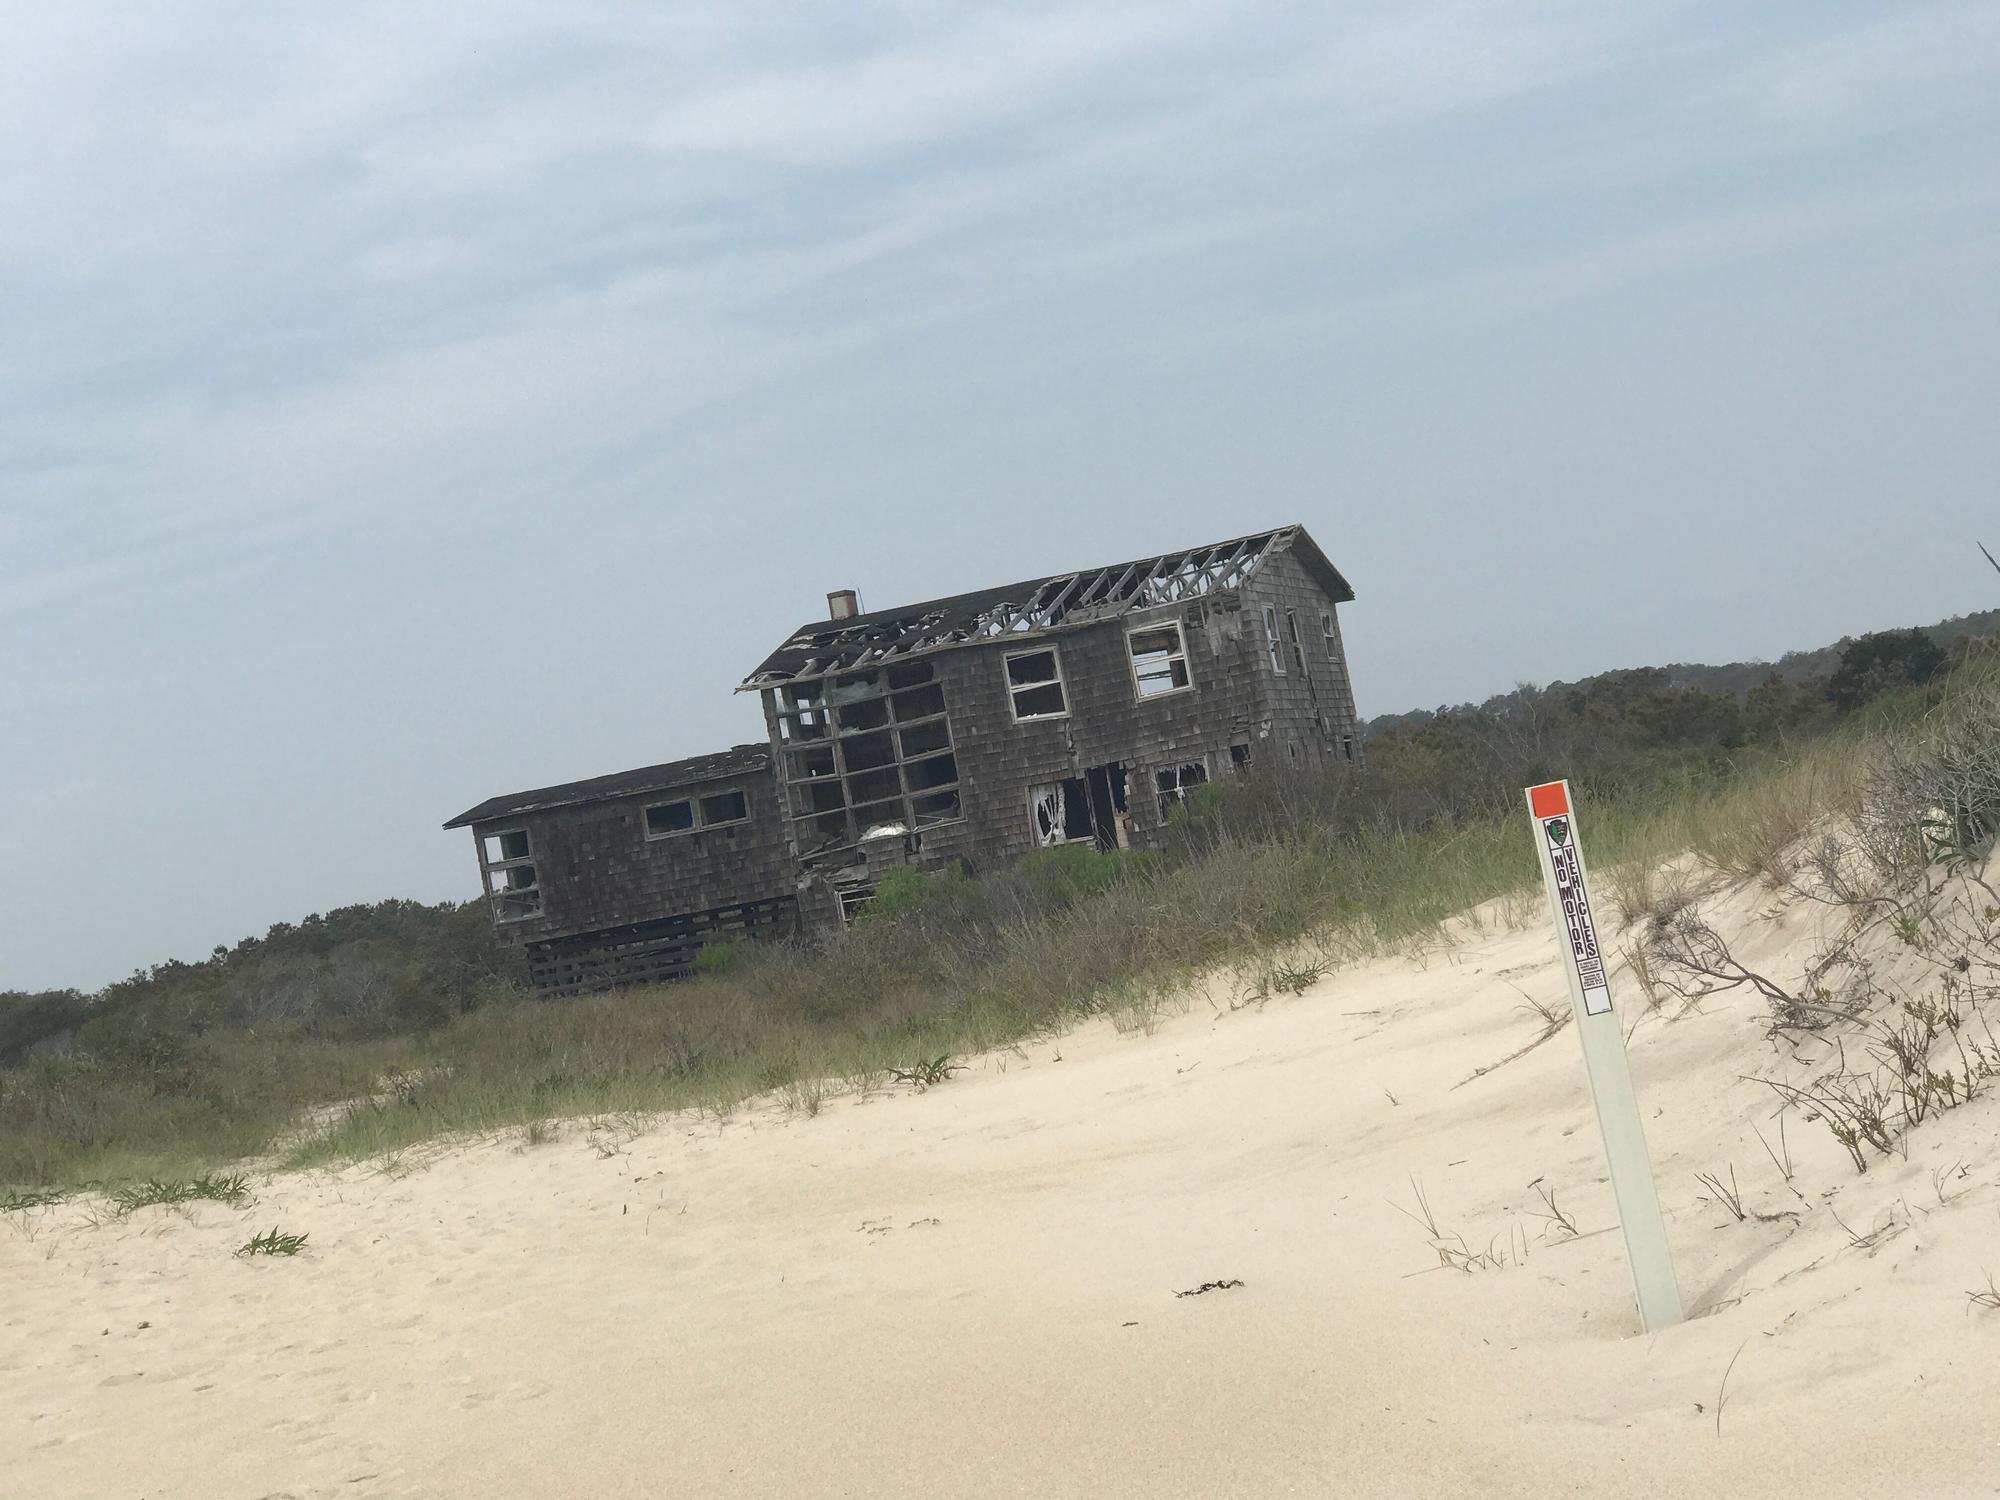
While on the beach, we got a chance to explore some of the bay side trails that lead you back over the dunes and through the marsh area. There are some really cool old buildings leftover from old hunting clubs and residents that used to be on the island. We stopped for lunch and hung out near the MD / VA border for a few hours and let the kids play on the beach. We also got to see some of the wild horses that are now the only permanent residents on the island.
All in all it was a great trip! We had fantastic weather, and the Jeep was a blast to finally get off-road. I can't wait to get another trip planned, and to get the suspension and new tires installed.
Parts Installed