M.O.R.E. Bomb Proof Torsion Motor Mounts
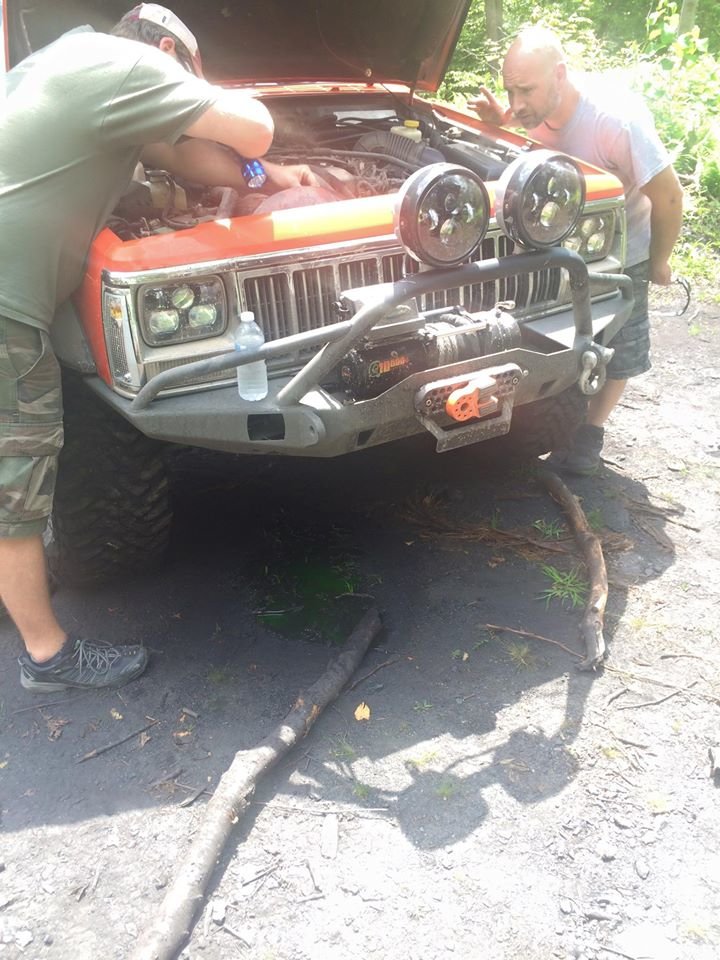
Installing new heavy duty motor mounts on your Jeep is a pretty easy upgrade to make, and can really add some confidence and peace of mind when you're putting stress on your driveline while off road. It's one mod that I wish I had made earlier, as I quickly discovered on our last wheeling trip.
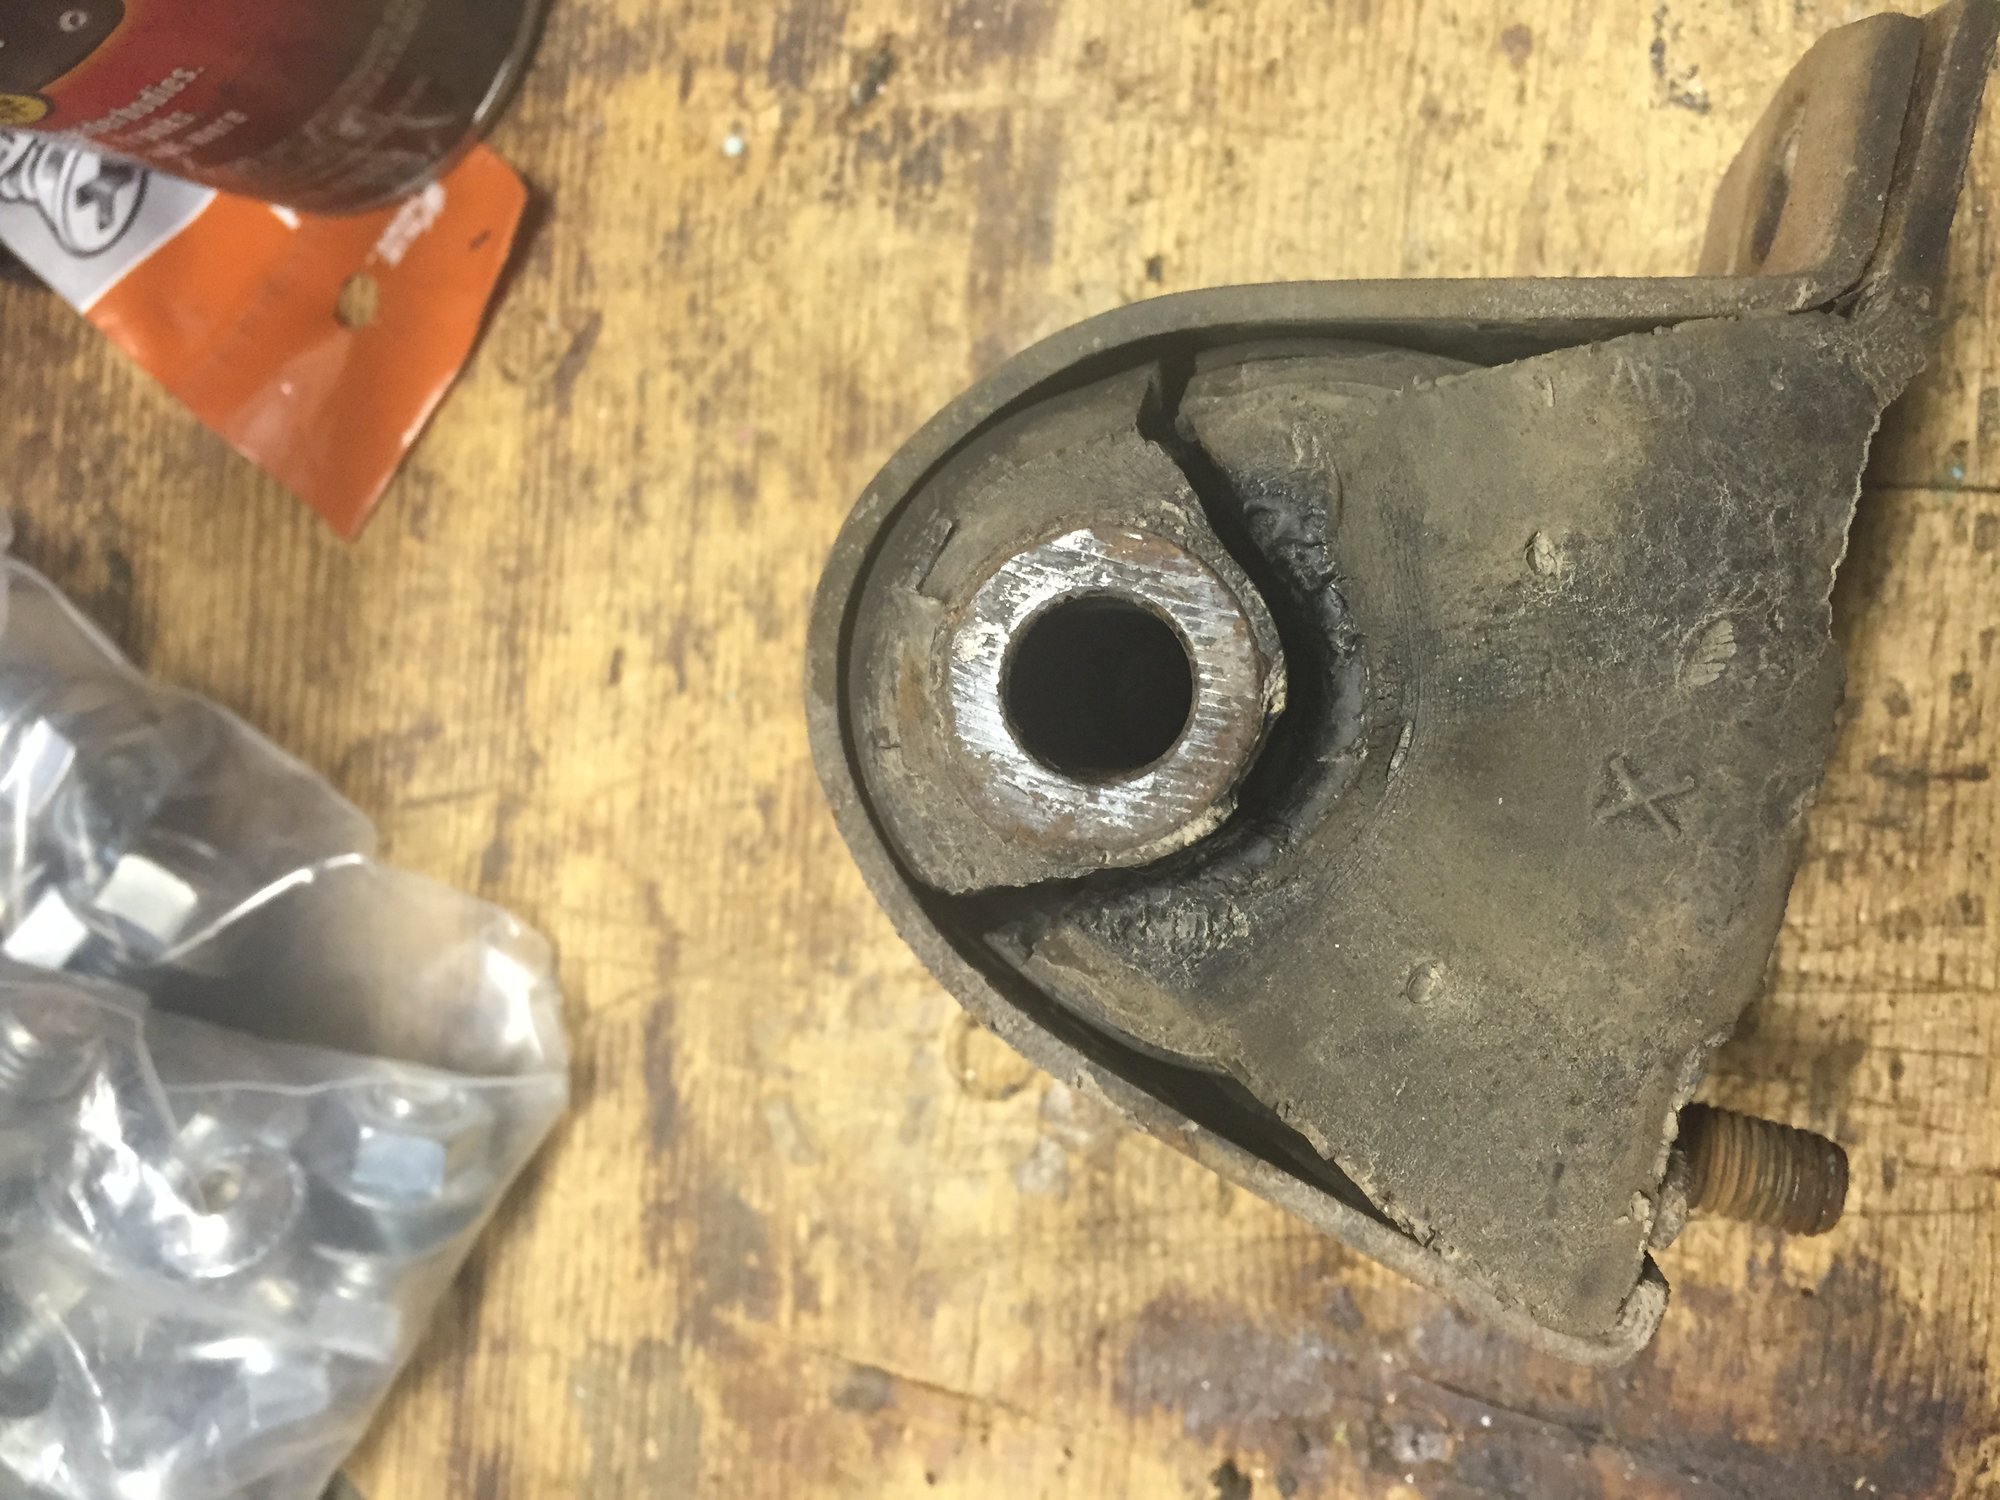
With just a little bit of stress on the driveline from a pretty tame obstacle, one of my 23 year old stock motor mounts finally gave up, allowing the entire engine to twist out of alignment... sending the cooling fan into contact with my radiator. After quickly shutting off the engine to the sound of horrible metal on metal squealing and grinding, and wondering what on earth just happened, the rush of coolant made it apparent there was a serious problem. A few minutes of investigation, followed by a tow off the trail, and I found the culprit that ended my day on the trail much earlier than anticipated.
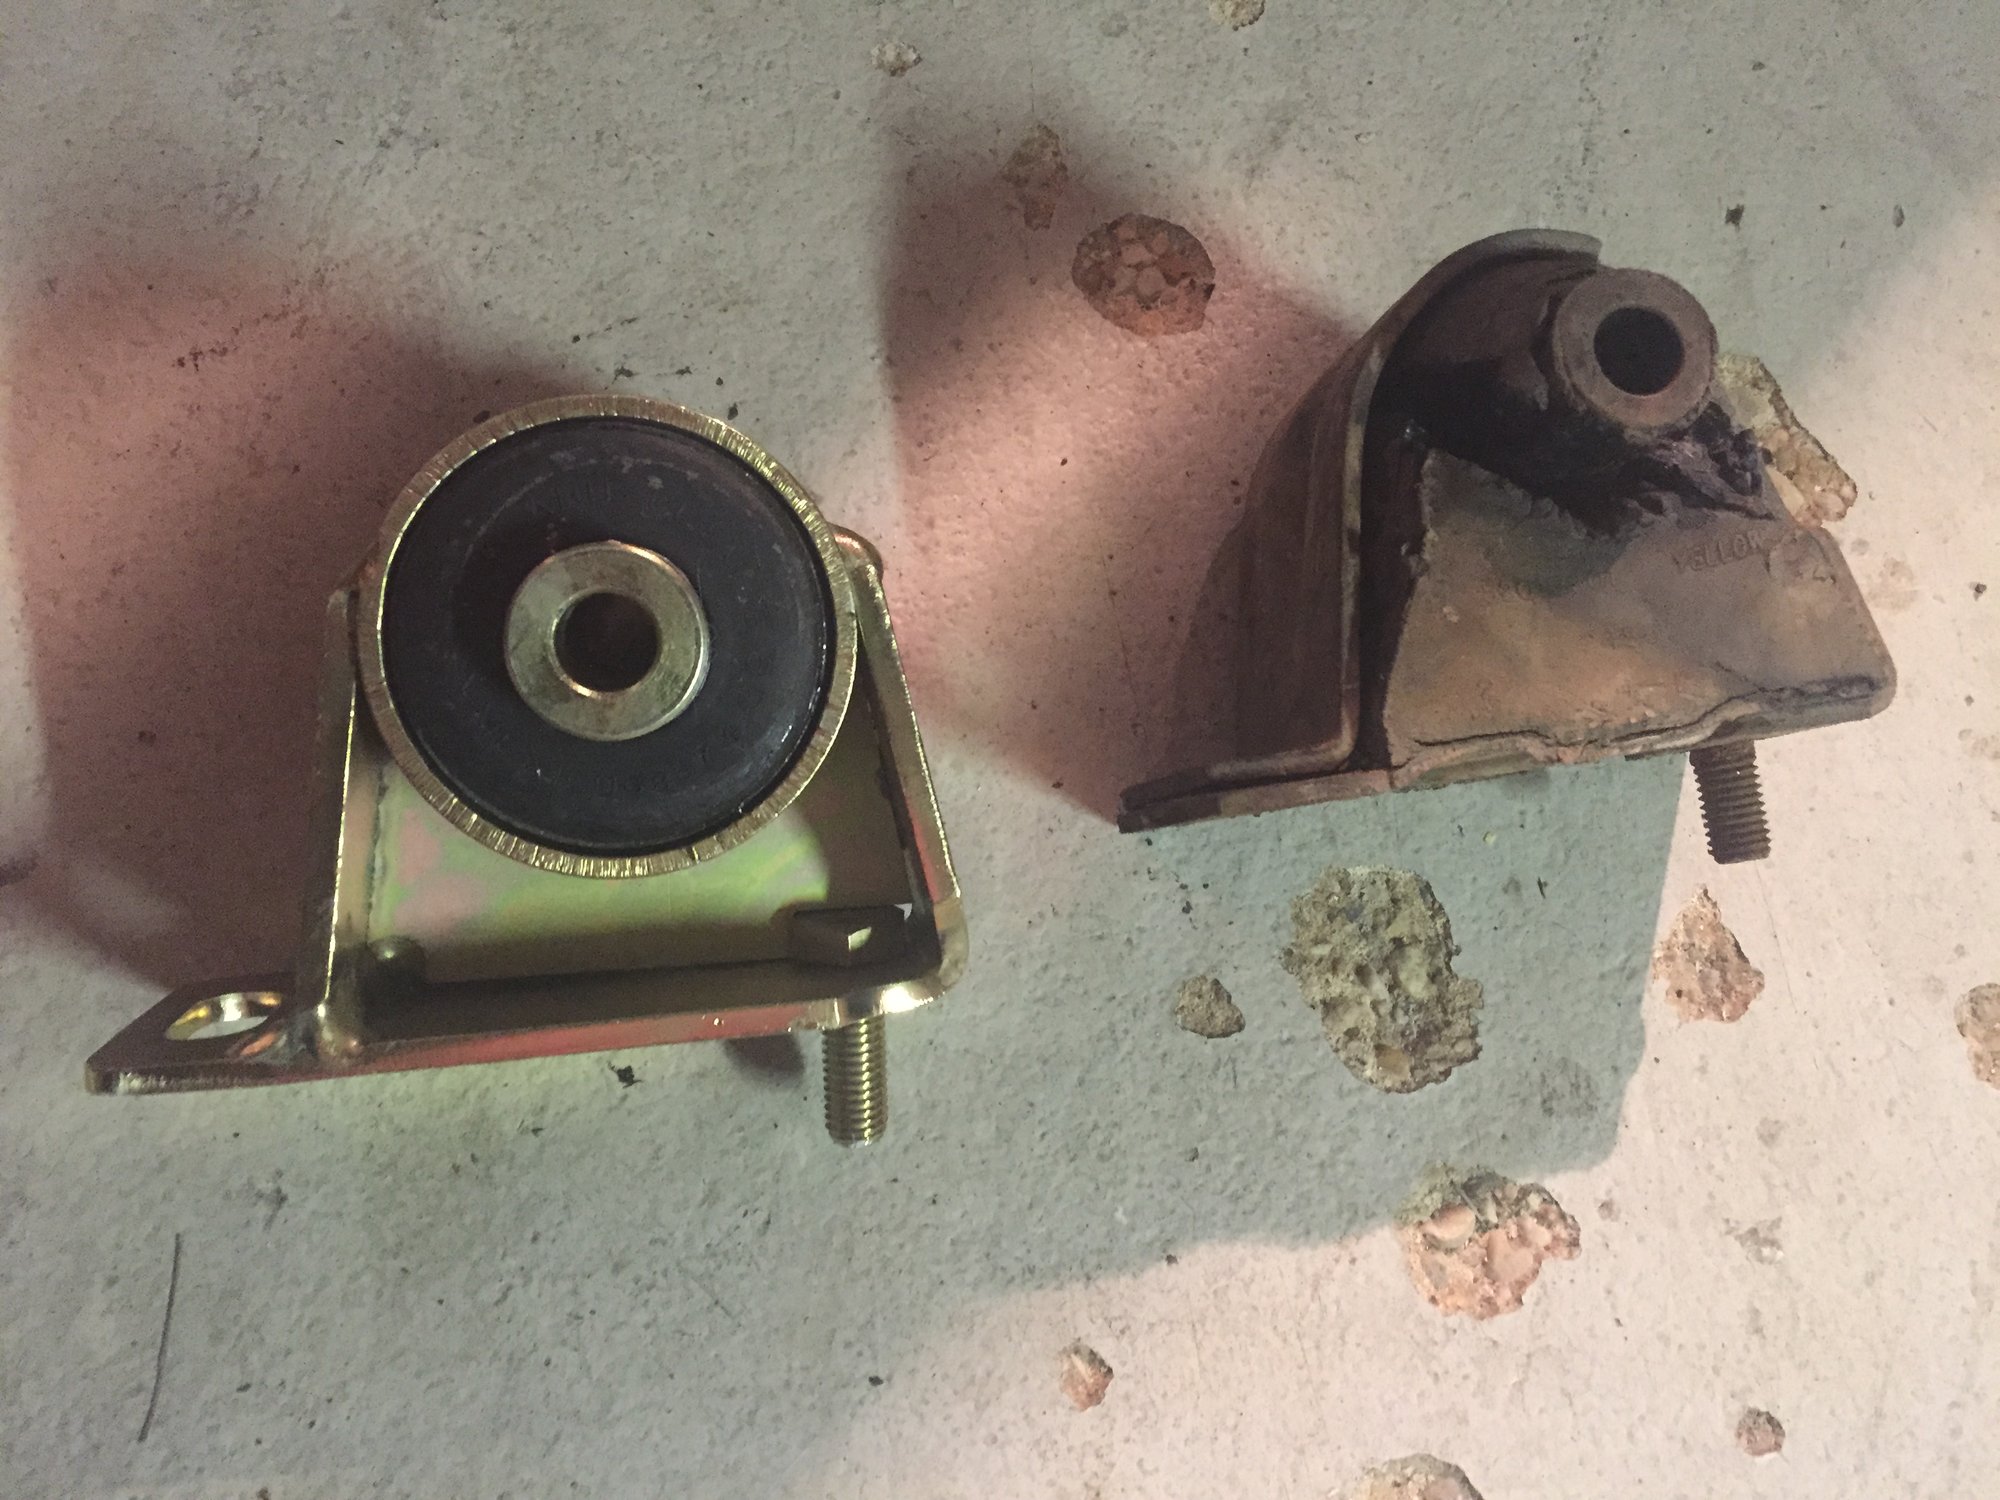
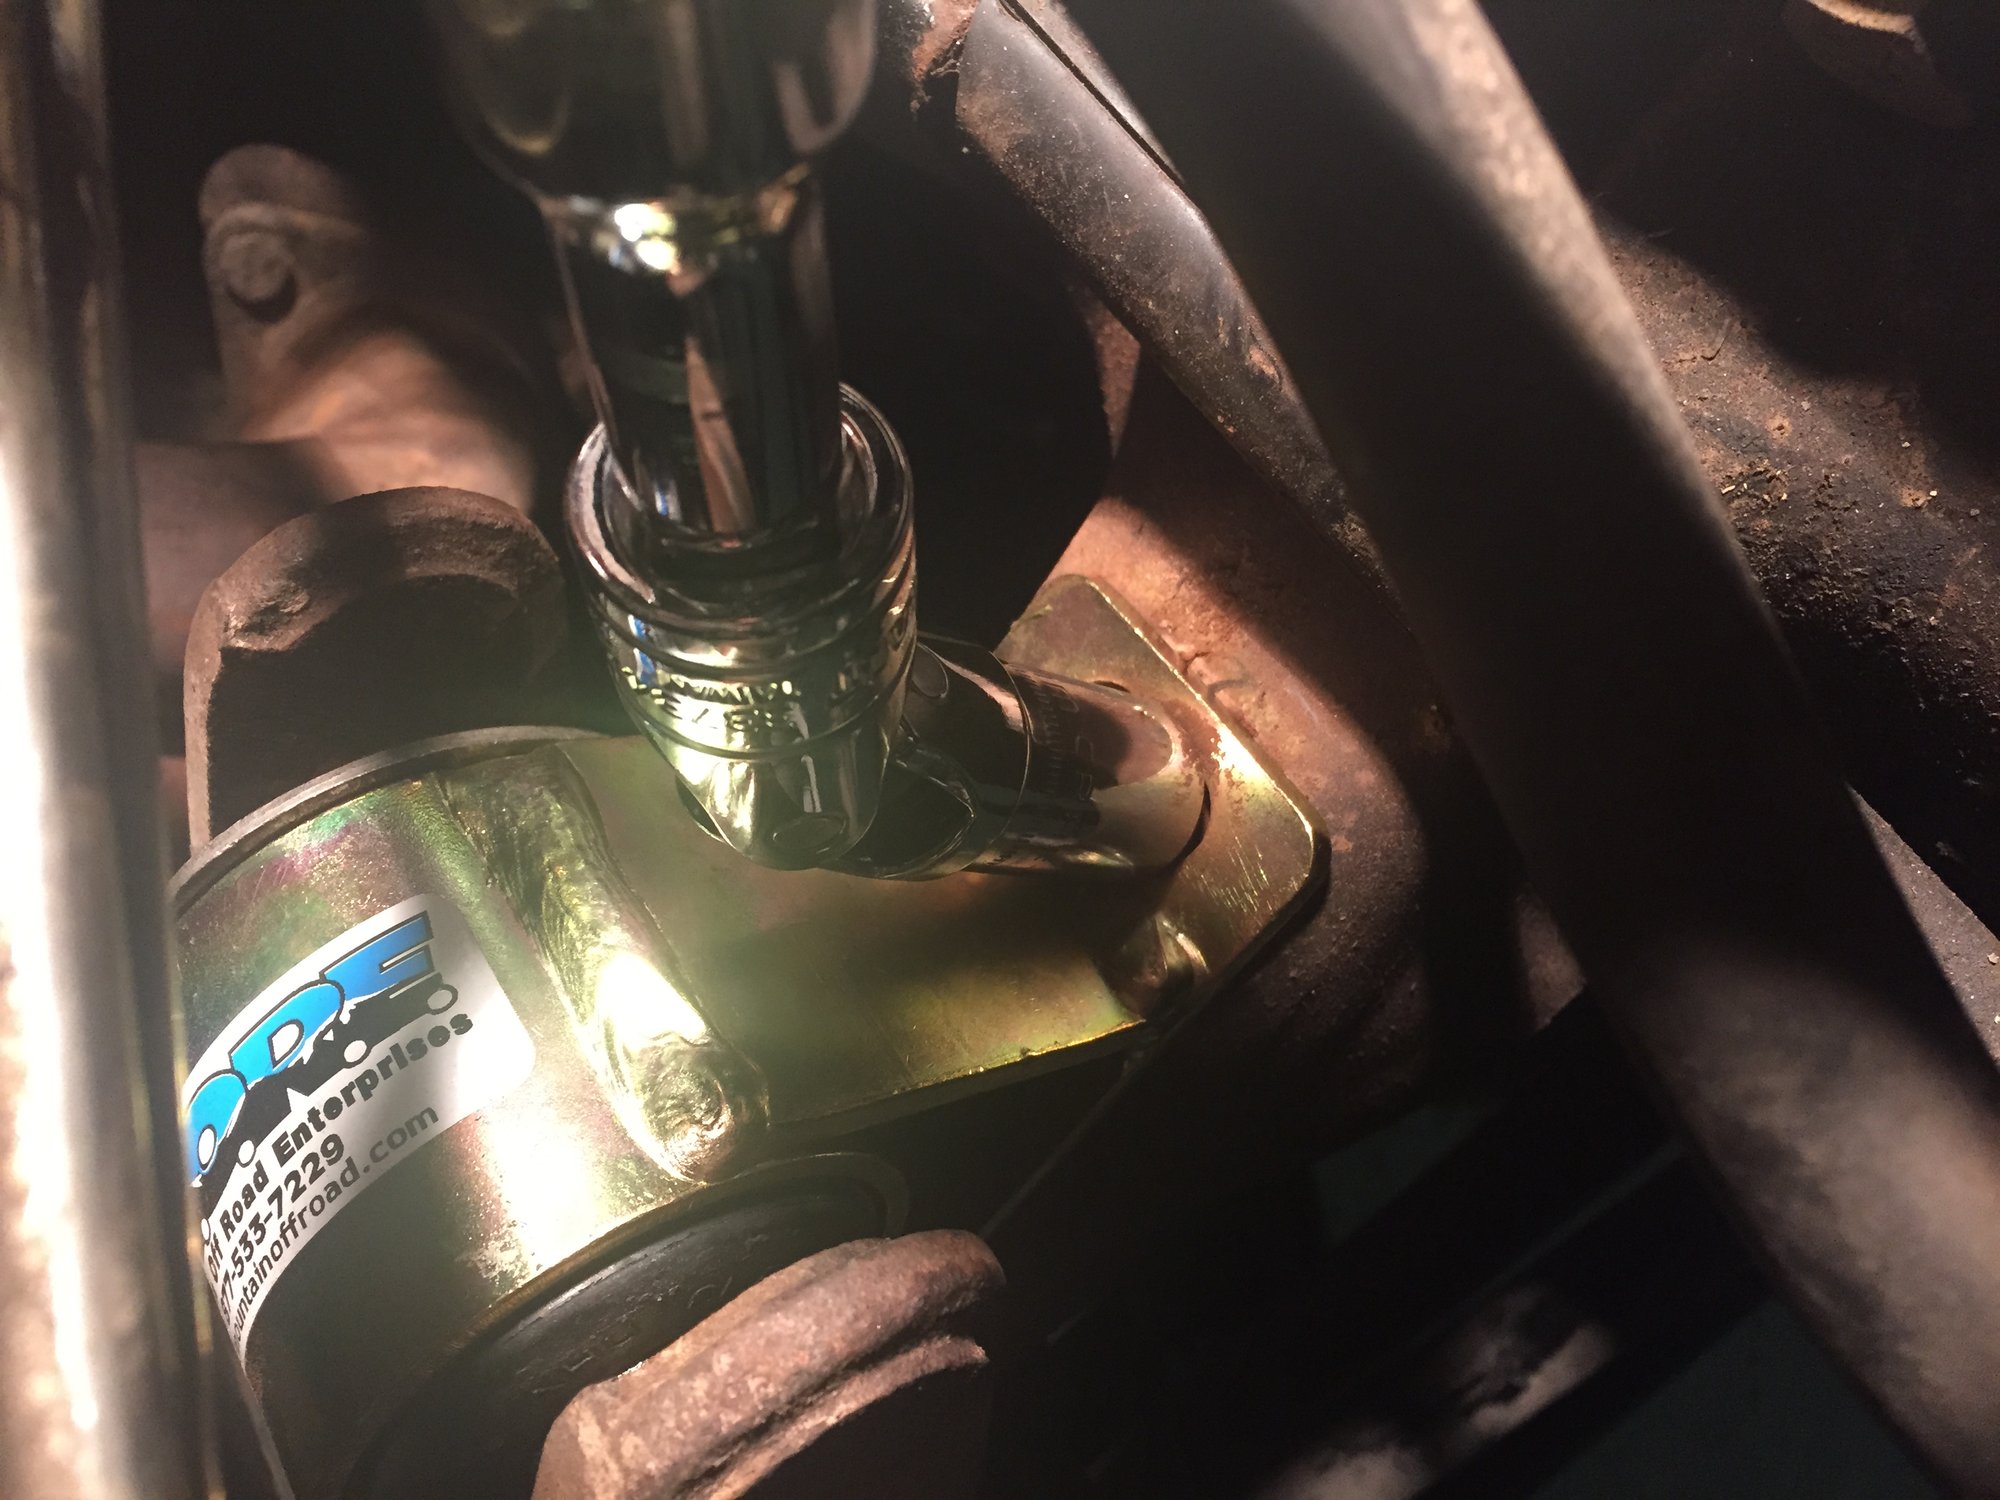
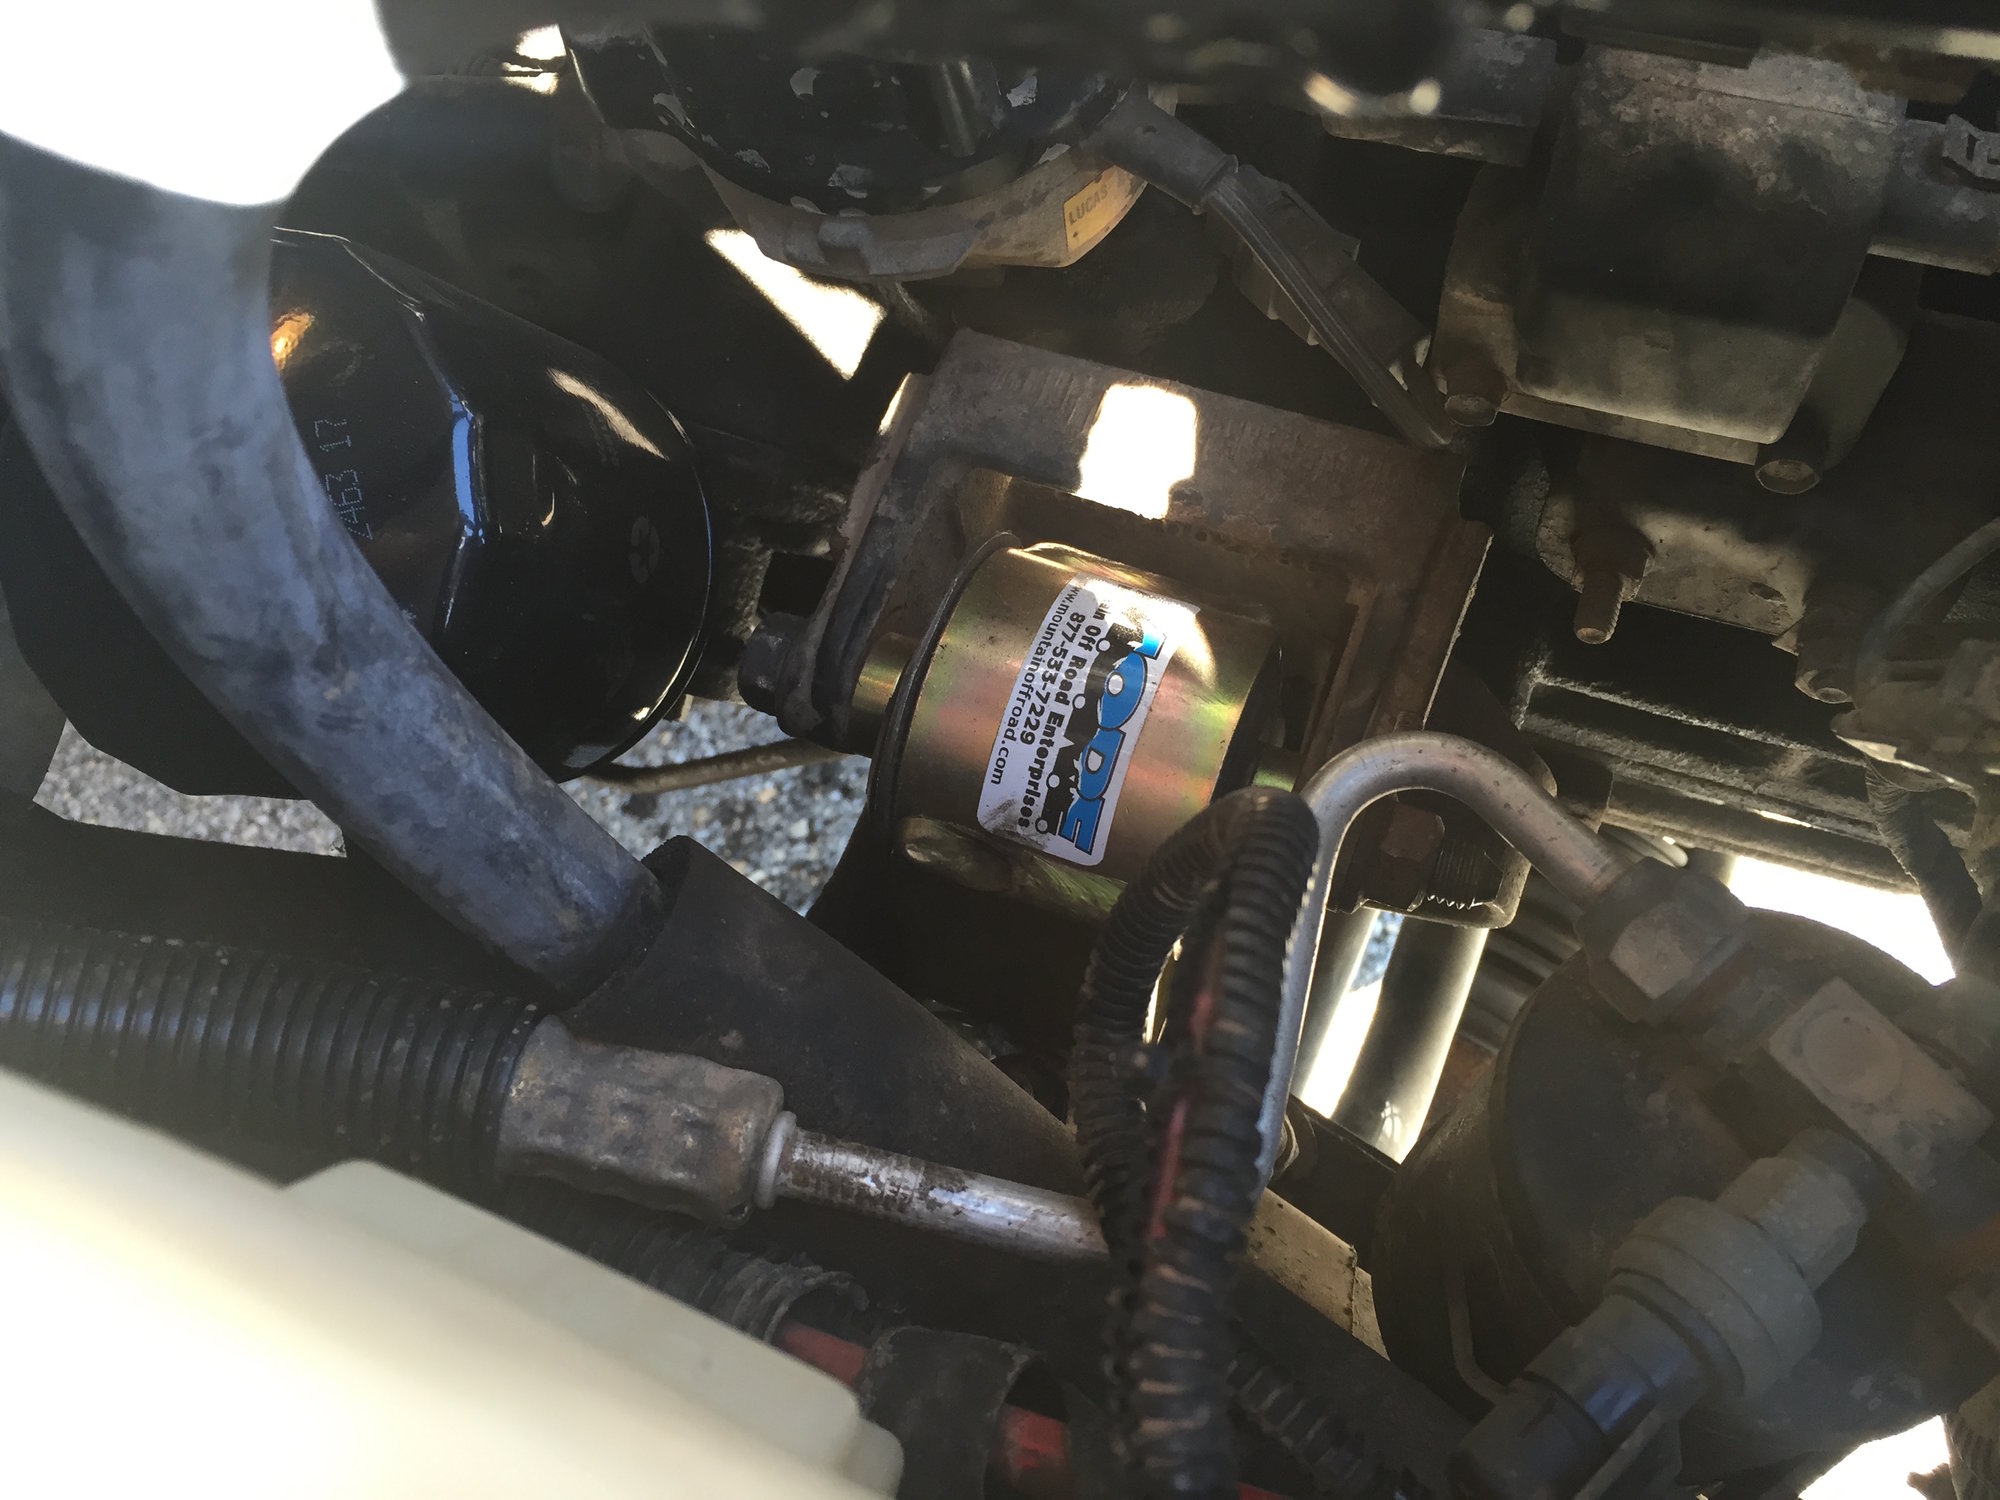
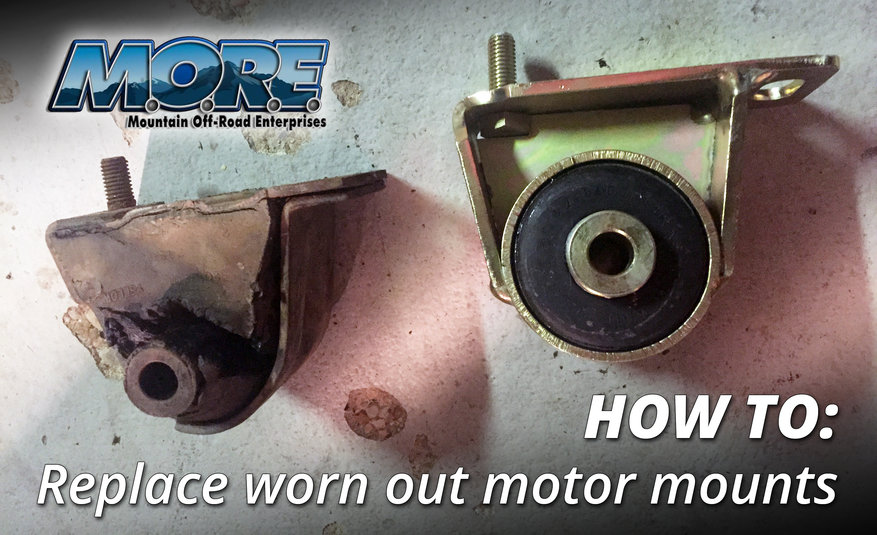
After replacing the radiator, it was time for some new motor mounts. Mountain Off-Road offers their "Bomb Proof" motor mounts for a variety of different Jeep vehicles from Jeep CJs, to Wrangler YJs and TJs as well as Cherokees and Comanches. The standard Bomb Proof™ motor mount uses a polyurethane bushing similar to what you'd find in an aftermarket control arm. They also offer a Torsion Rubber style version, which has an added benefit over the poly version, especially if you daily drive your Jeep. Unlike the poly bushings, while offering strength, tend to transmit a lot of engine vibration to the Jeep, the "Torsion" style mounts use a Clevite OE style rubber bushing offering both superior strength while still giving you the benefits of a rubber bushing that won't transmit annoying engine vibration like poly bushings will. All the M.O.R.E. "Bomb Proof" mounts are available in an attractive and durable Zinc Plated finish.
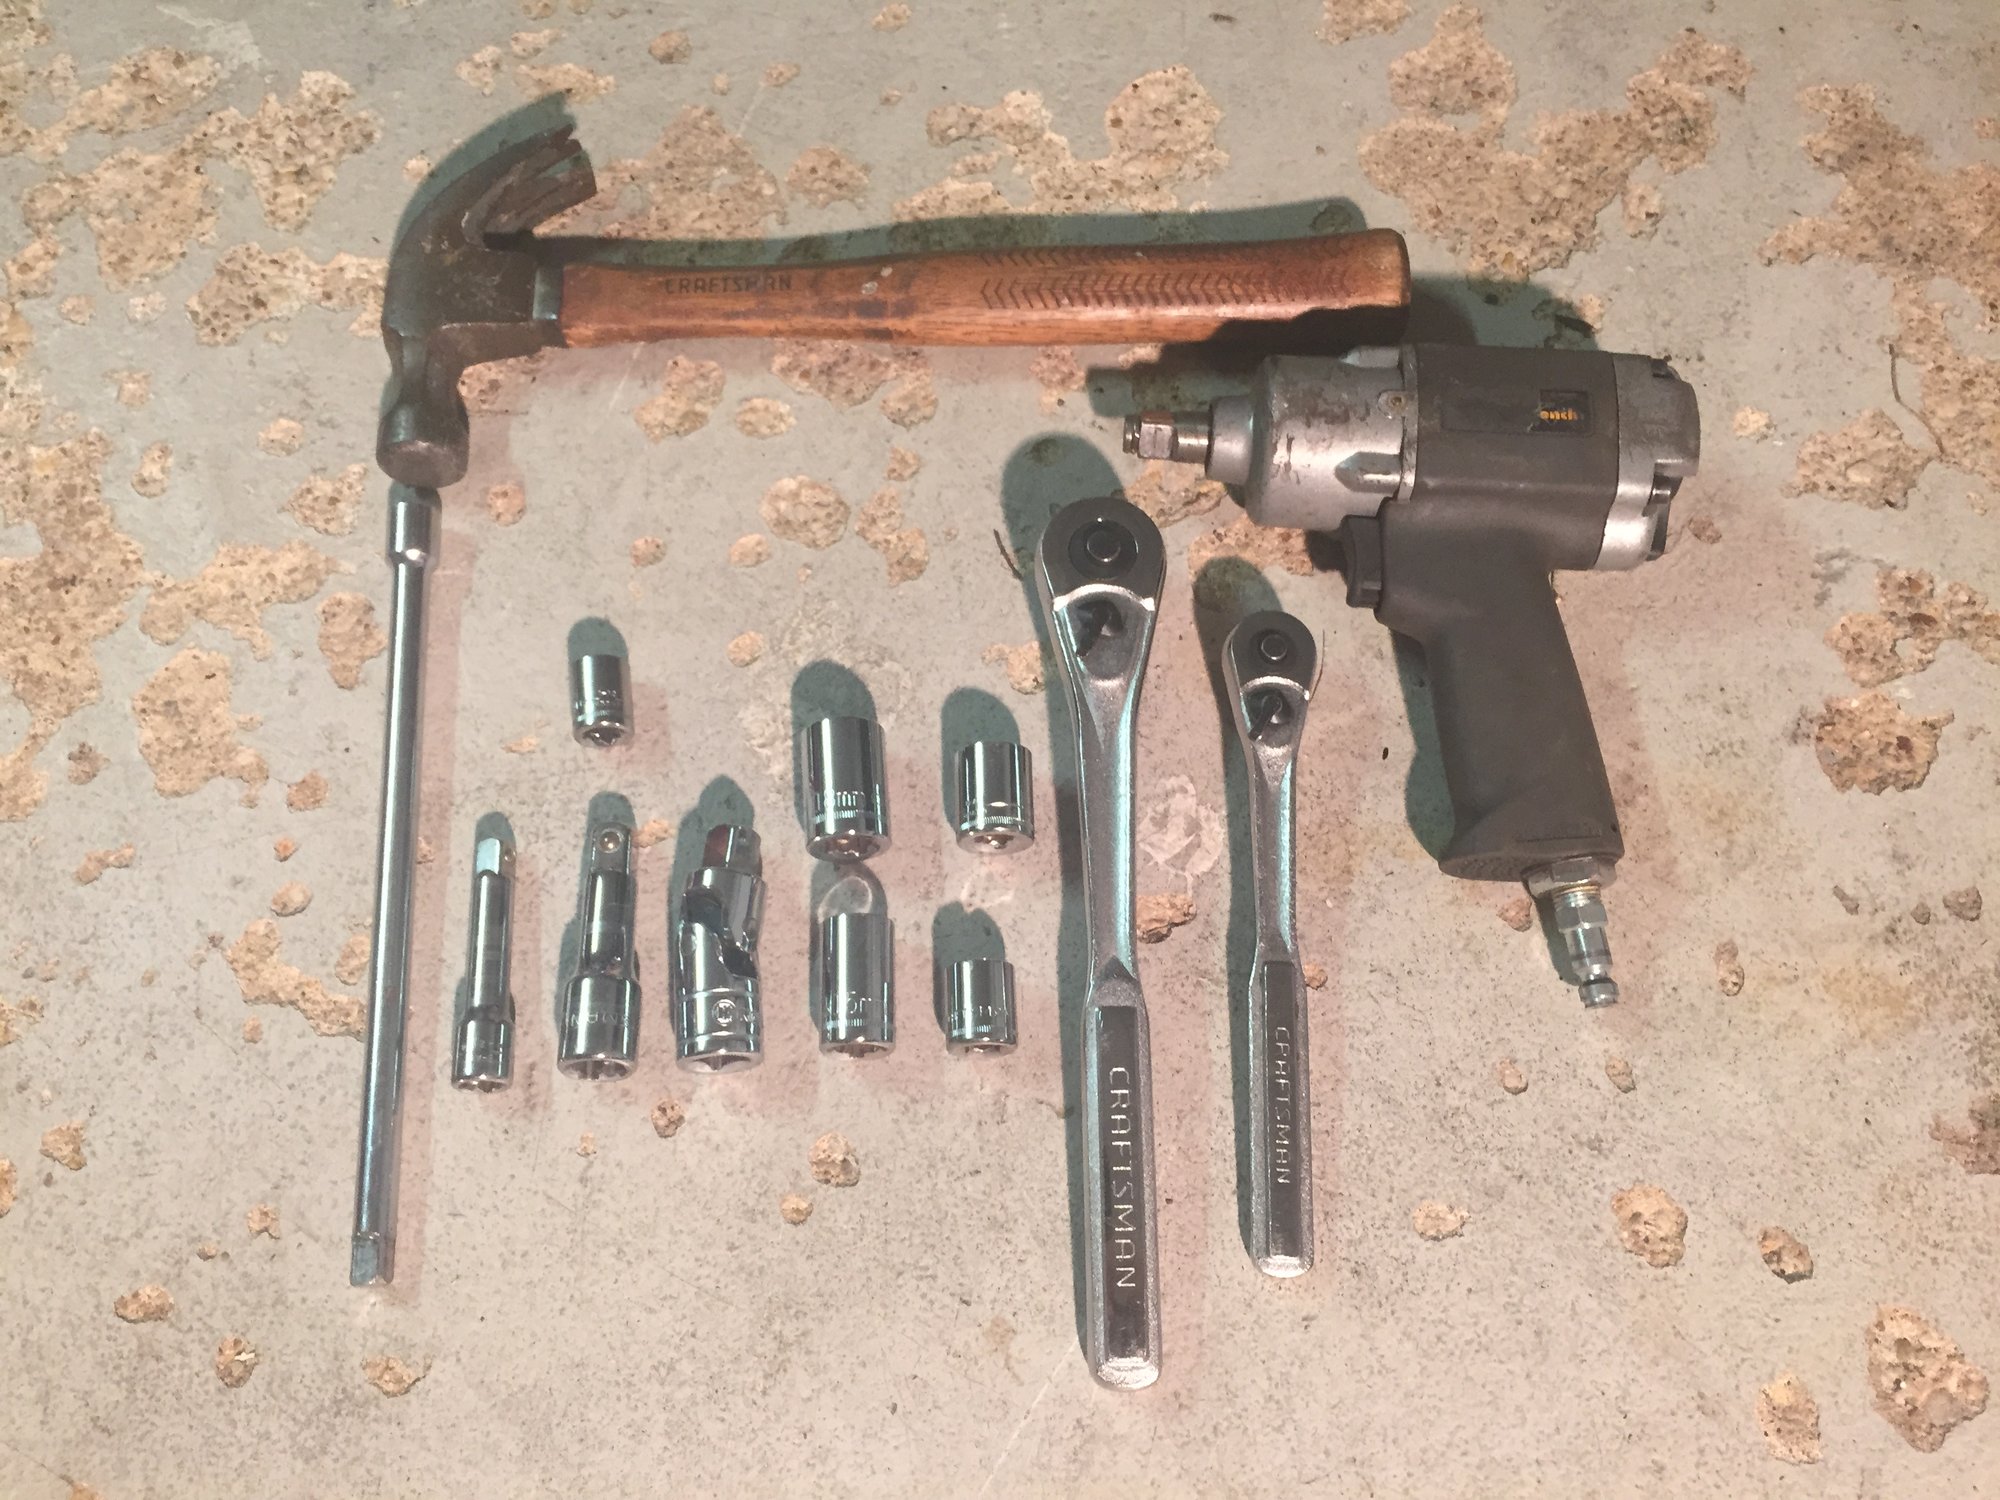
What you will Need
- M.O.R.E. "Bomb Proof" Torsion Style Motor Mounts
- Quadratec Part 12590.0740 / Manufacturer Part JM600 - Ratchet
- Impact Wrench (Not necessary, but will make this job much easier)
- Torque Wrench
- Sockets / Wrenches: 13mm, 15mm, 18 mm
- Universal Joint Socket (not required, but makes access easier)
- Long and Short Ratchet Extension
- Pry Bar
- Hammer
- Floor Jack
- Block of Wood
- Wheel Chocks
- Rust Penetrant (Mopar Rust Penetrant, PB Blaster, etc.)
Installation
While the instructions are specific to the installation on a 1992 Jeep Cherokee, the installation procedures related directly to the motor mounts are virtually identical on all 1987-2006 Jeep Wranglers and Cherokees with the 4.0L engine. The only differences may be the need to remove the air-box or other accessory like a washer bottle to gain better access to the motor mounts.
Save all hardware when removing the old motor mounts. It will be re-used to install your new M.O.R.E. "Bomb Proof" mounts
1. Park you Jeep on a level surface, put it in gear or park and set the parking break. It's always a good idea to chock the wheels to be extra safe whenever working under your Jeep. If you live in any type of climate other than a desert, you'll want to give all the nuts a liberal coating of your favorite rust penetrate before getting to work.
2. If your Jeep has an under-hood light, it's a good idea to unplug it while working so you don't drain your battery. Alternatively, it's not a bad idea to disconnect the battery while working under the hood. Even though we're not technically working on anything electrical in nature, it's better to be safe and not have to worry about accidentally pulling a wire or touching contacts on the alternator or other electronics with tools and creating a short.
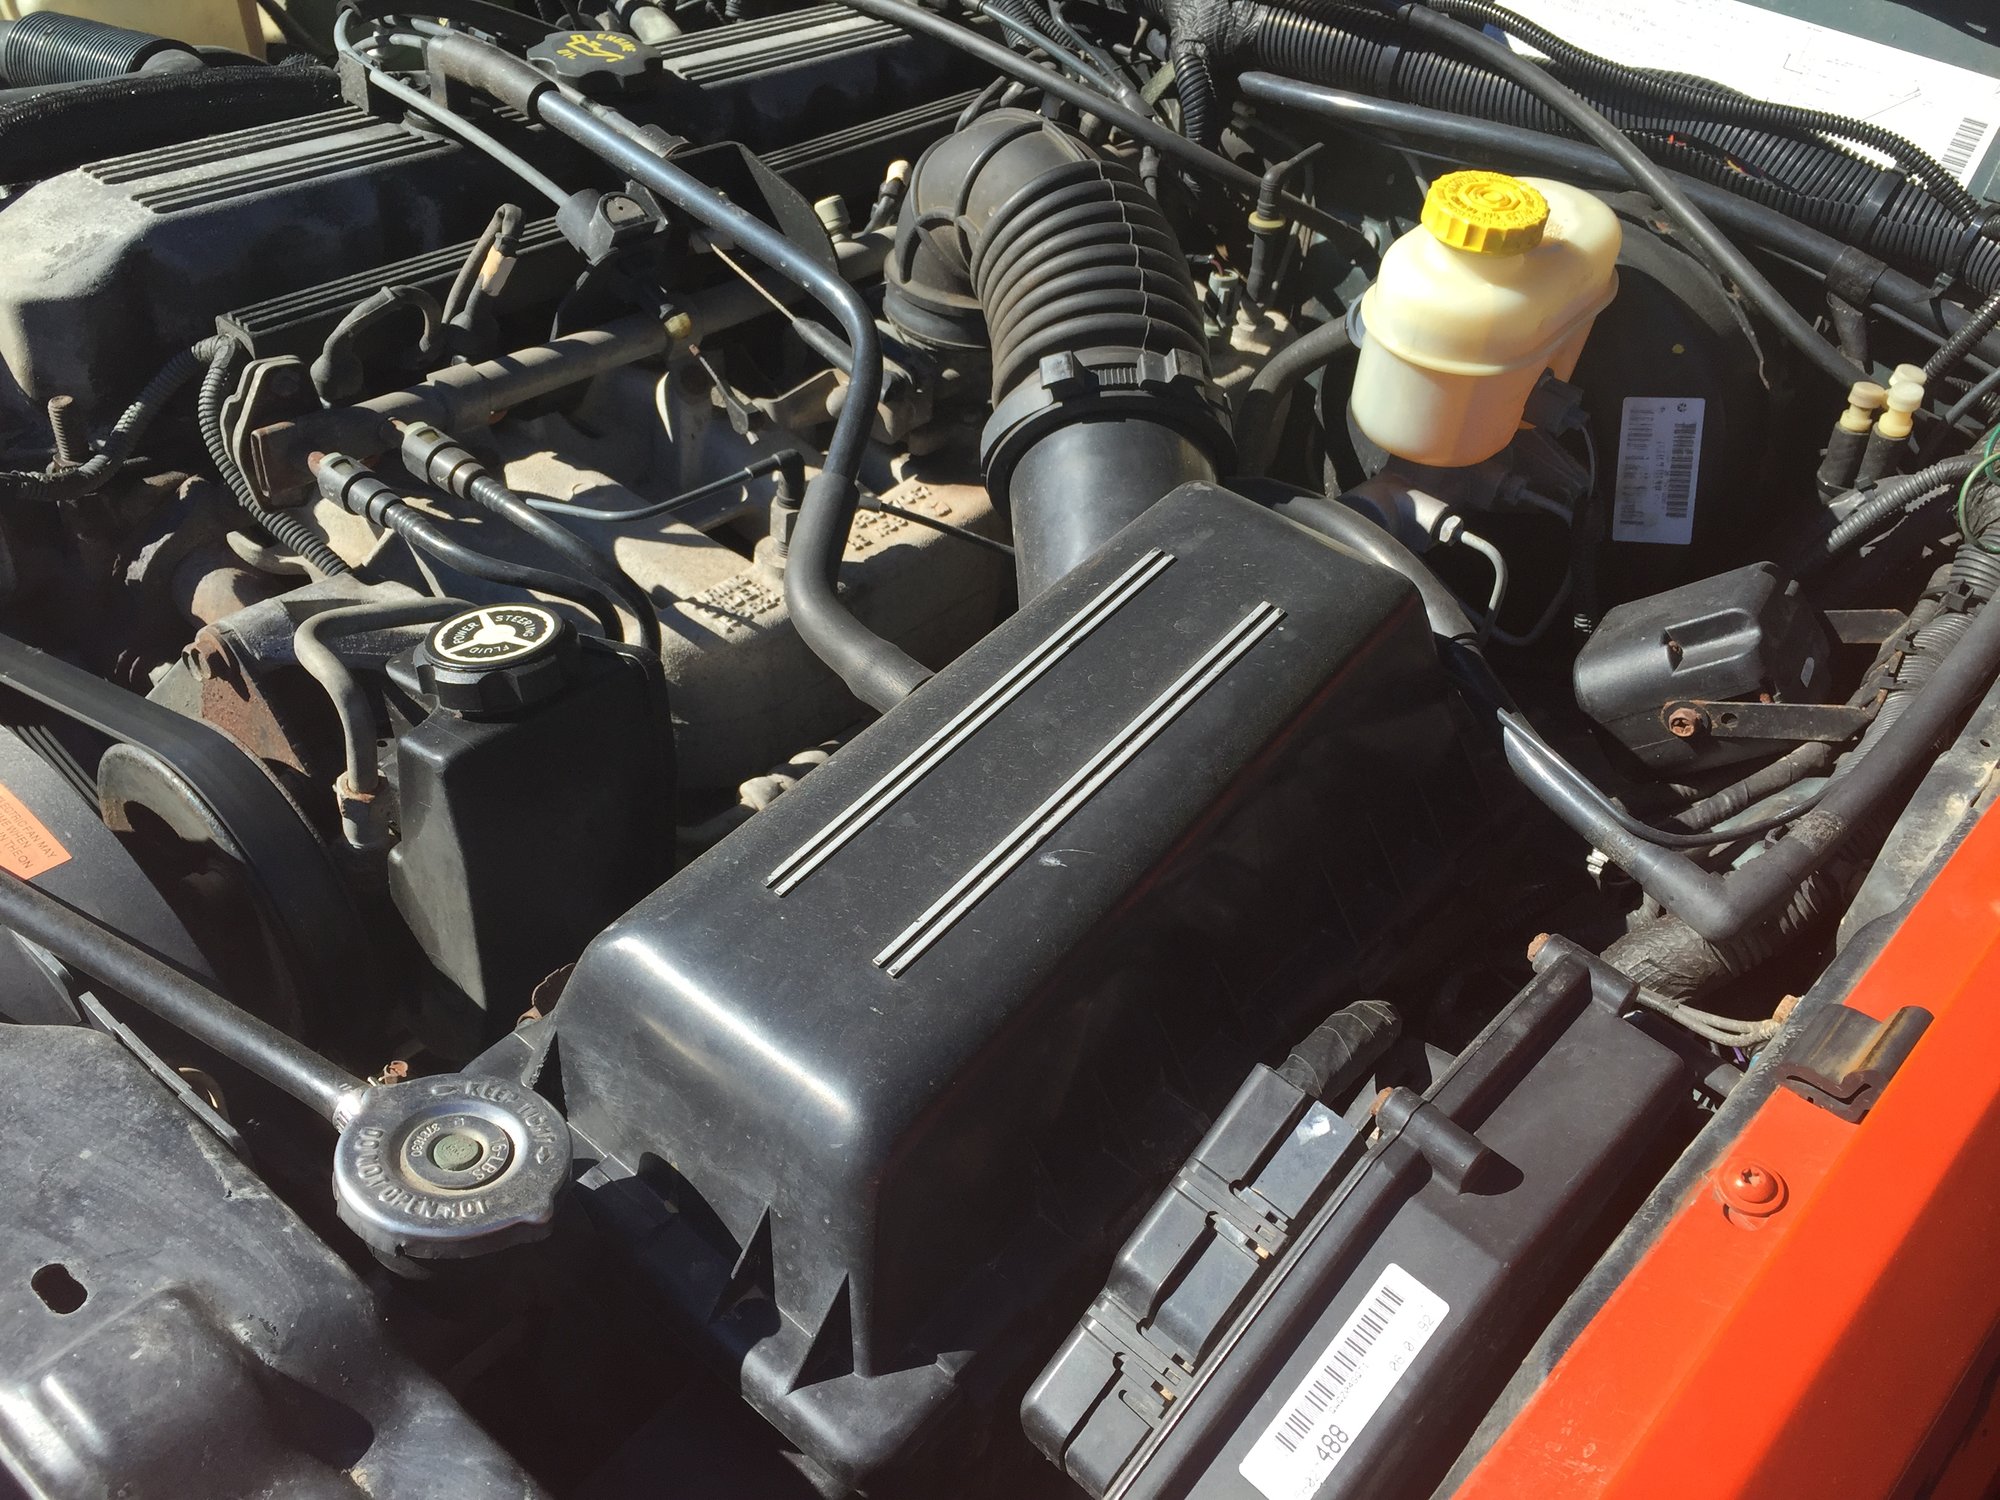
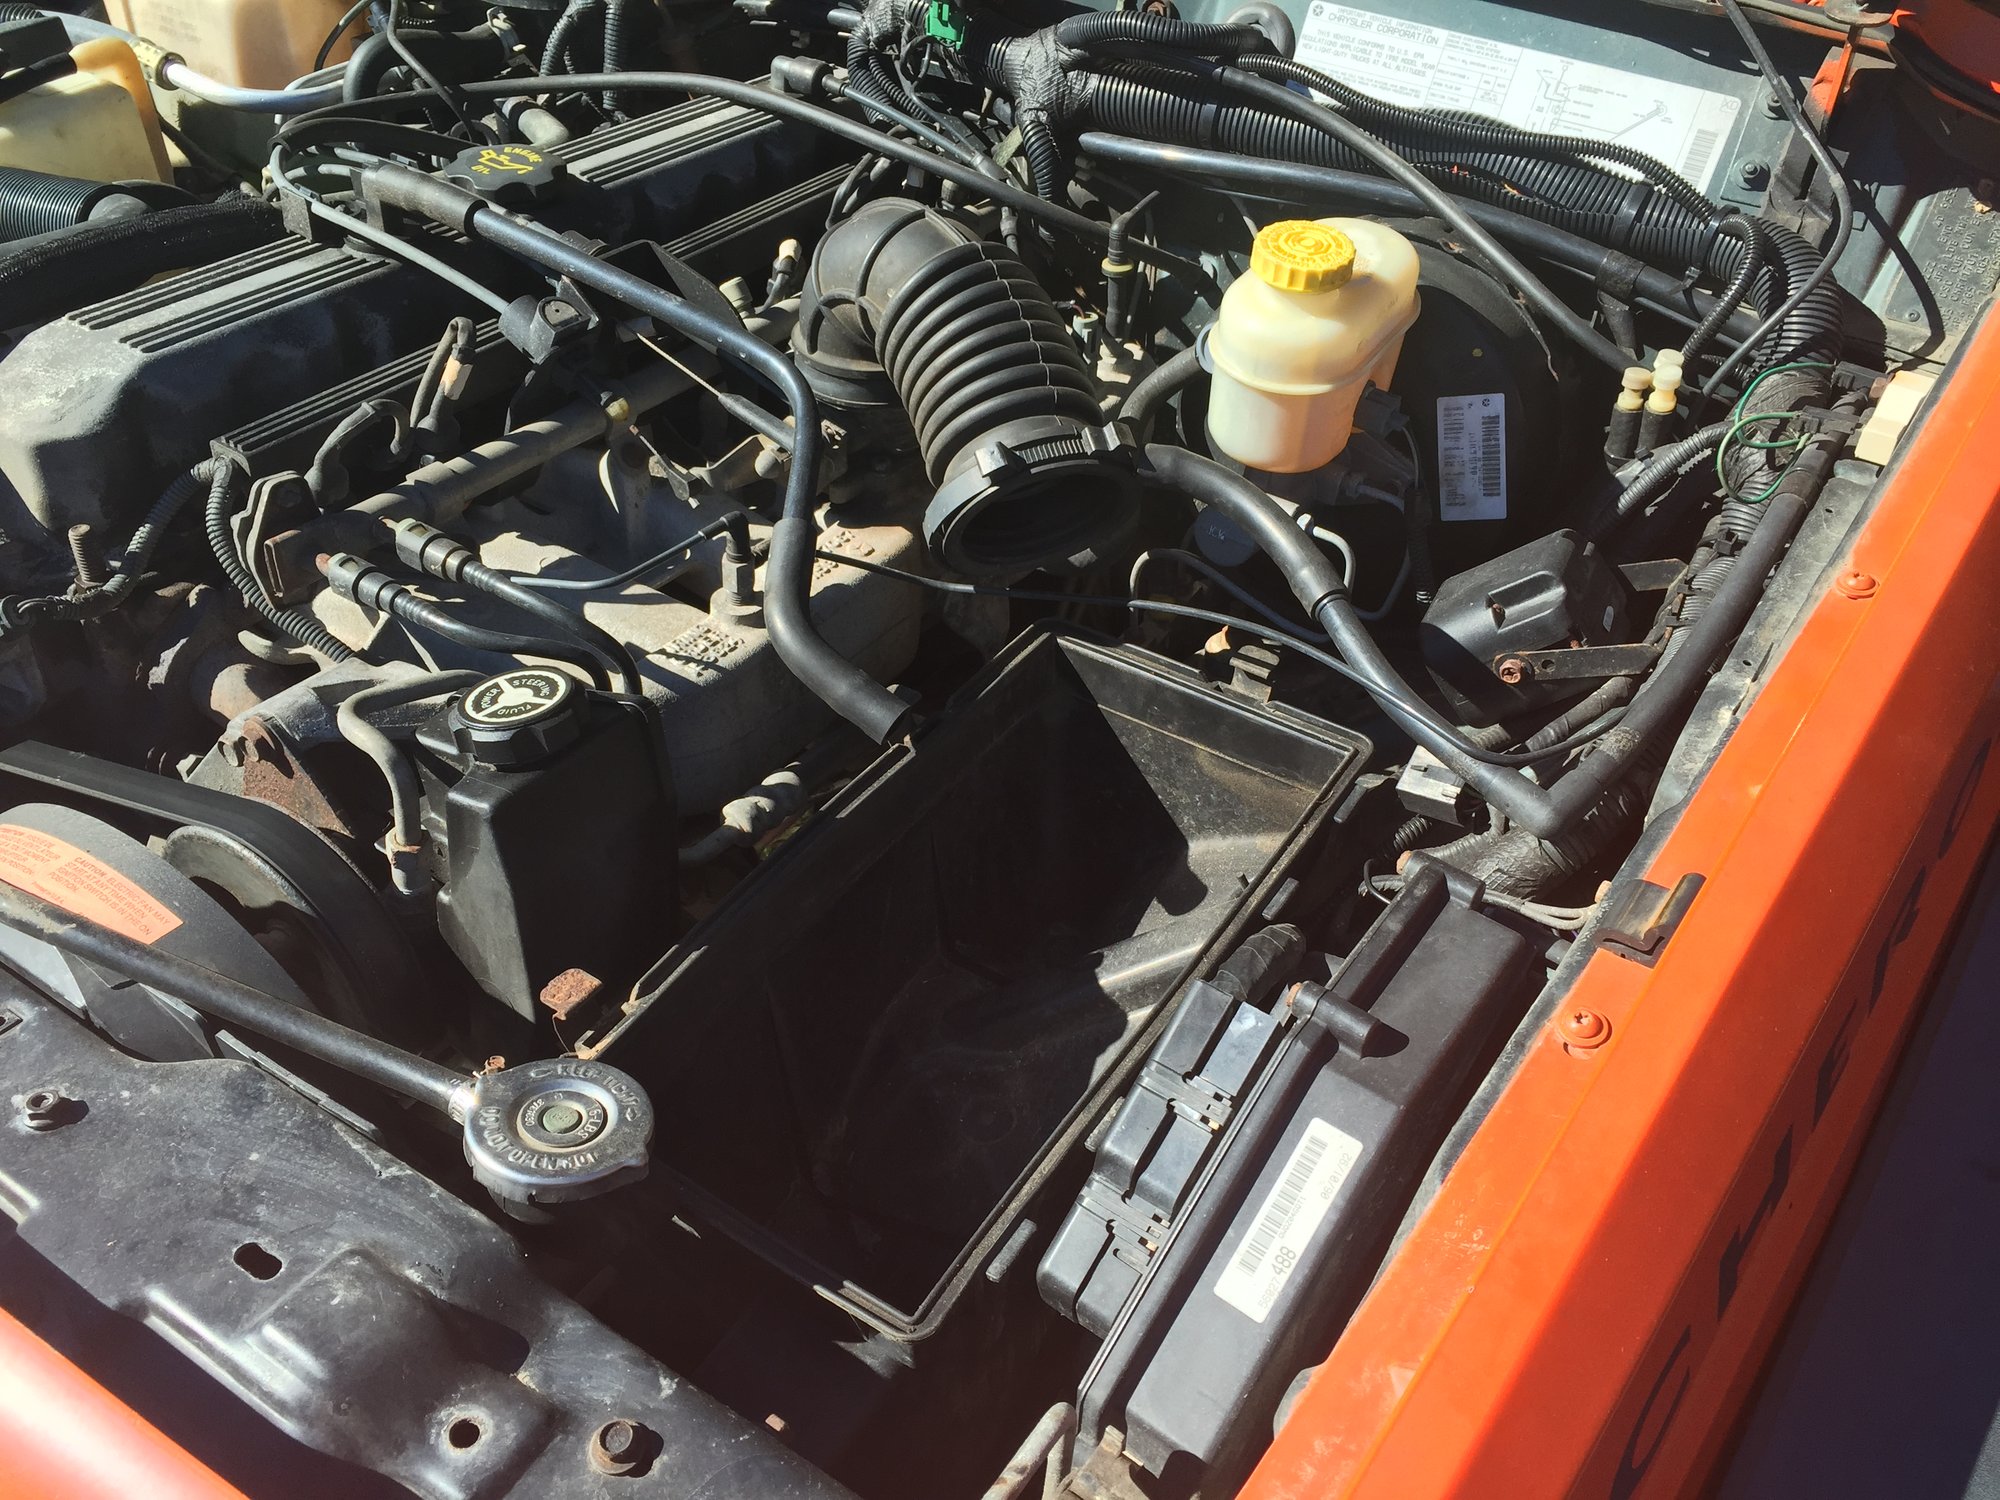
3. Unclip and remove the air box cover. Remove the filter, and then using the 13mm socket, remove the air box from the engine bay. This will give you more room to access the engine mounts.
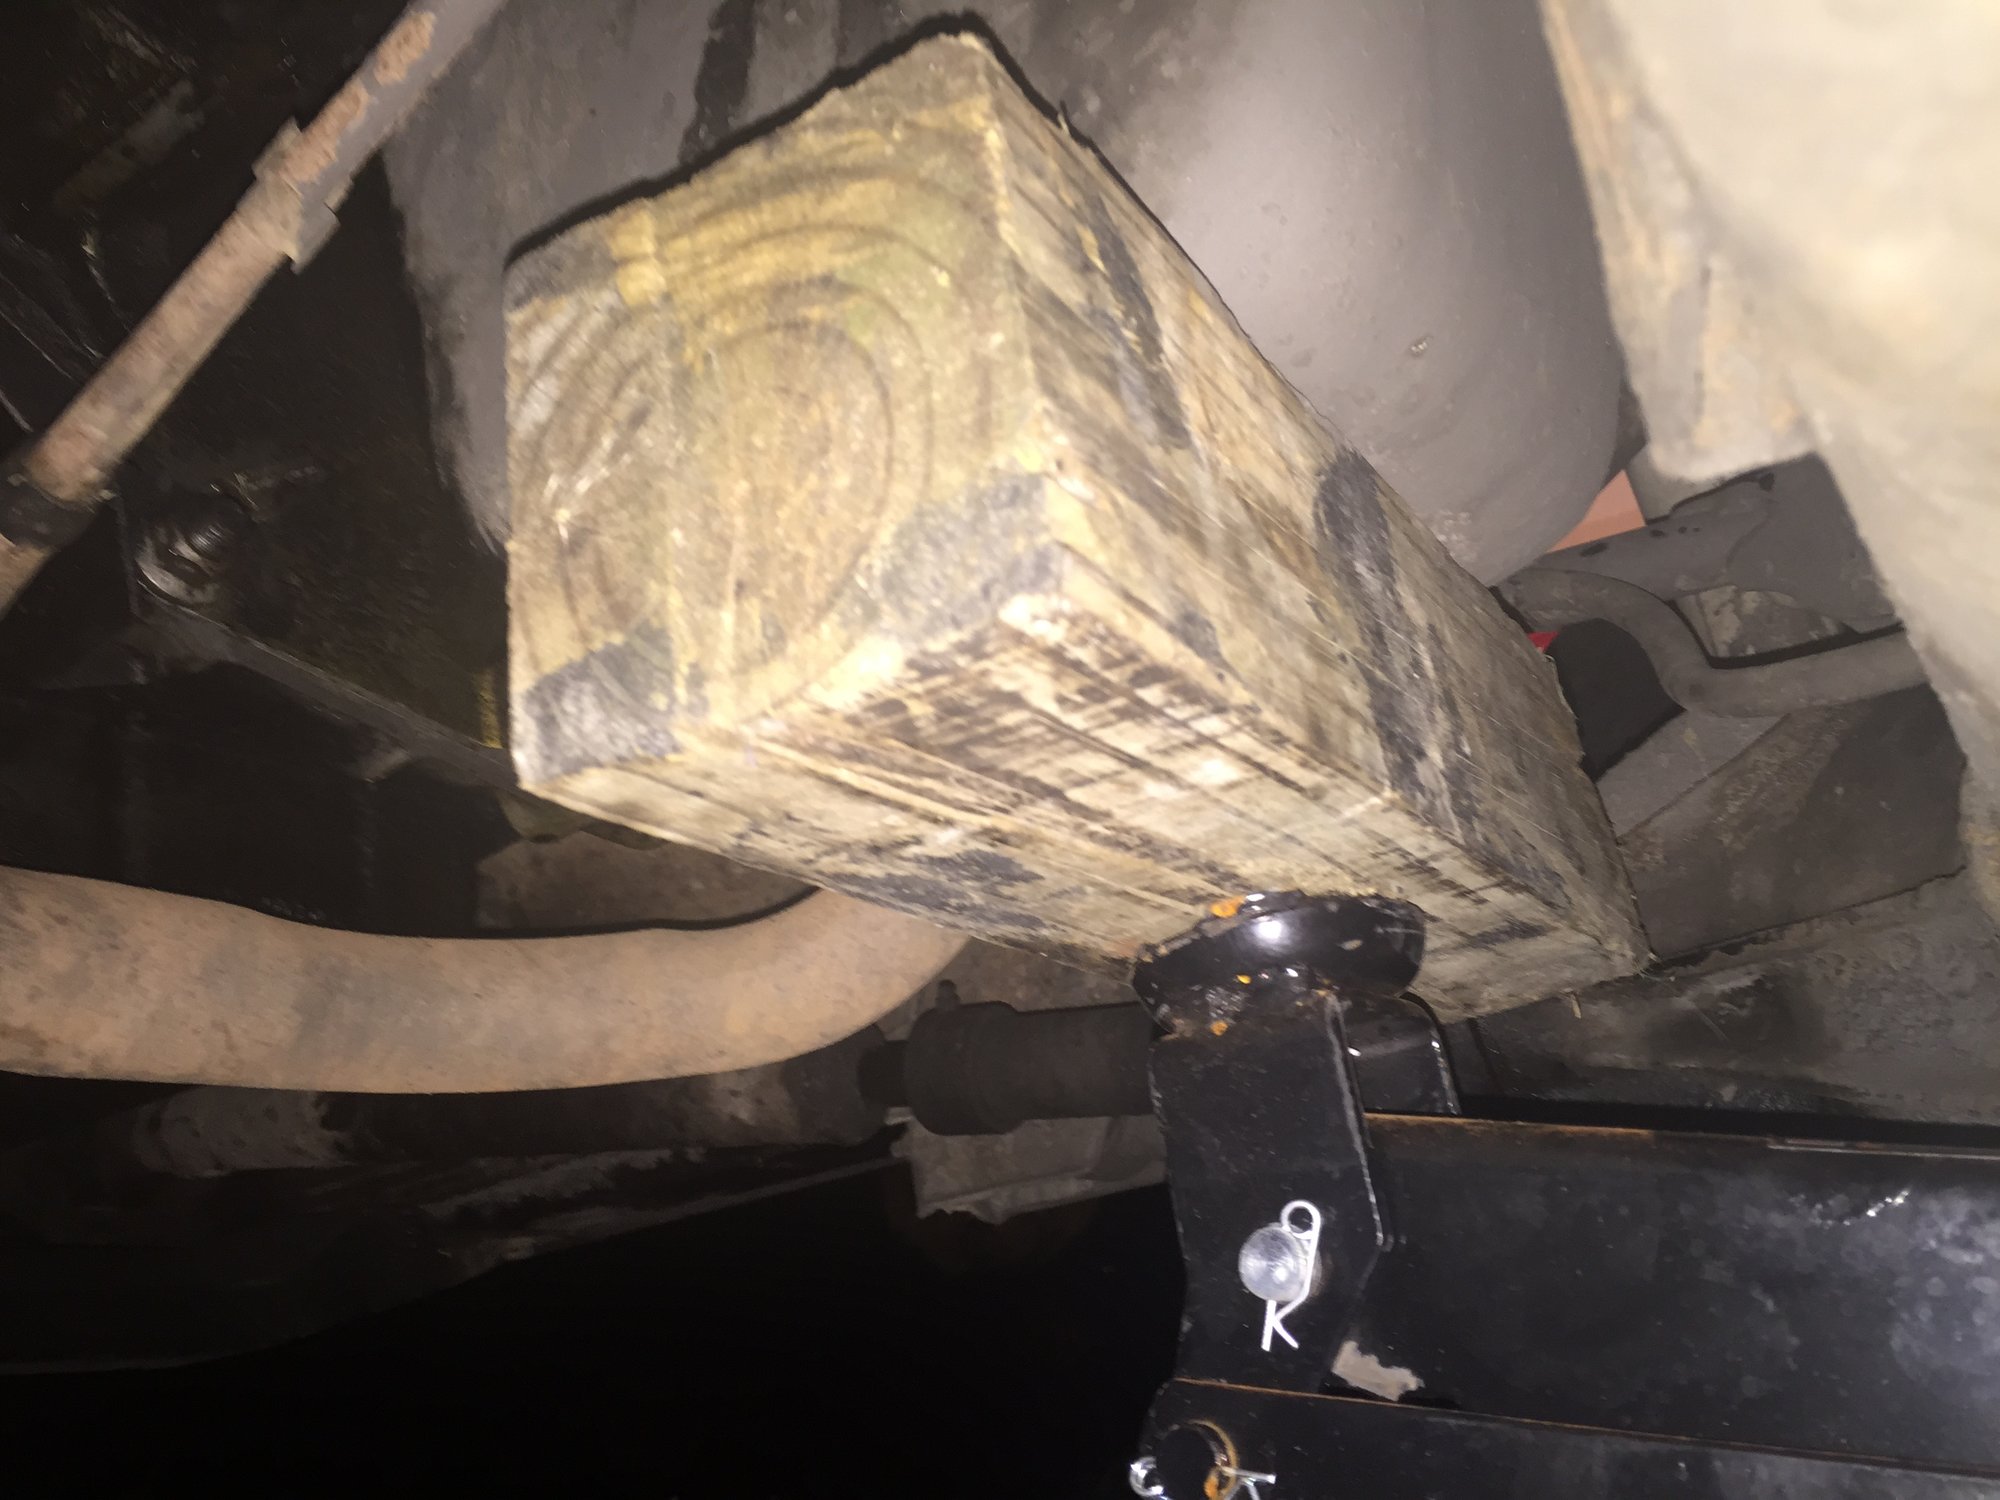
4. Place a floor jack under the oil pan, and using a board to distribute the weight, apply just a slight amount of pressure to the engine.
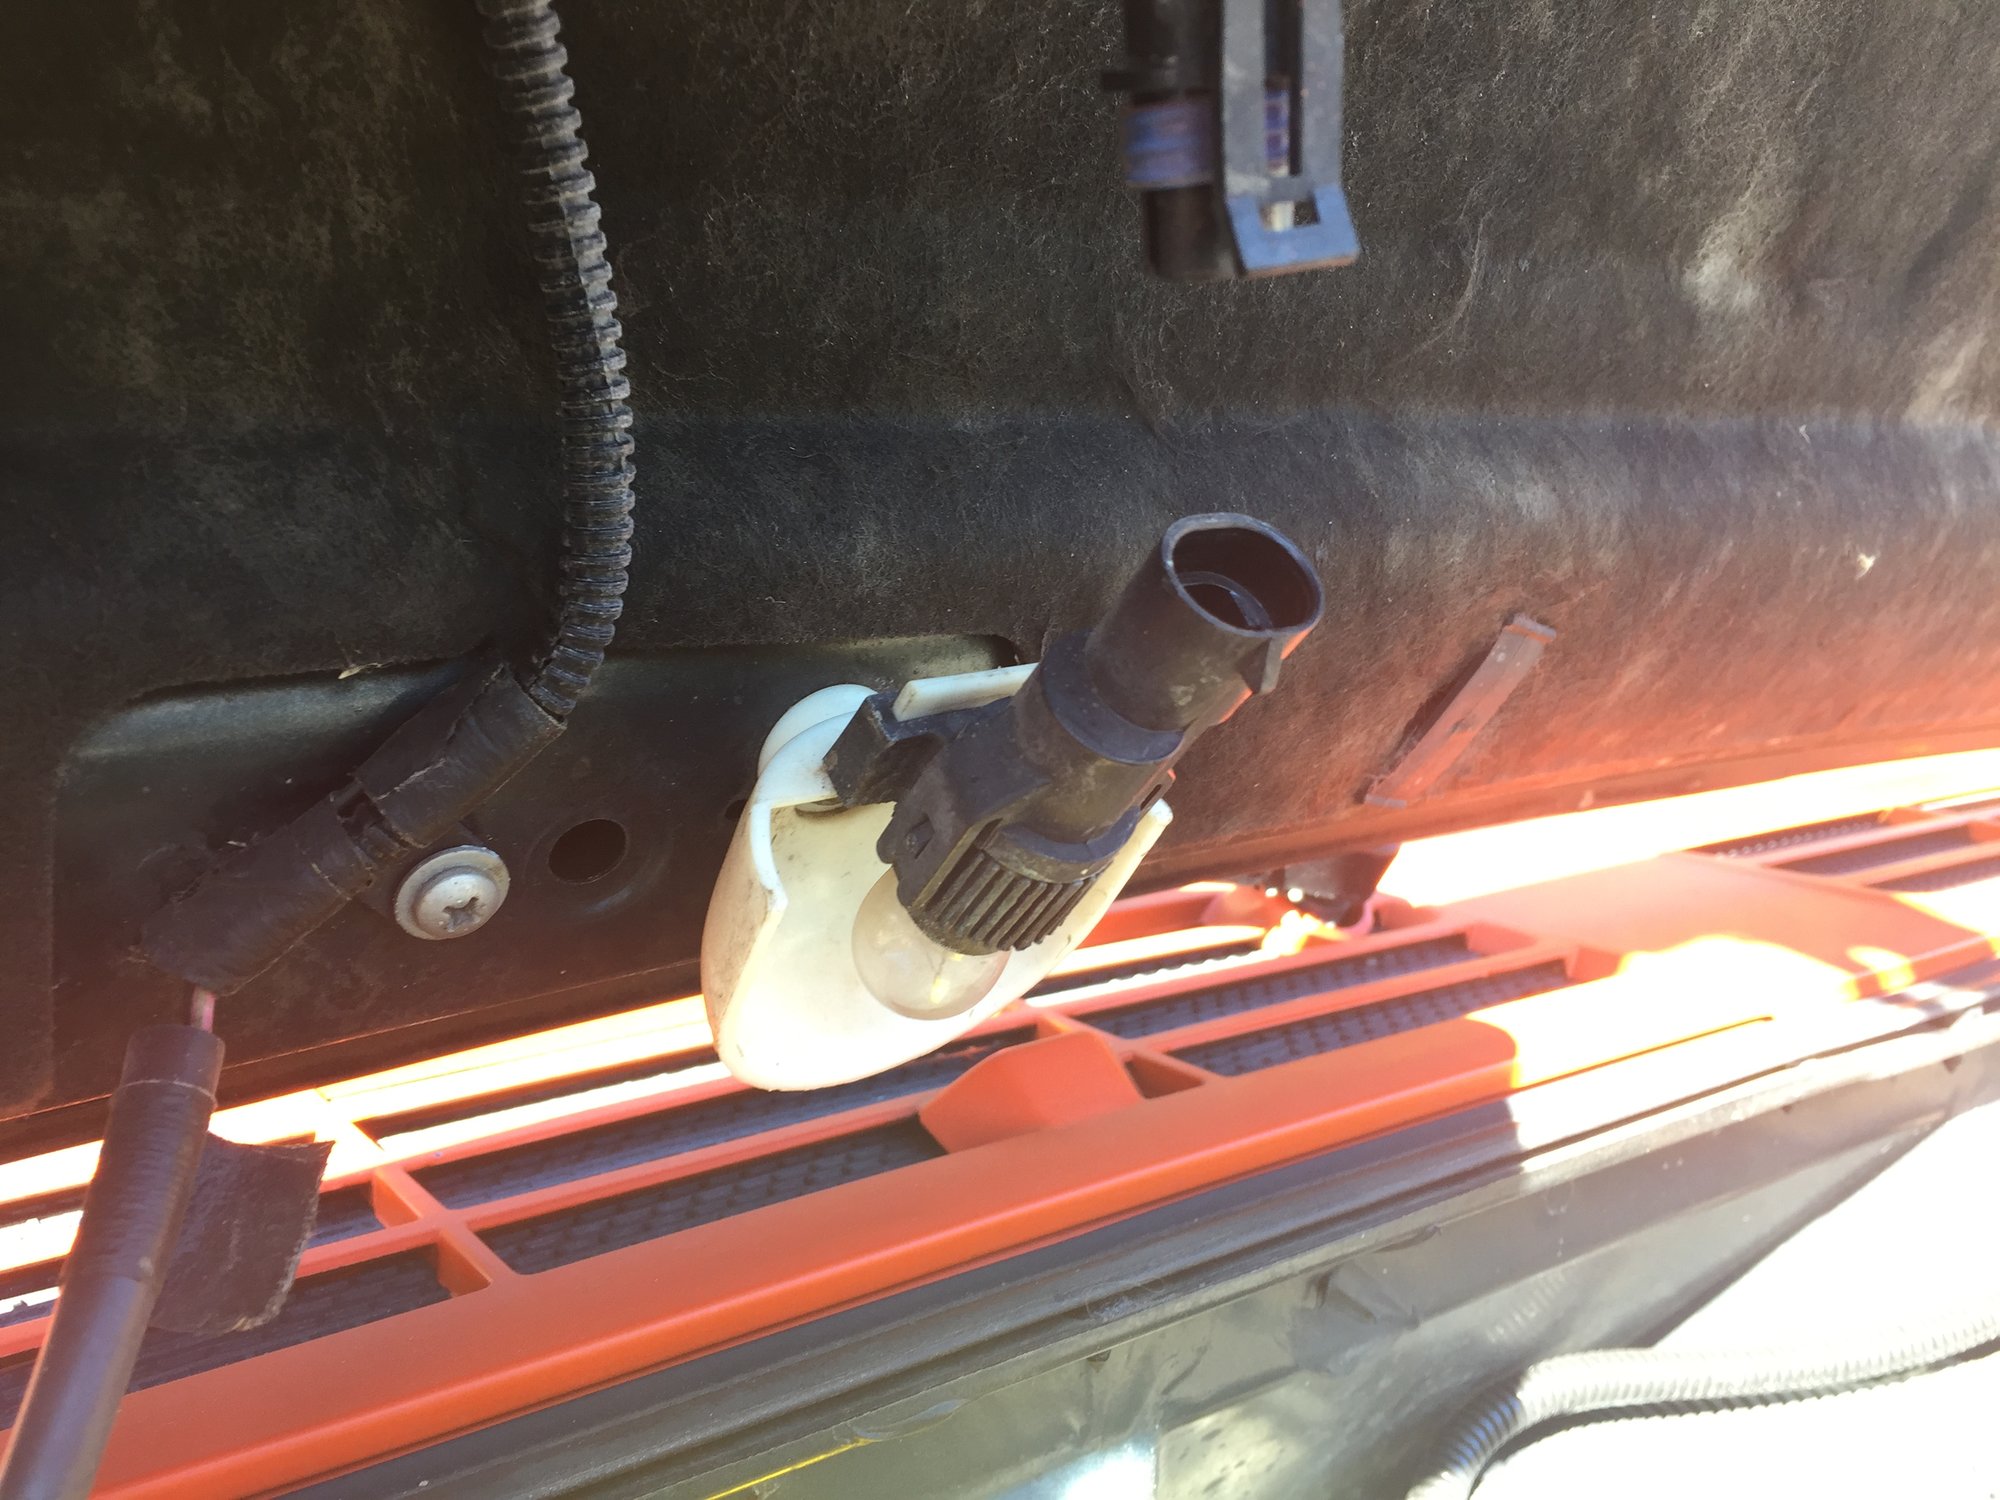
5. Starting with the drivers side motor mount, use the 18mm socket to remove the nut from the main motor mount bolt. Using the 15mm socket, loosen but do not remove the bolt and nut that hold the motor mount to the body / frame of the Jeep. A universal joint socket adapter will make this part easier, as clearance is somewhat limited. The bolt closest to the side of the Jeep is threaded into a welded nut on the frame, so there's no need to hold it from below with a wrench. The inside bolt is welded to the motor mount, so you simply need to loosen the nut from below.
6. After loosening all nuts and bolts, you can remove the main motor mount bolt. A few taps with a hammer, or backing the bolt out with an impact wrench or ratchet can make this easier.
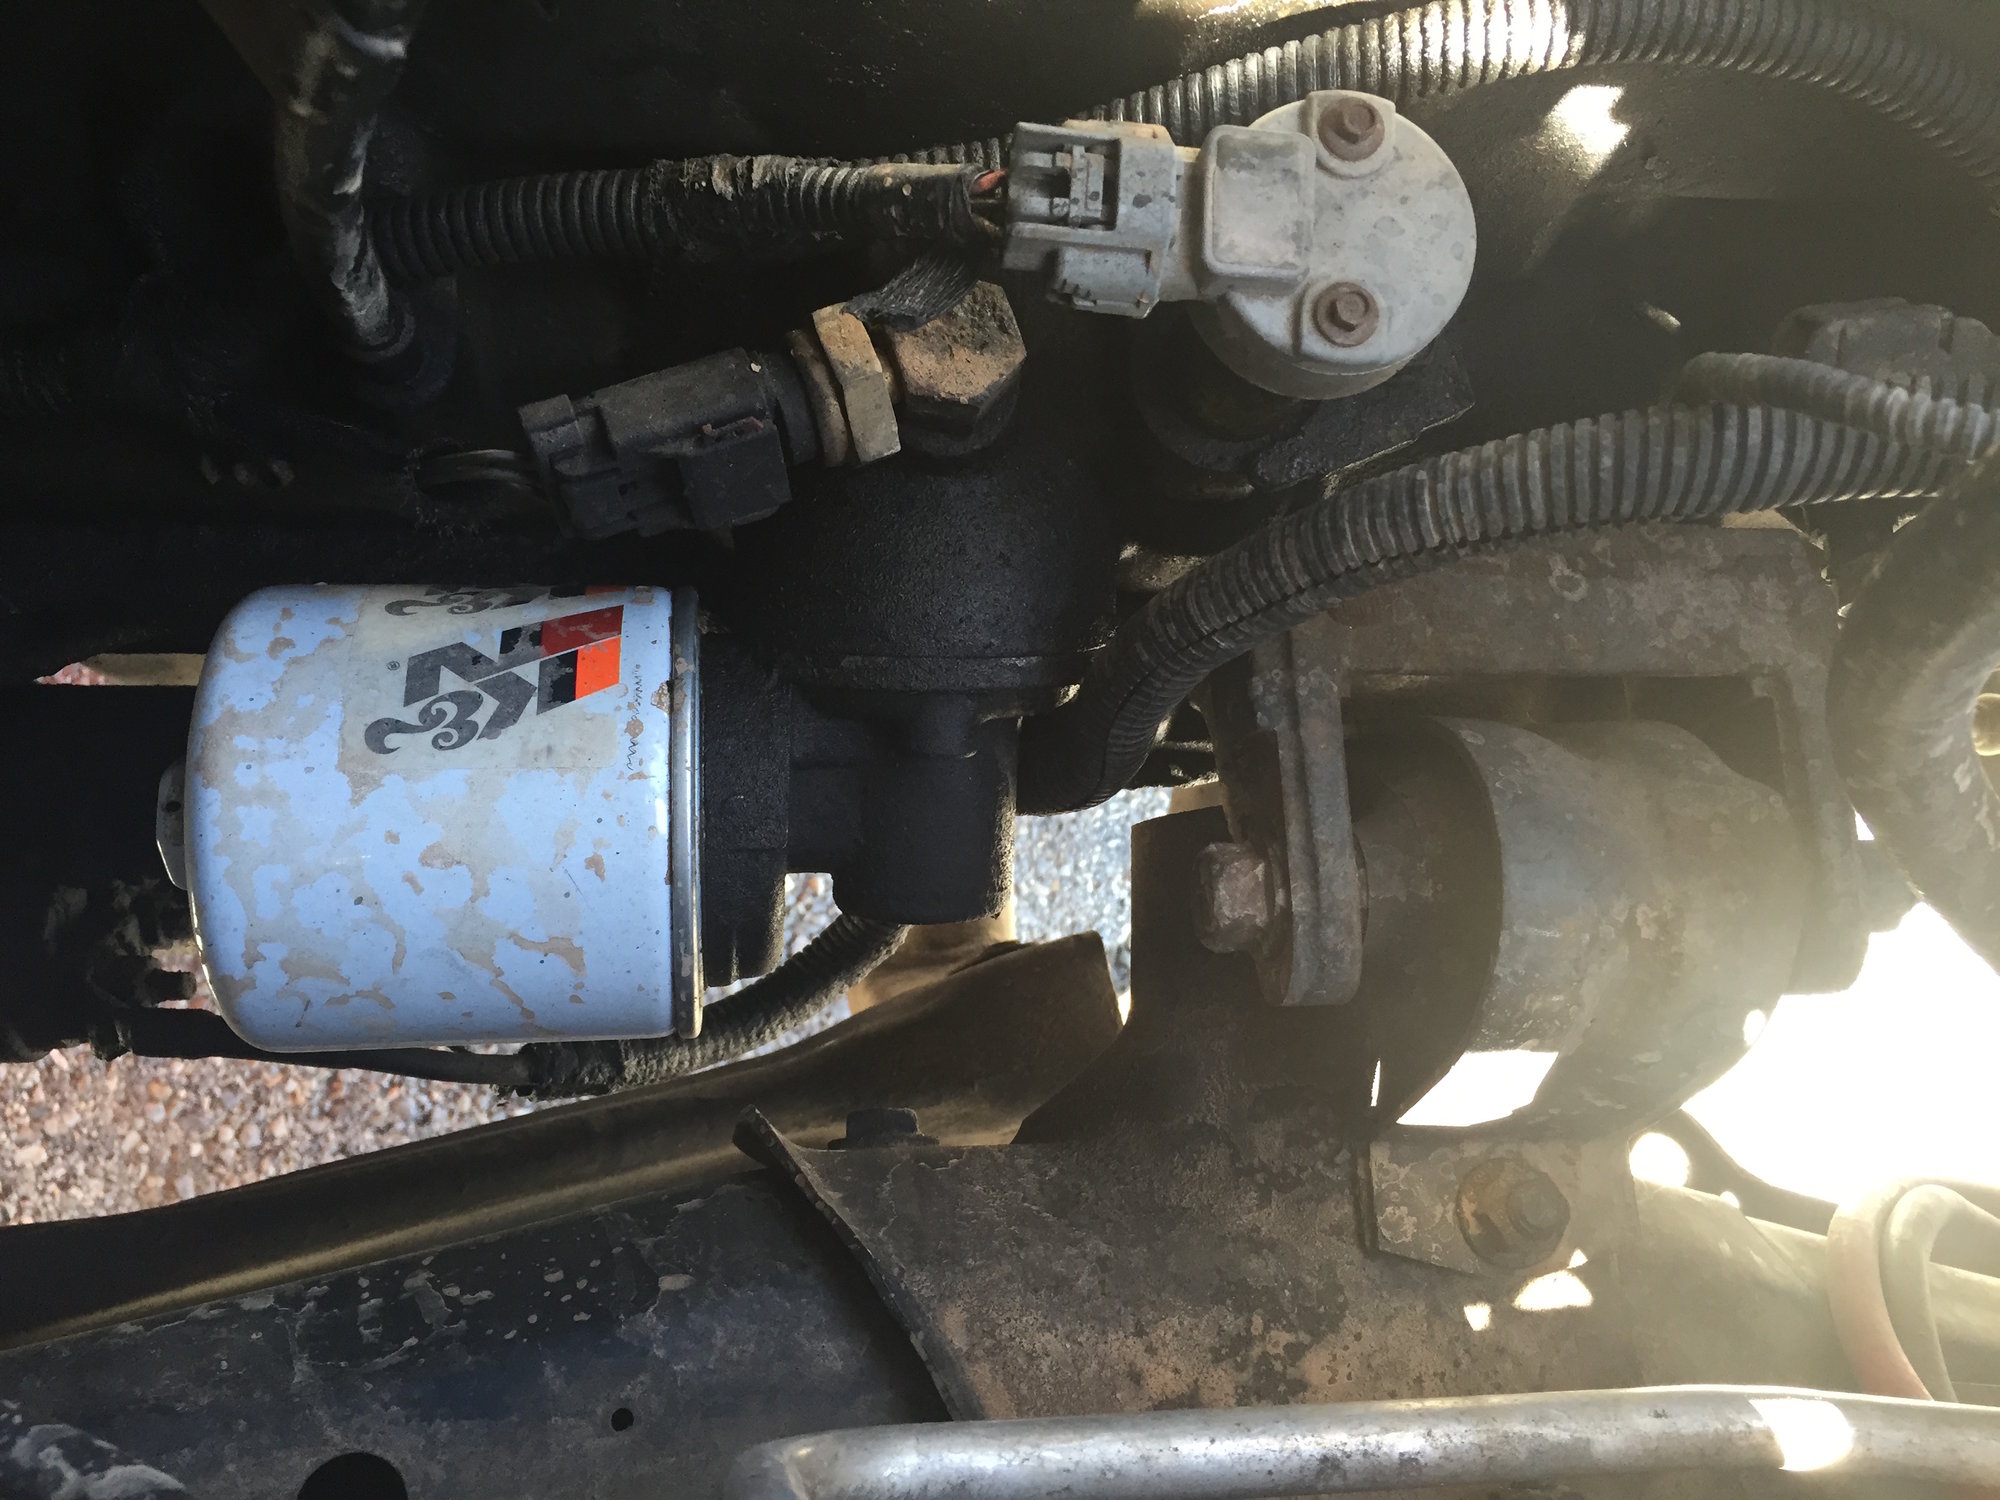
7. Finish removing the mount nut and bolt, then remove the old motor mount from the Jeep. 8. The installation is the reverse of the removal. Place the new M.O.R.E. "Bomb Proof" mount into place. The left and right mounts are the same, so there's no need to differentiate the two. Start by placing the nut on from below, and insert the bolt through the mount from the topside. Leave these both loose for the moment. 9. Next you can insert the main motor mount bolt. Just as with removal, using a ratchet or wrench can make the installation easier. If the hole in the motor mount doesn't line up perfectly with the engine bracket, slowly raise or lower the engine using the jack you placed earlier. Alternatively you may be able to use a pry bar to muscle the bracket and mount into alignment. Do not torque the bolts yet. You will torque all bolts to factory specs after installing the passenger side mount. 10. The passenger side mount should be slightly easier to access. In the case of older XJ's, the oil filter adapter is clocked at 12, meaning you'll have to remove the filter and loosen the filter adapter so you can rotate it back to 9 o'clock in order to remove the motor mount main bolt. That makes this a perfect opportunity to do a quick oil change... 11. Once draining the oil, removing the oil filter and rotating the filter adapter back, repeat the steps from the driver side, using the 18mm socket to loosen the main motor mount bolt, and the 15mm socket to loosen the motor mount bracket nut and bolt. 12. After all bolts are loose, remove the main motor mount bolt, then remove the stud nut from below, and the bolt from the top side. 13. Remove the old motor mount and replace with the new "Bomb Proof" mount. Start by installing the bracket bolt and stud nut, then install the main motor mount bolt back through the bracket and motor mount. Again, using the floor jack and / or pry bar to align the bracket and mount. 14. Once all bolts and been tightened, torque everything back to factory specs.Bracket bolts / nuts = 30 ft. lbs.
Through bolt nut = 48 ft. lbs.
15. Re-install the airbox, filter and lid, and reconnect your battery if you disconnected it.
That should complete the install of you new M.O.R.E. "Bomb Proof" motor mounts, and you can rest assured you won't end up on the side of the road or the trail... like I did. If there's anything I can help with, or if there's another how-to you'd like to see, feel free to post a comment or question below!