by Scott Ammerman
Torque Senior Correspondent
Note: This refers to removal for Wrangler JK doors. For those with 2018 or newer Wrangler JL vehicles, check out our Wrangler JL Door Removal Video.
When I bought my first Wrangler Unlimited Rubicon, one of the things I made sure to check out was for any signs of abuse or heavy off-road driving. It’s not as if I was limiting myself to a pristine-only example — but some of the Jeeps I looked at in my search were VERY clean. Almost too clean to have ever been used for what many people would consider their intended purpose. I certainly wasn’t planning on paying a premium price for a garage kept, suburban mall crawler.

When I finally found the only I liked, and took it home, my Rubicon showed no signs of off-pavement activity. It sported the factory hard top, and while the freedom panels showed the usual “knock around” dings, the top itself had not been removed in a long while. If at all.
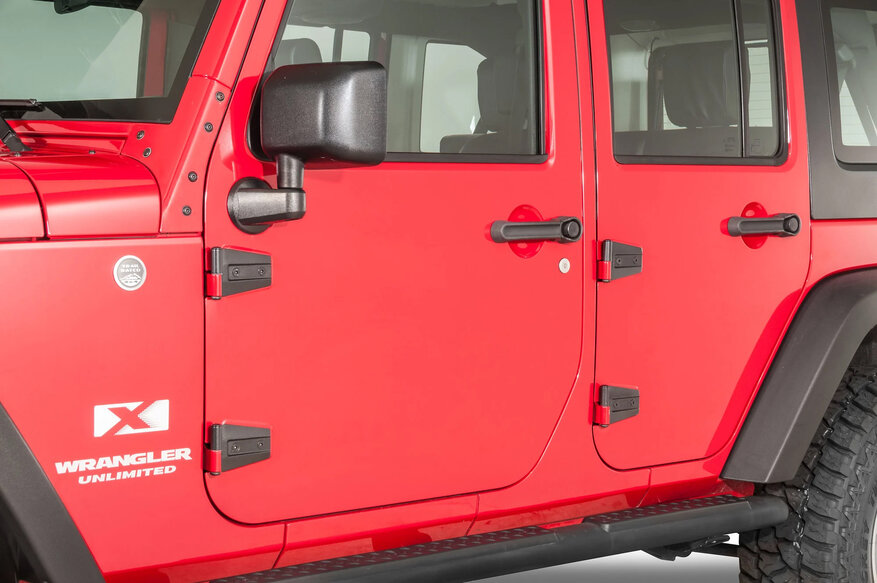
All four door hinges were very tight and the doors had to be slammed to fully close because of the added resistance. I assumed this was just normal bushing wear, but when I tried taking the doors off for the first time, I found them to be quite stuck. In fact, there was a better than average chance this was the first time anyone had ever tried to remove them.
At this point, the Jeep was about eight years old and had survived winters with salt brine applied to the roads to keep ice at bay. This brine seems to get in every crack and crevice you can imagine and destroys untreated metal.
No matter how much effort was applied to lift off the doors, they wouldn't move even a fraction of an inch. Even with two people tugging on the passenger side front door, it only lifted up about six inches.
Since the hinges are sealed at the bottom with a torx nut, that winter brine solution really seeps in and never leaves. Even after being saturated in penetrating oil overnight, the hinges remained stuck. Now, you may think my situation is regionally unique, but the reaction that causes the corrosion actually started happening as soon as your Jeep was assembled at the factory and is called 'Bimetallic Corrosion'. This is the same thing that causes alloy wheels to stick to the metal hubs of some cars, even with all the lugs removed. So even if your Jeep is a few years old, you might be surprised what kind of effort it takes to remove the doors when you want.
Here's how I finally got them off, rusty pins and all. If your doors are stuck, you should definitely upgrade the bushings with the Quadratec Delrin replacements for JK Wrangler and JK Unlimited. As I am writing this, it has been more than three years since the last Jeep JK models rolled off the assembly line, and most of the door bushings on even the latest produced models are in really bad shape.
Delrin is a very tough substance when compared to plastics, which most less expensive replacement bushings are made of. While plastic injection molded replacement bushings may look the same, the durability is not even close. I’ve seen some come out of the package cracked from shipping, which would be nearly impossible with Delrin units. As a bushing material, Delrin is very durable, and won’t corrode again like the factory versions. With the weight and outdoor temperatures these bushings are going to be subjected to, Delrin is the compound you want for a lifetime of use. Plastic or vinyl will work in the short term, but will eventually require replacement again.
Over the years, I have replaced more than a dozen sets of door bushings for friends and colleagues and this method has worked every time. I have noticed that with larger sliders or steps, sometimes there isn’t enough room to get a hammer to strike upwards with really stuck lower bushings, so we have found a new method that works on those and I’ll illustrate that later in the article.

One day not long ago, my friend Don Bray and I removed eight doors' worth of bushings from our JKUs at the Western Montgomery Career and Technology Center in Royersford, Pa. He owns a 2018 Wrangler that is primarily garage stored, with less than 30,000 miles on the odometer. Mine is a 2013 with over 90,000 miles that is kept outside. If you look at this pile of used bushings, you’d be hard pressed to determine which vehicle these came from. The amount of effort required to remove them was similar as well. So, once you get your bushings out, it would be in your best interest not to re-use them and instead upgrade to Quadratec Delrin replacements as soon as you can. Unless you’re really a fan of swinging a hammer around, and balancing heavy objects on a wobbly jack, this just a good idea.
It is worth noting that all this hammering to get the bushings out, as well as replacement of worn components, may cause your door hinges and/or strikers to need adjustment following this procedure. As the original hinge bushings wear out, sometimes your door strikers have to be adjusted to accommodate for the sag. This adjustment is normal over the vehicle’s life, and is by no means a defect in this product. Additionally, if at any time you have to force the bushings into your door hinges, or they don’t slip easily over your door pins, stop and correct before adding those doors. Delrin bushings are made to a very tight precision fit, and your door hinge parts must be cleaned to the point that they work smoothly.
What you will need for the bushing installation:

- Quadratec Delrin Bushing Kit (for two or four door applications)
- T-45 Torx socket and driver
- Rat tail file (or chain saw sharpener)
- White lithium grease
- A hammer for driving out the old bushings (ball peen suggested)
- A scrap of cardboard (we used an empty German beer six pack holder.
- Blue painter’s masking tape
Recommended, but not required: A Mopar paint pen in your Jeep’s body color
Additional items for dealing with stuck doors:
- Penetrating oil (PB Blaster, WD-40, Liquid Wrench or similar) with nozzle tube
- A clean rag for dealing with oil overspray
- Hydraulic floor jack
- 2x4 wood piece approximately 24-inches long (longer might be required for lifted Jeeps or smaller jacks)
- Additional strips of medium grit emery cloth to remove rust
- A second person for the final removal step
The day before you start this procedure, remove the T-47 nuts from all the door hinges. Spray oil up inside each hinge from the bottom, and in the seam between the upper and lower halves. Work the doors back and forth several times and give them another quick spray. Leave the hinge nuts off, your doors aren’t going anywhere.
The next day, start by finding a hard and almost completely level surface to park. Since you will be removing your door check straps, a very slight uphill angle isn’t a terrible idea either to keep your doors from contacting the body. Open the door and position the jack underneath, with the wood block set between the door seal and the outer panel — this spot is strong enough to lift the door, but you don’t want to lift more than necessary to prevent sheet metal damage.

IMPORTANT: Reinstall the top hinge torx nut a few turns by hand to keep the door from moving too much.

Lift the door with a few pumps from the jack, just enough for constant upward pressure. You should give this step some time to work, the worst door on my Jeep took about thirty minutes to get any type of gap in the hinges. It will very likely take several steps to get the door pins fully out of the hinges, so be patient.

Once your hinges start to have a little bit of a gap, soak them in penetrating oil once again. This is the best opportunity you’ve had so far to get oil into the upper part of the bushings. After about 10 minutes, let the jack down and move the door back and forth. The gap will disappear as the door settles back down, but don’t worry. Lift the jack up once again, and give it some more time to work. After a few minutes, you should see the pins get a little higher up in the hinge.
Keep spraying the hinges with oil and repeat this procedure as needed. Some doors may take longer than others. When the pins lift up enough for the torx nut to limit upward travel, move on to the next door. Do the final removal step when you have someone available to help.
After all your hinges are loose, and you have an assistant, roll all the windows down. Remove the door check straps and wiring plug (the rear door plugs are accessed through the rectangular door on the B-pillar). Remove your torx nut from the upper hinge. Open the door 90 degrees to the body, and set your jack and wood block up just like in the previous steps. Brace the door by the inside handle and the upper part of the door frame, and have your assistant lift the jack slowly, one pump at a time. Keep in mind, the pins may release quickly with a pop, so be ready. If the hinge binds during this step and the jack is lifting up the body of your Jeep more than a few inches, let the jack down, re-oil and move the door back and forth.

Once removed, set each door down somewhere you can work on it without it being scratched, interior panel down. Feel free to take a victory lap around the neighborhood before working on cleaning up those rusty door pins!

Each of my door hinge pins in my old JKU looked about this bad. The Delrin bushing kit comes with enough emery cloth to install bushings on most doors… but if yours were stuck, additional emery cloth will be needed to remove all the rust pitting before installing the bushings.

Once the hinge pins are cleaned up enough to remove all the rust, test fit the bushings. It is essential they fit on smoothly with only slight resistance.

Once the bushings slide on, move to the body side hinges. Tape the scrap cardboard under the hinge you’re working on to keep your Jeep from being damaged by all the hammering you’re about to do.

Insert the bushing removal punch in the bottom of the hinge, and tap upwards until the bushing pops free out of the top of the hinge.

Note: Sometimes the body side of the hinge can shift while hammering the old bushings out, especially if they are as stuck as my bushings had been. The body was painted with the hinges attached, so you can usually see if there was much movement. If the pins don’t fit flush in the hinges once you’re done, you may need to check that adjustment.

Once all the bushings are out, clean up the inside of the body hinge with the round file. Again, we’re looking for a slip-in fit with little resistance. You may need to spend several minutes per hinge on this step, but don’t force a bushing in or you could end up with stuck doors again. These bushings are made to very tight tolerances, so spending time to clean everything up right will make it perfect once you’re ready to install the doors.

If you have a vehicle with totally stuck lower bushings and running boards/sliders that stick out:

Using a small sharp chisel, it is possible to catch the edge of the bushing top and bend it into the barrel of the hinge.

Then the same tool can be used to strike these bushings downwards, making them come out the bottom instead.

Once all the bushings slide easily into the body side hinges, grease the door hinge pins with white lithium grease. This grease will not only make installation and removal easier, but will also prevent rust. Just spread a light coating on with your finger, but you may want to reapply every few times you remove your doors to keep everything working as intended.
With all the upgraded bushings installed, my door removal has gone from impossible to “buttery smooth”.
Also, once the new bushings were installed, those doors might not quite line up any more as the hinge tolerances have been restored to normal. A quick adjustment of the door striker could be necessary with a T-45 torx bit. In my case, the latch was moved slightly upwards to keep the door from having to be slammed hard to fully close.
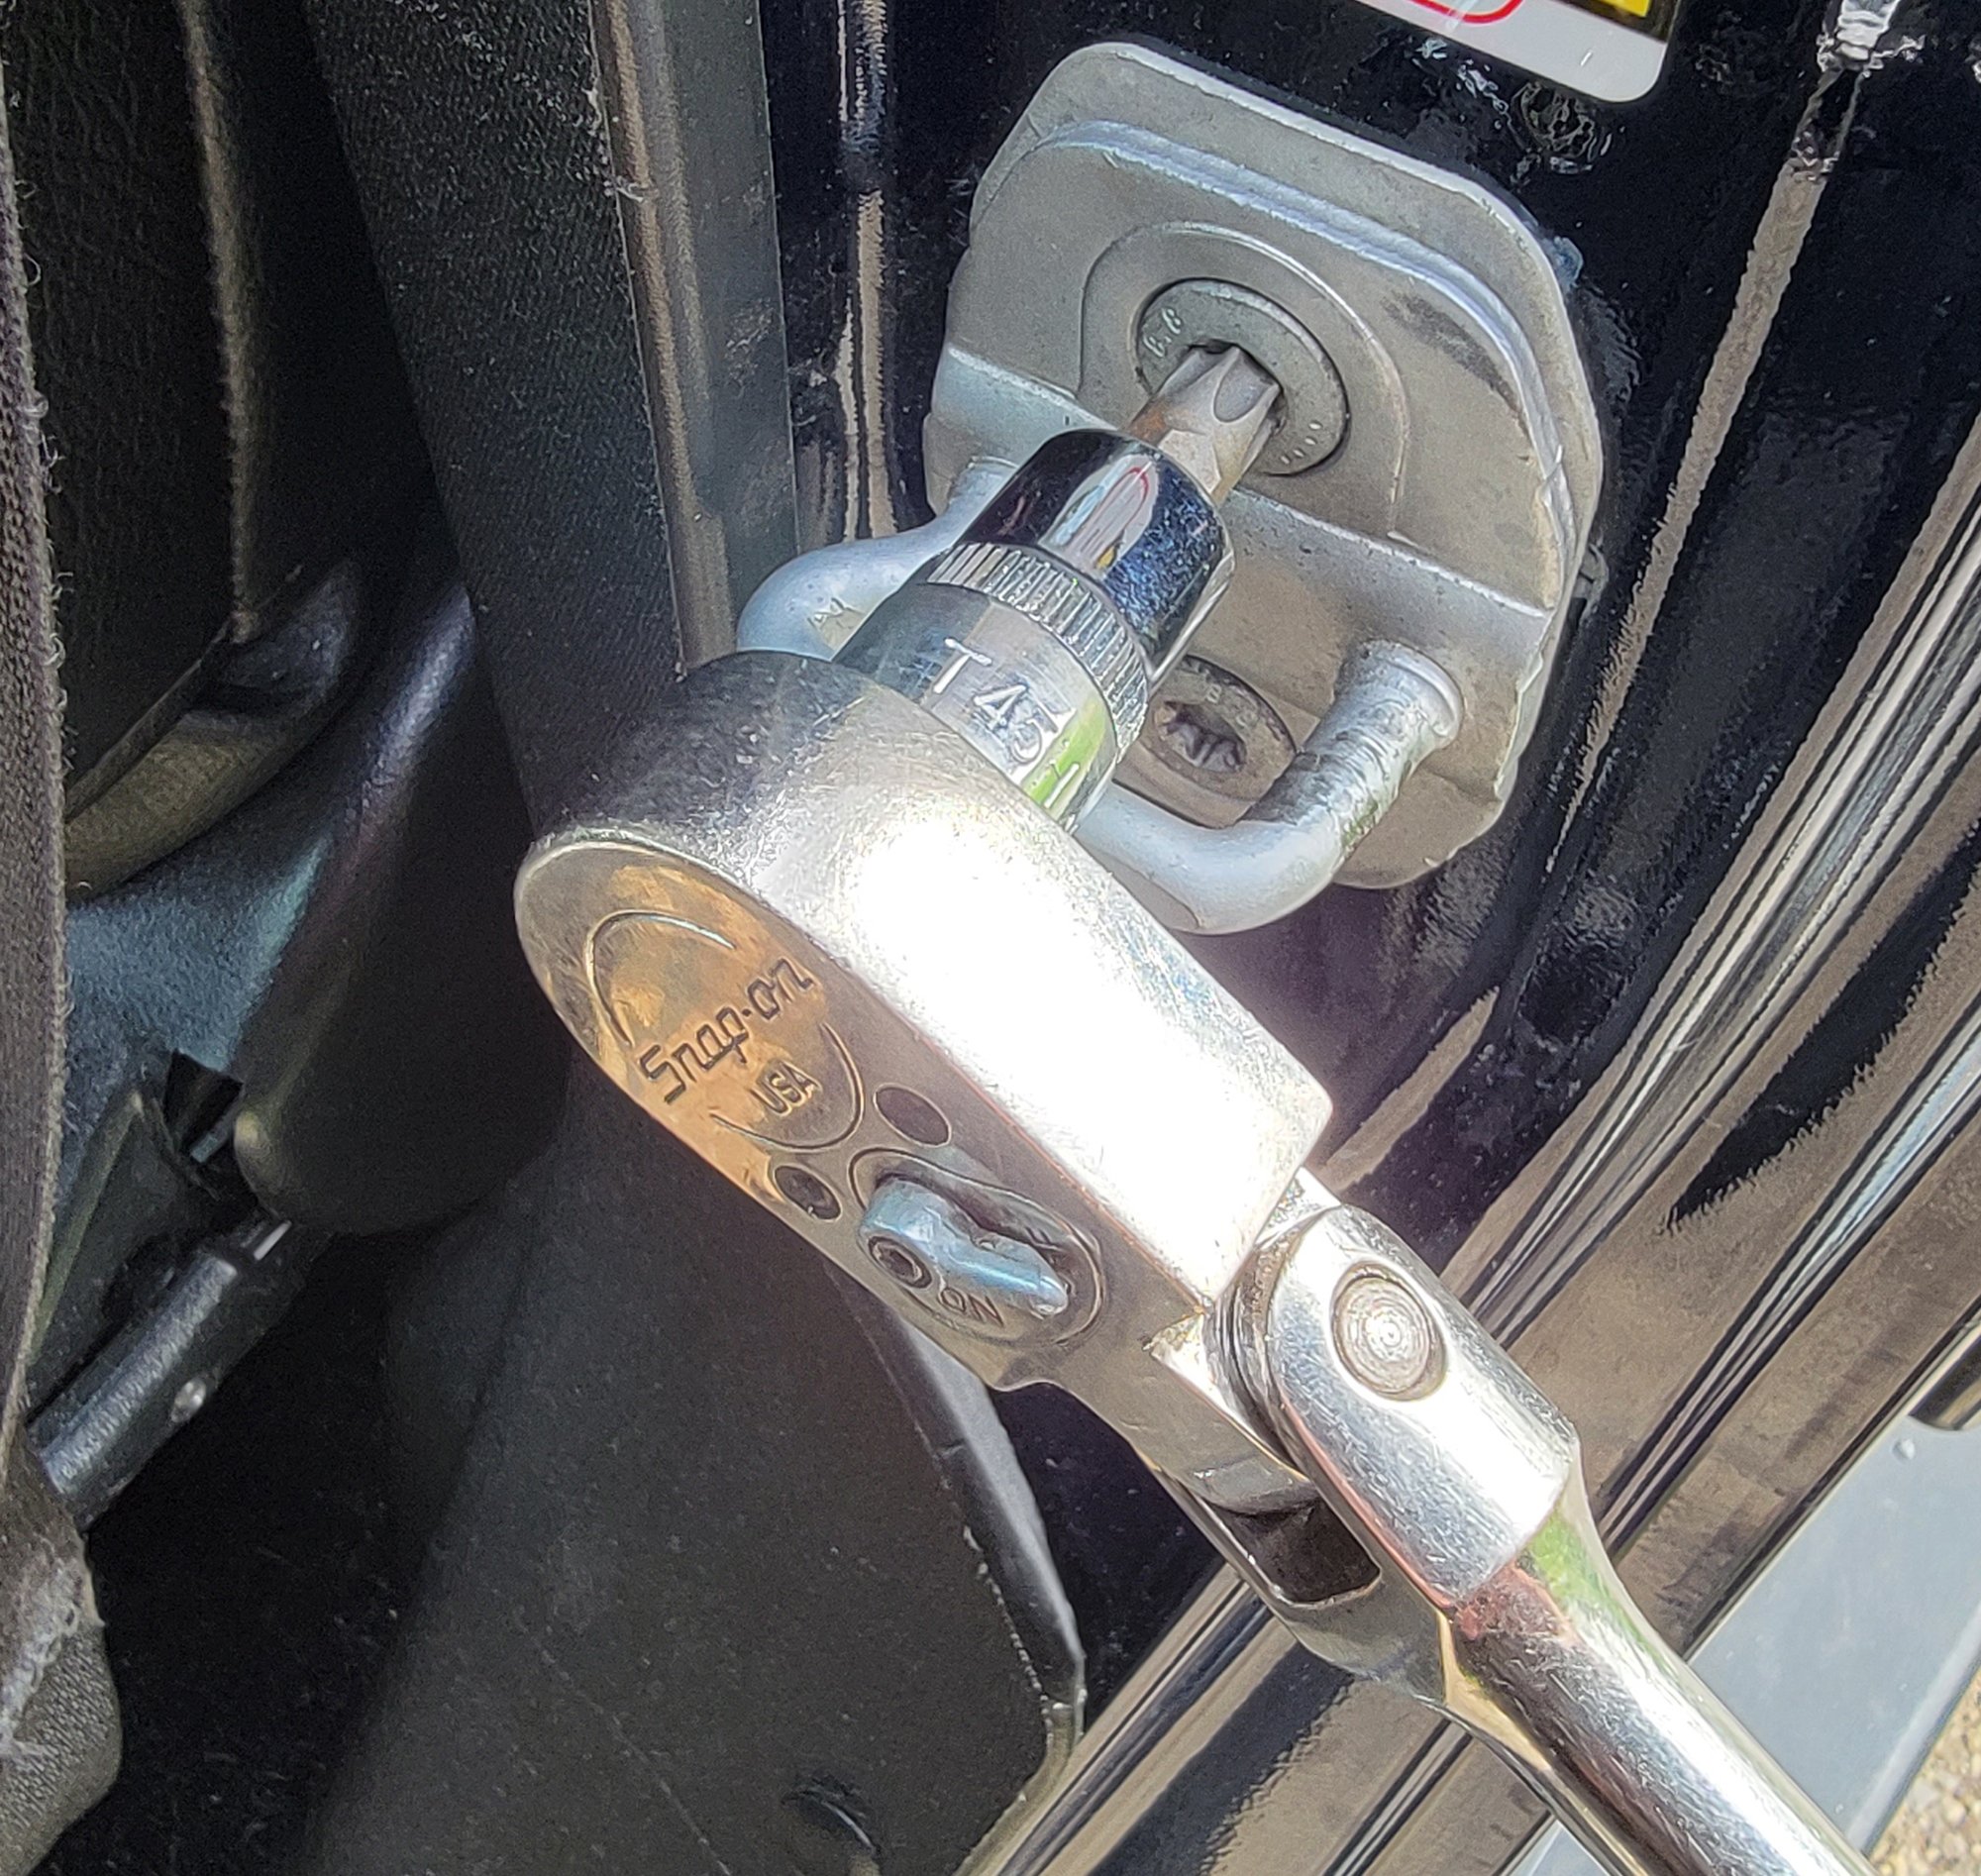
This might take a couple of tries, but the time spent is well worth the effort. I noticed the striker worked best when adjusted slightly lower than the direct center of the door latch — you can get a good look with a flashlight with the door almost completely closed.
Related Articles:
Top Spring Jeep Maintenance Needs