


Text and photography by the J Rats
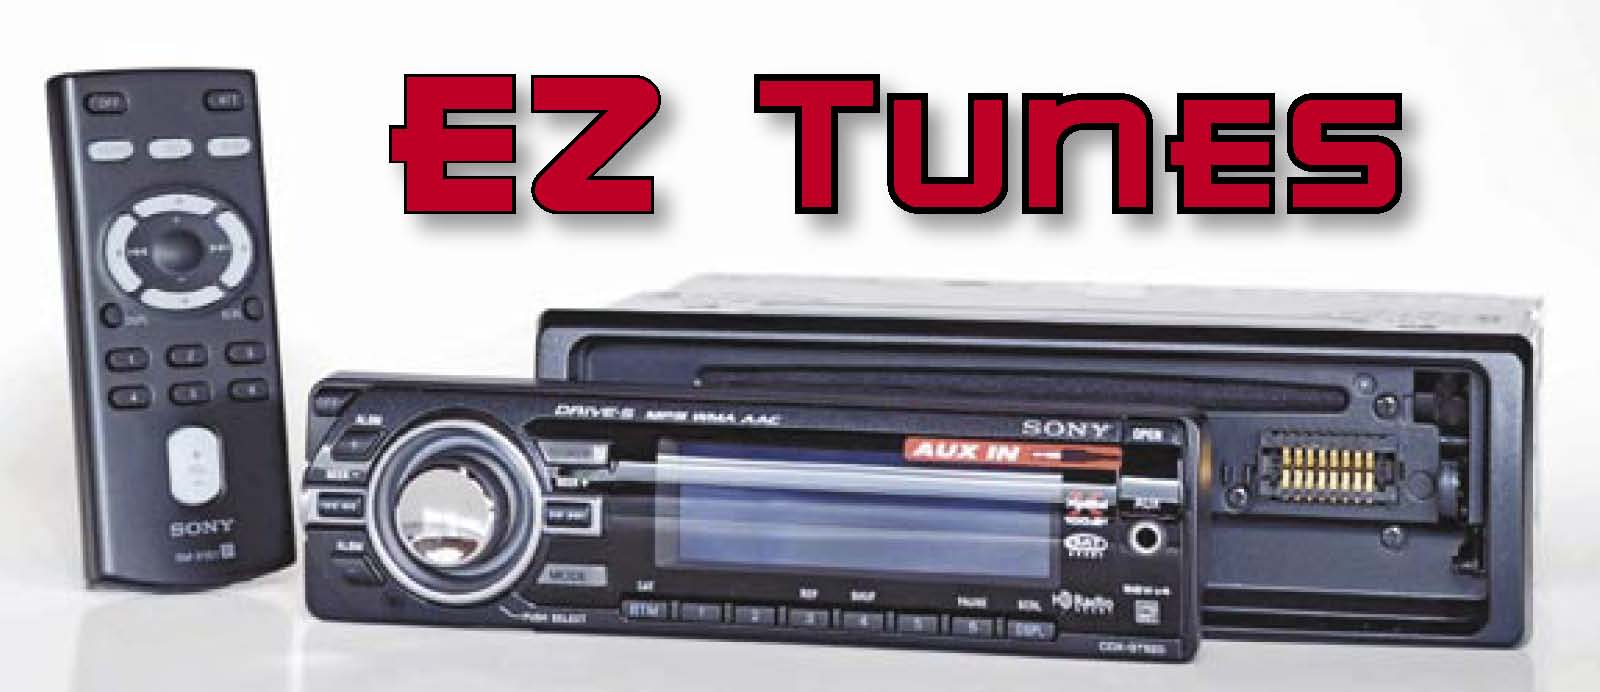
It’s no secret that the Jeep OE sound system isn’t exactly audiophile-grade. Furthermore, the TJ’s stock head unit doesn’t present that svelte look we tend to associate with top-end audio electronics.
Replacing the OE head unit with a higher quality product is a must for those Jeep enthusiasts who demand an uncompromising audio experience. Problem is, many people are intimidated when it comes to DIY audio installations. While it’s true that an all-out assault on your Jeep’s sound system does require a good grasp on electronic theory to properly establish a quality sound stage with component speakers and amps that won’t melt your electrical system, the integration of a high-end head unit into an OE or custom speaker system isn’t all that difficult.
 The biggest challenge, or frustration, comes from integrating the head unit’s wiring leads to the OE wiring harness. That’s because the stock harness uses plug connectors that are specific to the original stereo unit. Separate the OE stereo from the wiring harness and you have a lot of cutting and splicing to do to connect the new head unit.
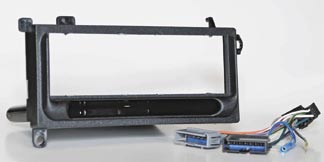
Understanding that this prevented many Jeep owners from upgrading their OE stereos to high-performance, multi-functional after market systems, the crew at Quadratec decided to do something about it. They developed an exact fit “Plug ’n Play” installation kit designed specifically for Jeep YJ and TJ Wranglers for use with the Sony CDX-GT series head units. (Purchase the head units separately, or buy the head unit and installation kit as a complete package.)
The beauty of this system is that there are NO wires to cut or reconnect. Literally, all you need to do is remove the OE head unit, disconnect the harness, connect the Plug ’n Play harness between the new head unit and the OE harness and install.
Part of the Plug ’n Play installation kit is an adapter that allows the Sony receiver to fit seamlessly into the OE mounting location. A nut driver and Phillips-head screwdriver (and possibly a pair of side cuts or utility knife) are the only tools required to make the swap, and it can be done in about 30 minutes.
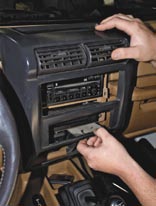
Here's how it works.....Start by removing the center stack bezel
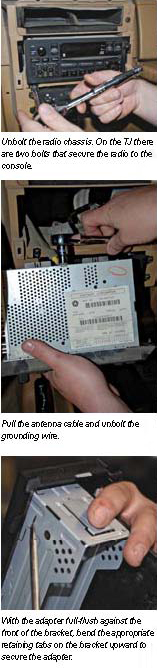 |
Now comes the easy part. Simply plug the included harness into the factory harness and into the back of the replacement radio. It's that simple. No cutting or extra wiring needed.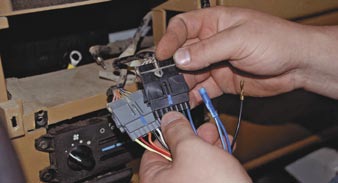 | 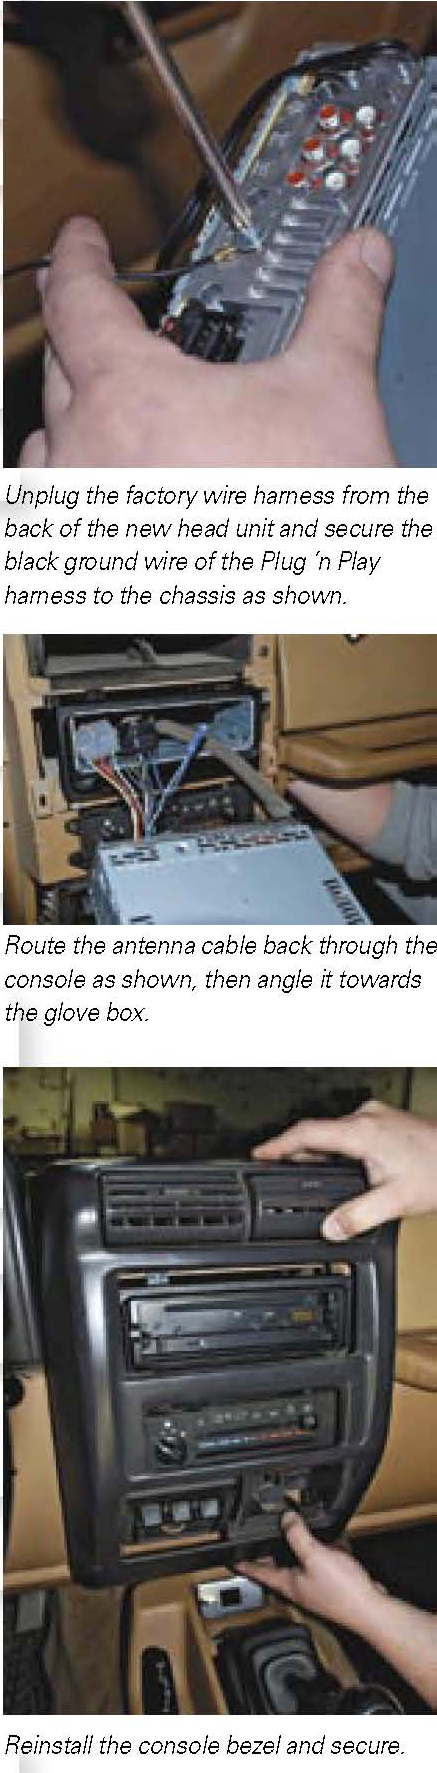 |
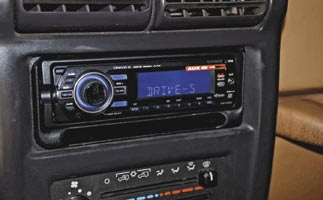
Now you simply reassemble your dash and enjoy your new Stereo!
Courtesy of J Rations Magazine #10