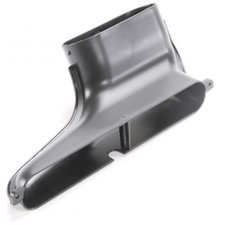
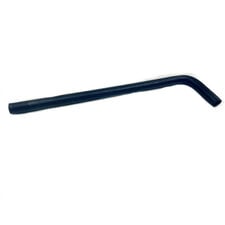
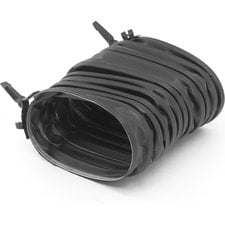
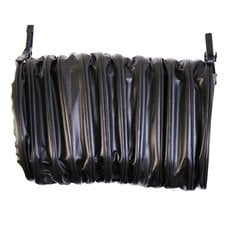
Crown Automotive 55035618 Floor Heater Duct for 78-95 Jeep CJ-5, CJ-7, CJ-8 & Wrangler YJ

Quadratec Part #:
32560-03
Crown Automotive Part #:
55035618
MSRP
$7.99
Discount
-$0.80
In Cart Price
$7.19
Guaranteed Best Price
$7.19

In Stock
Ships tomorrow if you order within 16 hours 53 min.
Details

- Shipping Weight: 1lb
- Shipping Dimensions: 11in x 5in x 5in (L x W x H)
Jeep CJ-5
- 1983 Jeep CJ-5
- 1982 Jeep CJ-5
- 1981 Jeep CJ-5
- 1980 Jeep CJ-5
- 1979 Jeep CJ-5
- 1978 Jeep CJ-5
- 1977 Jeep CJ-5
- 1976 Jeep CJ-5
- 1975 Jeep CJ-5
- 1974 Jeep CJ-5
Jeep CJ-7
- 1986 Jeep CJ-7
- 1985 Jeep CJ-7
- 1984 Jeep CJ-7
- 1983 Jeep CJ-7
- 1982 Jeep CJ-7
- 1981 Jeep CJ-7
- 1980 Jeep CJ-7
- 1979 Jeep CJ-7
- 1978 Jeep CJ-7
Jeep CJ-8
- 1985 Jeep CJ-8
- 1984 Jeep CJ-8
- 1983 Jeep CJ-8
- 1982 Jeep CJ-8
- 1981 Jeep CJ-8
Jeep Wrangler (YJ)
- 1995 Jeep Wrangler (YJ)
- 1994 Jeep Wrangler (YJ)
- 1993 Jeep Wrangler (YJ)
- 1992 Jeep Wrangler (YJ)
- 1991 Jeep Wrangler (YJ)
- 1990 Jeep Wrangler (YJ)
- 1989 Jeep Wrangler (YJ)
- 1988 Jeep Wrangler (YJ)
- 1987 Jeep Wrangler (YJ)
Share Your Thoughts
- Shared By Others
- Share a Photo
- Ask a Question
- Write a Review
Crown Automotive Floor Heater Duct Reviews
Travis S.
8/8/2025
Quick and easy to install. Perfect replacement!
Kevin R.
2/4/2024
Used on my 85' heater box rebuilt. Works well.
Kurt O.
5/11/2023
Replaces damaged OEM duct
Questions
Santiago C.
How do I attach this?
Attaching the Crown Automotive Interior Floor Duct 55035618 is a straightforward DIY task that typically takes less than 5 minutes. This part is designed as a direct-fit replacement to improve airflow to the driver and passenger footwells.
Installation Steps:
Locate the Mounting Point: The duct mounts directly to the bottom left side of the heater case (the large plastic box assembly located under the center of the dashboard).
Position the Duct: Align the duct so that the opening faces toward the floor. In CJ models, this is often a "heater duct conversion" that replaces the original downward-facing outlet to better redirect air toward the occupants rather than the shifter.
Secure with Hardware: The duct is designed to bolt into existing holes on the heater box.
Reuse Factory Hardware: This part is intended to be used with your existing screws or bolts.
No Drilling: The installation requires no drilling or permanent modification to your vehicle.
Check Clearances: Ensure the duct does not interfere with the movement of your gear shifter or transfer case linkage once installed.