










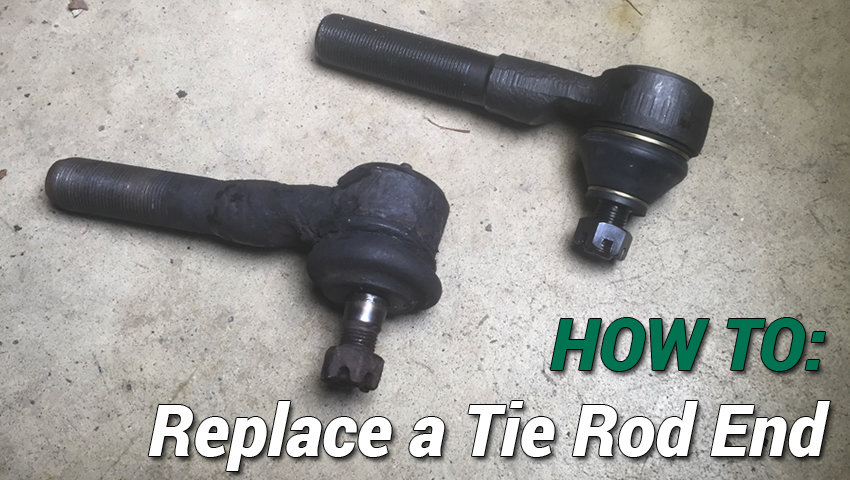
It's inevitable, at some point your tie rod ends in your steering linkage will wear out. Installing larger tires and suspension lifts on our Jeeps certainly puts more stress on these components and can cause them to wear faster. Have no fear, this is one job you can feel confident about doing in your driveway in about an hour or less.
This write up covers replacing the tie rod end at the pitman arm on a 92 Jeep Cherokee, but the steps involve are fairly similar no matter which end you're replacing. When turning the steering wheel back and forth, a subtle clunk could be felt. With the help of a friend, we quickly identified the problem tie rod end to be at the top of the drag link at the pitman arm. Watch closely in the video, and you can see the steering wheel jumping slightly when turning and you can hear and see the play in the worn out tie rod end.
What you will Need
- Crown Automotive Left Hand Thread Tie Rod End
- Quadratec Part 56118.08 / Manufacturer Part 520005741 - Ratchet
- Impact Wrench (Not necessary, but will make this job much easier)
- Sockets / Wrenches: 15mm, 19 mm
- Sledge
- Rust Penetrant (Mopar Rust Penetrant, PB Blaster, WD-40 etc.)
- Anti-Seize Lubricant
Installation
While these instructions are specifically for installing the Tie Rod End at the pitman arm on a 92 Jeep Cherokee, the same procedures can be followed for changing virtually any tie rod end on a Jeep vehicle.
1. Park you Jeep on a level surface, put it in gear or park and set the parking break. It's always a good idea to chock the wheels to be extra safe whenever working under your Jeep. If you live in any type of climate other than a desert, you'll want to give all the nuts a liberal coating of your favorite rust penetrant before getting to work.
2. Loosen the 15mm nut on the adjustment collar of the drag link. You do not have to completely remove the nut and bolt. However, if your bolts have any rust on them, now would be a good time to remove them and hit them with a wire brush to clean them up a bit.
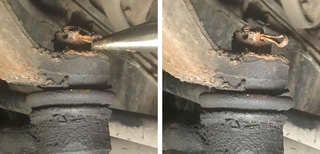
3. Remove the cotter pin from the castle nut.
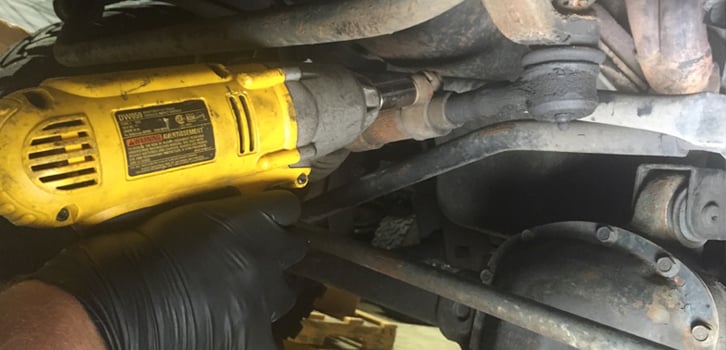
4. Loosen the castle nut on top of the tie rod end. Because there's not much clearance here, the use of a breaker bar or long socket wrench with an adjustable head can be helpful. Remove the nut completely to be sure the nut comes off easily, then thread it back on a few turns. This will keep the linkage from falling during the next step. Some rust penetrant can be helpful here.
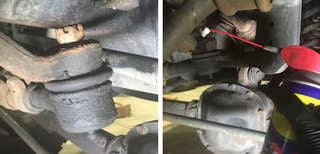
5 To remove the tie rod end from the pitman arm, strike the side of the arm with a sledge. Don't be shy. It might take a few solid hits to break the tapered end free. You could also use a tie rod end puller, though there's not much clearance in this area, and usually the sledge does the trick! The nut you left on in the last step should have kept the steering linkage from falling and smacking you in the leg.
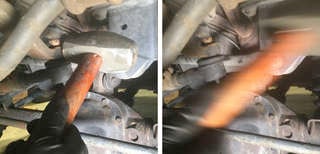
6 Remove the castle nut and lower the drag link from the pitman arm. Un-thread the tie rod end from the adjustment collar. This is a left hand thread end, so spin the opposite as usual to back it out.
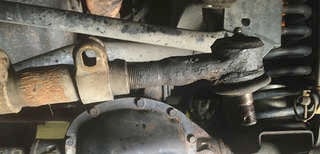
7 Apply some anti-seize lubricant on the threads of the new tie rod end before re-installing and don't forget to install the new zerk fitting as well. Then simply thread the end into the adjustment collar until the linkage aligns back with the pitman arm. As long as you haven't moved the steering wheel since you disconnected the linkage, you're steering wheel alignment shouldn't have changed. Secure the linkage by threading the new castle nut onto the tie rod end.
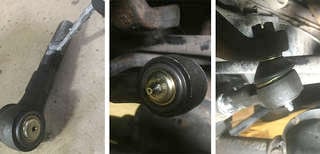
8 Tighten the castle nut to 35 ft lbs. Align the castle nut with the hole in the rod end and insert the new cotter pin, bending the ends to secure.
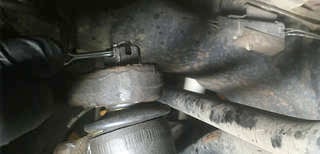
9 Grab your favorite grease gun and fill the new tie rod end with grease, and you're good to go! Pat yourself on the back for a job well done, and use the money you saved by doing the job yourself instead of taking your Jeep to the shop to buy your friends a round of drinks!