Featuring Premium Parts from
by Scott Ammerman
Quadratec Channel Correspondent
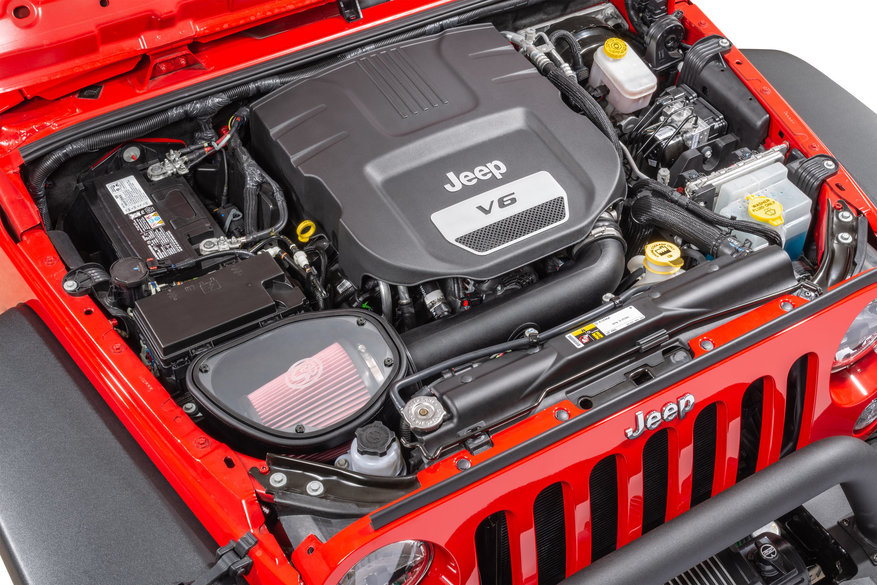
A factory Jeep Wrangler JK intake system for the 3.6L Pentastar engine is reasonably designed, but leaves a lot to be desired when it comes to airflow efficiency. An air box houses the flat panel filter, and keeps water intrusion to a minimum. The fresh air intake is up high on the passenger side of the engine compartment, as far away from the hot engine as possible.
Since an internal combustion engine requires air flow to create power, the less restrictive the intake system, the more swiftly air can be moved through the engine to create power. Of course, by design, an air filter robs efficiency in the name of keeping the incoming air clean of foreign debris that could damage your engine.
In Project Rattler, the recent installation of a Pypes Performance High Ground Clearance Exhaust With Street Pro Muffler, as well as the Superchips 42050 TrailDash2 high octane performance program, created a huge need for a better airflow—but I wasn’t willing to sacrifice protection to gain that need.
Enter S&B Filters.
For over 30 years, the air flow experts at S&B Filters have been pioneering well-engineered ways to give your engine the air flow it needs, all while keeping that air as clean as possible.
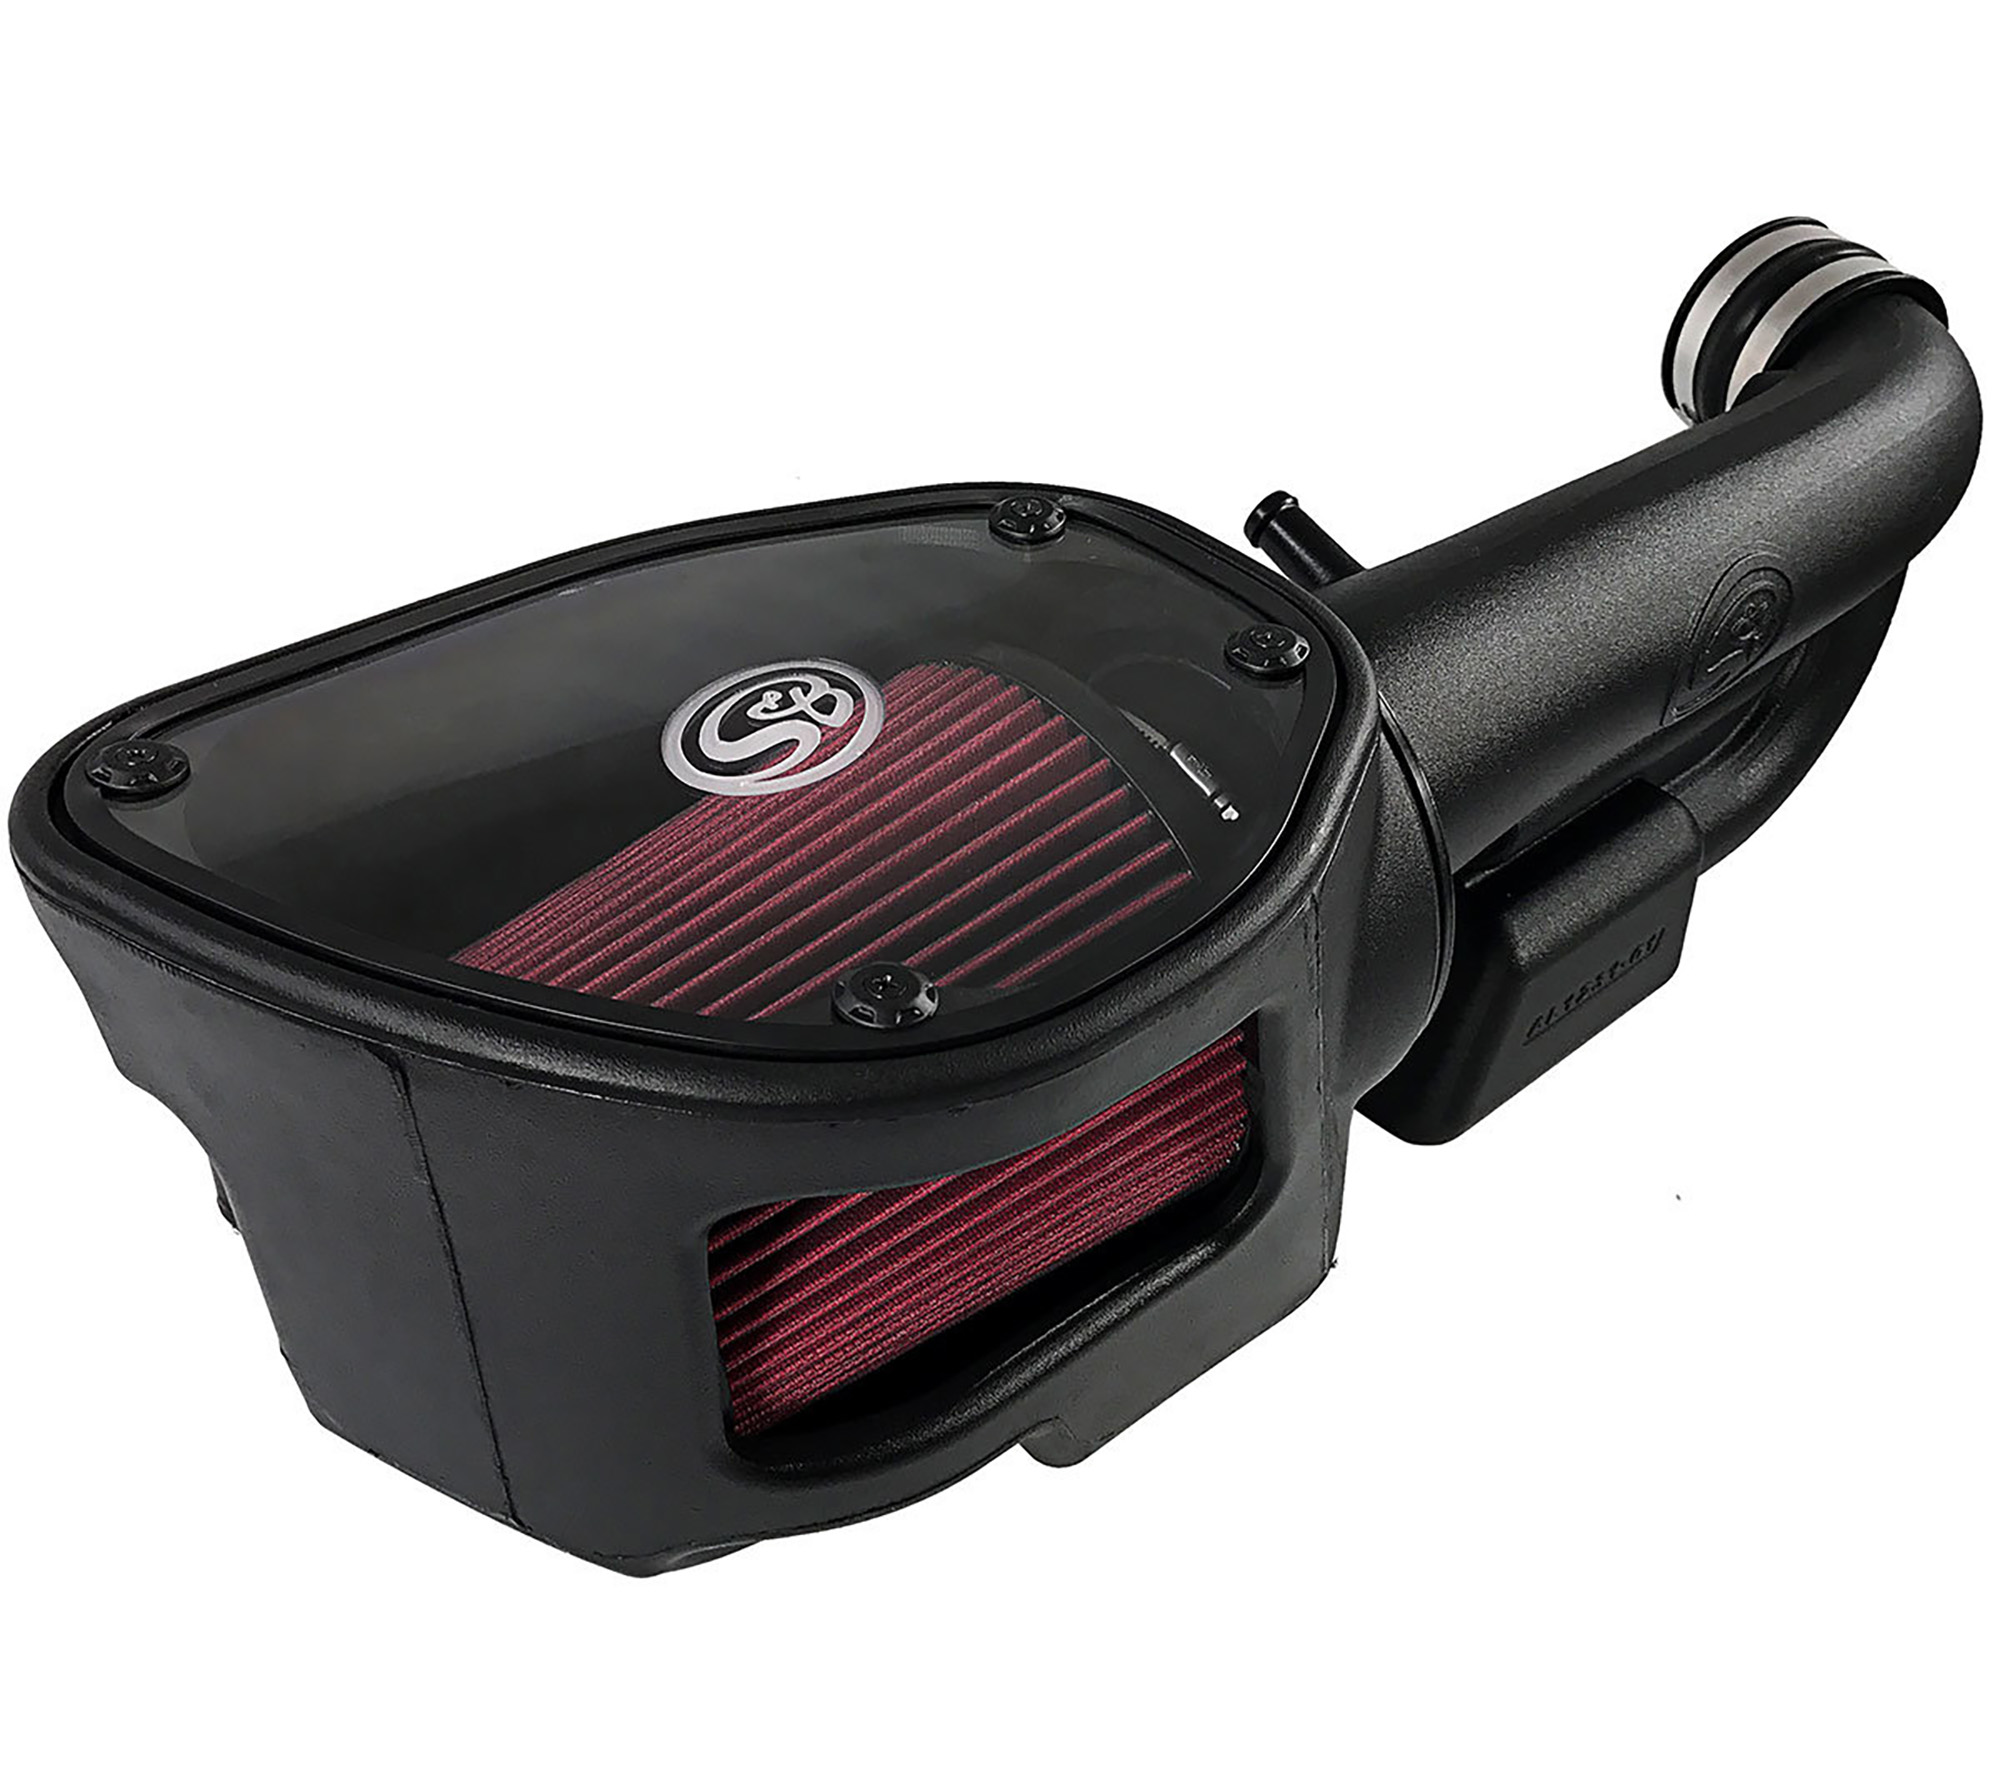
The S&B Filters 75-5060 Cold Air Intake Kit for the 12-16 Jeep Wrangler increases potential air flow to the 3.6L engine by 46.78 percent, and has an overall efficiency rating of 99.46 percent. This 50-state legal upgrade kit can be configured several different ways to suit your needs. The company also has applications available for other vehicles as well.
Two different filter element styles are available as well; an infinitely-cleanable oiled cotton gauze version, as well as a disposable dry extendable model better suited to dry and dusty driving conditions. The dry version can mostly be cleaned using compressed air to extend its life, but will still require replacement after about 30,000 miles of highway driving.
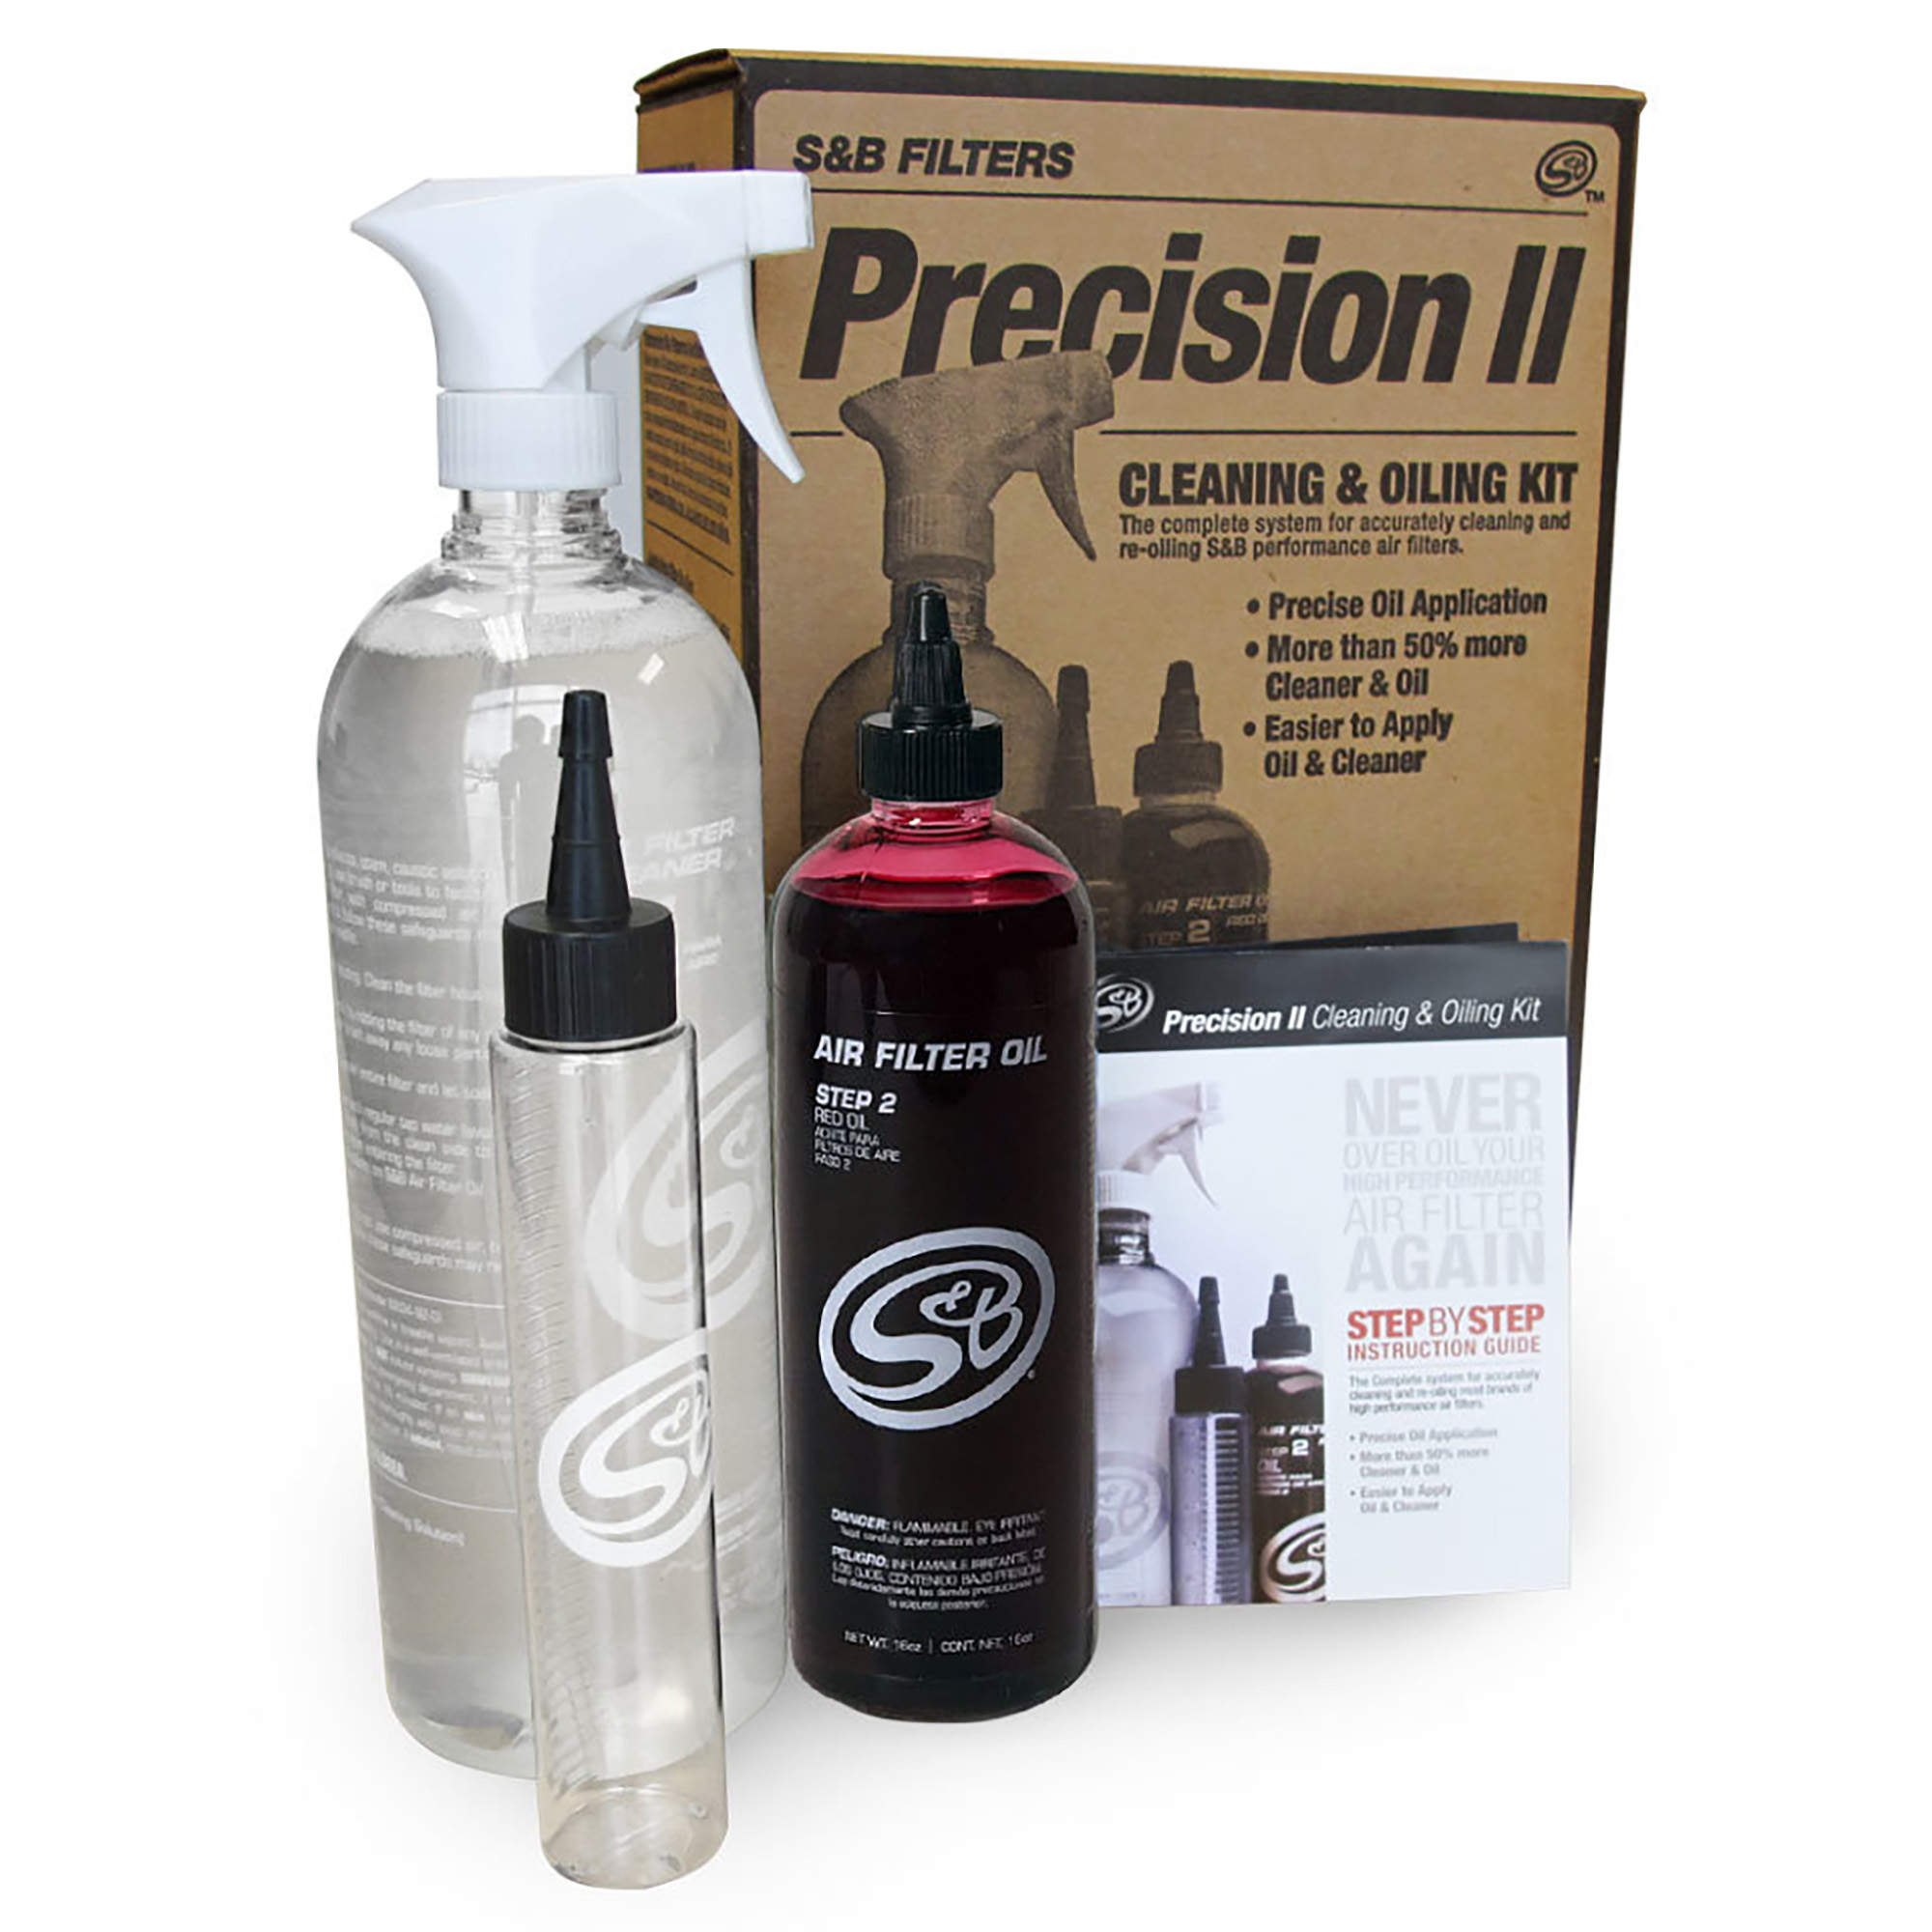
The version I selected, S&B Filters 88-0008 Precision 2 Red Cleaning & Oil Kit, allows precise control of the amount of oil used to saturate the filter following a cleaning. Too little oil could compromise the filter’s protection, and too much could allow oil to end up in places it does not belong. By following S&B’s simple, step-by-step instructions, you will end up with exactly the right amount every time. Additionally, this kit can be special ordered with blue oil instead of red.
All S&B Filters carry a 1 million mile warranty against manufacturing defects, and they also guarantee your vehicle warranty will not be voided by the use of an S&B intake kit or replacement filter, and offer assistance in working with a dealer attempting to deny a warranty claim.
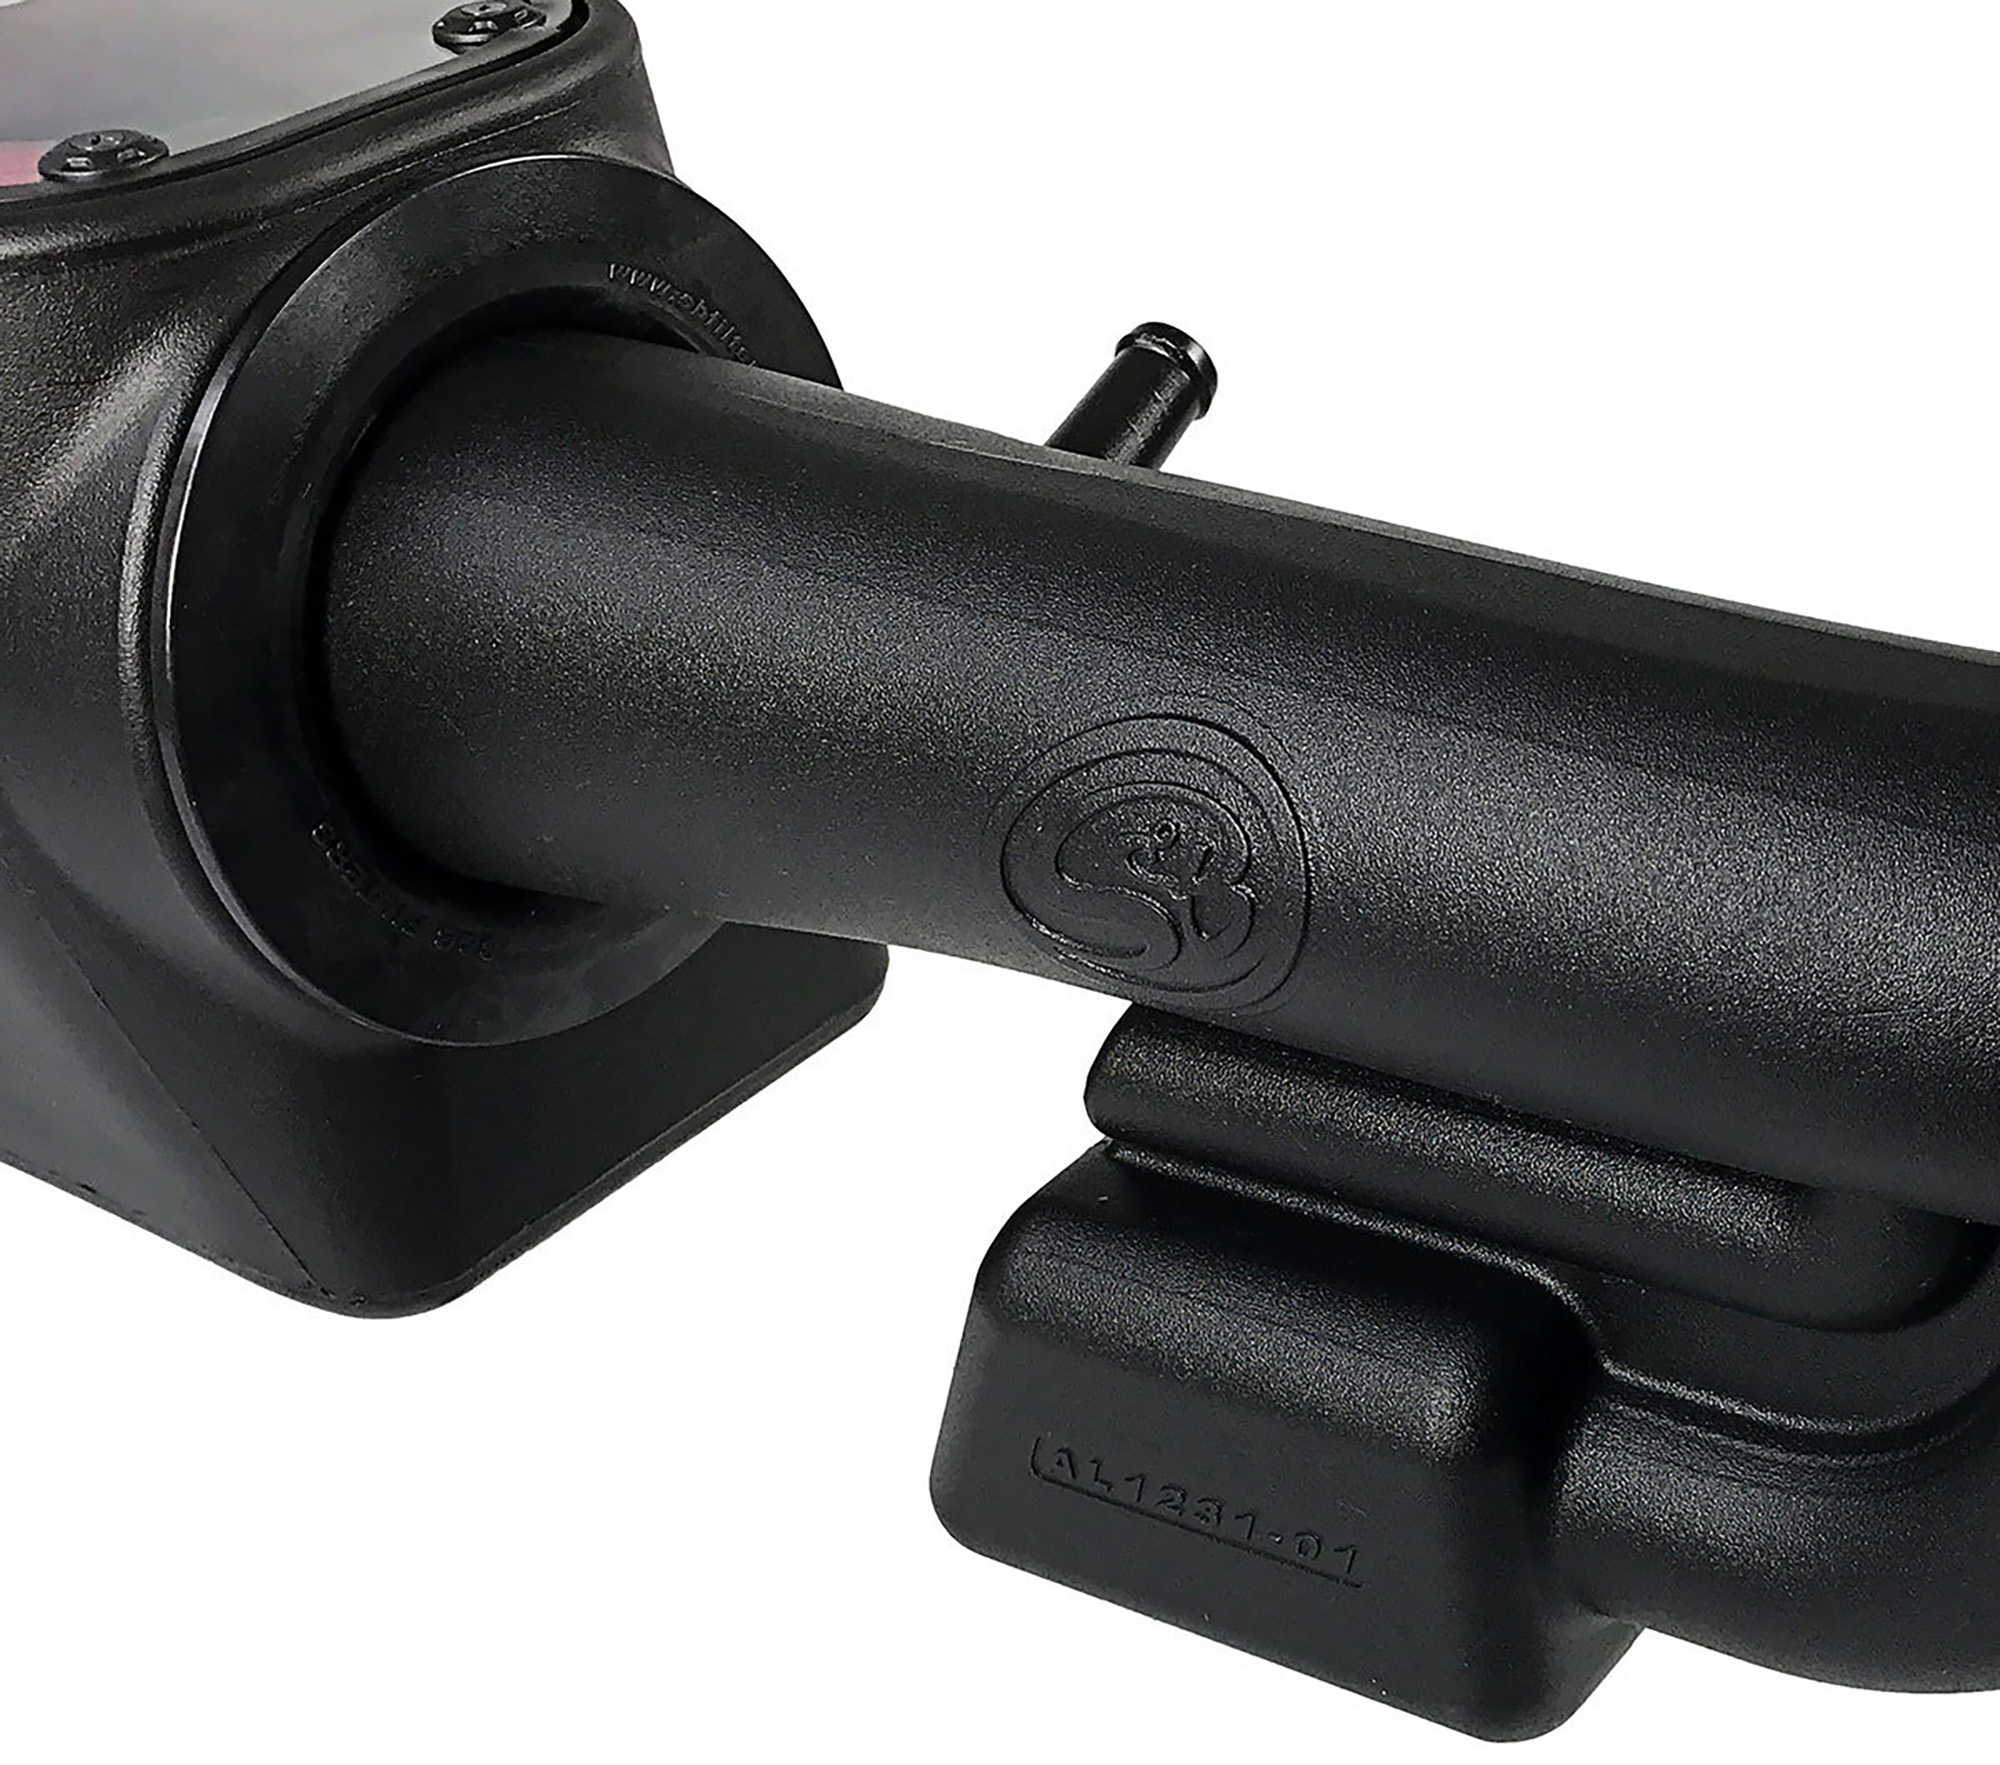
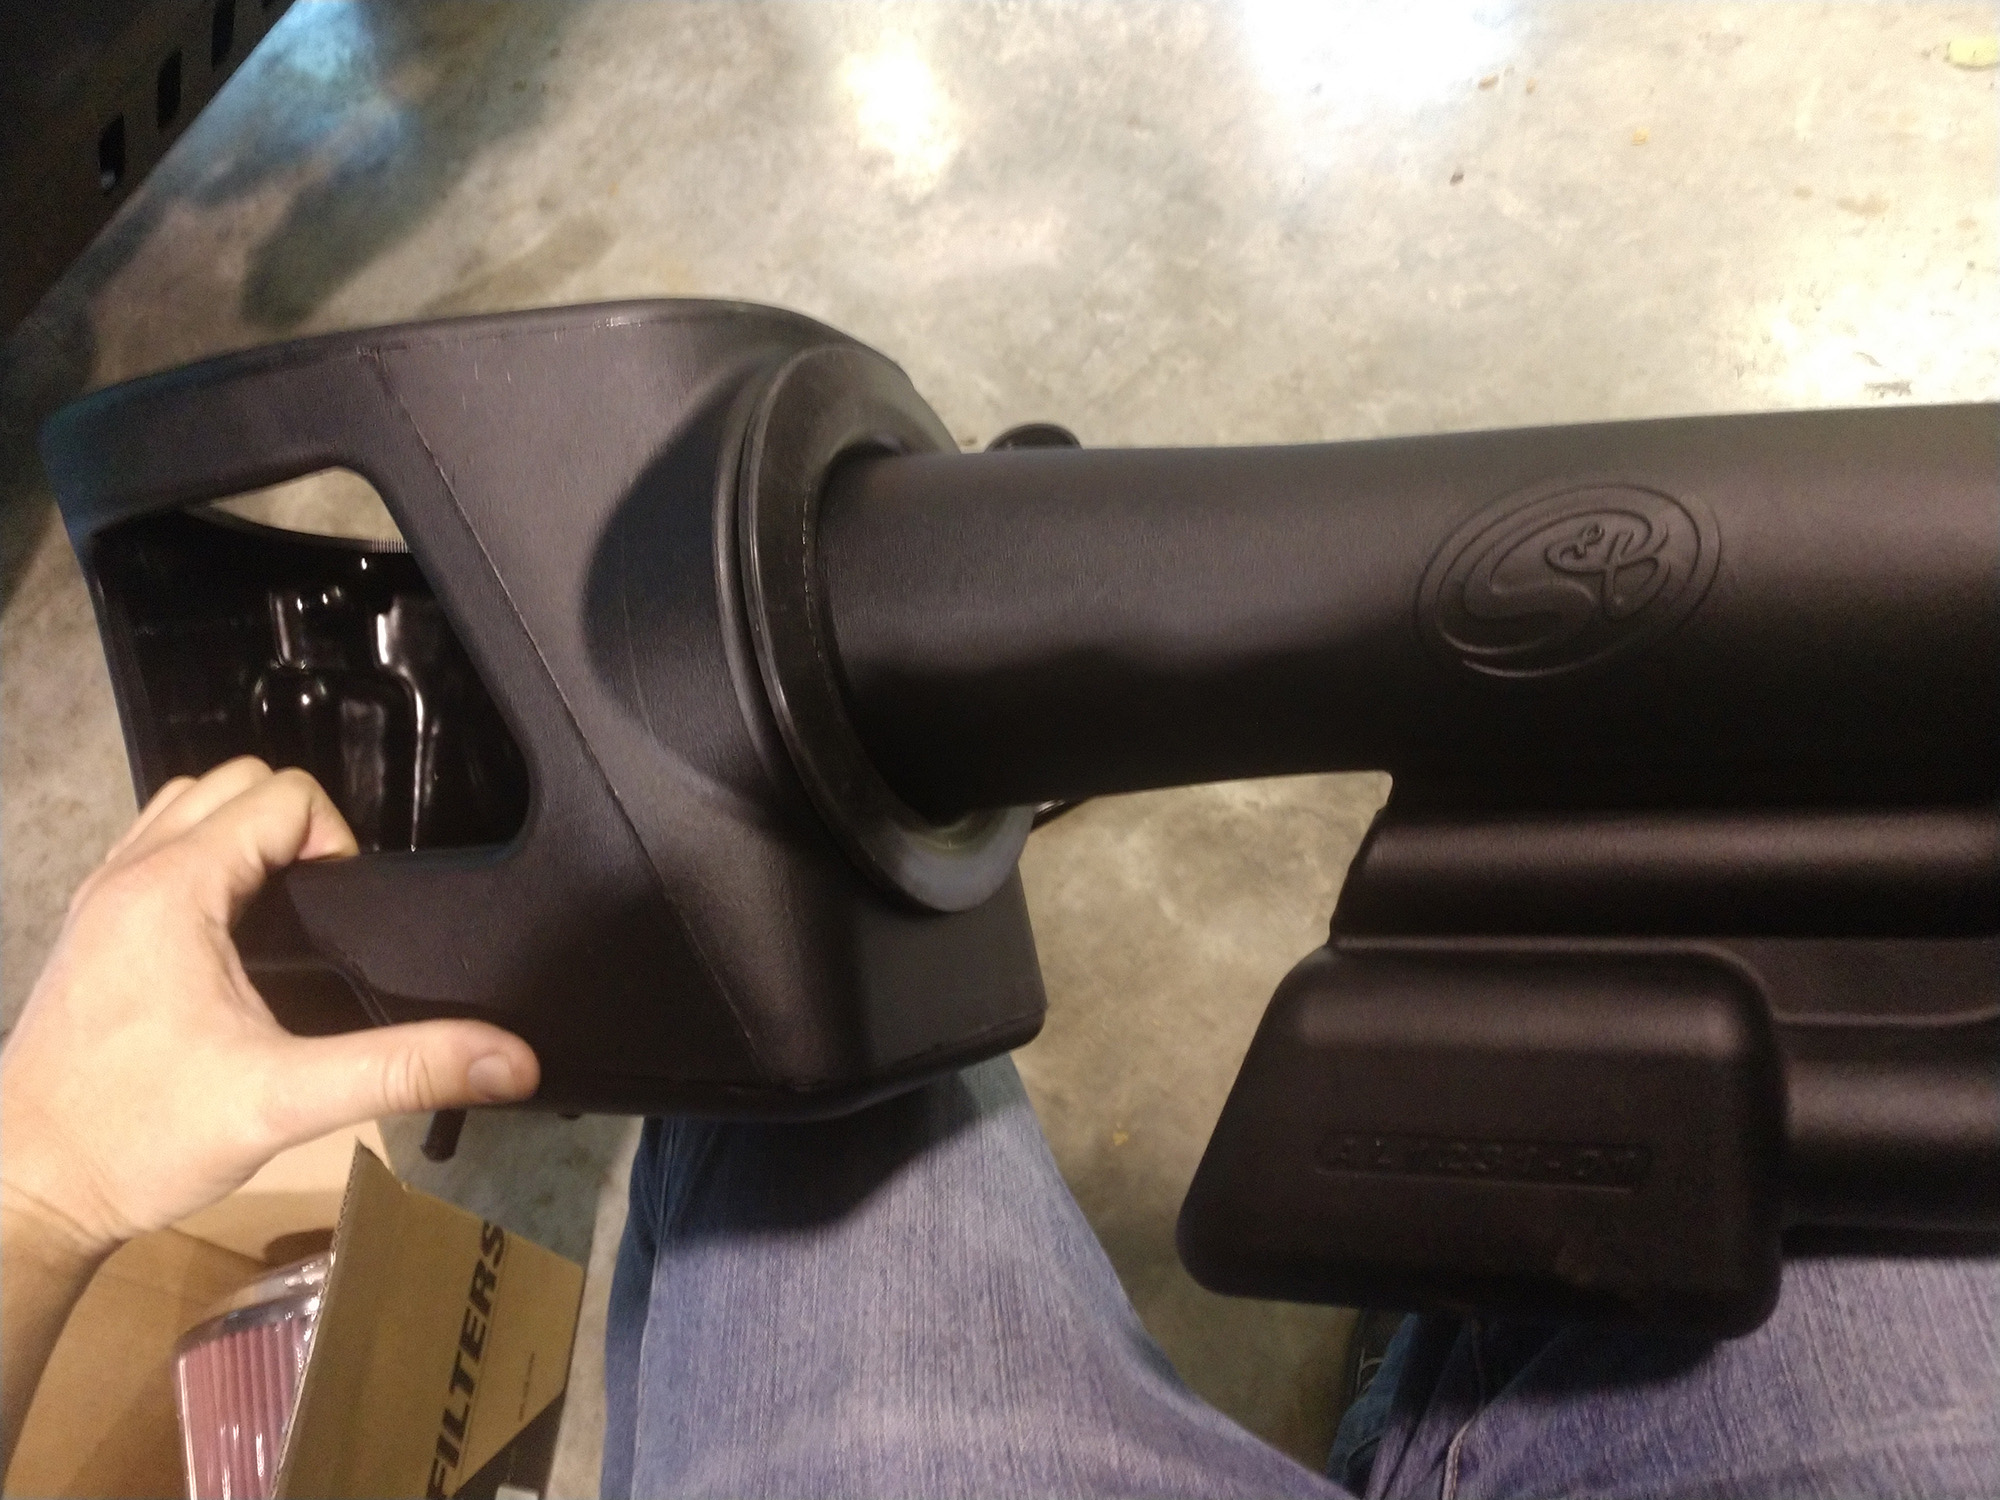
The intake tube itself is as straight as possible to minimize air turbulence, while the body of the filter and tube seals are made of high temperature silicone. The one piece air box design can be configured 3 ways—on the left, the front of the box is left open, and the clear etched lid covers the top. On the right, the top of the box is open, and sealed to the underside of the hood with a flexible silicone hood seal.
With the AEV Heat Reduction hood and the second configuration on Project Rattler, this seal sits right between the center and side vents, drawing cooler air from both sources. When I know I’m headed off-road in an area with a lot of water crossings, I install the silicone box plug to seal off the front of the air box to further prevent water from getting inside (more on that later).
Tools required:
- 10mm socket and ratchet
- Flat head screwdriver for hose clamps
- #2 Phillips head screwdriver
Using a 10mm socket and ratchet, remove the two bolts holding the intake tube to the radiator support and set them aside. They will be used with the new unit.
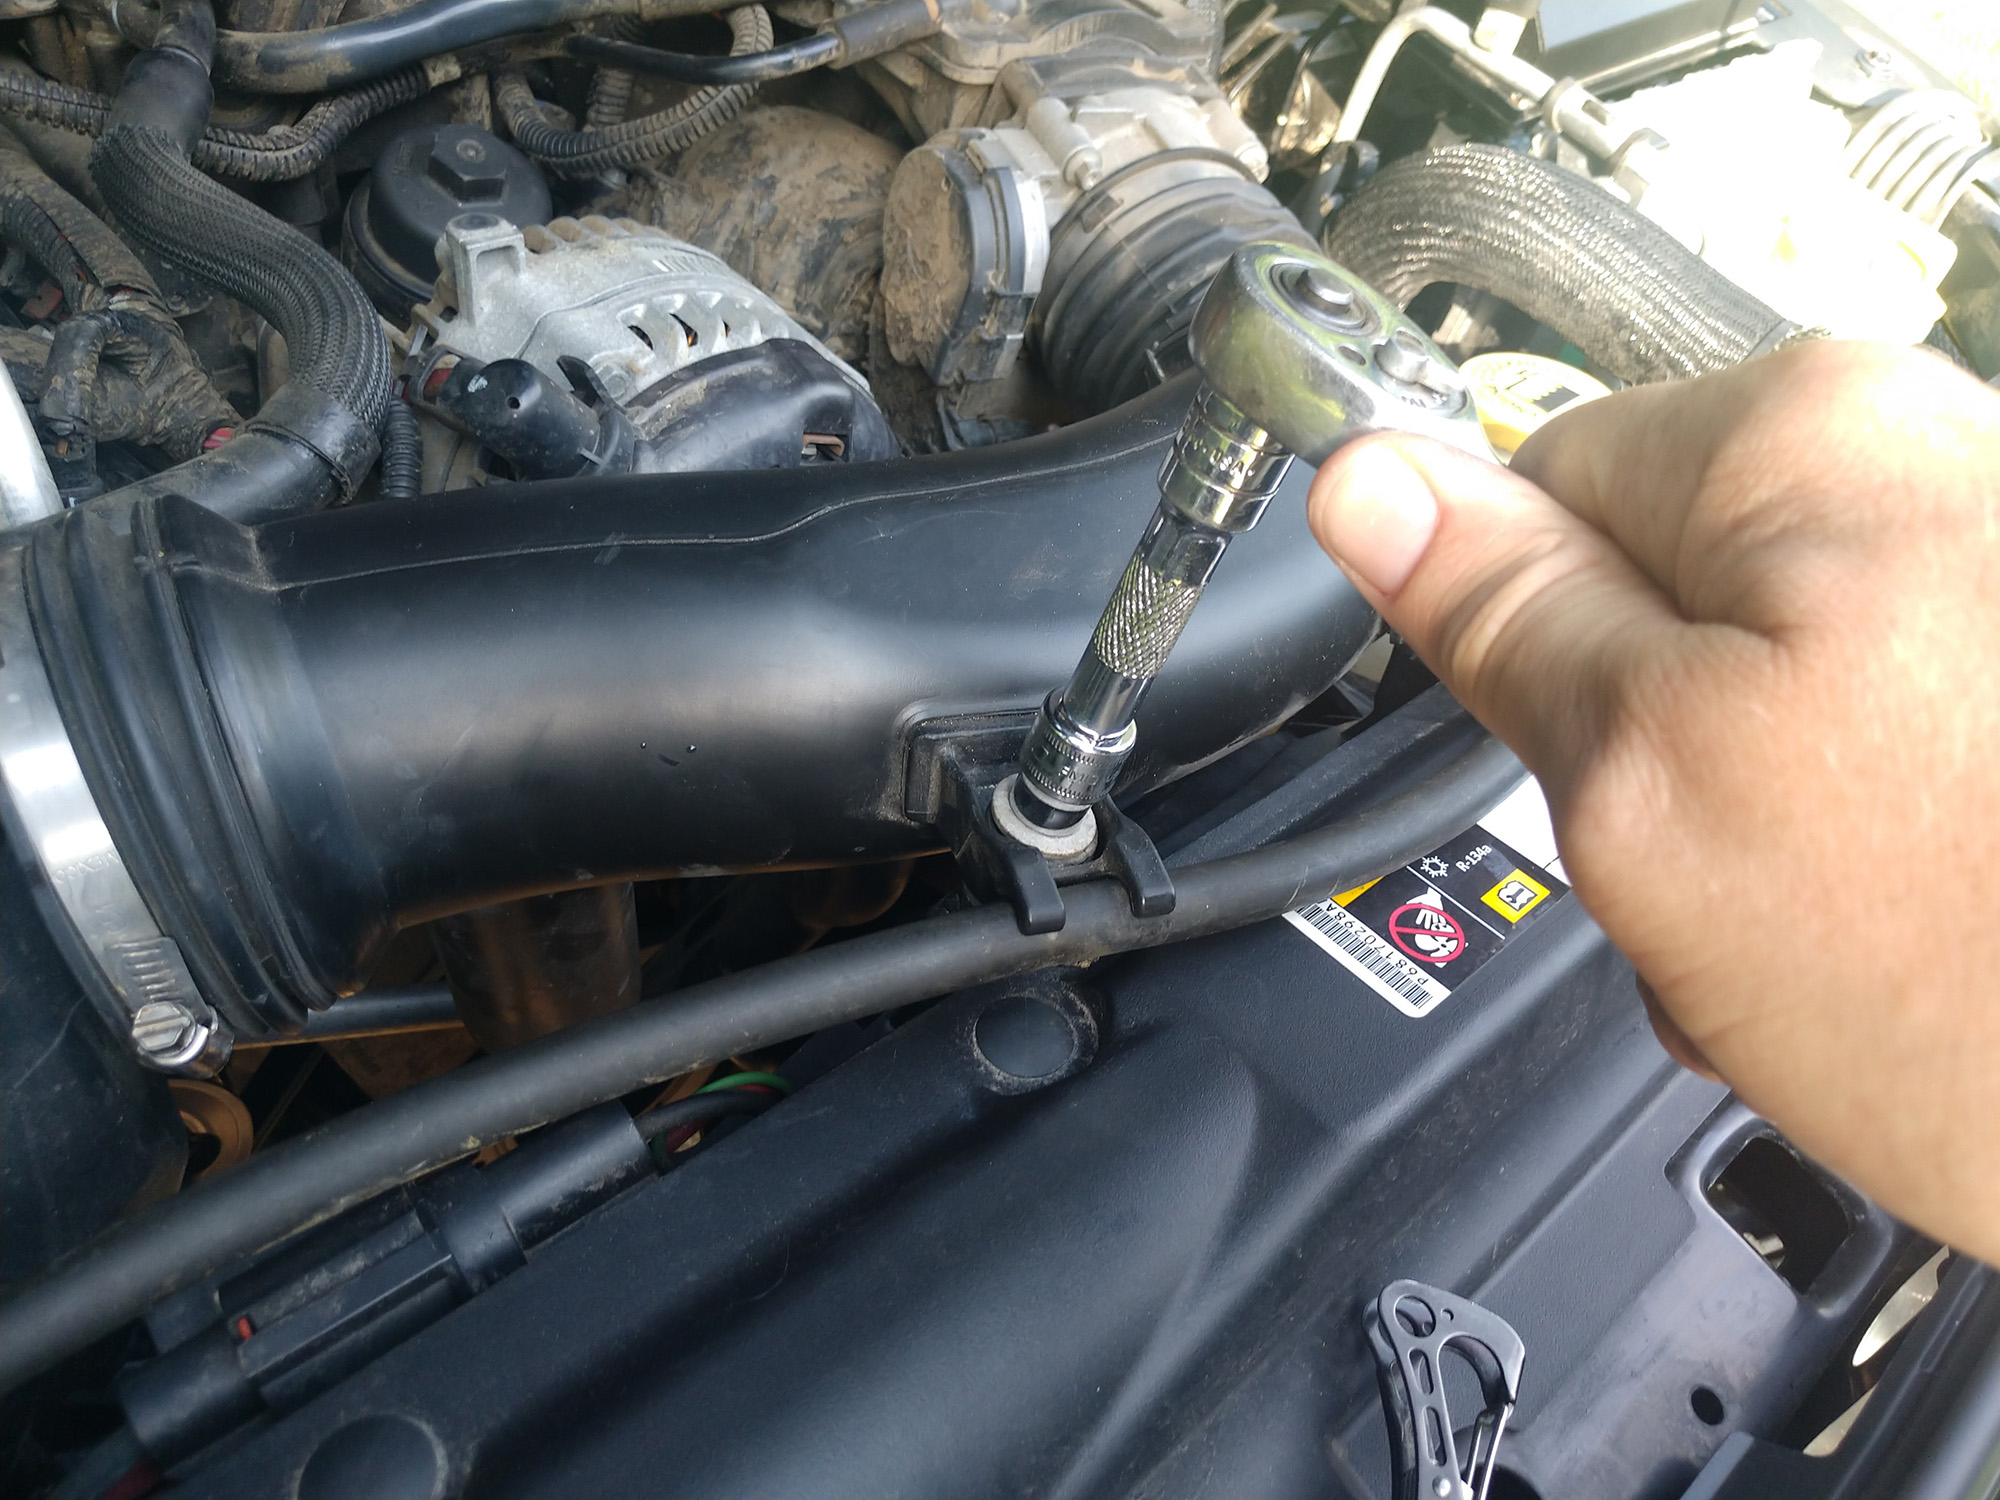
Using a flat head screwdriver, loosen the hose clamp near the throttle body.
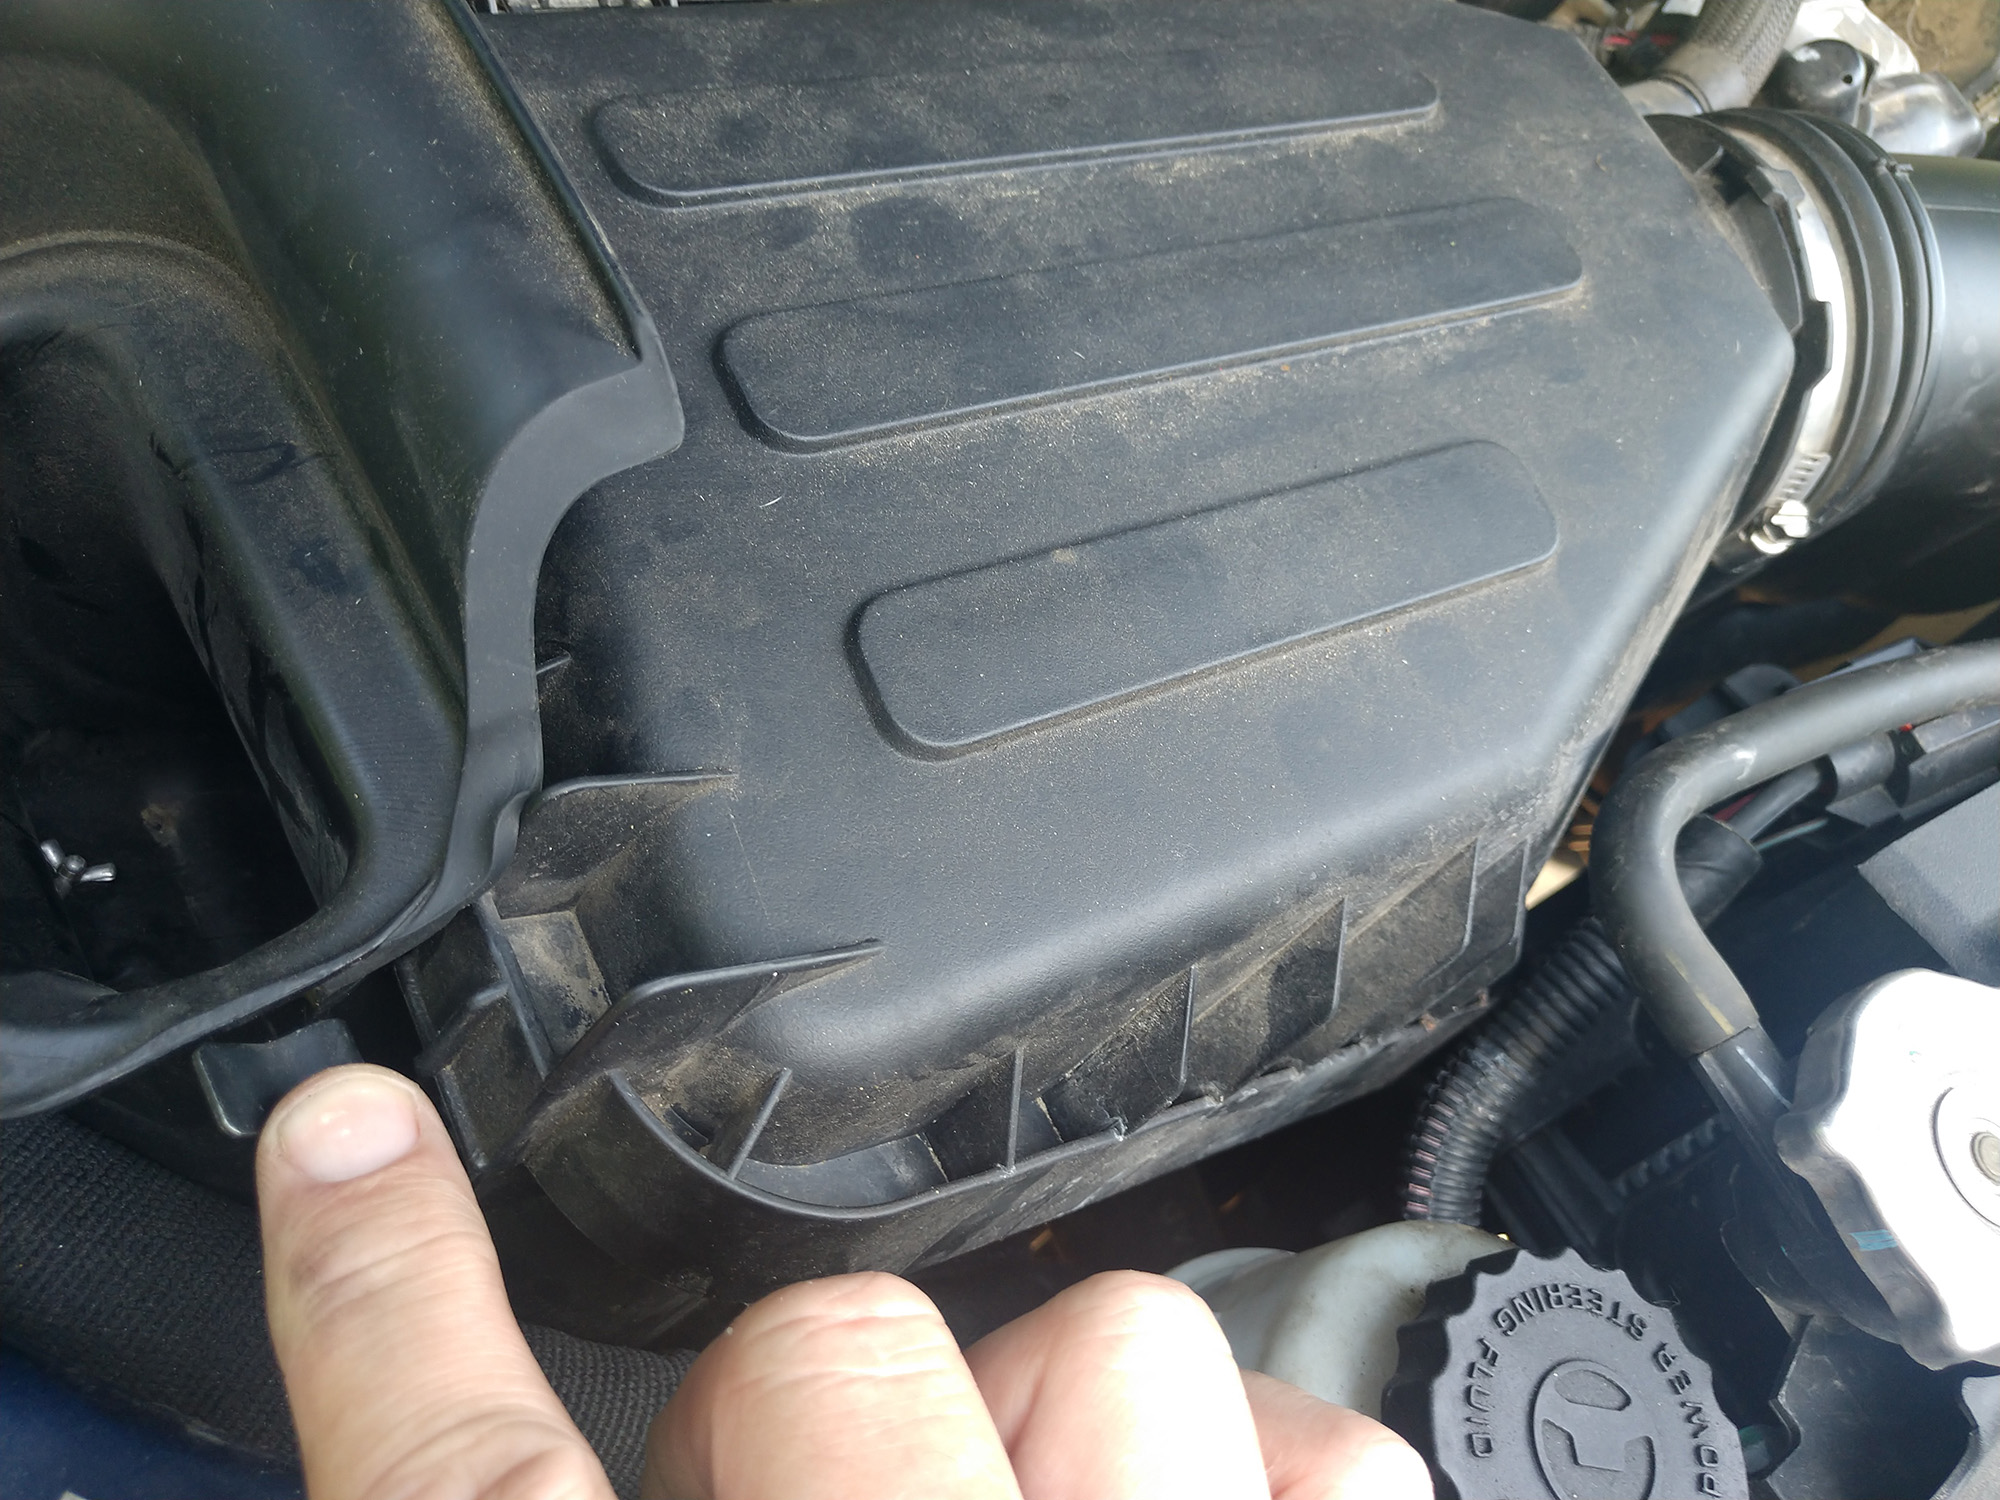
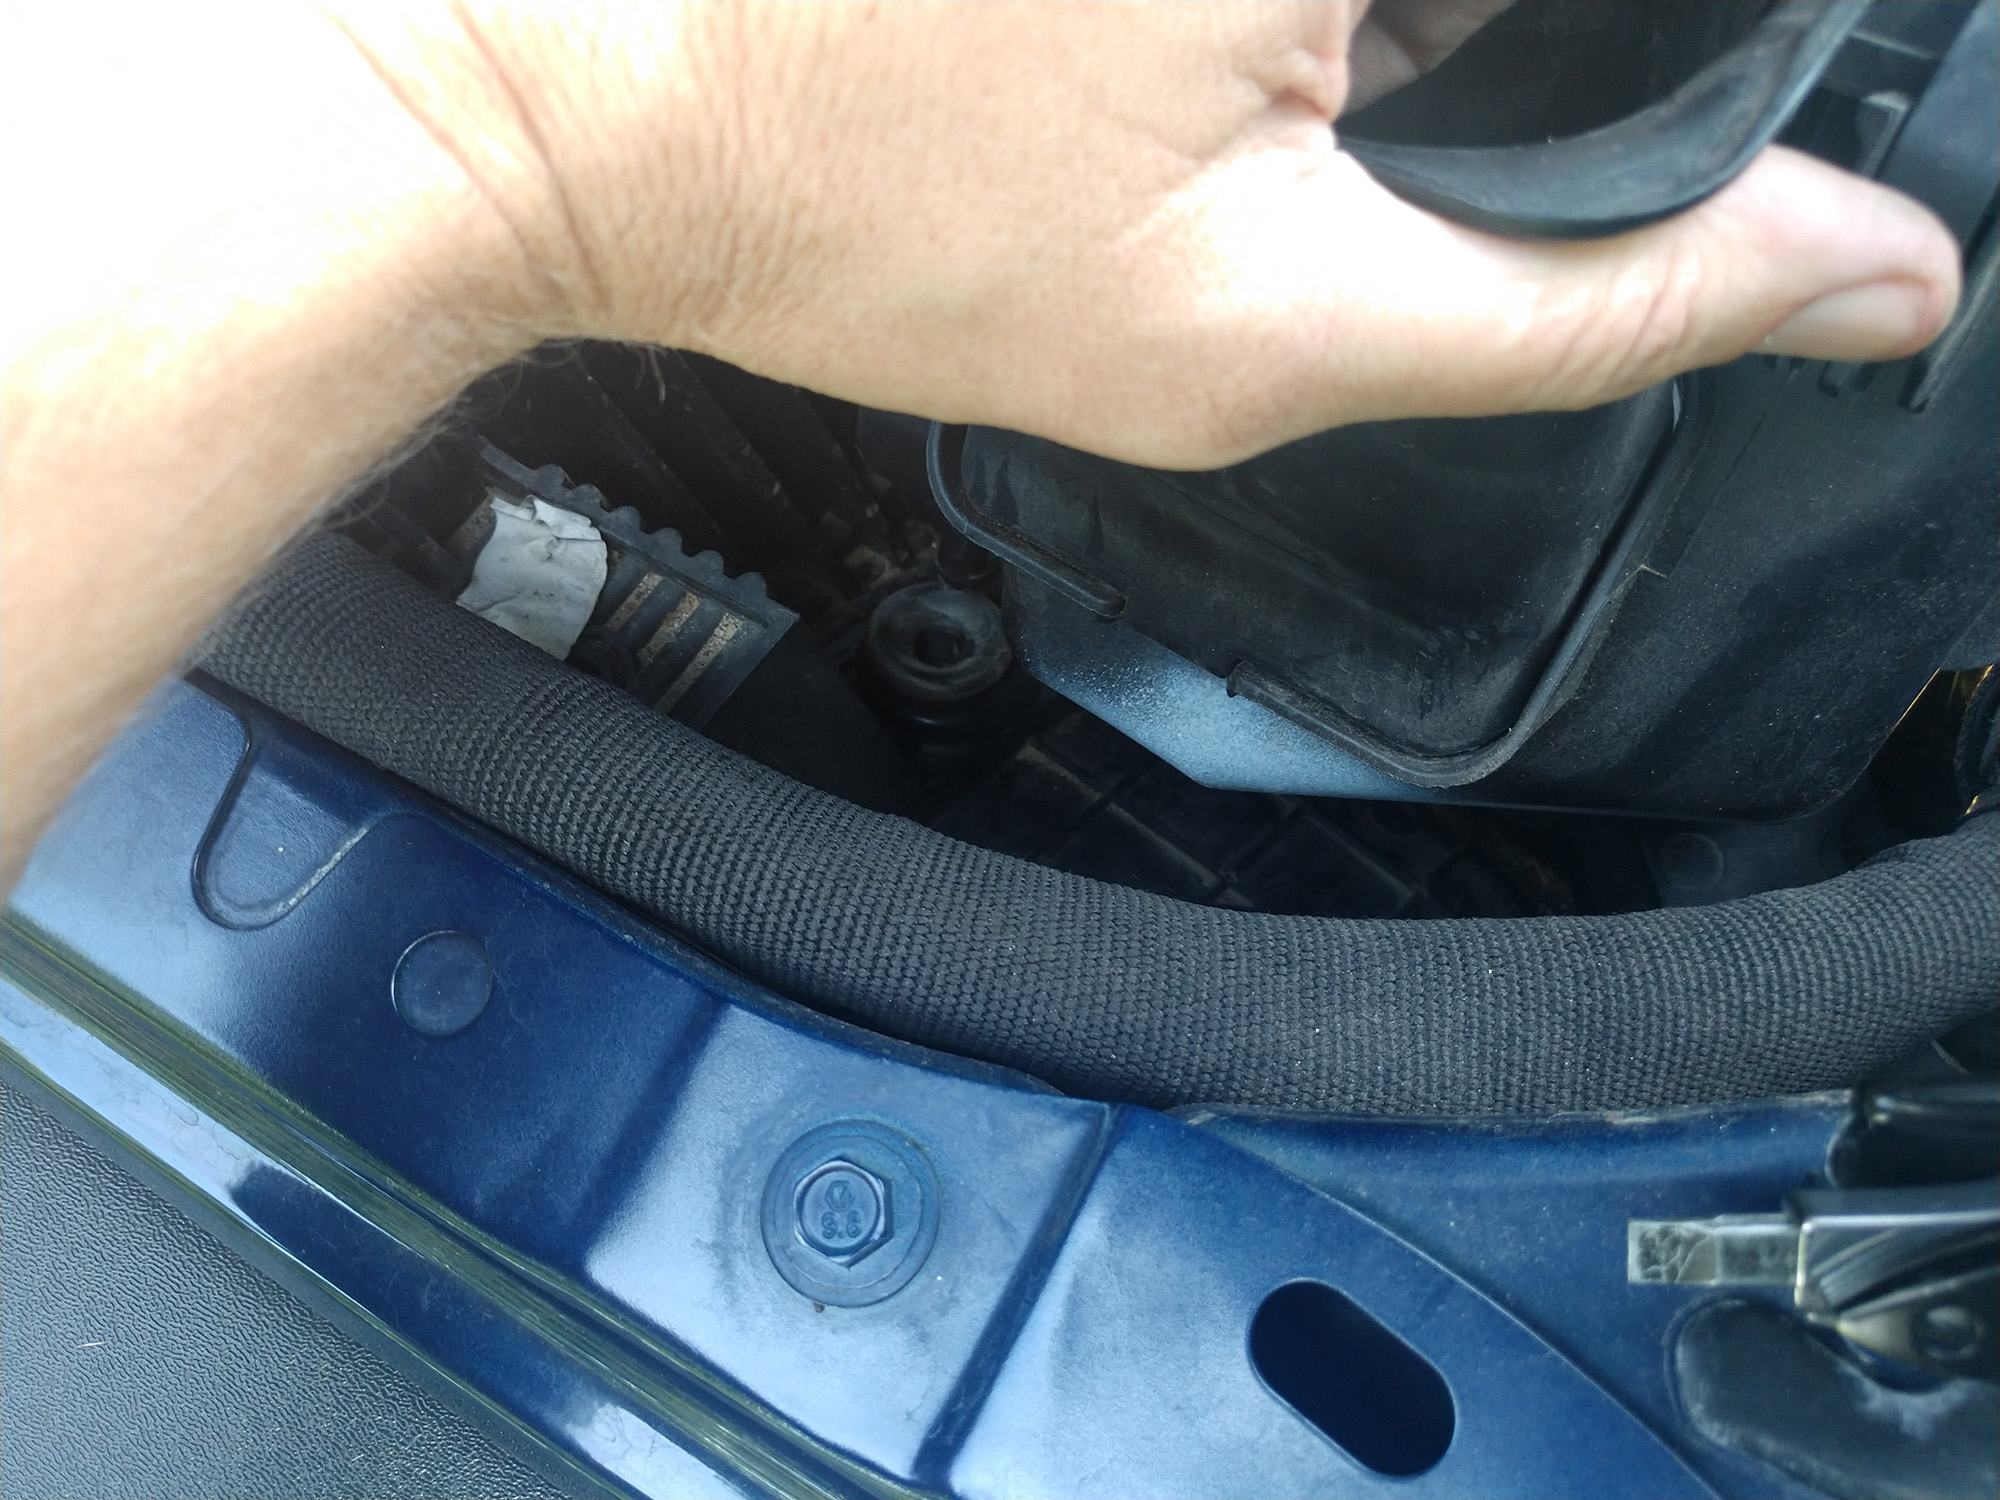
Unclip the airbox. There are 4 clips total: two are up high on the passenger side of the engine compartment.
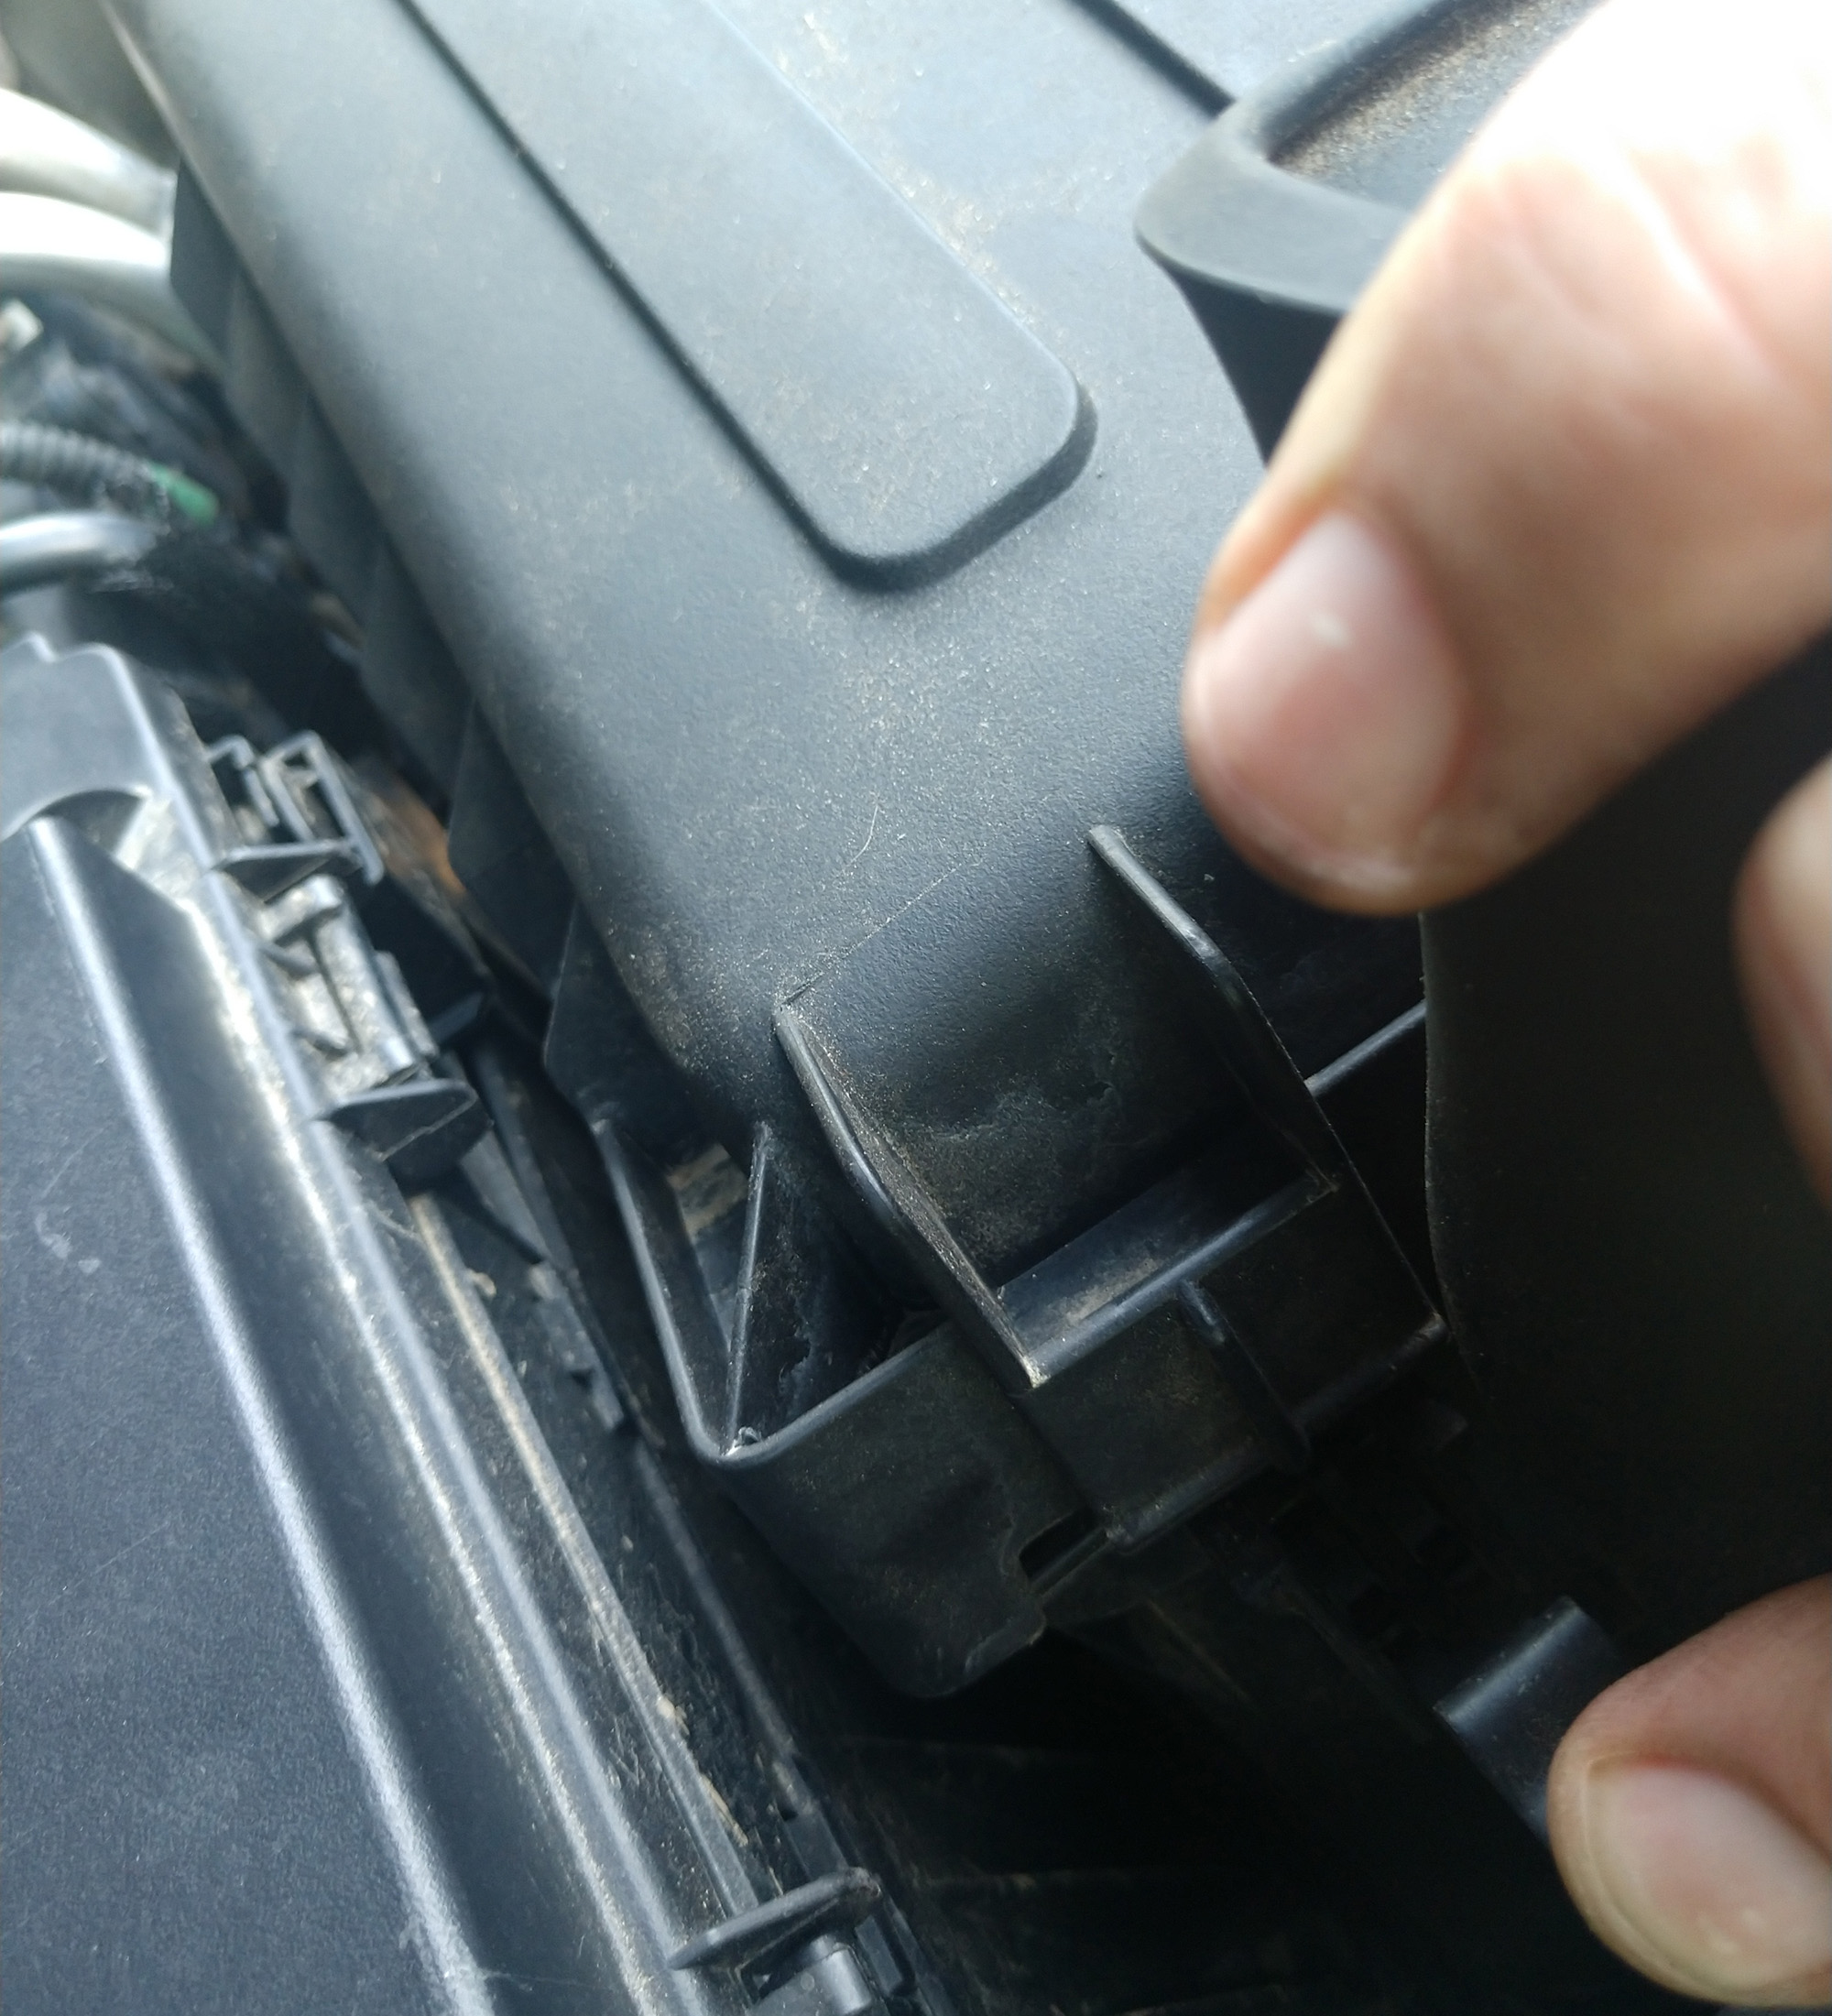
The other two clips are slightly more obscured by the intake tube, but are accessible from the top. Try switching hands if you’re having trouble because even though they’re visible, they are tricky to release.
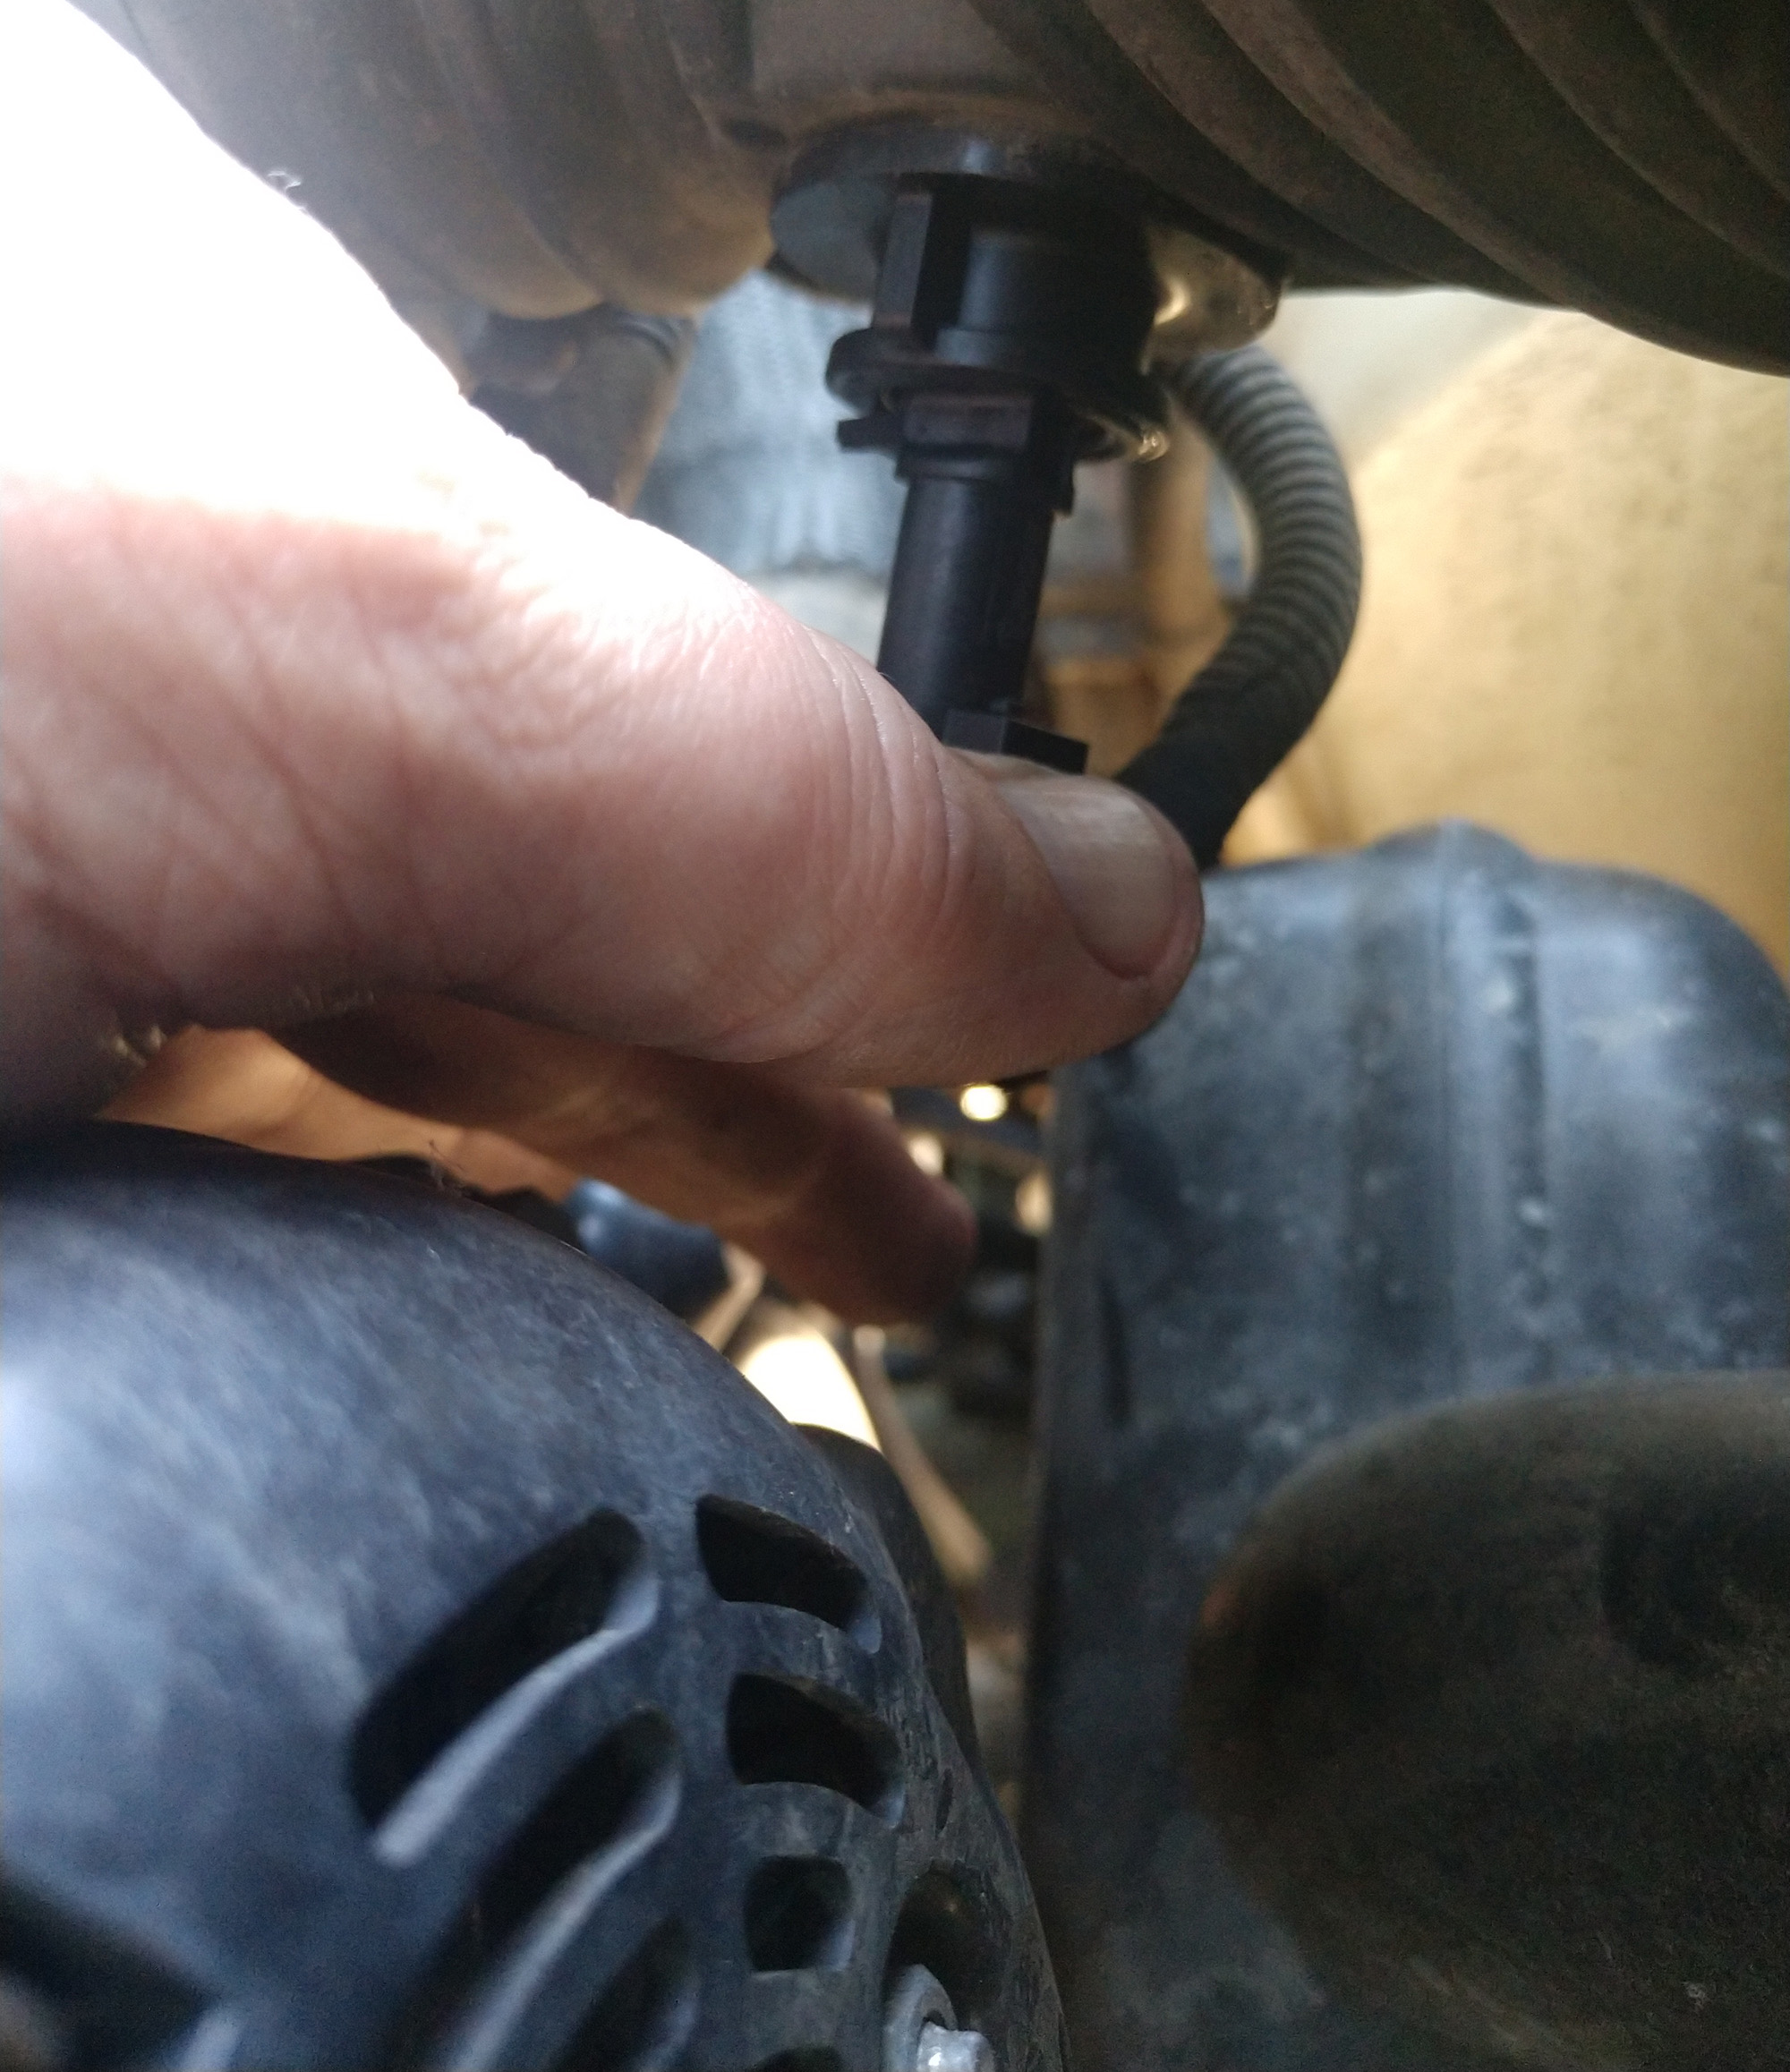
The air sensor wiring can be unclipped and the entire unit removed with the factory tube. Or, you can give it a quarter turn to remove and then mess with the clip when you can see it more easily. Keep the orientation of this sensor in mind, as it needs to be reinstalled facing the same way.
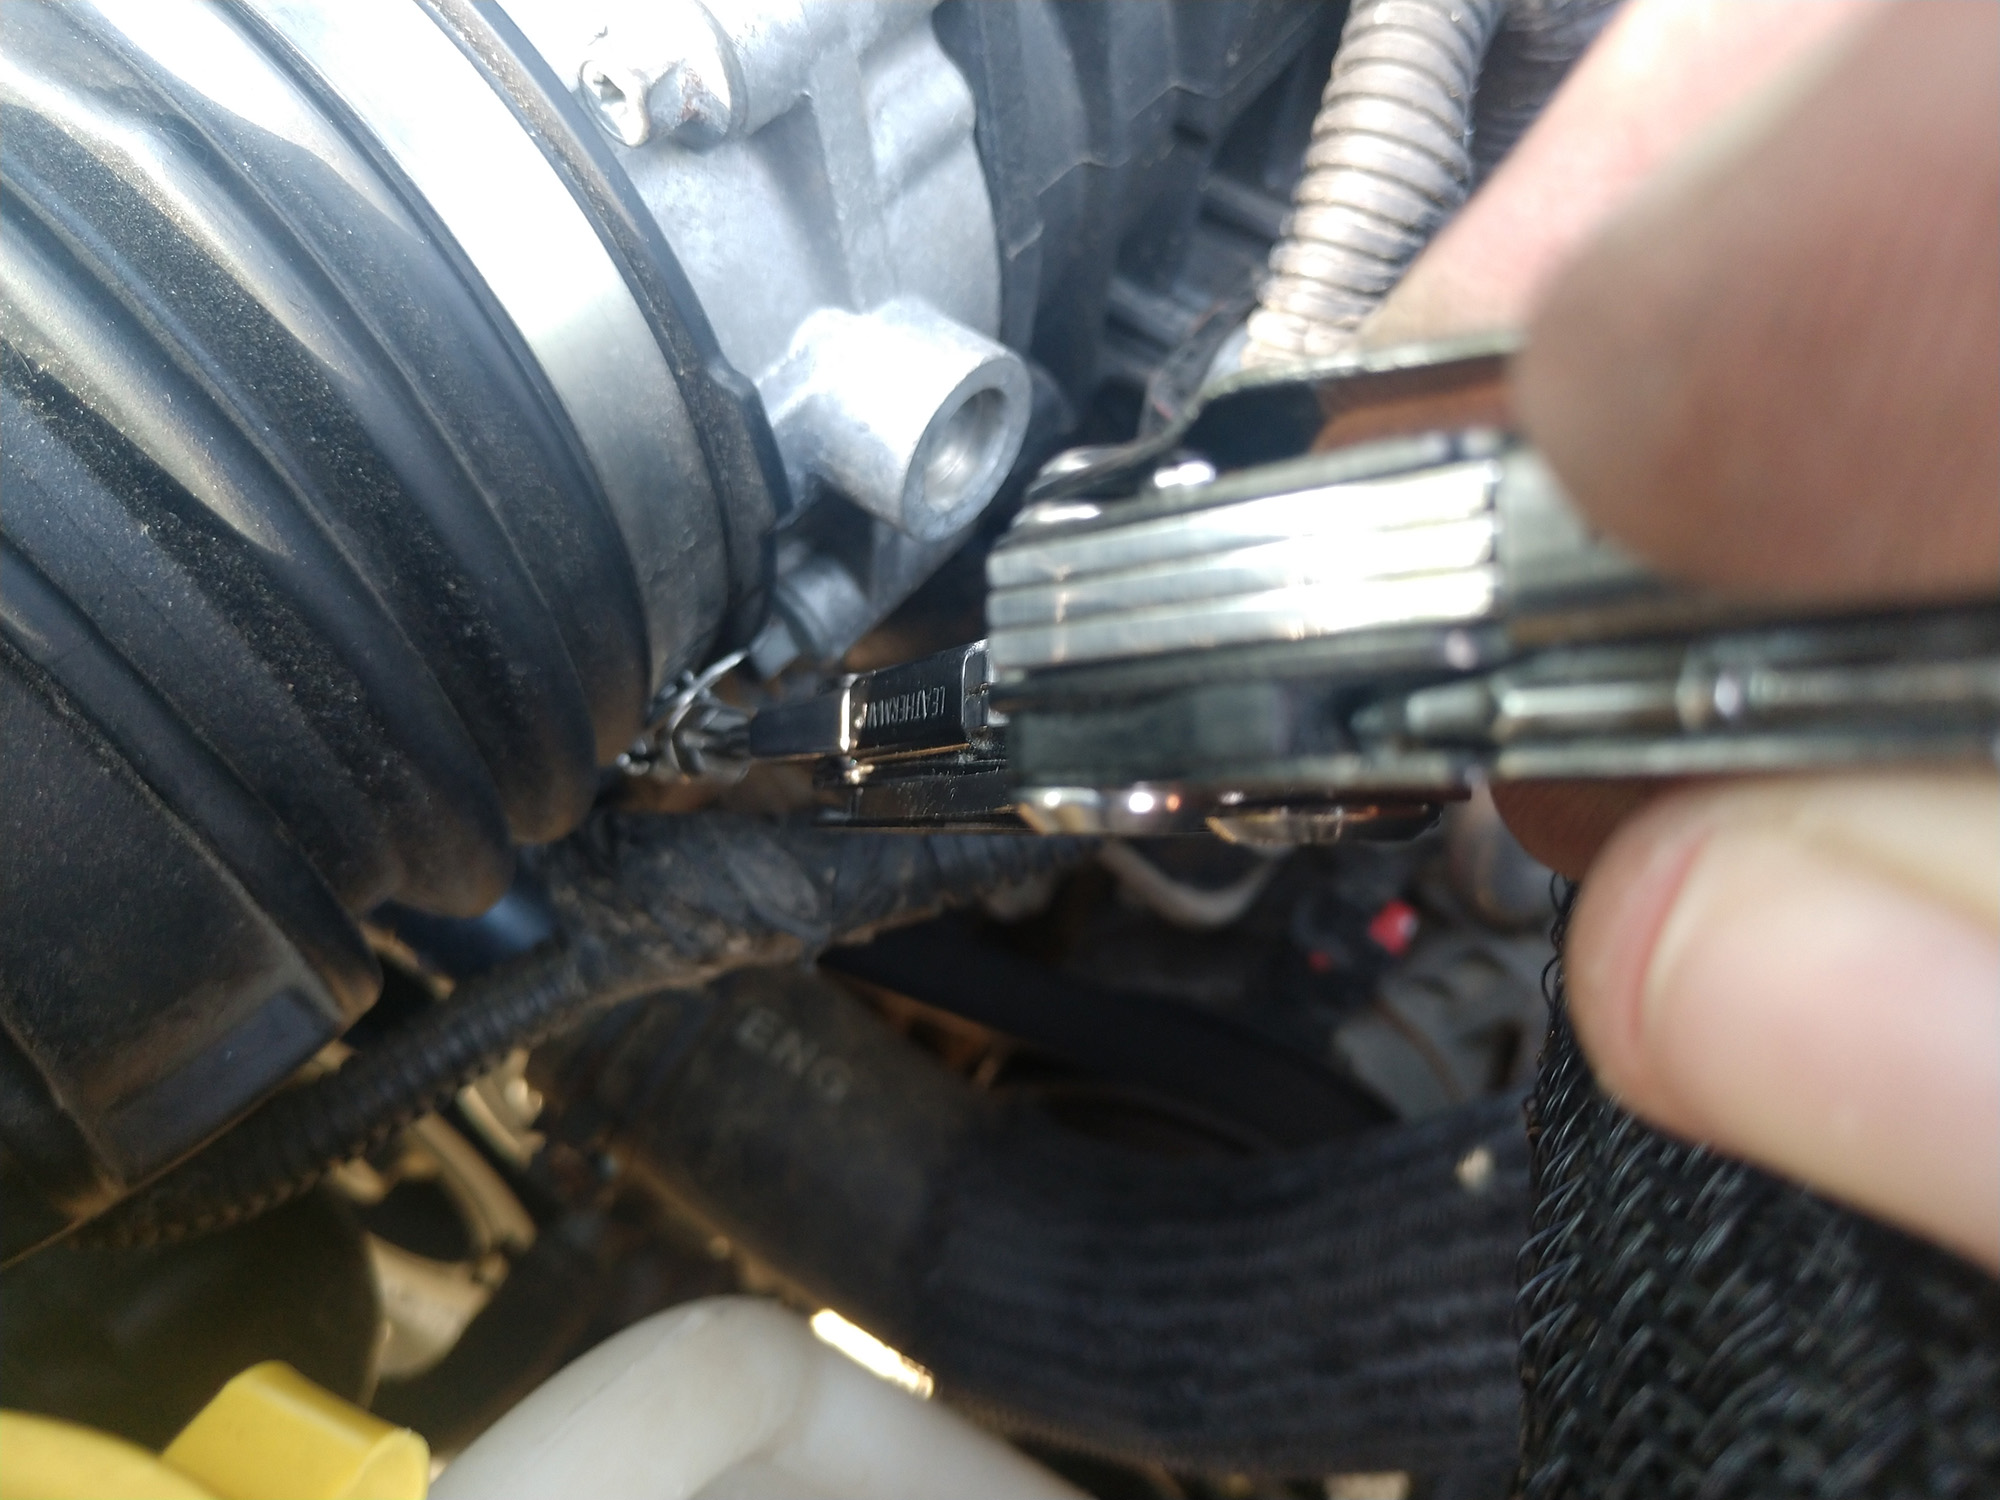
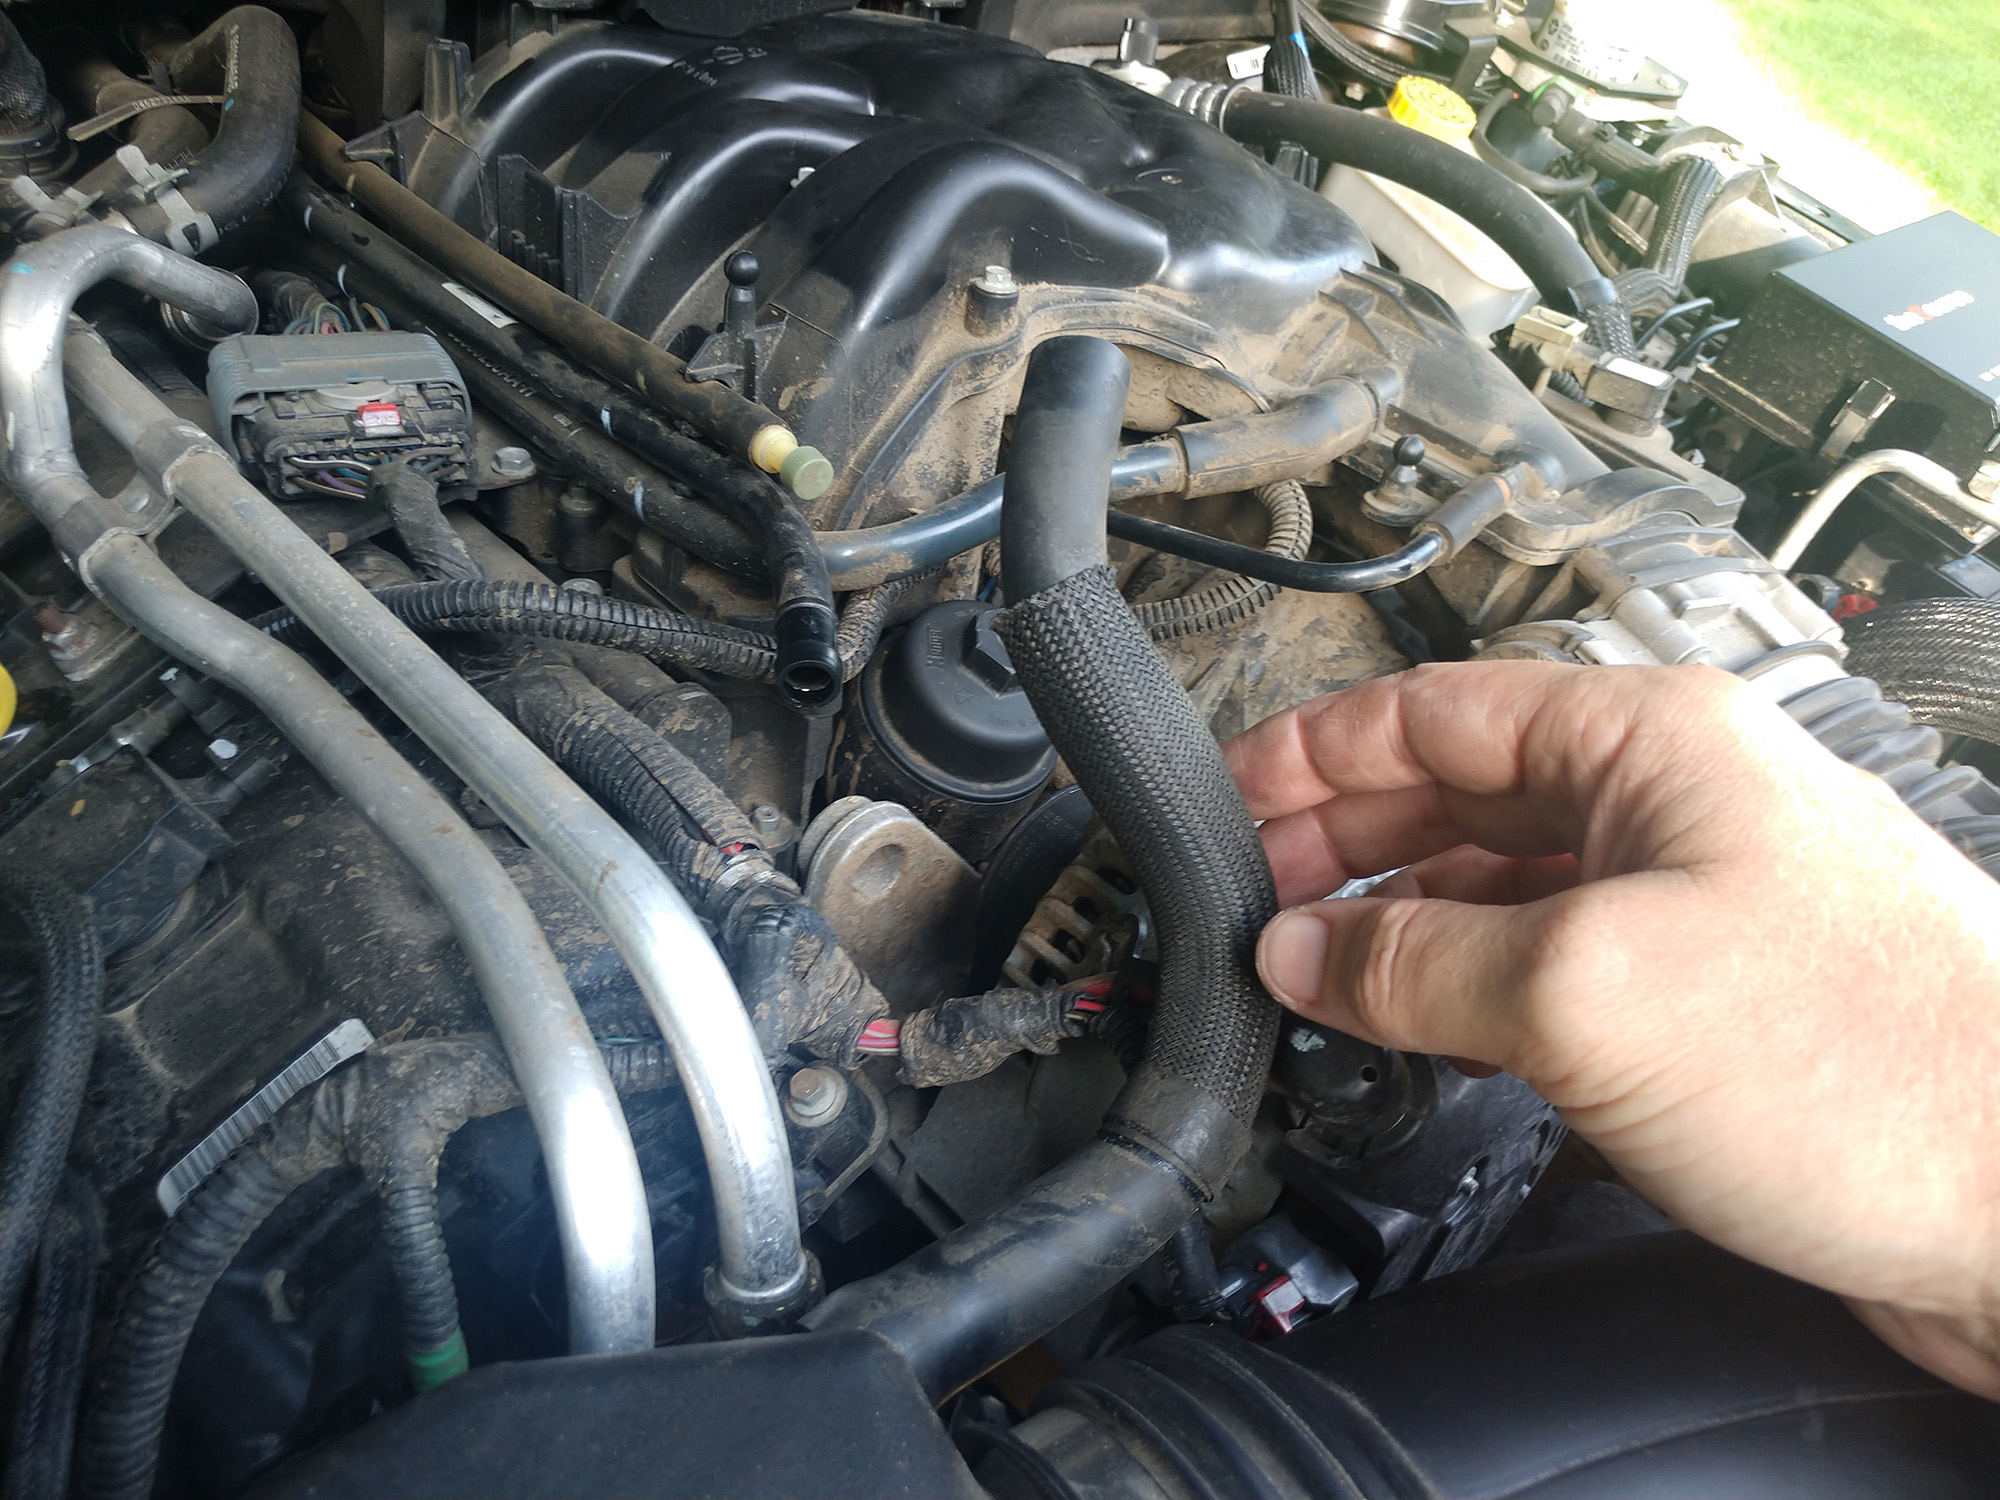
Pull the coolant overflow hose out of the clips in the intake tube.
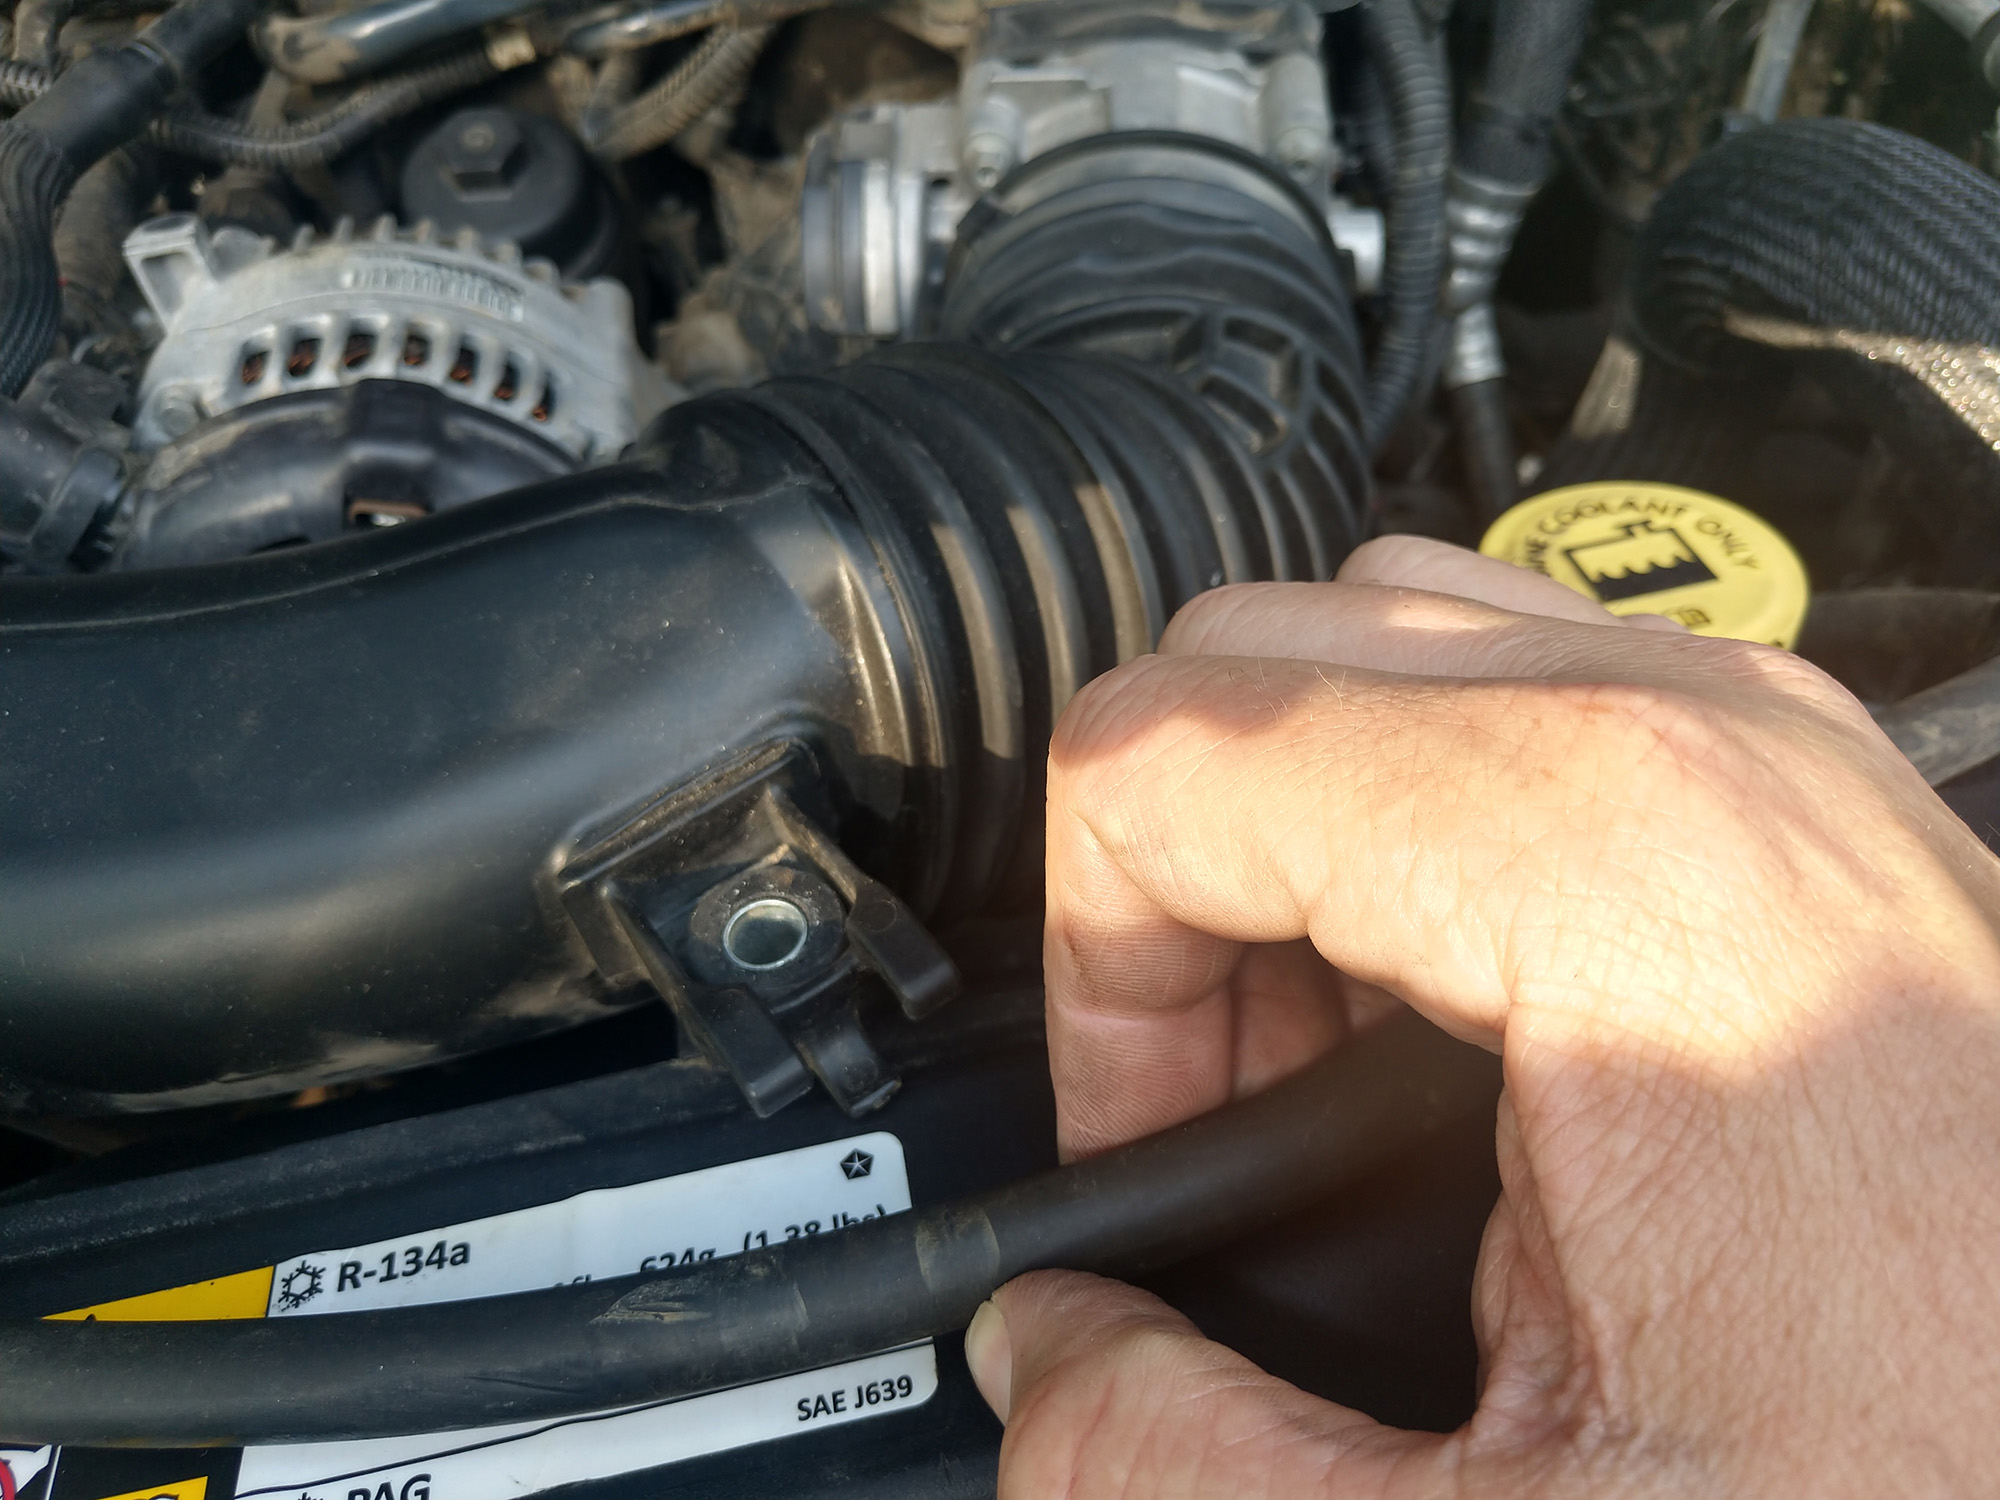
This hose goes from a fitting next to the intake manifold to the rear of the intake tube. It needs to be replaced with a version included in the S&B kit, so remove both ends now.
The upper assembly will now be ready to remove from the vehicle, air tube and all.
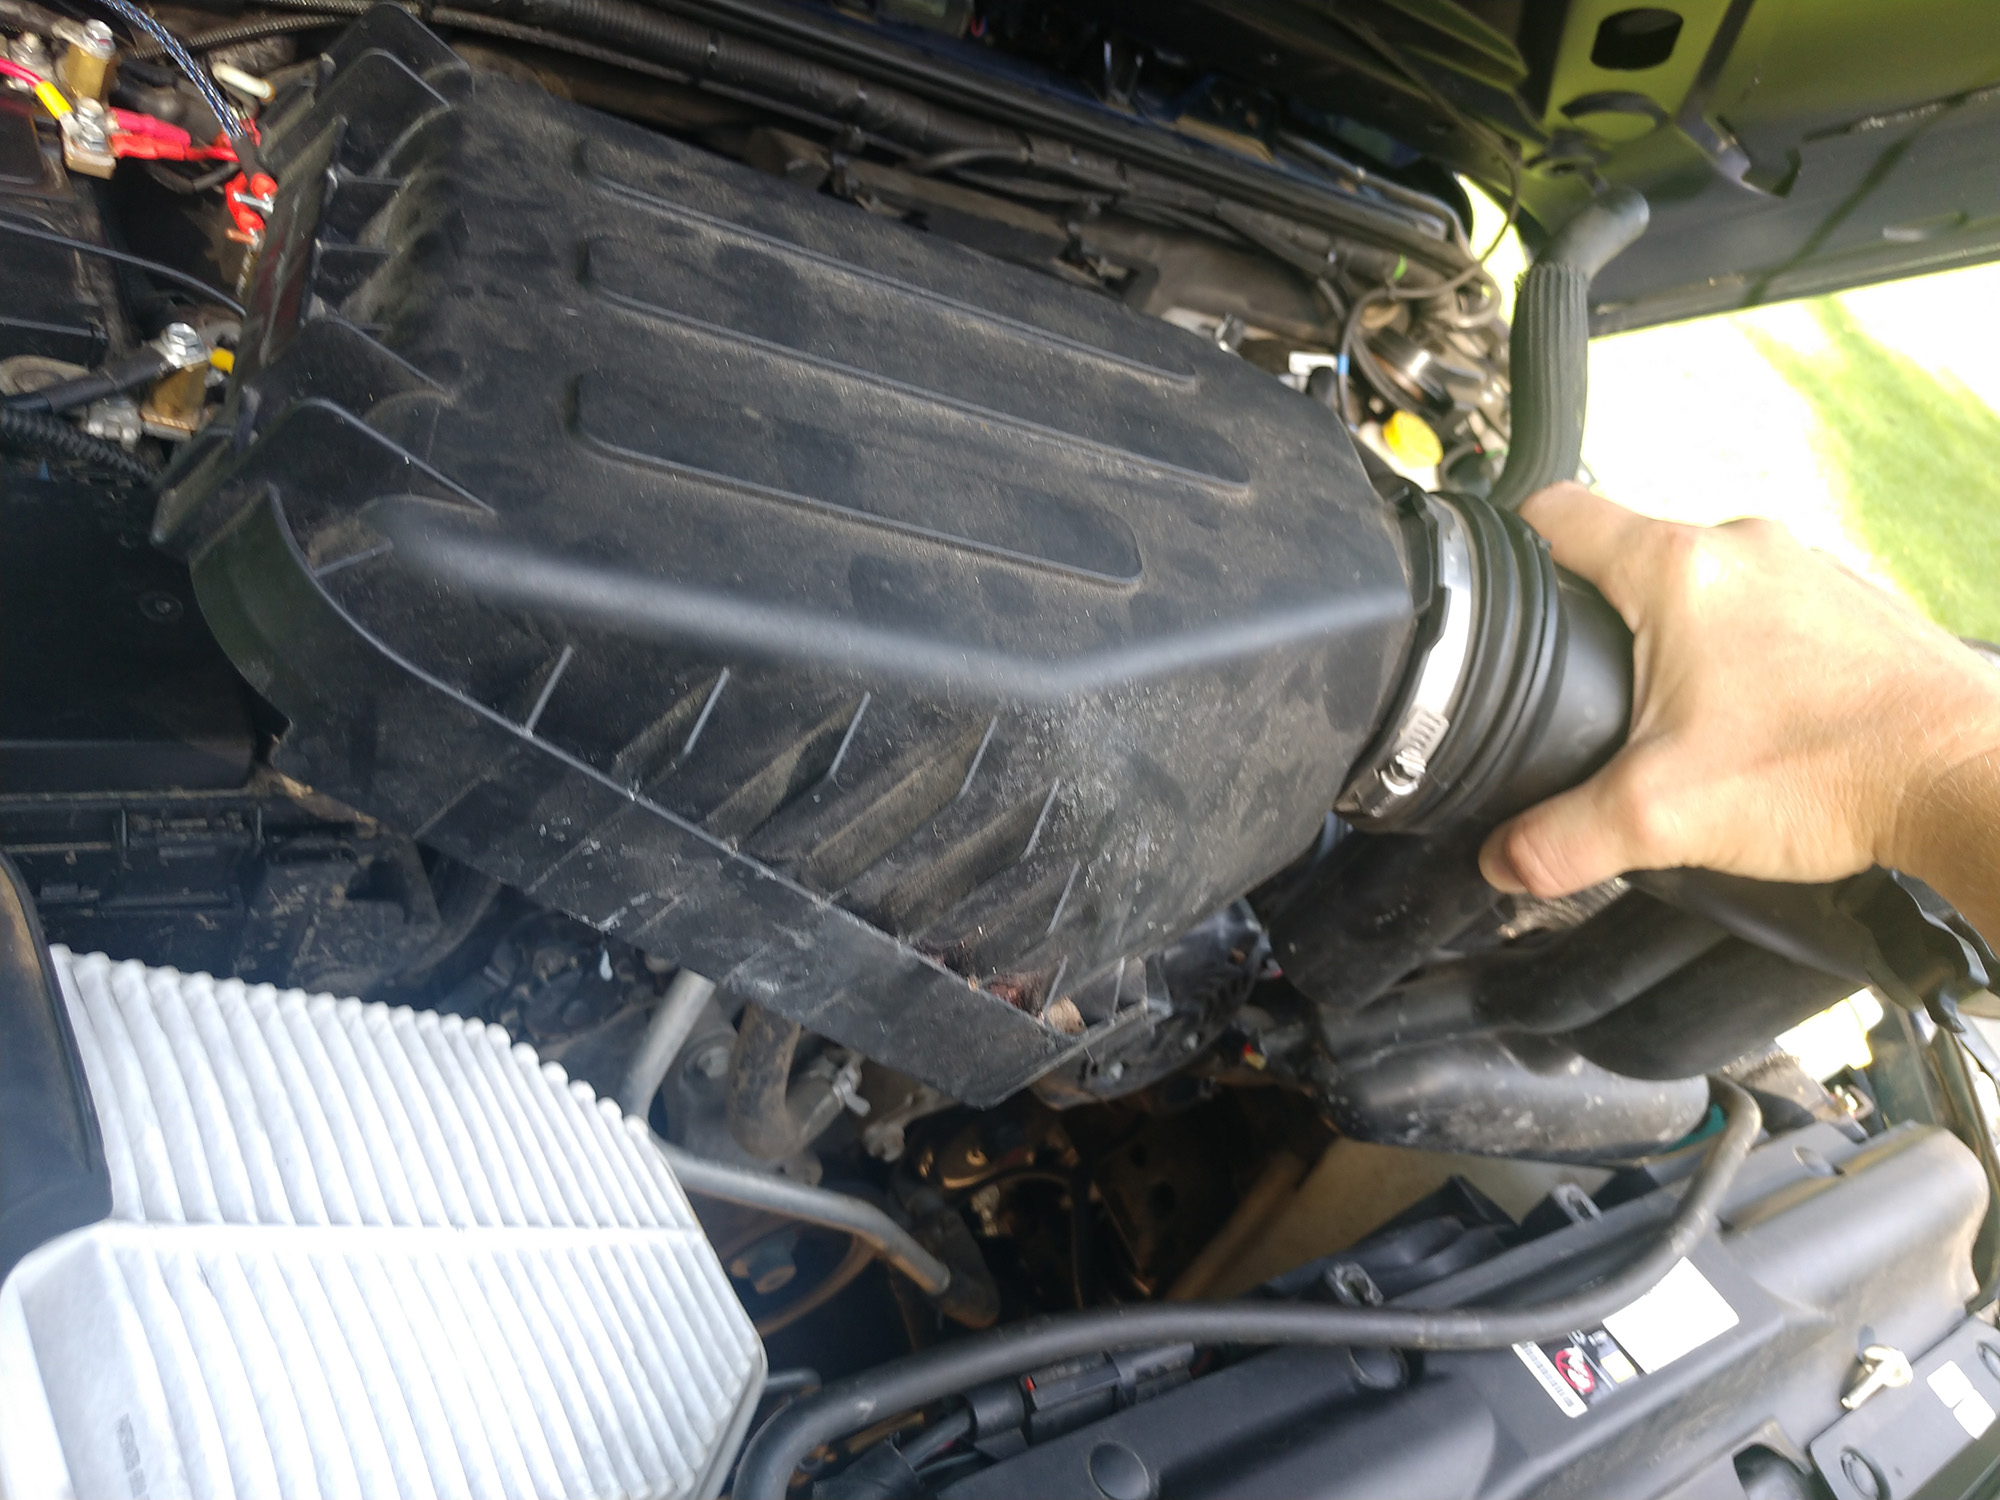
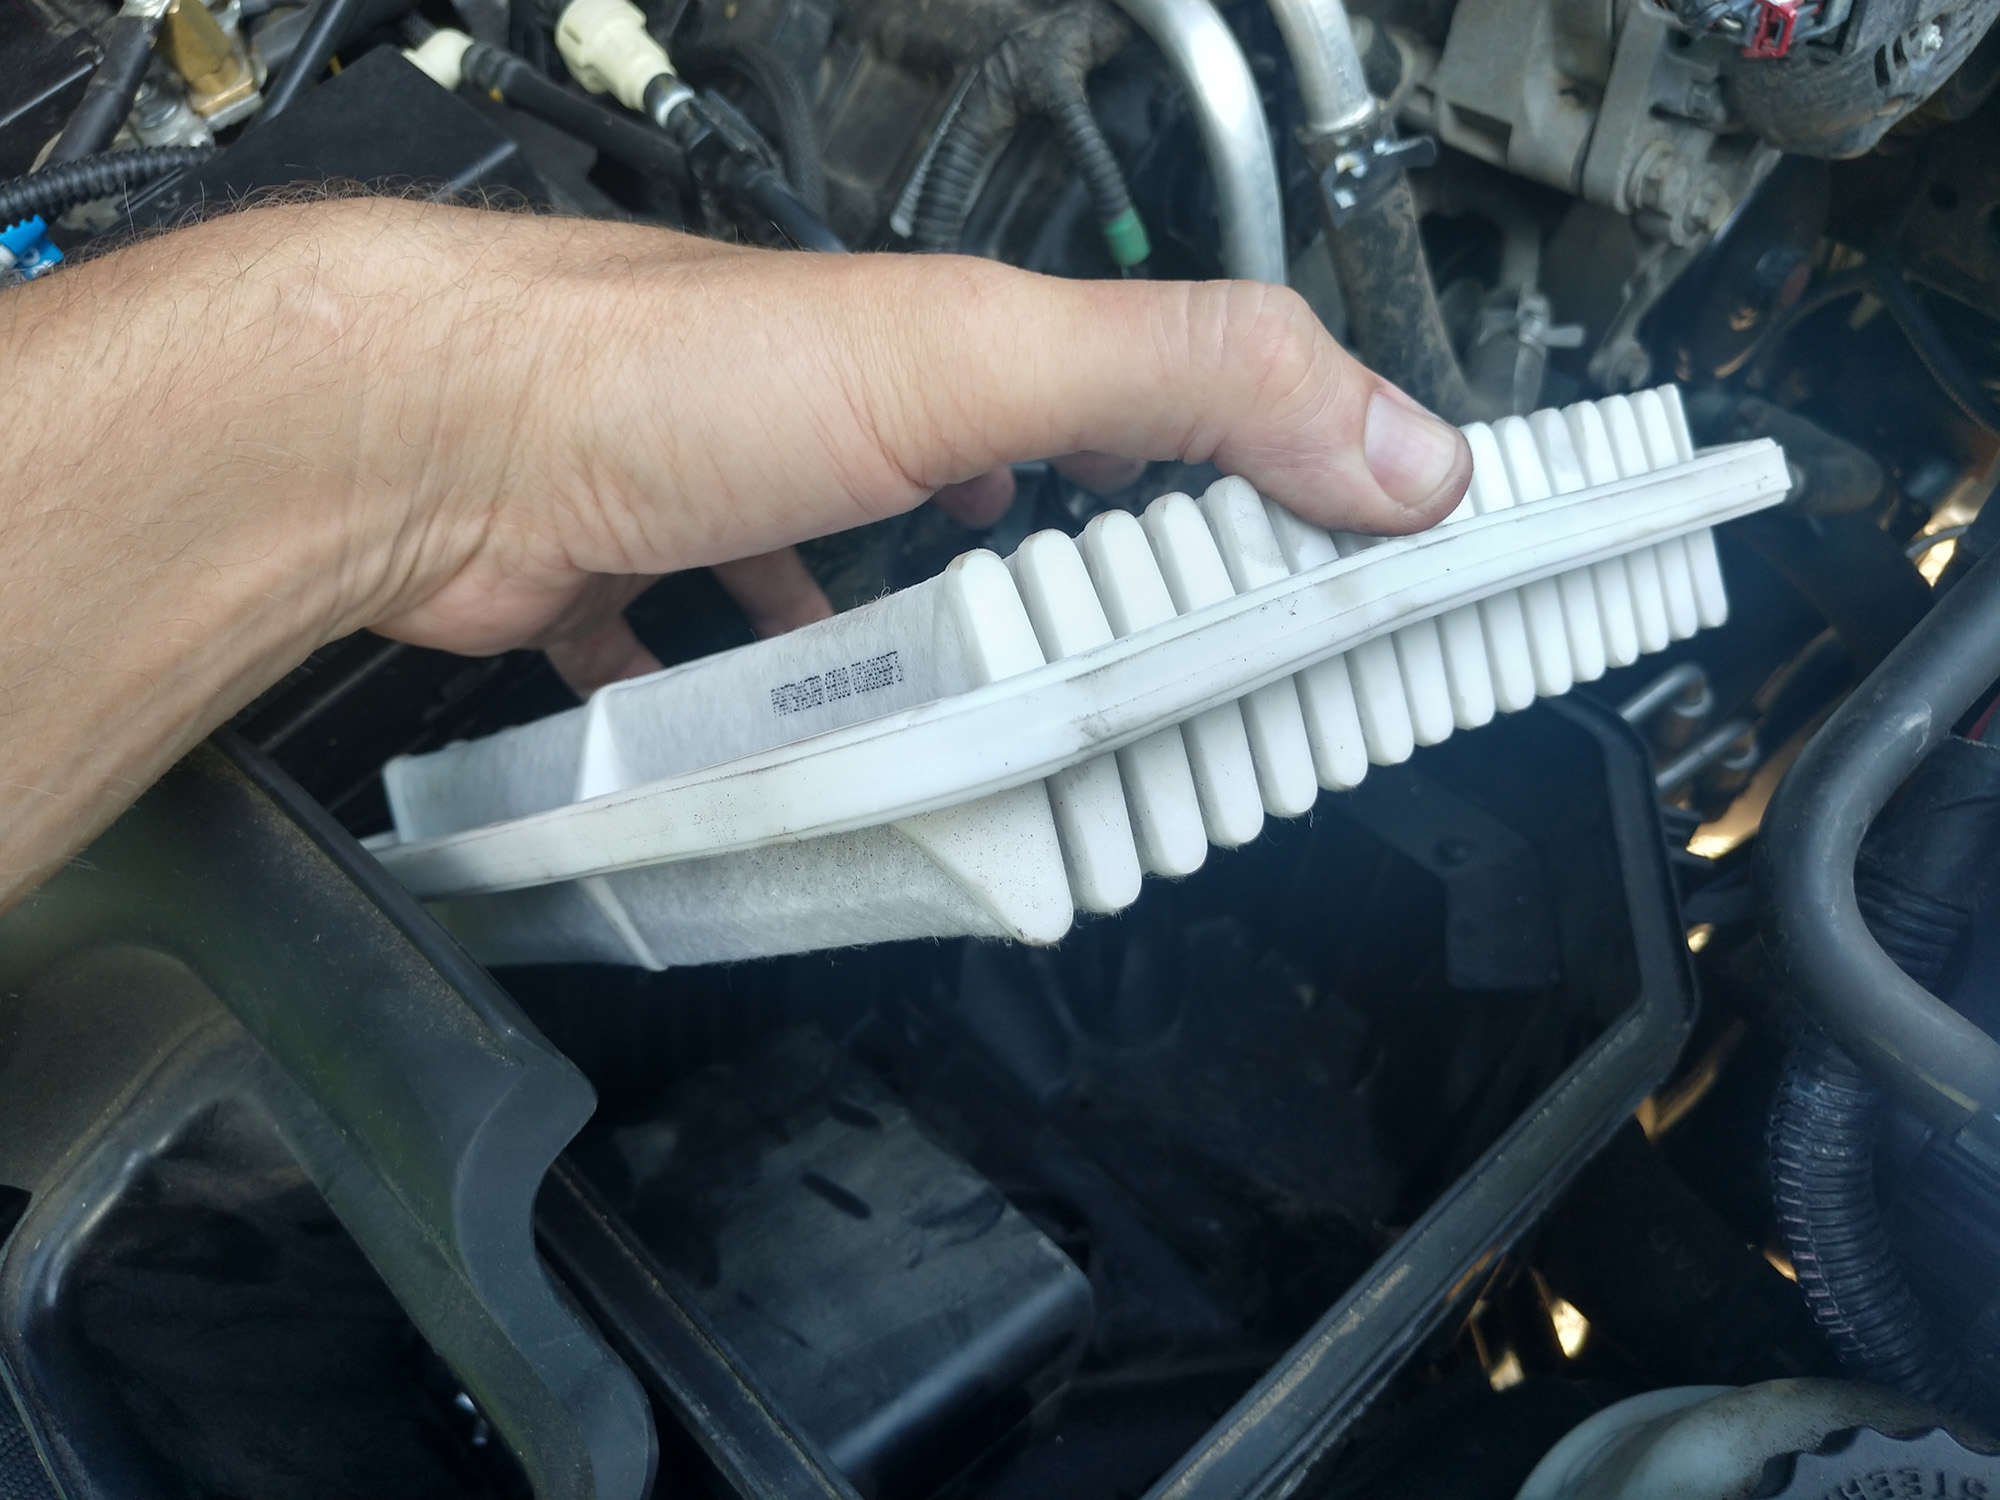
Take the filter out of the air box now, so you can see what you’re doing while you remove the lower section.
Grab the air inlet tube and push the intake towards the center of the Jeep. This will pull it out of the outboard grommet.
Then lift up to separate the mounting posts from the other two grommets.

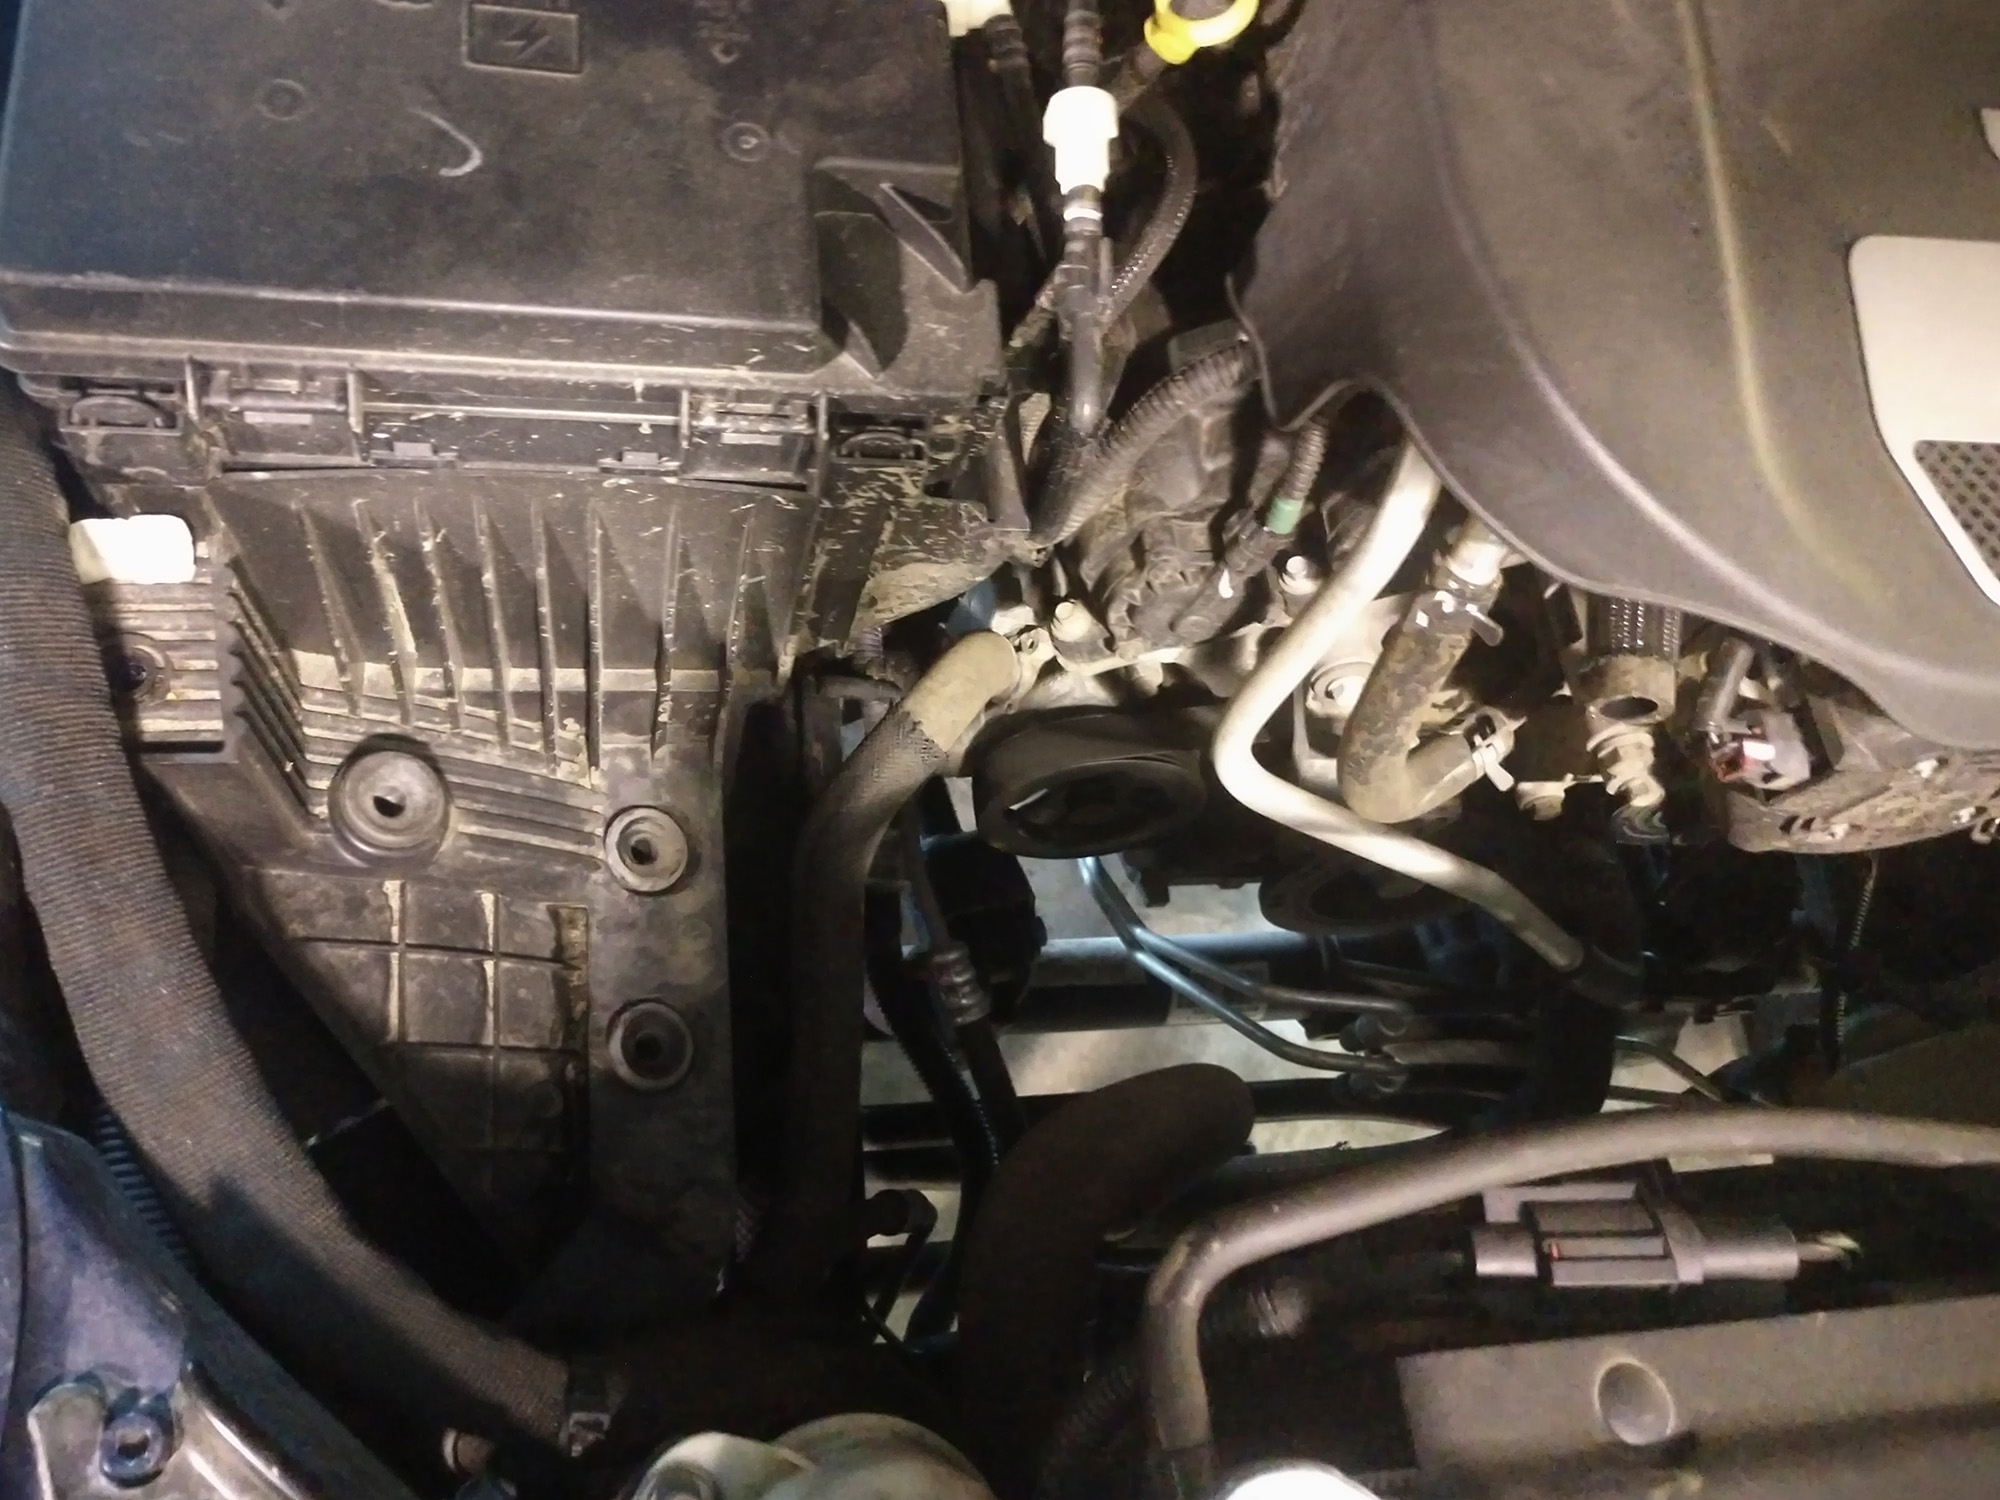
Remove the lower airbox, and clean any dust or tree debris that may have been trapped. Also use a 10mm socket to remove the gray colored bolt just outboard of the factory airbox grommets (where the torn white label is sitting in the previous two pictures).
Installation of the new S&B intake:
.jpg)
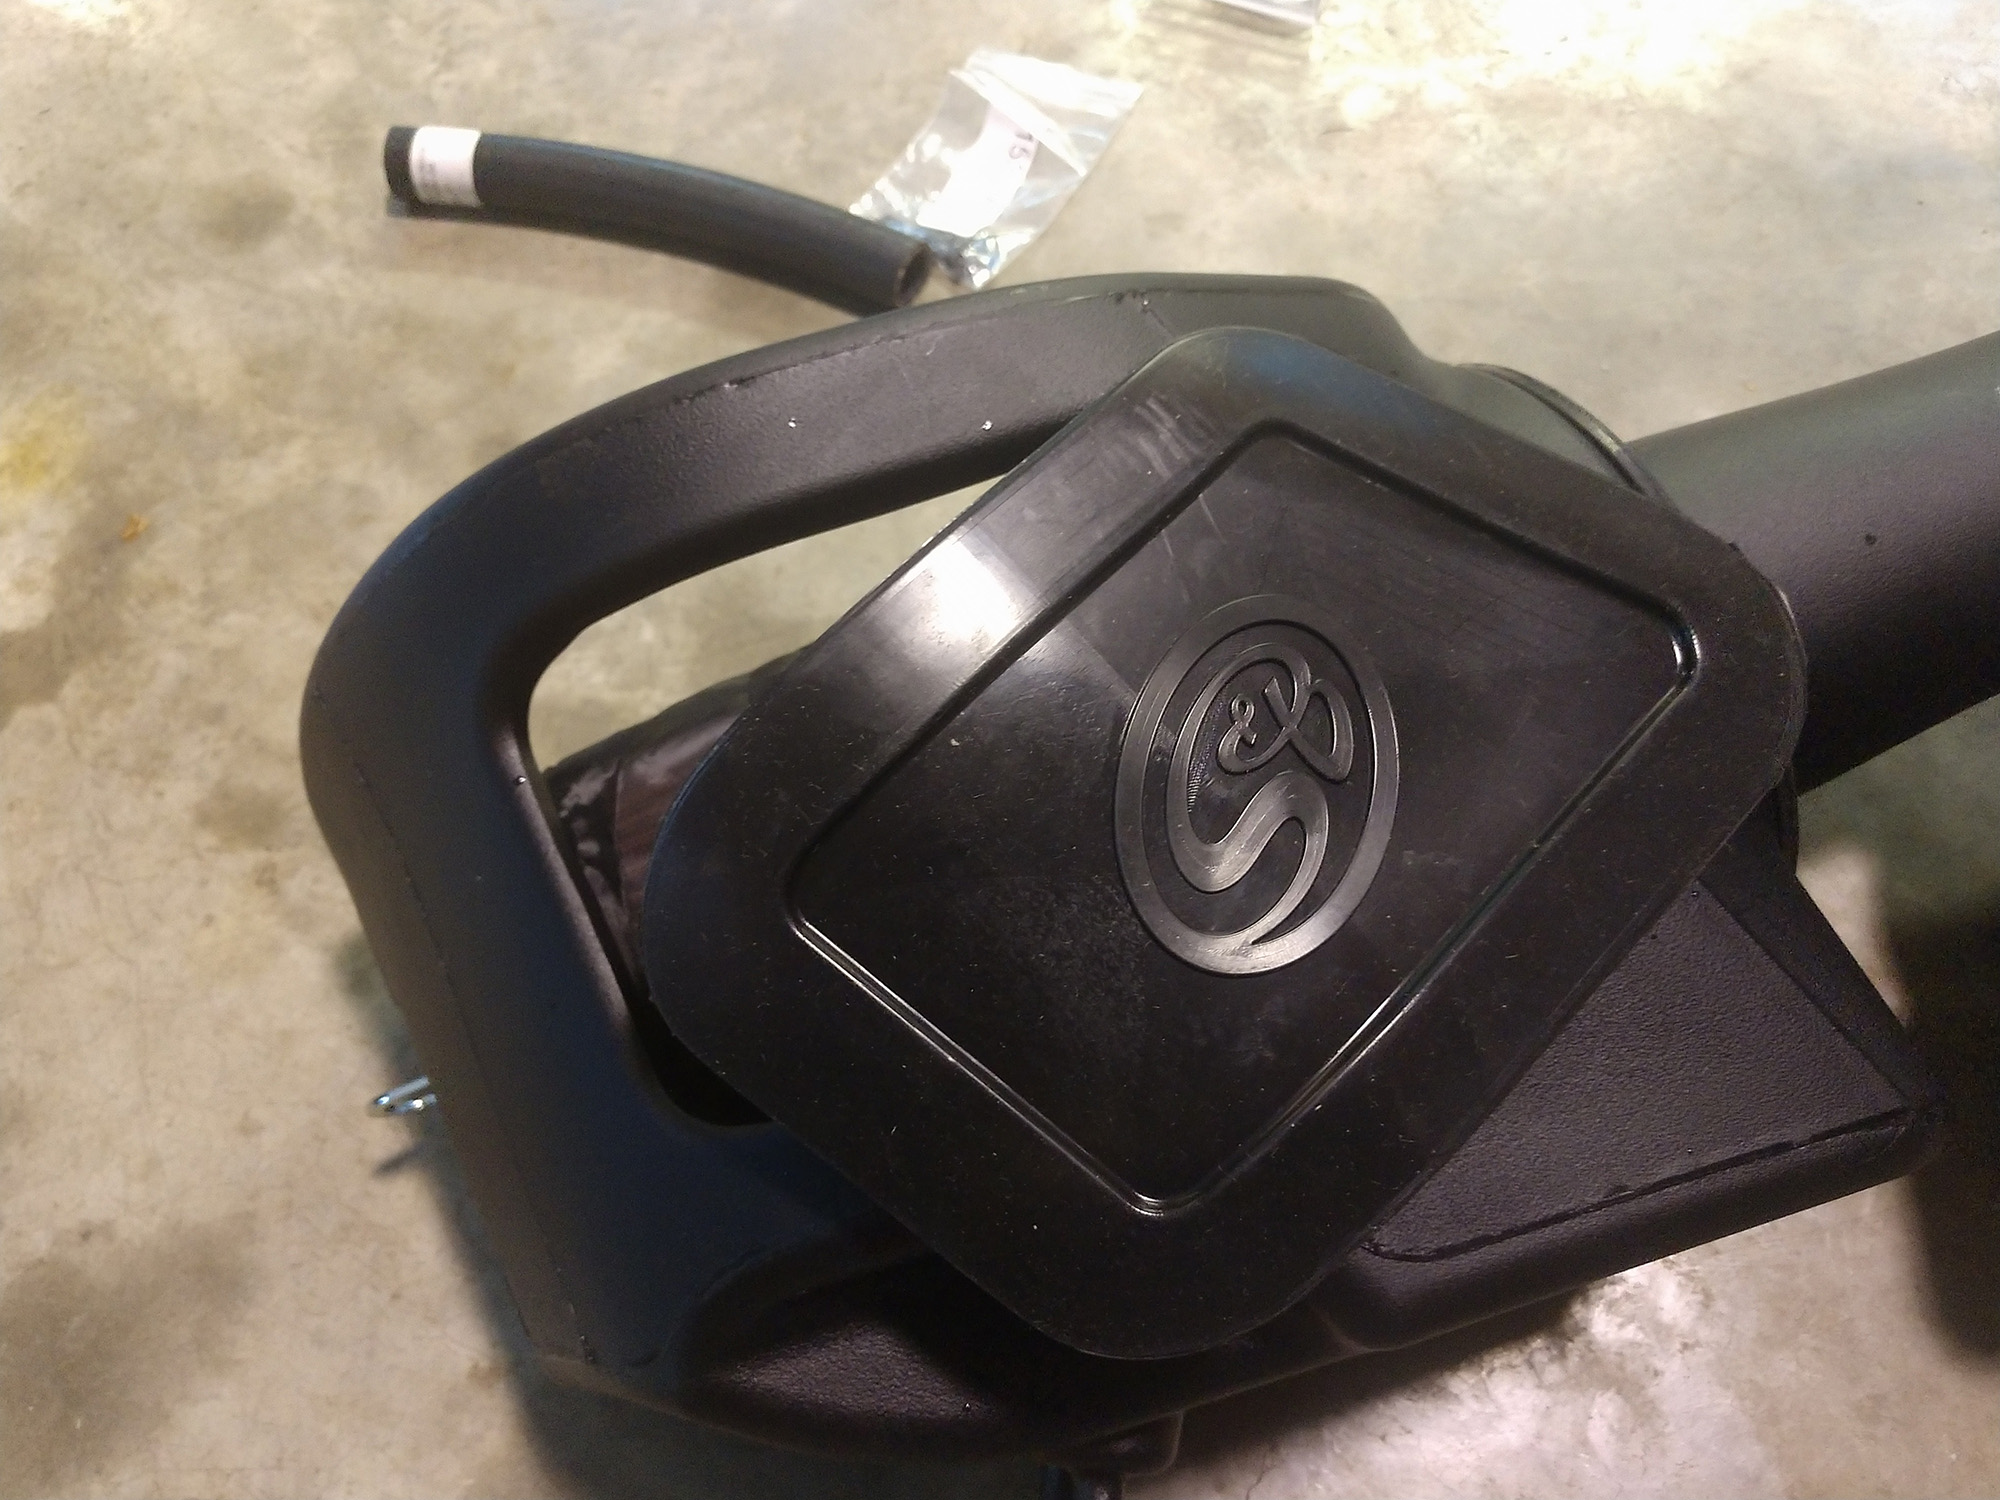
The new intake system from S&B comes thoughtfully packaged, and everything is separated to make sure the little pieces aren’t rattling around in the bottom of the box.
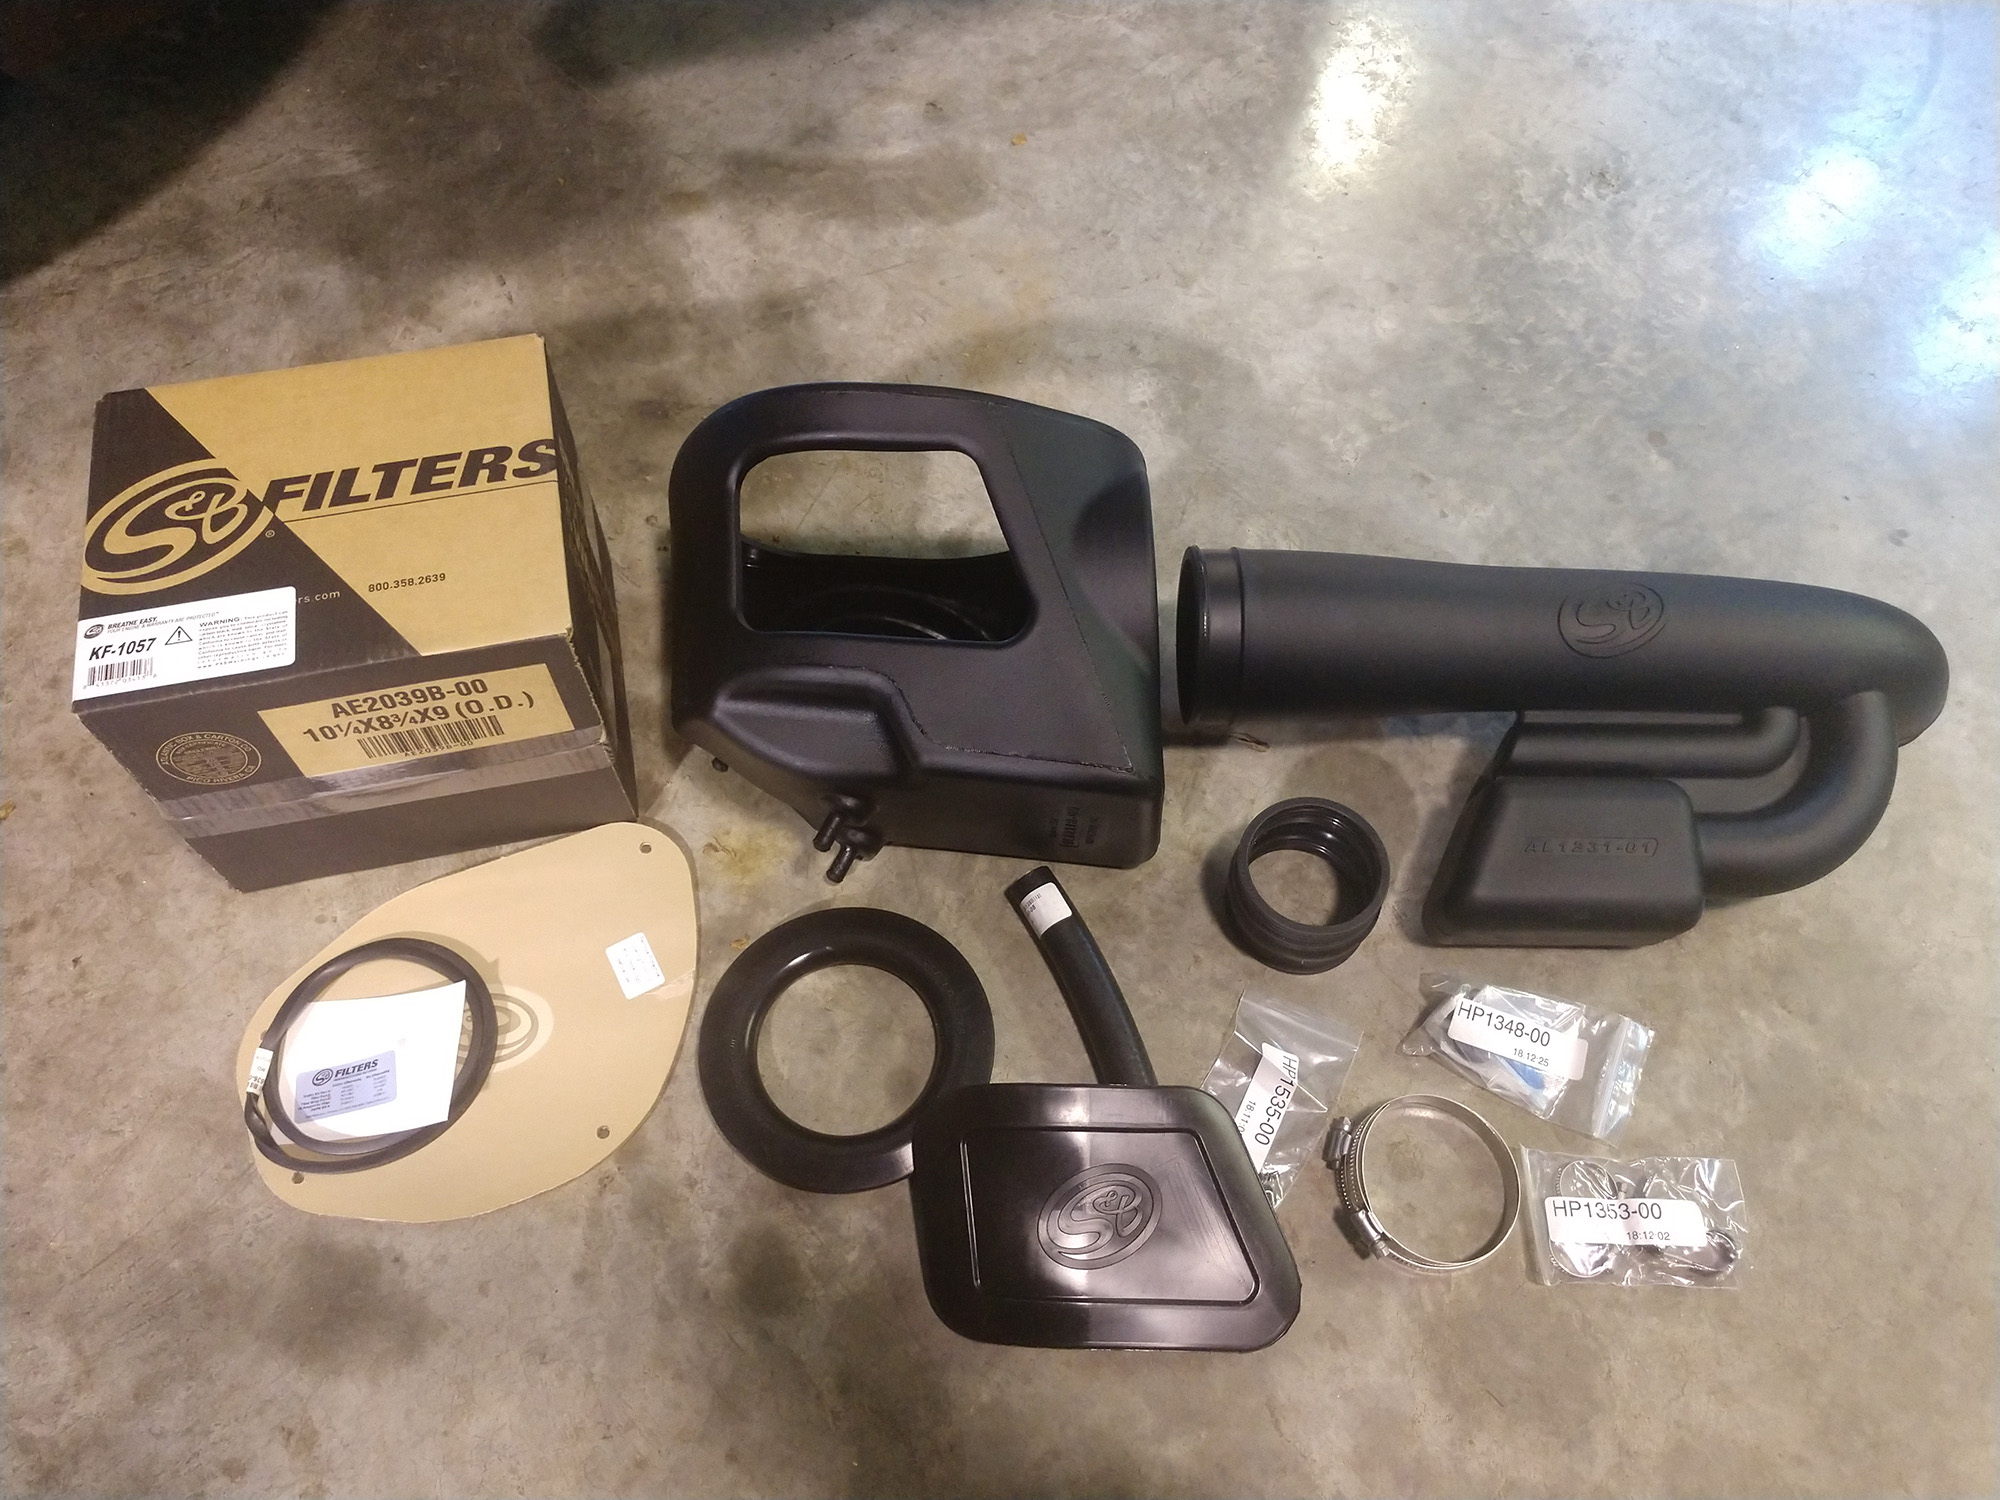
With all the parts set out, you can get an idea of how everything will go together. As I mentioned earlier, this system has several ‘quick change’ configurations for different applications.
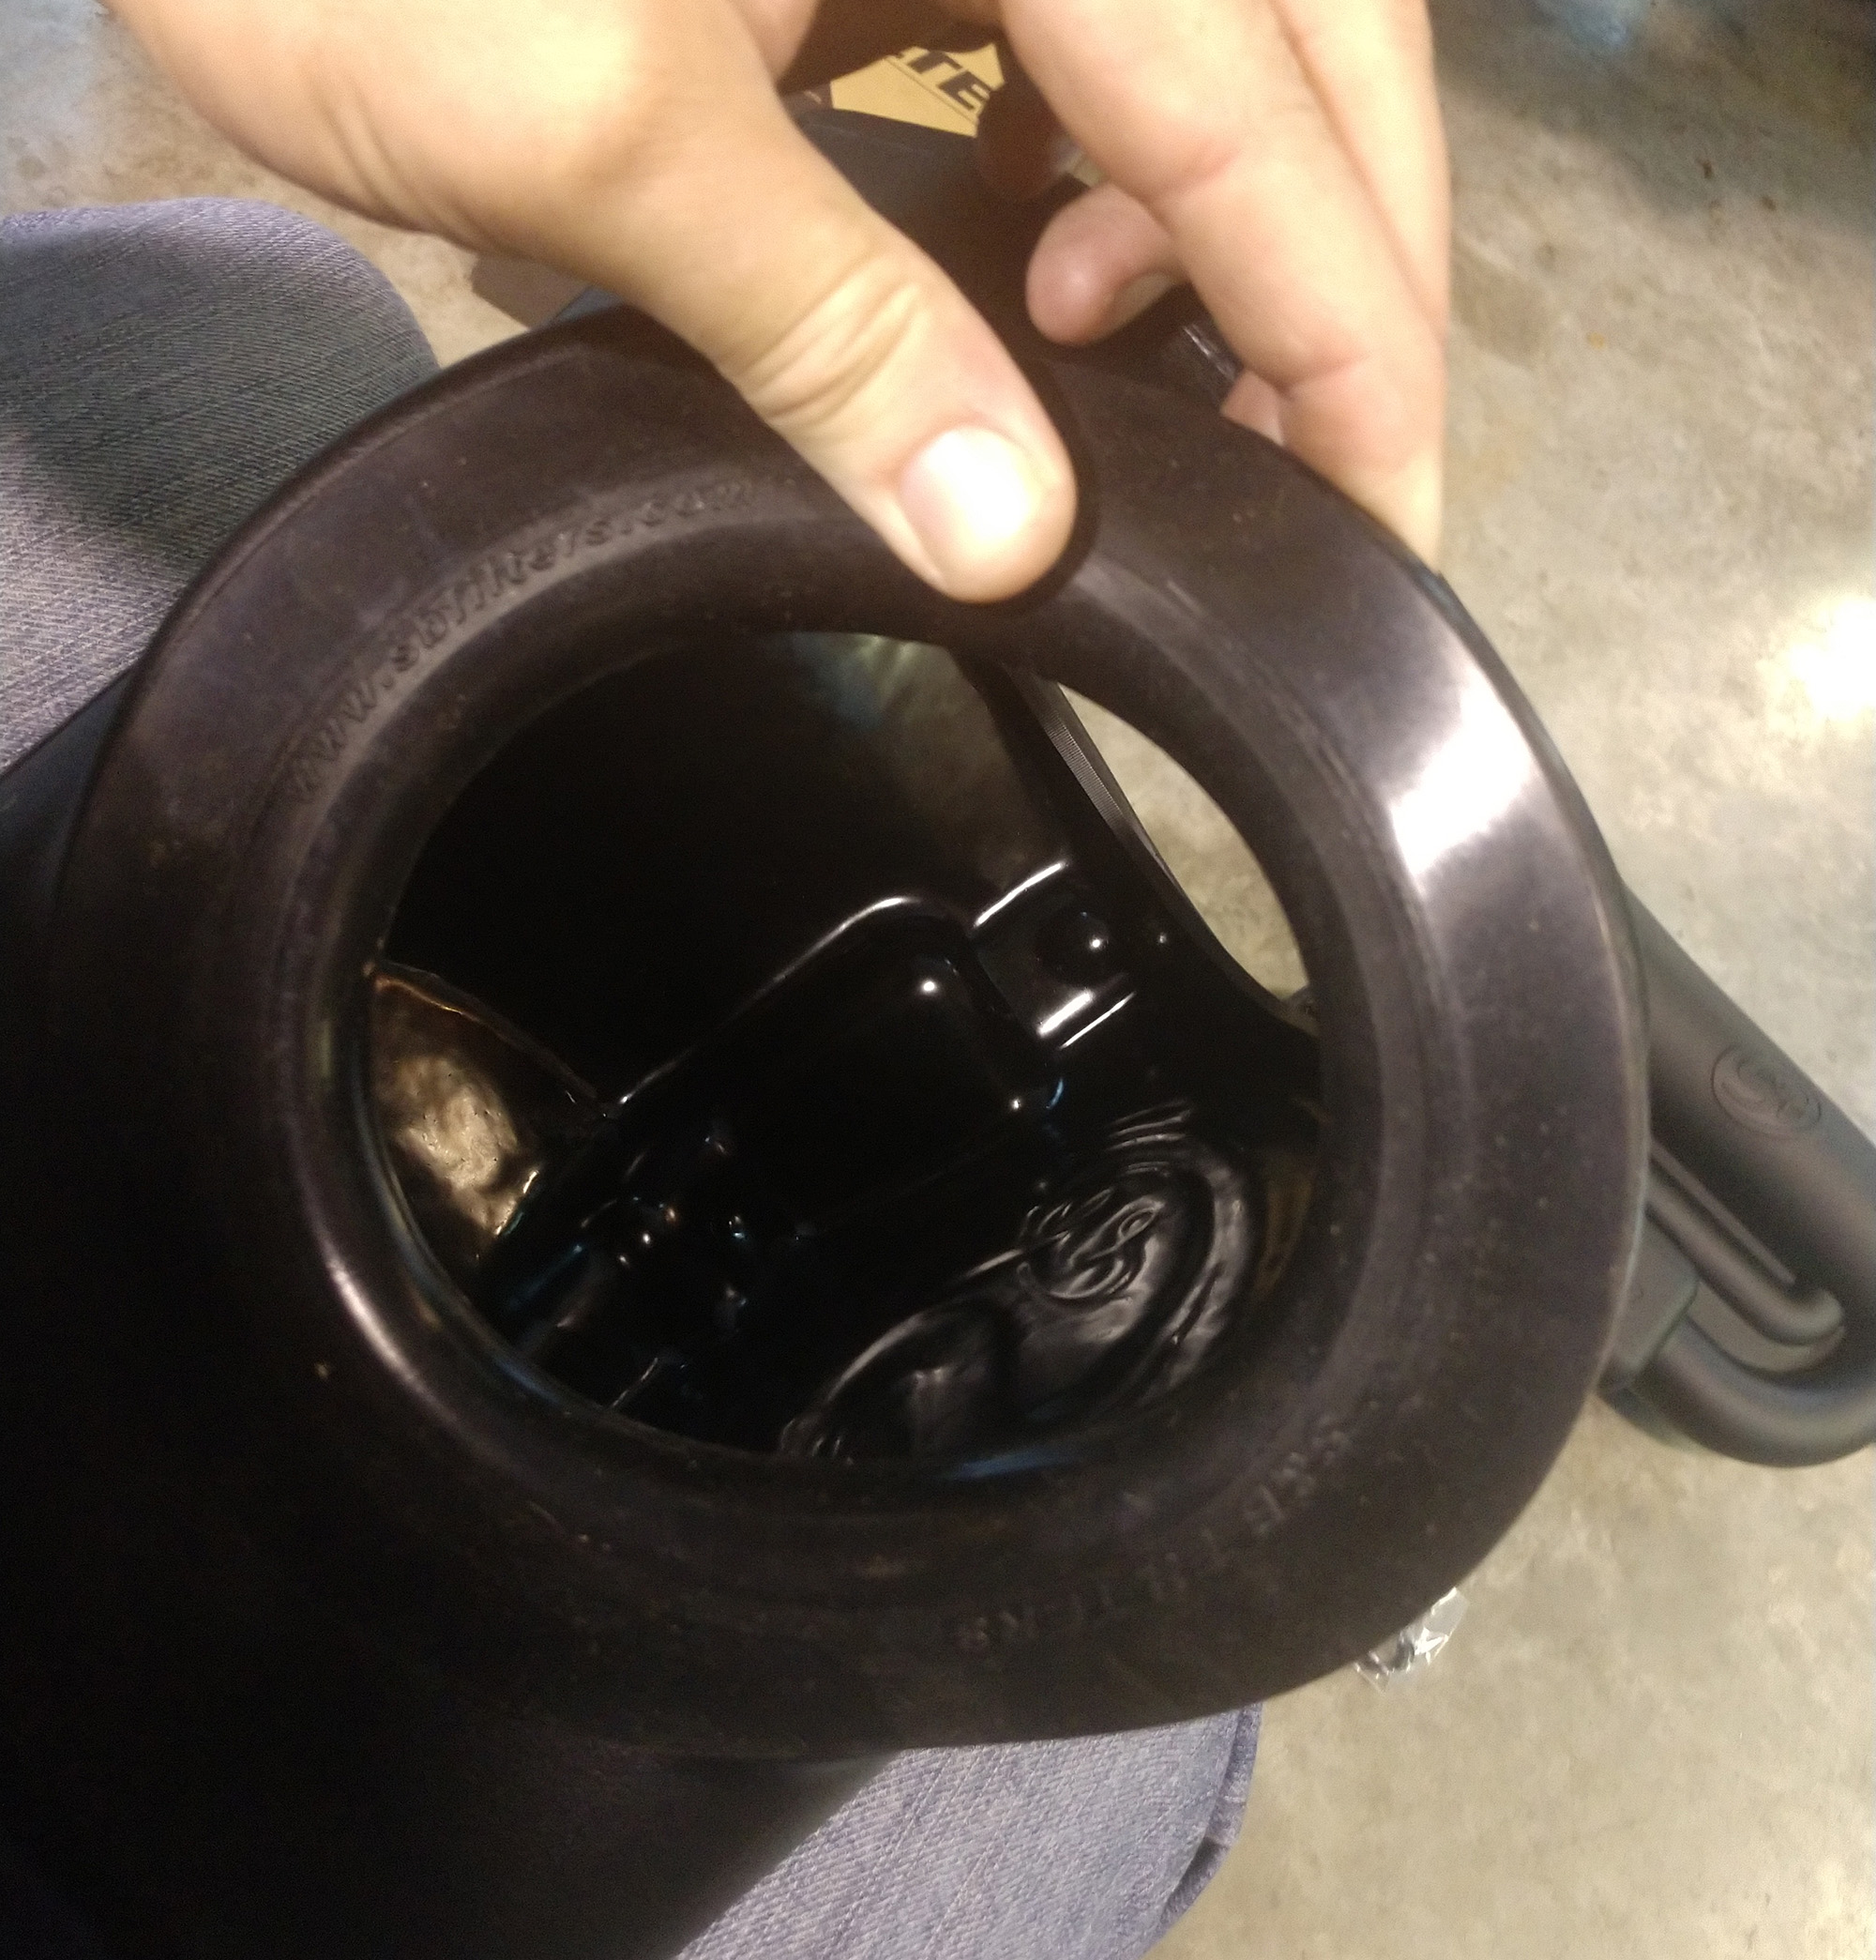
Install the large silicone tube seal in the side of the S&B air filter housing first, making sure there are no gaps. It will be a tight fit.
Insert the intake tube through the silicone seal.
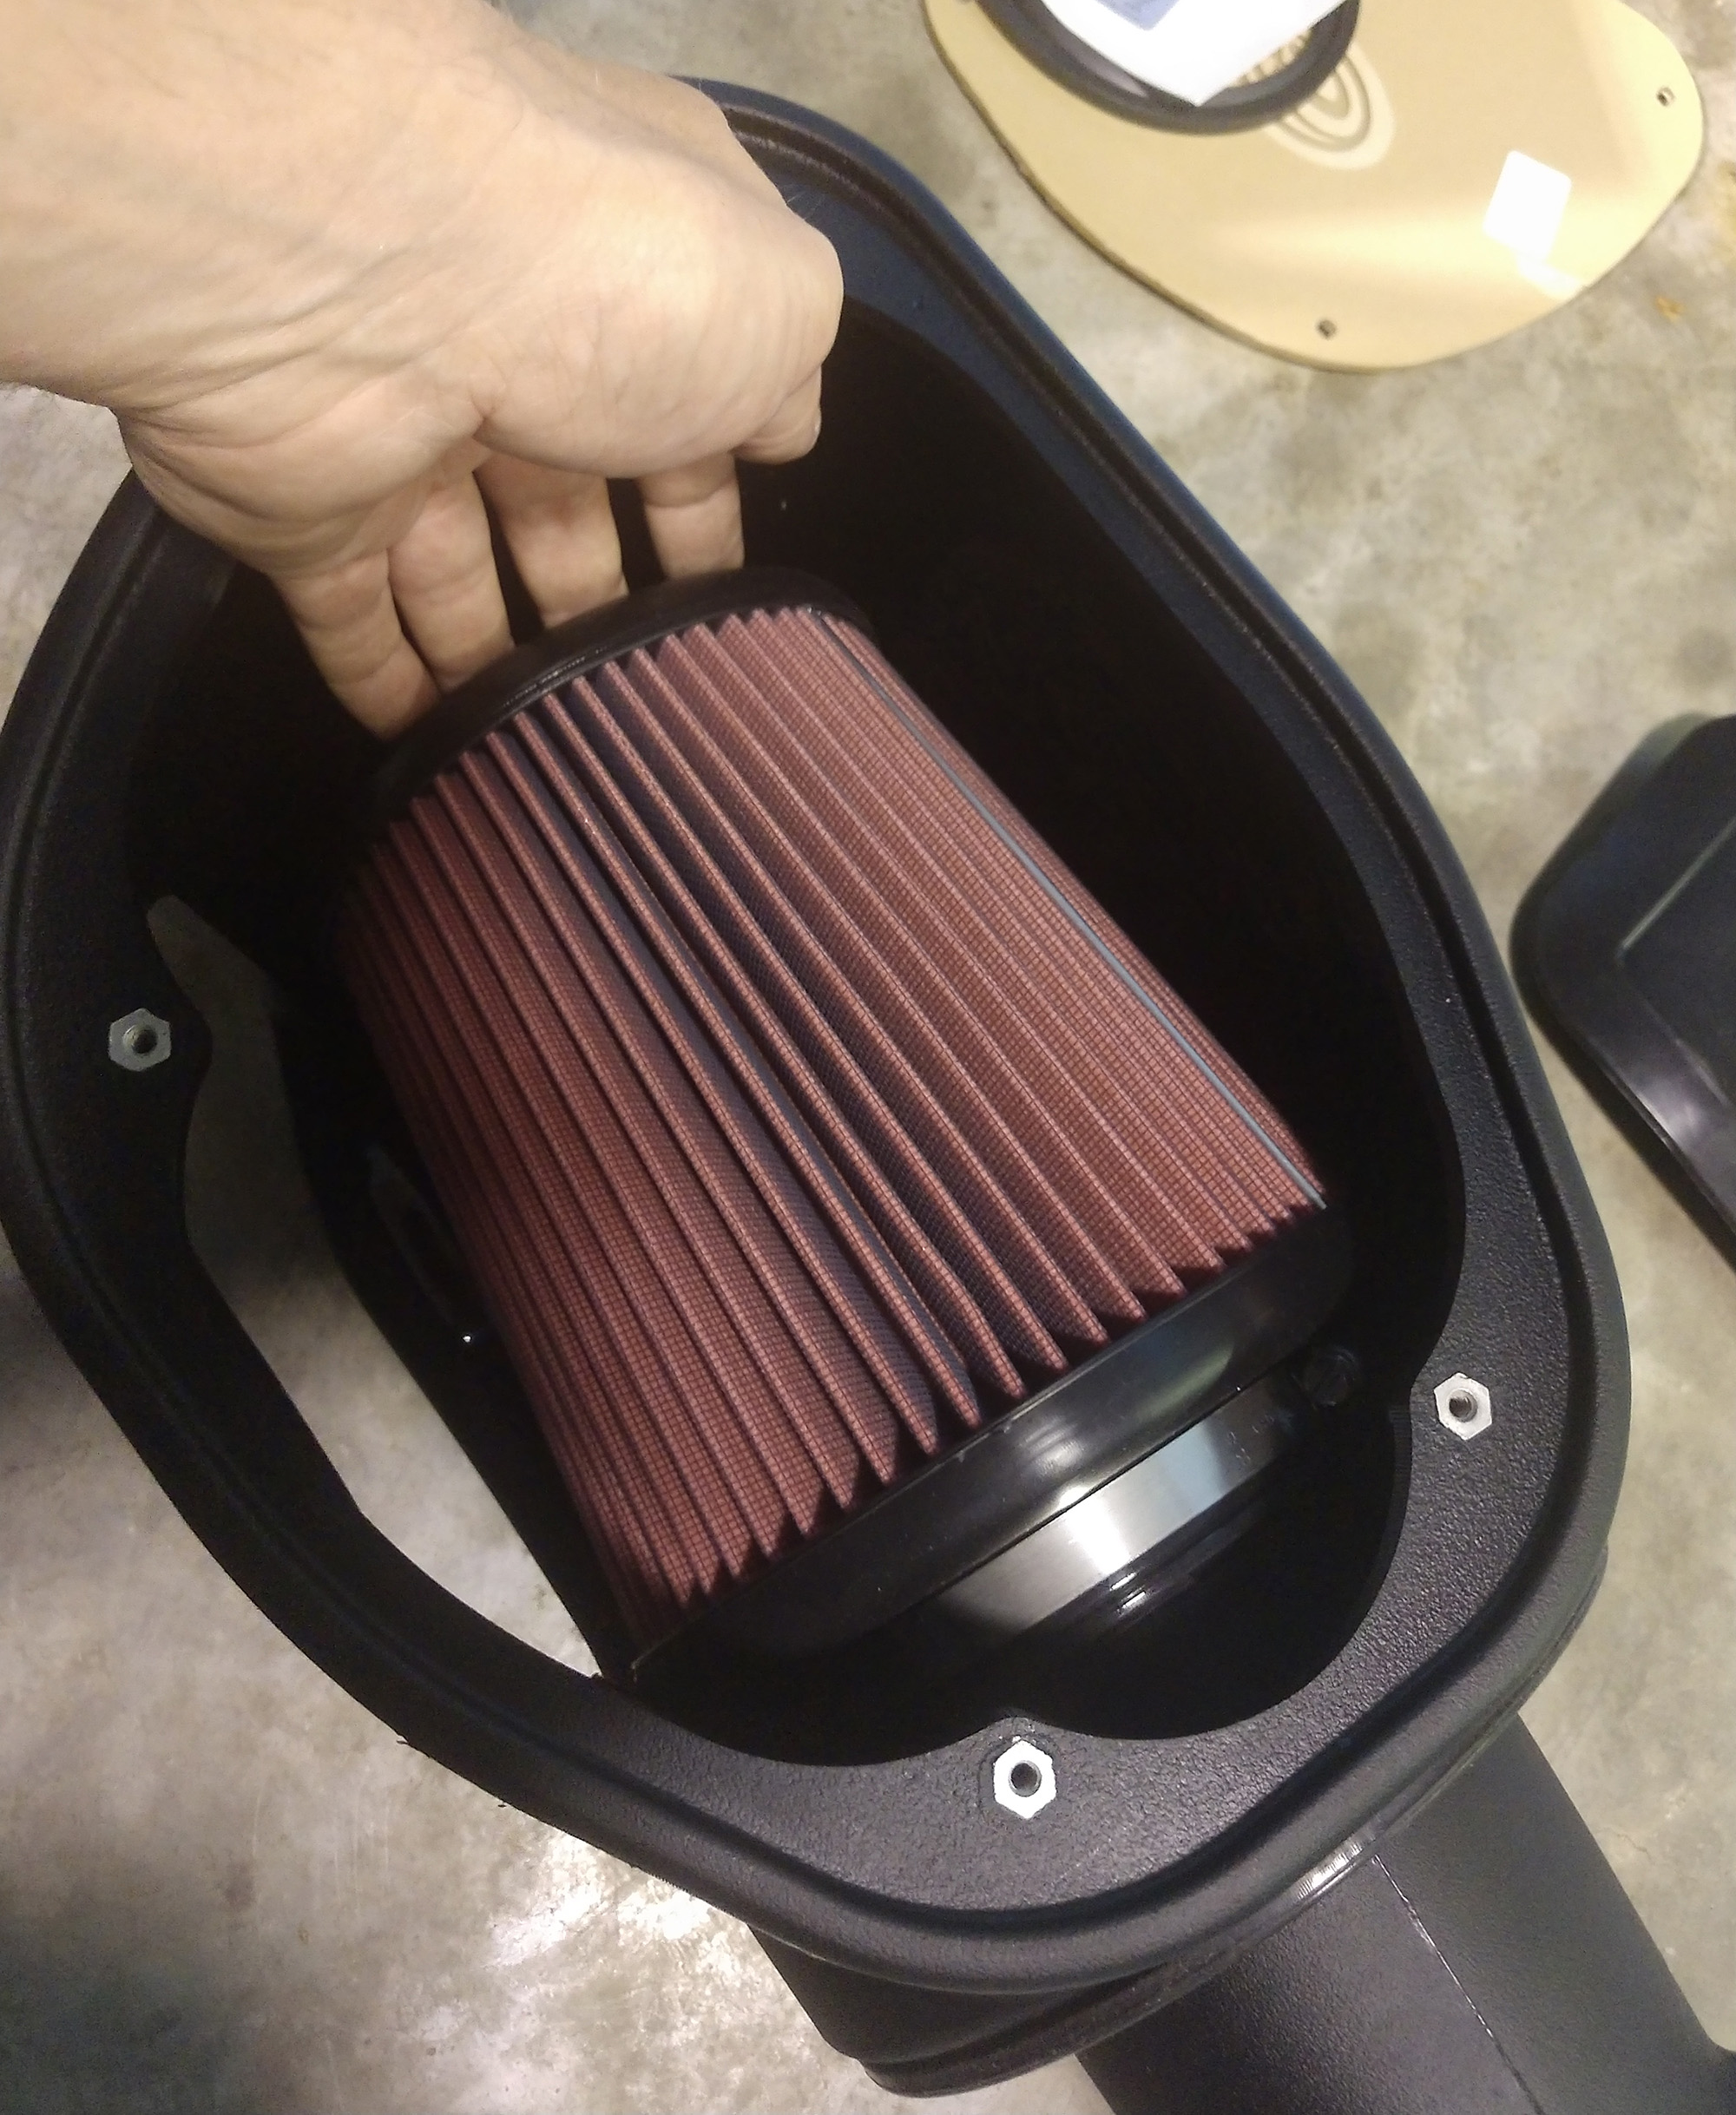
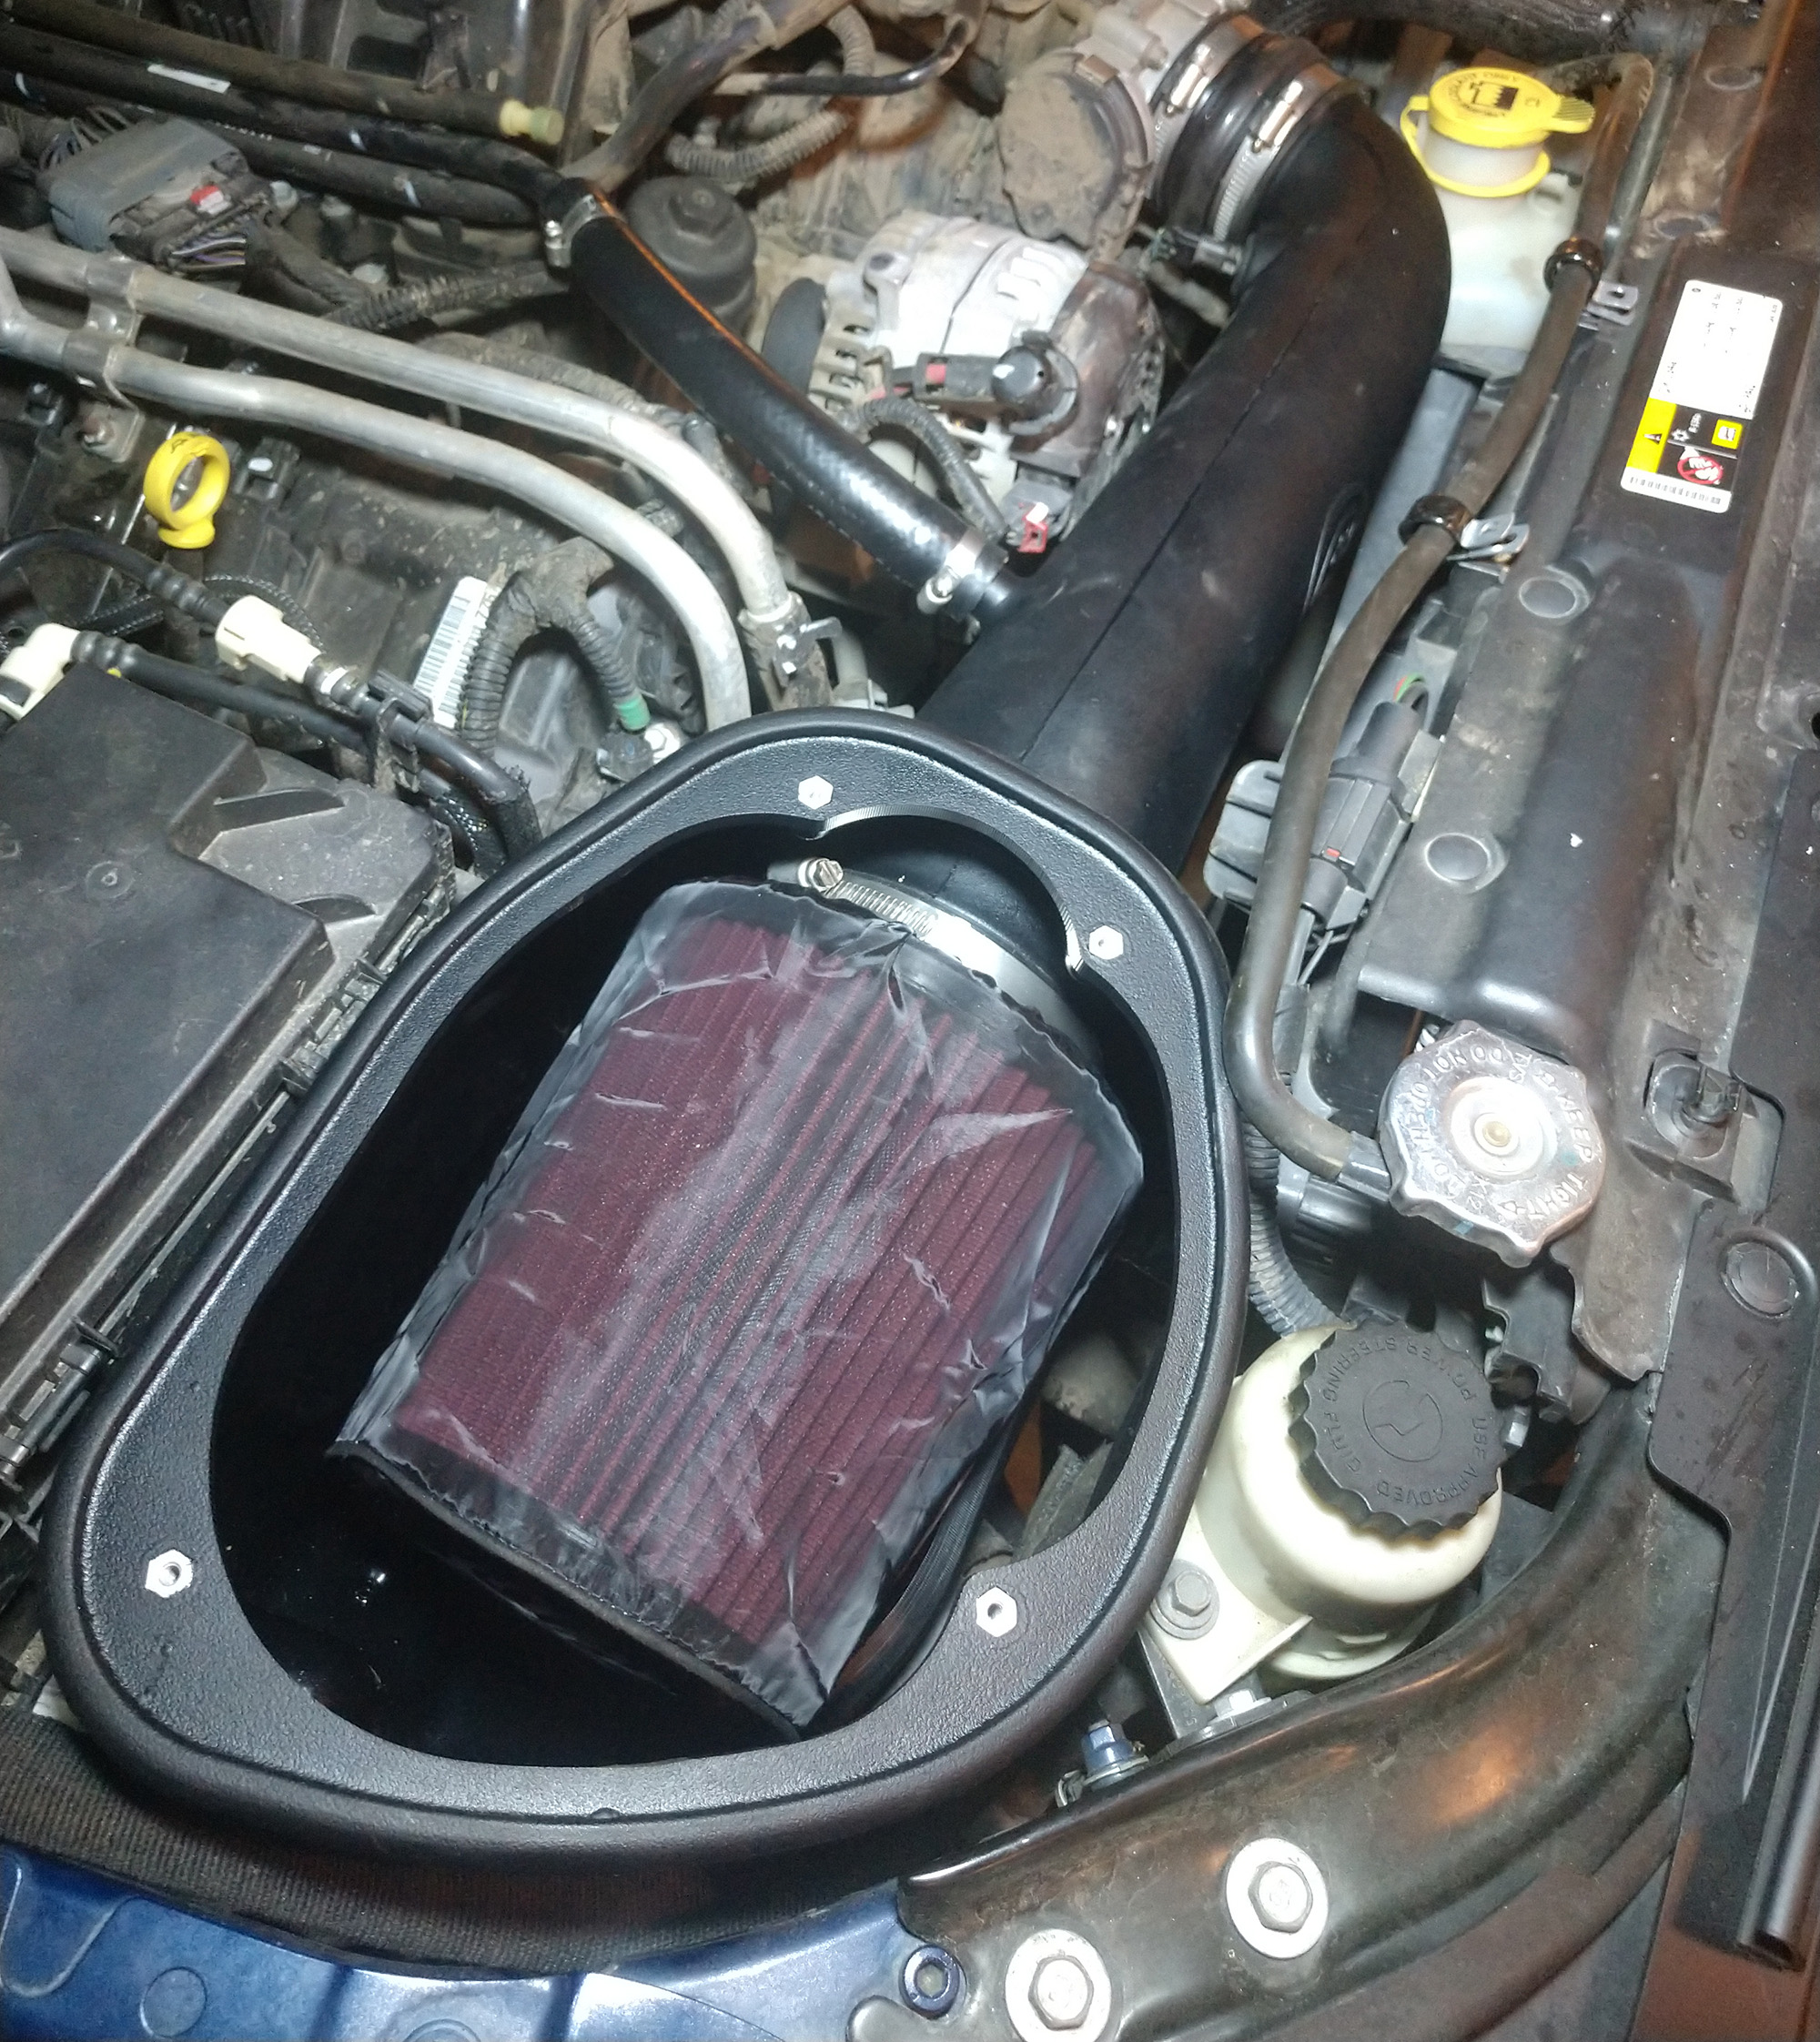
You can install the filter and clamp directly on to the intake tube now.

As an optional upgrade, S&B Filters WF-1057 Filter Wrap can be added to keep larger particles and bugs from clogging the filter element. I included this upgrade because the inside of my factory airbox, and all the pleats in the filter, were an insect graveyard. While a slight air-flow decrease is to be expected with a filter wrap (3-5% typically), the fact it keeps a filter cleaner for longer is a net advantage.
One rubber grommet is installed in the intake tube for the air sensor you removed from your factory intake system.
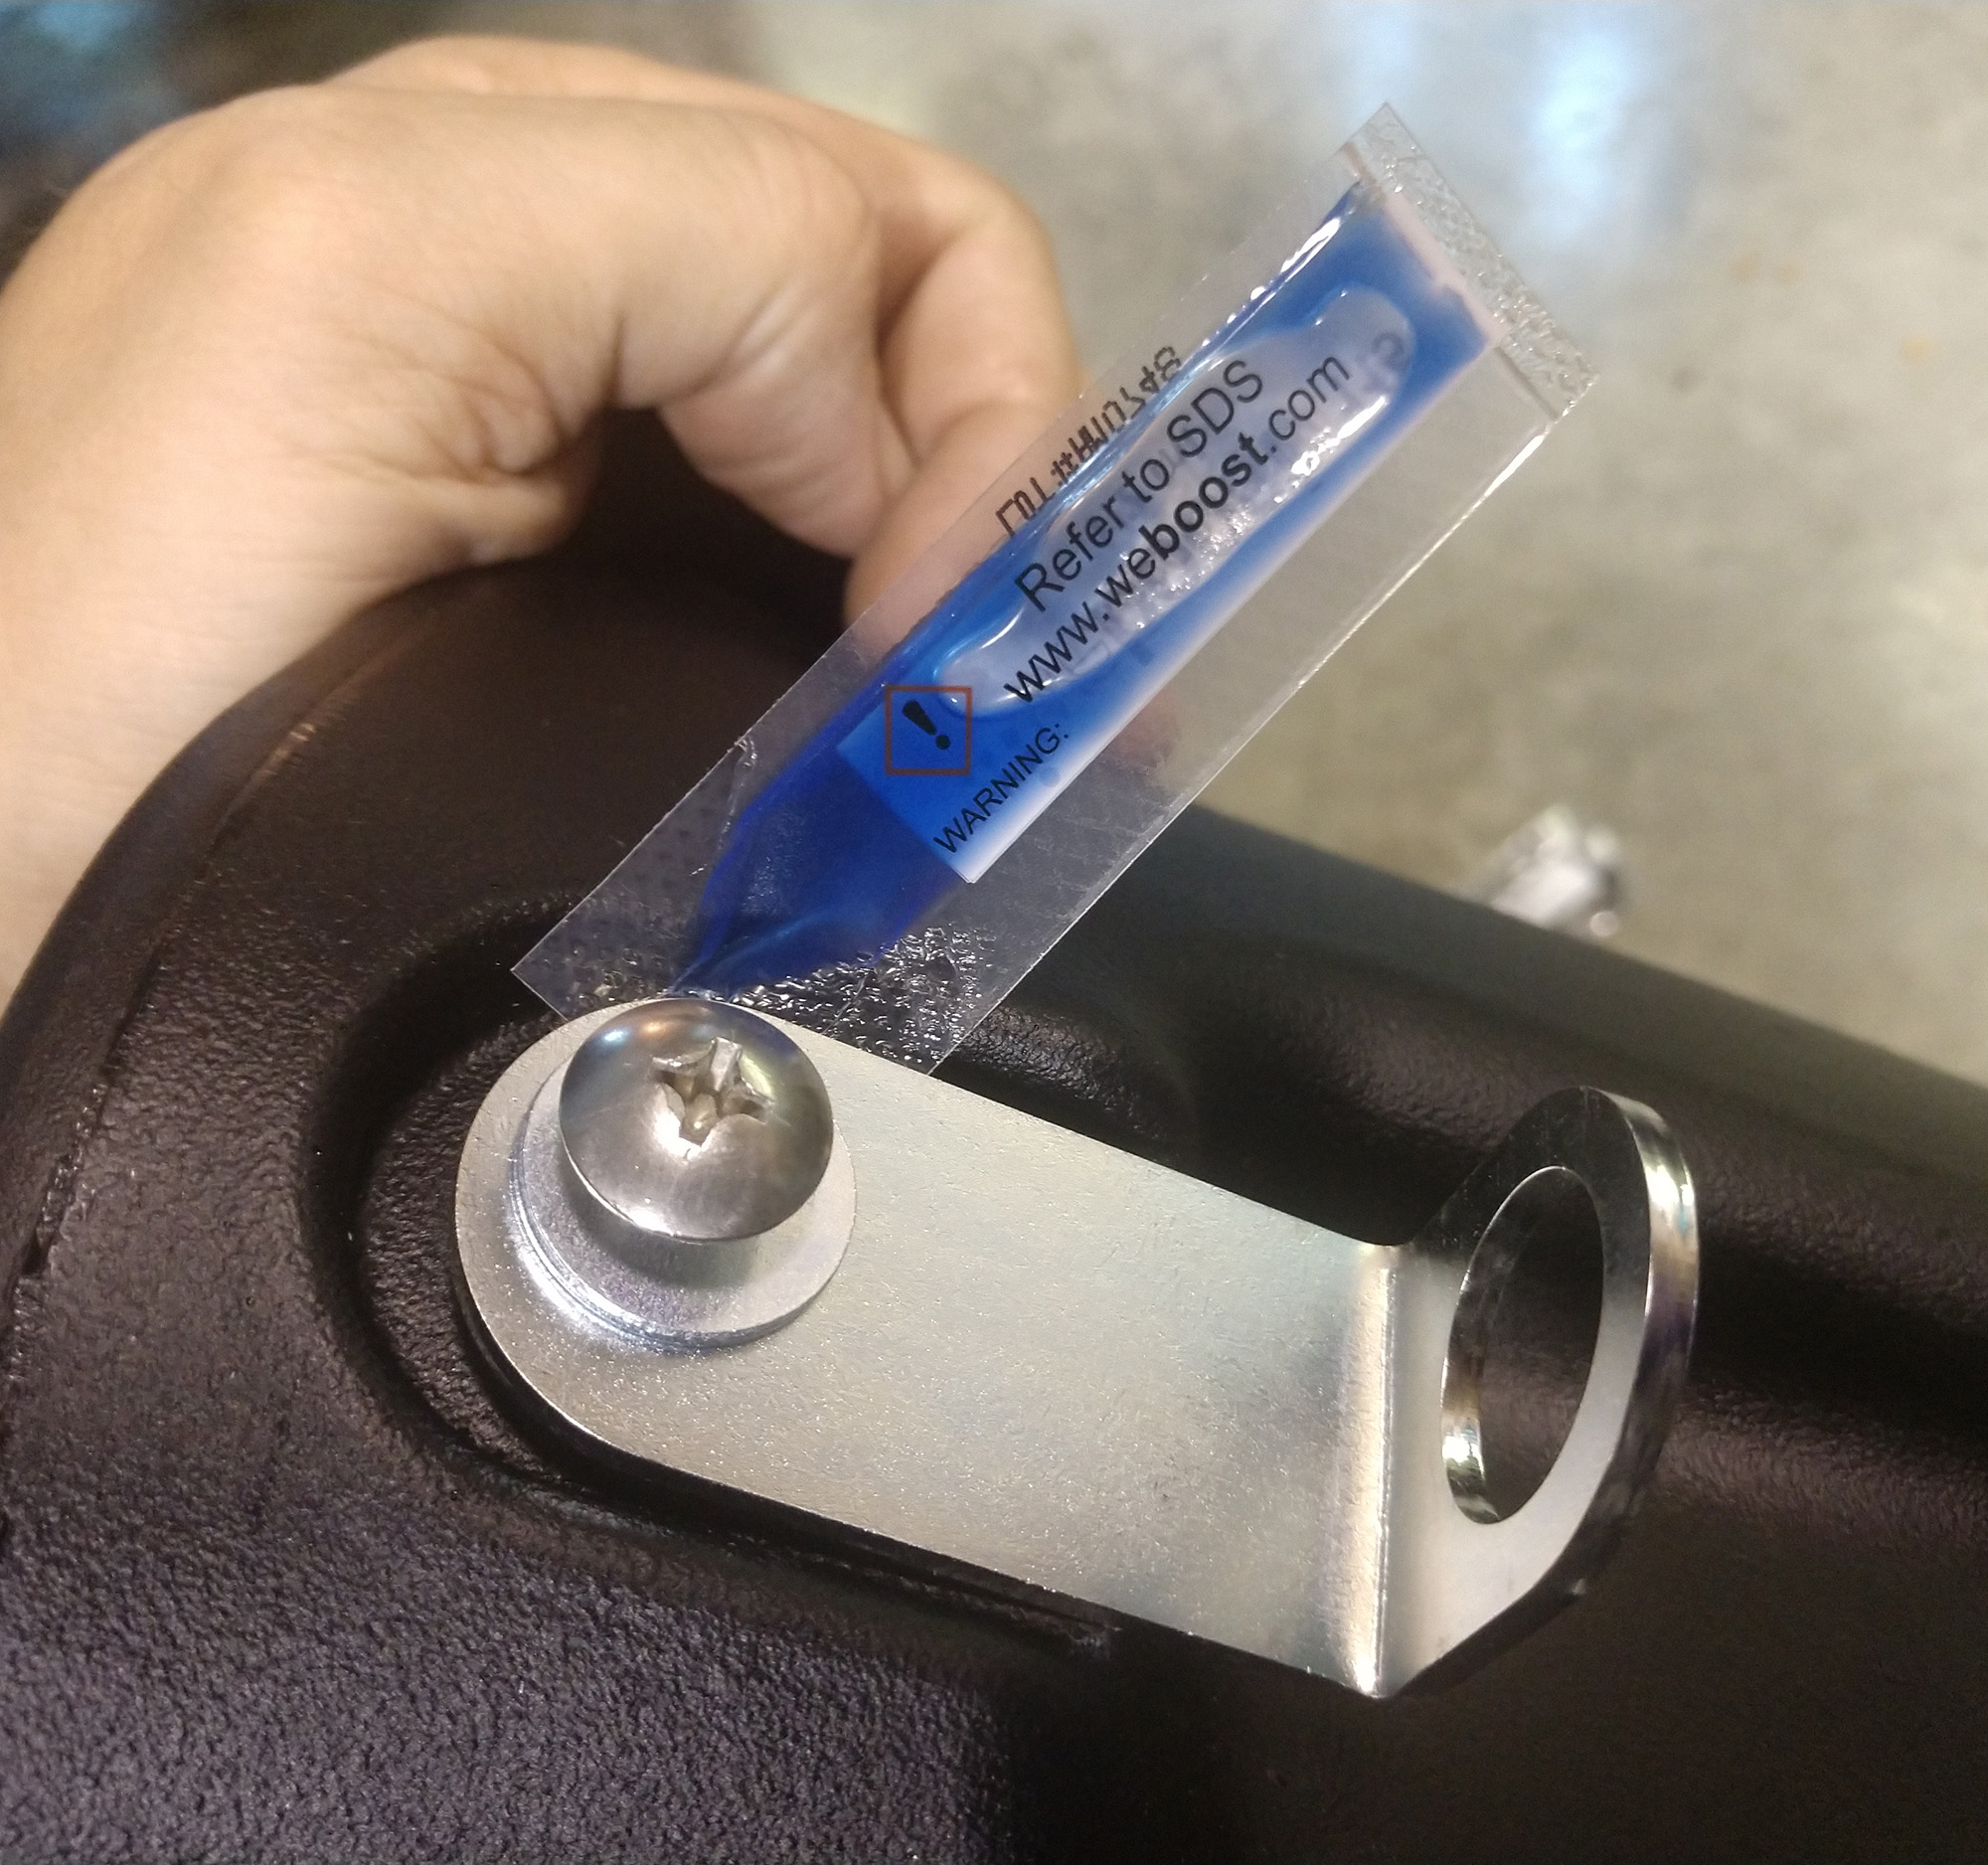
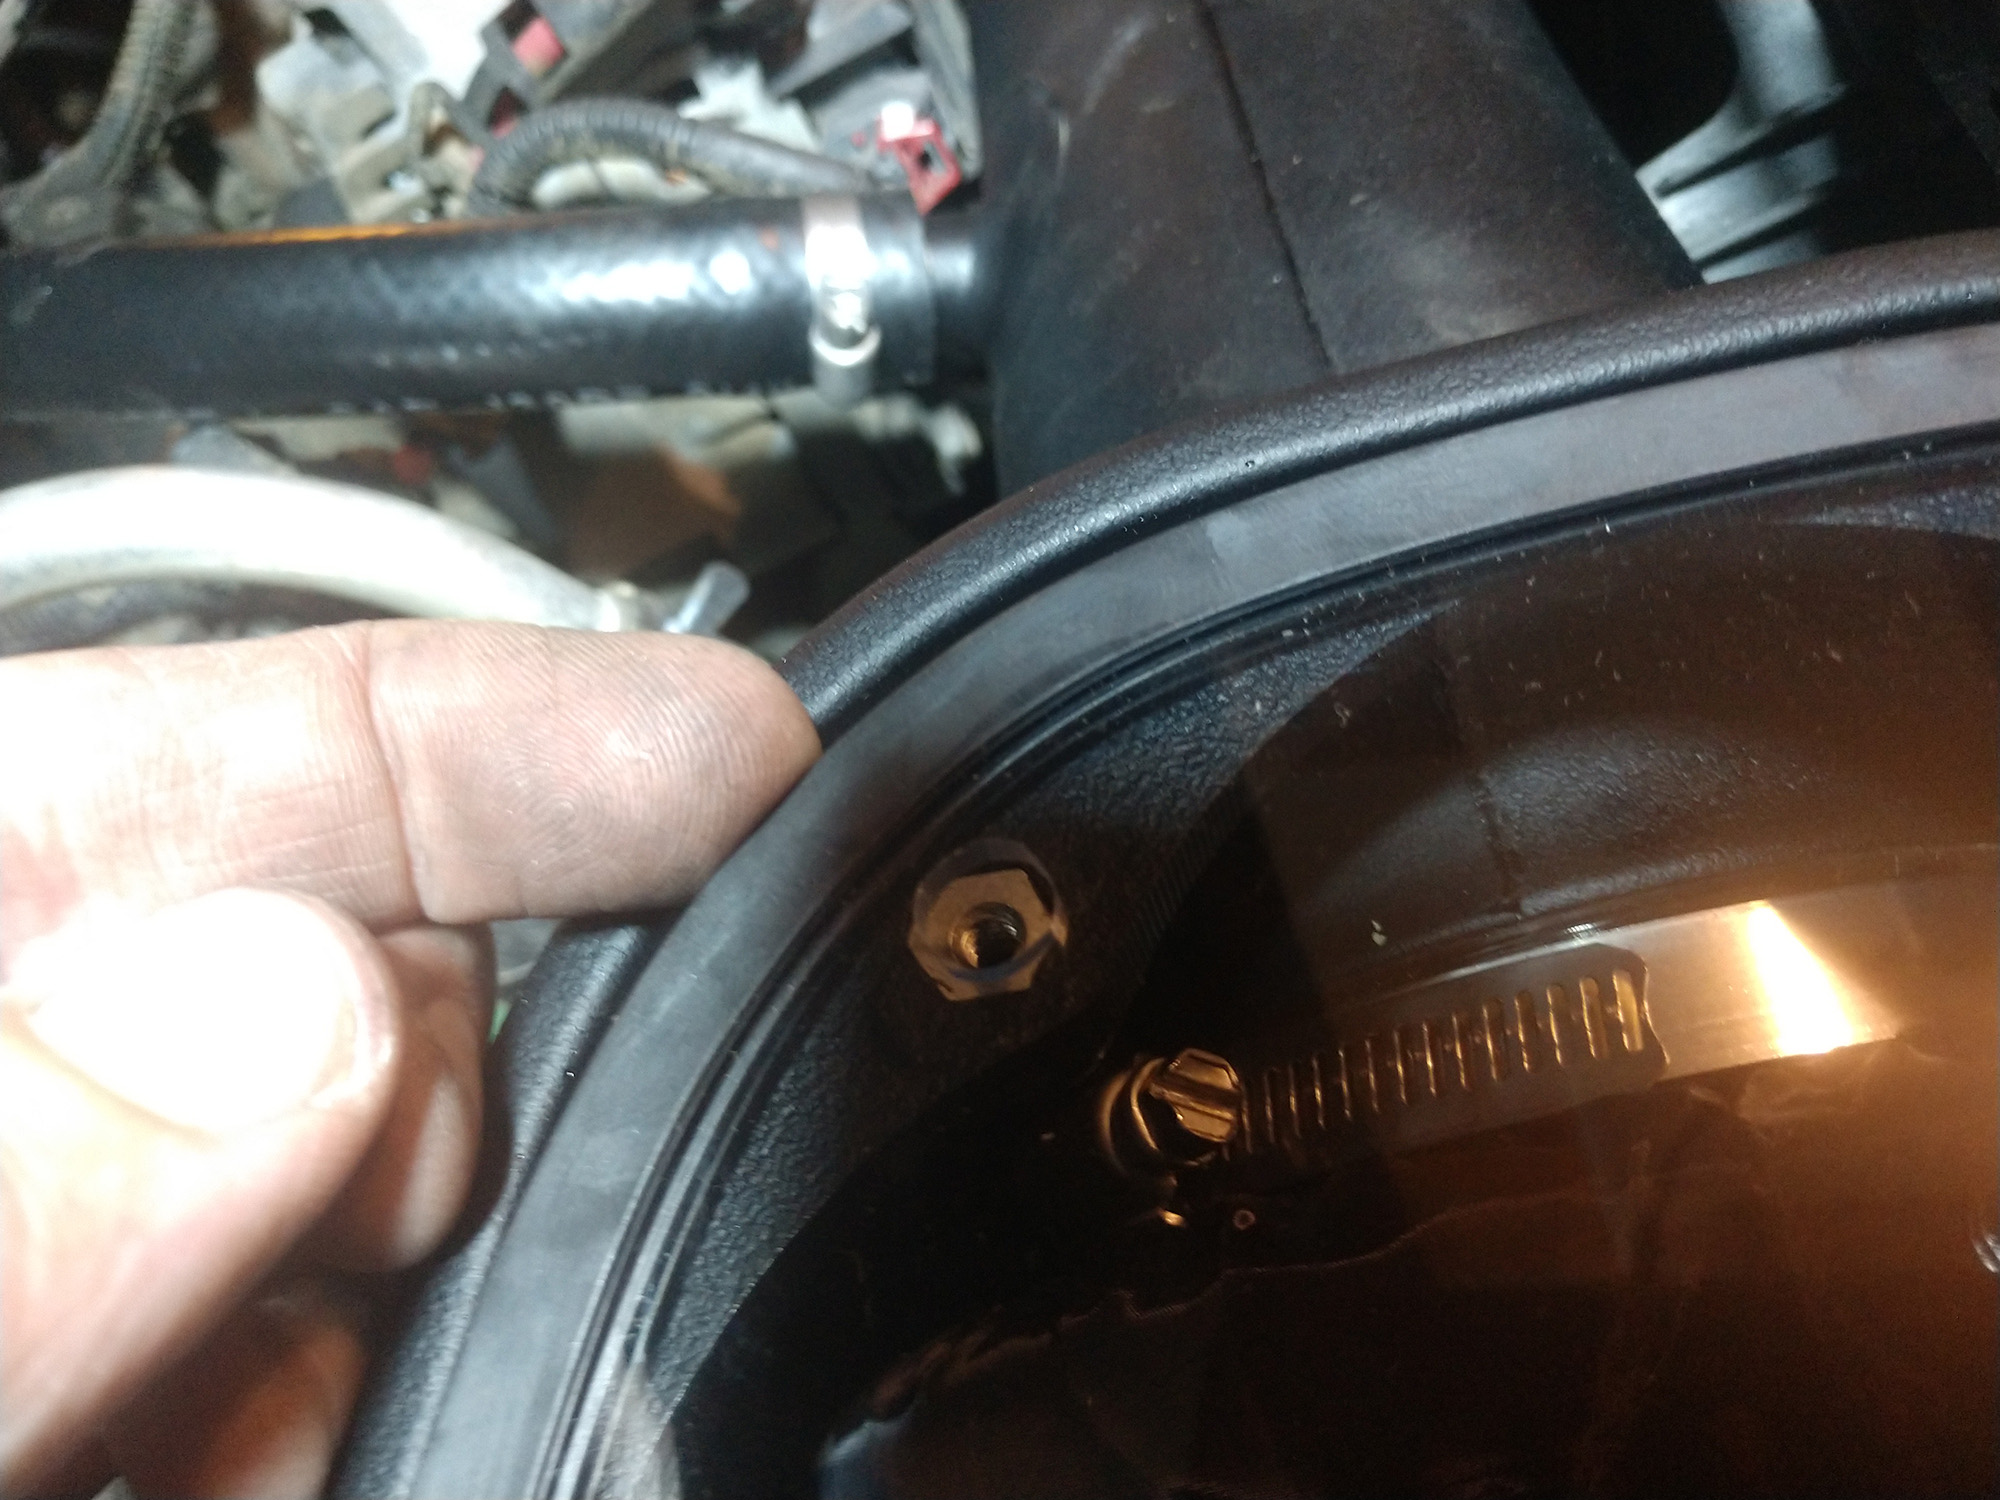
Use the included thread locking compound on the Phillips head screw, and use the provided washer to attach the right-angled bracket to the S&B air box. Use the second grommet in the lower part of the bracket as a vibration isolator.
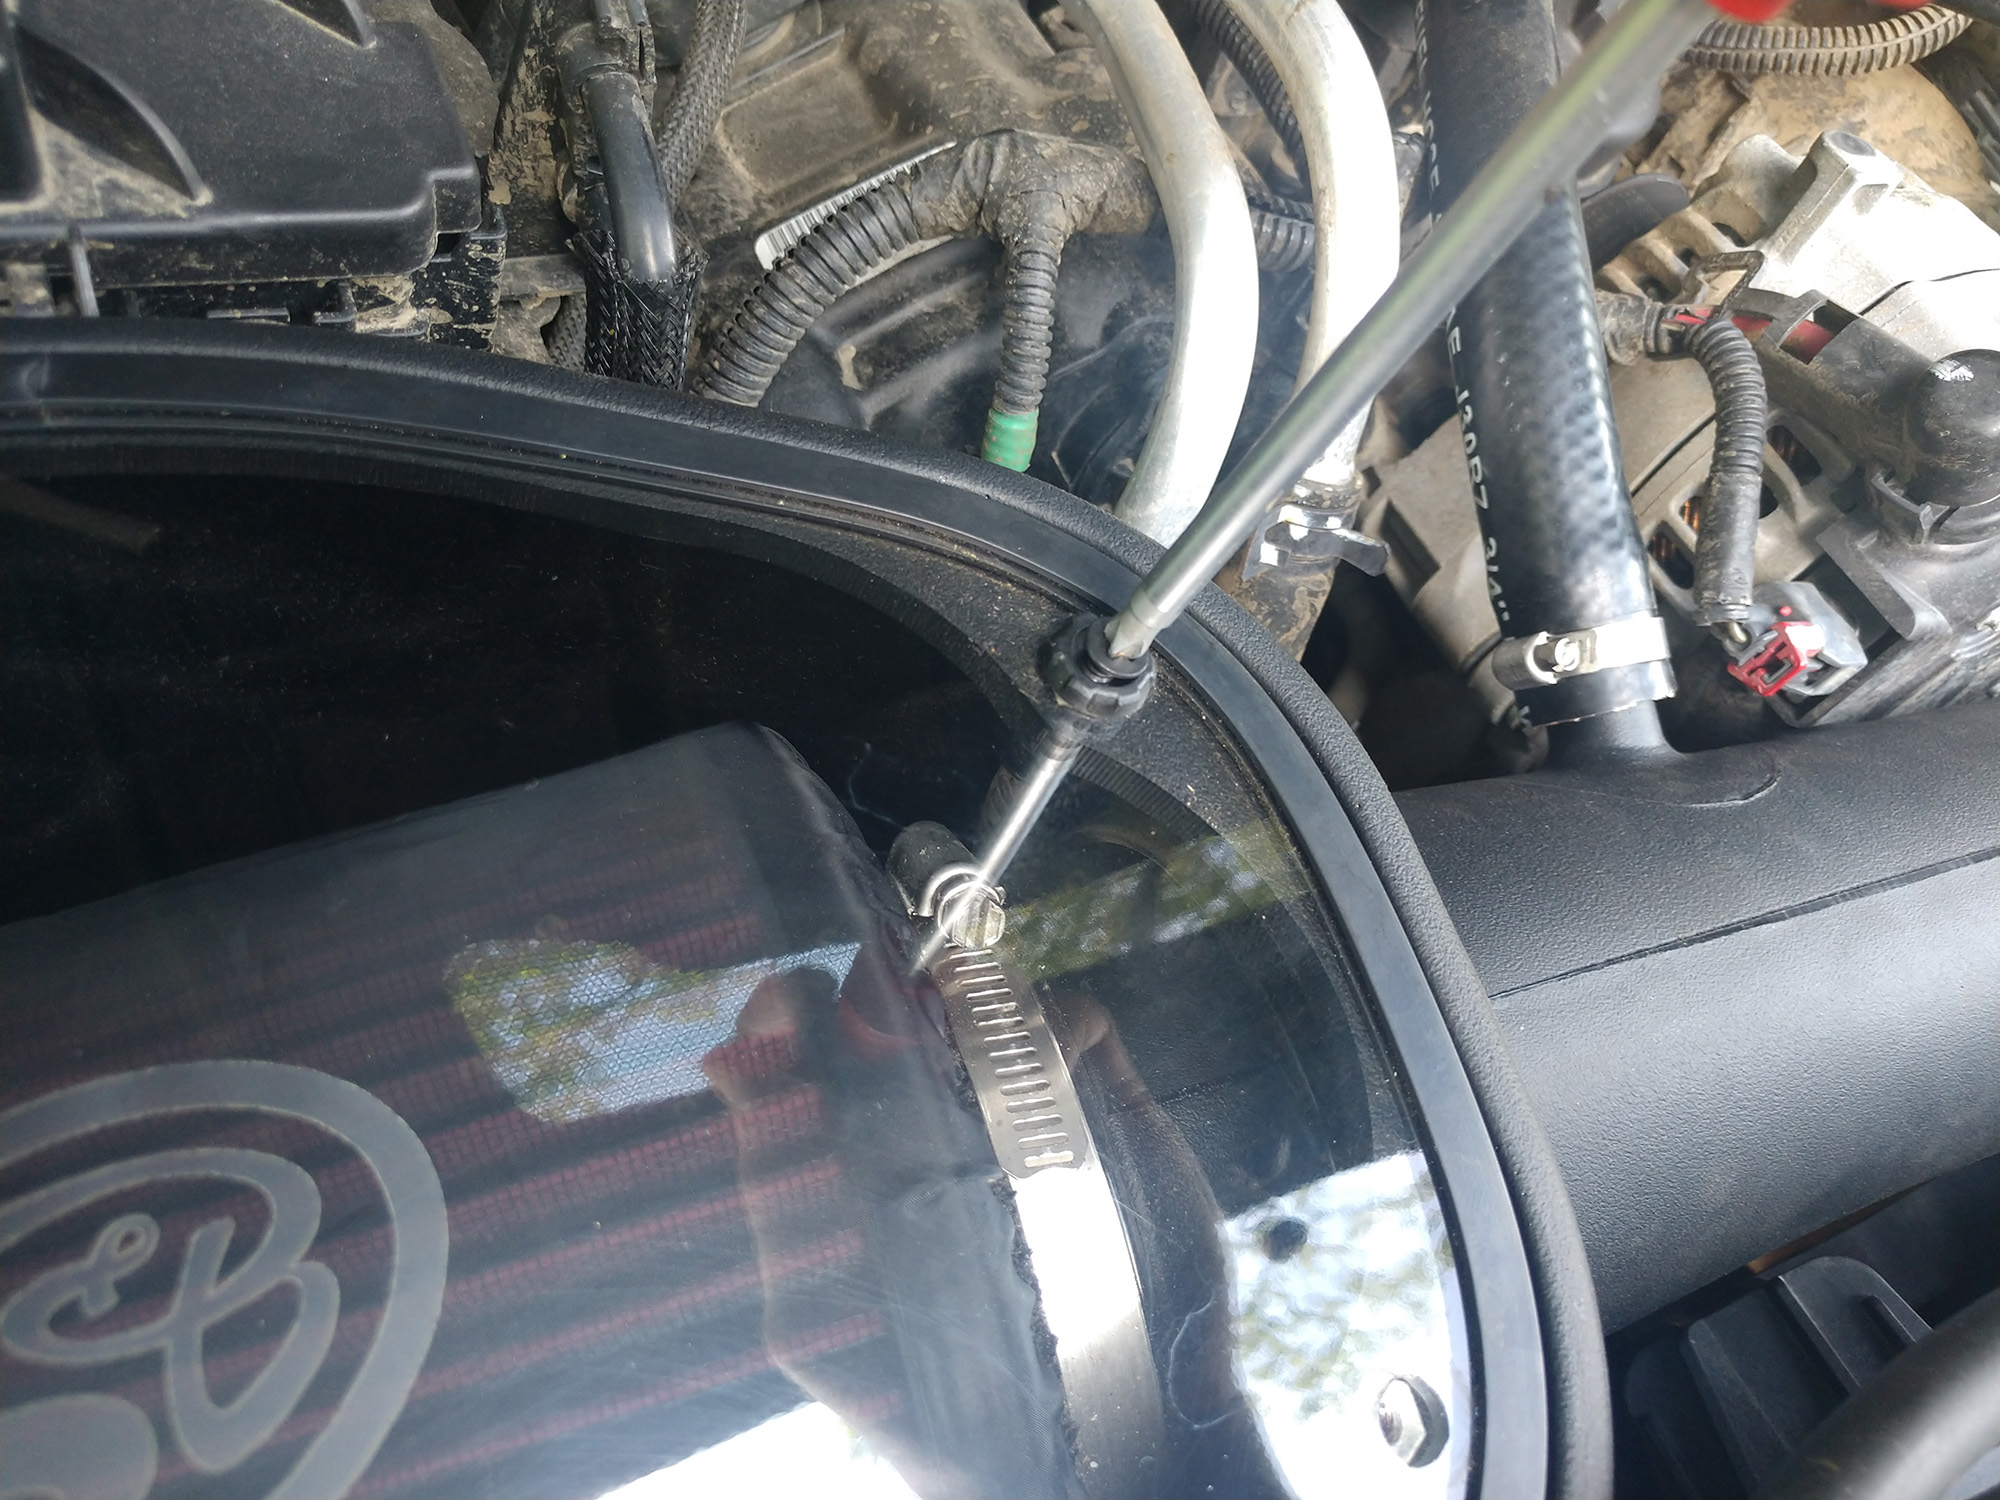
Attach the silicone flex coupler to the throttle body with the provided large hose clamp, then slide the intake tube into the other side of the coupler. Push the S&B intake down into the factory airbox grommets, and reinstall the bolt through the right-angled bracket that was removed when you pulled out the factory airbox.
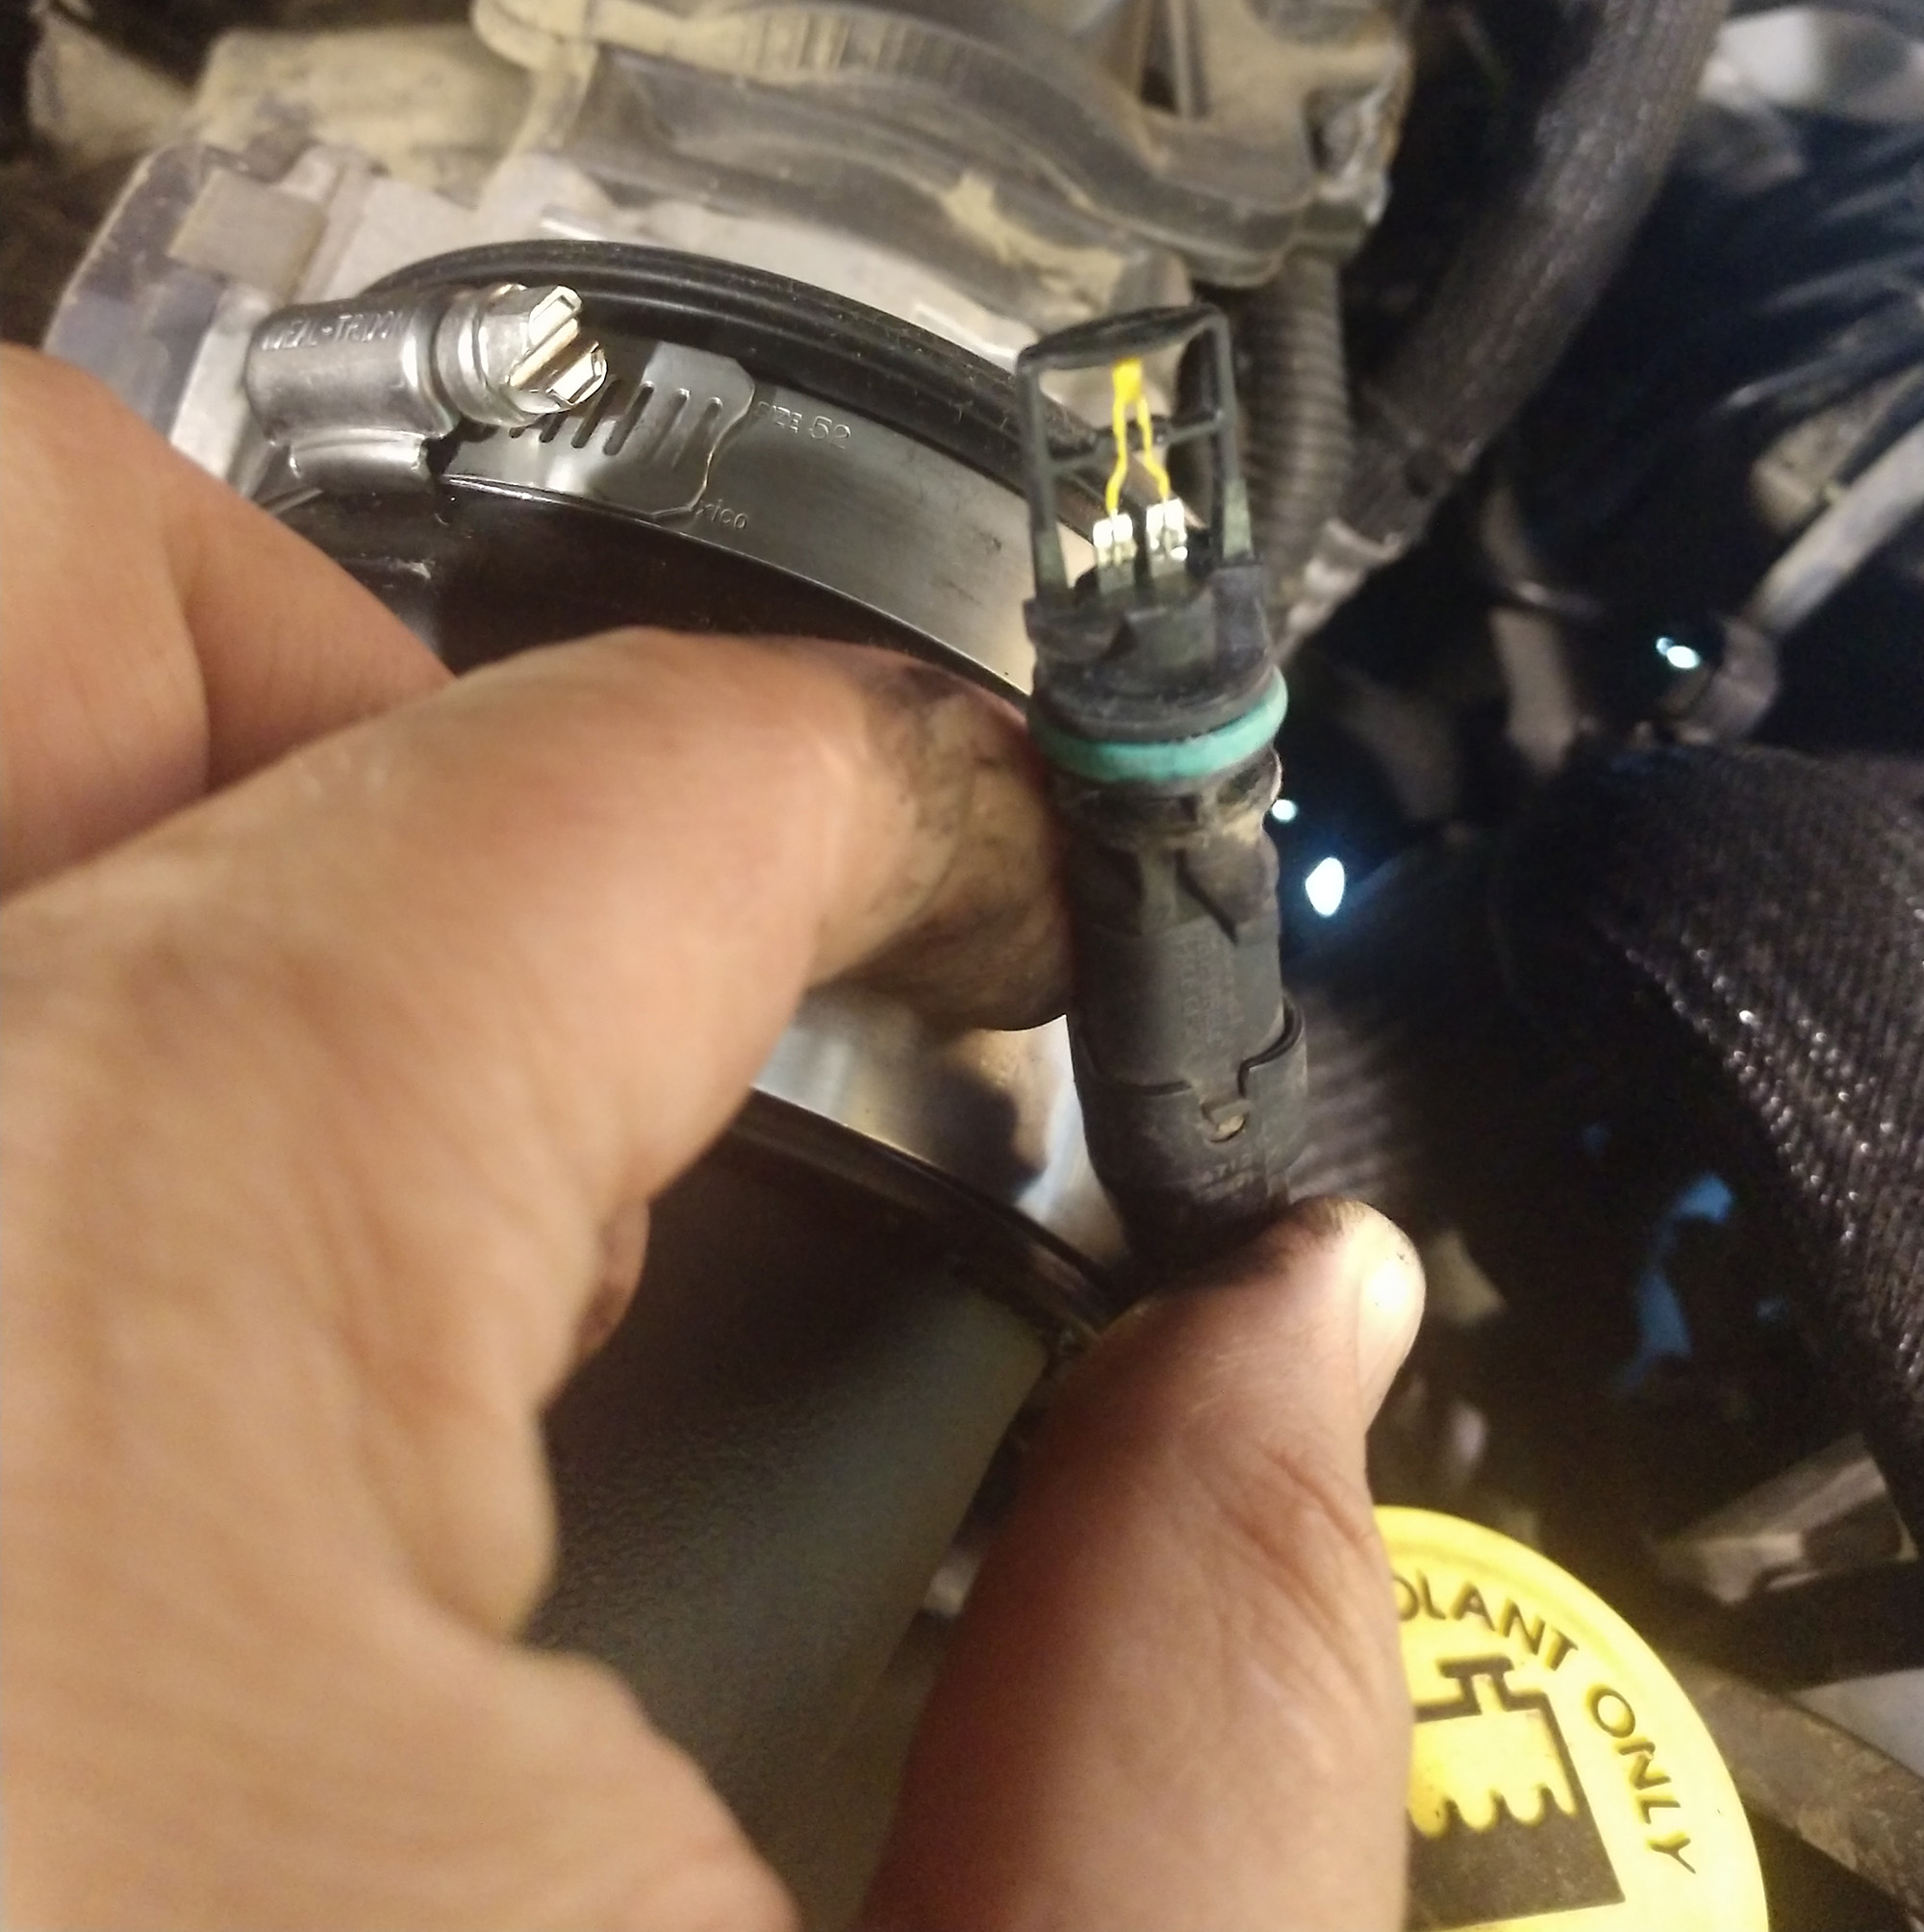
The removed air sensor can now be inserted into the S&B intake tube, paying attention to the orientation. The little point should be pointing towards the throttle body.

Use the two smaller hose clamps on the provided hose to replace the small factory hose removed with the factory intake. Use the two hose clips over the radiator overflow hose, and reinstall the two bolts that held the factory intake to the radiator shroud using a 10mm socket. Align the intake system so it is not rubbing anything in the engine compartment, and then fully tighten all clamps.
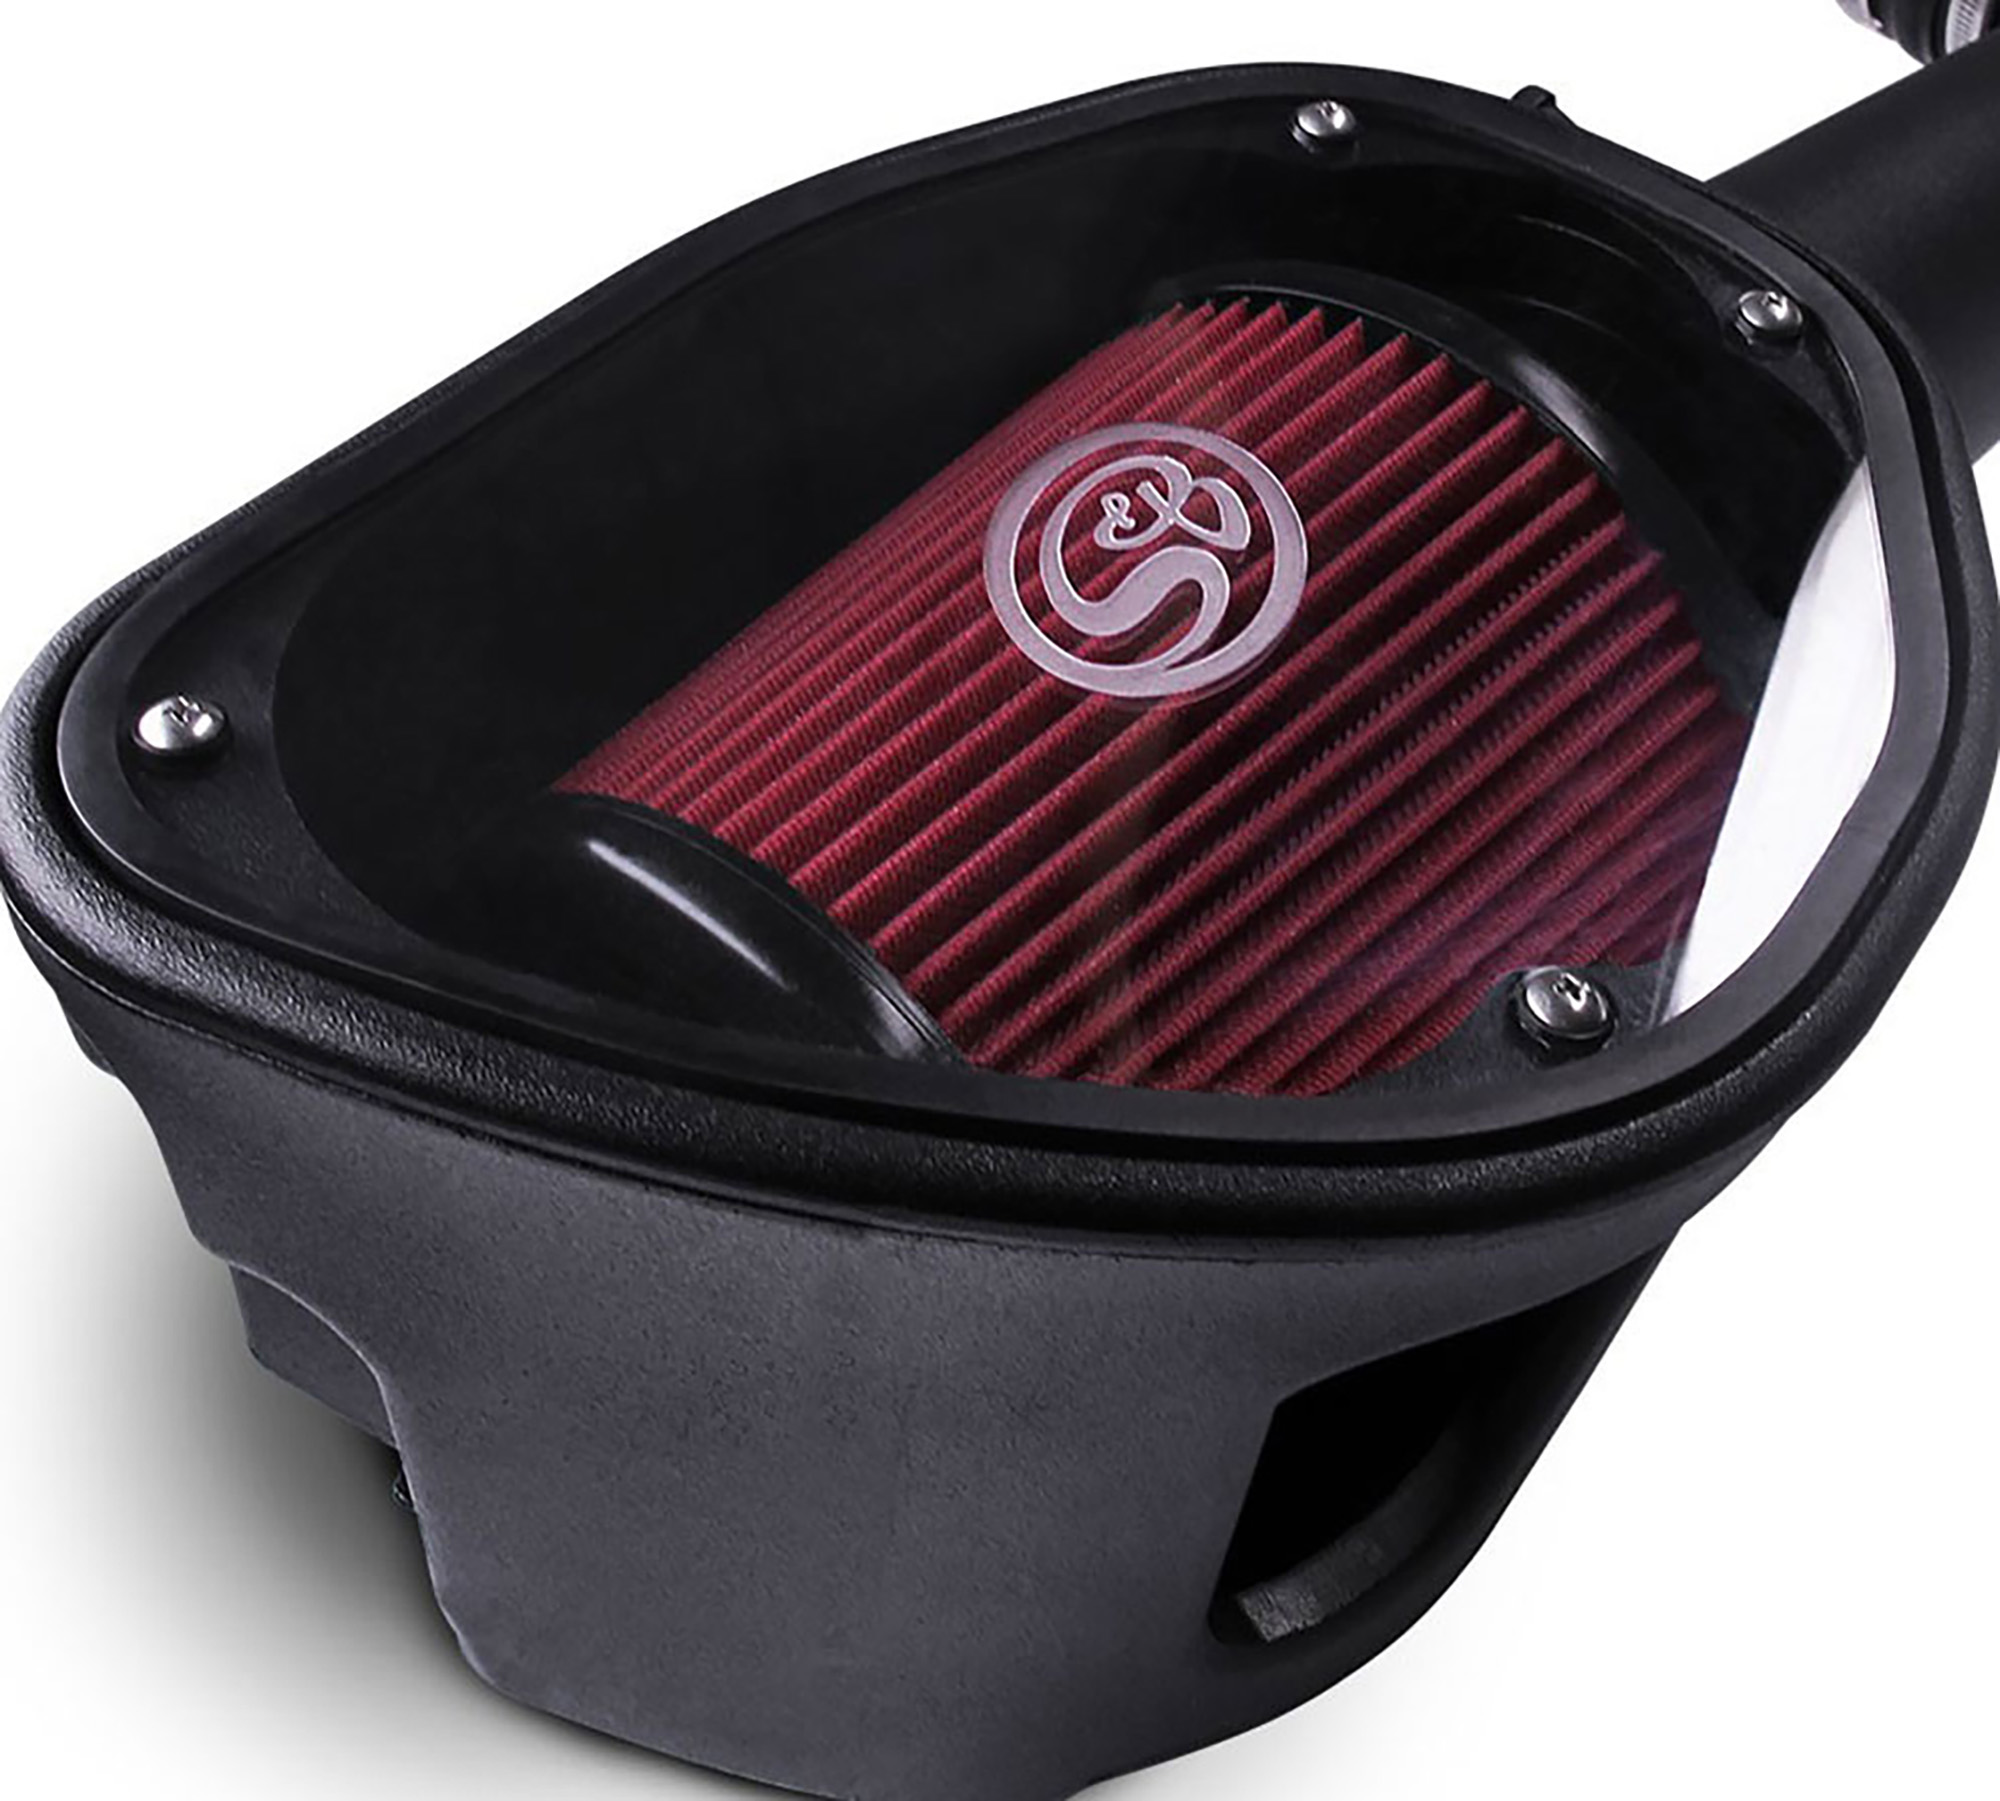
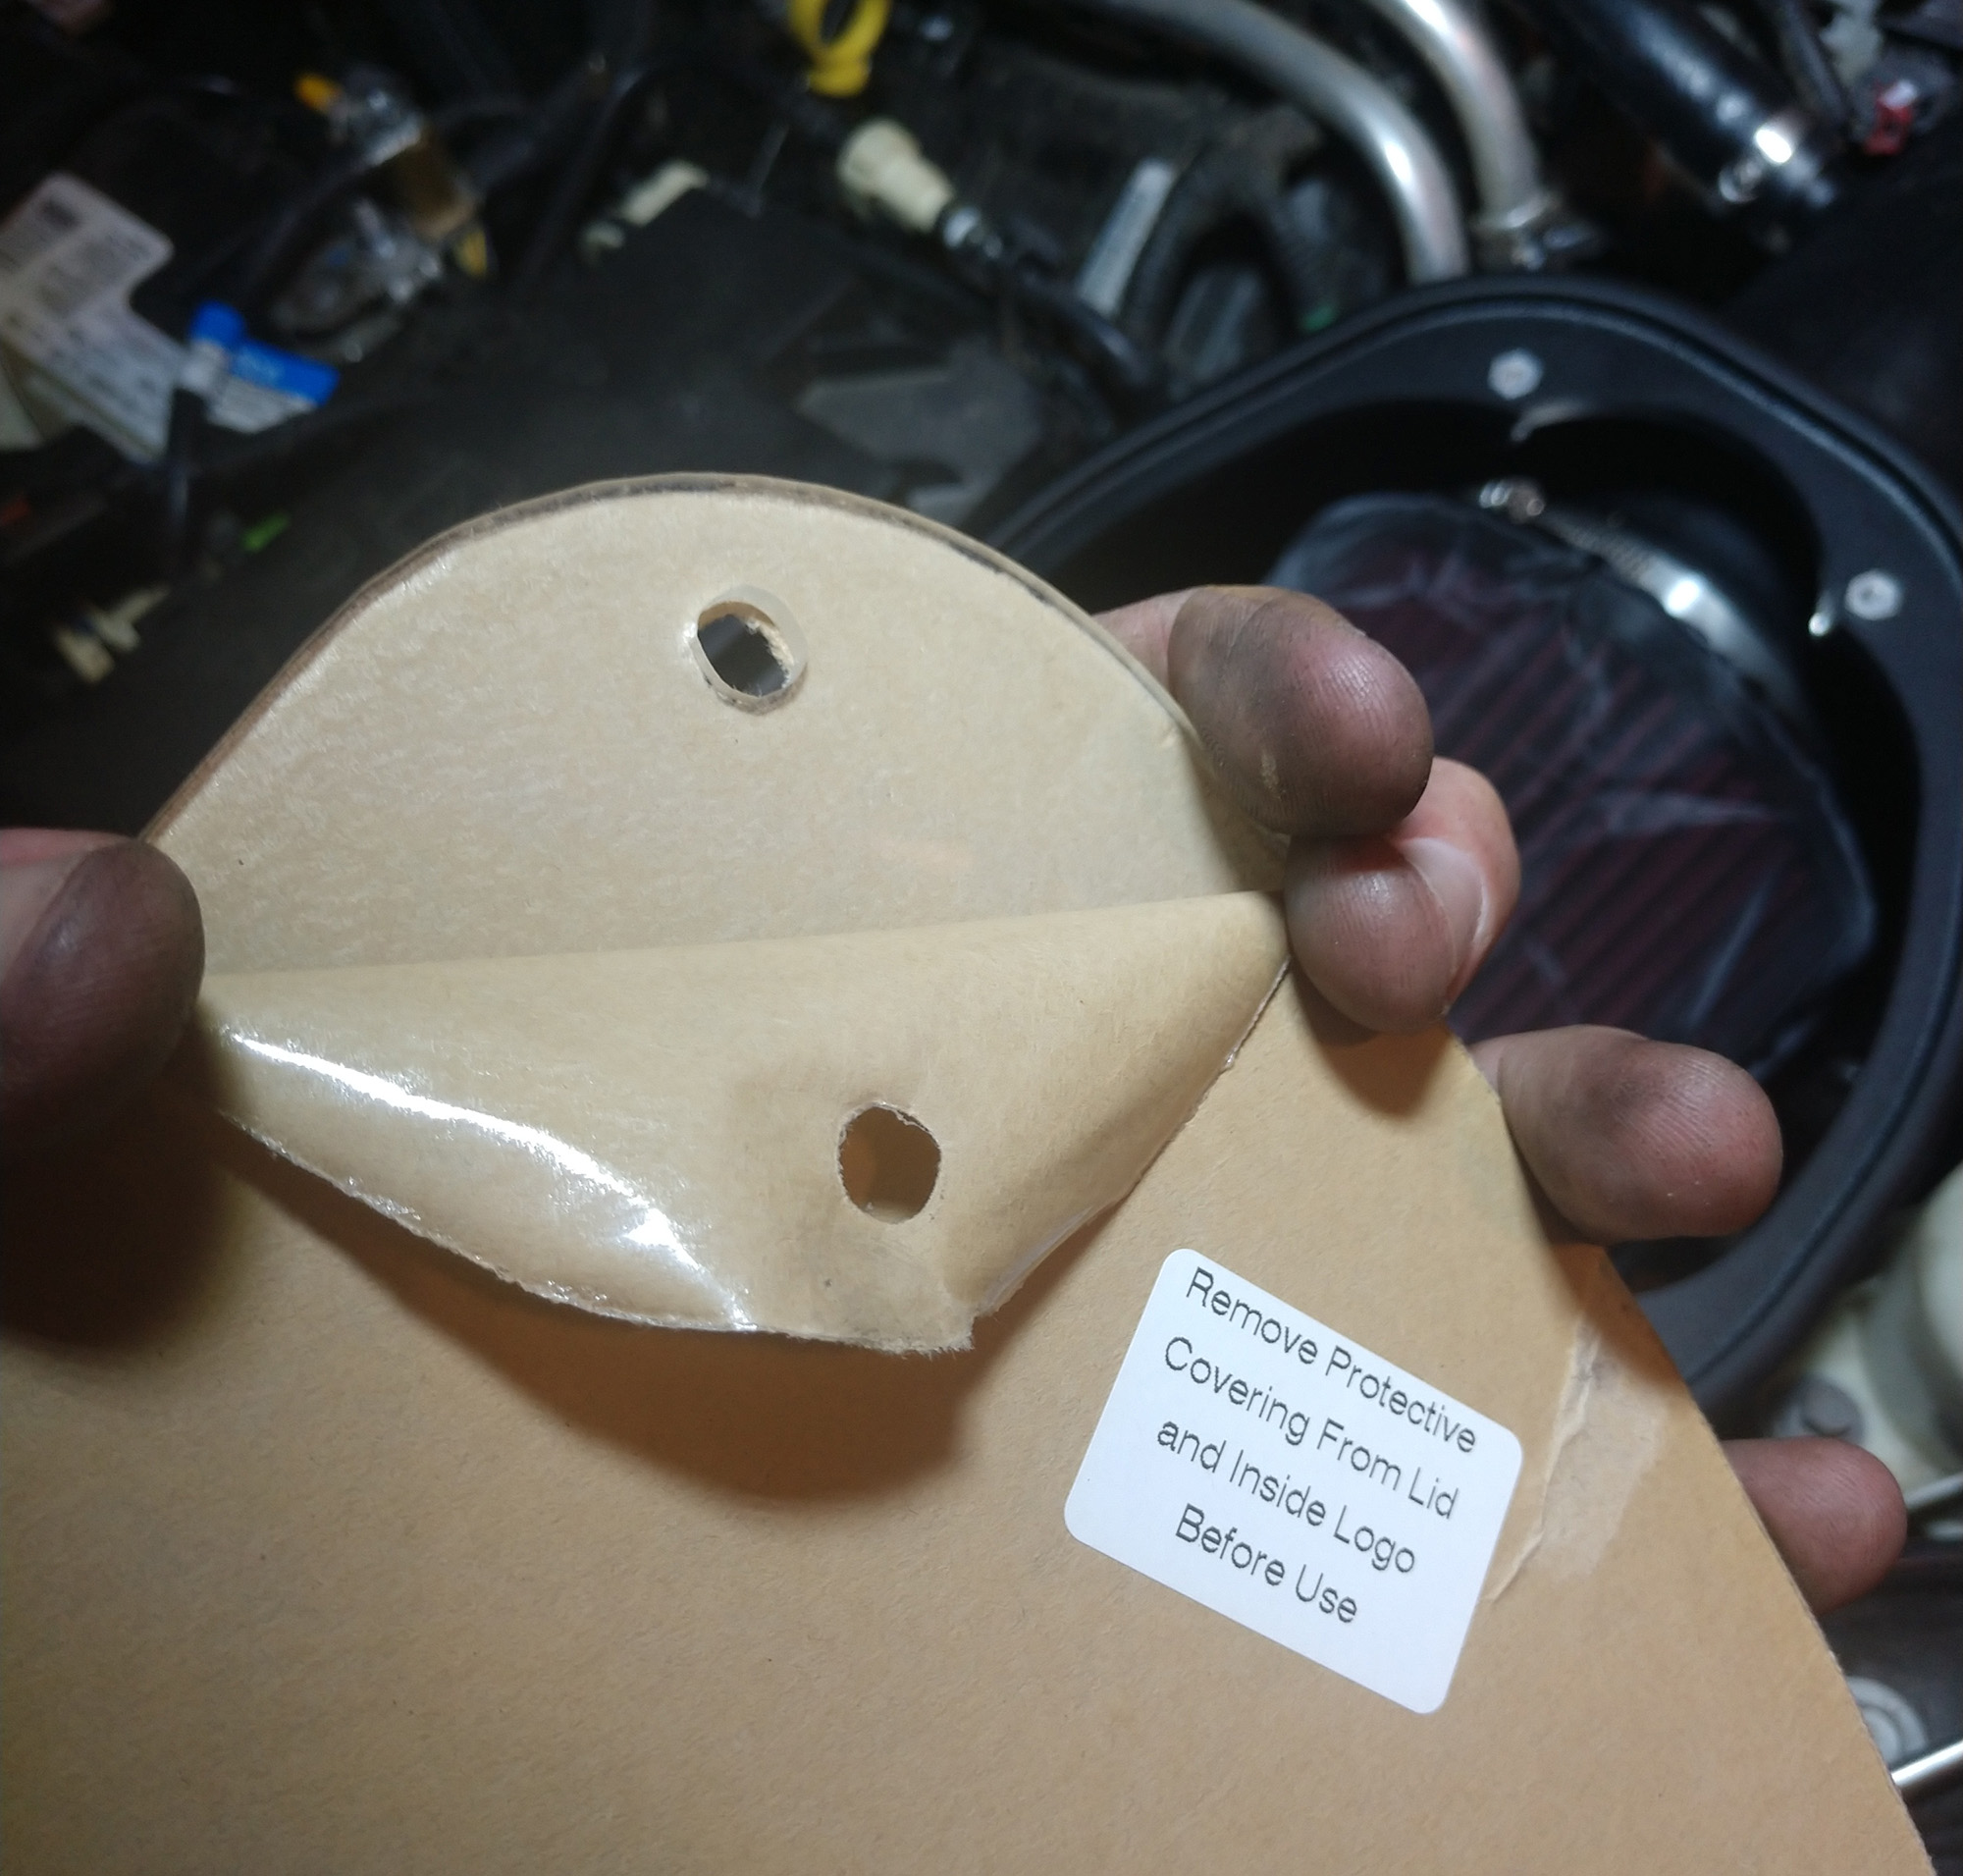
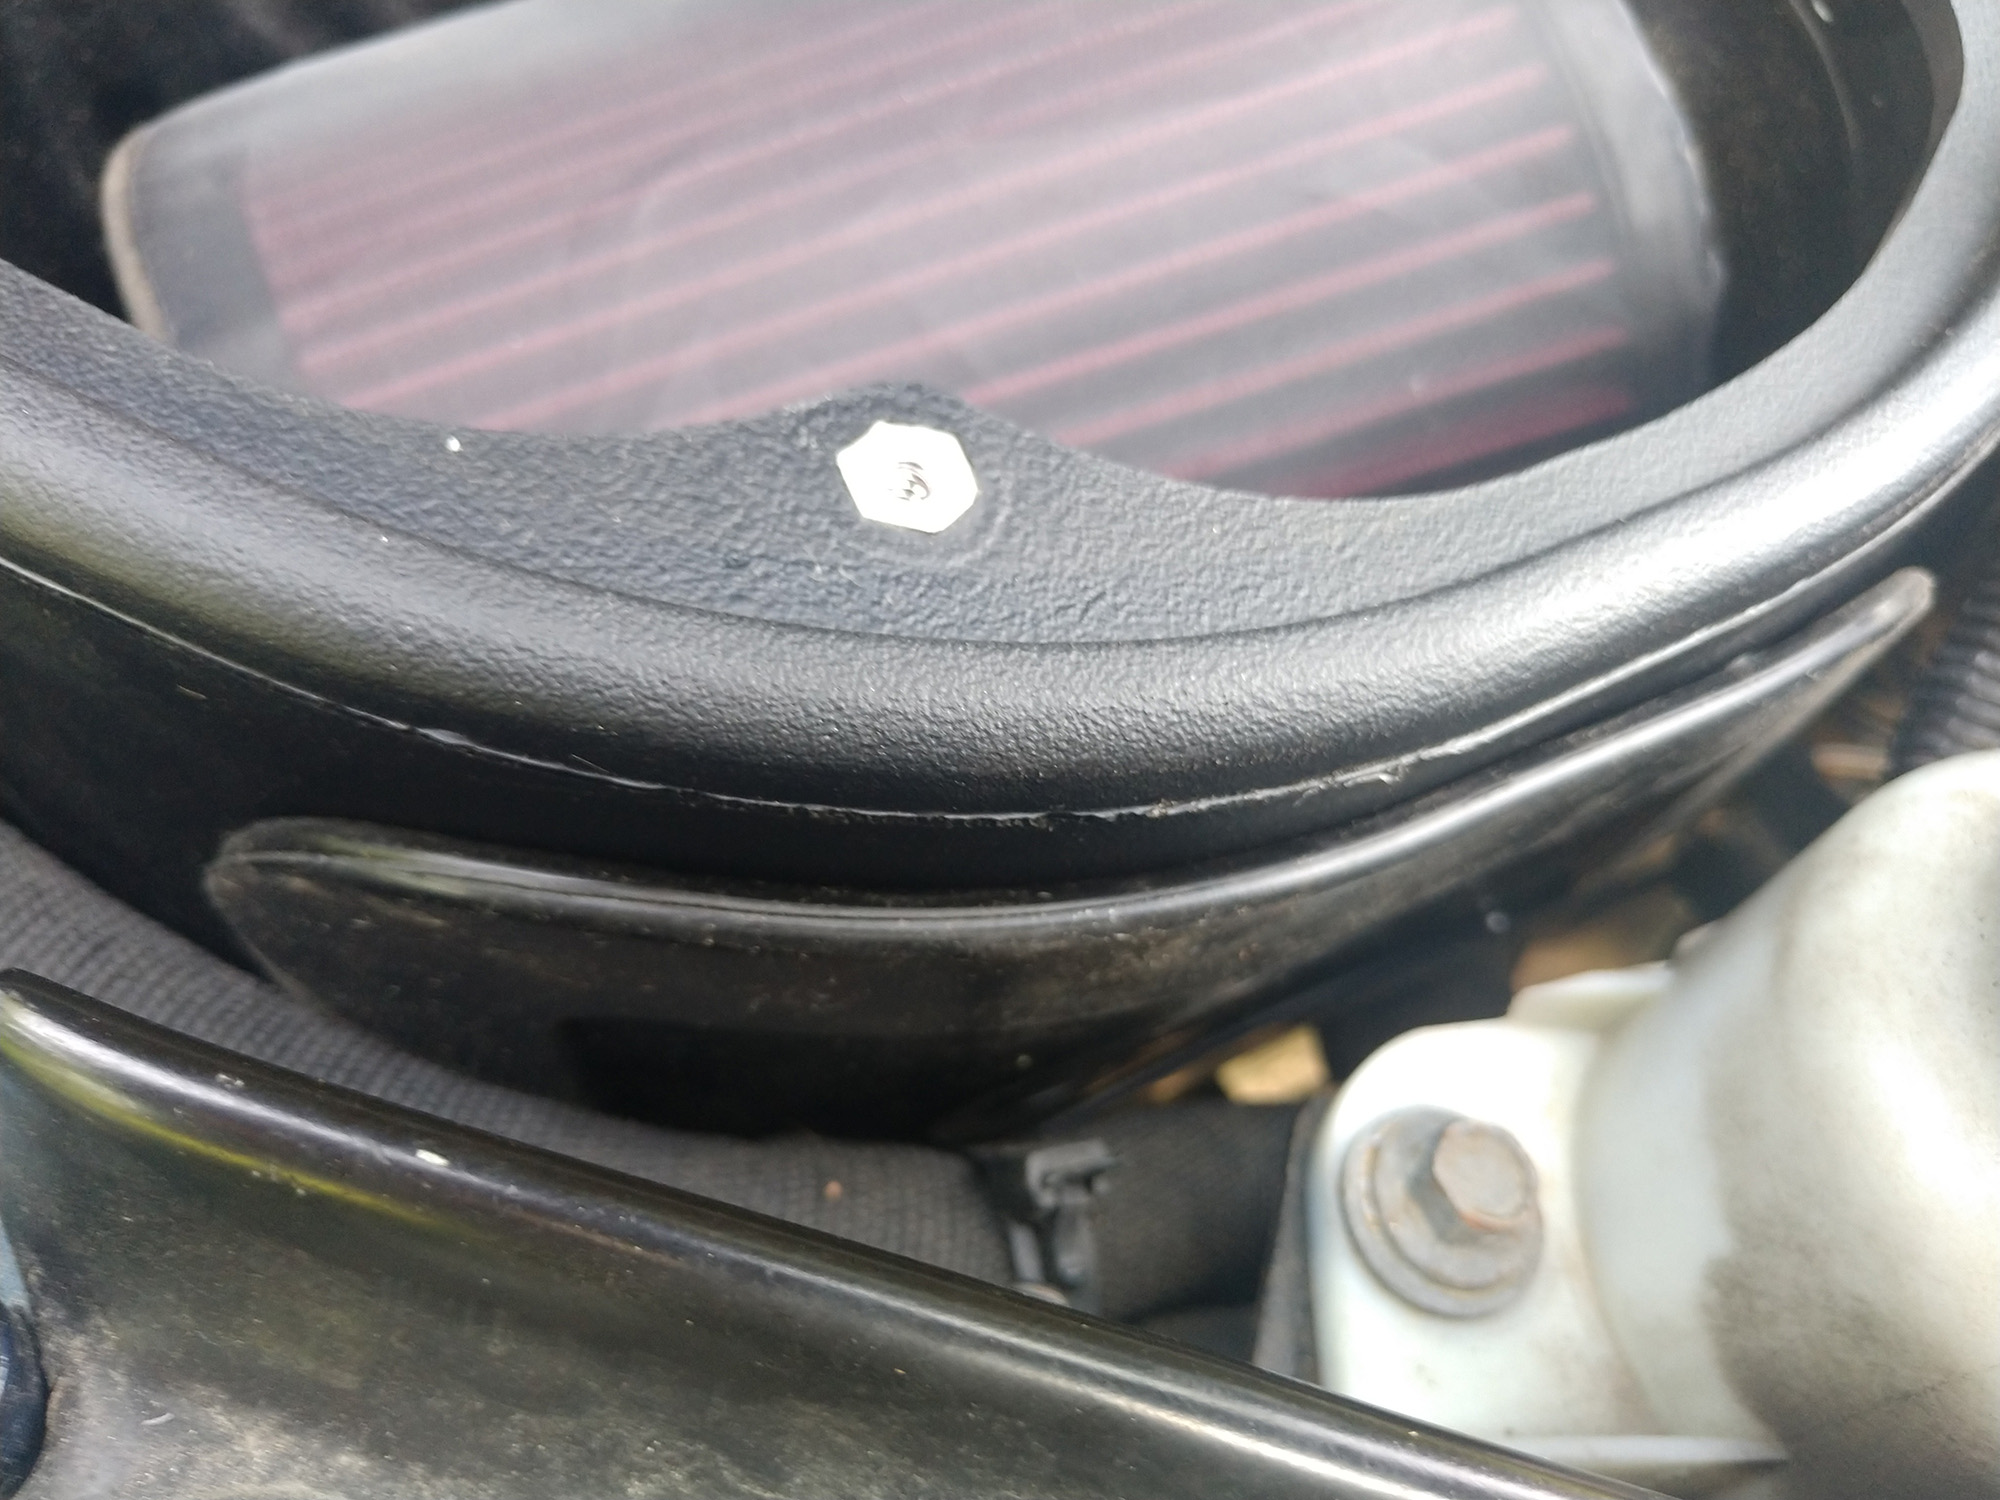
Remove the scratch-protecting paper covering both sides of the S&B signature clear cover.
Using the rubber gasket around the perimeter of the clear cover, install the cover using the four black Phillips head screws and plastic trim surrounds.
Tighten down all four screws to fully seat the cover in a crisscross pattern.
Stand back and admire your work. Then grab the keys and start your Wrangler in order to enjoy the more aggressive intake sound.
.jpg)
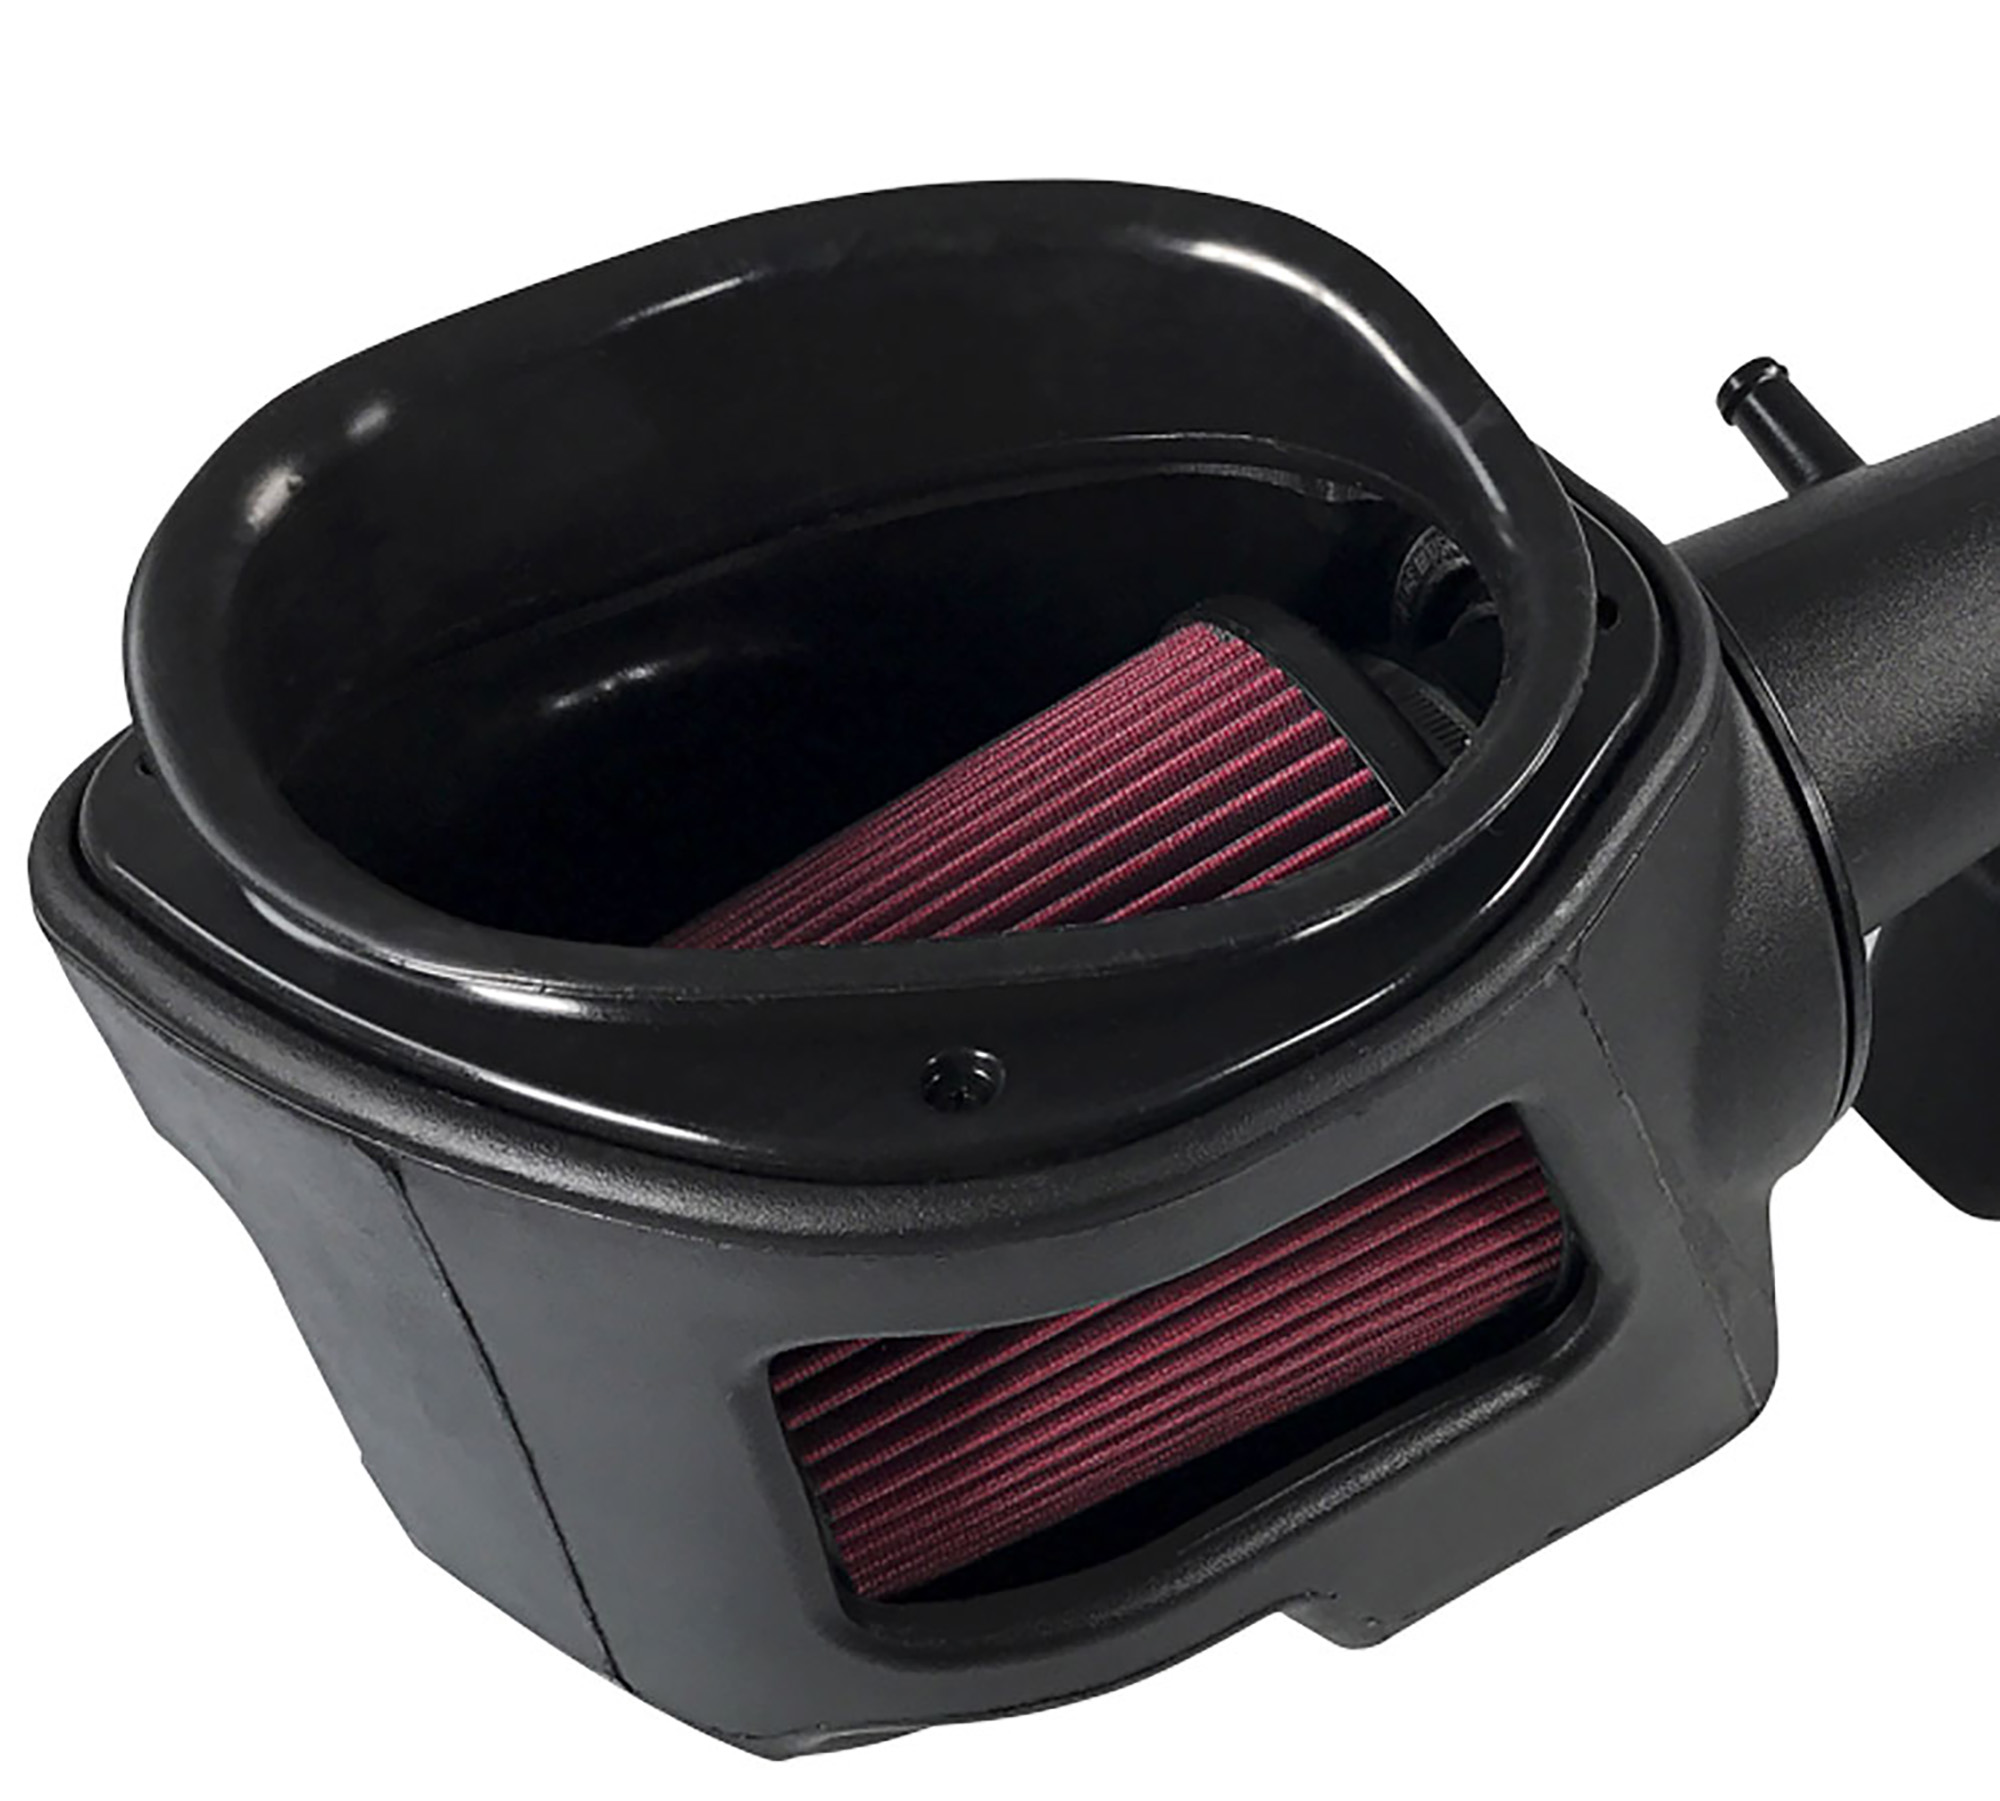
Configuration 2:
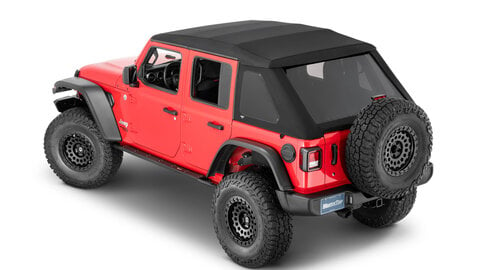
If you would rather use the silicone hood seal, you can install that using the same four black Phillips head screws and trim covers.
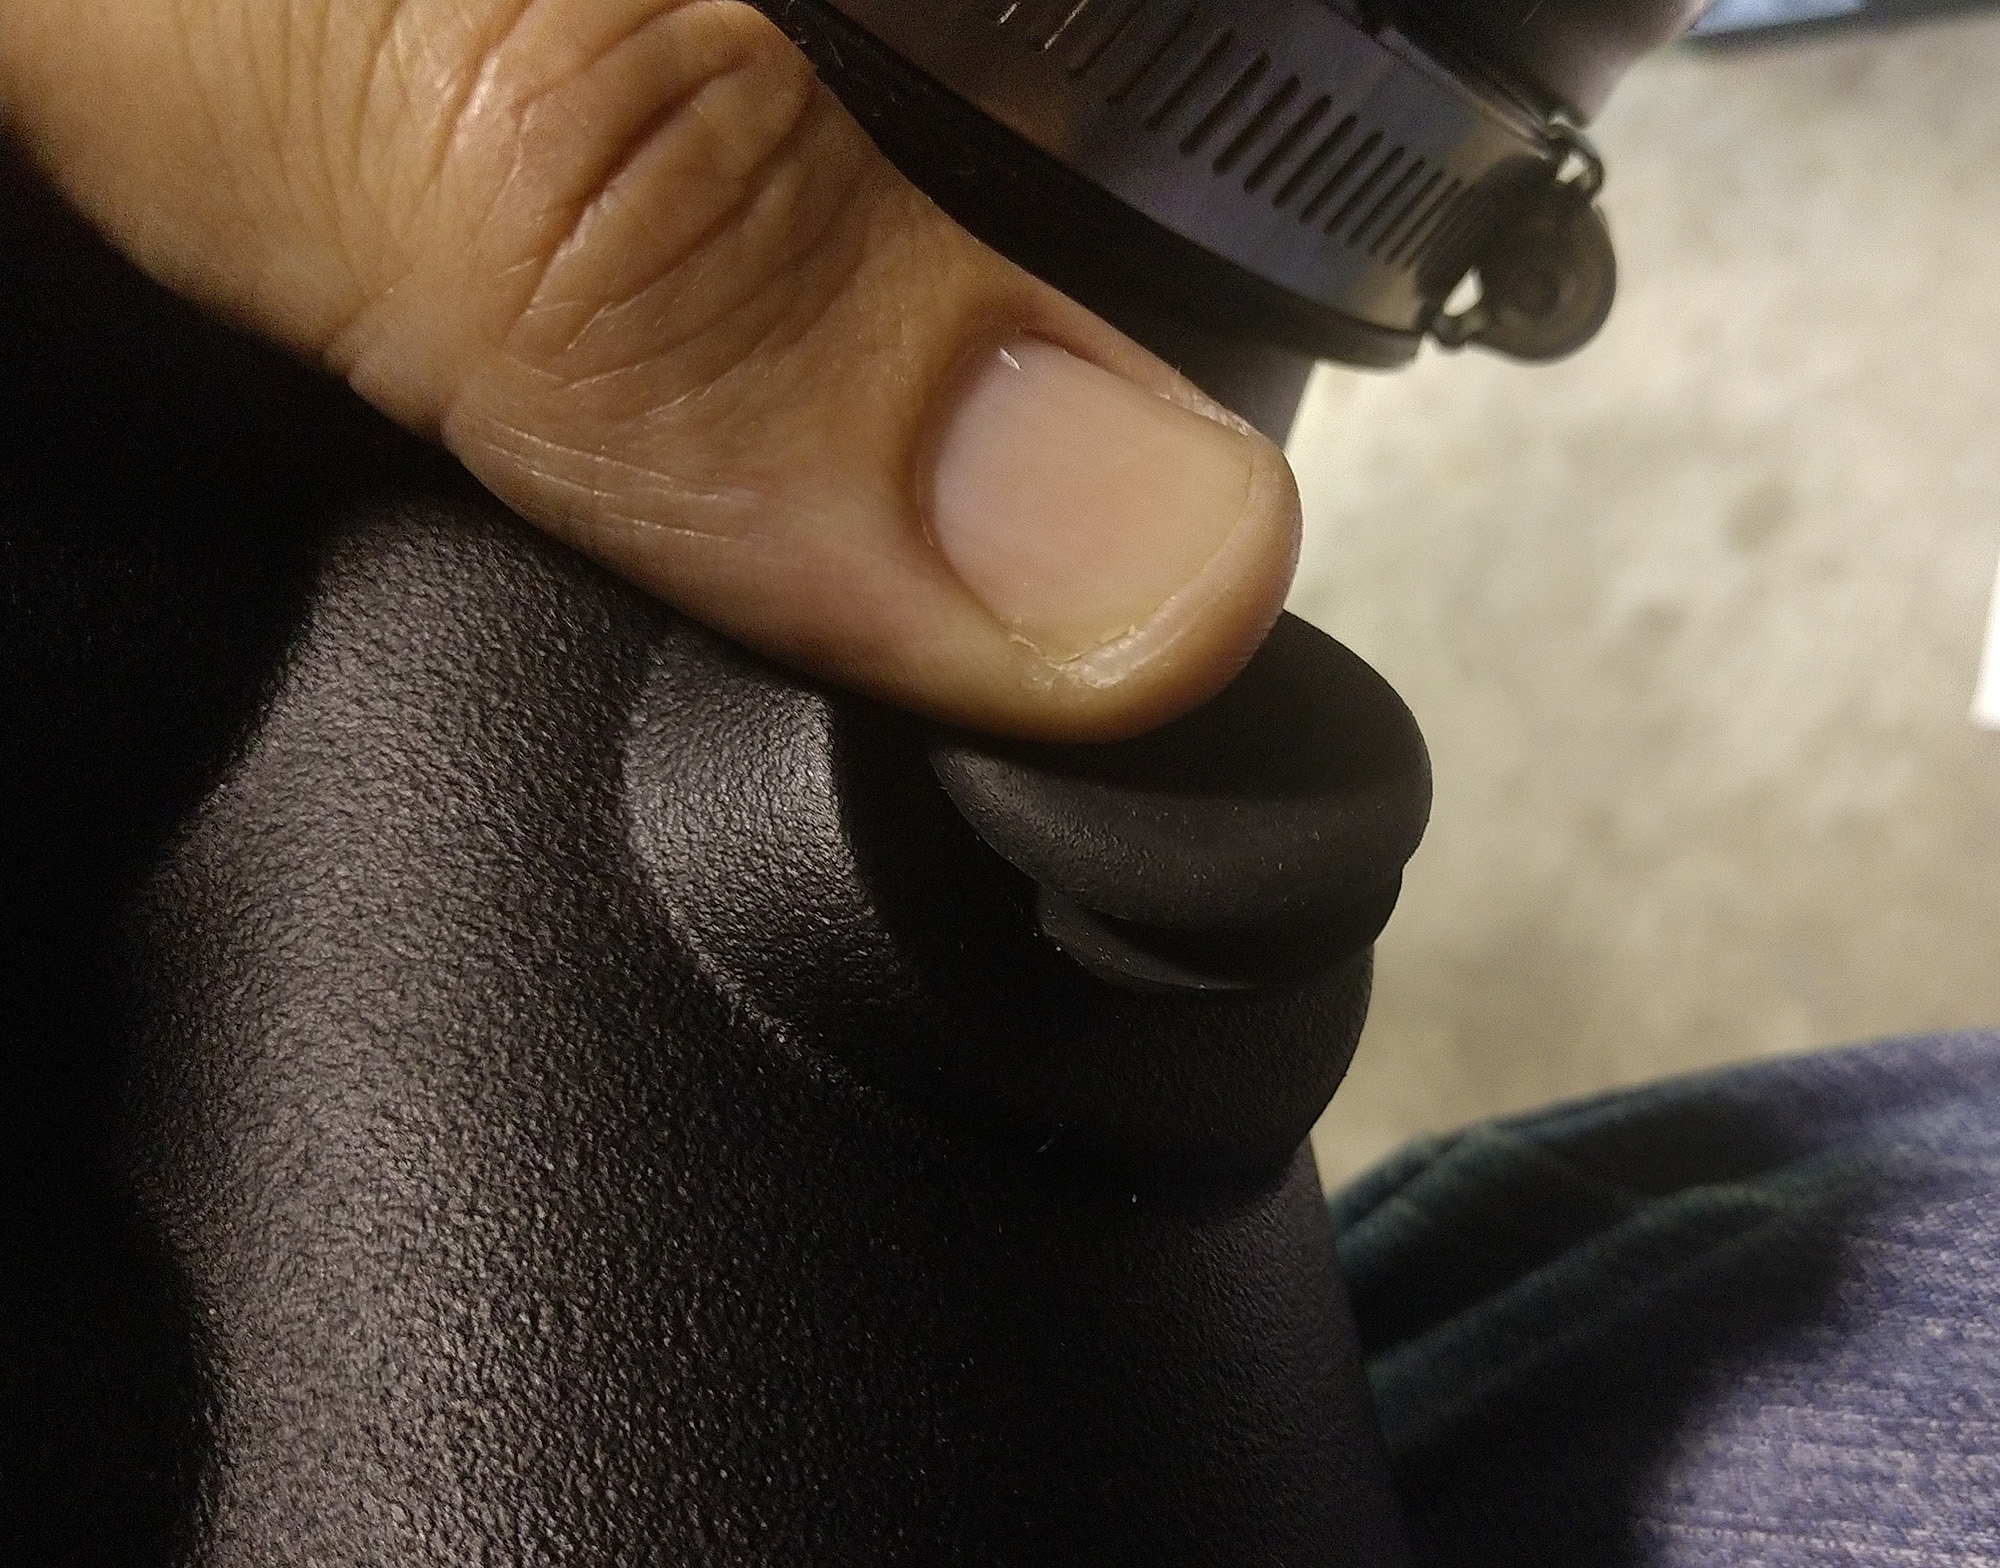
As I mentioned earlier, this box plug could be installed with the intake installed in your vehicle with a little finesse. This will seal up the front of the box to prevent water from splashing inside.

NOTE: I am only mentioning this silicone box plug as part of Configuration 2, as you can not use it with the clear top cover; with both installed, your engine would not be able to breathe, as the air box would be completely sealed.
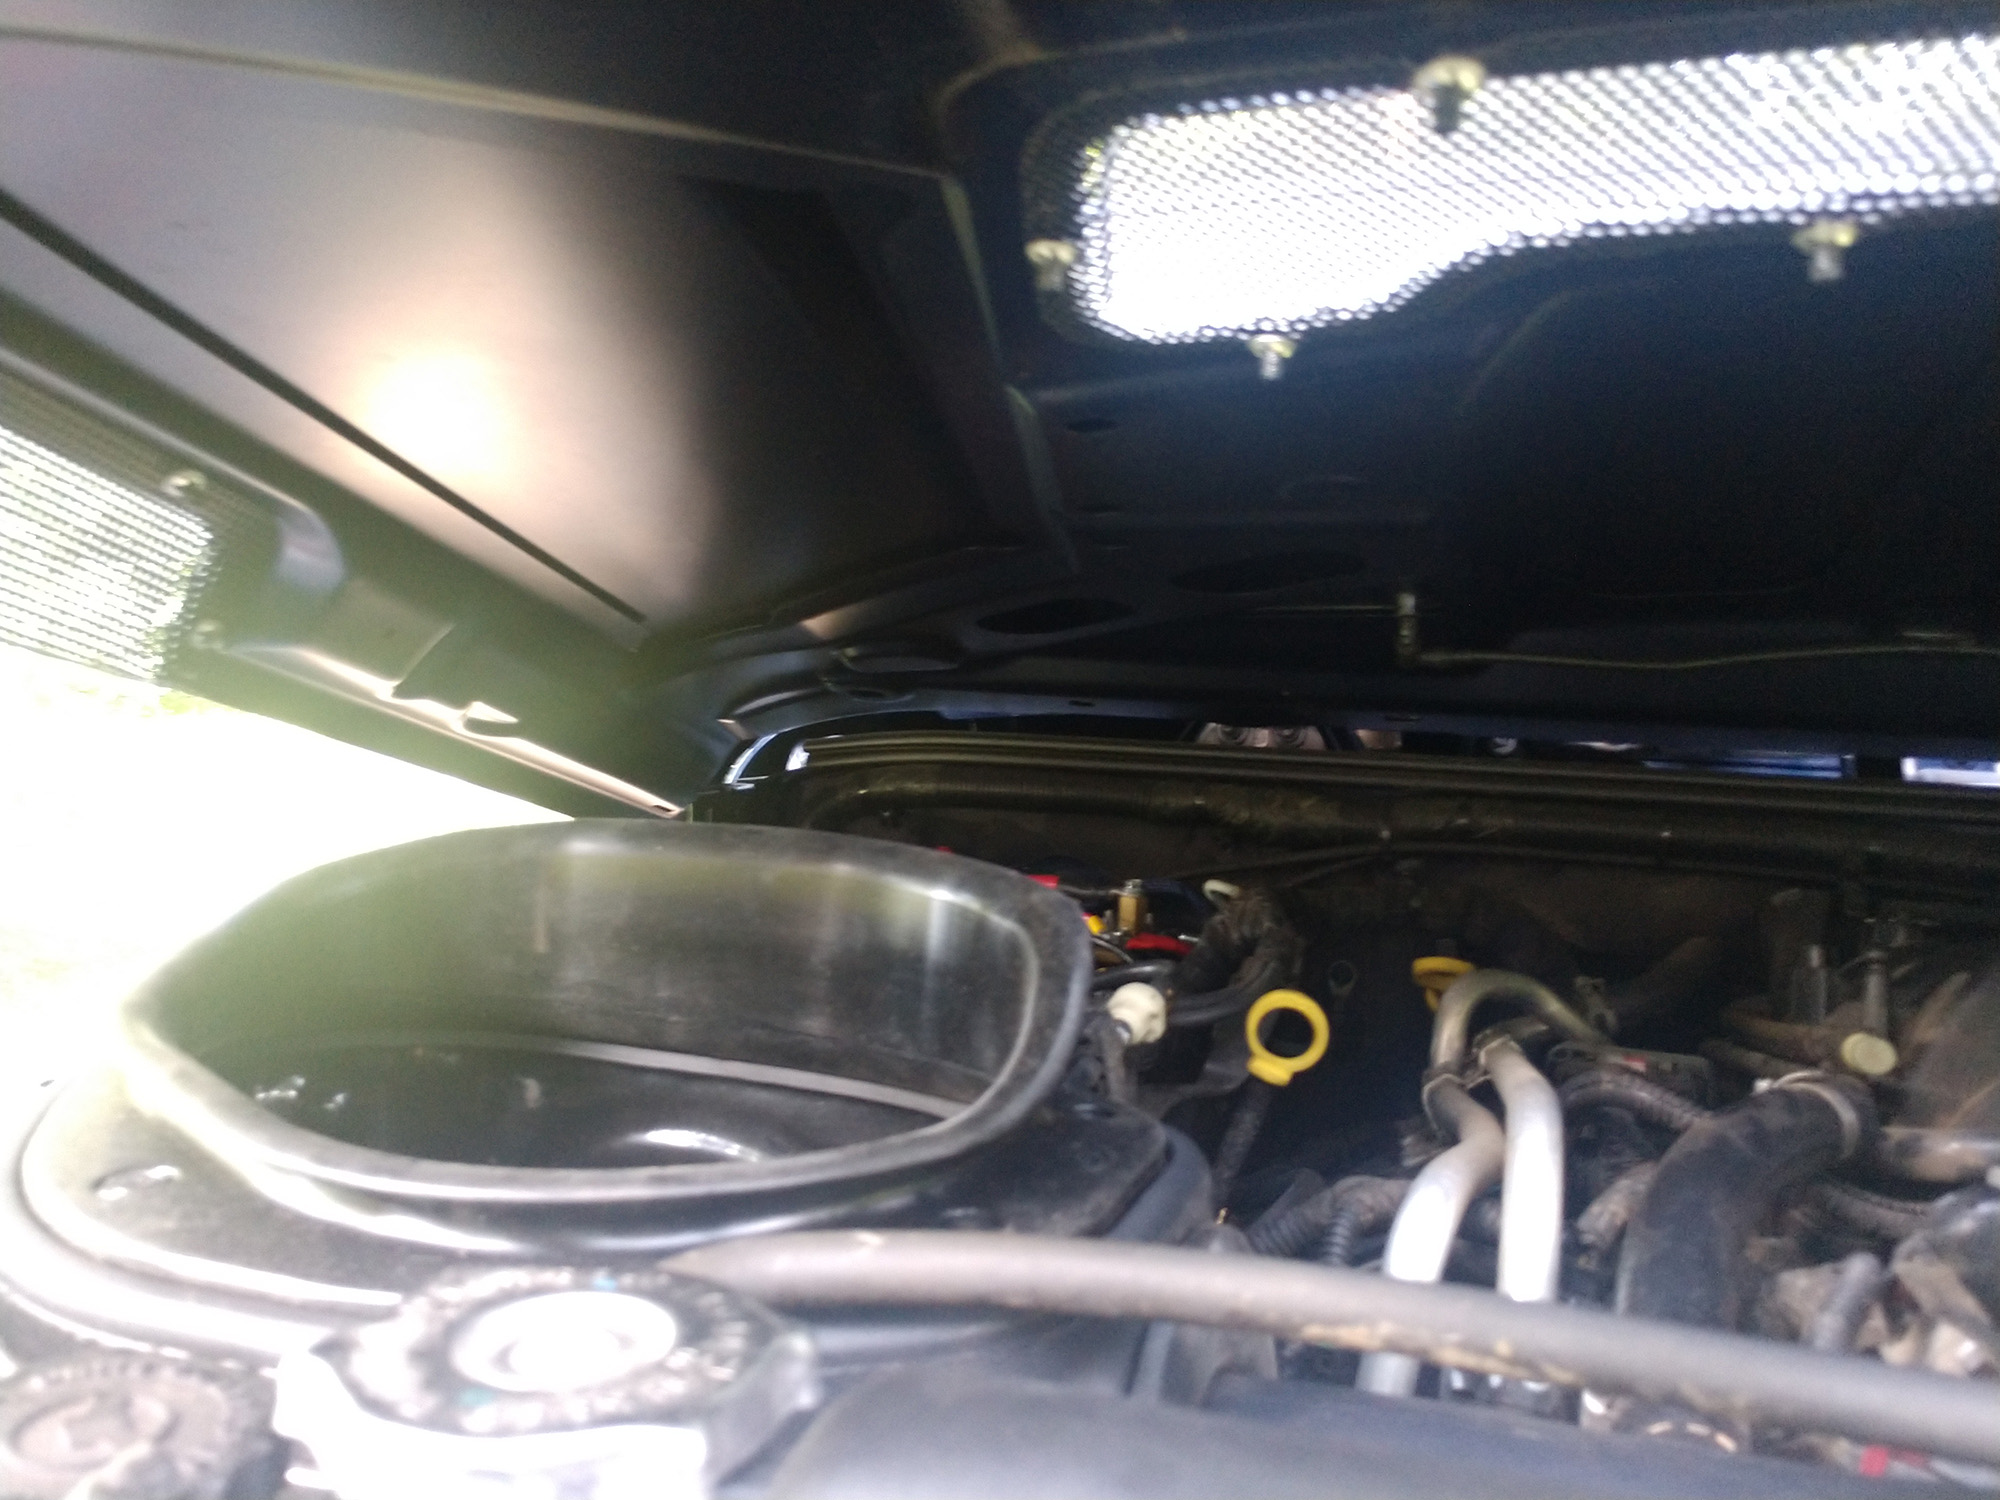
This is how I currently use the intake with Project Rattler. When I am driving on the street, I remove the front box plug for maximum air flow—this reduces the temperature several degrees as cold air flows into the front of the air box around the headlight. While off-road, I install the silicone box plug to seal the front and maximize protection.
No matter which way I have it set up, the increase over stock air flow is drastic. So far I have cleaned the pre-filter wrap twice, but the filter has not needed attention.
With an S&B Filters intake system, Project Rattler has been hitting the trails hard. And I’m looking forward to many more miles of clean, cool air while out exploring.