Featuring Premium Parts from
by Scott Ammerman
Quadratec Channel Correspondent
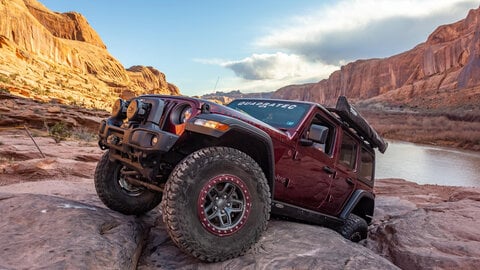
Project Snake Eyes has seen quite a few abusive trail miles, and its factory tie rod bar has gotten up close and personal with more than a couple of rocks along the way. We recently installed new Skyjacker Rock Ready Ball Joints to replace the destroyed factory units, but found the toe adjustment set during the post-suspension installation alignment was a few degrees off.

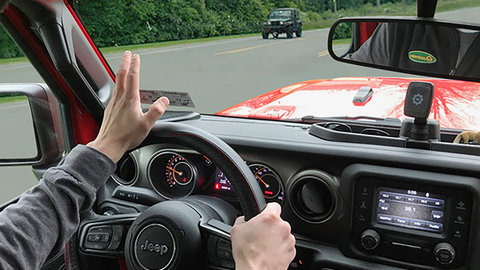
This created a wandering feeling as the front tires fought each other for control while driving down the road. My steering wheel was also off center, so the ESP would engage around turns.
Normally, this would be fairly easy to bring back into spec by adjusting the collar on the driver’s side of the bar. However, our salty winter roads have seized the inner part of the collar to the bar, making full adjustment impossible. Since suspension and steering component replacement had already occurred, I set up the alignment appointment and decided to install the new RK Tie Rod Bar, so full adjustment would be possible.
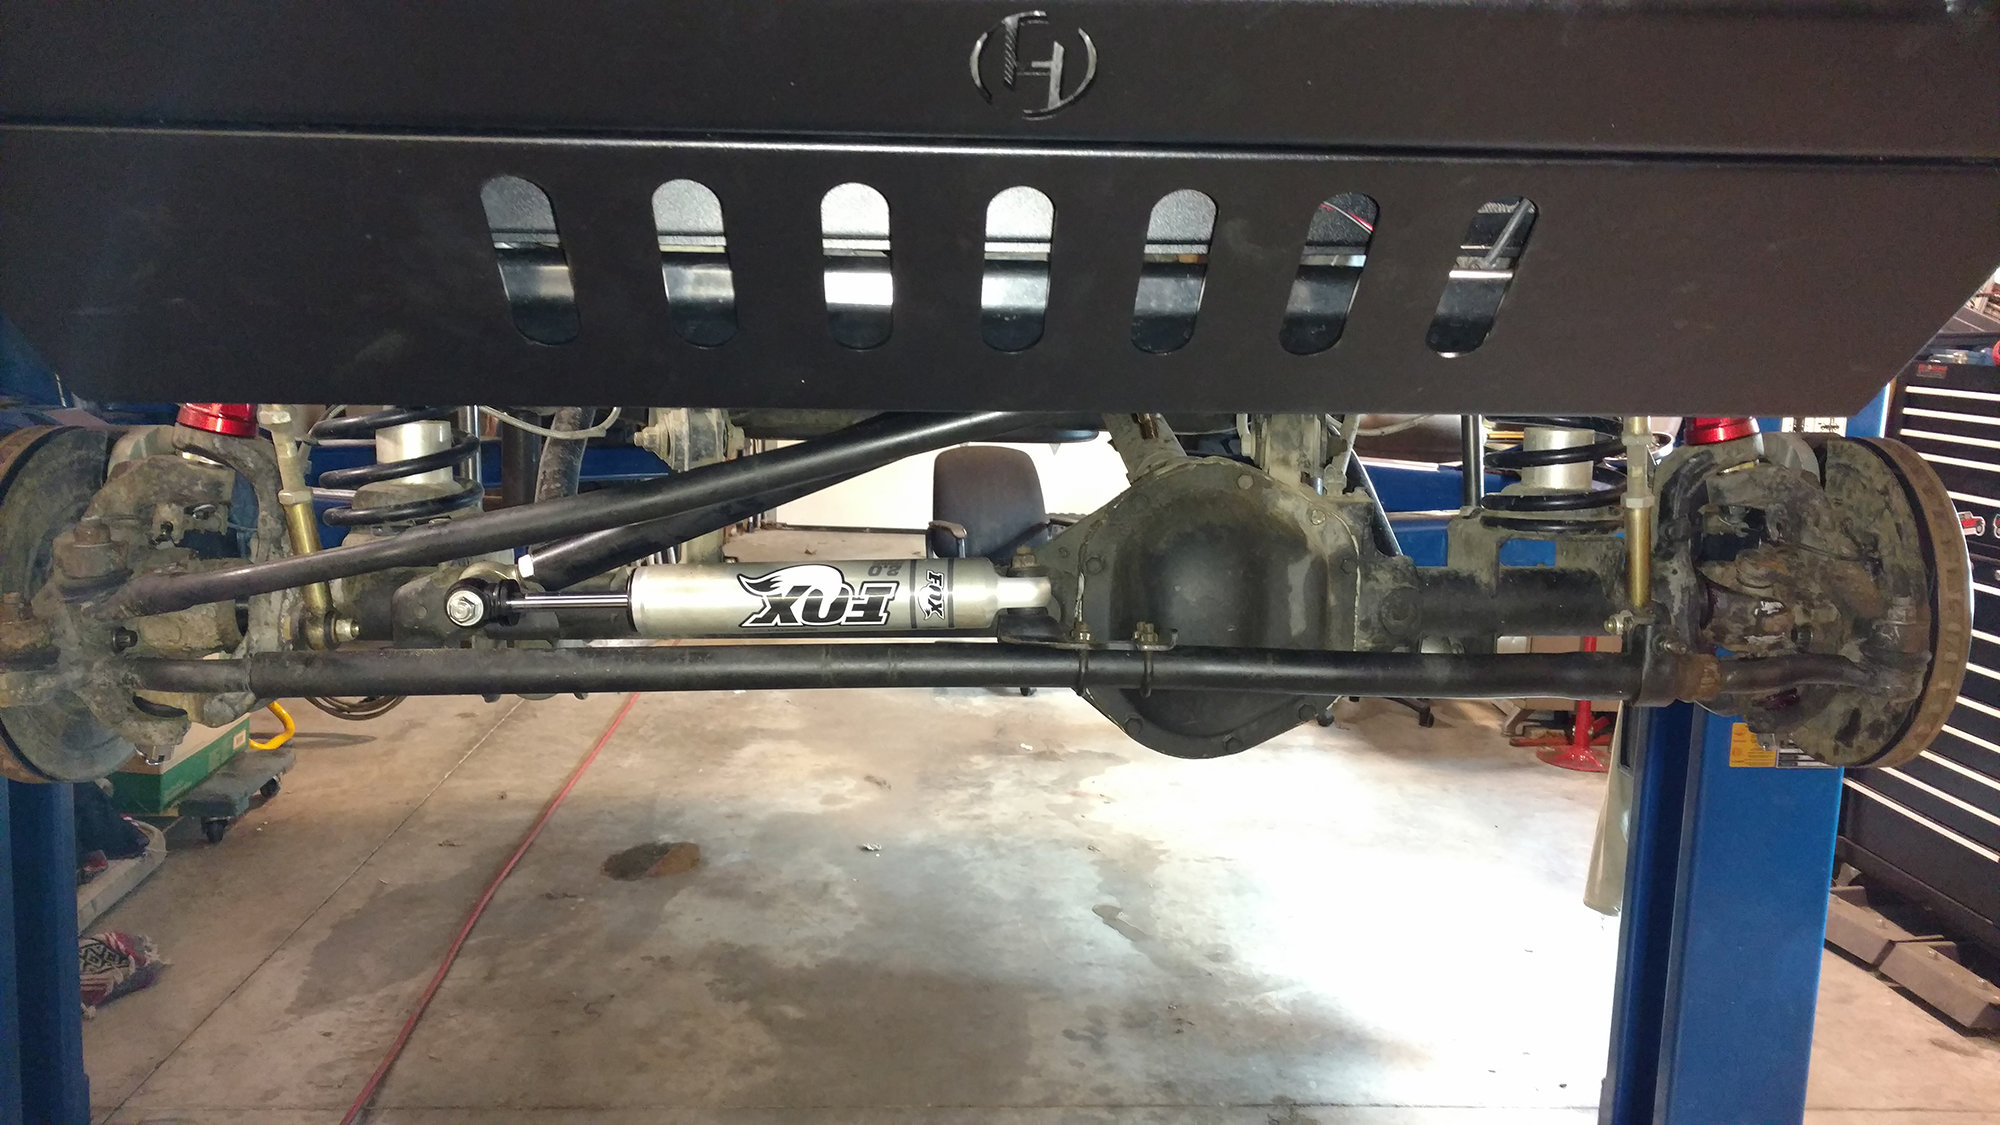
My factory steering stabilizer also decided to give up the ghost (and all its fluid) when it was removed for the ball joint upgrades, so a Fox IFP Steering Stabilizer was installed. Yes, it’s upside down. Don’t worry, that’s easy to fix.
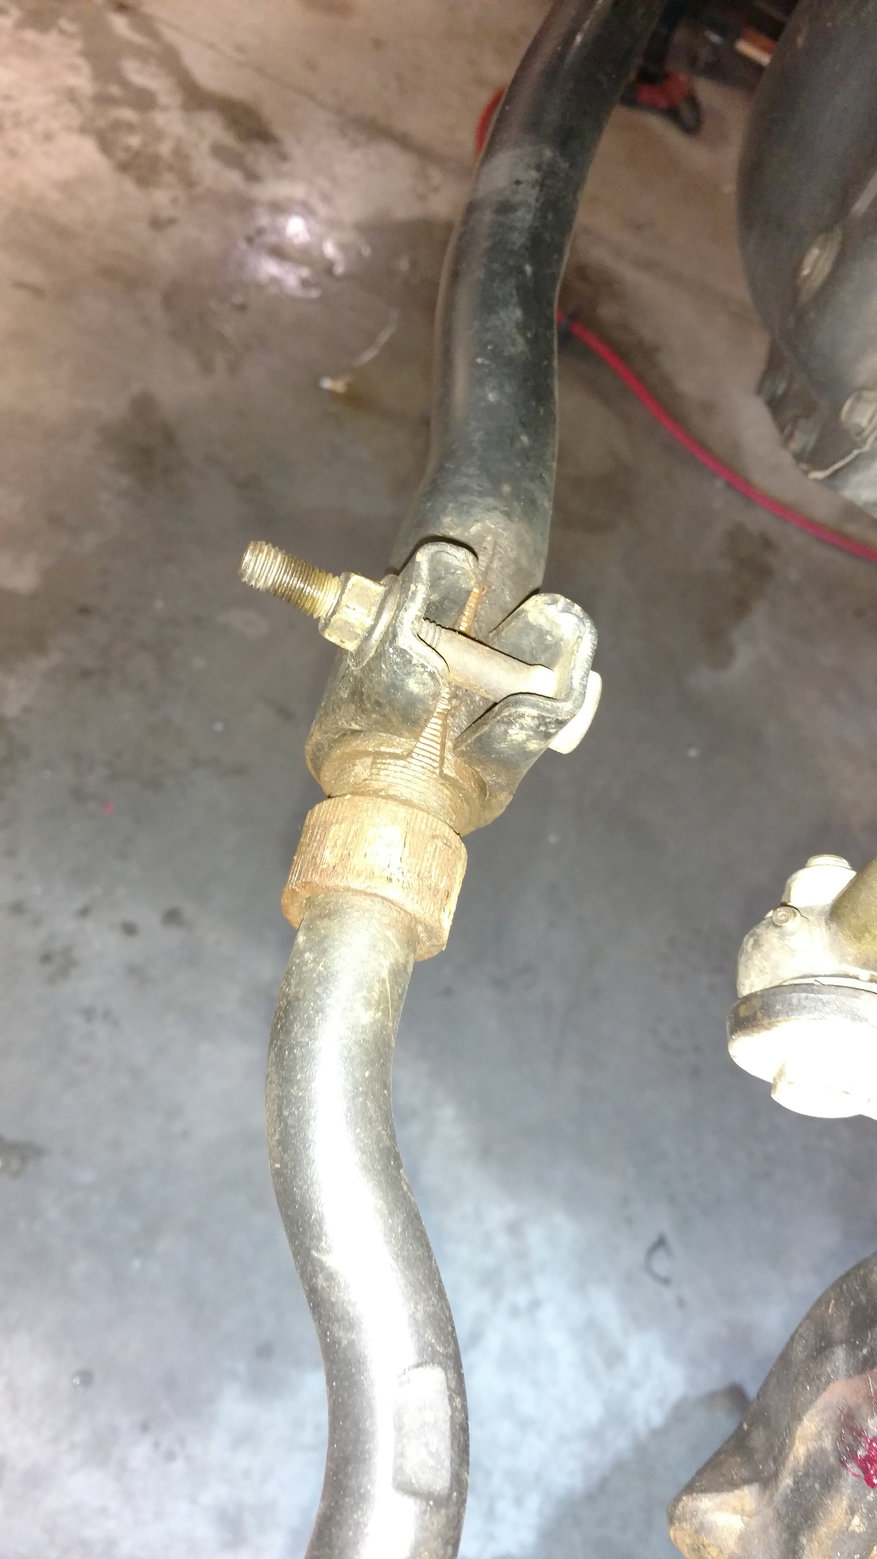
Now, given enough time, penetrating oil and heat, I may have been able to break it free.
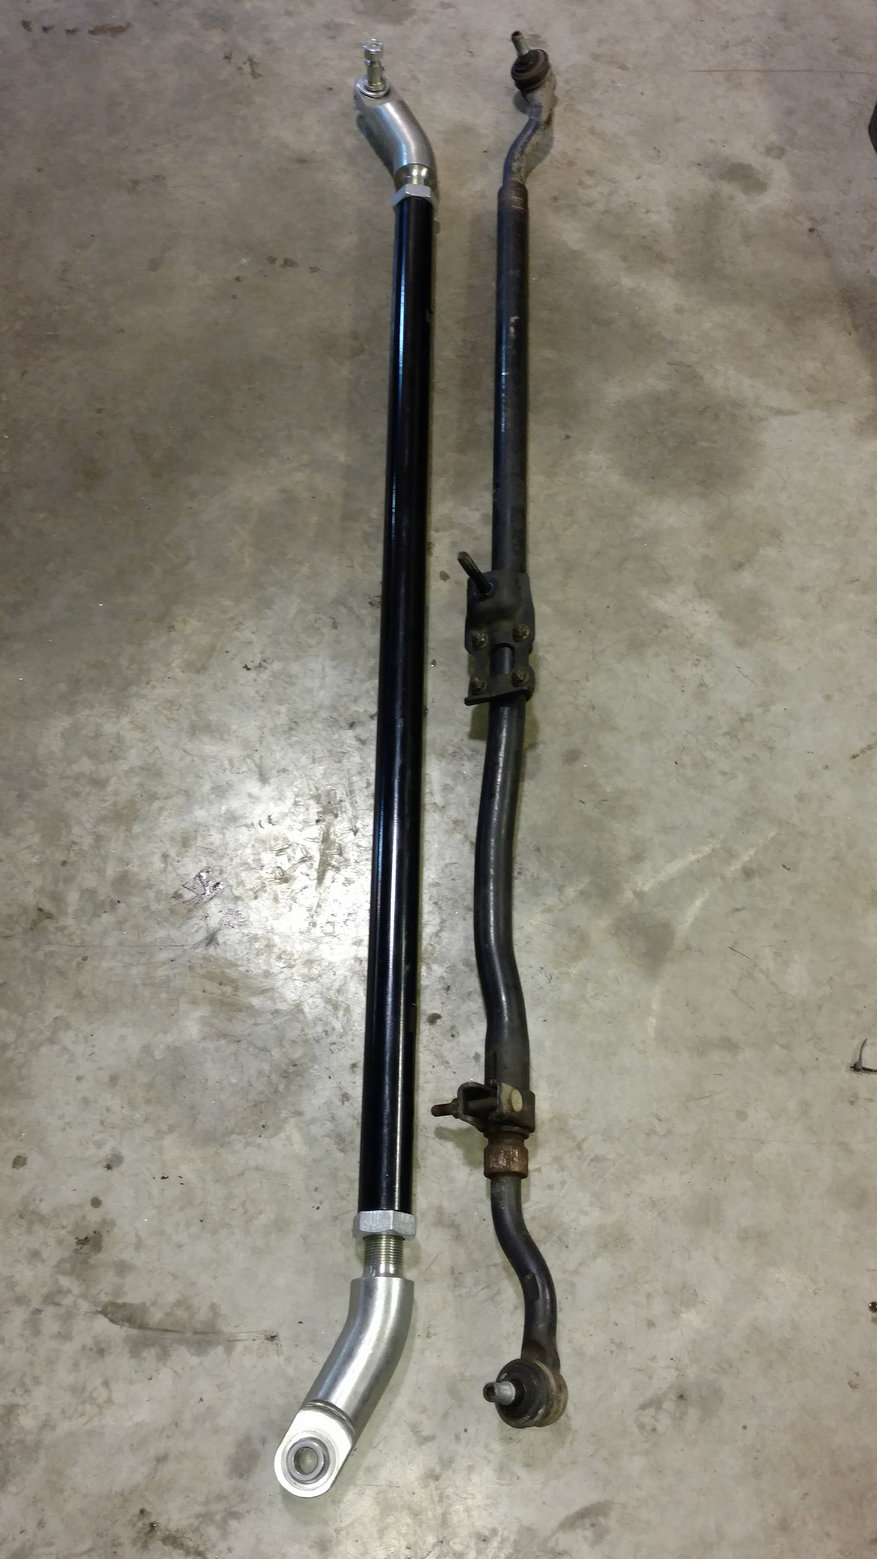
Considering how low it sits in the front end, a more durable upgrade was probably a good idea anyway, so I skipped that hassle in favor of the Rock Krawler Aluminum Off-Road Pro Tie Rod. With my Rock Krawler 2.5" X-Factor Mid Arm System , high steer components are neither recommended nor necessary, so this burly tie rod upgrade was the obvious choice.

The kit comes with everything you need for installation, including Nylock nuts, anti-wobble bushings, new steering stops, and a powder-coated steering stabilizer bracket.
The massive ends house greasable heim joints, and are threaded into the 1.75” powder coated aluminum tie rod bar with dual jamb nuts. This setup works better than the factory version for adjustment, as all you need to do is loosen the jamb nuts on both sides and spin the tie rod bar itself to set the length.
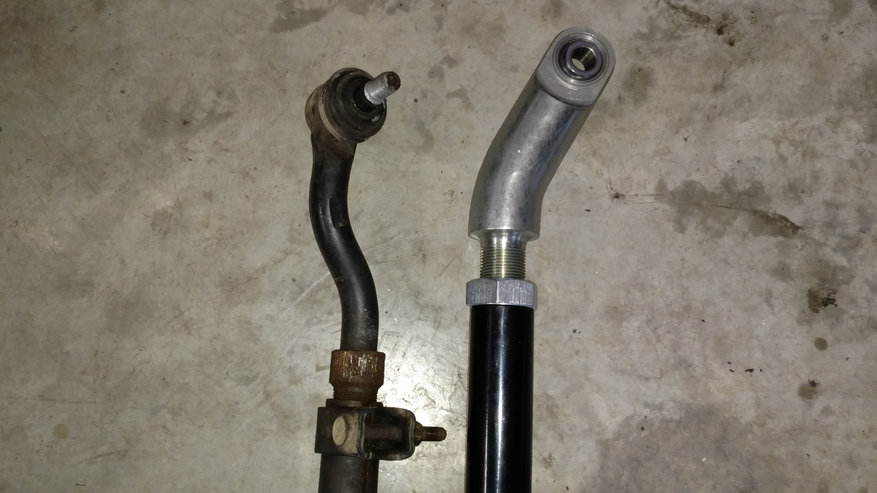
With the factory tie rod bar removed, it isn’t hard to see the design improvements in the RK piece.
Assuming your alignment is close, simply set the length of the new tie rod bar to the same starting length. It is a good idea to put some anti-seize in the internal threads of the tie rod bar, but not under the jamb nut.
It is very important when setting the starting length, that you have the same length of threads coming out of each side of the bar. Measurements should be taken from the center of each heim joint, so installing the end studs may be a good idea for accuracy. One side is reverse threaded.
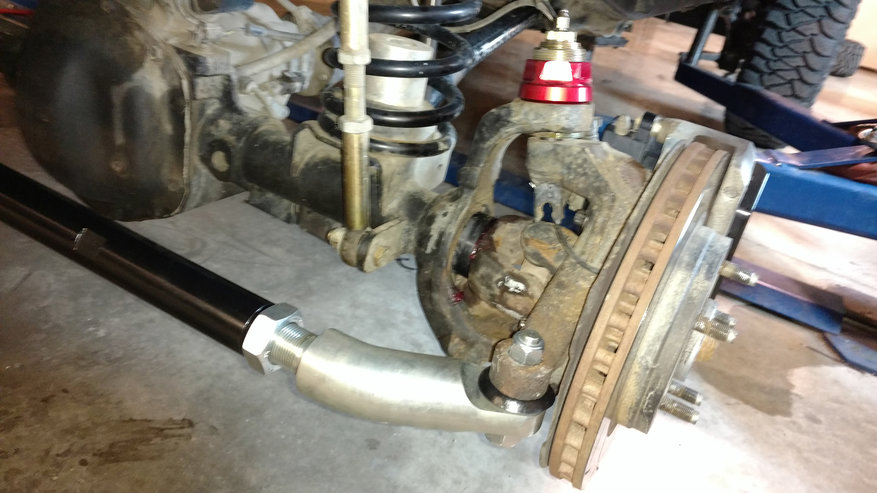
Once your starting length is set, install both ends with the anti-wobble bushing between the tie rod and steering arm. Torque the 14mm top nuts to 80-90 ft-lbs, and the bottom 18mm nuts to 200-220 ft-lbs.
Spin the jamb nuts outward and apply a few drops of blue thread locking compound to the threads where the nuts will tighten. If you’re taking it straight in for an alignment (I was) don’t go crazy with the amount of thread locker you use. Remember to let your alignment tech know that more should be applied if toe adjustment is necessary.
Both jamb nuts should be tightened to 225-250 ft-lbs. This is super tight, and will require some muscle. This should also be done with the wheels pointed straight ahead and it is probably a good idea to have a second person hold the tie rod bar in place with an adjustable wrench on the flat sections. Make sure both ends are fixed at a neutral (preferably totally flat) angle.
Move the wheels back and forth a few cycles to make sure nothing is interfering with the steering travel. If interference with the wheels is present, install the longer steering stops included in the kit to prevent wheel contact.
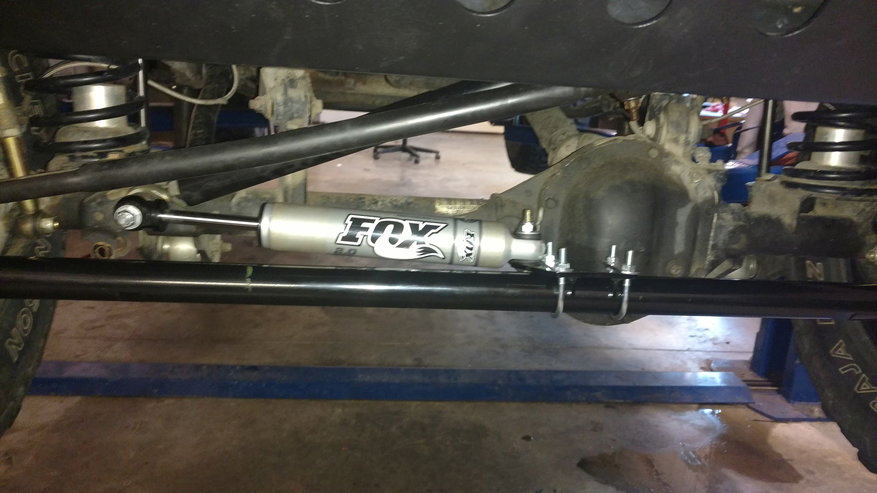
Center your steering stabilizer by taking measurements pushing it all the way in and pulling it all the way out. Mark the centerline of these two measurements with a tire crayon.
The stabilizer I’m using is pressurized to the point it pushes fully out when released, so setting up the new bracket happened while I was watching it move. Once the bracket was assembled with the supplied u-bolts and nylock nuts, the stabilizer was pushed back in and bolted in place.
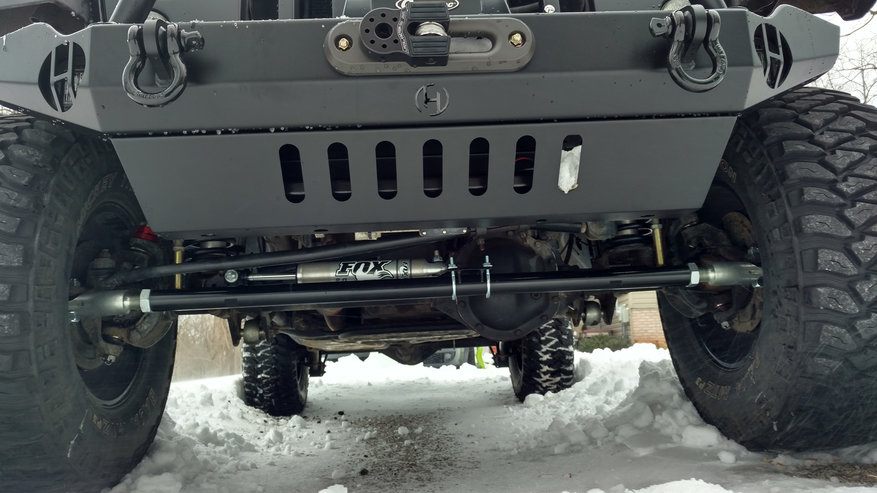
With everything installed and aligned the next day, my steering is precise and a hell of a lot more durable.
While a “driveway alignment” was performed using a tape measure with the Jeep on the ground, the before specs for toe were off a few degrees. Precision alignment equipment is a far better solution, and is strongly recommended any time you are replacing steering or suspension components.
If you have a specialized off-road suspension that requires special instructions (such as jamb nut torque specs in Rock Krawler’s case) or different than factory alignment specs, it is a good idea to print these out and take them to your alignment technician when you drop off your Jeep.
Stay tuned for more Project Snake Eyes durability upgrades in the near future!