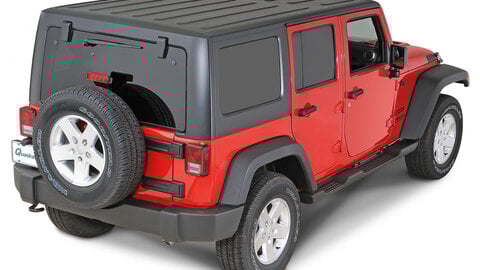














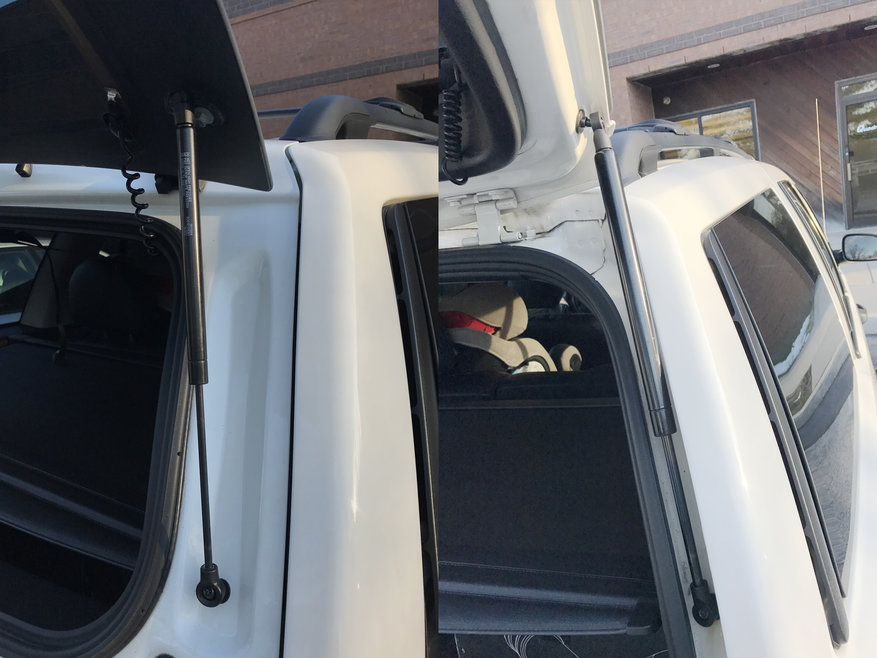
If you've owned any vehicle with worn out hatch lift struts, after you install new ones you'll wonder why you didn't replace them sooner. For the WJ, you'll just need a T40 Torx bit, socket wrench and a small flat head screwdriver. For the liftgate you'll want to use a 2x4 to prop up the liftgate or a friend to help hold it while you replace the struts because it is much heavier than it appears. On the other hand, the lift glass struts are easy to do yourself, as your head is a great support for the glass while you swap out the struts.
What You Will Need
- Liftgate Support Strut x2 - Crown Automotive 55136761AB or OMIX-ADA 12012.10
- Liftgate Glass Support Strut x2 - Crown Automotive 55136760AA or OMIX-ADA 12012.08
- Ratchet
- T40 Torx Socket
- Small Flat Head Screwdriver
- Long 2x4 or a friend
Instructions
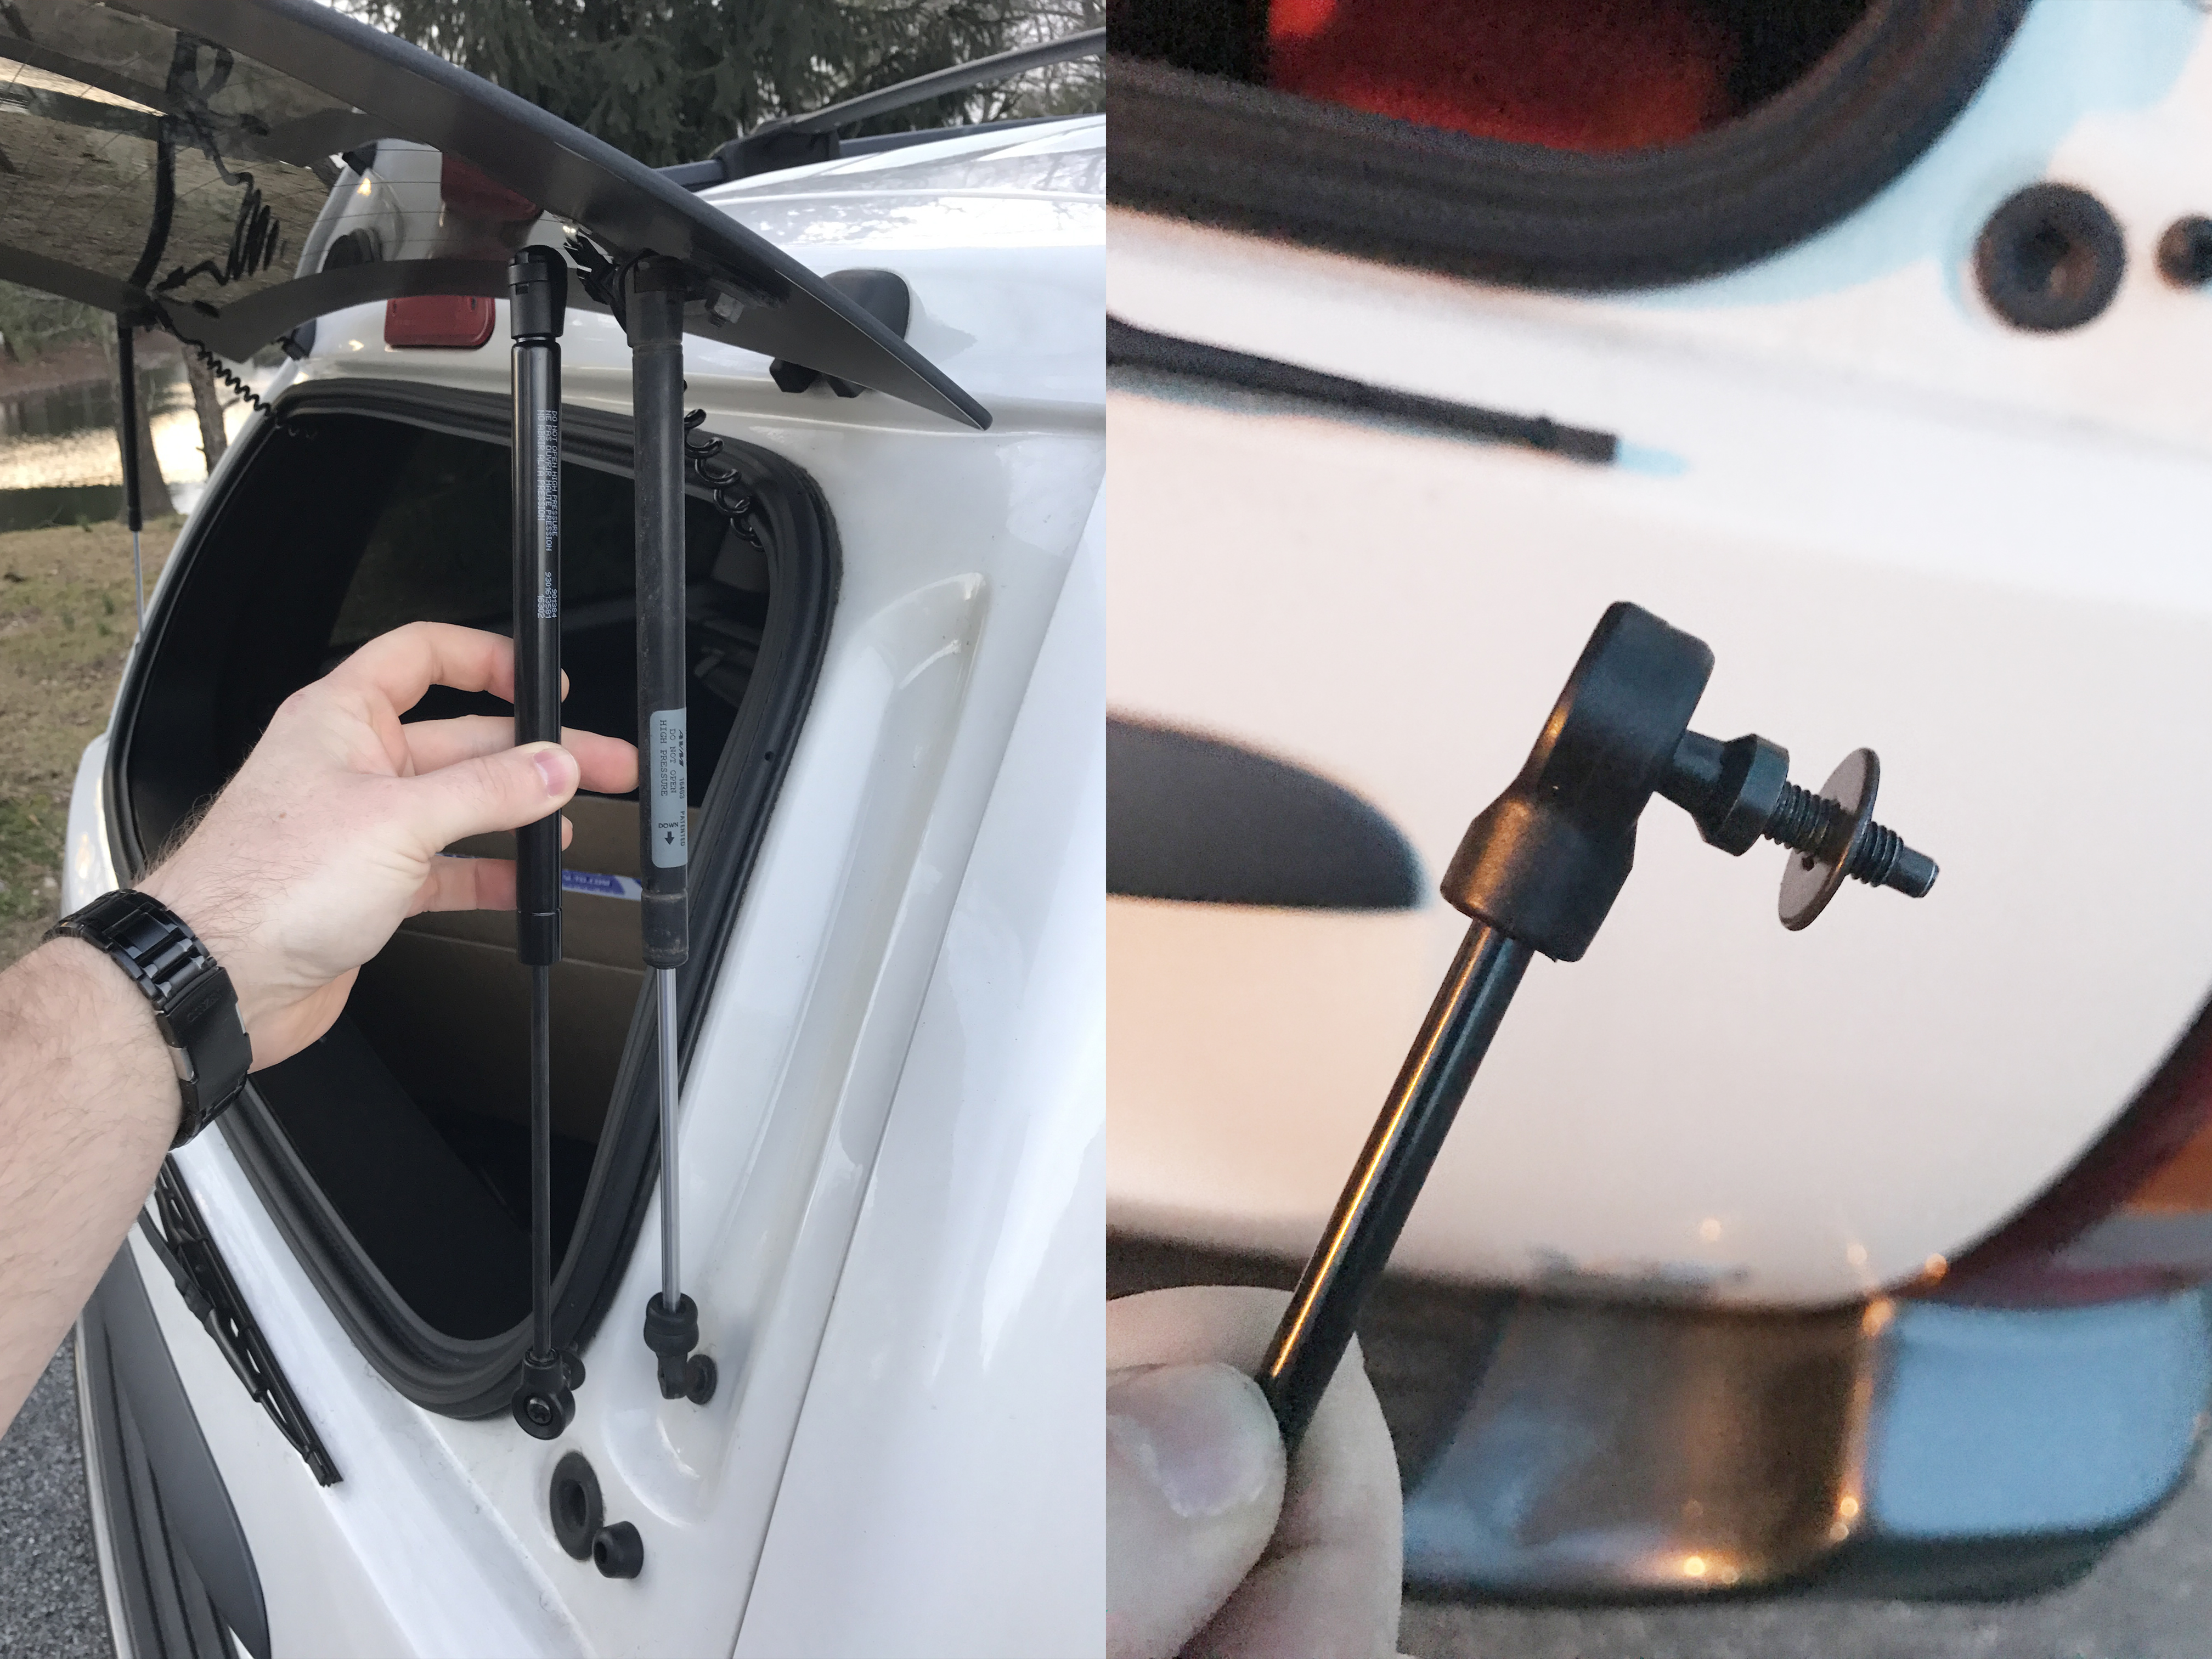
1. Start with the liftgate glass support struts. The new struts should already have new bolts on them. They're pressed into the end of the strut and the old ones will remain on the old strut. Complete one side, then move to the other. Don't remove both struts at the same time as the liftgate and glass become very heavy.
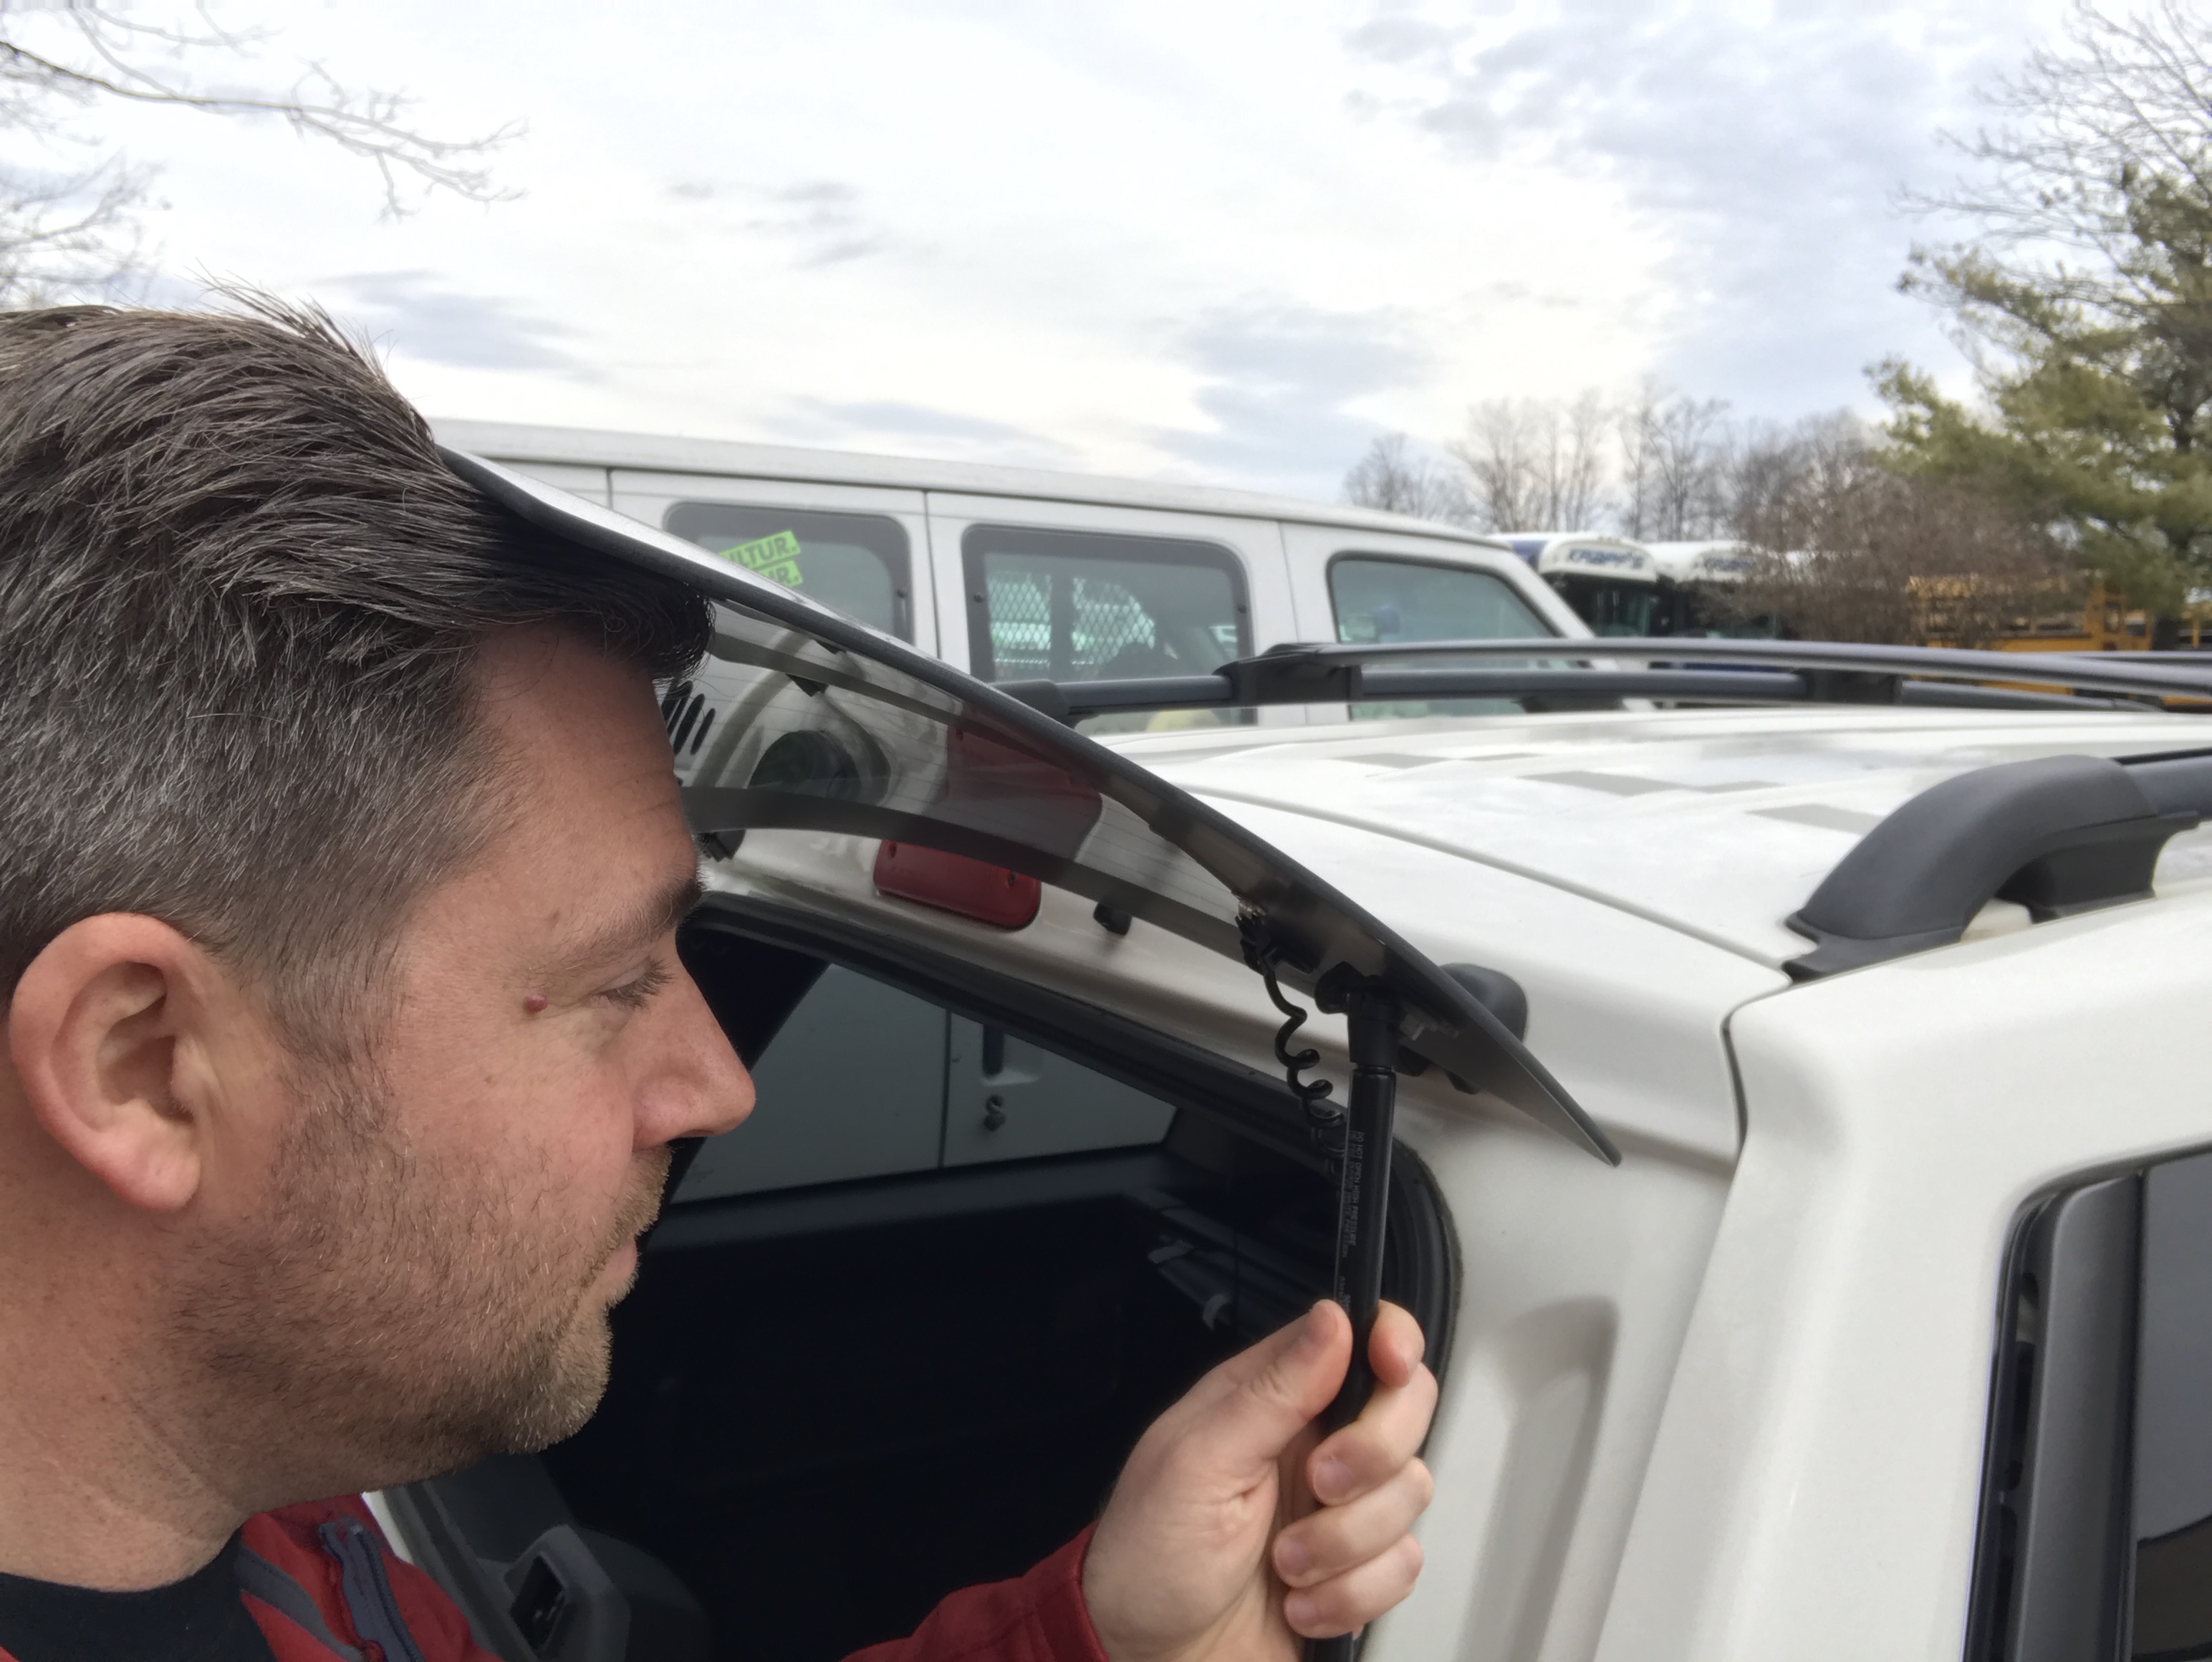
2. Support the liftgate glass. You can simply rest the glass on you're head while working as it's not that heavy.
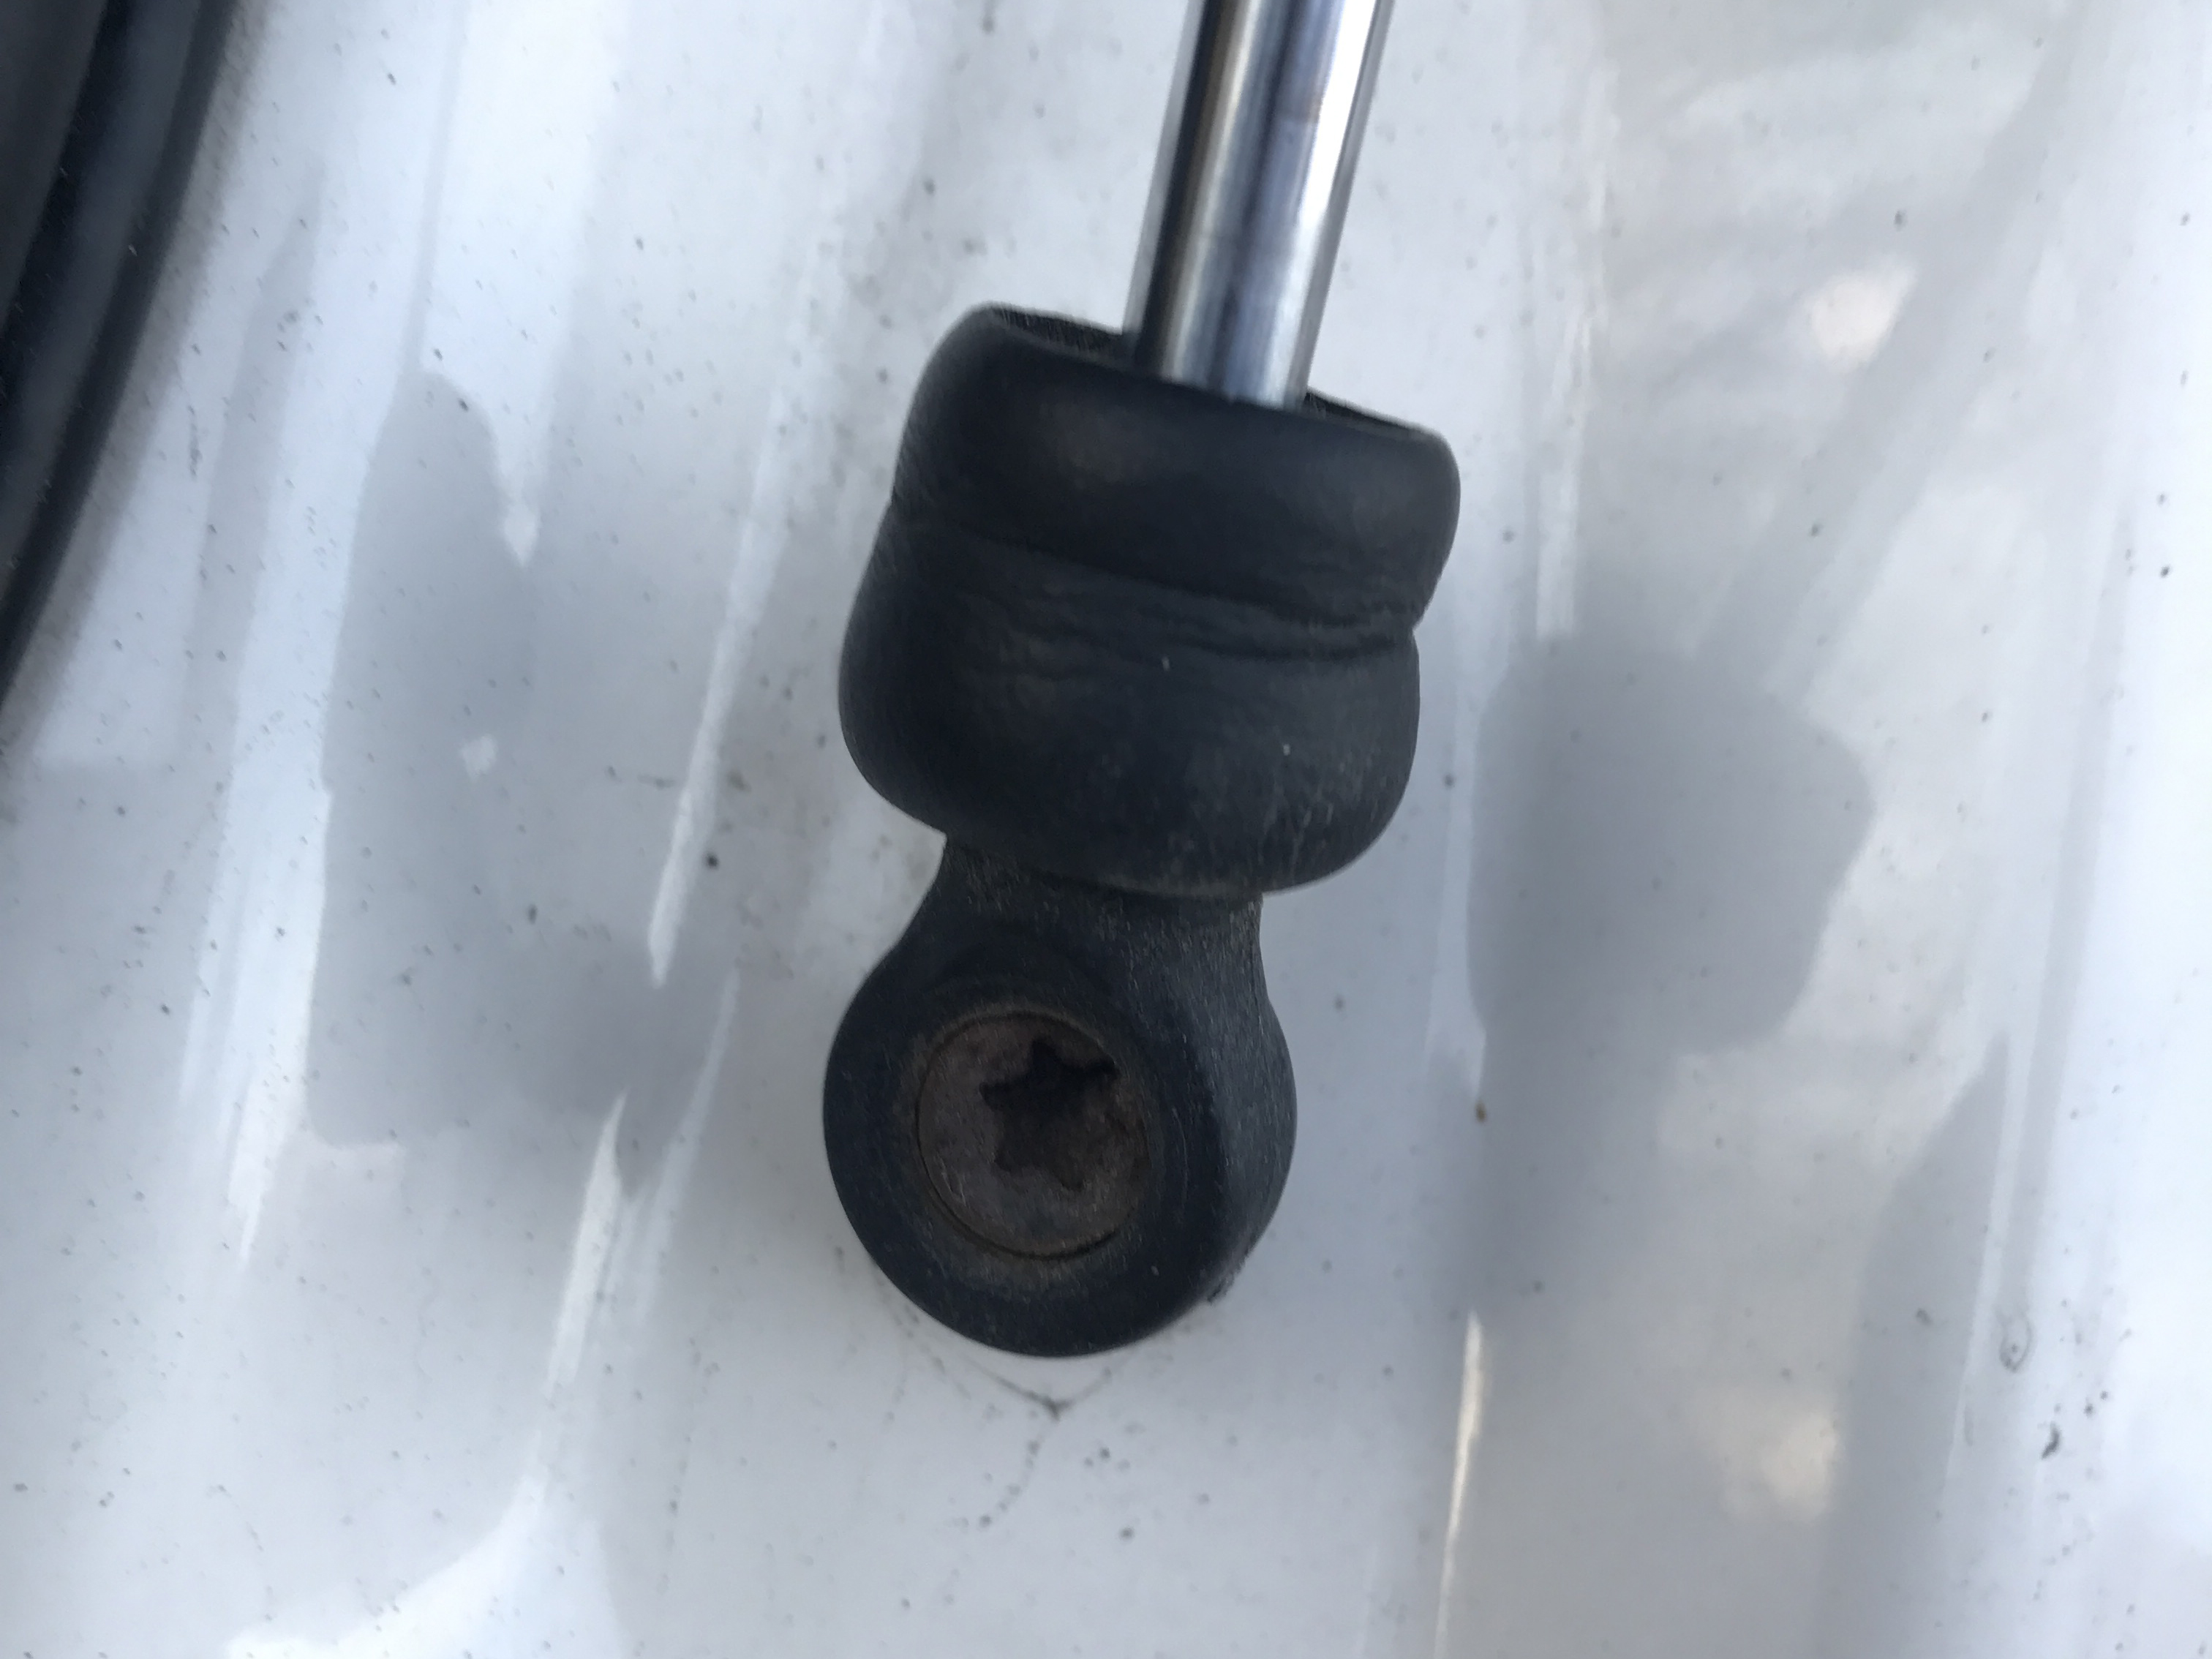
3. Using your torx bit and wrench, remove the lower bolt on the strut from the liftgate.
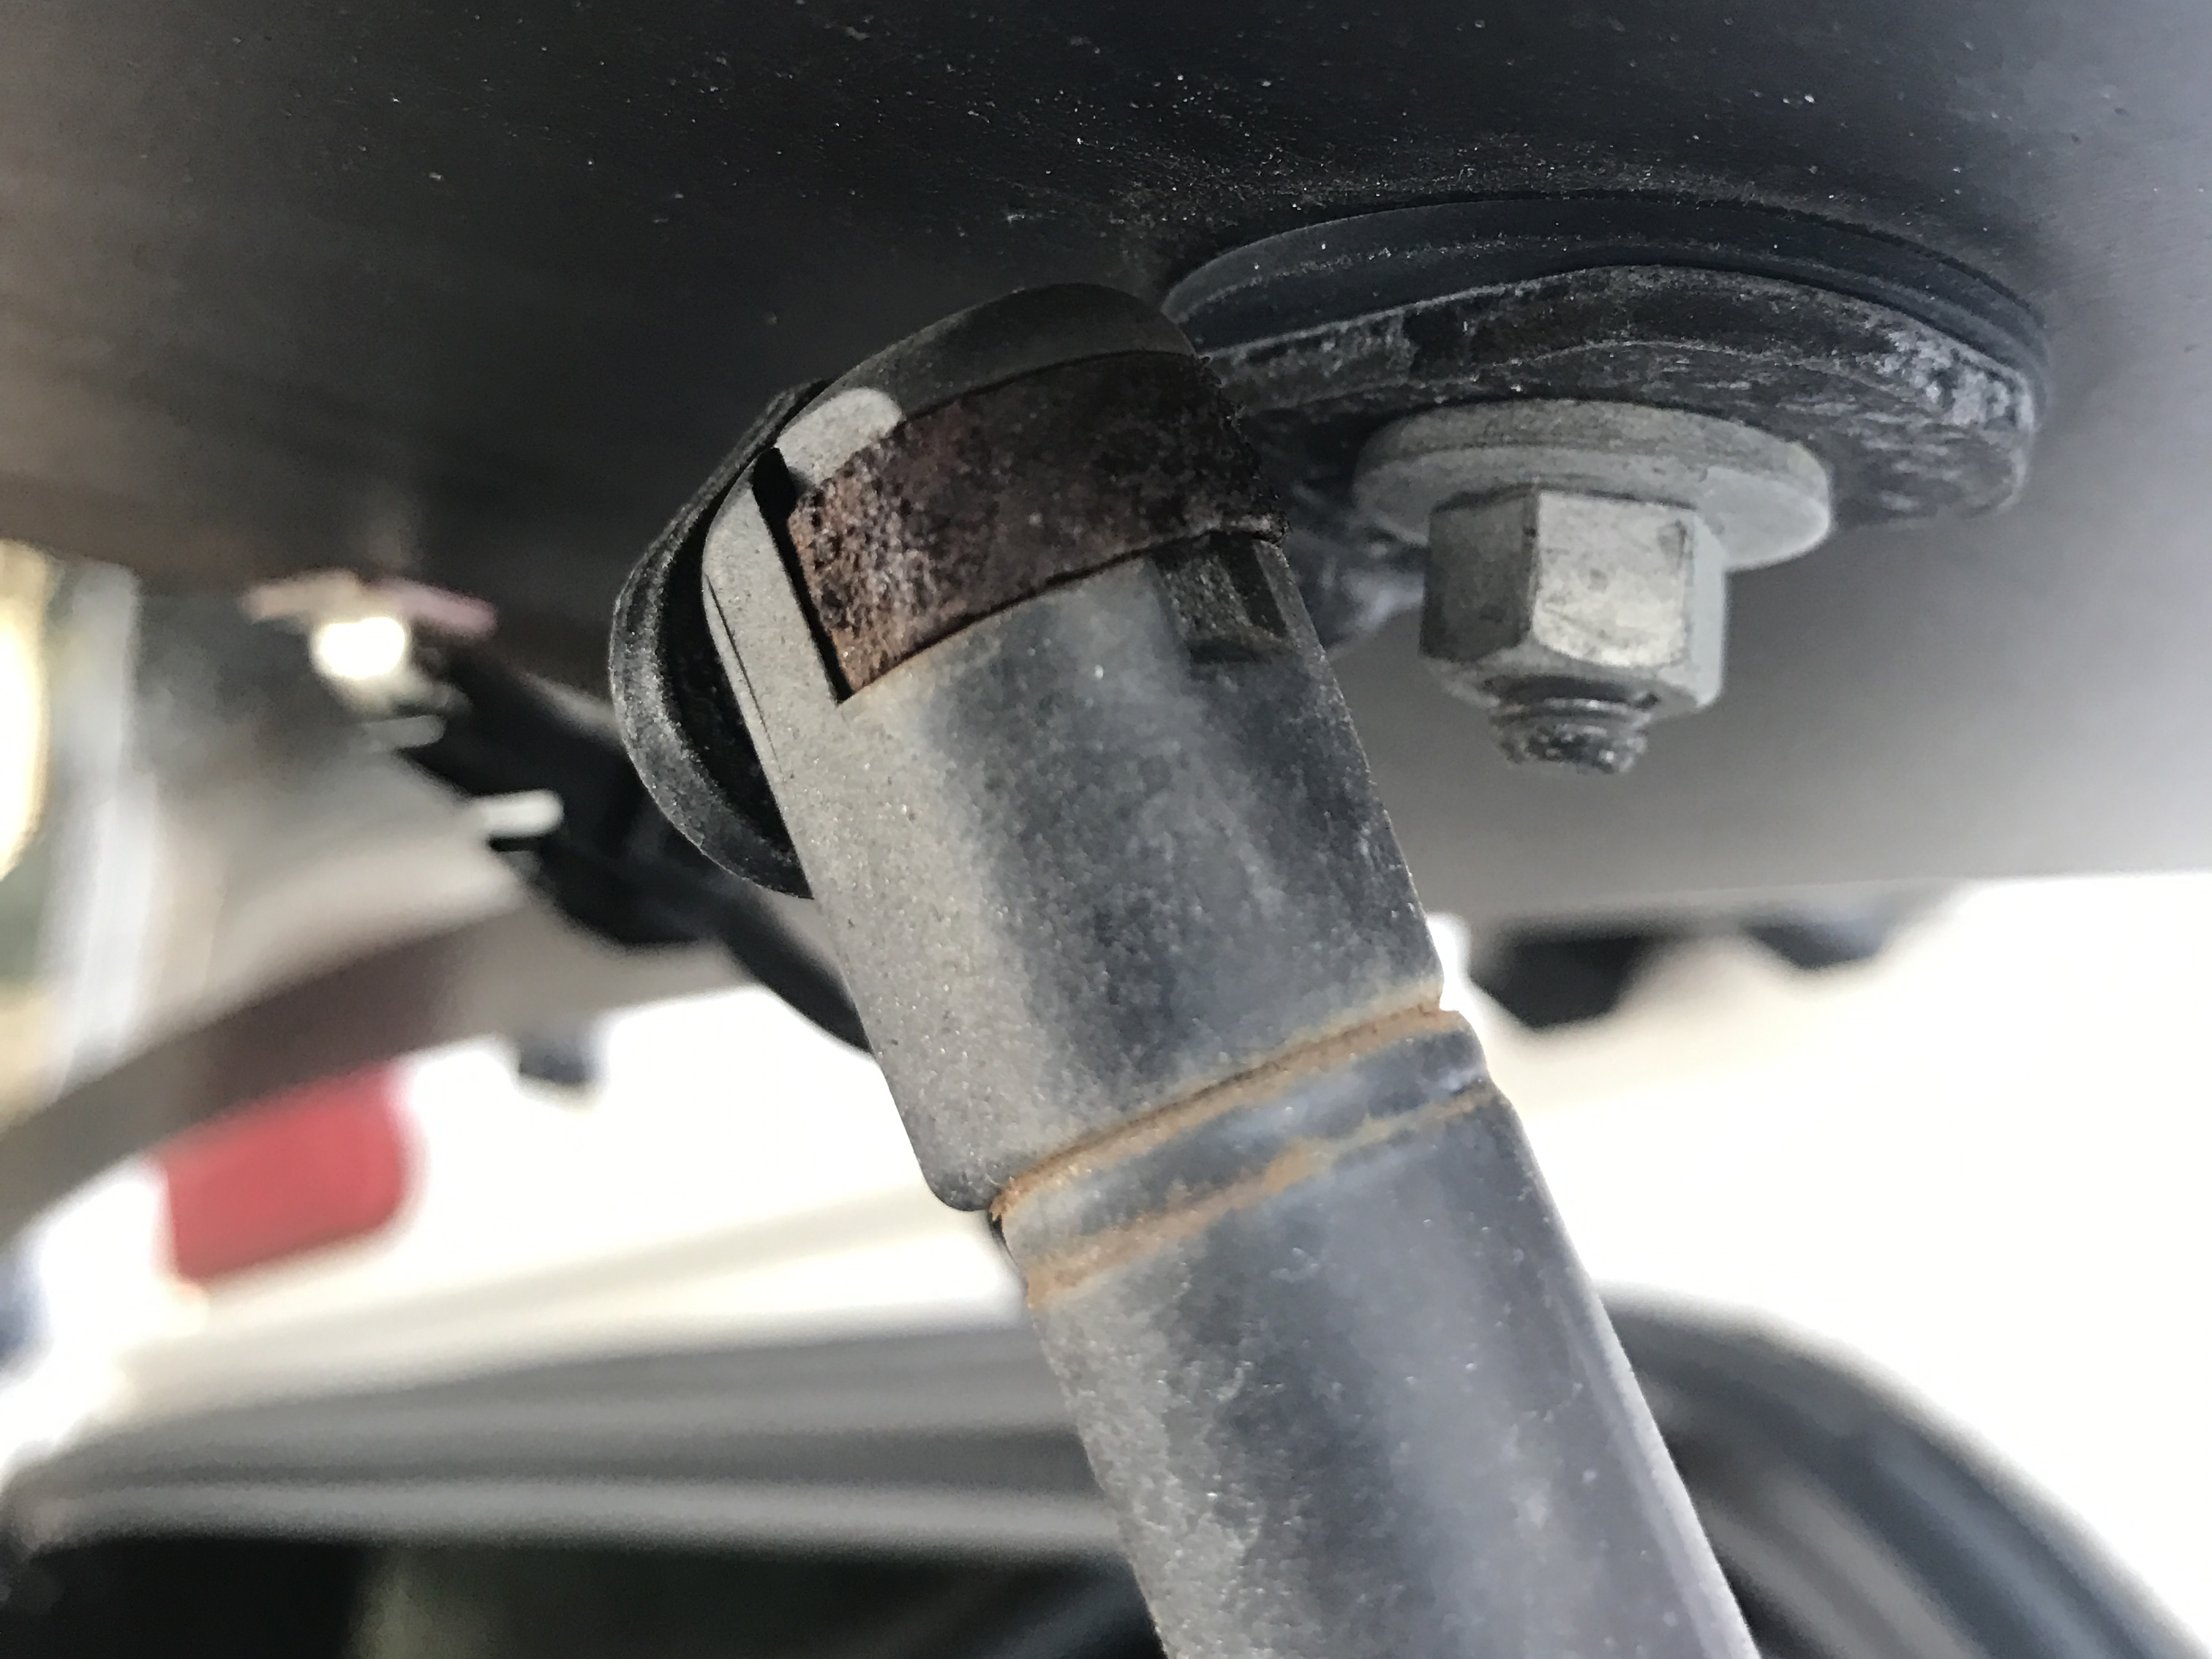
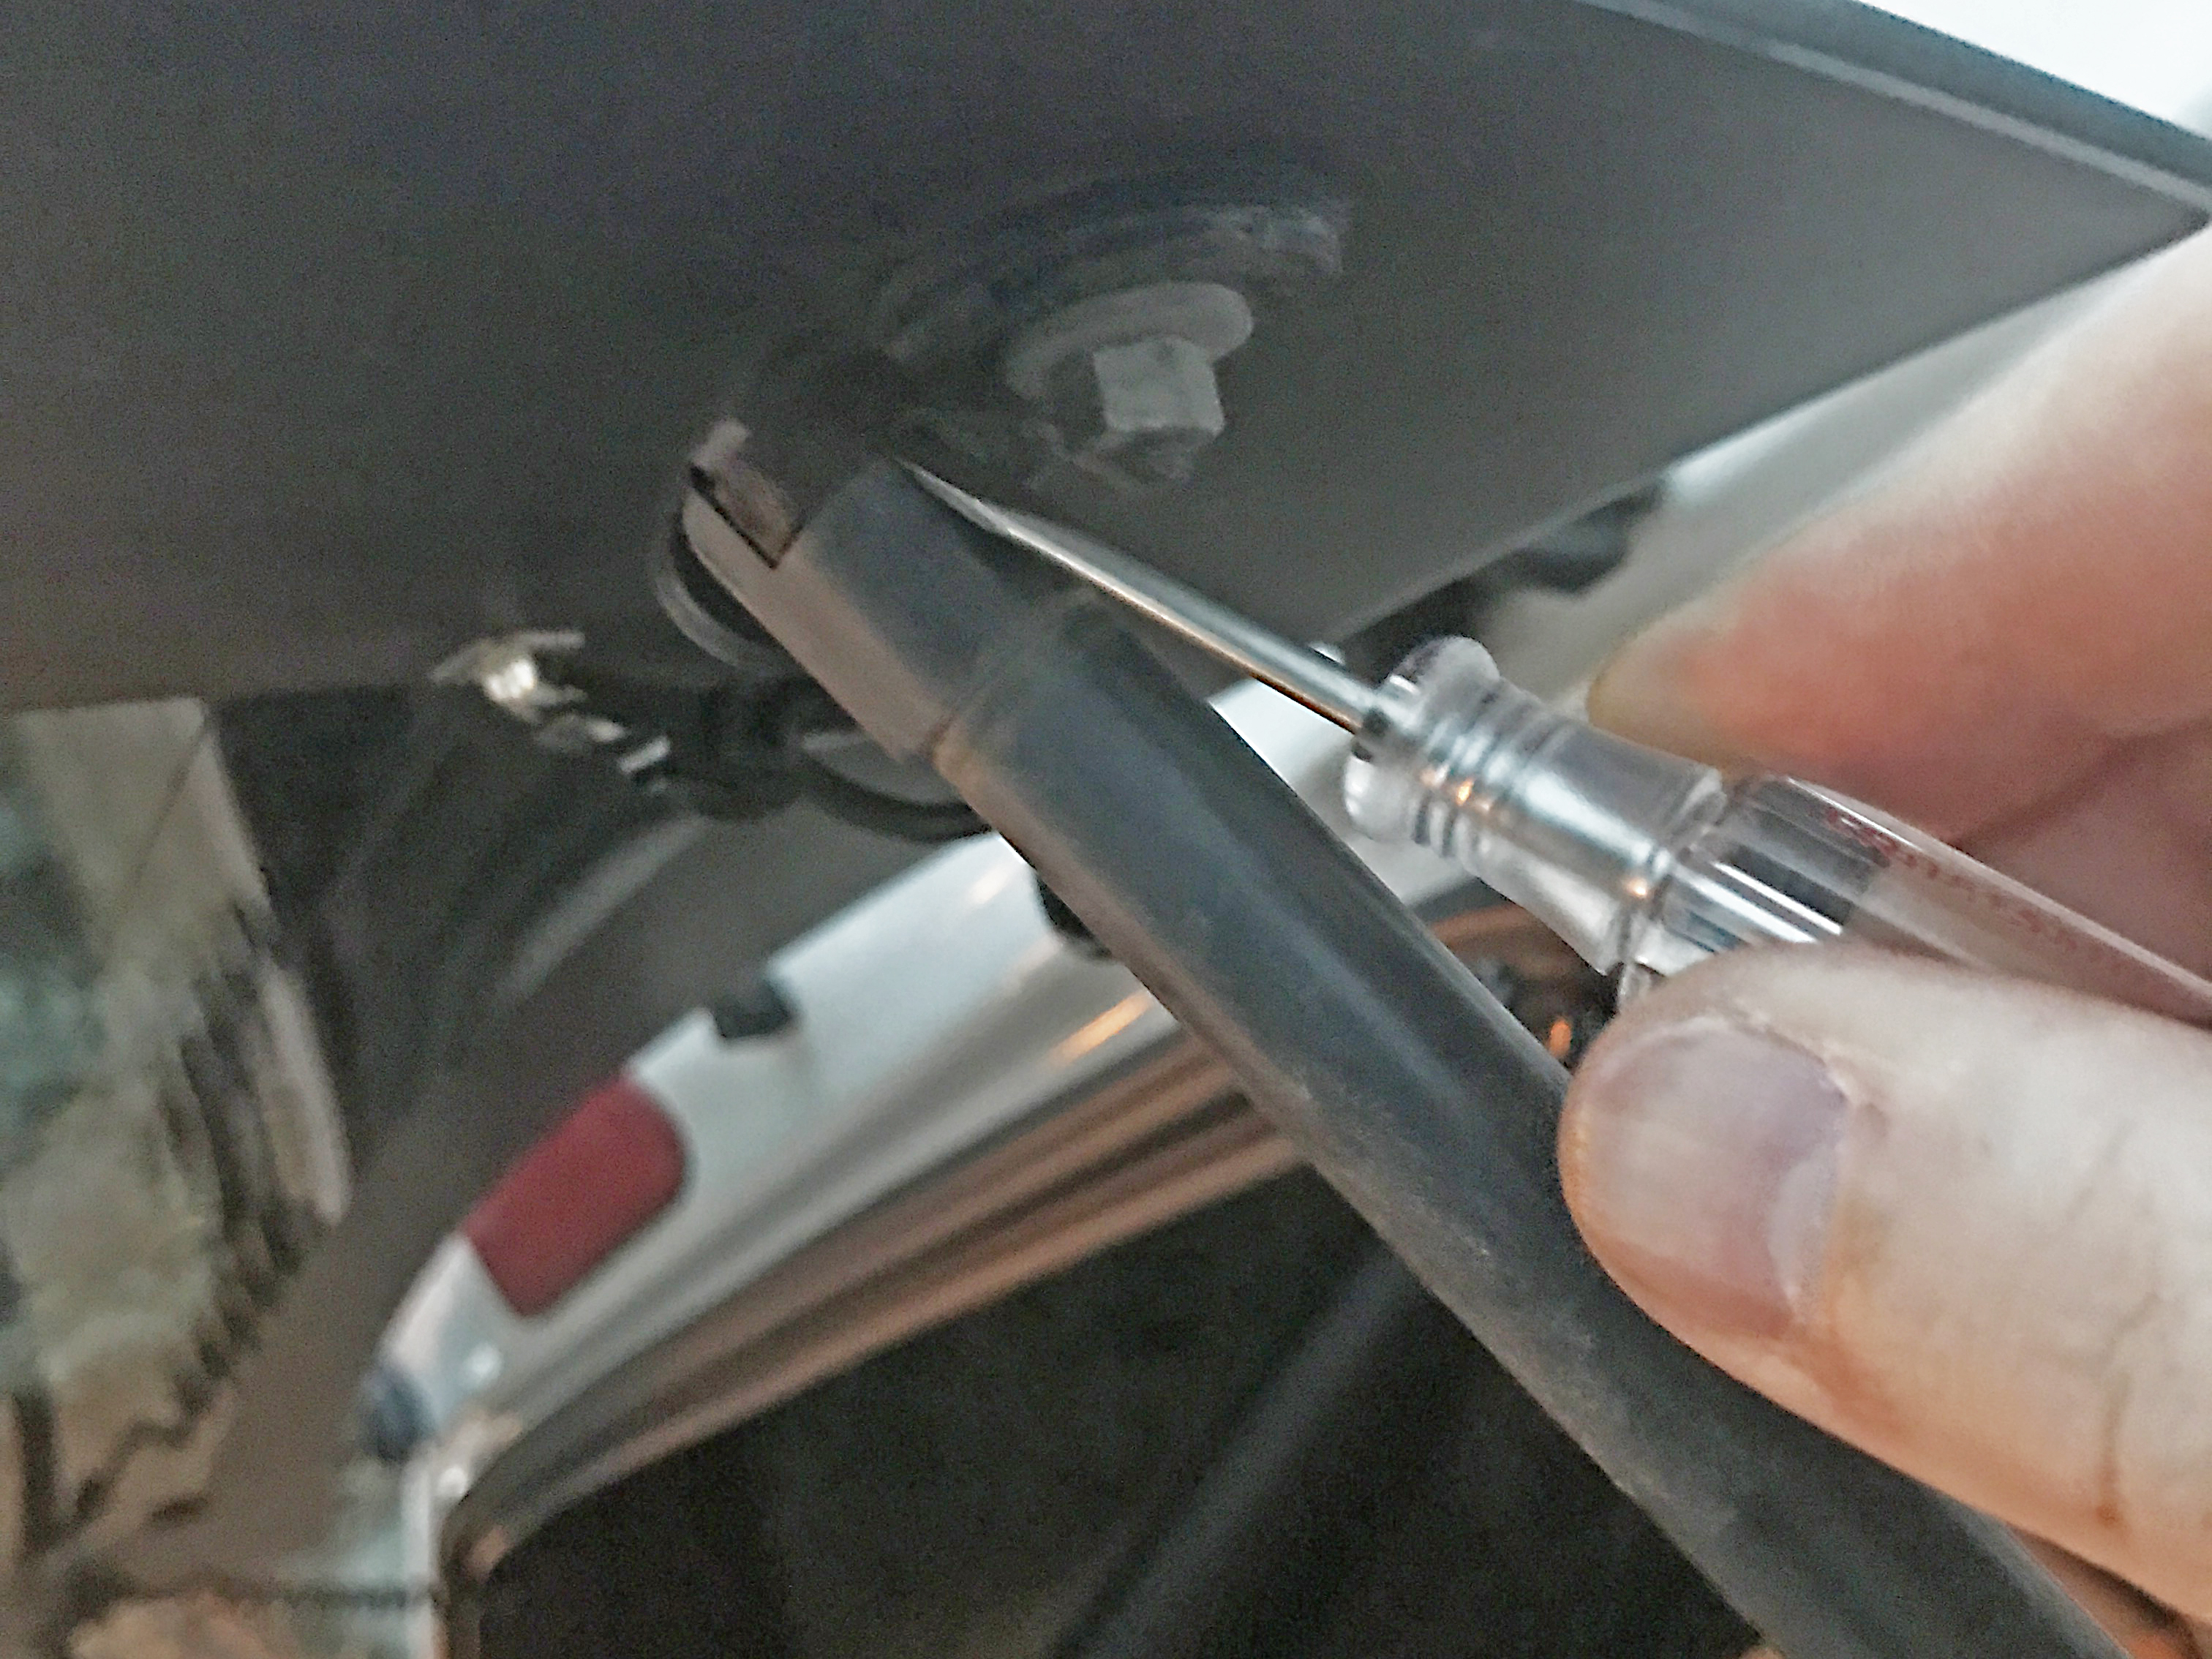
4. Using a small flat blade screwdriver, pry the locking tab away from the socket end of the support strut and pull the strut away from the mounting ball.
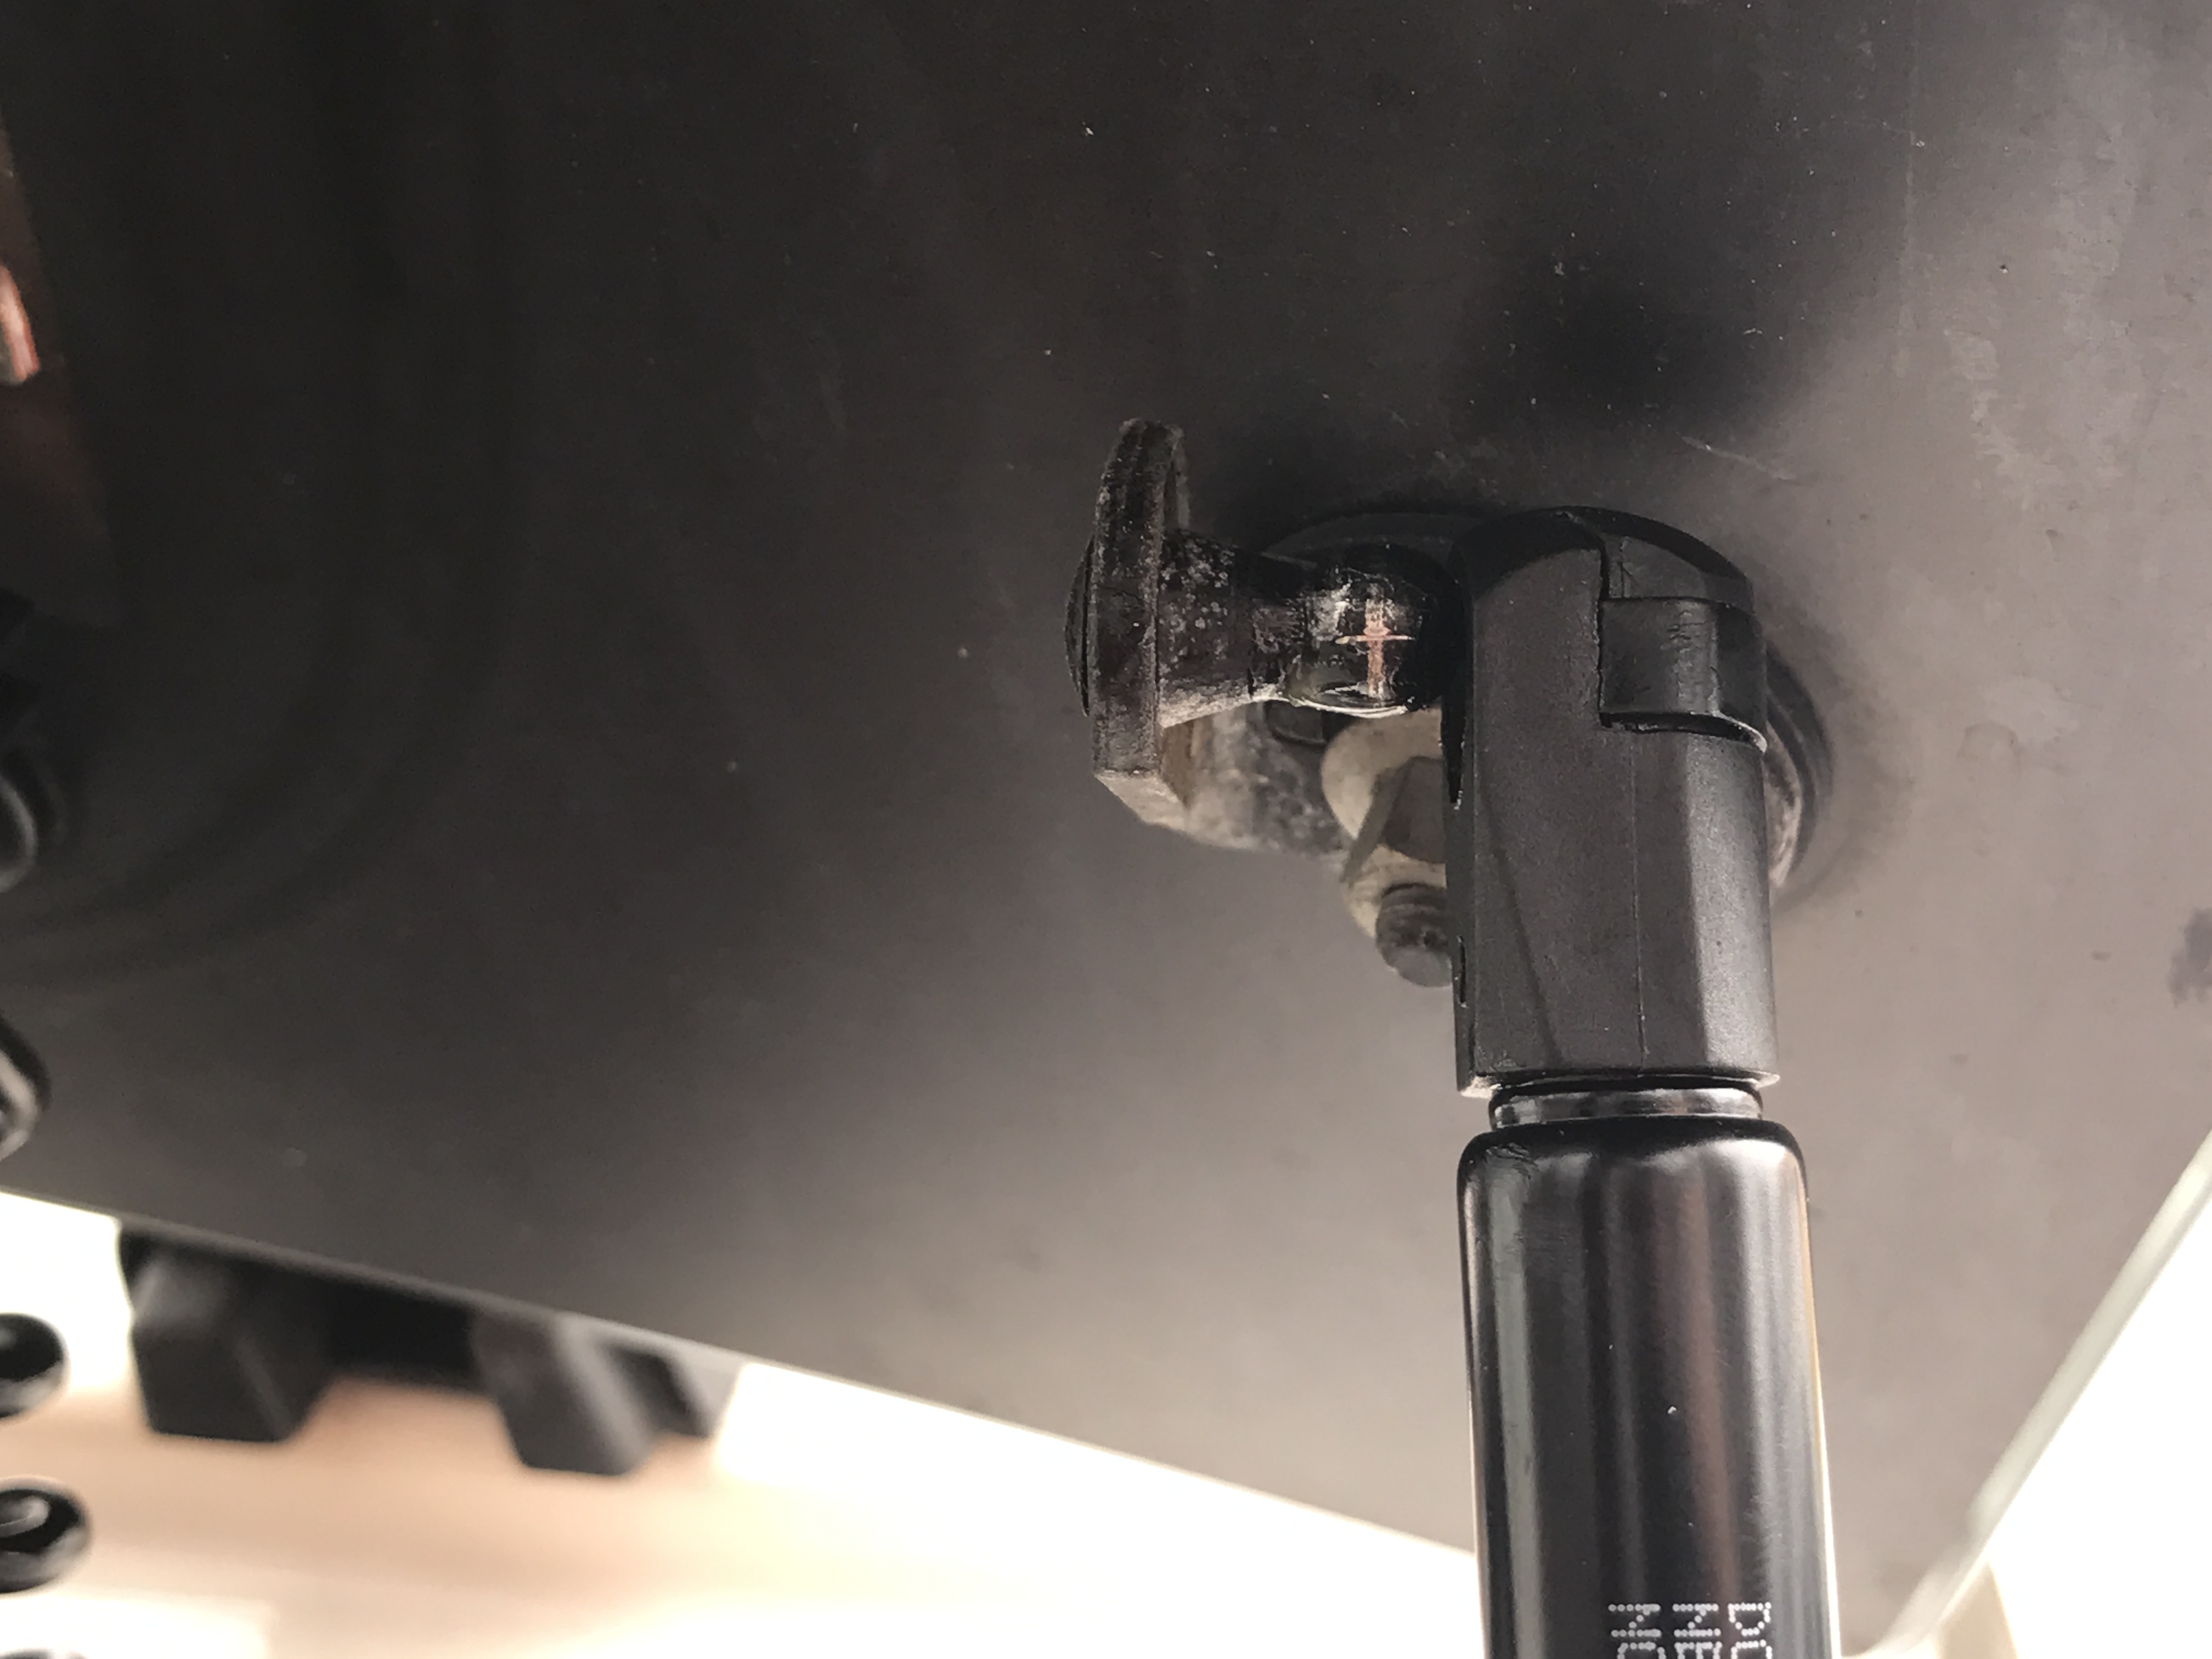
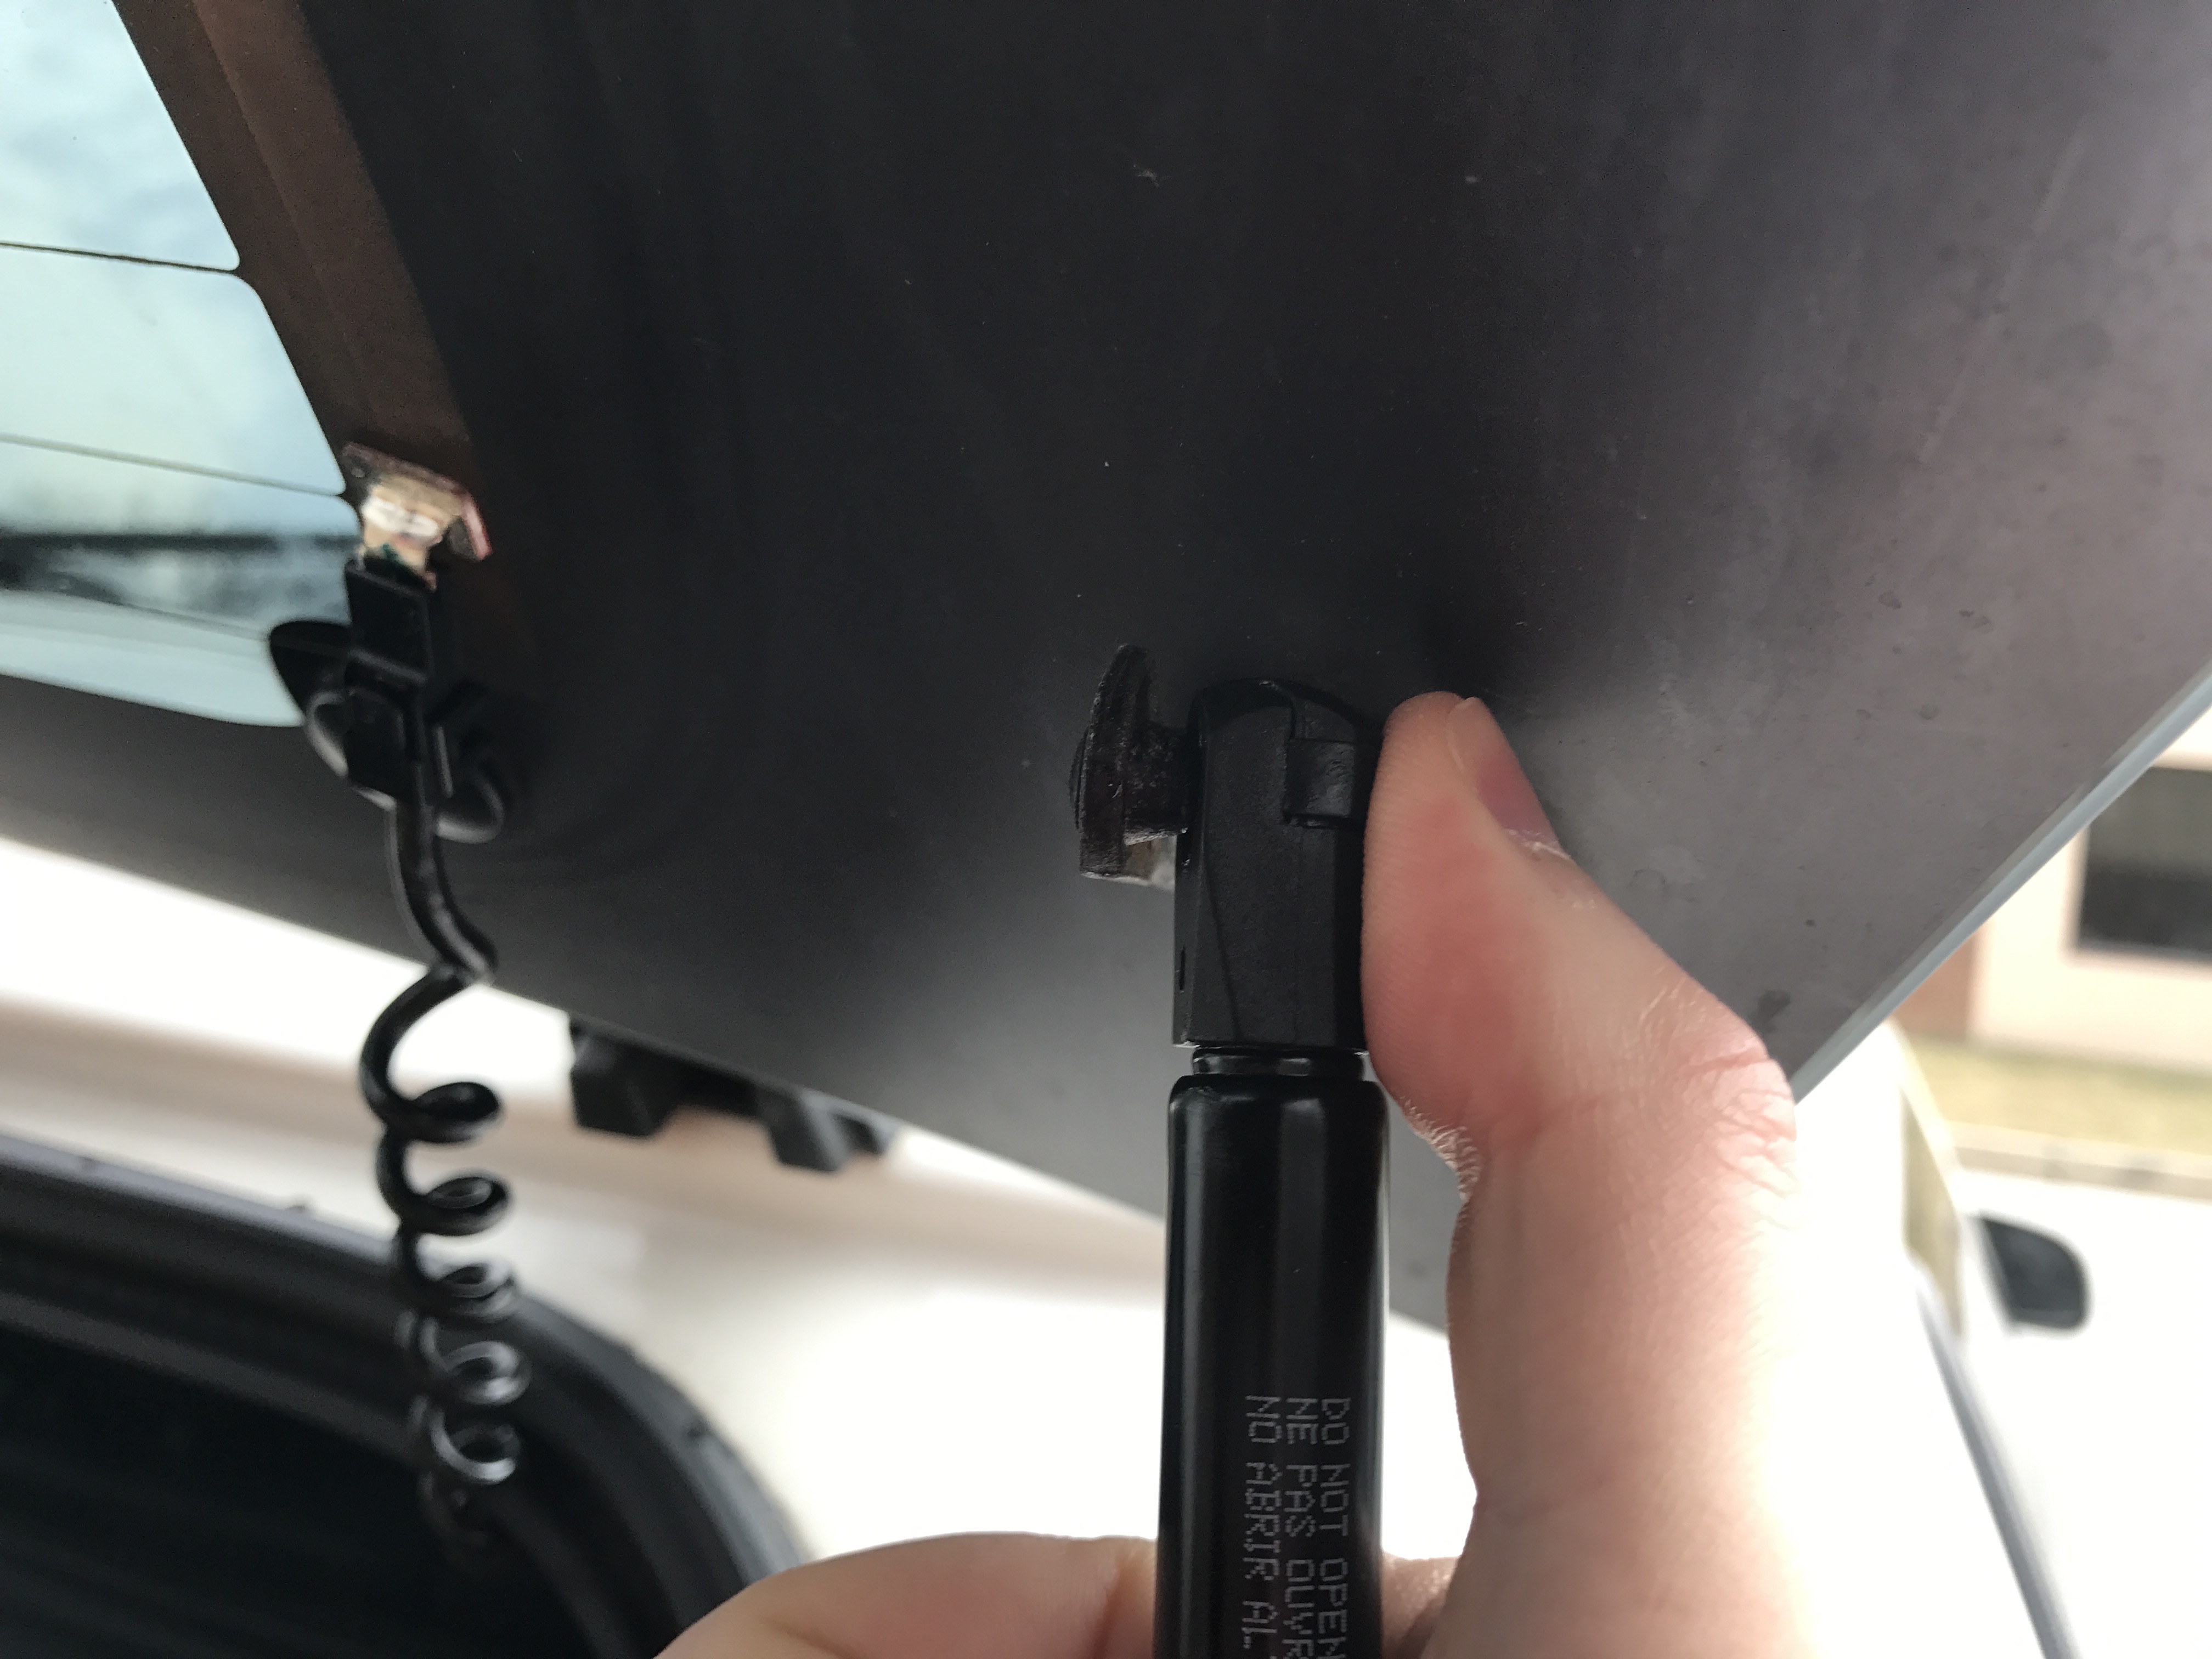
5. Position the new support strut over the mounting ball and press to snap it in to place. You do not need to pry the metal tab out to install.
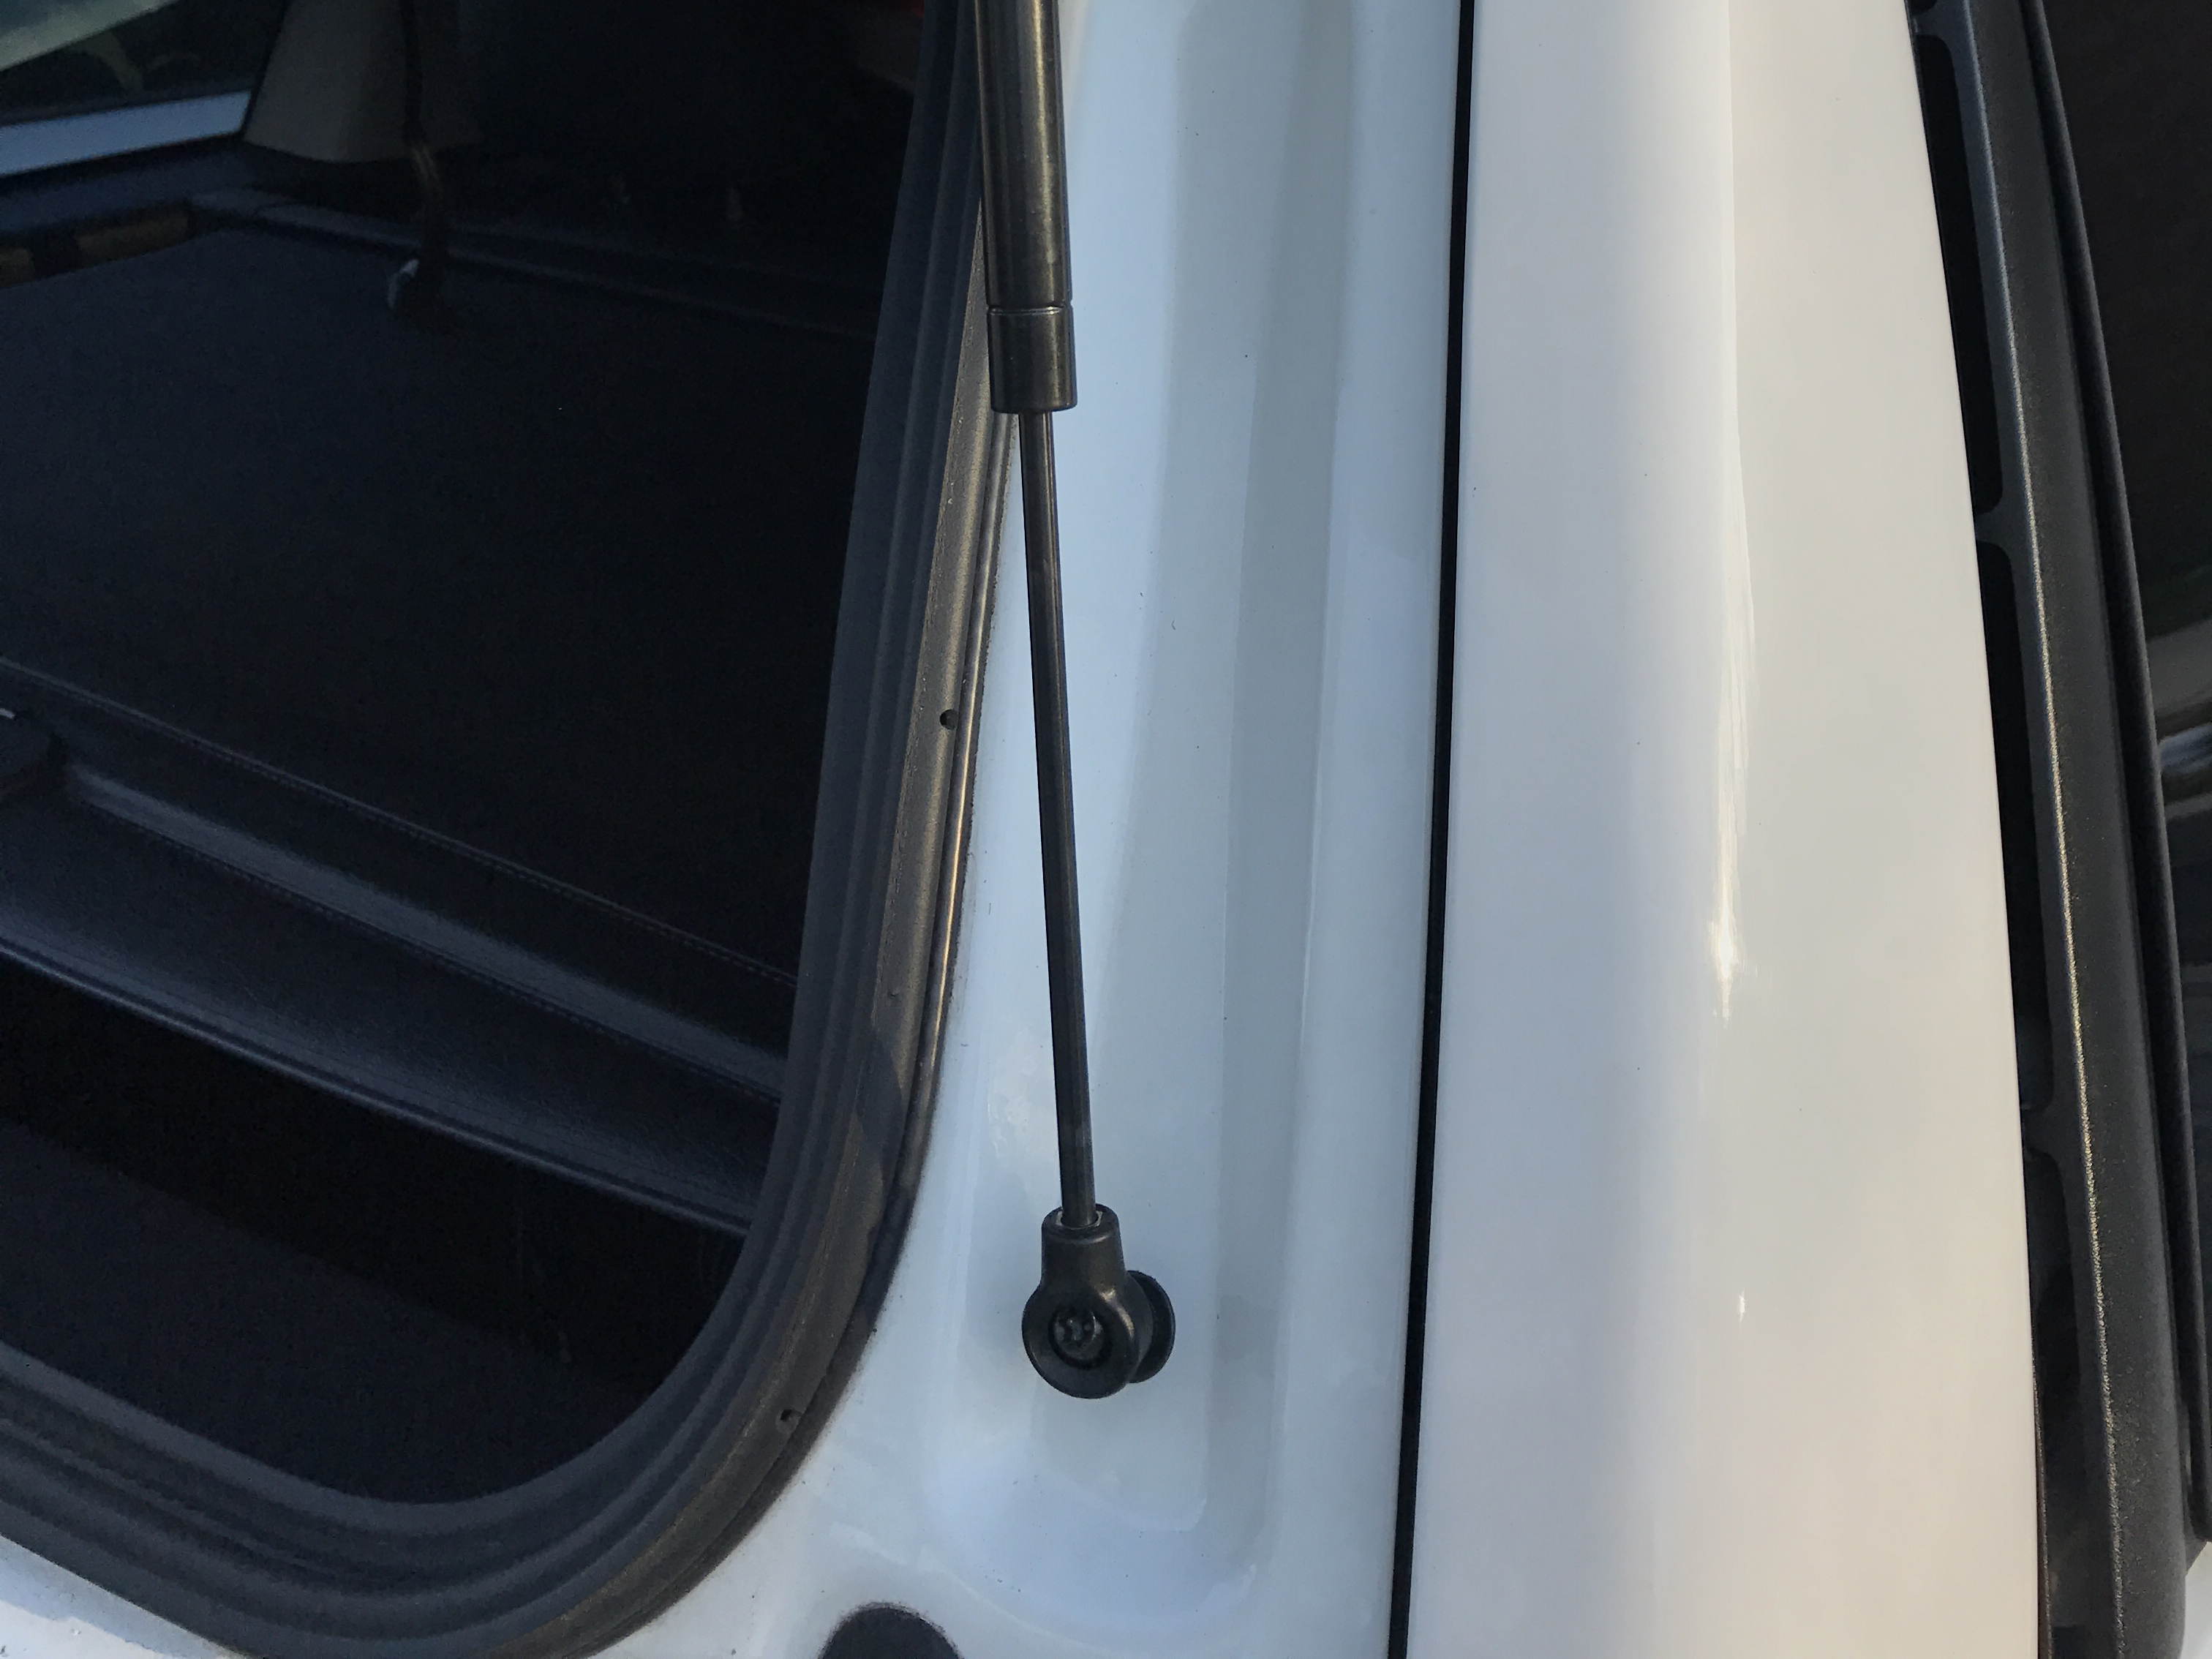
6. Using your torx bit again, mount the lower end of the support strut to the liftgate and tighten the bolt.
Before working on the liftgate support struts, be sure to sufficiently support the liftgate, or have a friend hold it up while you're working. The liftgate is much heavier than it appears.
7. Remove the lower support strut bolt using the T40 torx bit, and then remove the upper bolt.
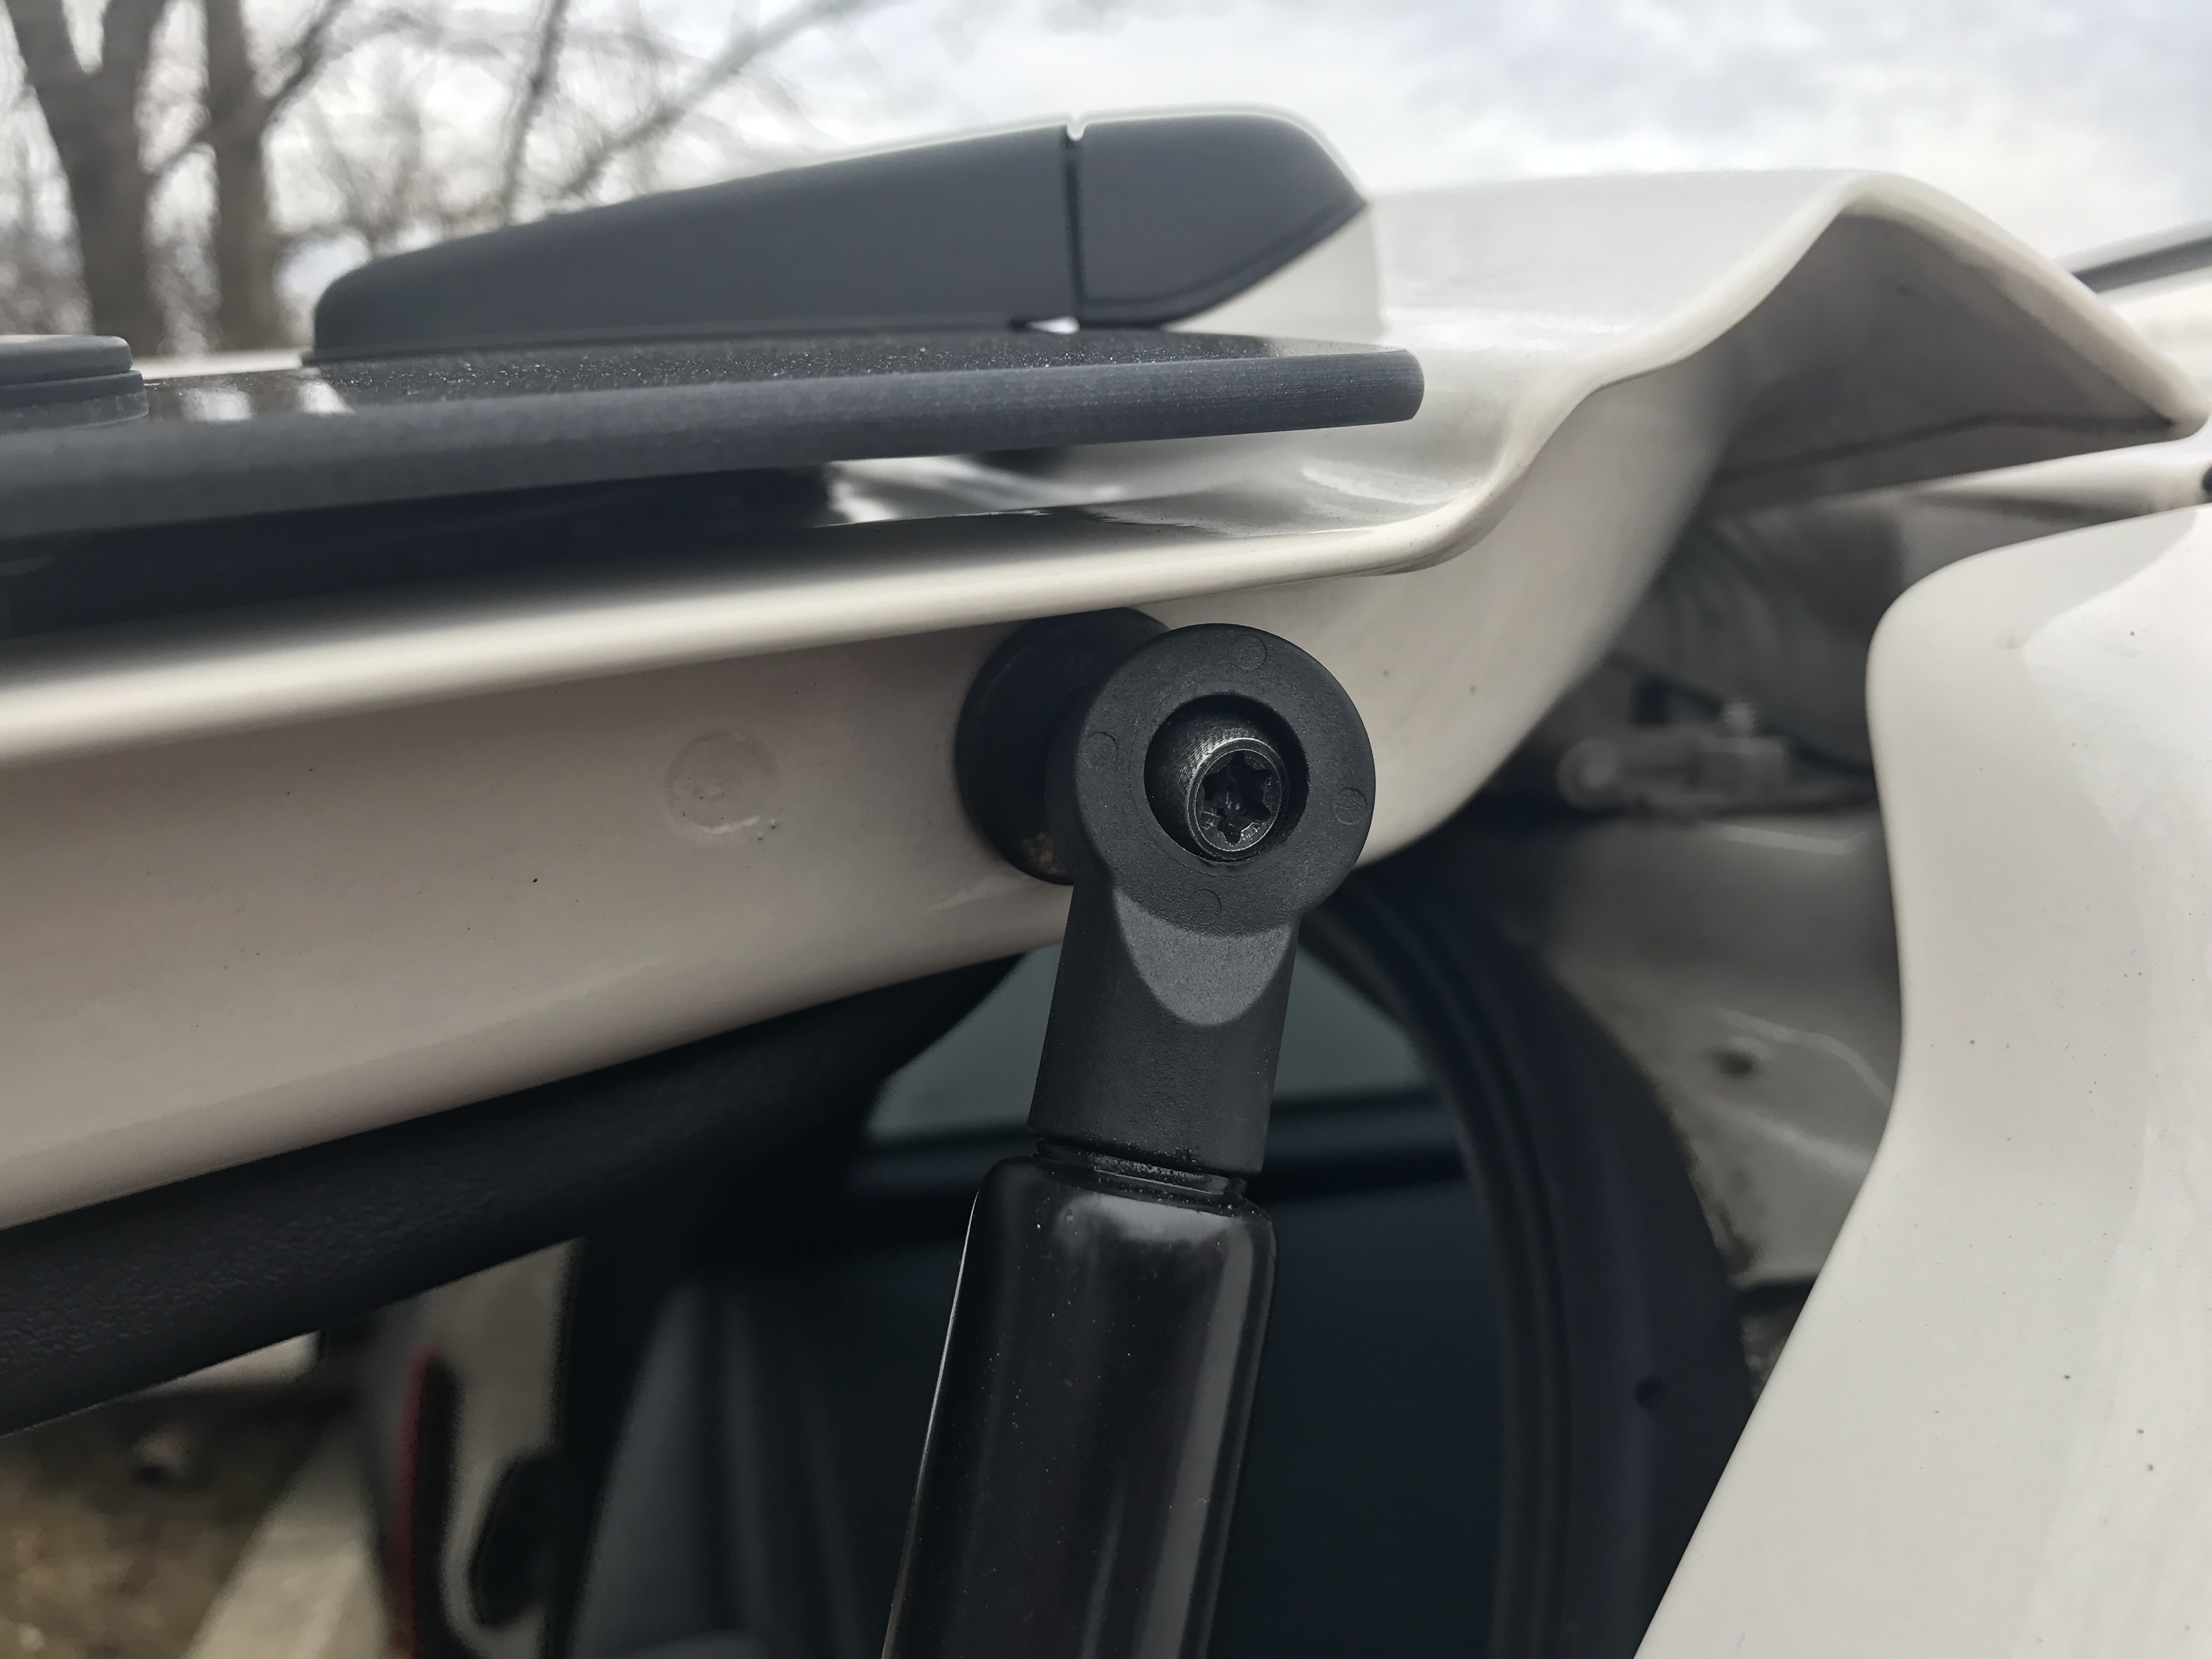
8. Install the upper support strut bolt on to the liftgate, and tight the bolt.
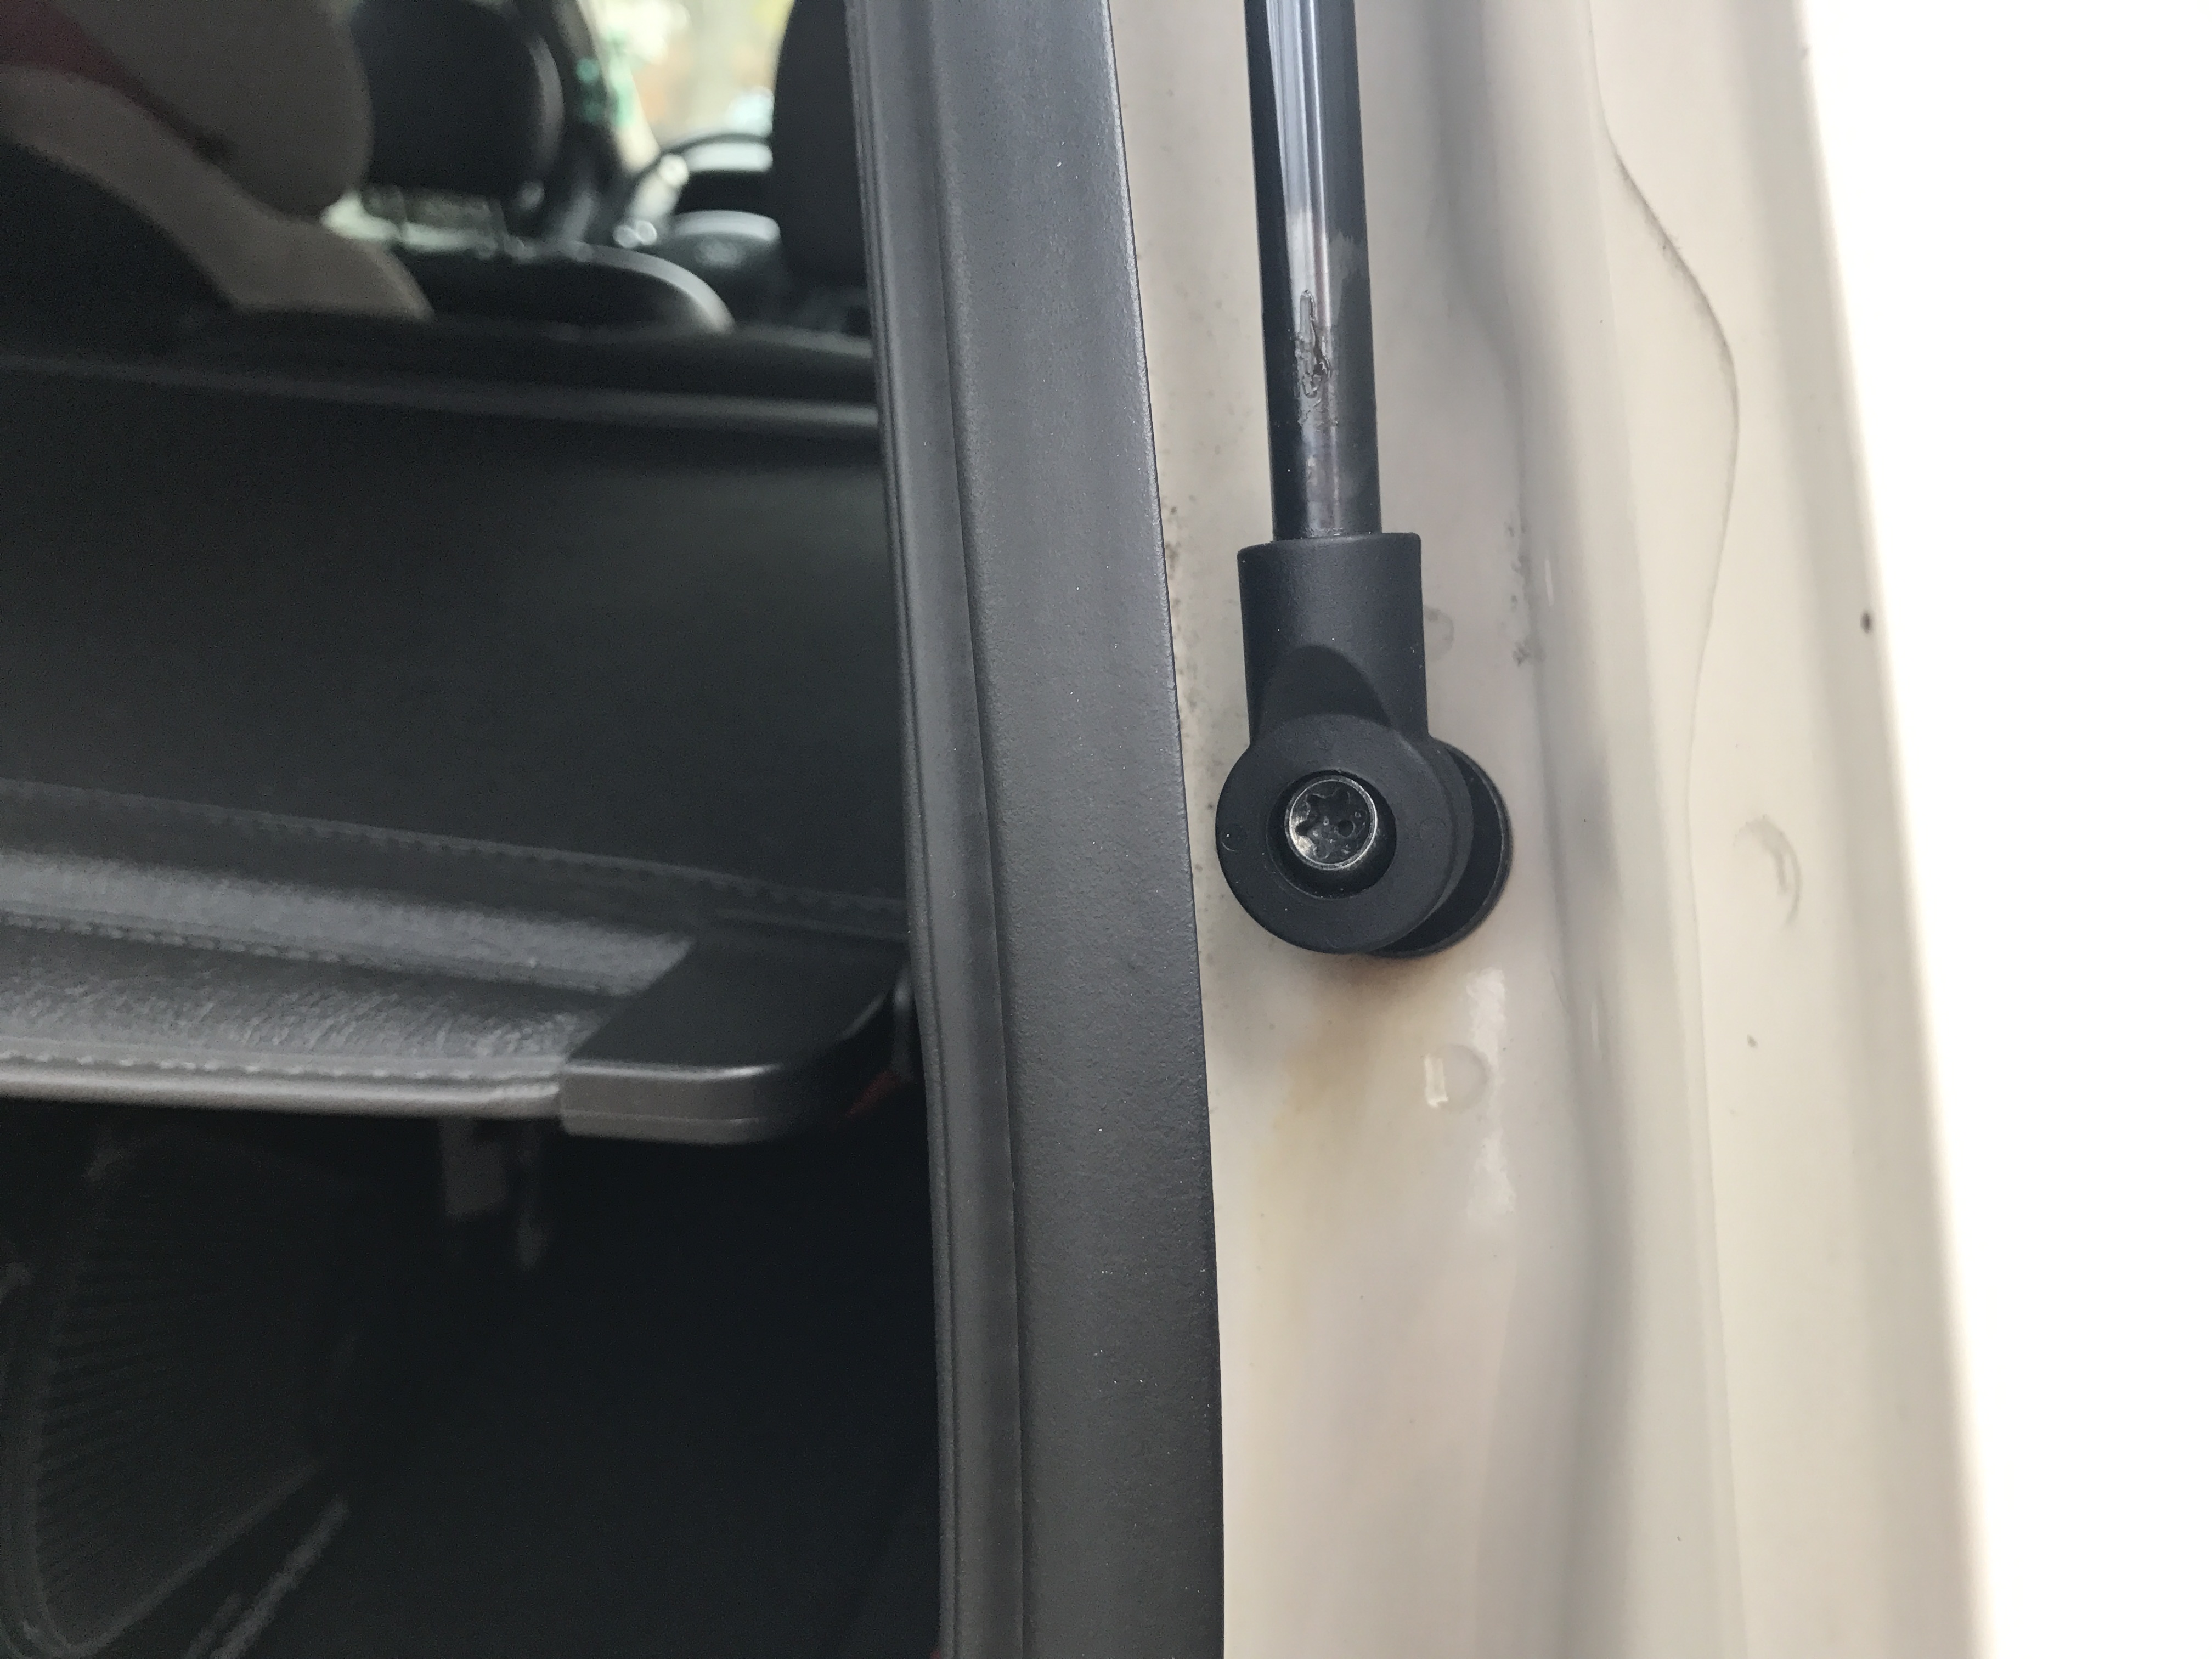
9. Install and tighten the lower support strut bolt to the body of the Jeep.
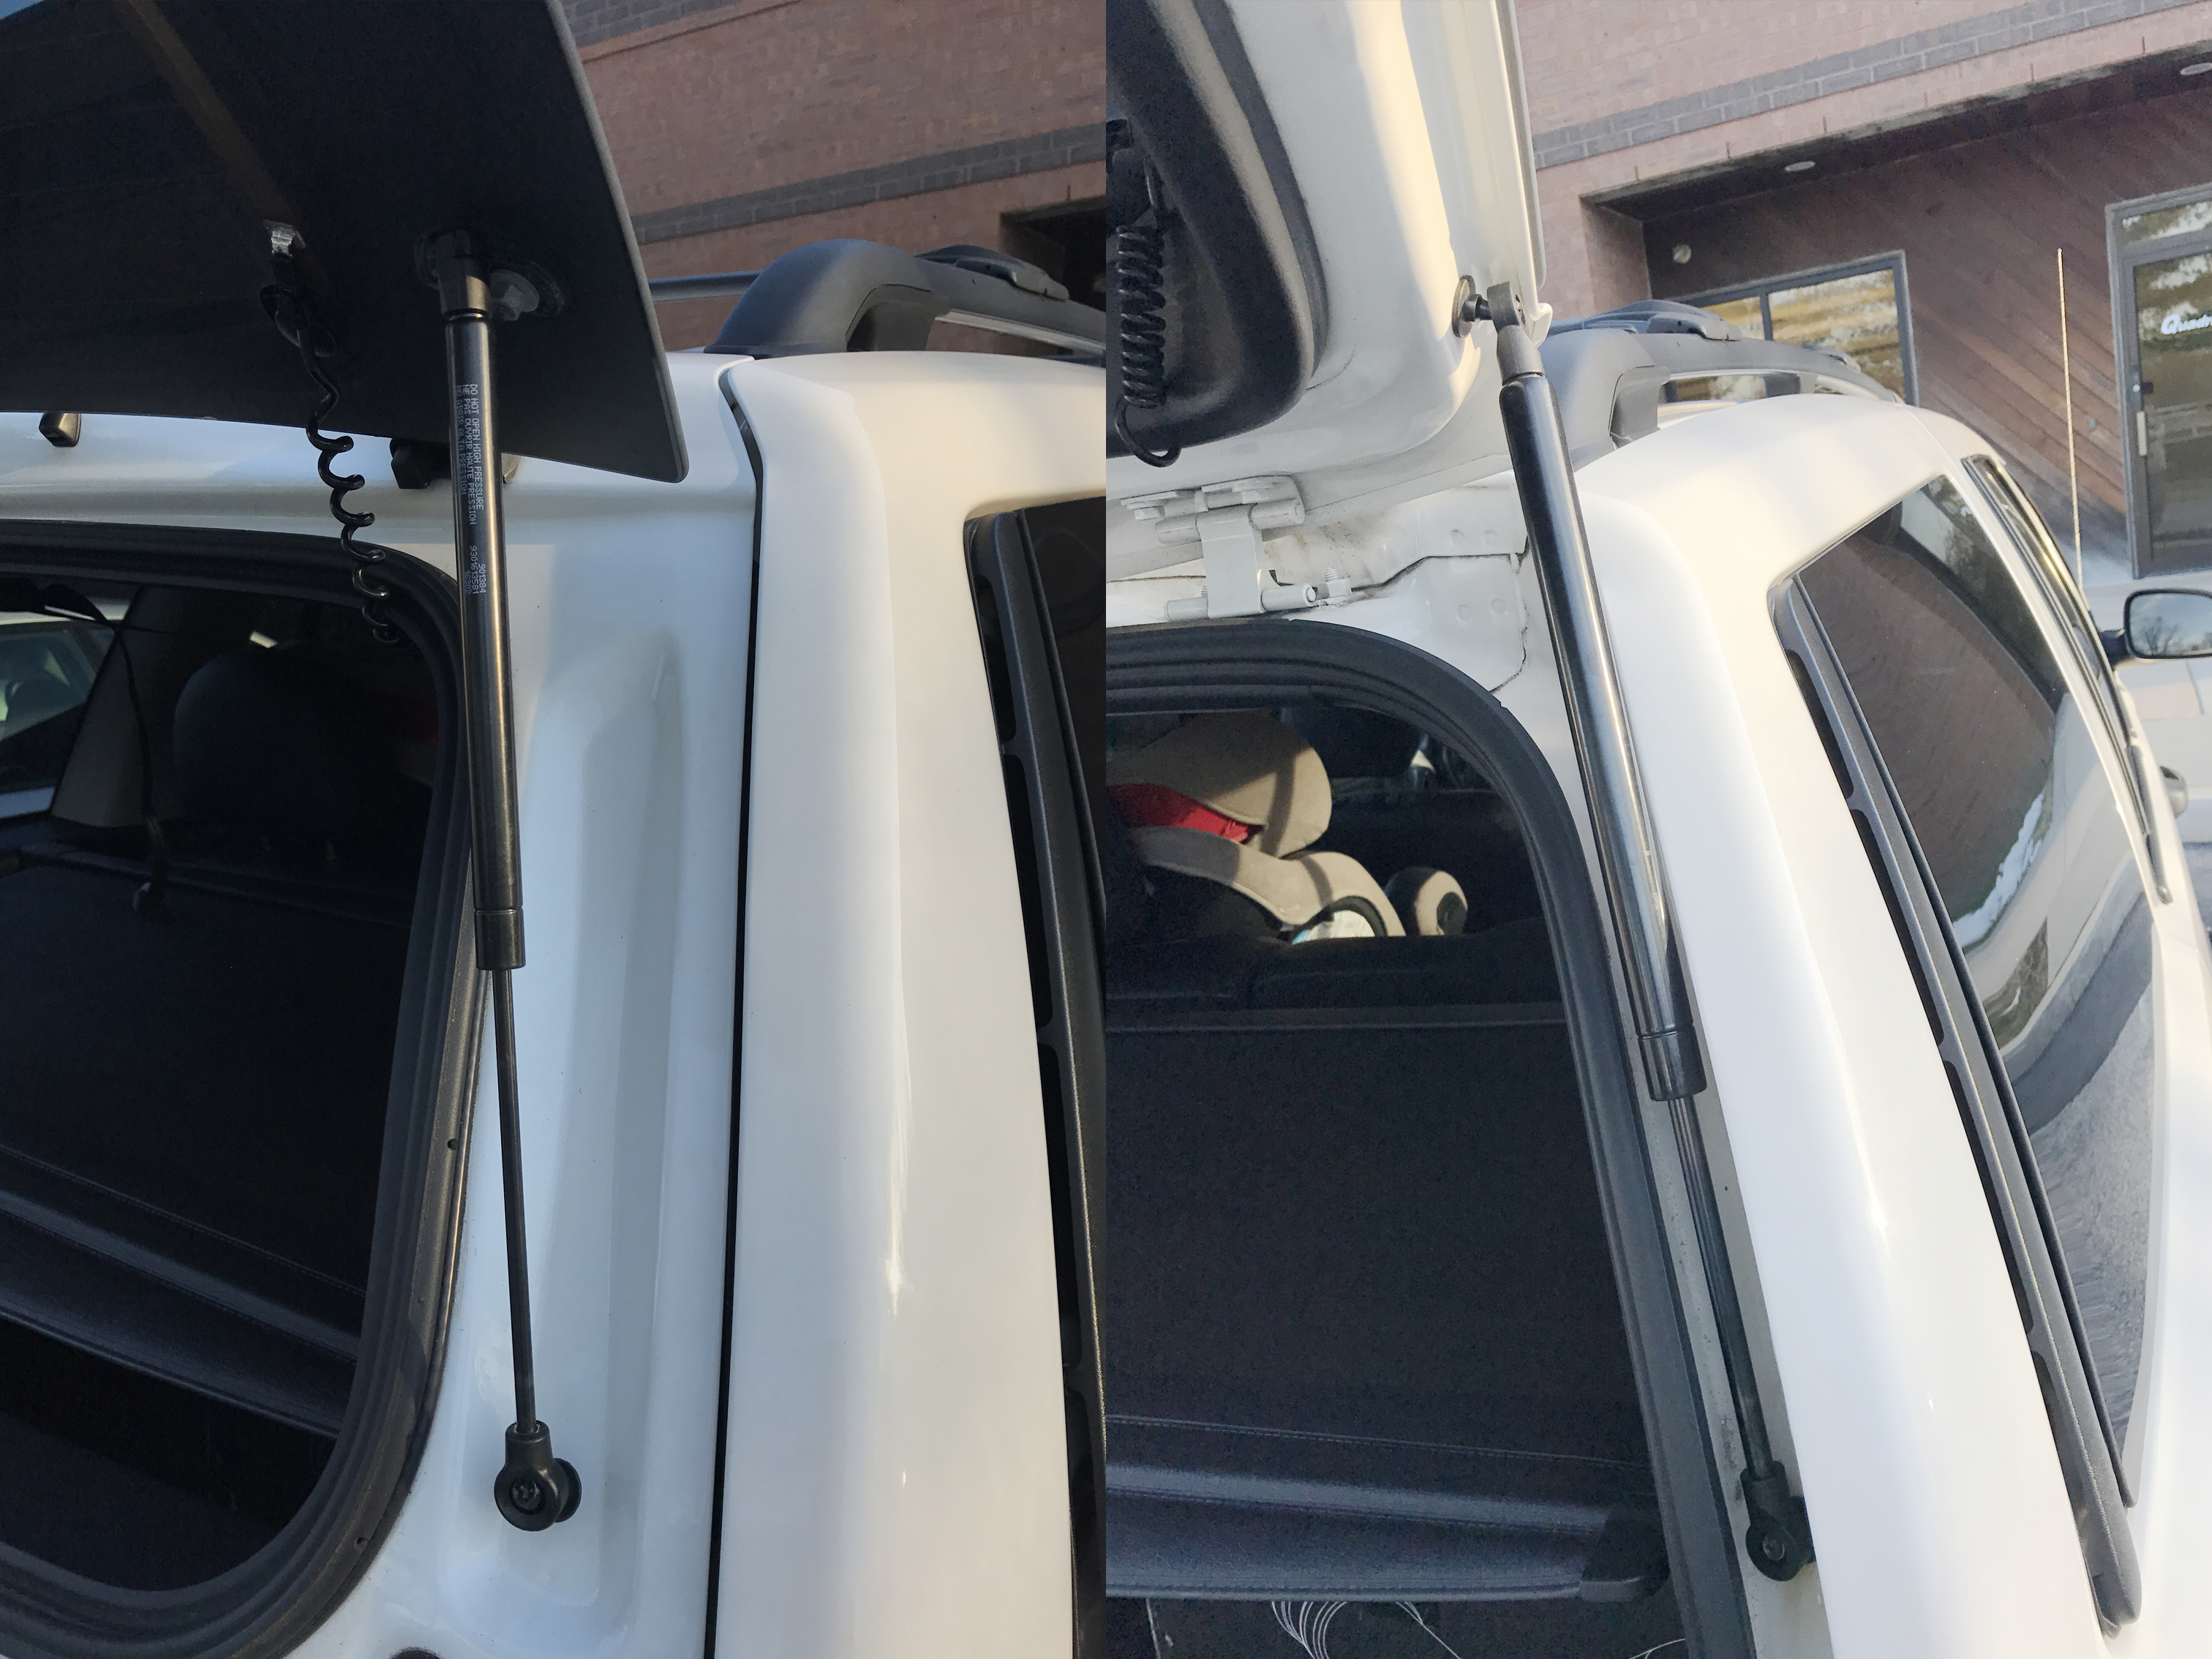
10. Simply repeat these steps on the opposite side of the Jeep and that's all there is to replacing your liftgate support struts on your Jeep! Now when you pull the handle to open the liftgate, you can stand back and watch the new struts lift the hatch open all on their own!