by Scott Ammerman
Torque Correspondent
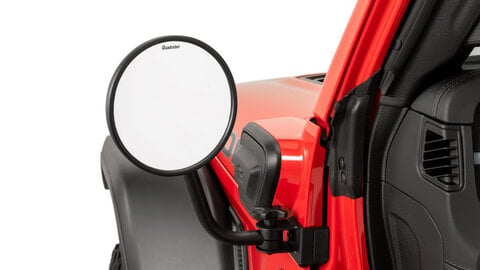
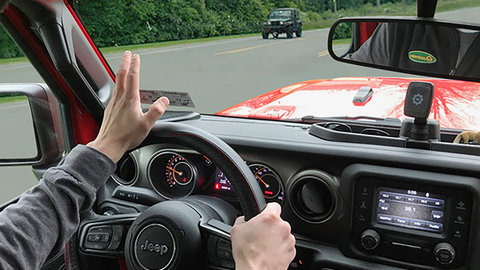
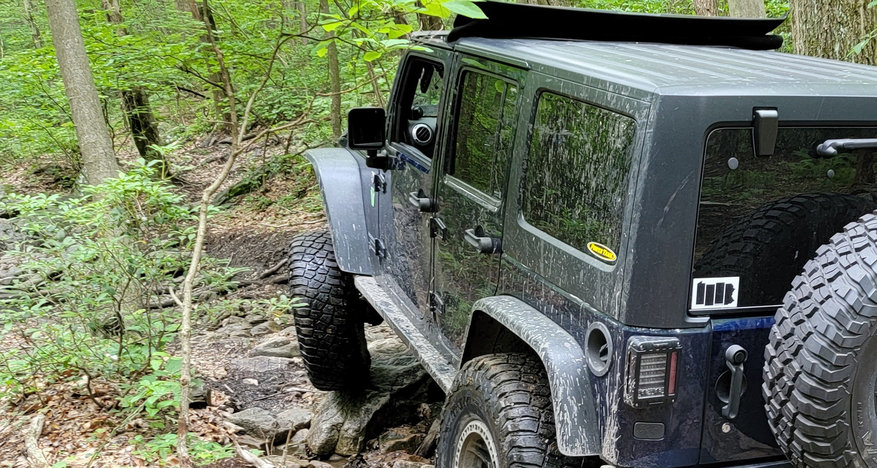
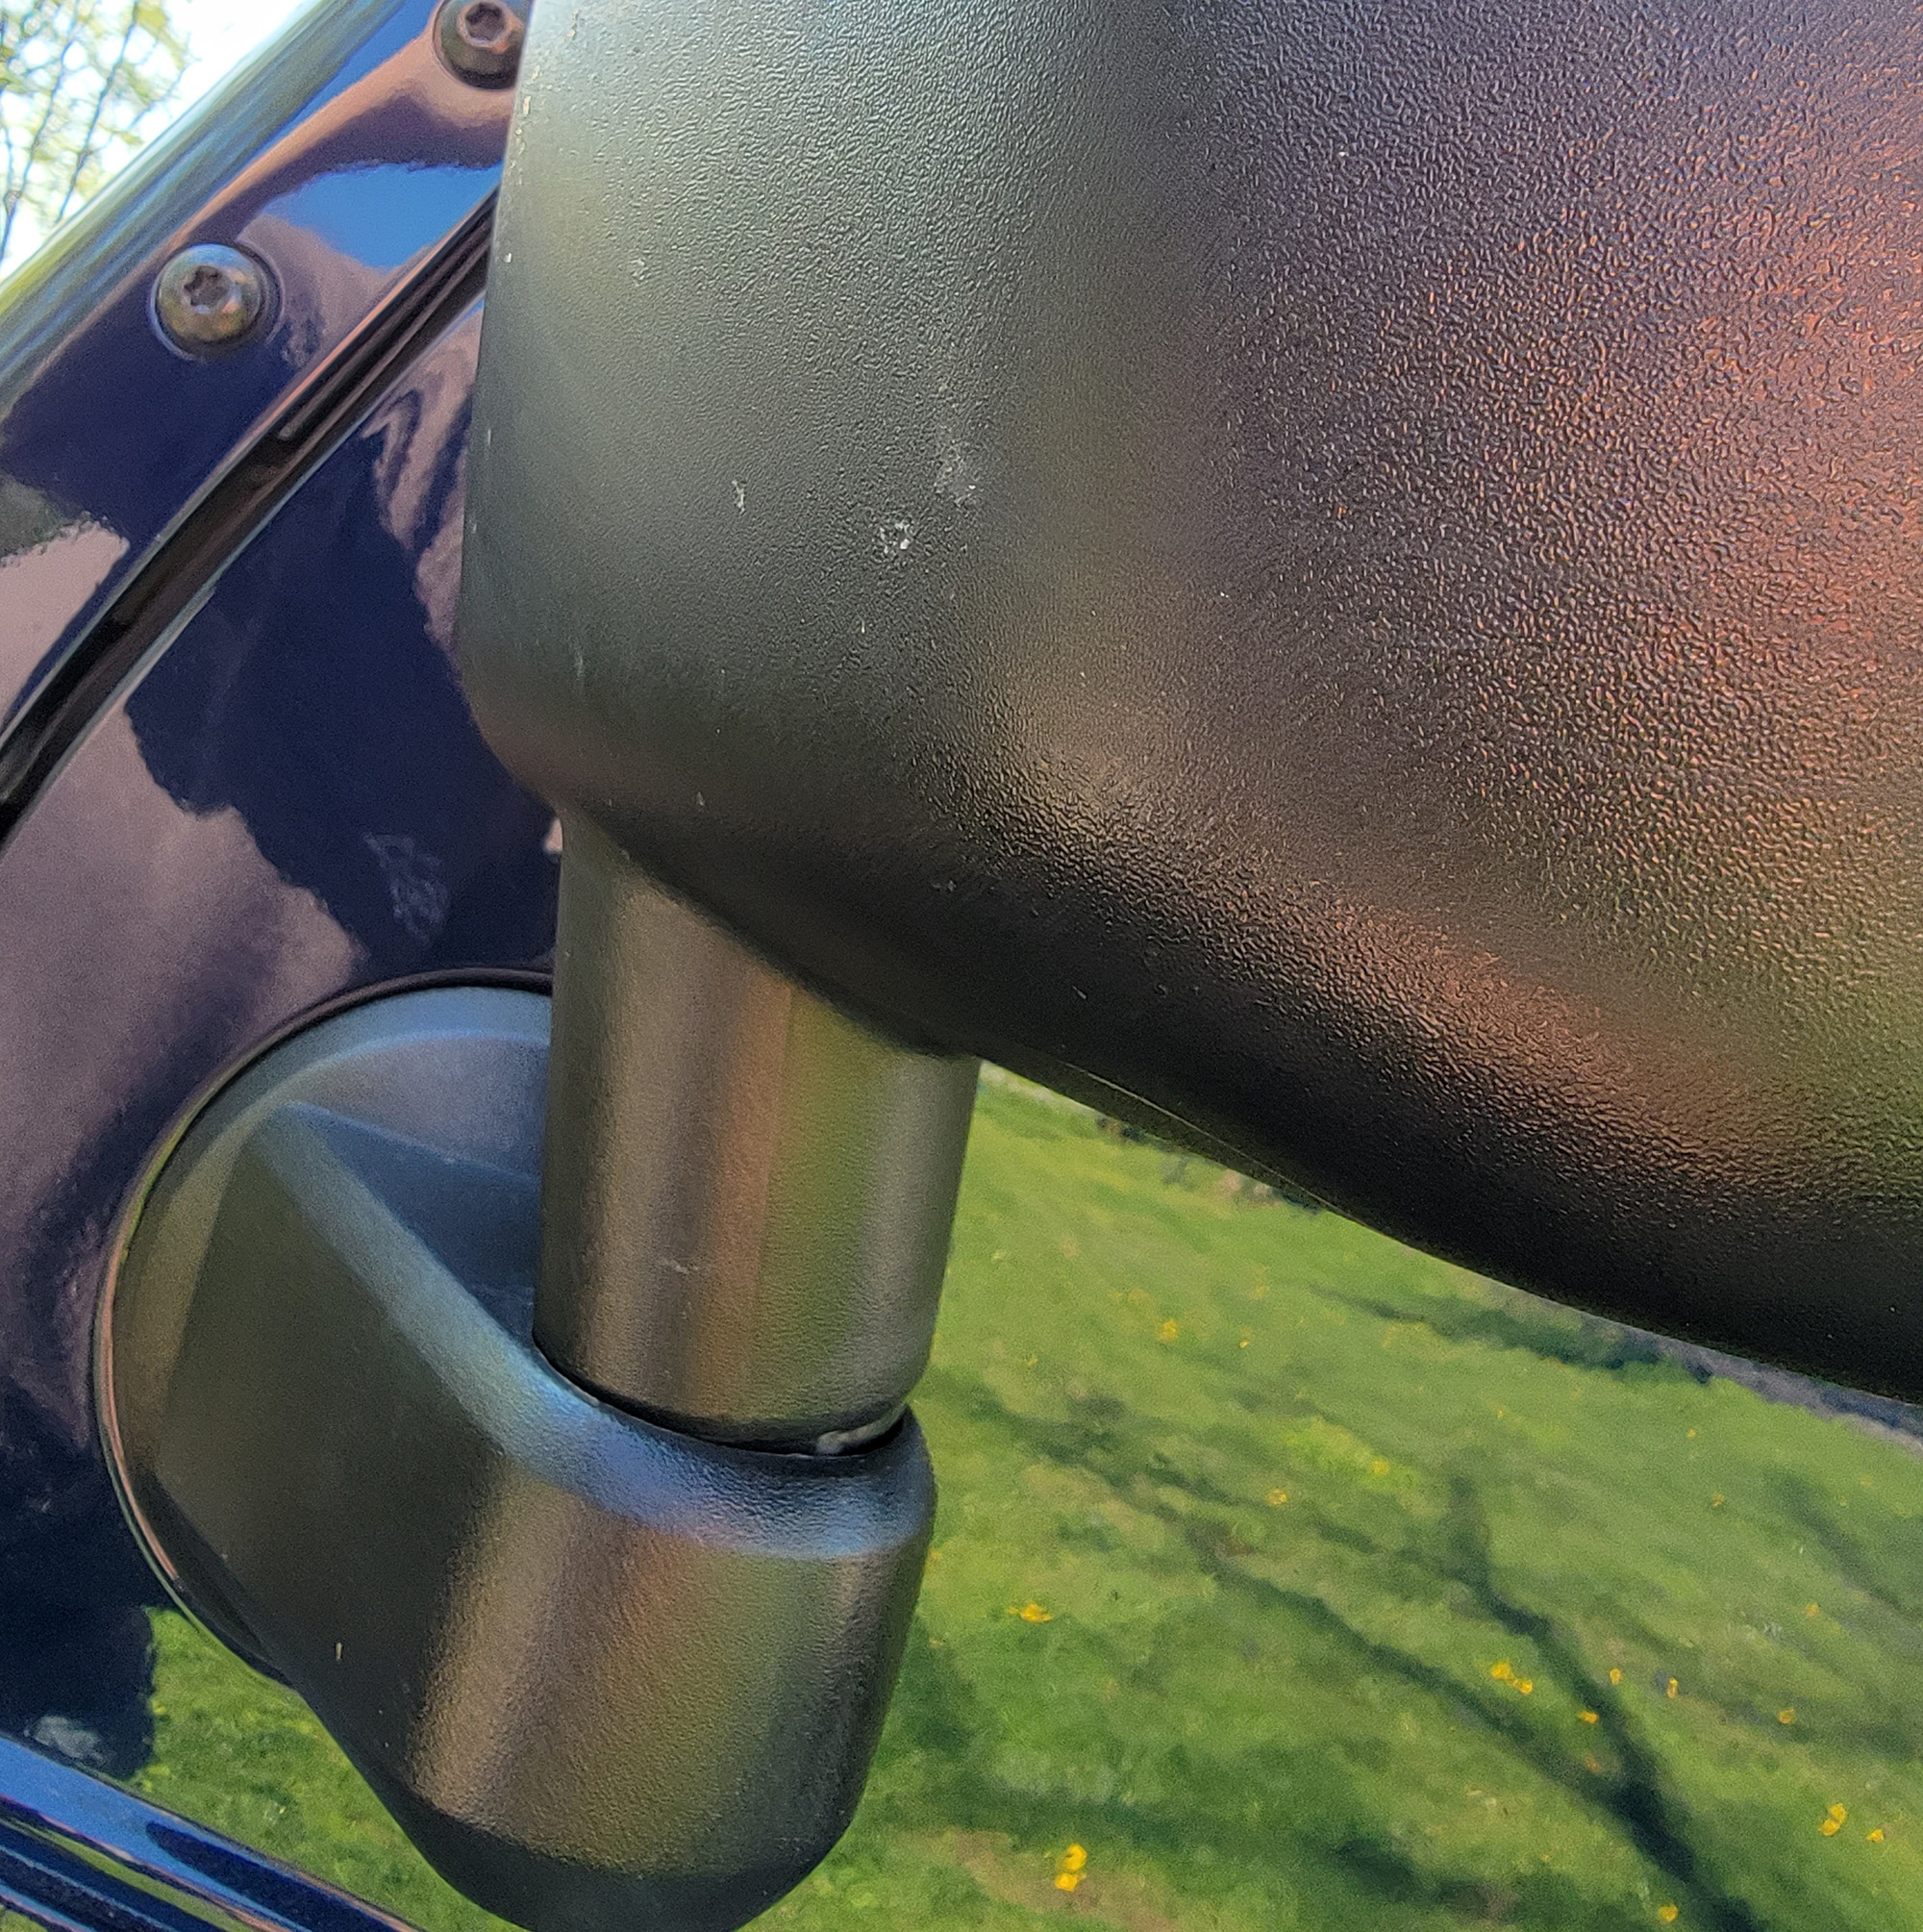
If you want to see what's going on behind you, either on the street or the trails, side-view mirrors are crucial equipment.
Of course, incidental impacts with trees, rocks, garage door frames, or other objects can cause damage to your mirror easily as they are made primarily from ABS plastic. It doesn’t take much force in the wrong direction to knock the mirror head completely off, or break the base enough that it rattles.
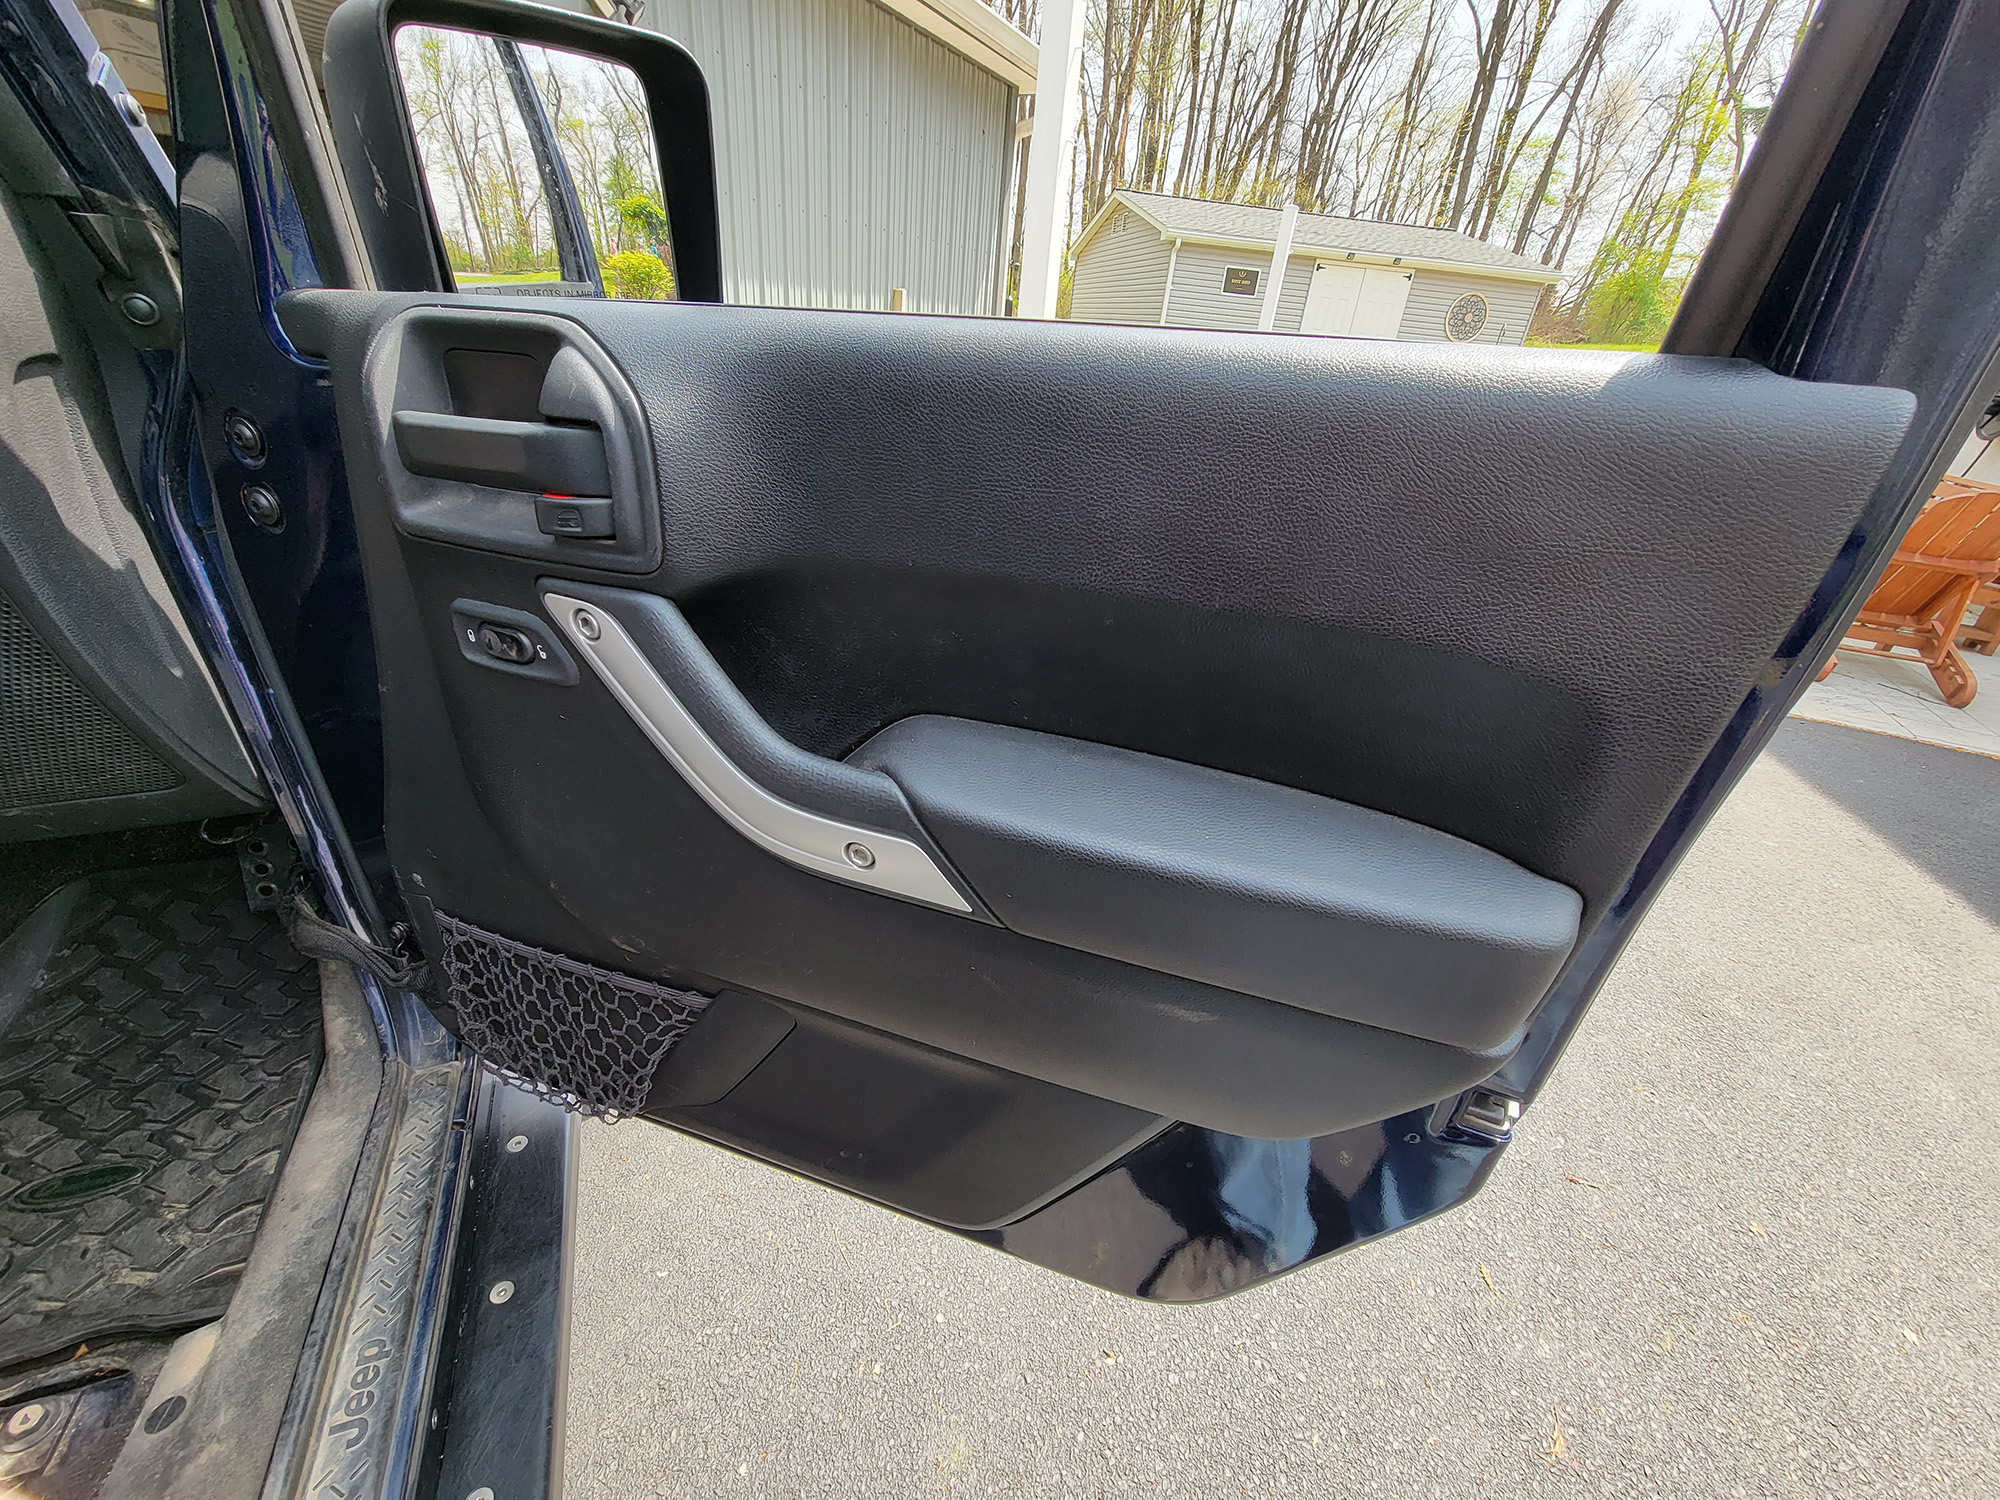
On JK and JKU sport model Wranglers with manually adjustable mirrors, replacing one is as simple as removing two bolts on the inner part of your door. However, if you have power adjustable or heated mirrors, this task becomes a little more difficult — particularly with the 2011 and up Wranglers with updated door panels as some of the fasteners are hidden behind trim panels. The entire inner door panel must be removed to re-route wiring down into the door, and to the door harness connector.
Fear not, this process is not a particularly complicated job with the right tools, but there are quite a few steps.
PLEASE NOTE:
When you pull the wires into the door, you should have something tied to the harness to pull through with the wiring — it will make replacement of the mirror much faster, as you won’t have to fish wires through the blind conduit in the door. This can save you a substantial amount of time. I was in a hurry, and was removing my mirrors to have the doors polished, and just dealt with it later. This did involve a coat hanger and a lot of frustration, though.
Tools required:
- T-40 Torx tool for the mirror bolts
- T-25 Torx tool for the lower door panel bolts
- #2 Phillips head screwdriver
- Plastic trim tool (thin) or a putty knife for door handle trim removal without damage
- Plastic trim tool (thick) for prying the door panel off if it is stubborn
- A piece of paracord, other strong cordage, or even a boot lace (that’s what I used)
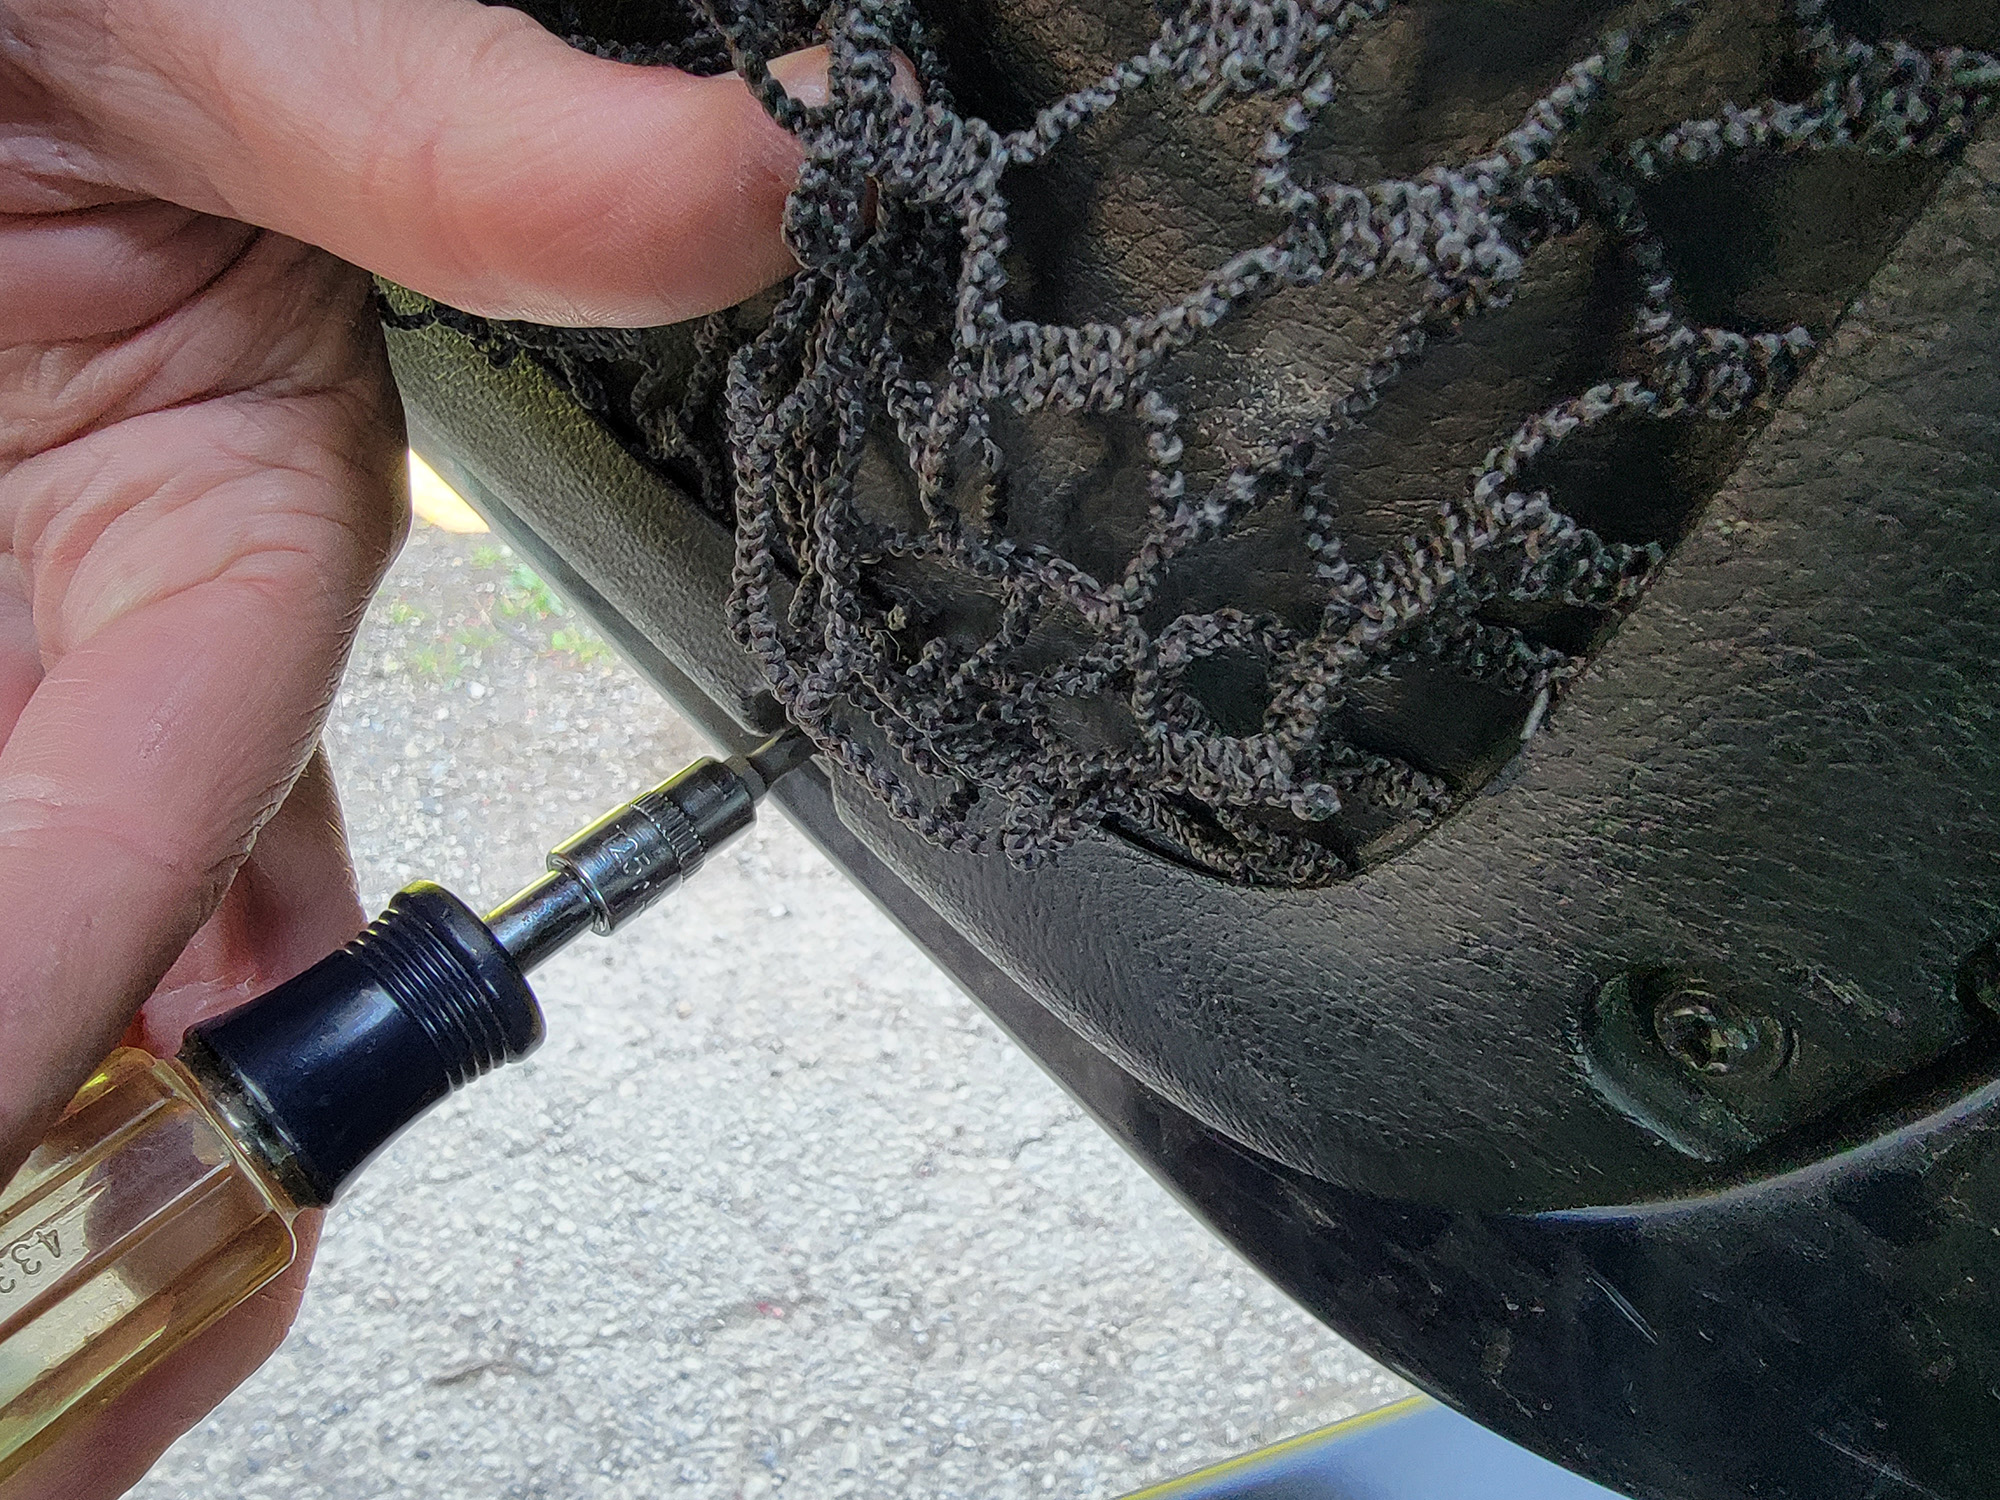
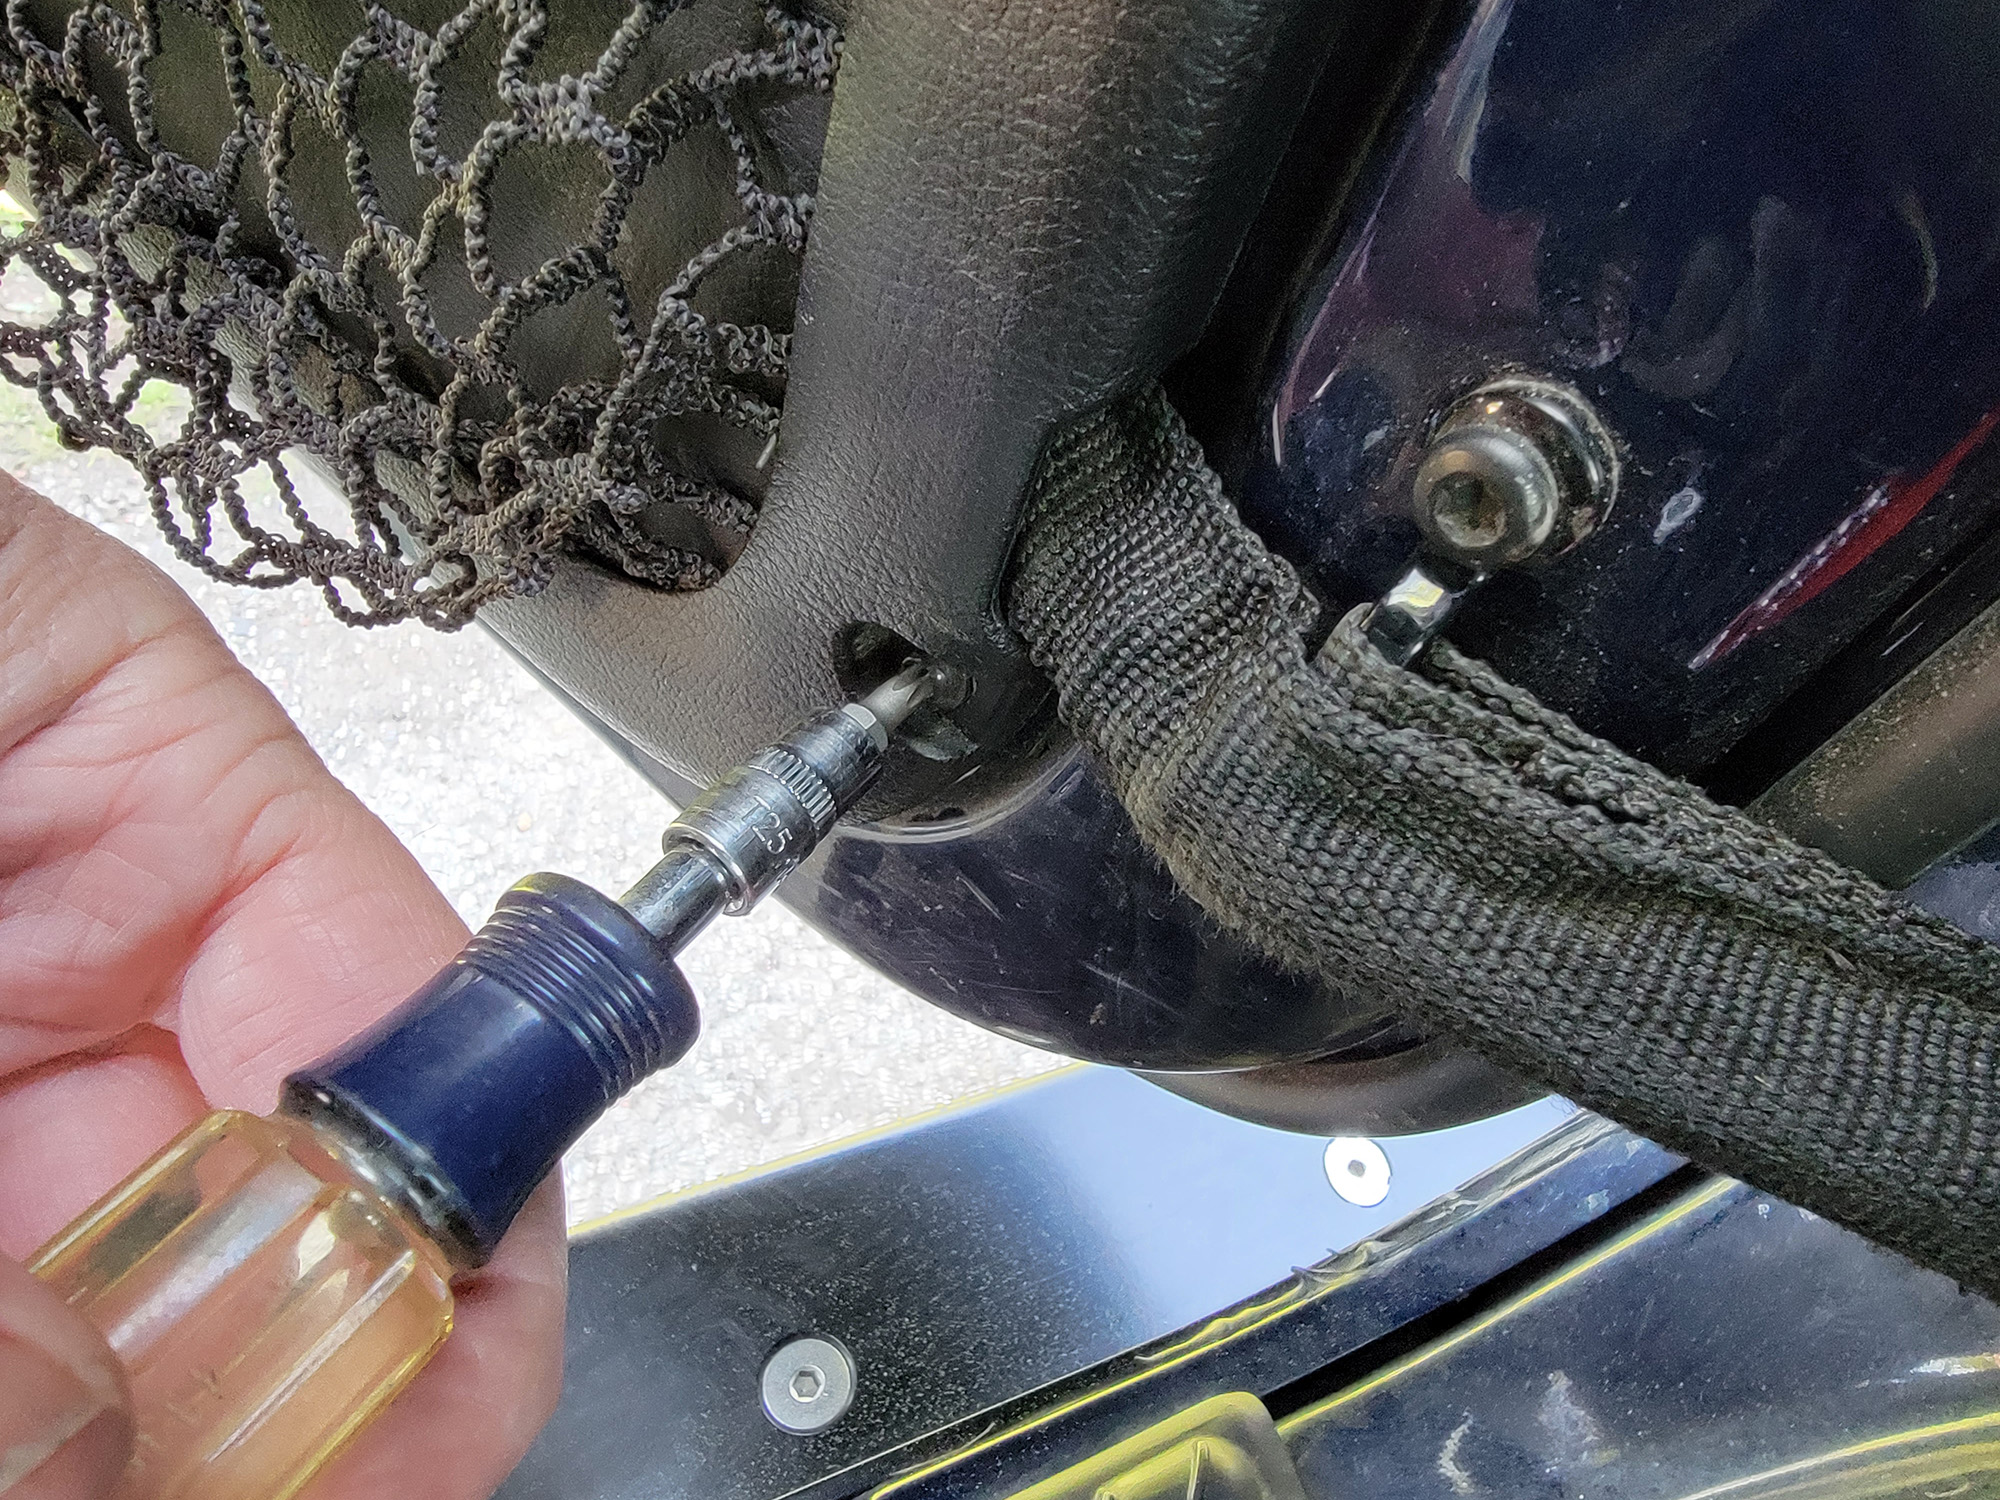
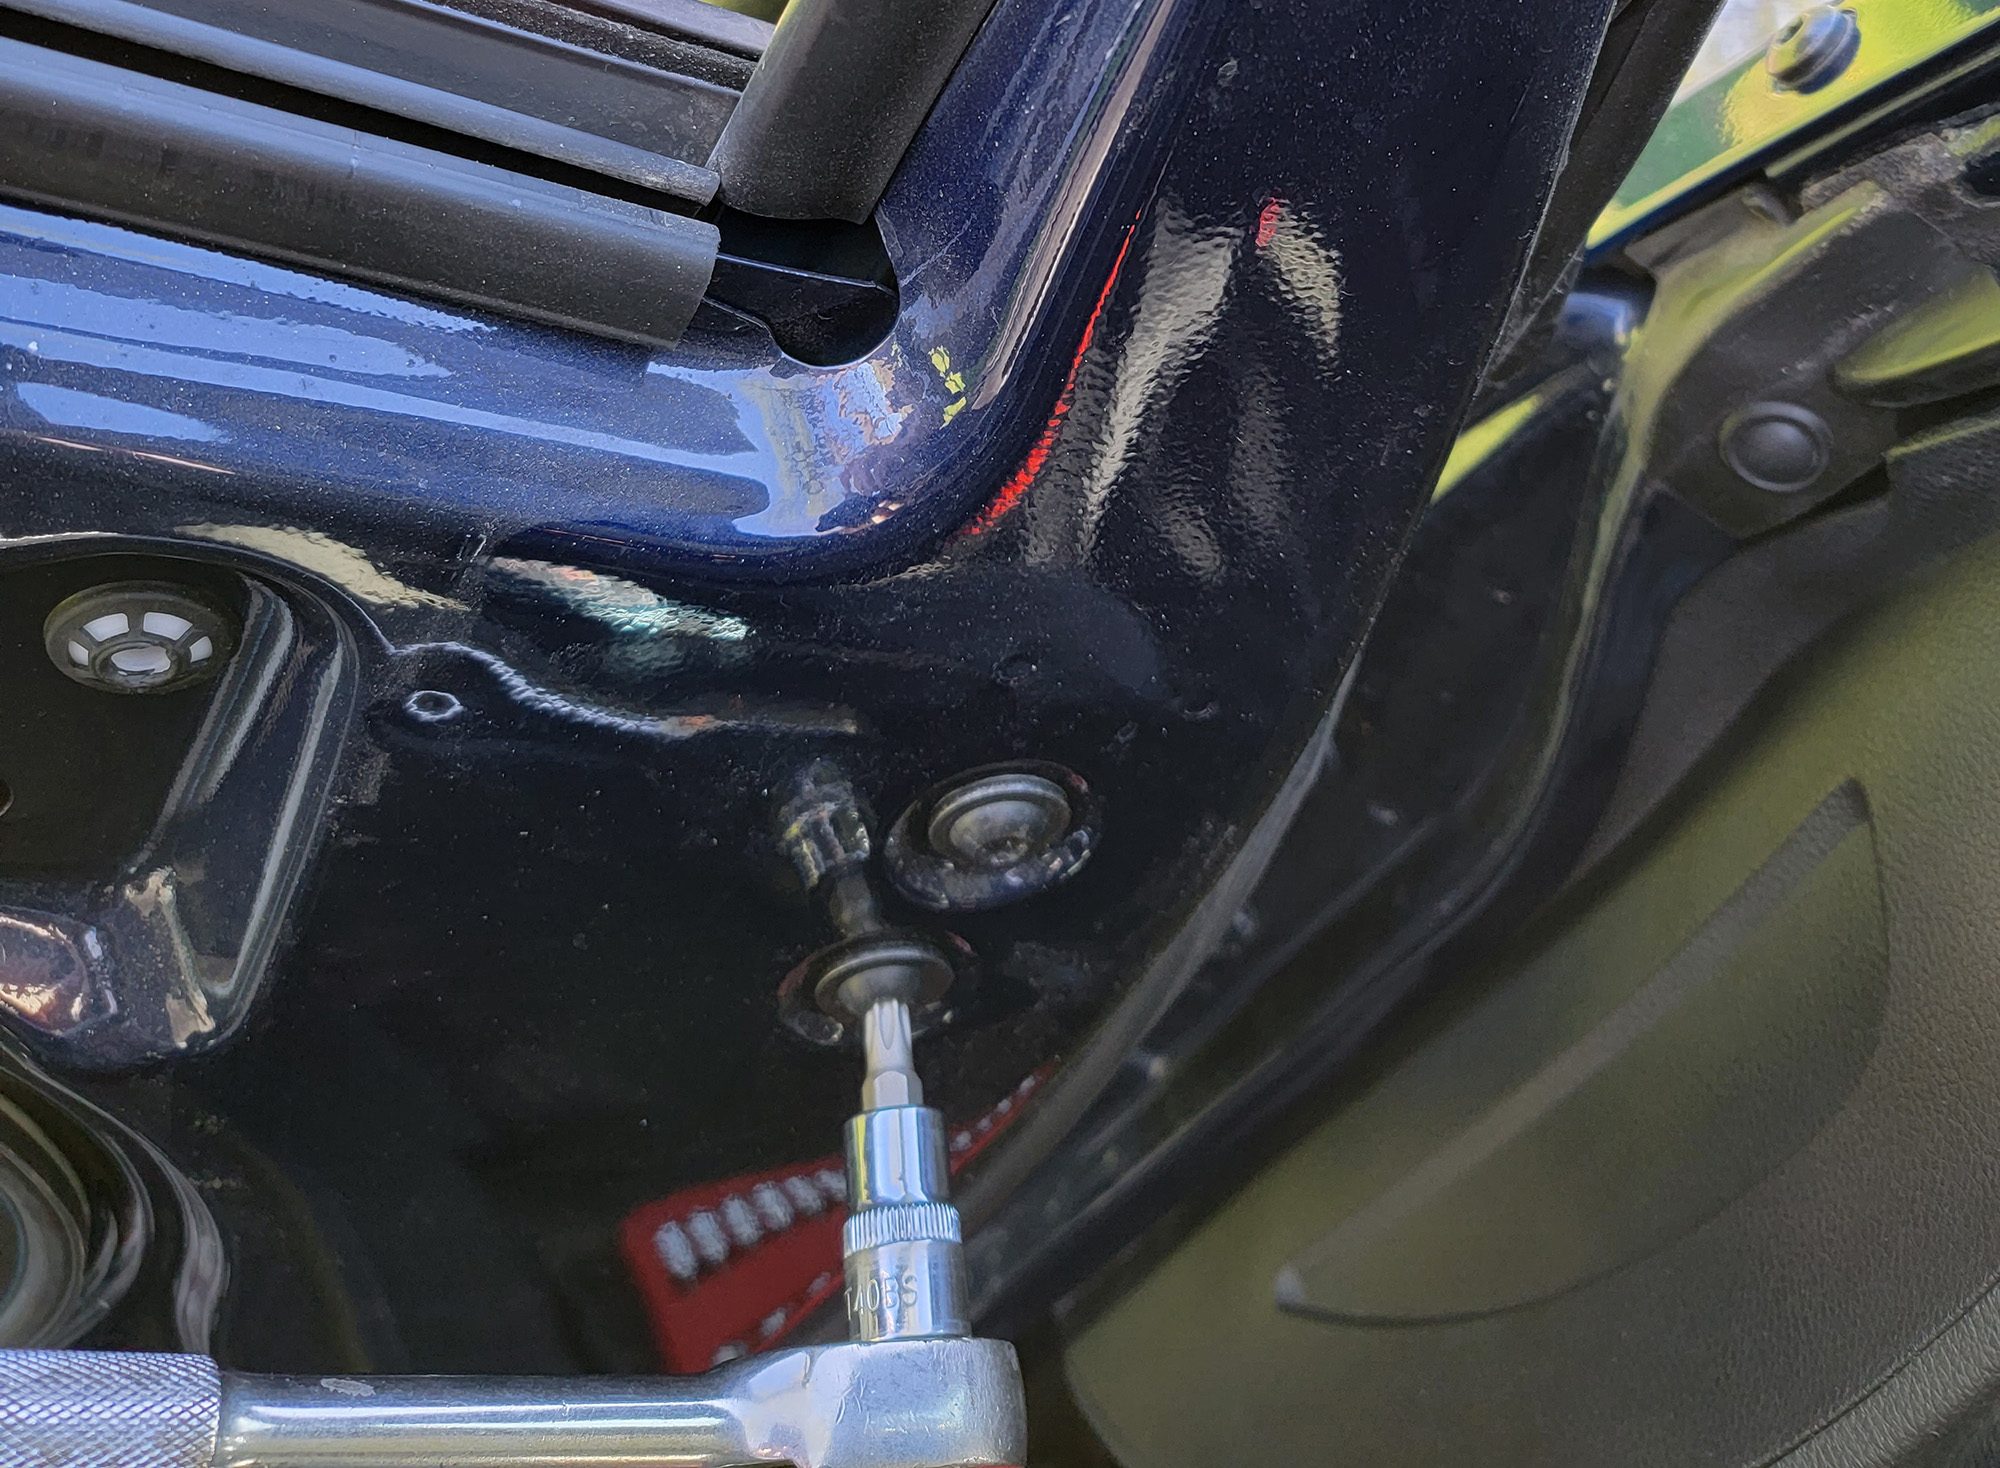
Start by removing the two T25 Torx bolts from the leading edge of the lower door panel.
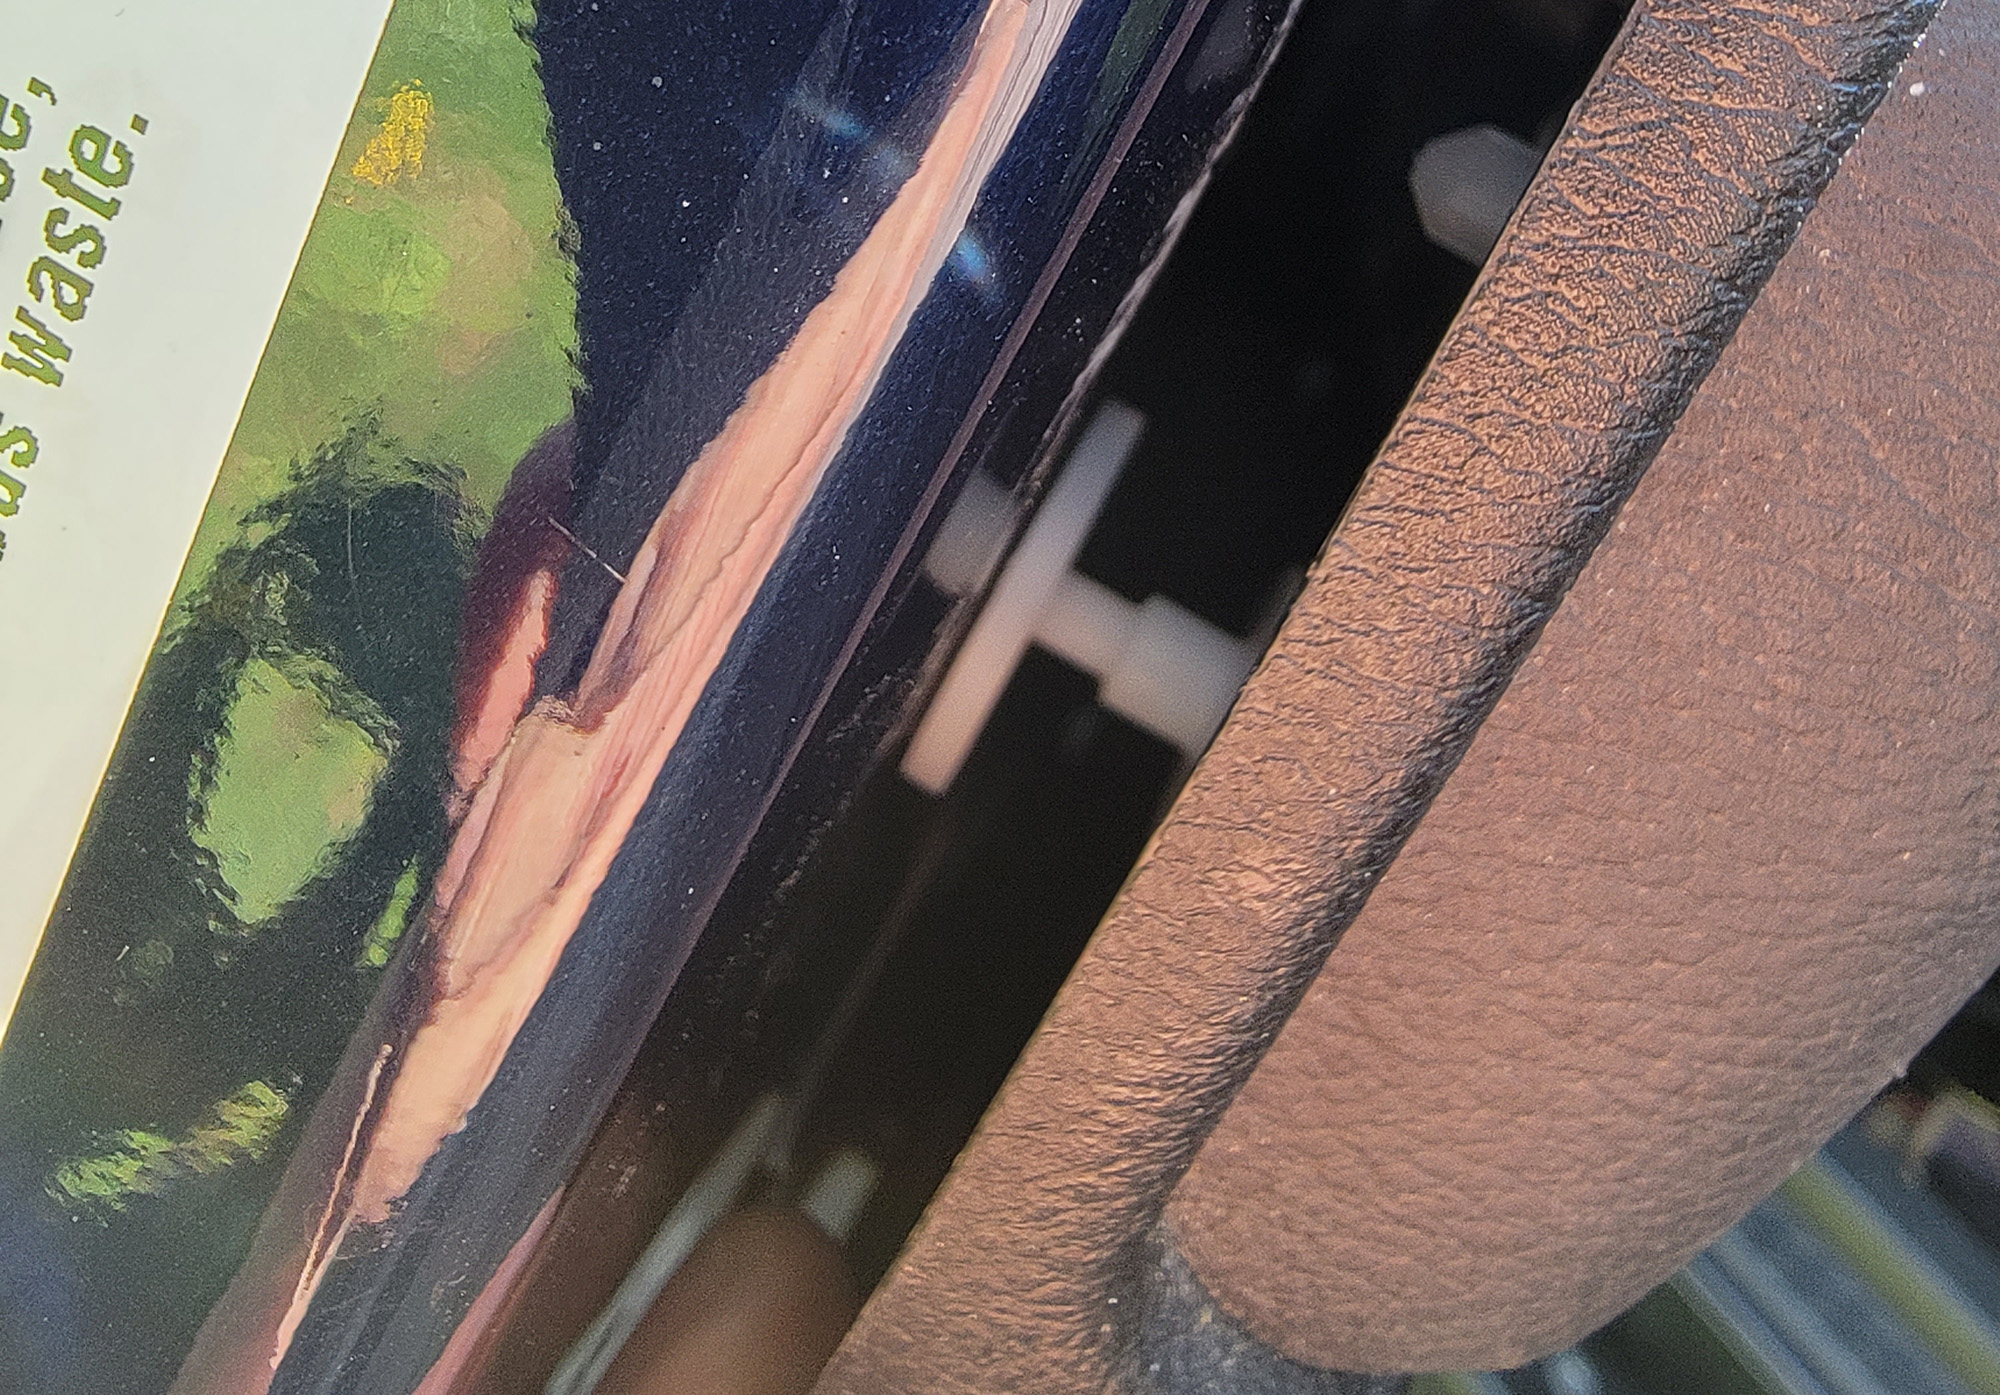
Even though the door handle trim panel has two silver allen bolts, these do not hold the trim to the door panel, and do not require removal. Pry the trim out on both ends with a thin pry tool and set it aside.
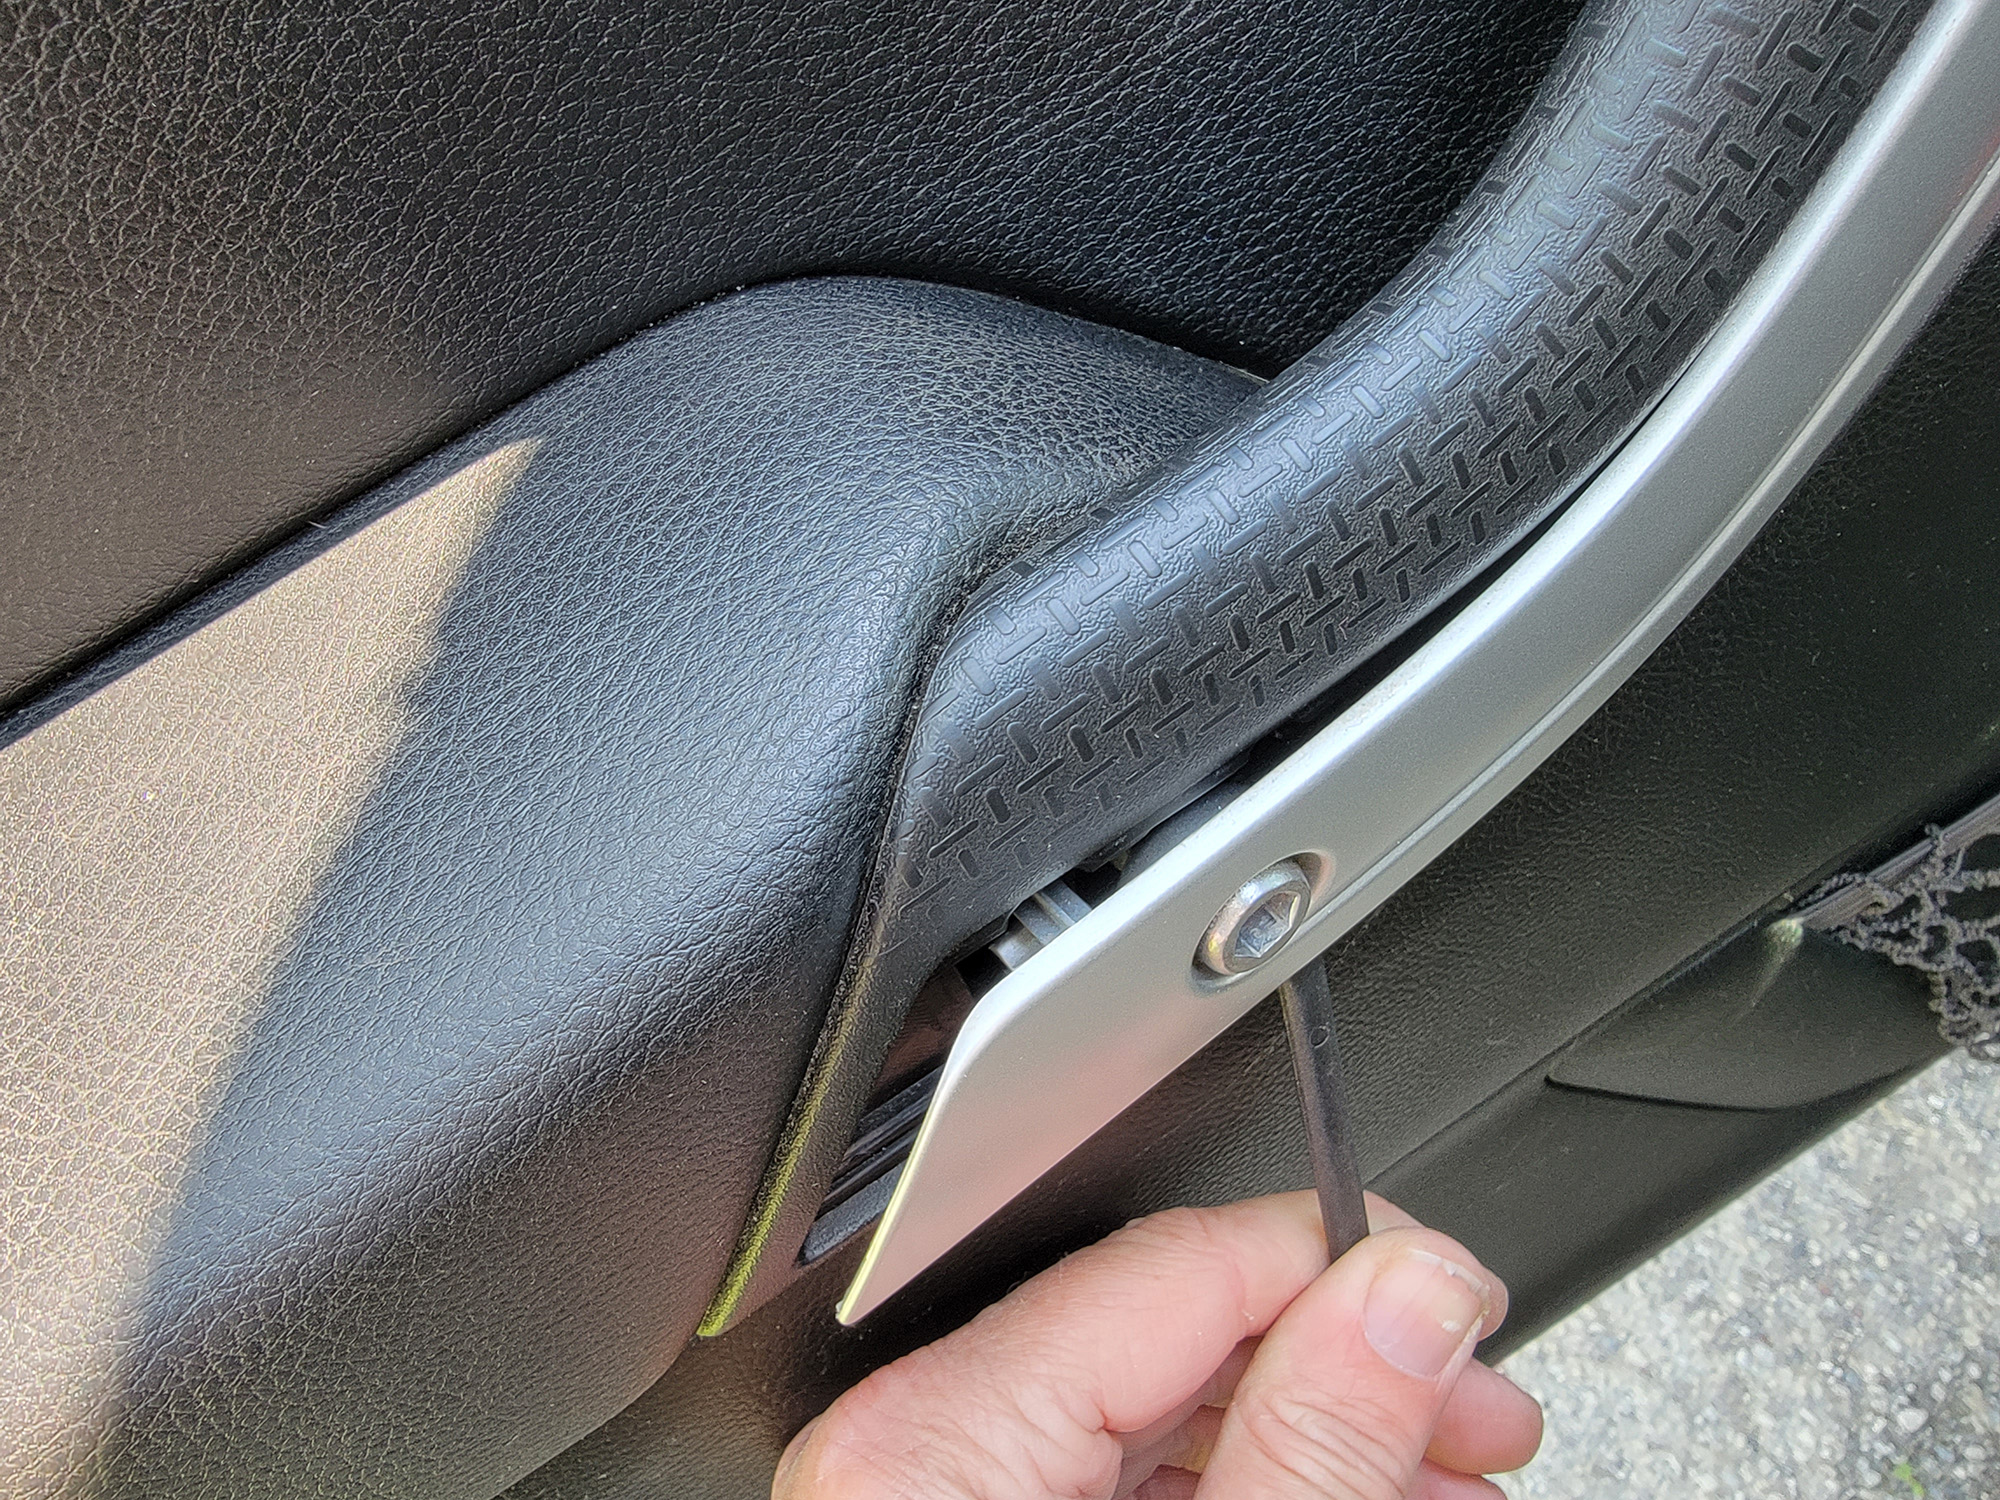
Behind where the two silver ornamental bolts were, there are two #2 Phillips head screws that do need to be removed.

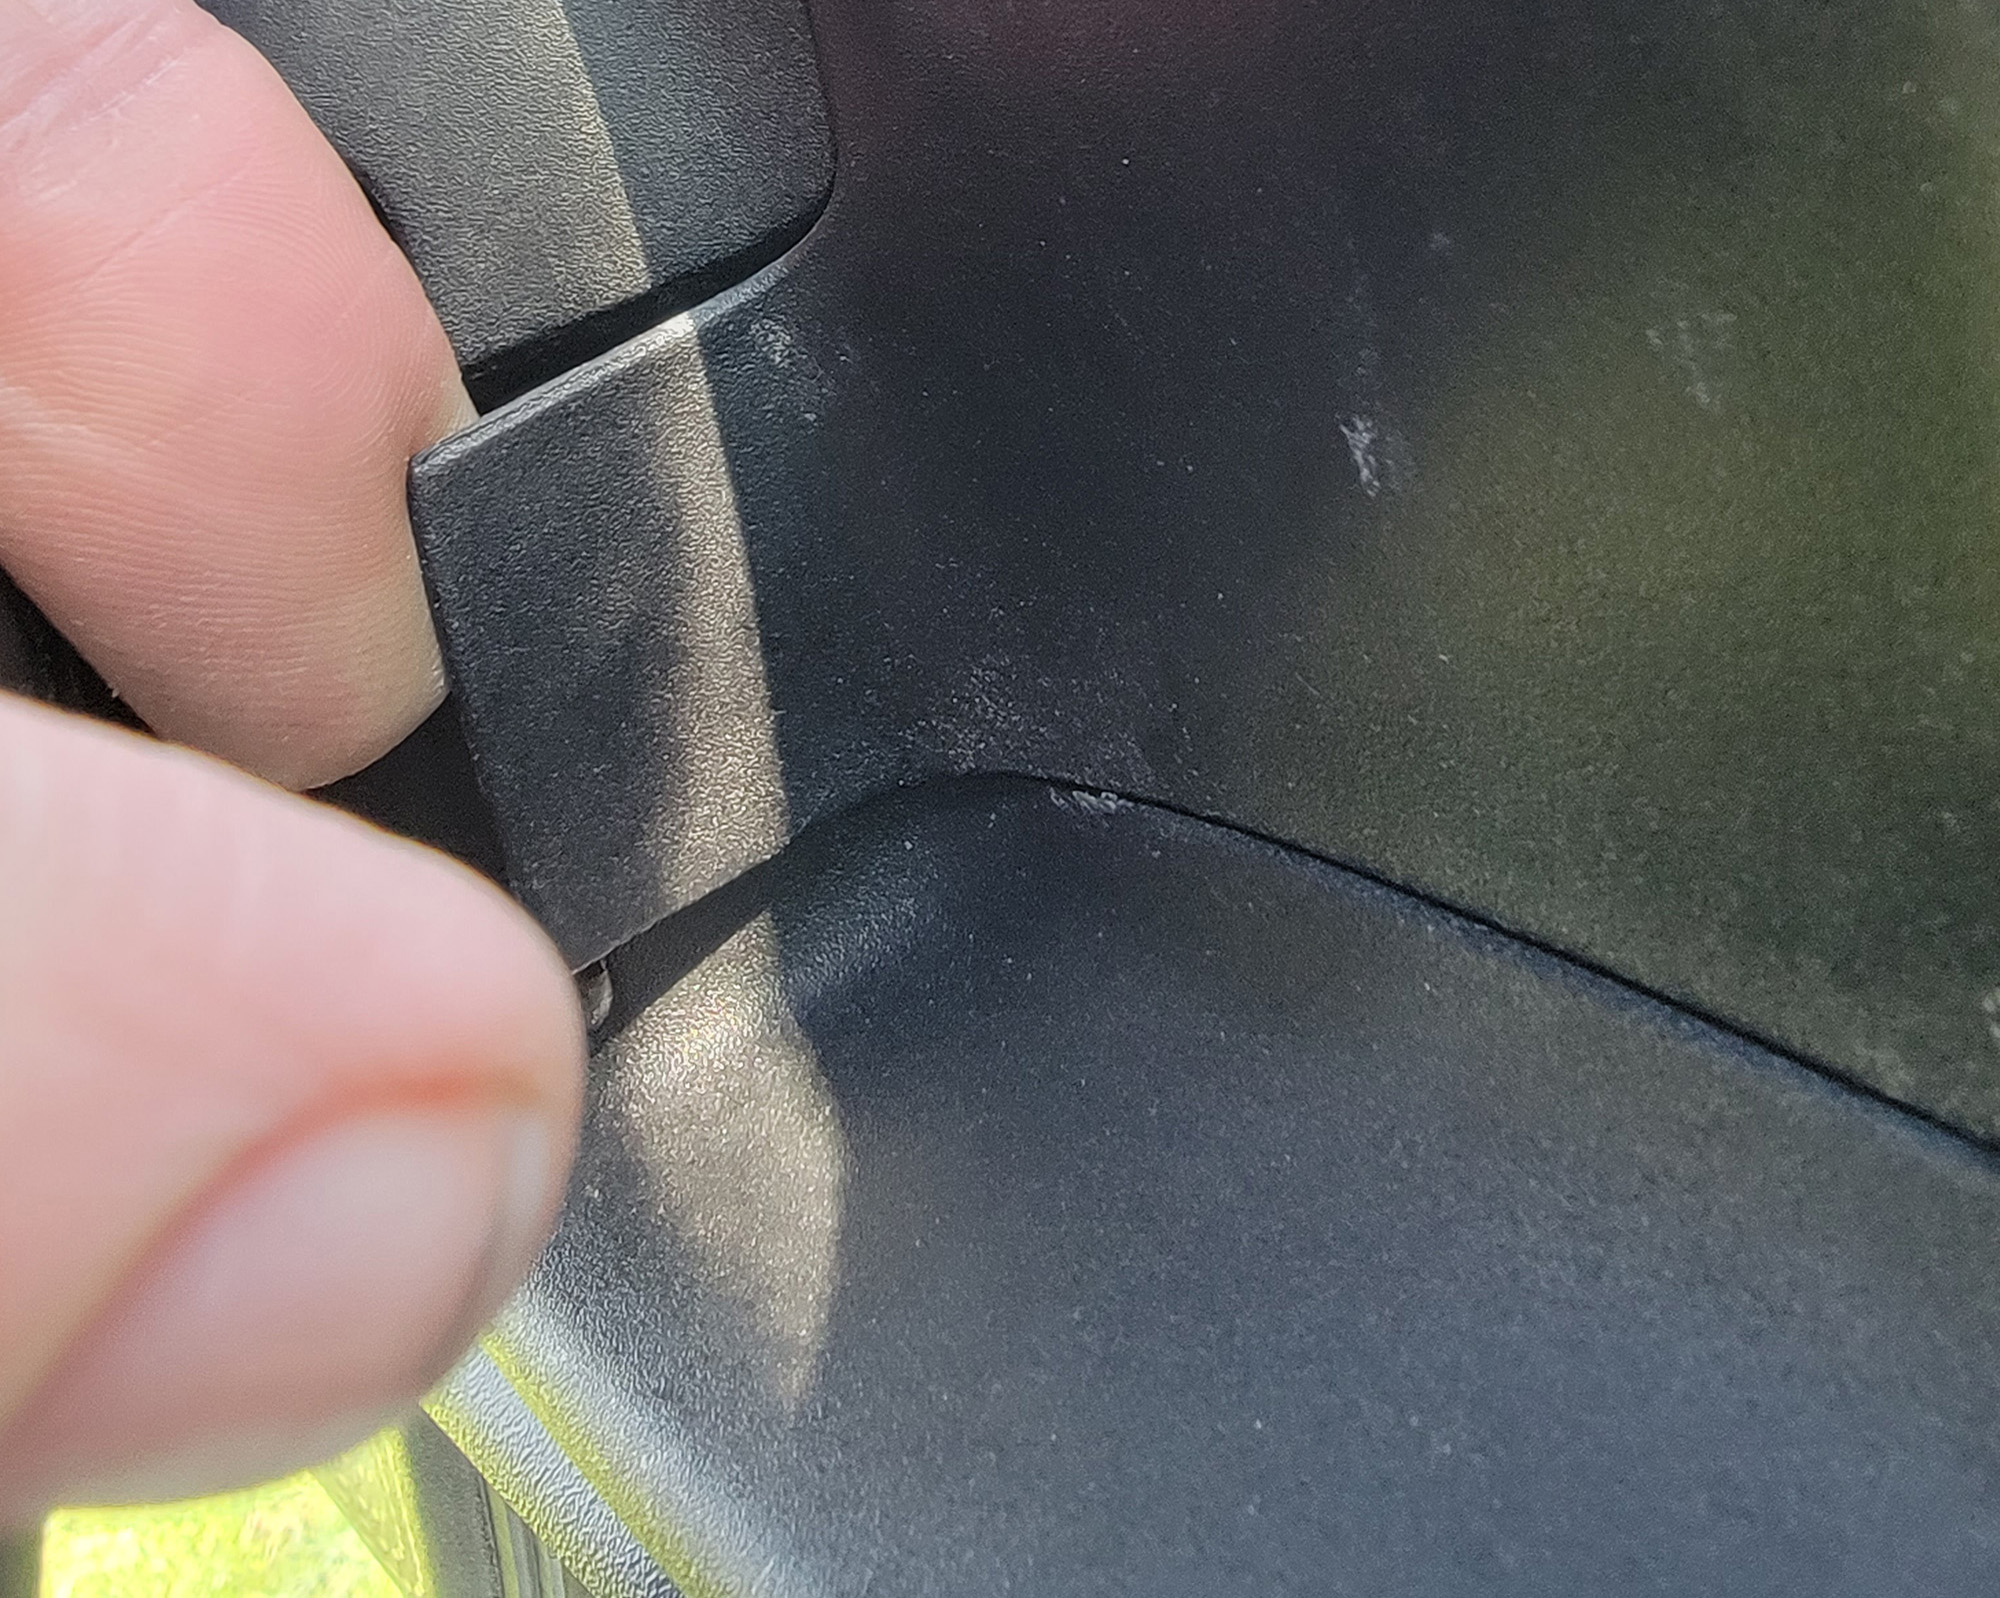
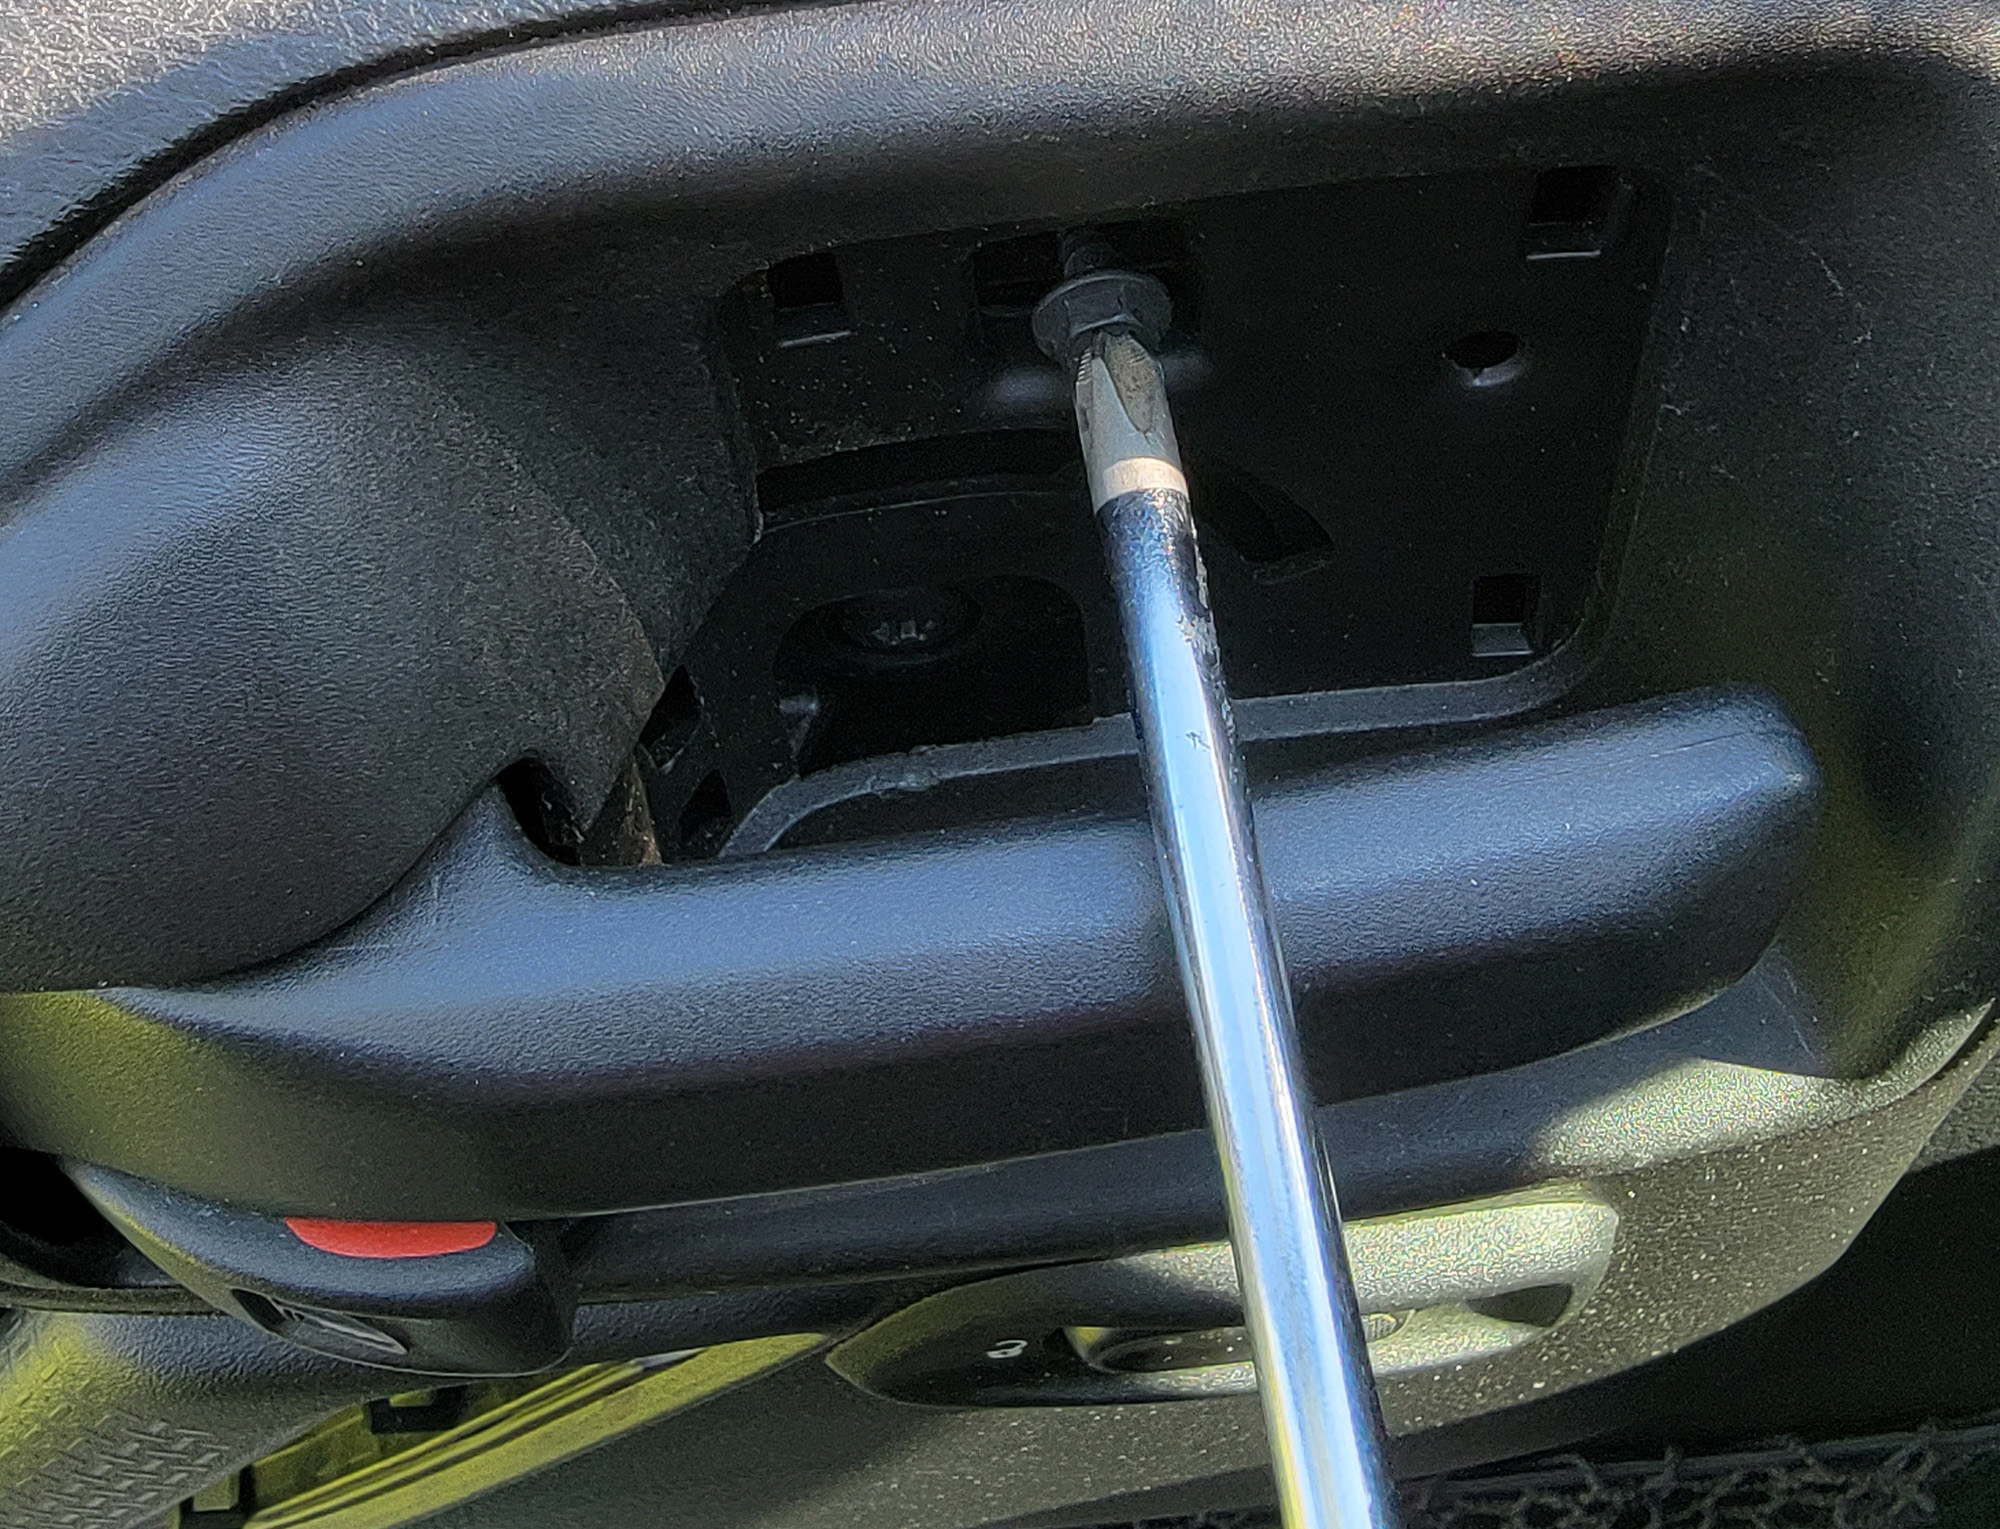
Behind the inner door latch is a small trim cover that can be removed by hand, but it needs you to have the latch partially open to do it.

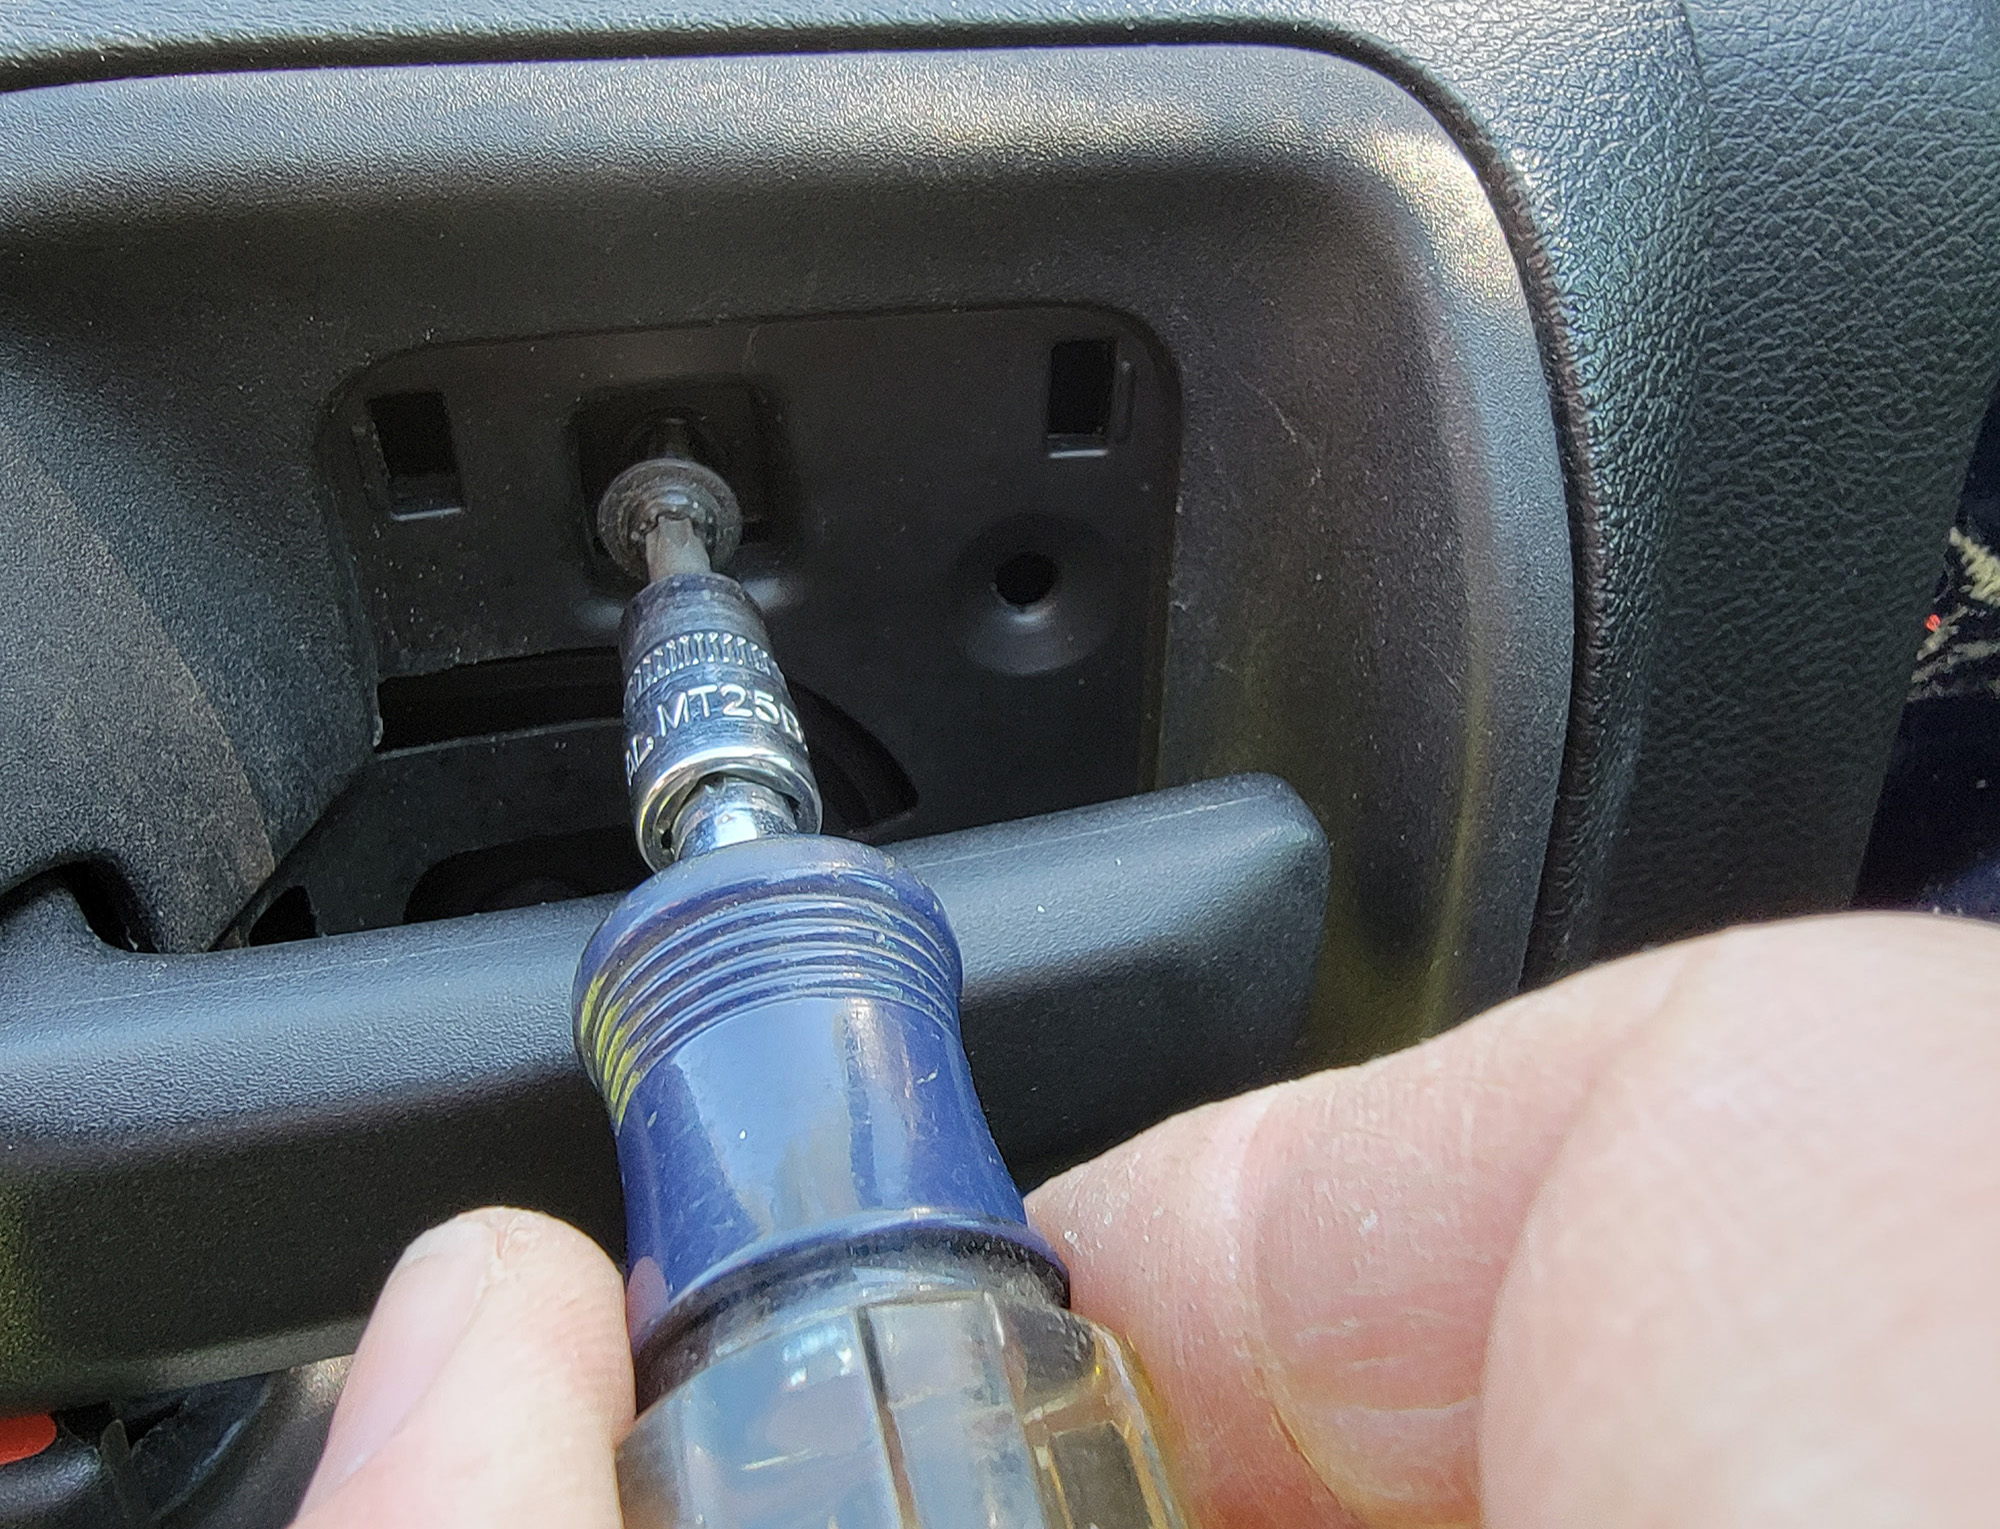
Use the #2 Phillips head screwdriver and T-25 Torx to remove the fasteners behind it.
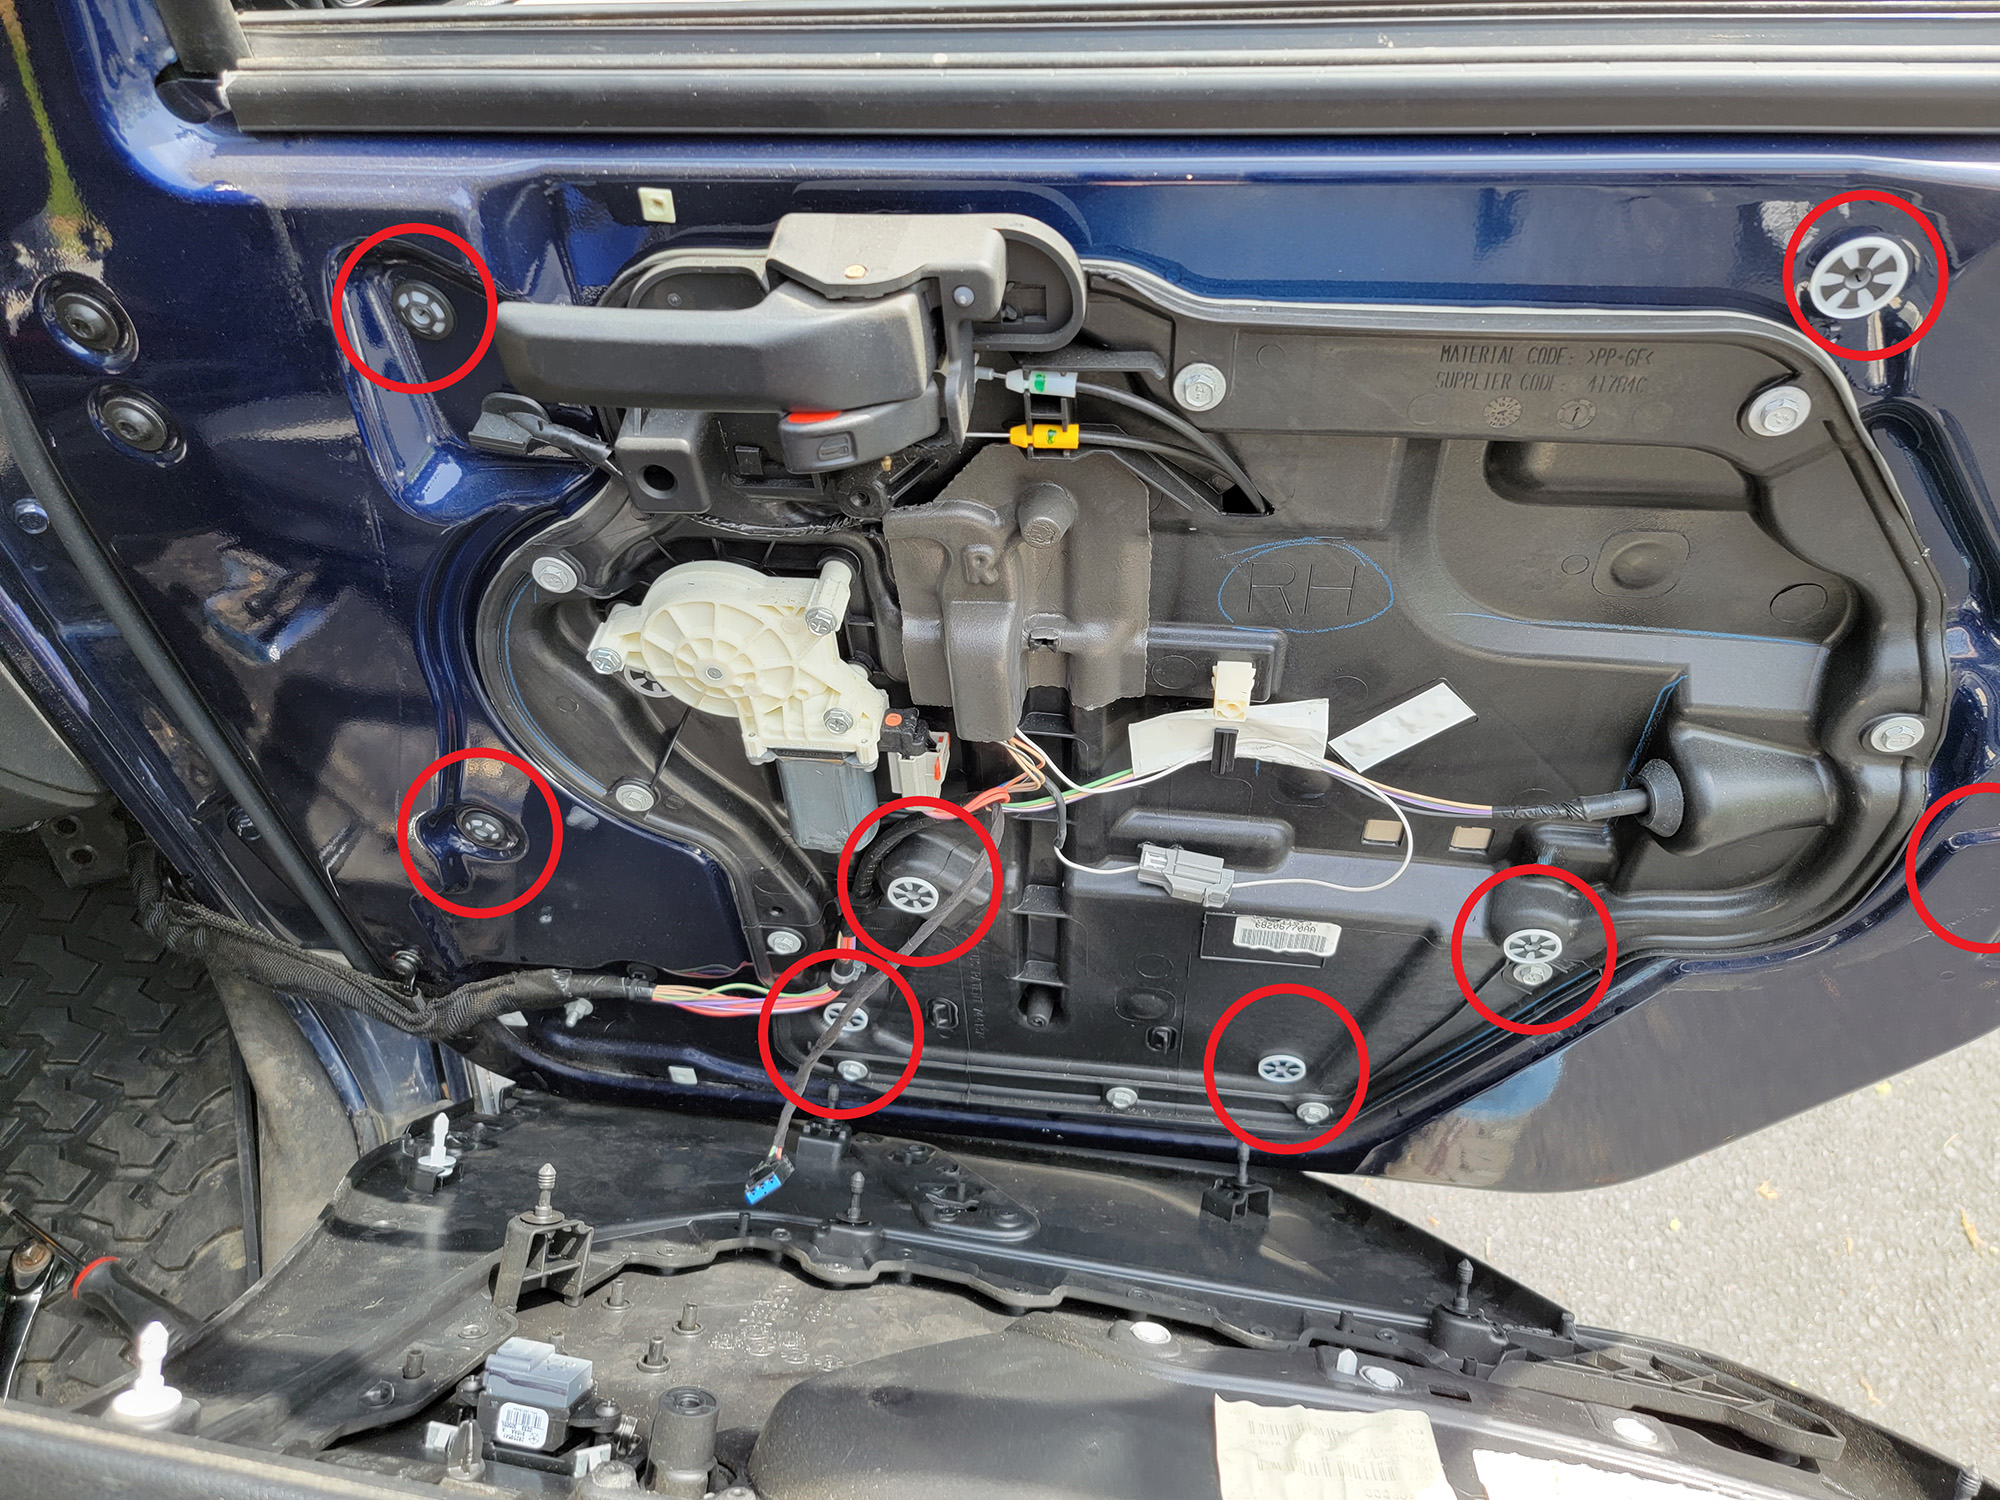
The entire door panel is rested on the upper ledge beneath the inner window scraper seal, and held into the door sheet metal and window regulator with plastic post/rubber socket clips. These require a little force to remove, but work slowly around the bottom edge first until you feel a few begin to release — work your way around the outside of the panel, noting that the top edge is hung over the door.
There are eight in total if I recall correctly. I marked all of their locations on this picture (aside from one slightly out of frame. You can see its corresponding post on the panel):
The power door lock switch plug is the only thing remaining to be disconnected for the door panel to be free from the door.
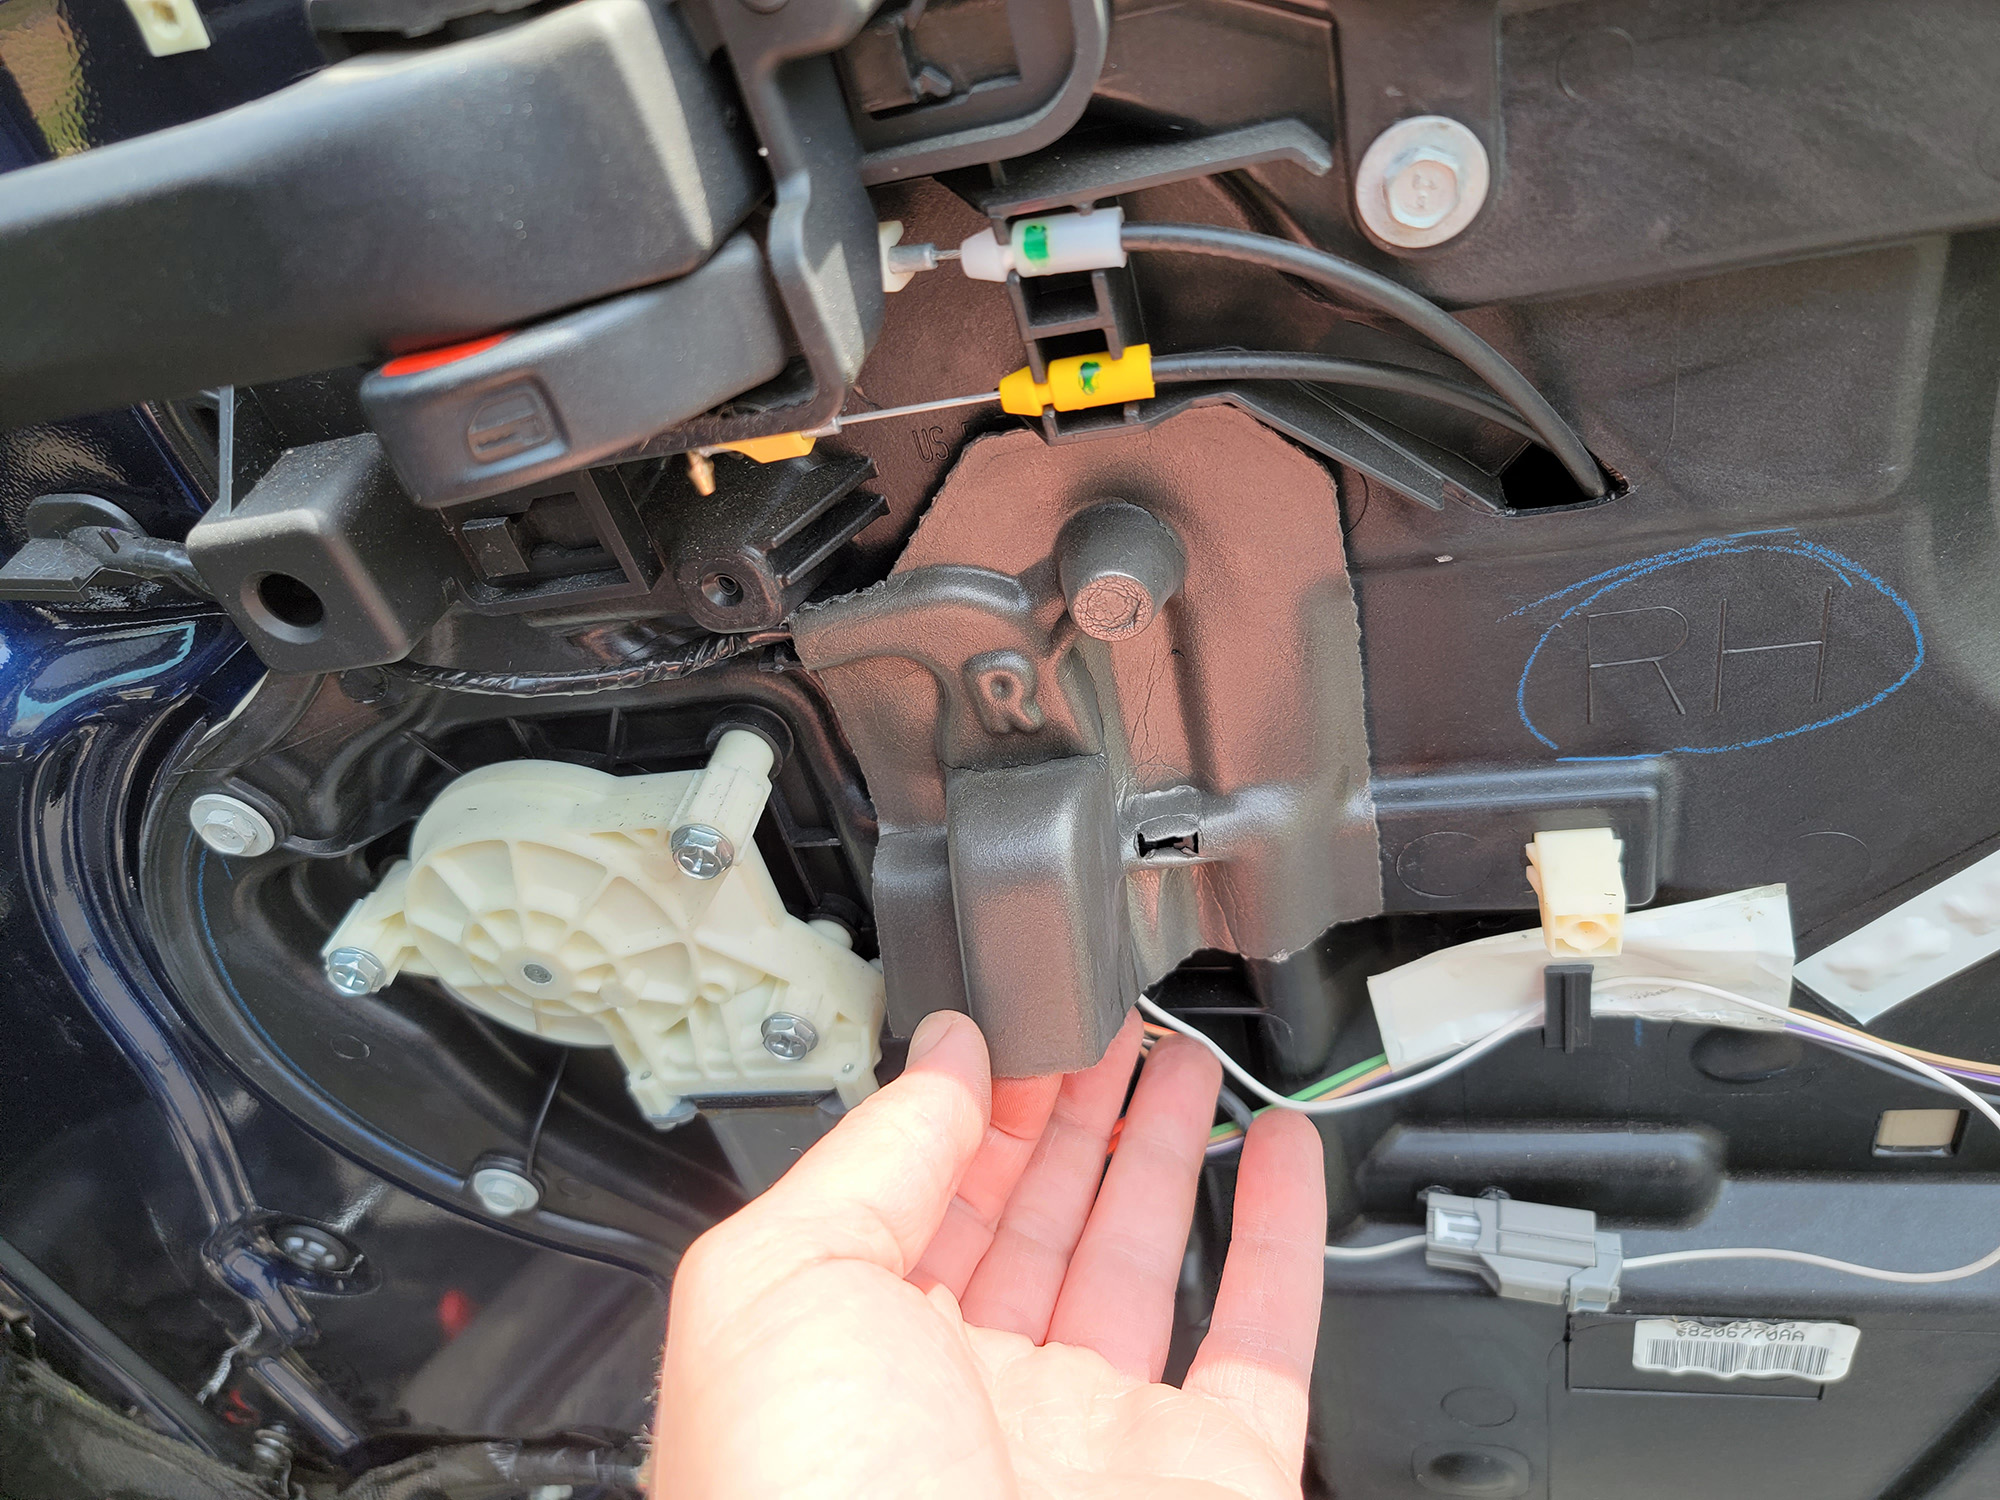
Beneath this foam section are the two plugs for the mirror. The plugs on the 2011-2018 power mirrors without heat are all going to be the same.
The smaller plug for the heating circuit is for the 2011-2013 version in these pictures, but is slightly different for the 2015-2018. As such, there are different part numbers for each variant.
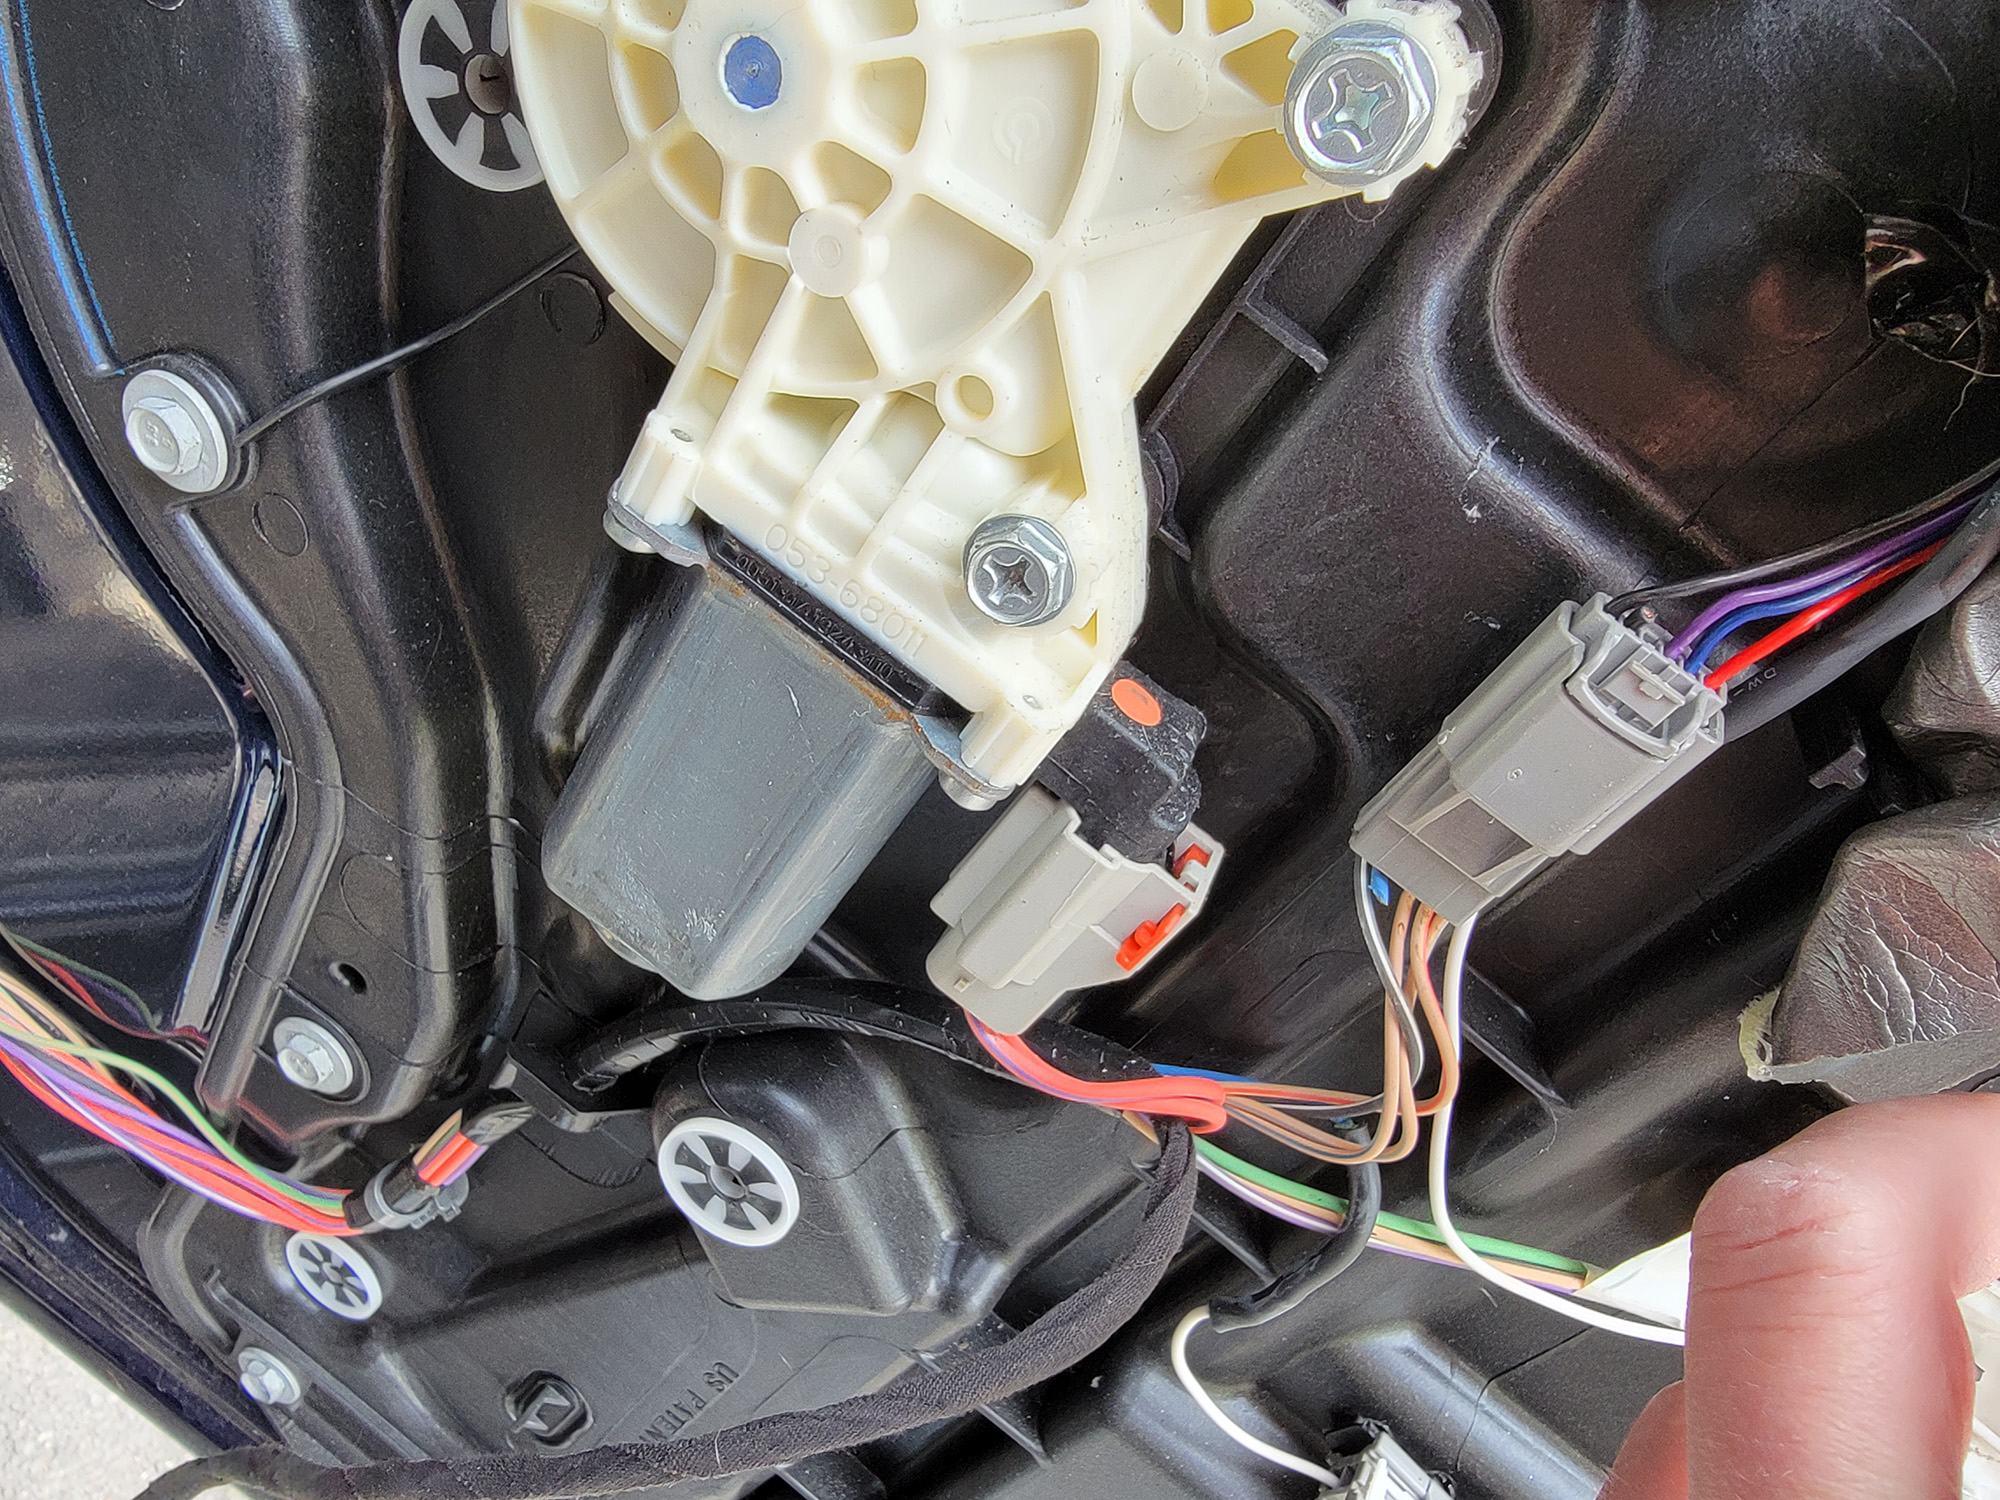
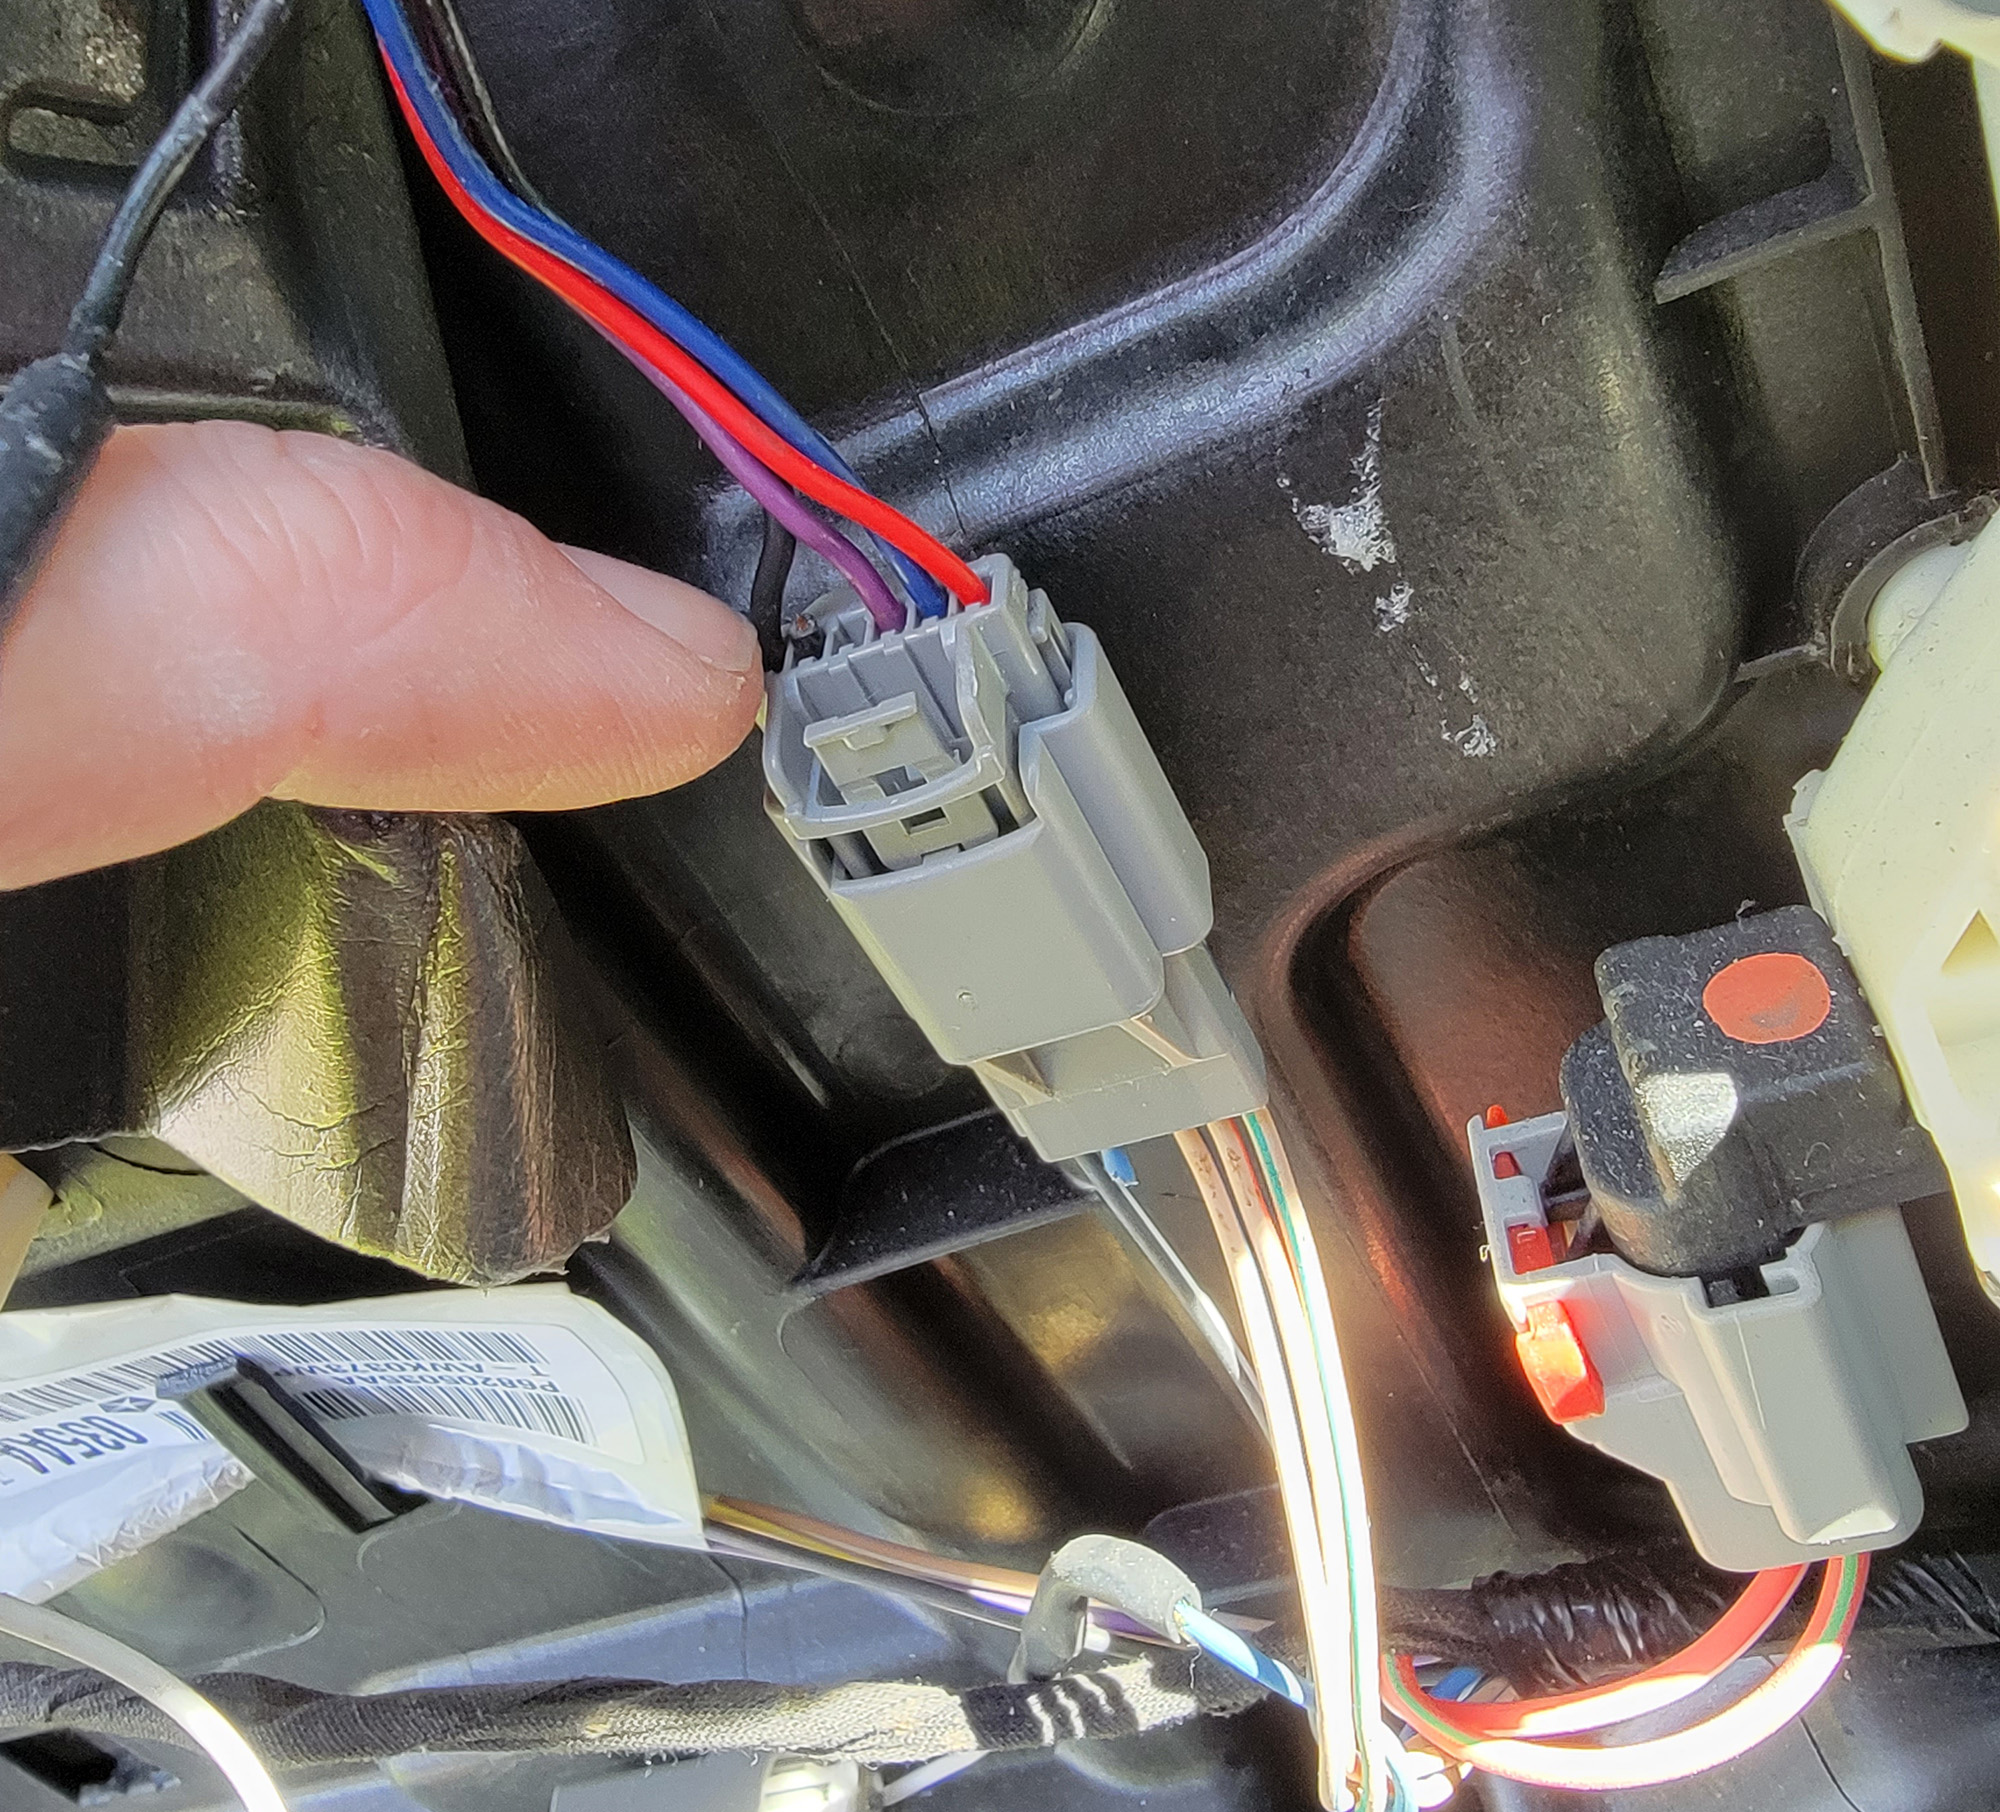
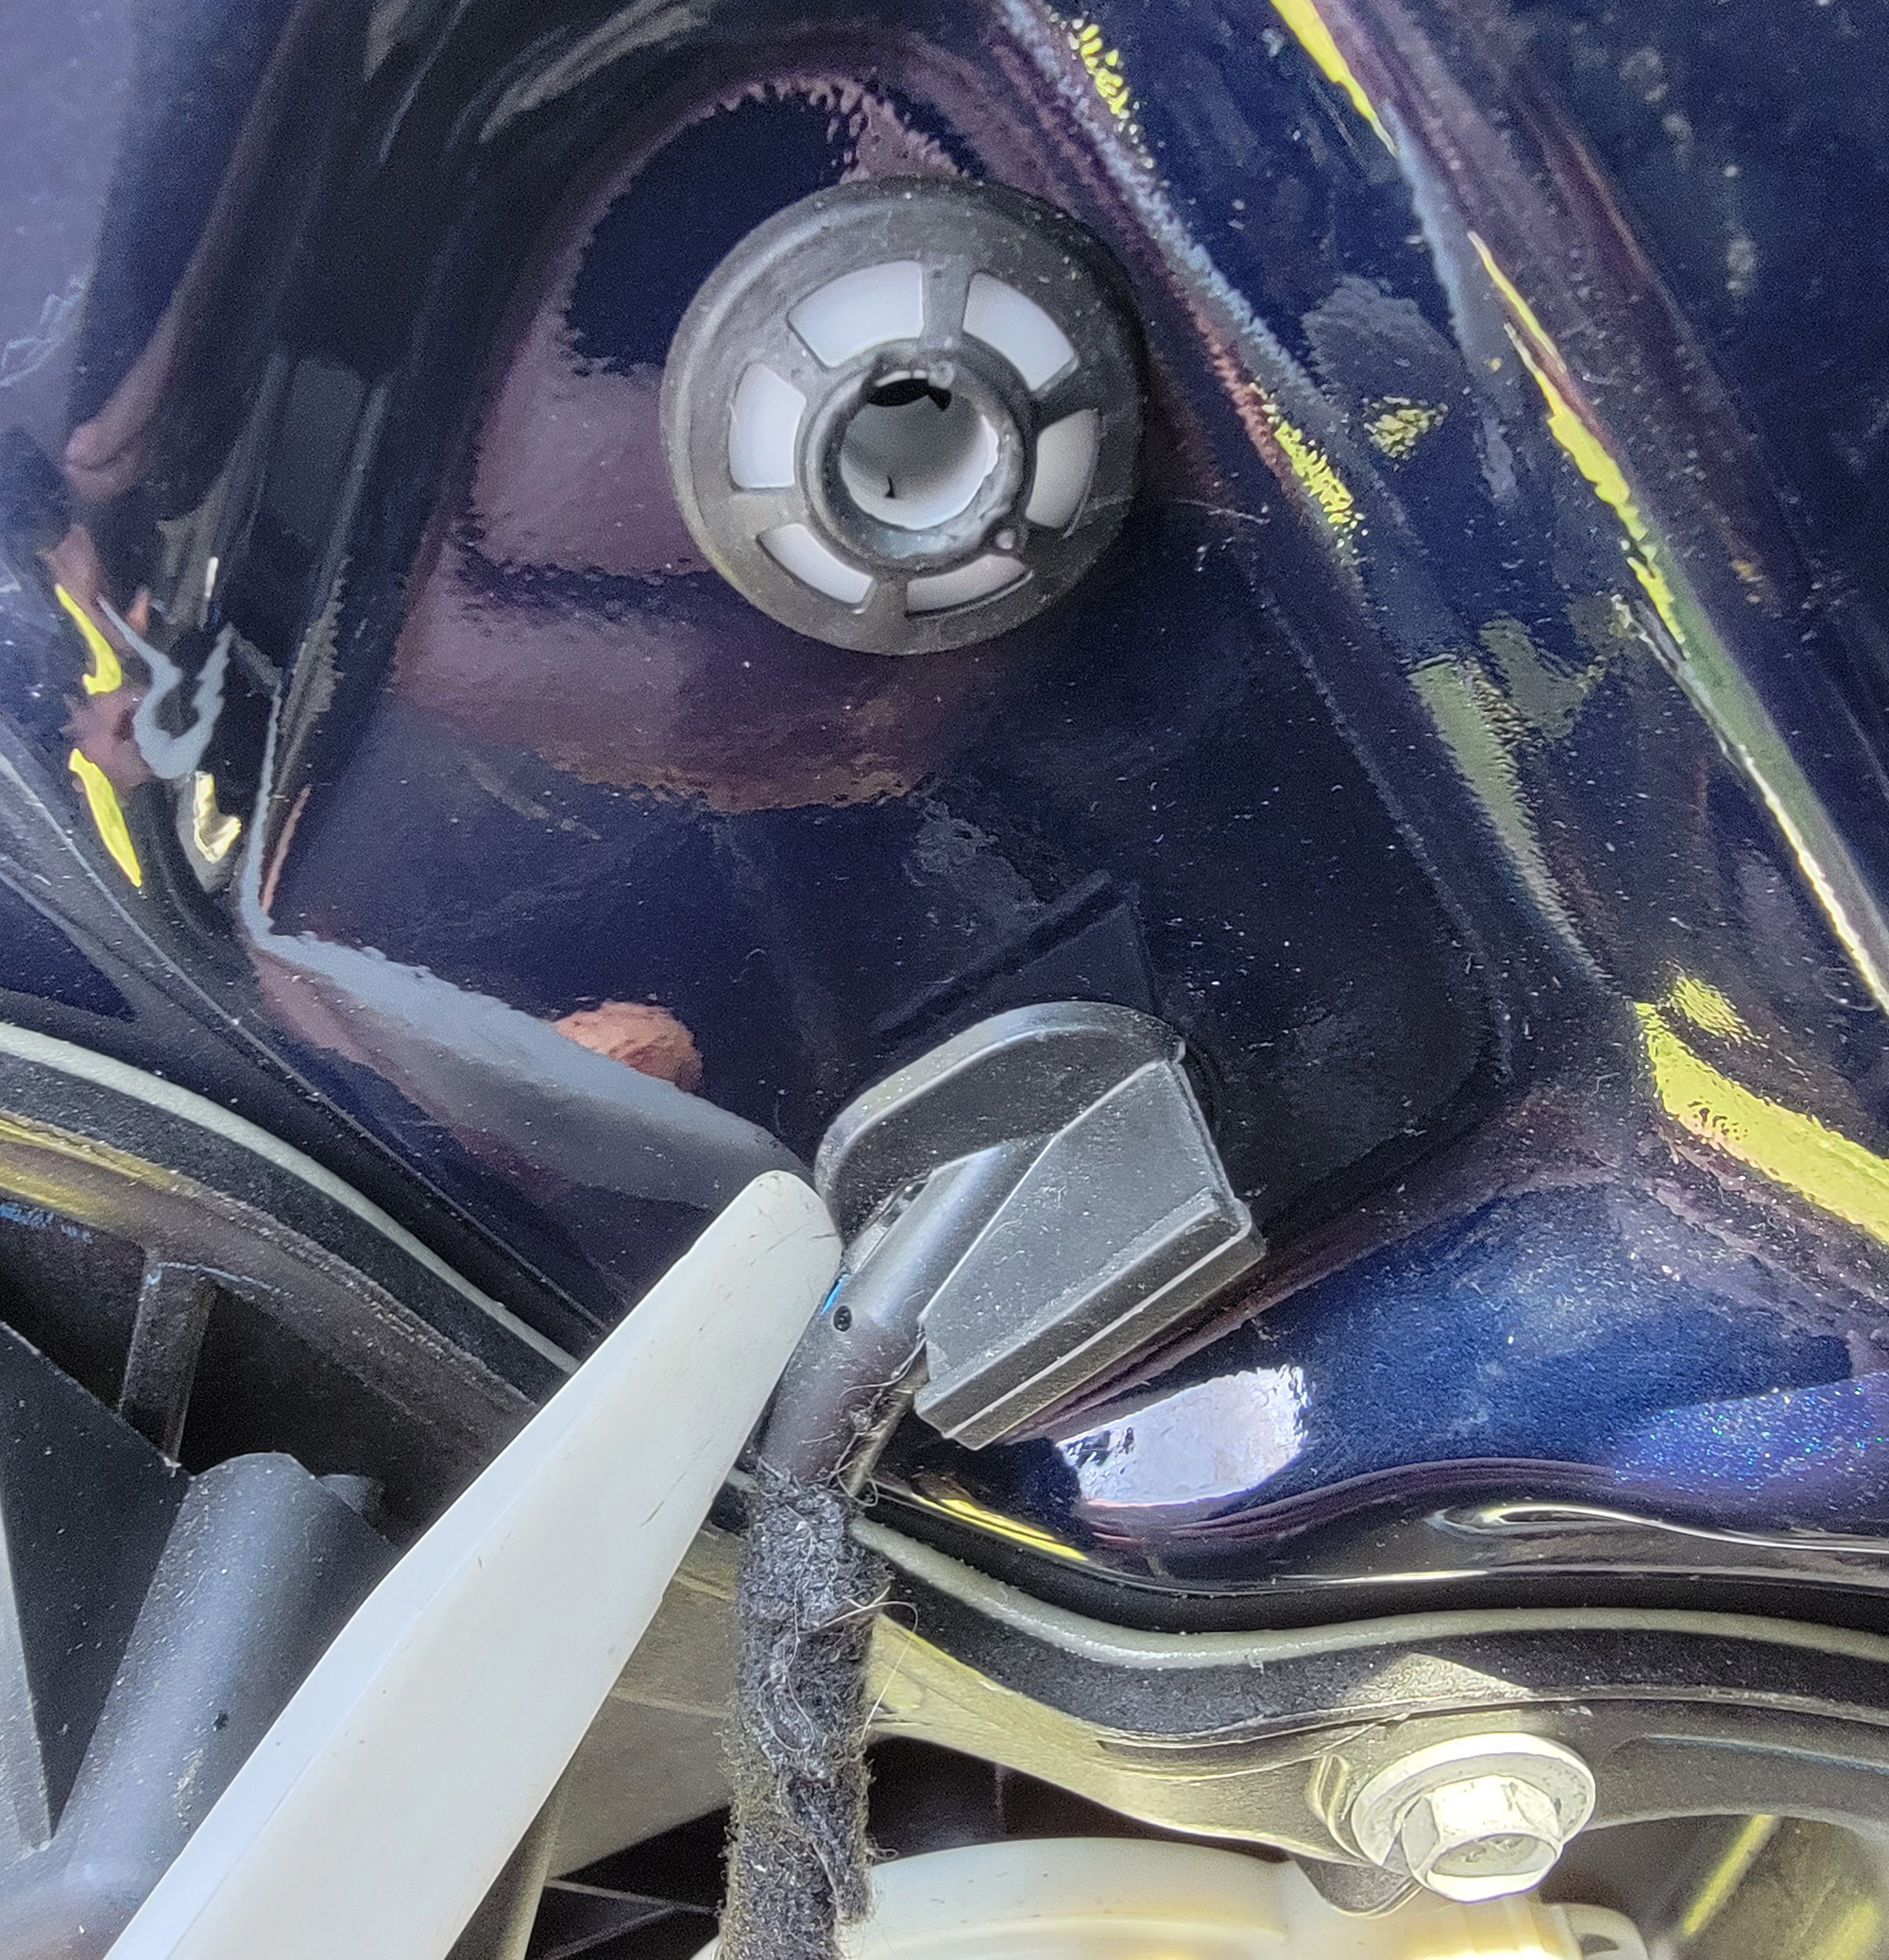
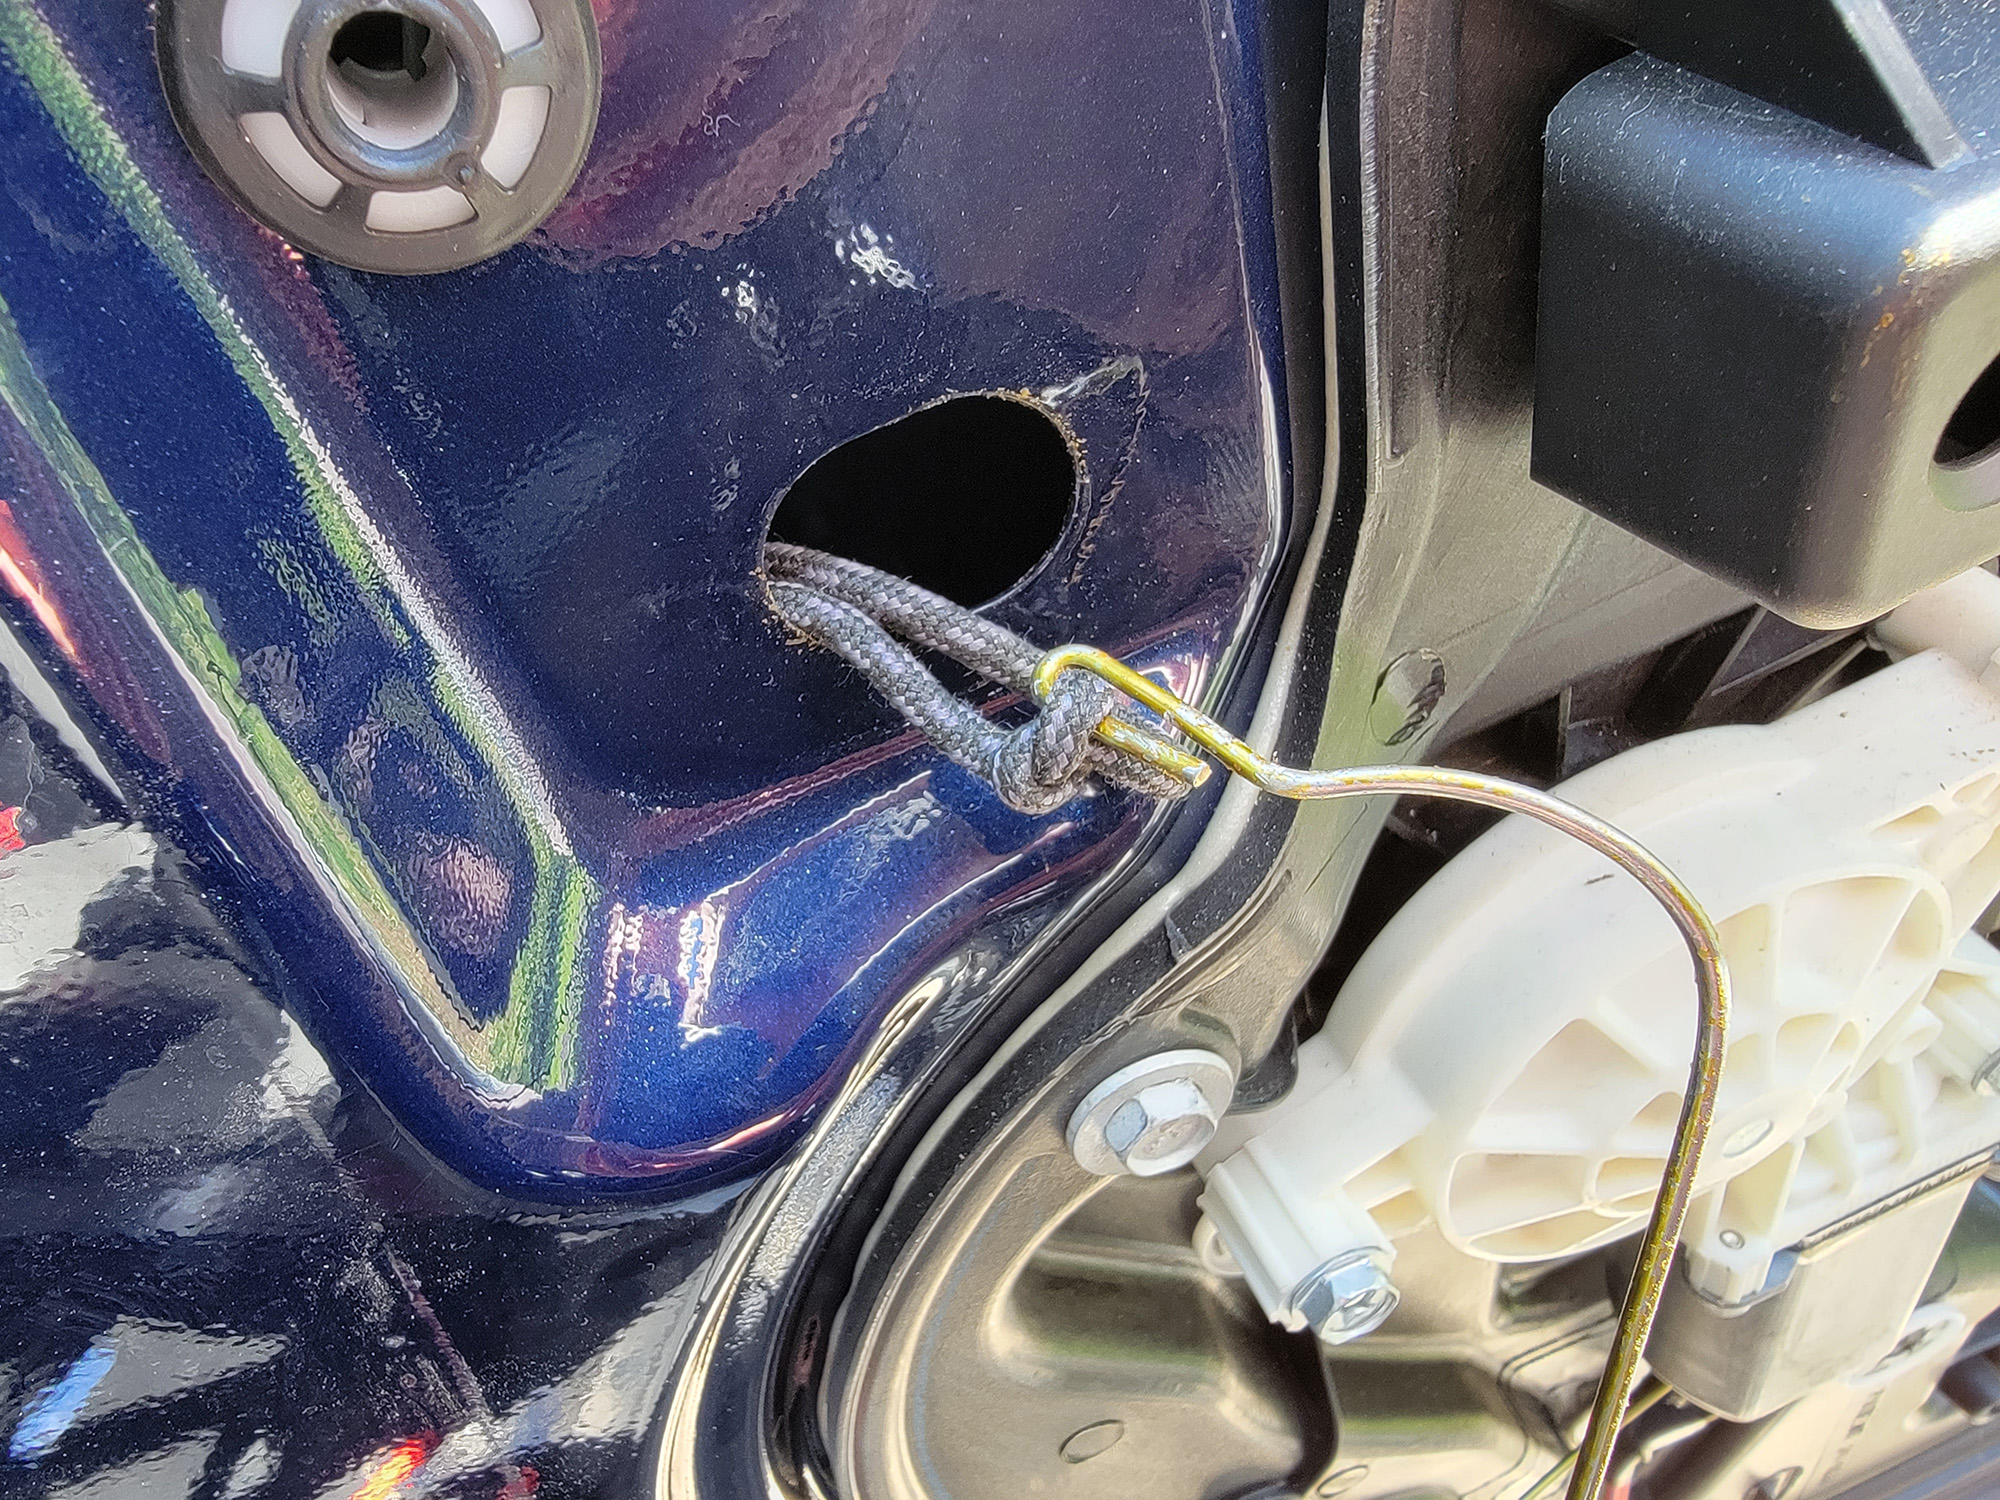
Disconnect both plugs and push the rubber grommet into the conduit inside the door sheet metal.
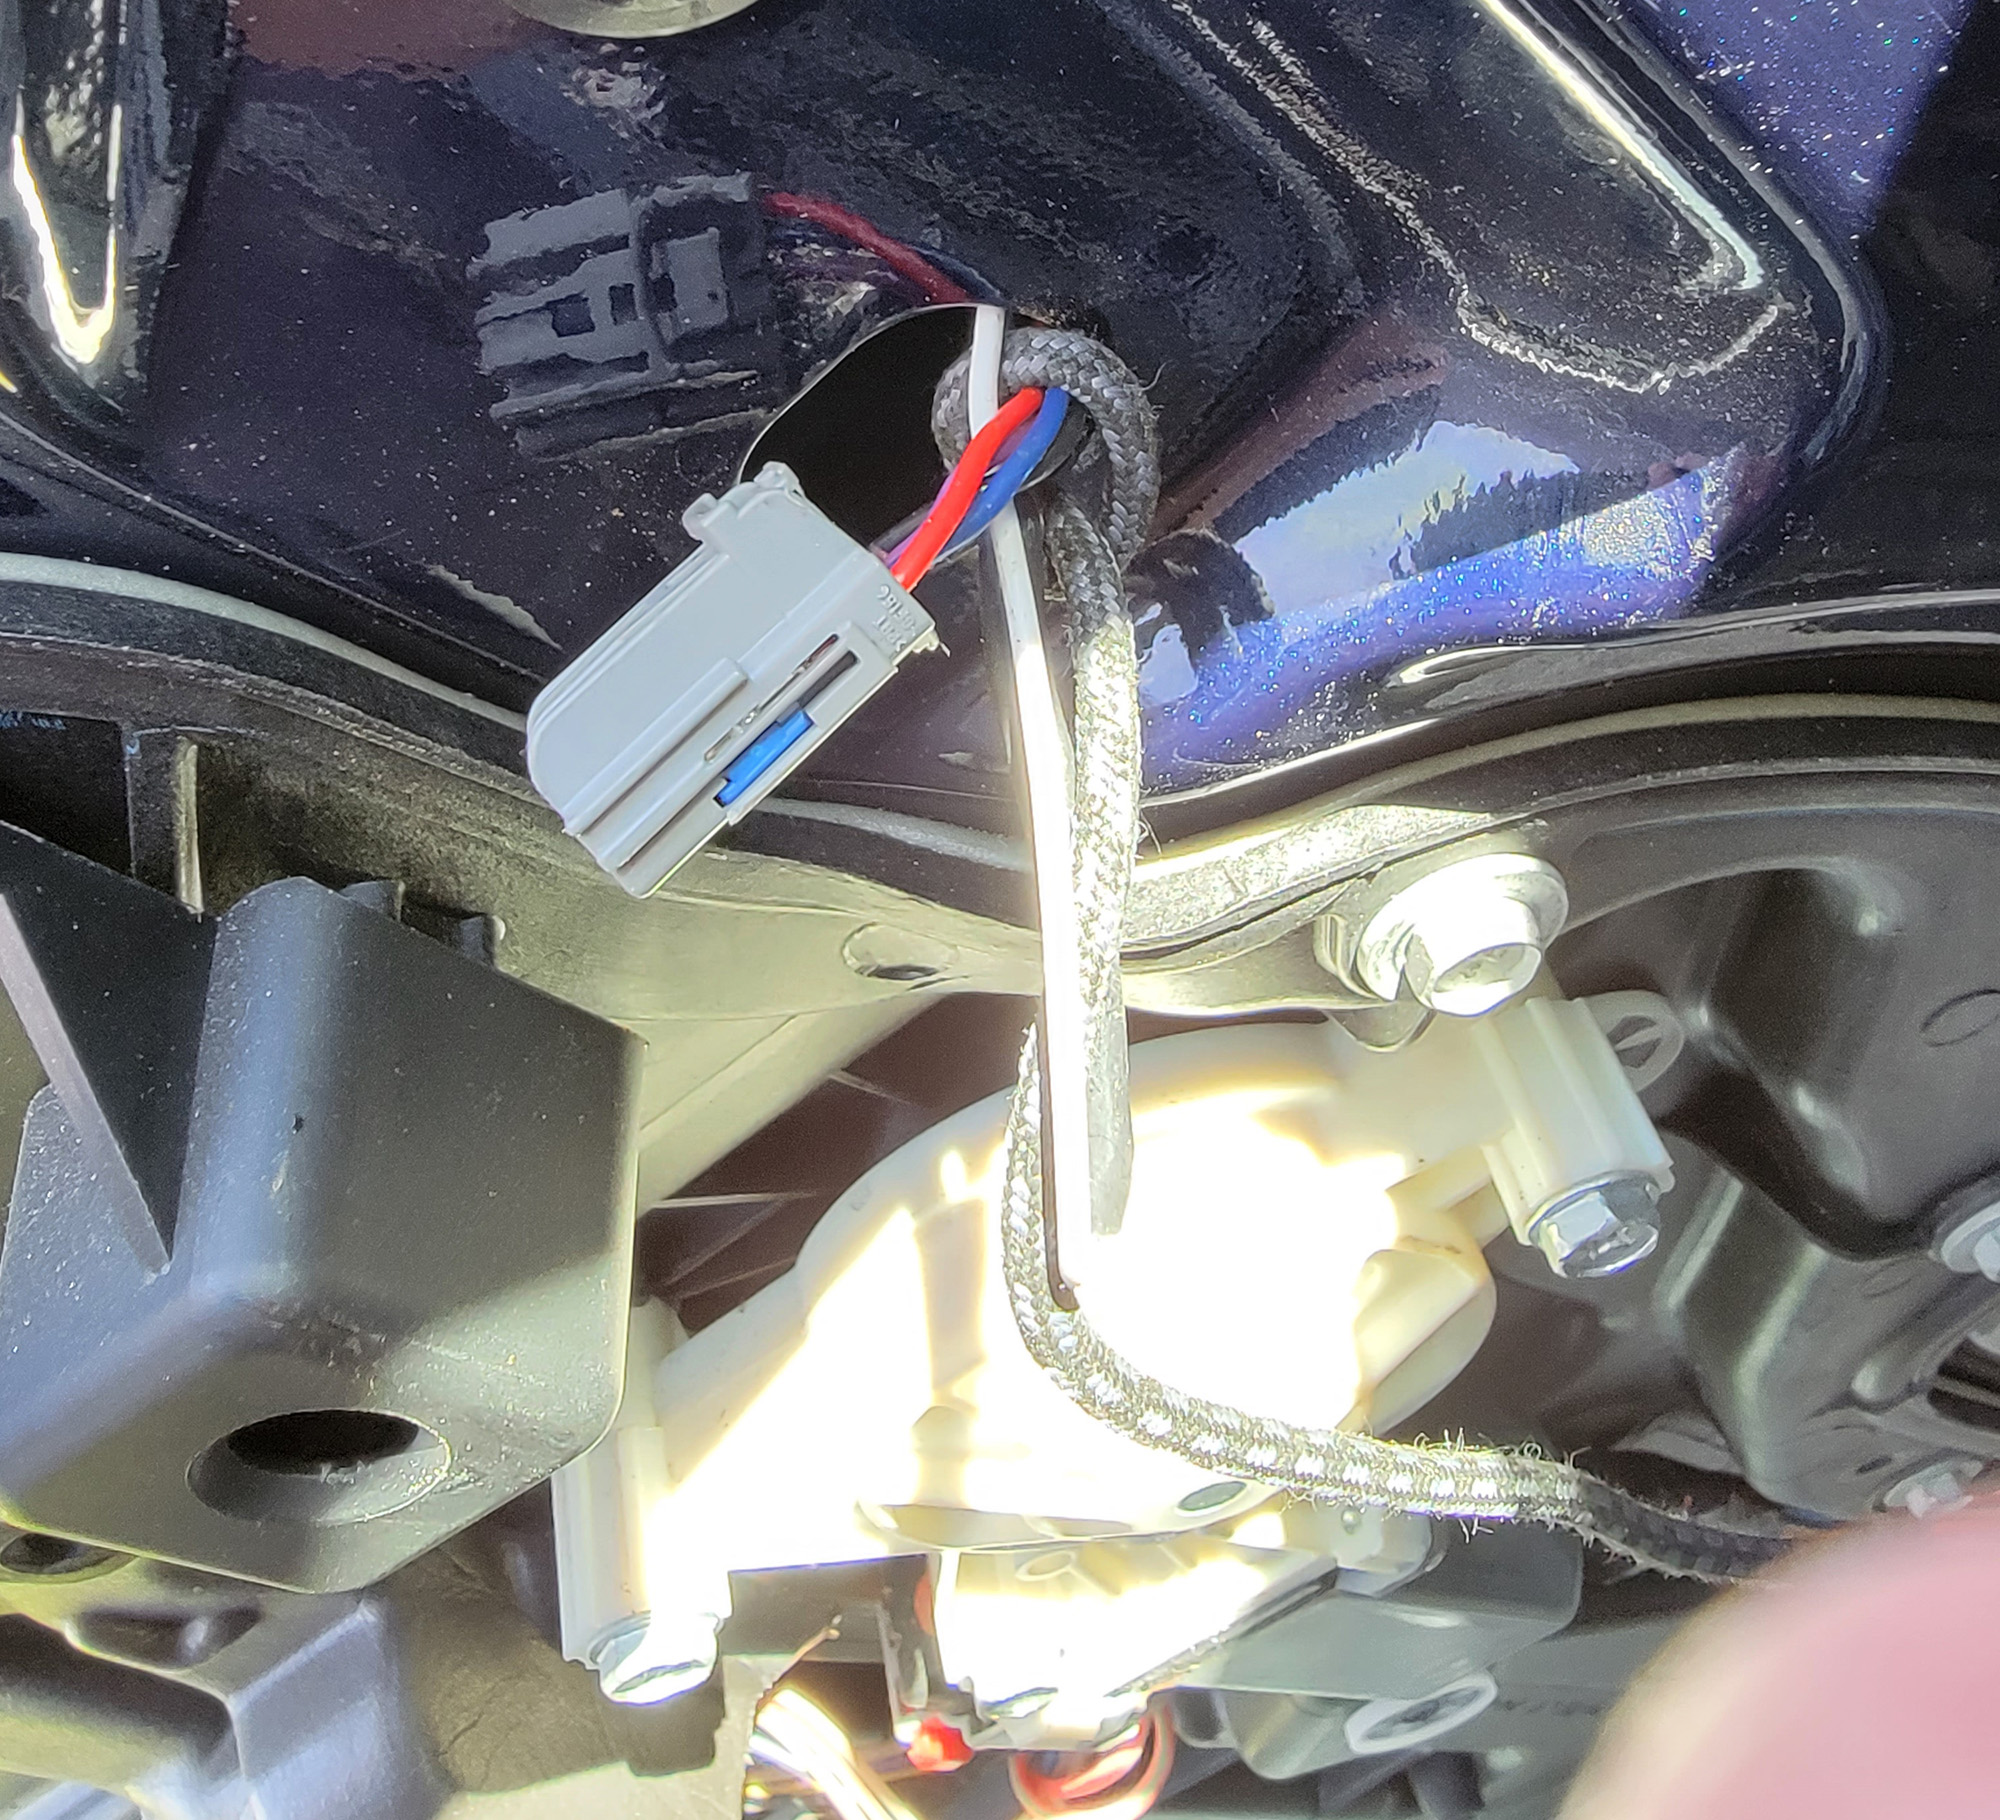
NOTE: This is where I messed up in my haste. I didn’t have anything to leave in the door as a puller, so I ended up removing both side mirrors, wiring and all, only to have to fish some cord through the conduit to get them back on the next day. My driver's side mirror was broken and rattled, so I cut the old plug and harness off so I could just bolt it in place to drive home, where I reassembled everything with the new mirror.
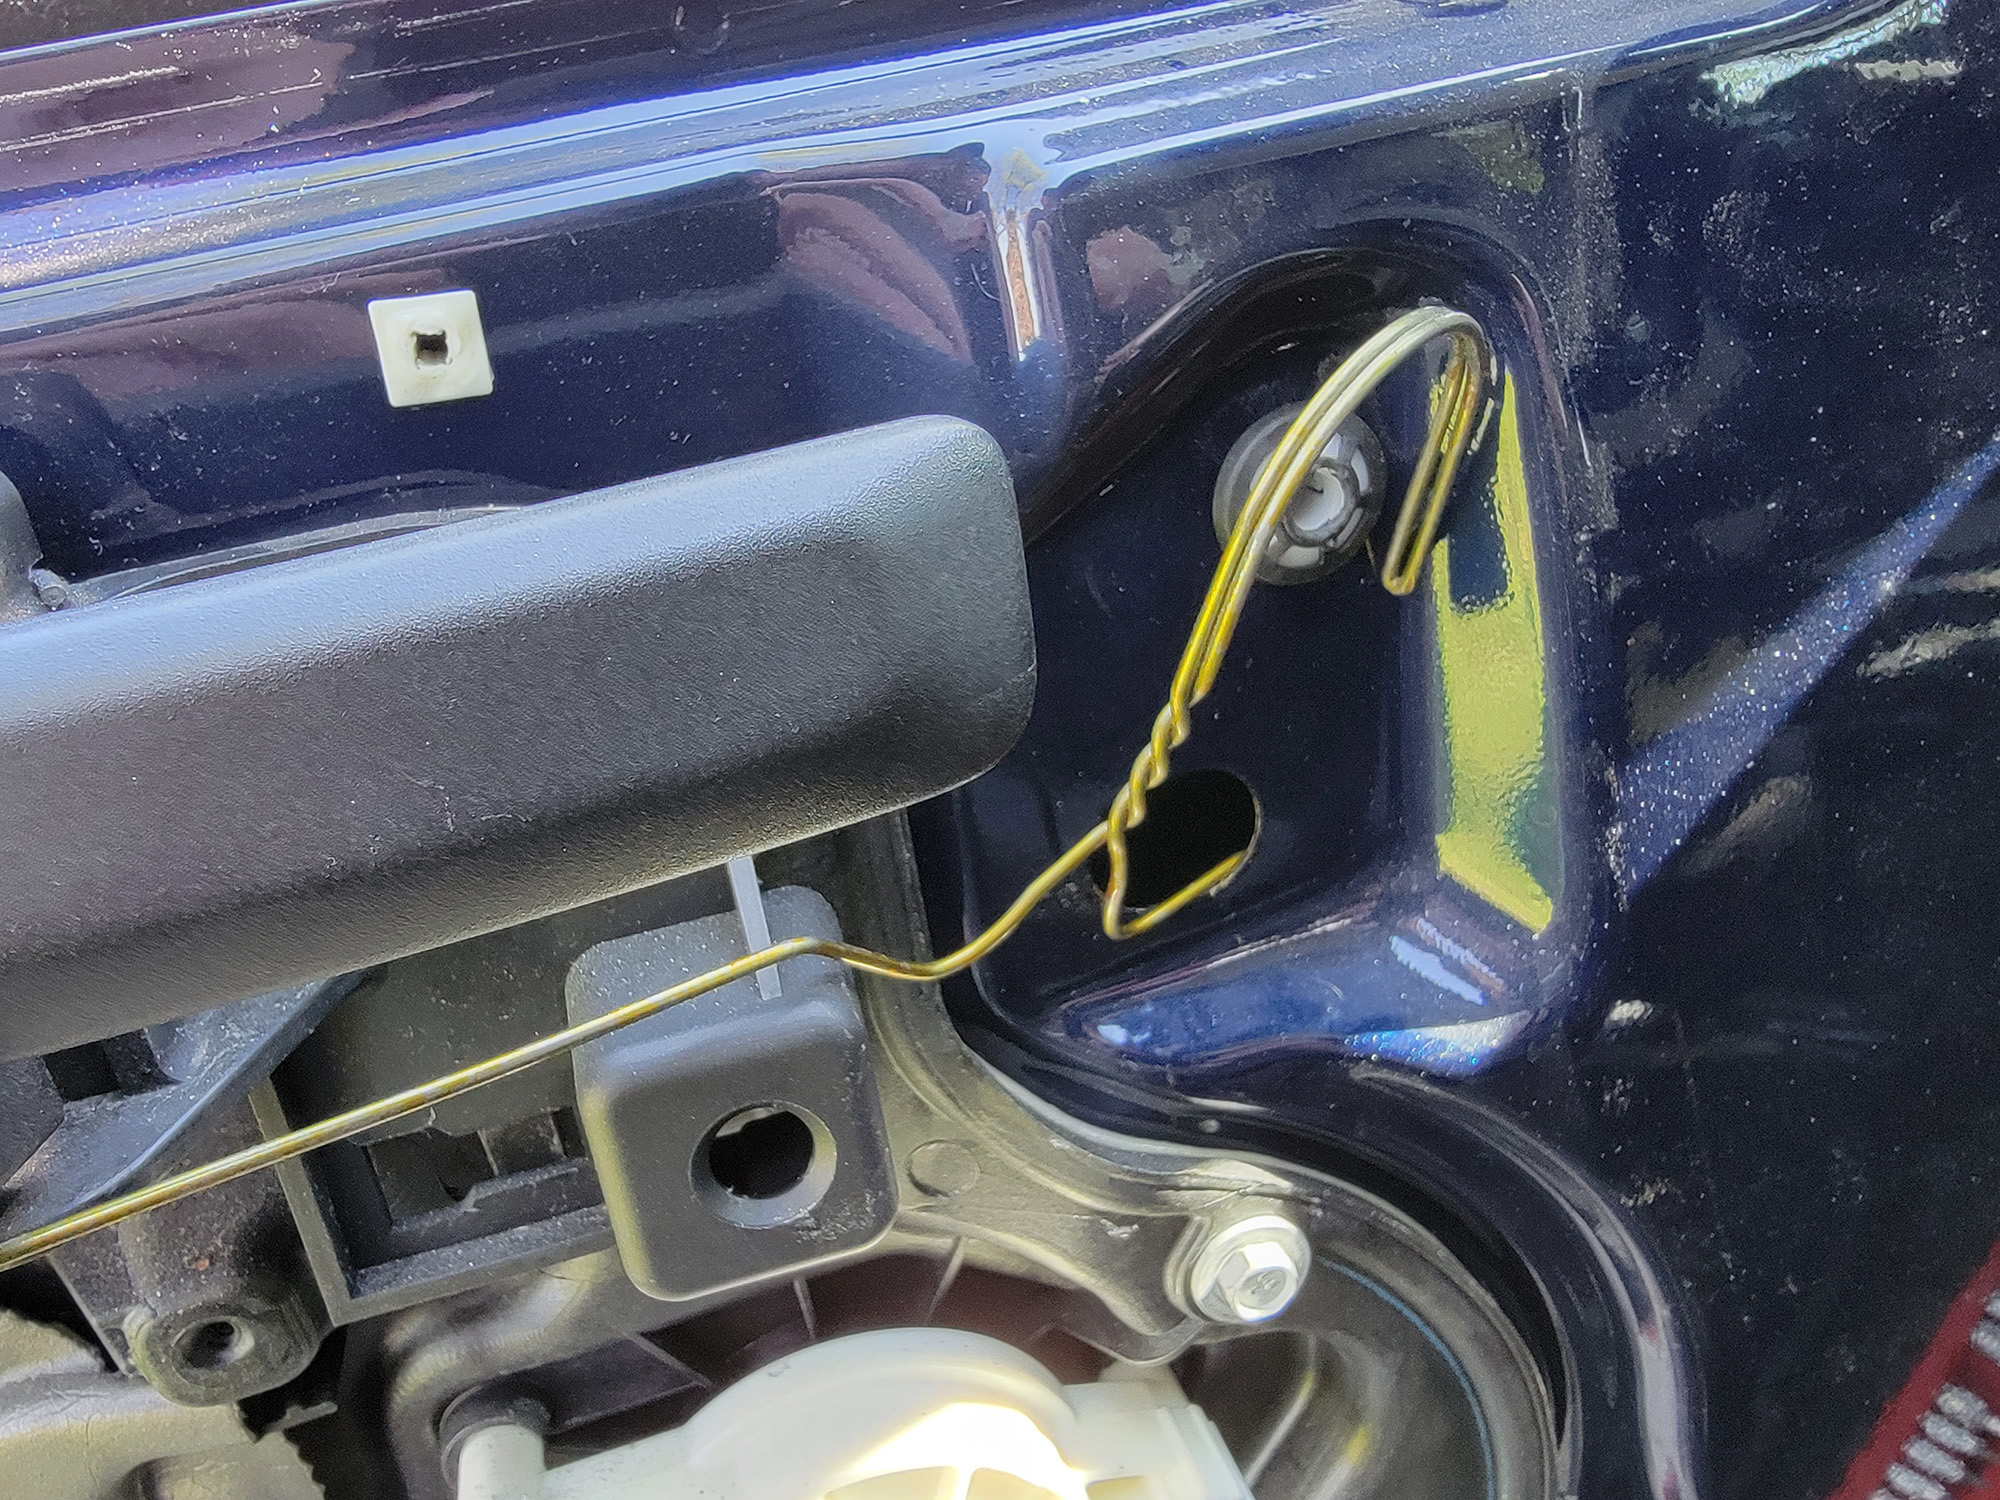
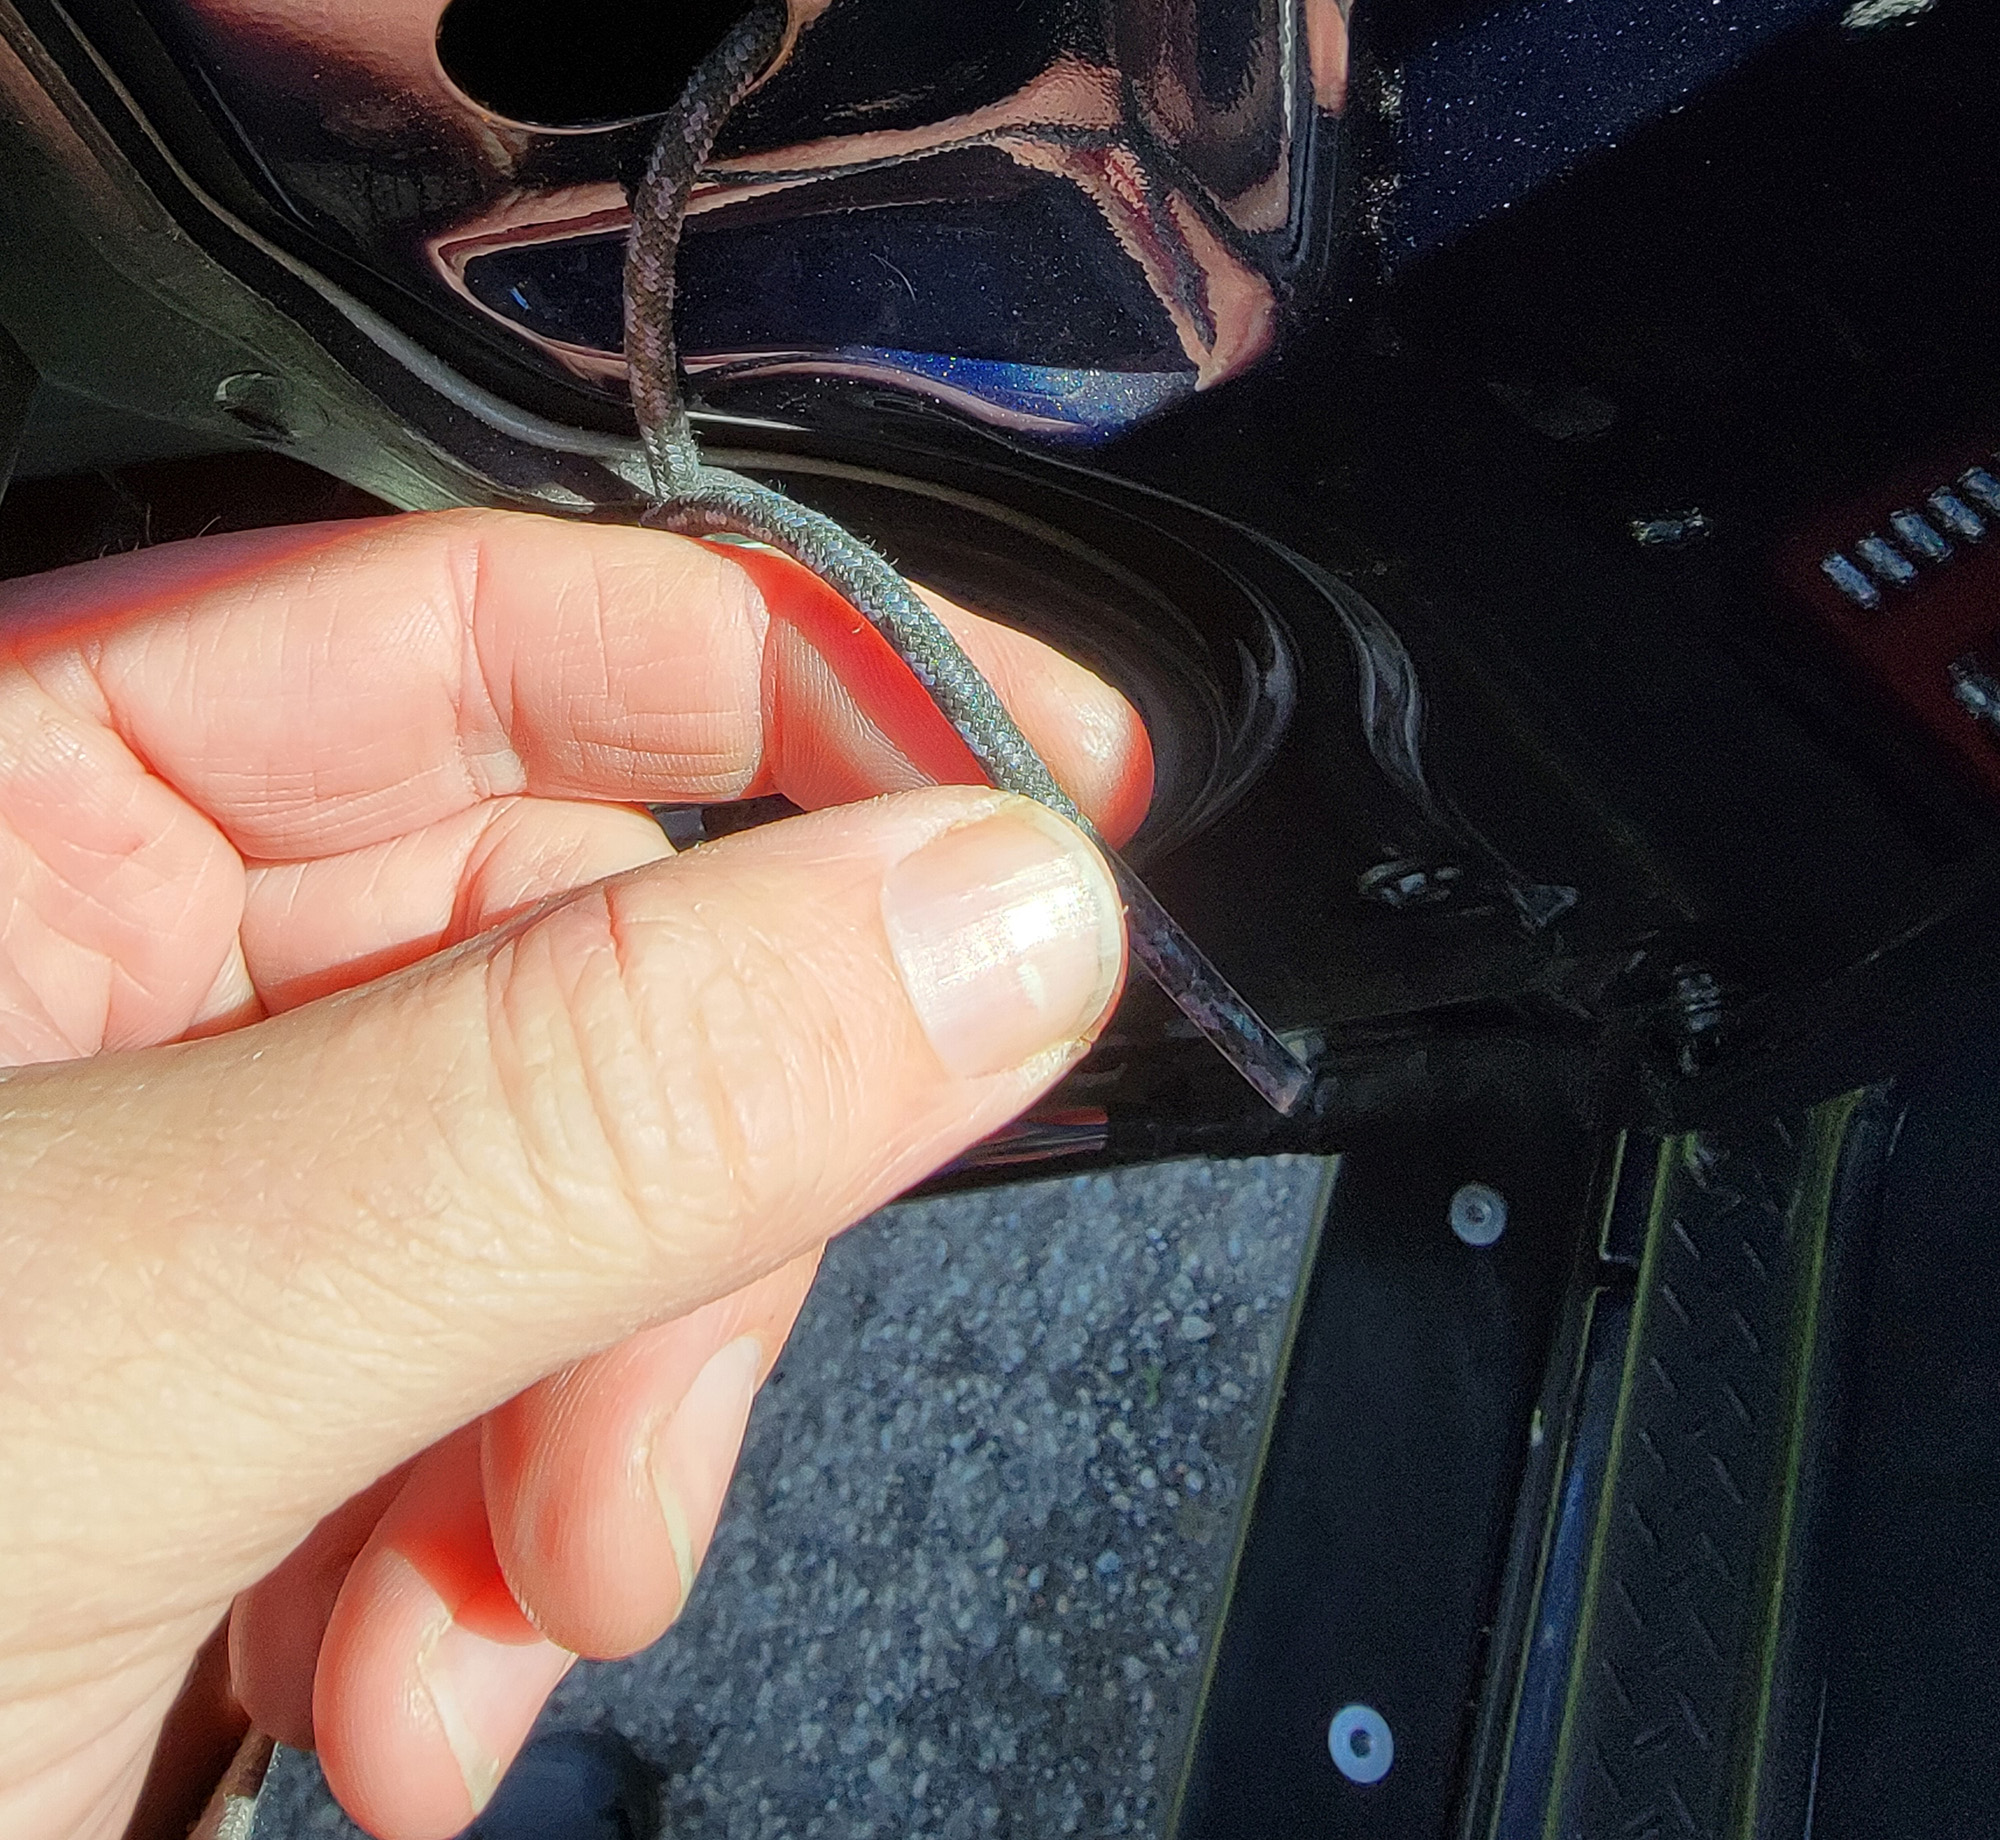
If you’re smart about things, you can tie a boot lace or paracord to the harness before you pull the mirror off, then use the same cord to pull the new mirror’s harness and plugs back through. Much easier, and less frustrating.
I wasn’t being smart, so I got to play around with a coat hanger for a while. It isn’t the end of the world, but an ounce of foresight here would have cut down a good portion of the mirror replacement time.
Once that wiring is inside the door, you can remove the two T-40 Torx bolts that hold on the mirror. Rolling the window down before this step will help with the juggling of tools, wiring and a mirror so you don’t end up scratching your paint. An assistant would also be perfect to have for this step, although not required.
Installing the new mirror is rather quick if you have everything within easy reach — just tie the lace or cord to the new wiring harness plug, and pull it back through the door.
Bolt the new mirror in place once you have the wiring pulled through, and reassemble everything. Remember to plug in the one or two mirror harness plugs as well as your power lock switch (if equipped).
This same procedure can be used to remove the door panel for other tasks like outer handle removal, door latch repairs or regulator removal, although each one requires additional steps.