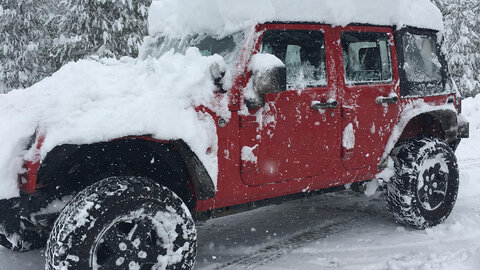
by Scott Ammerman
Torque Correspondent
Some parts of your Jeep just quietly do an acceptable job, slugging along in the background to keep things going. Your original alternator is a prime example of this and does well supplying power to keep the engine humming, as well as running your essential factory electronic equipment like the fuel injection system, radio, climate control and headlights. It will continue to do this faithfully until you start adding a bunch of high-draw electrical accessories like winches, lighting, or fridge freezers. In Project Rattler, the biggest issue was the addition of a Travel Buddy Marine oven.
That was really the straw that broke the camel’s back on this vehicle though—without delving too deeply into the math, my Jeep has a litany of electrical upgrades that became too much of a draw for the original equipment setup. While capable of 160 amps, the factory alternator doesn’t put out much more than 100 amps until you get to 2000 RPMs. Low range 4WD usage, in addition to running electrical accessories, was leaving my battery weak by the end of the day.
It didn’t seem like there were that many items to cause a problem until I started writing everything down:
- ICOM 50 Watt HAM Radio
- Uniden CB Radio
- ARB 50 Quart Classic Fridge Freezer
- Alpine X-209WRA Restyle stereo
- 12v Marine Oven
- Ryobi battery charger
- Samsung tablet charger
- Warn VR-12S winch
- Rigid Industries 10” LED light bar
- Rigid Industries SAE fog light set
- Rigid Industries Radiance Pod lights in rear bumper
- Rigid Industries Chase
- Superchips Trail Dash 2 programmer
Obviously I wasn’t running all of those items simultaneously, but my load on the factory charging system was a lot higher than before I started upgrading things. The alternator in my 2008 JKU Rubicon was replaced at around 100k miles after the bearing failed while I was driving home on the highway. By the time I made it back to my driveway, the wiring on top had started to melt, as the alternator was above 750 degrees due to the increased friction.
For that issue, I went with a Mopar replacement due to availability, as I needed it back quickly.
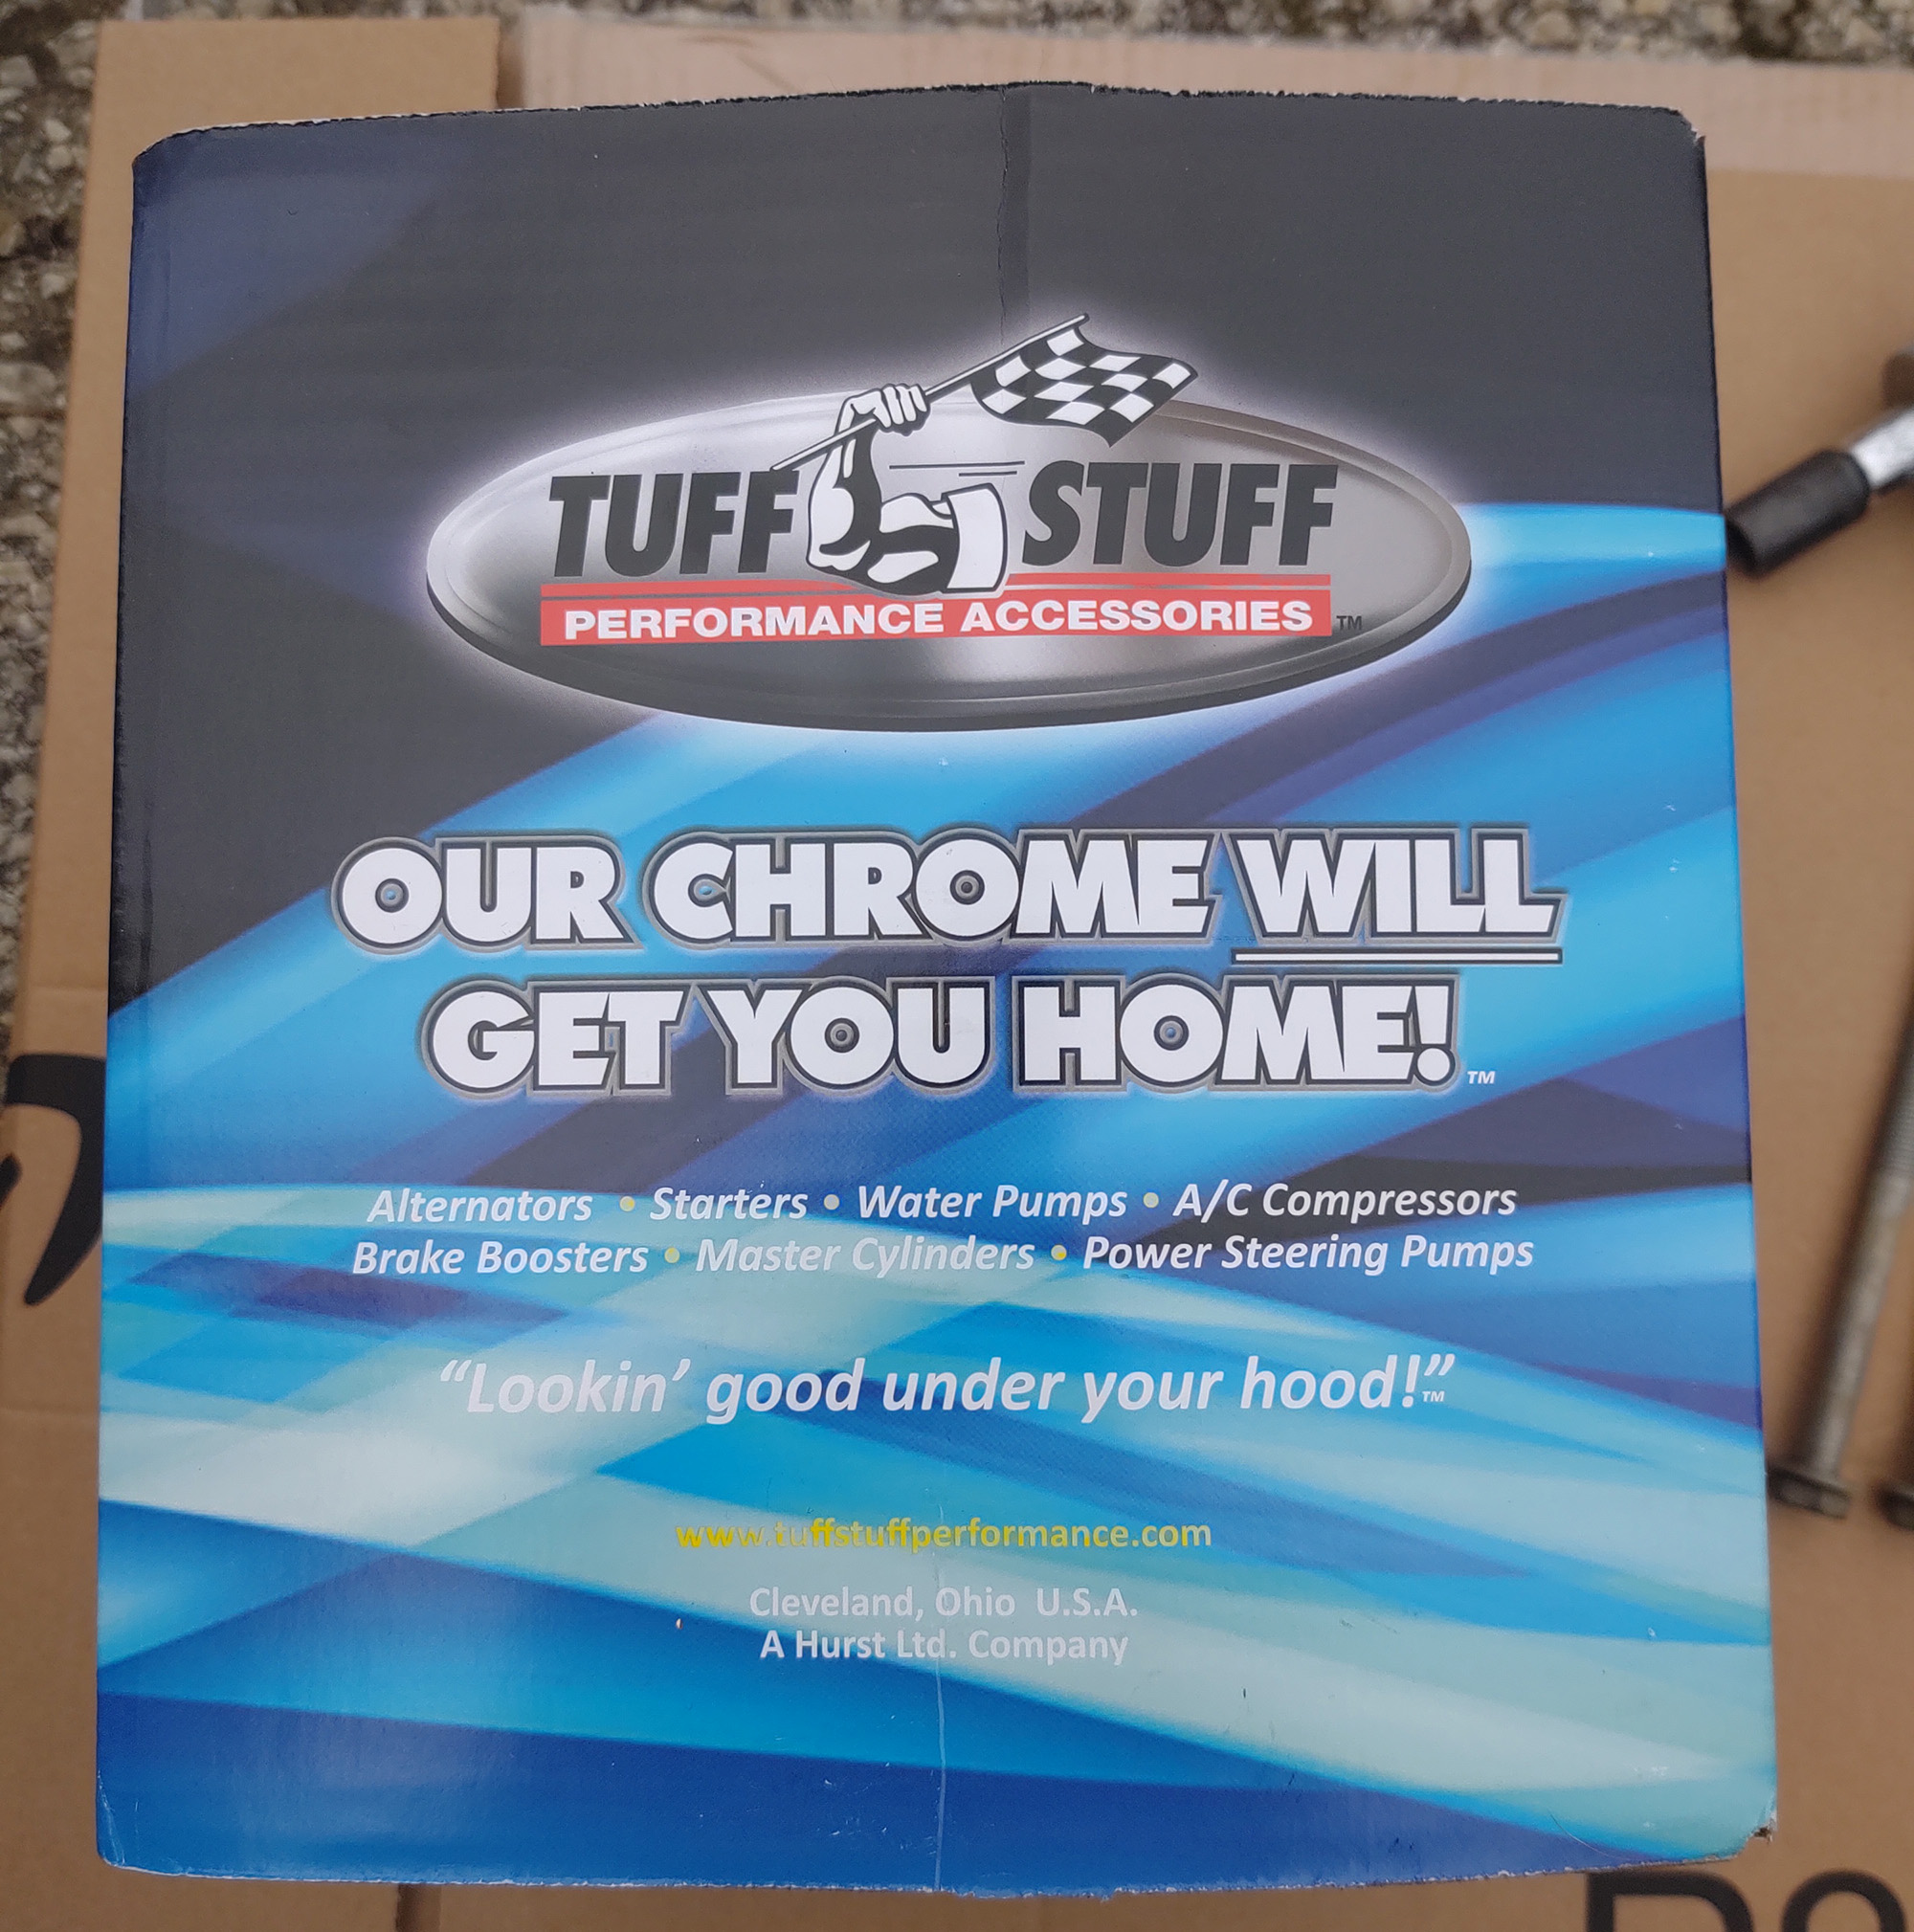
This time around, I was sold on the need for an upgrade and since my OEM unit was still functional, I decided on ordering a Tuff Stuff Tuff Mudder performance alternator. This product has a serious edge over the OEM version in amperage, from 160 amp rating of the factory unit to either 175 or 250 amps.
The biggest advantage for my needs, though, was how much amperage the 250 amp version cranked out at low RPM—210 amps at idle, and a steady increase as the throttle goes up.
I also liked that it wasn’t a remanufactured unit. The Tuff Mudder is 100% hand assembled in Cleveland, Ohio, with new components. They are available for 175 and 250 amp varieties, and feature an exclusive Tuff Stuff FOREVER powder coat finish that is guaranteed to never corrode, oxidize or tarnish. They come in either a wrinkle black or army green color.


The additional jump in current is due to the product’s huge copper windings, 12 giant diodes and hairpin style stator. This operates in six phases, using square wire. Is that a bit overbuilt? Maybe, but they didn’t stop there. Tough Stuff added twin internal cooling fans to keep temperatures lower, premium quality ball bearings and a gloss black pulley.
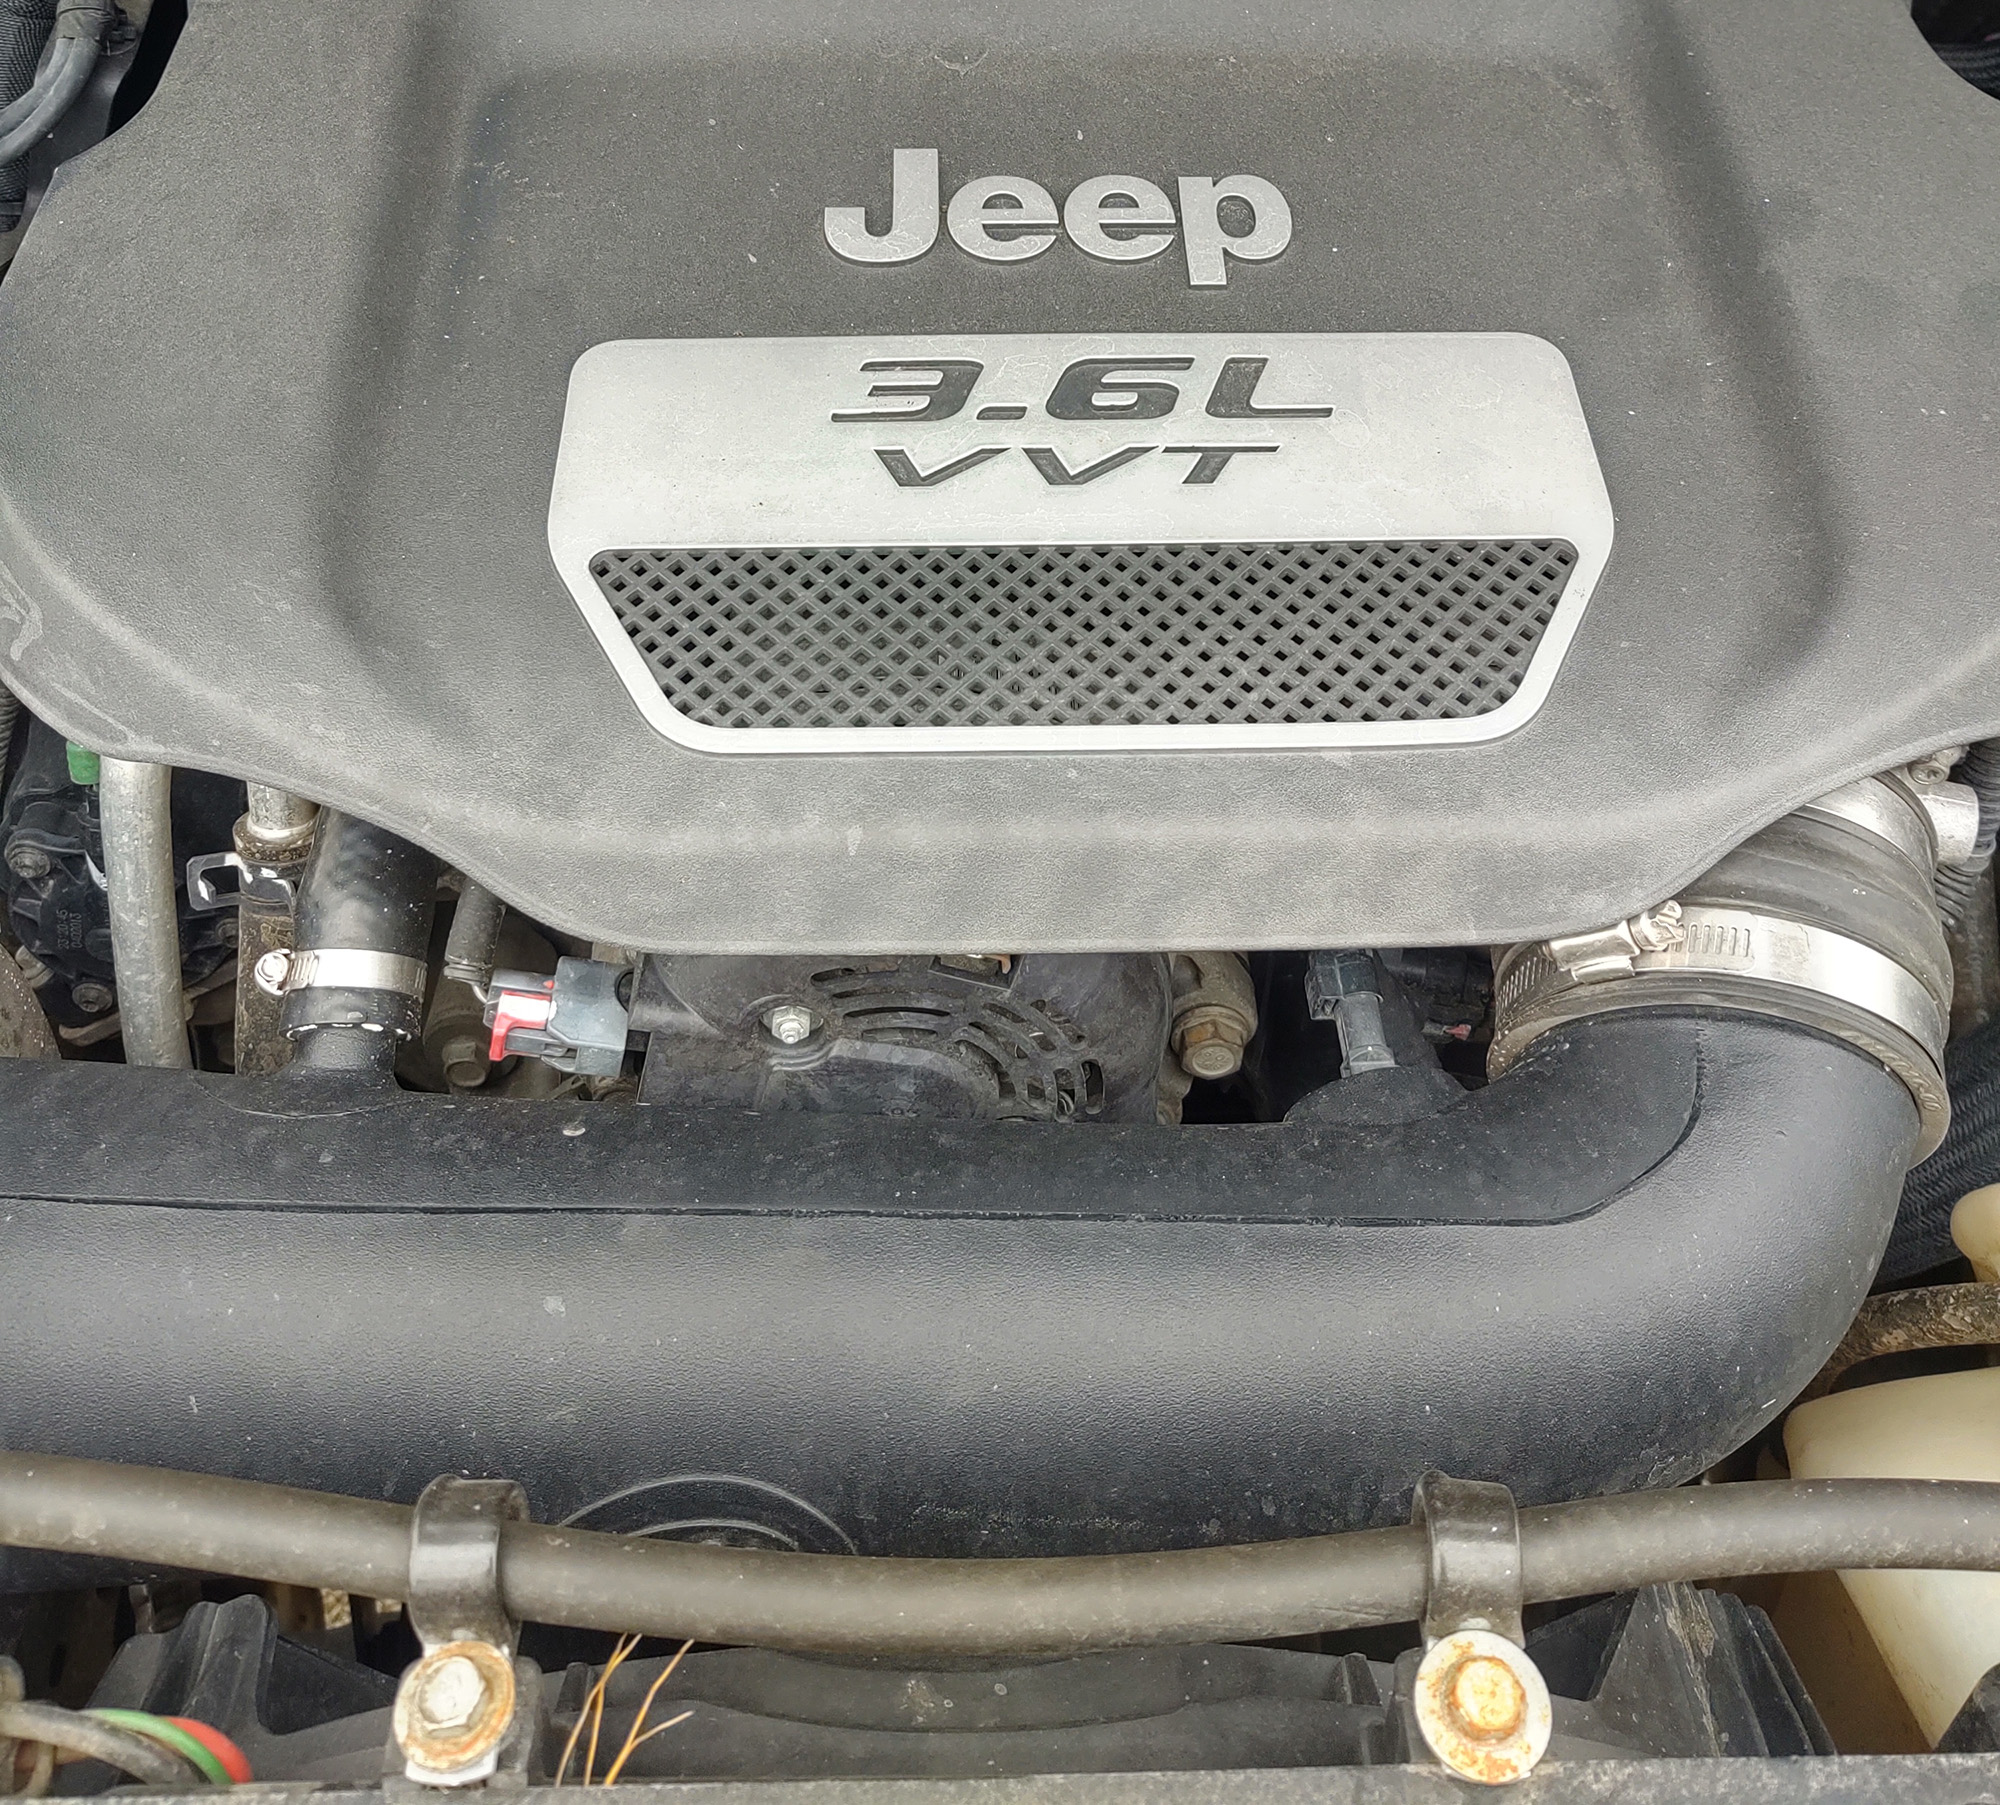
Since this upgrade uses all the factory mounting hardware and wiring, installation is a fairly simple procedure. With just a few tools you can have the alternator fully upgraded to the Tuff Mudder version in less than an hour—and the procedure is exactly the same as installing a replacement factory unit.
What you need:
- Ratchet with 15mm and 13mm sockets, and a 3” extension
- Air or electrical ratchet recommended but not required
- ½” drive breaker bar or long handled ½” socket wrench
- 13mm deep socket or wrench for cable nut
- Flat head screwdriver
If your serpentine belt looks cracked, now is a great time to replace it. Start by disconnecting the negative battery terminal (important!) and removing the engine cover by pulling upwards at the front to remove it from its anchors.
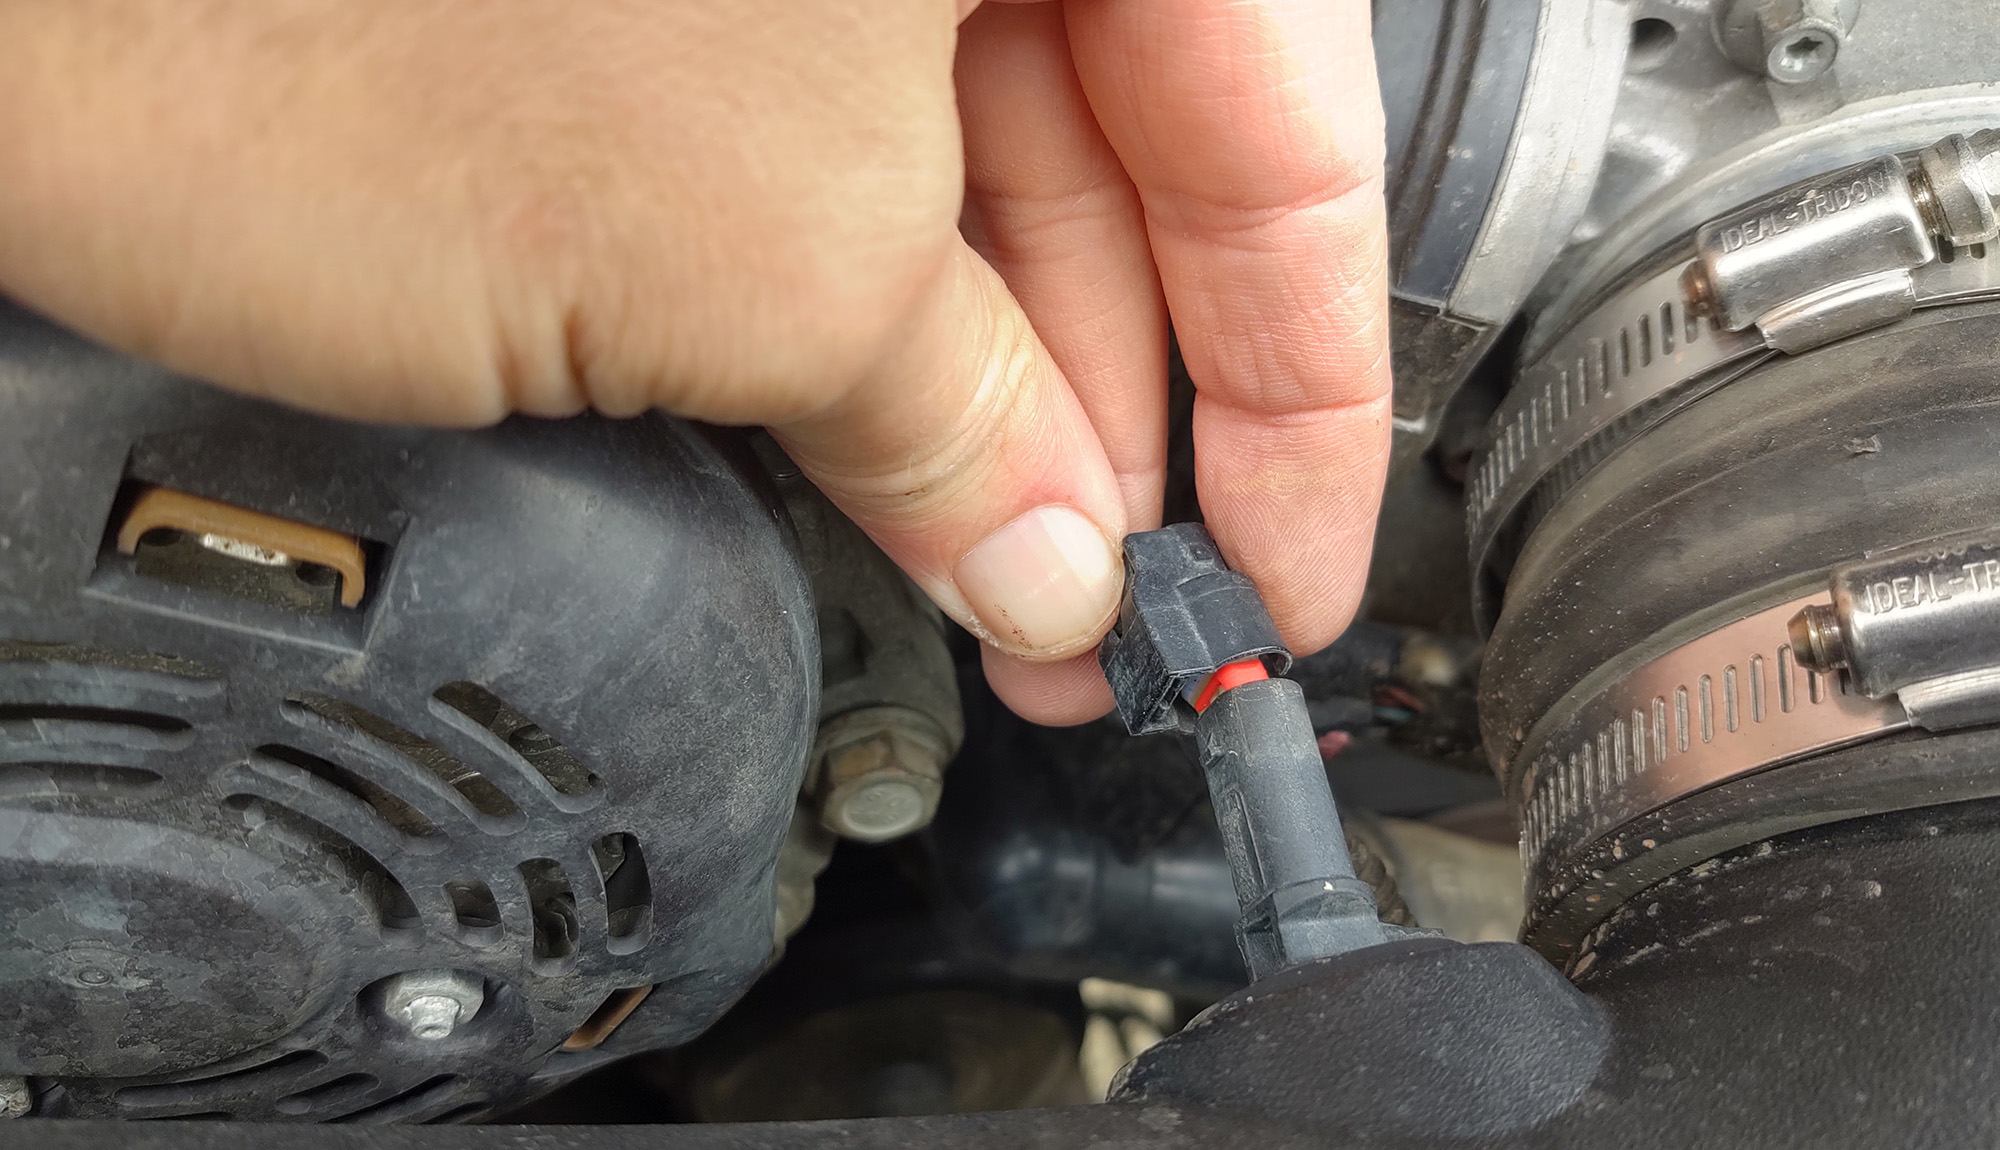
Next, remove the intake air temp sensor wiring from the intake tube—in my case, I have an S&B Filters JK Wrangler Cold Air Intake that I recently installed, and this alternator is 100% compatible.
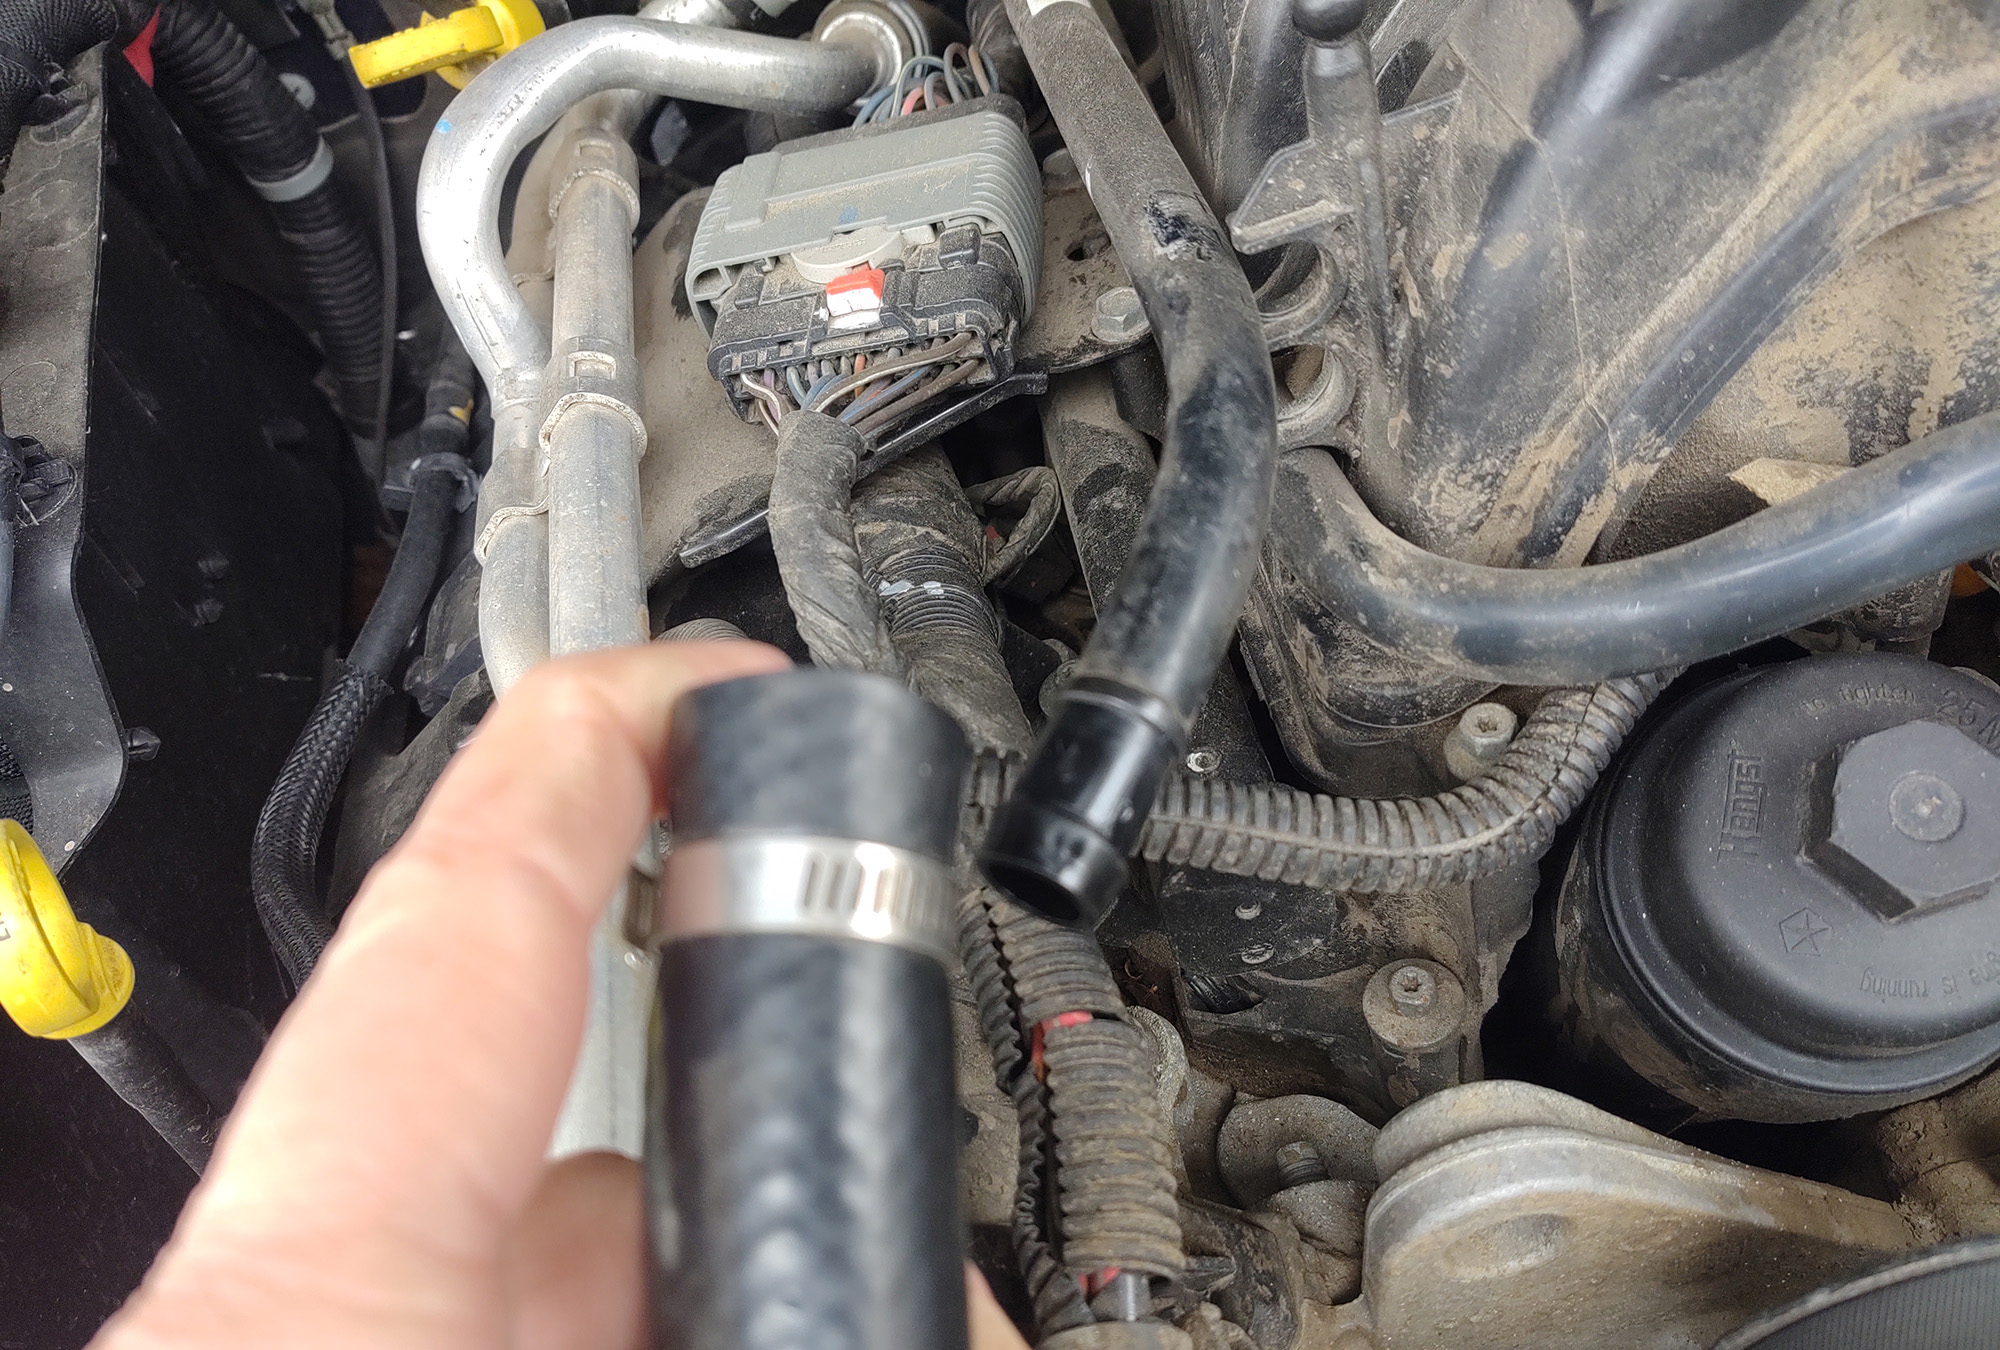
Loosen the flat head screw on the hose clamp for the hose going back towards the intake manifold, then remove the end attached to the intake tube.
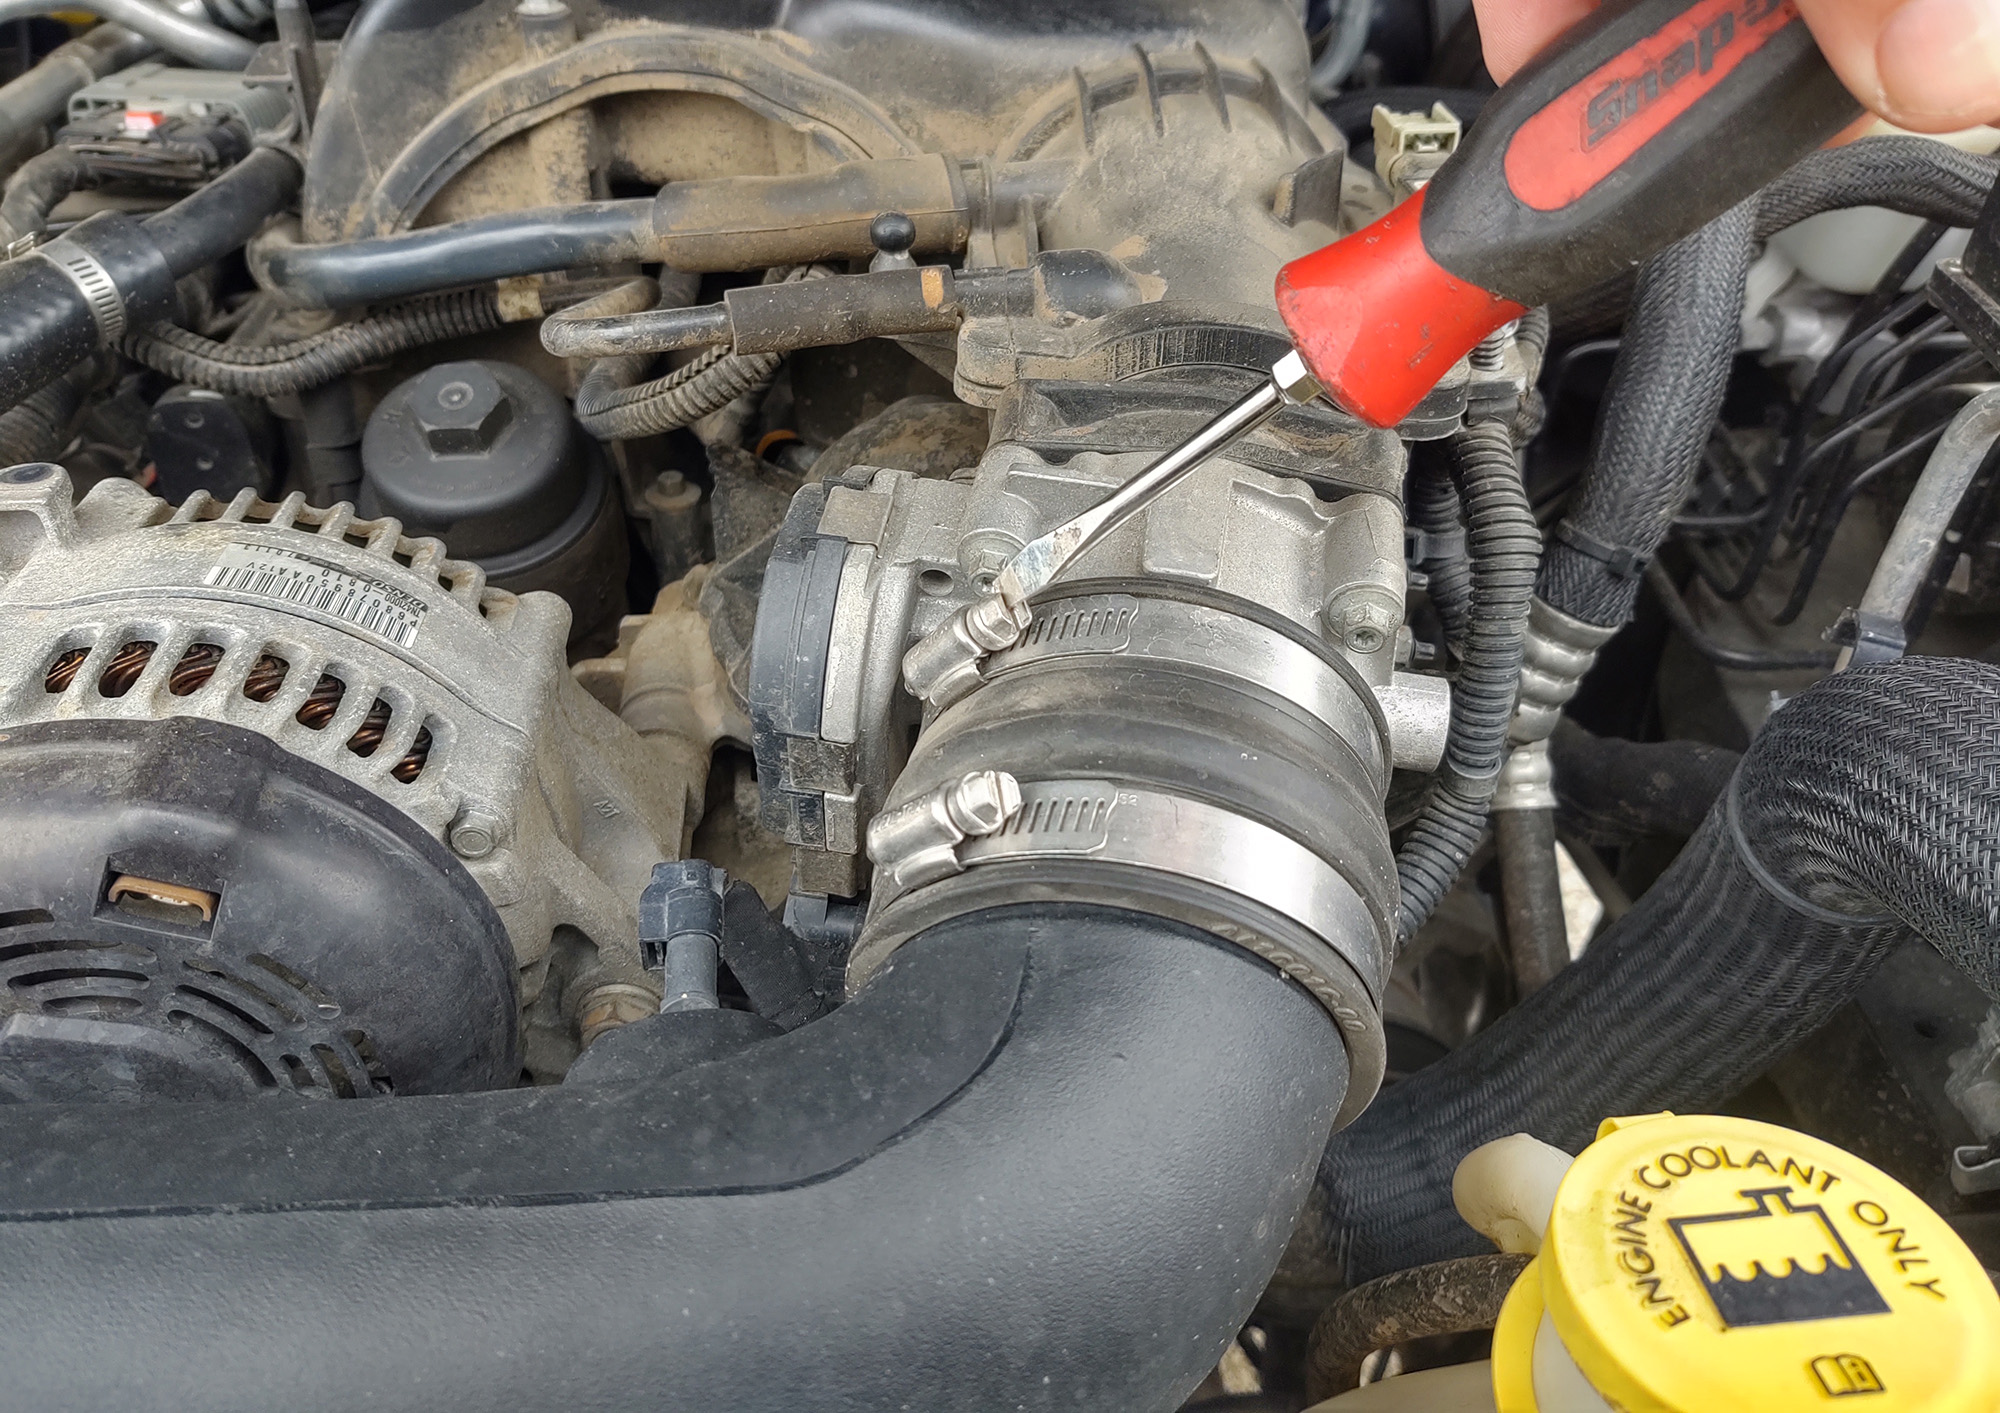
Loosen the intake boot clamp closest to the throttle body. If this were a factory intake system, you would use a 10mm socket to loosen the two bolts in the front radiator support, and unclip the upper air box from the lower (which can stay in the Jeep).
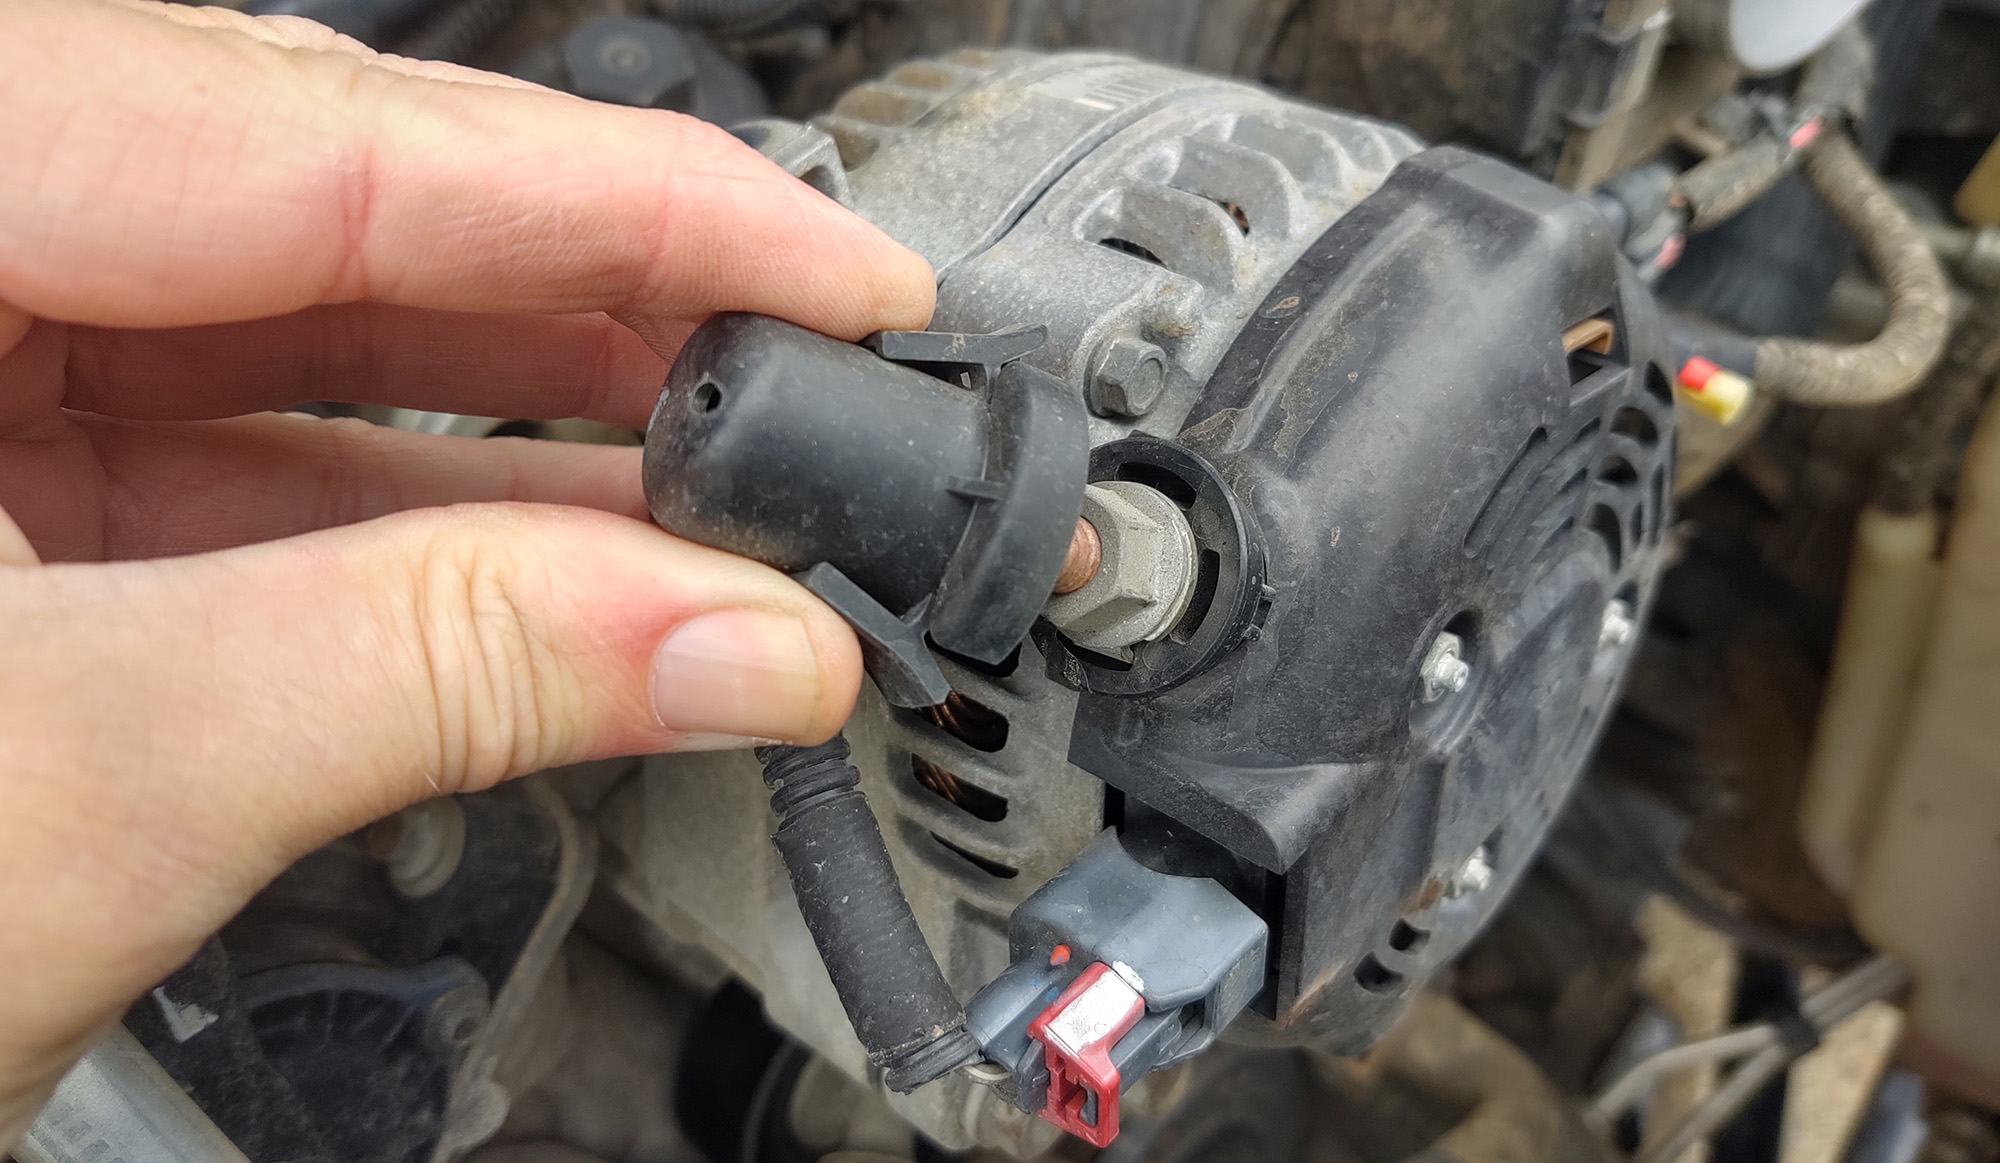
Pinch the charging cable nut cover and remove it, then use a 13mm wrench to remove the nut. A new one is provided with the Tuff Stuff alternator.
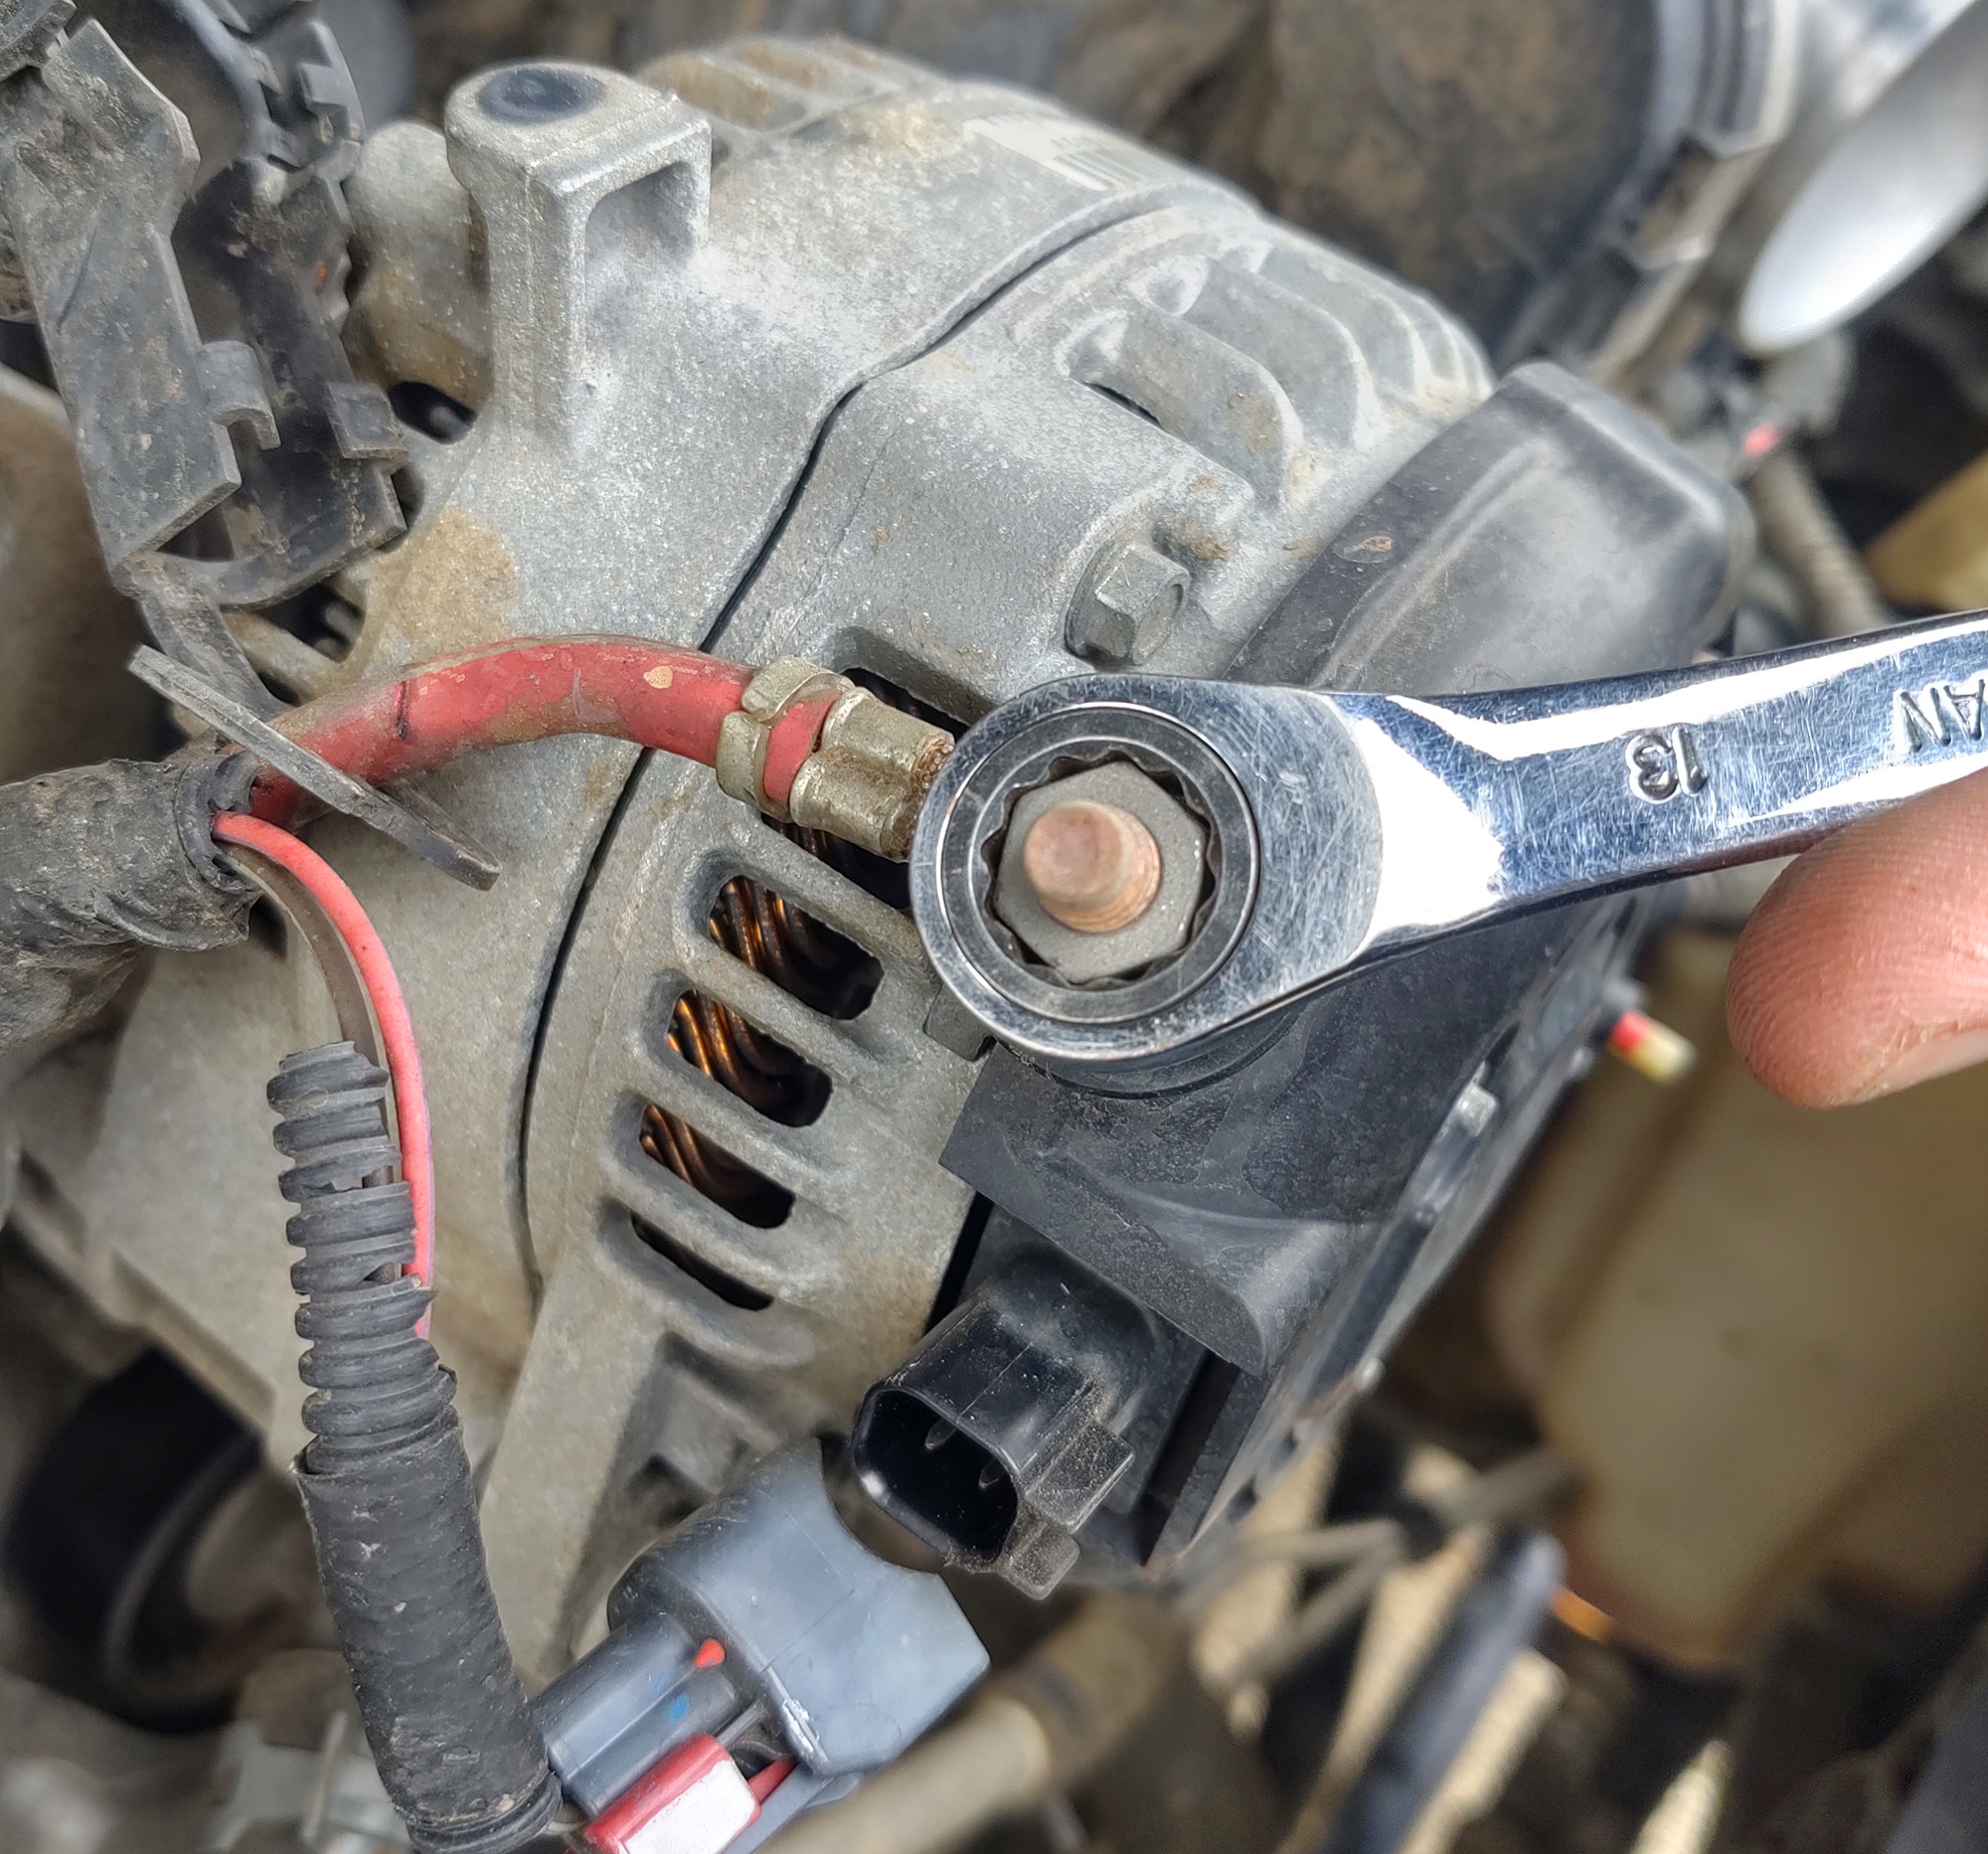
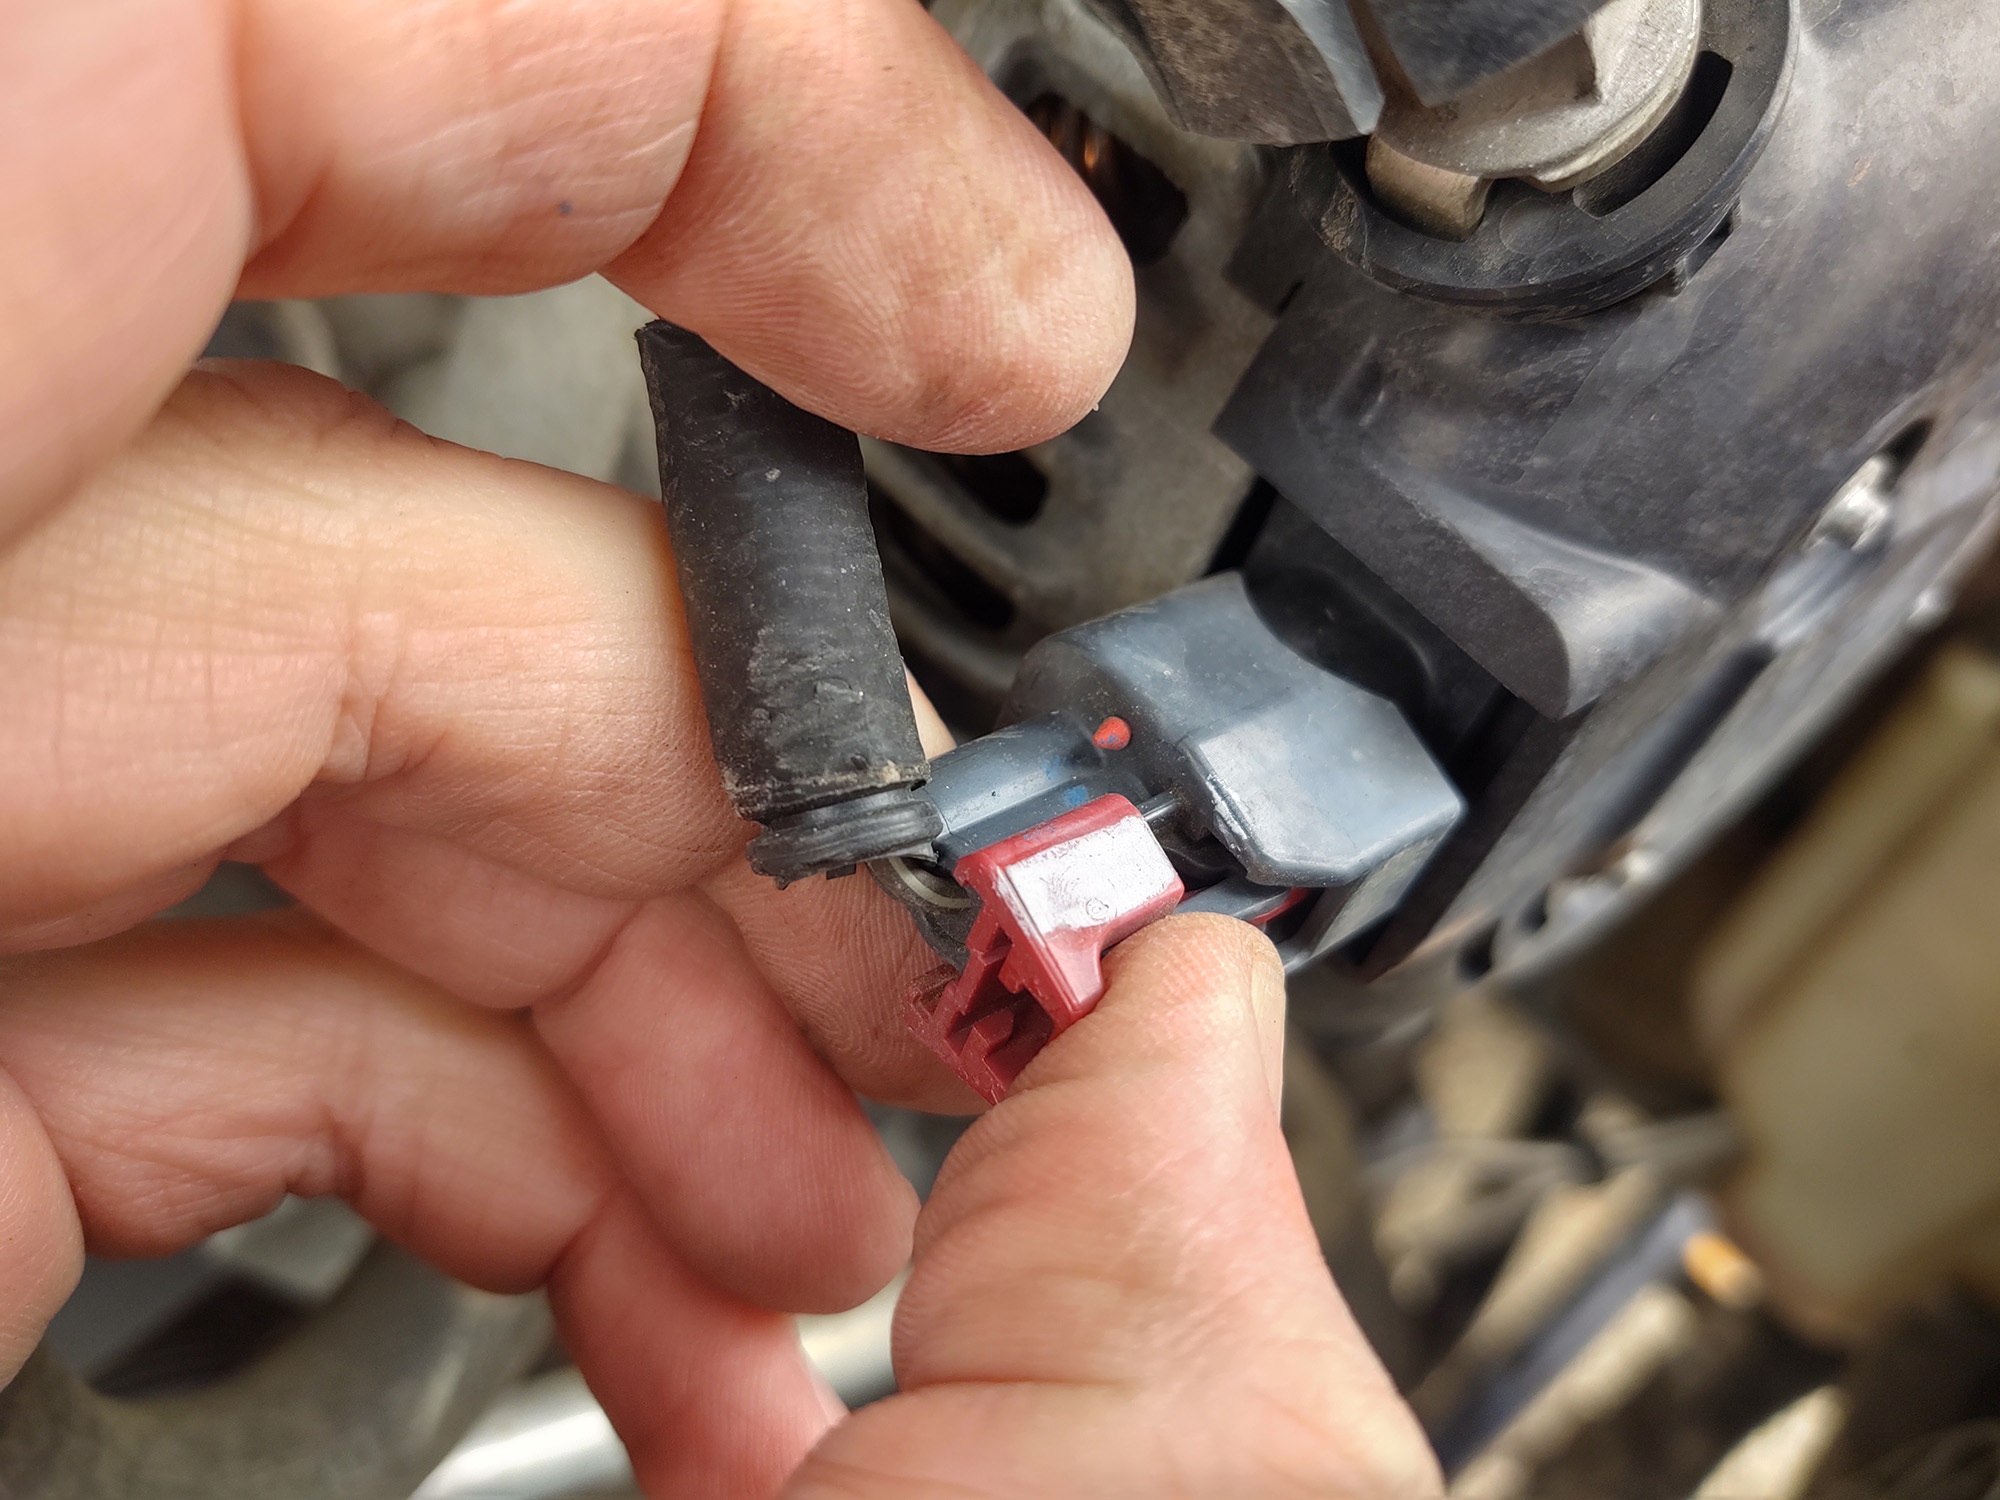
Pull the red clip away from the alternator and then pinch the wire plug to remove.
Next, locate the square hole on the tensioning arm for the serpentine belt. Using a 1/2 inch breaker bar (or a ¾ inch one with a reducer), compress the hydraulic dampener enough to remove the drive belt from around the alternator pulley.
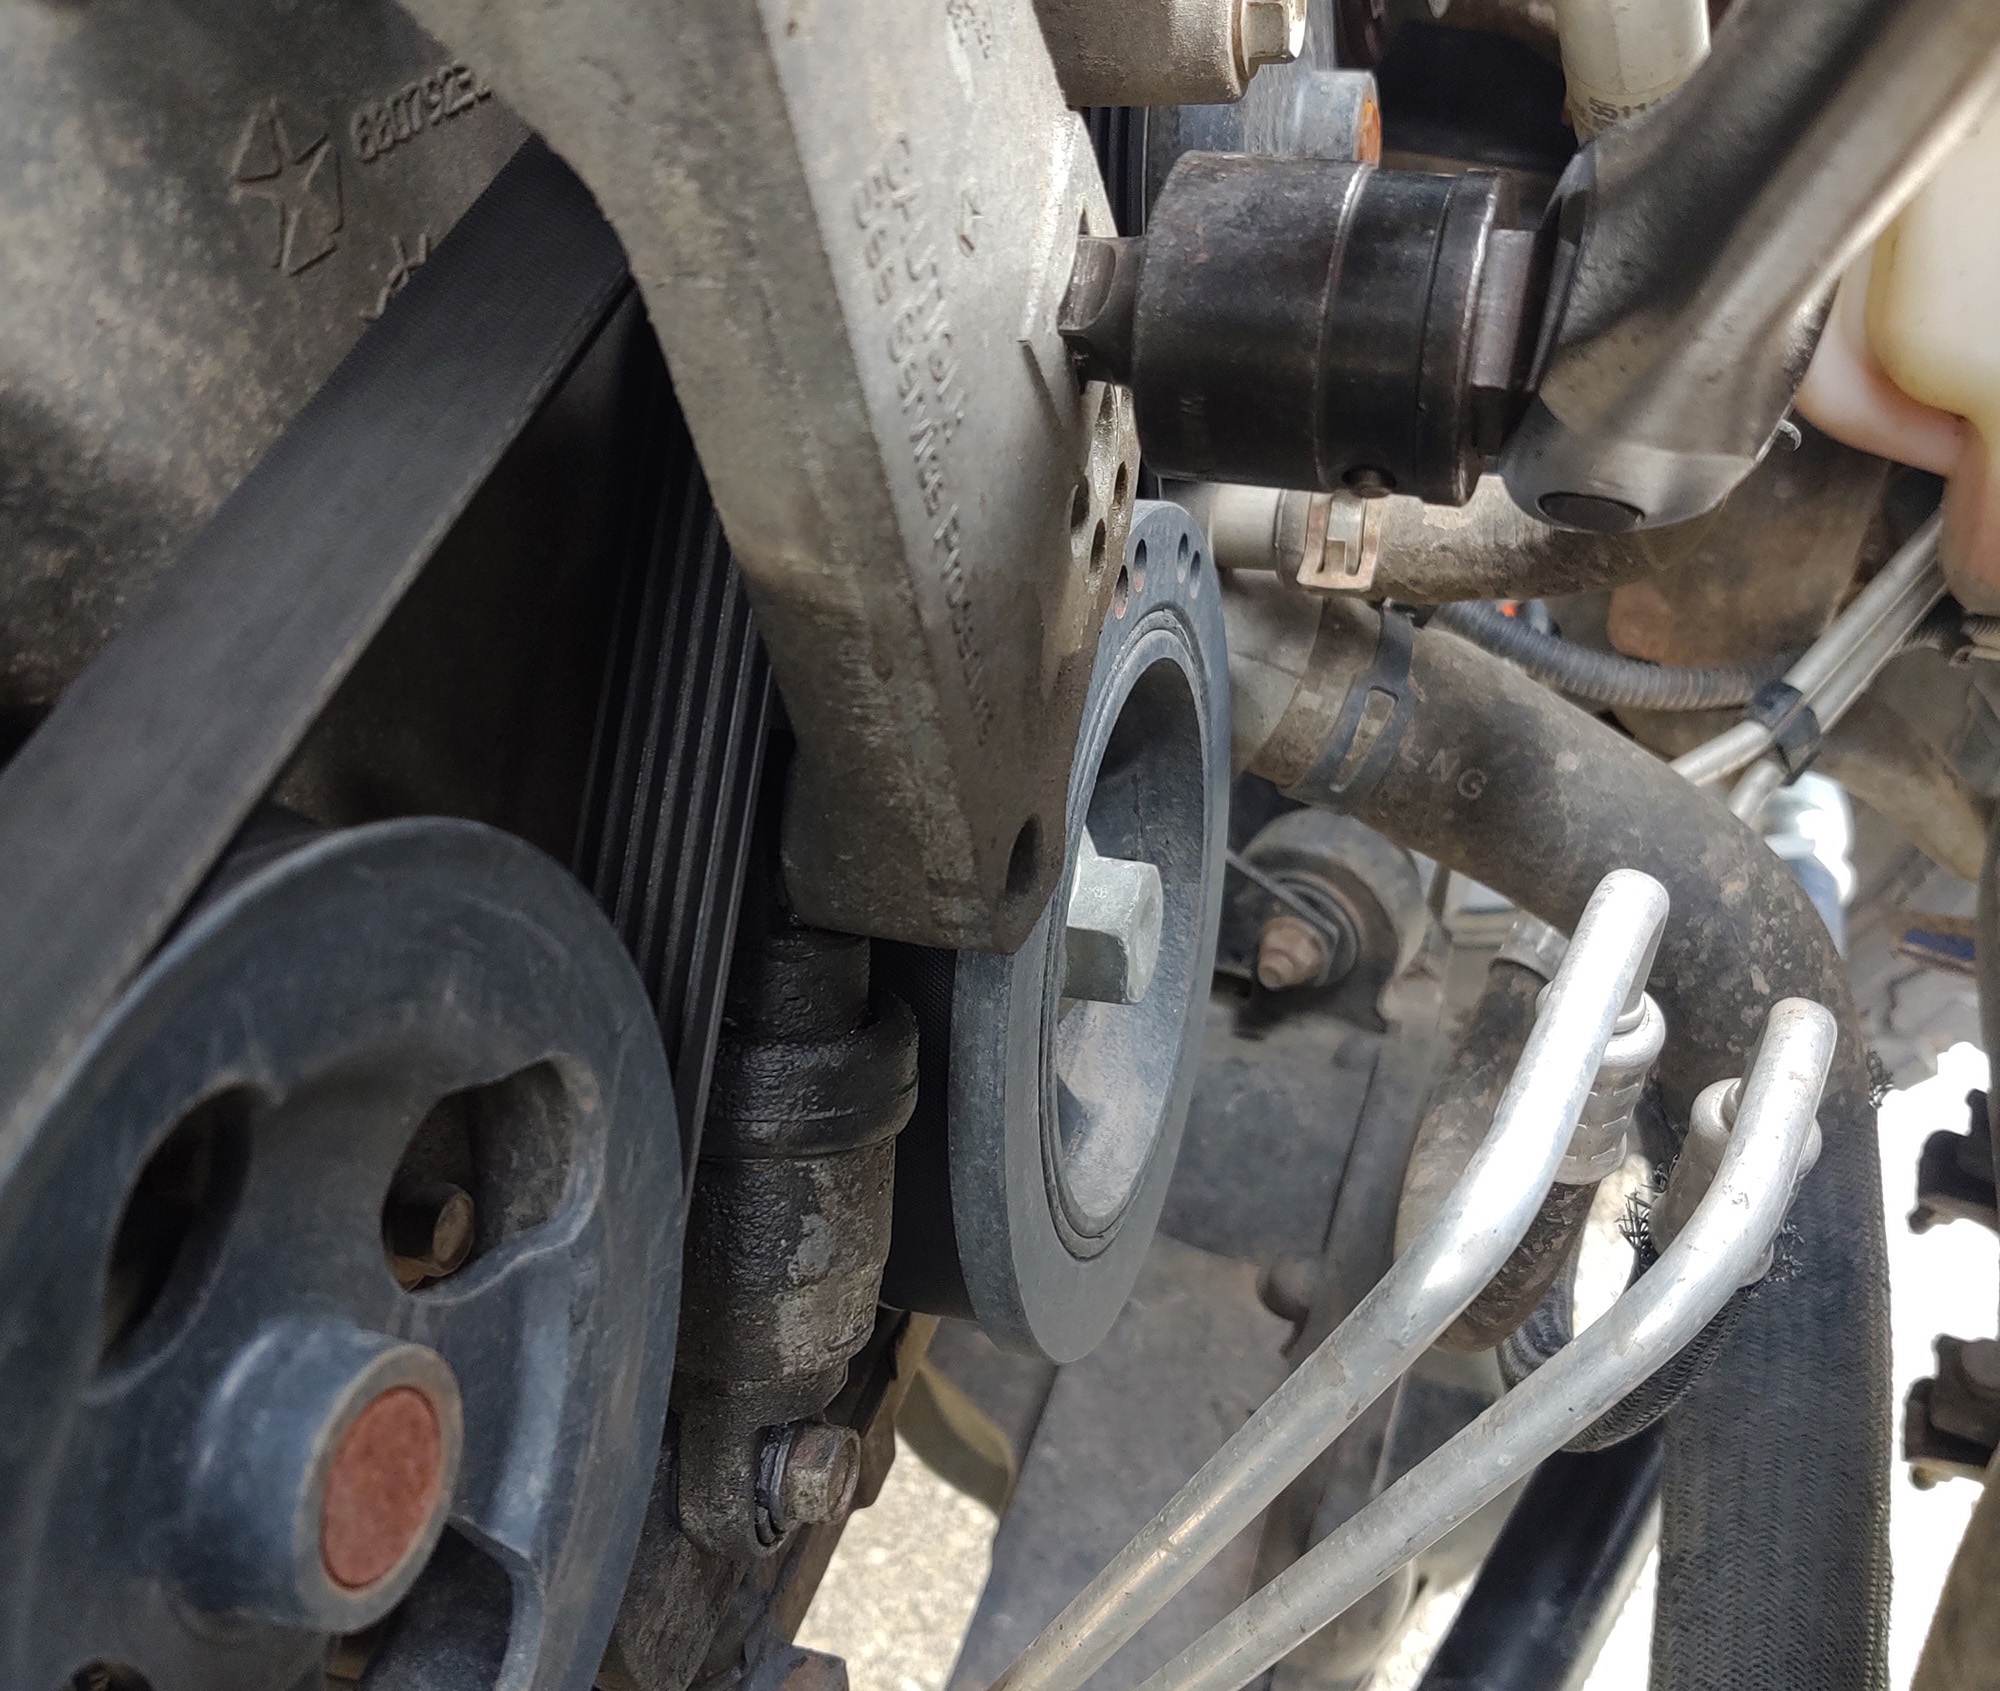
Do not remove it entirely, or you will have to spend extra time rerouting.
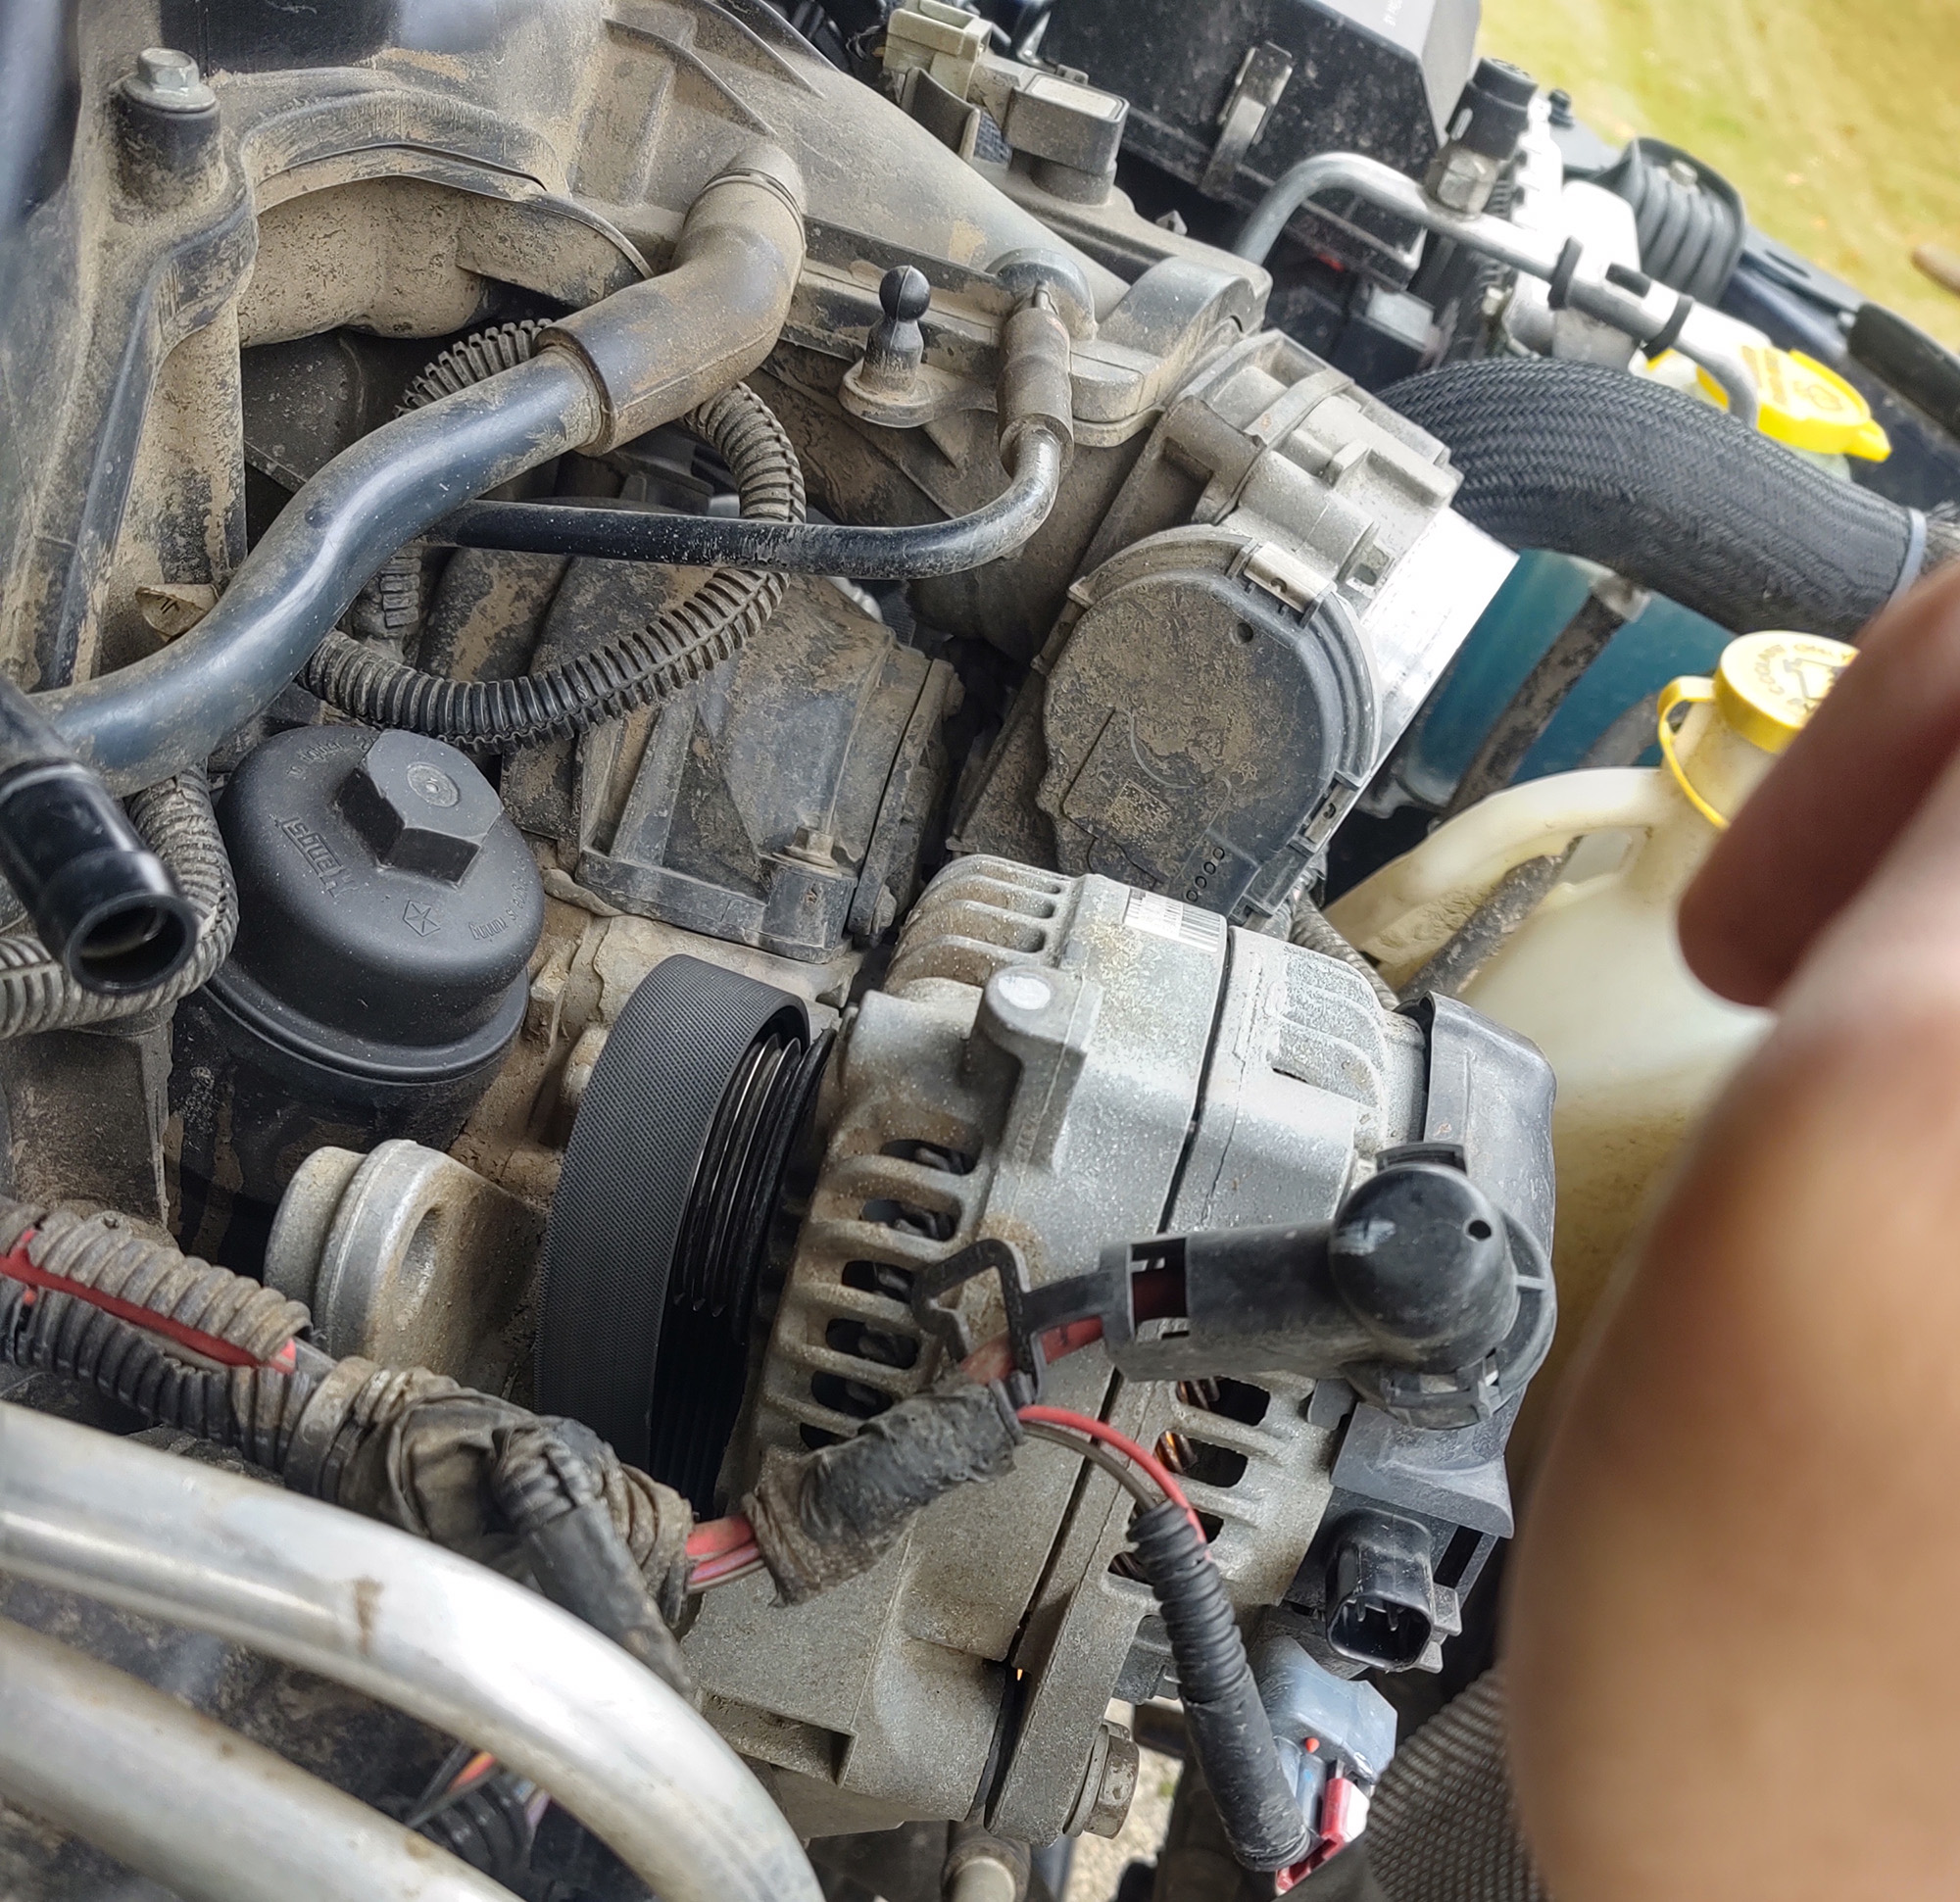
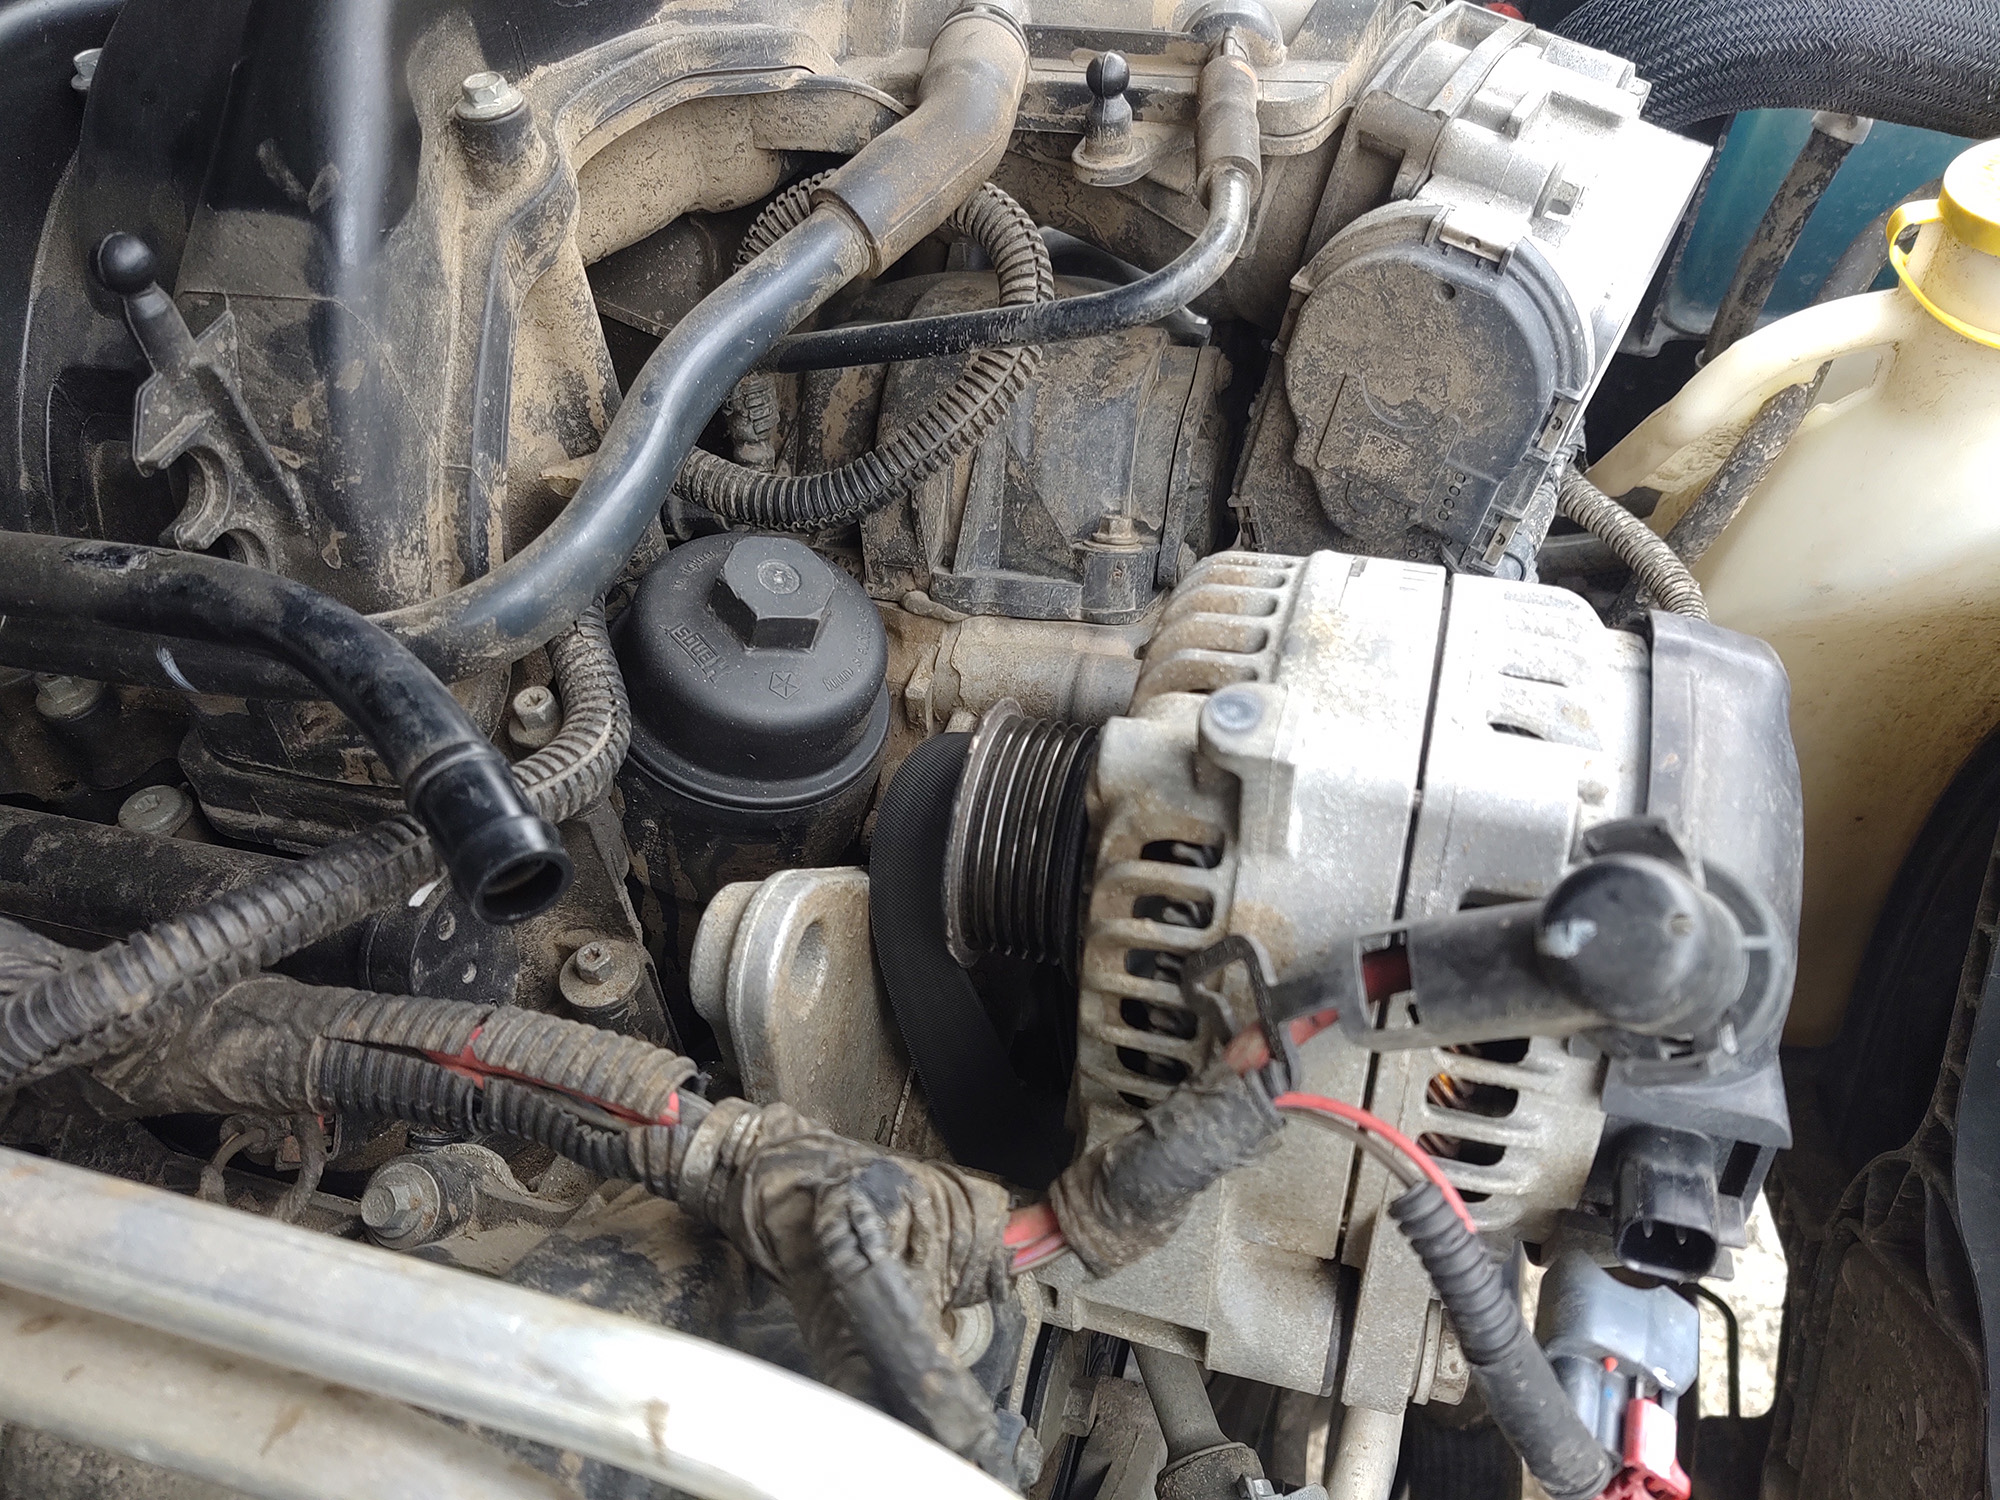
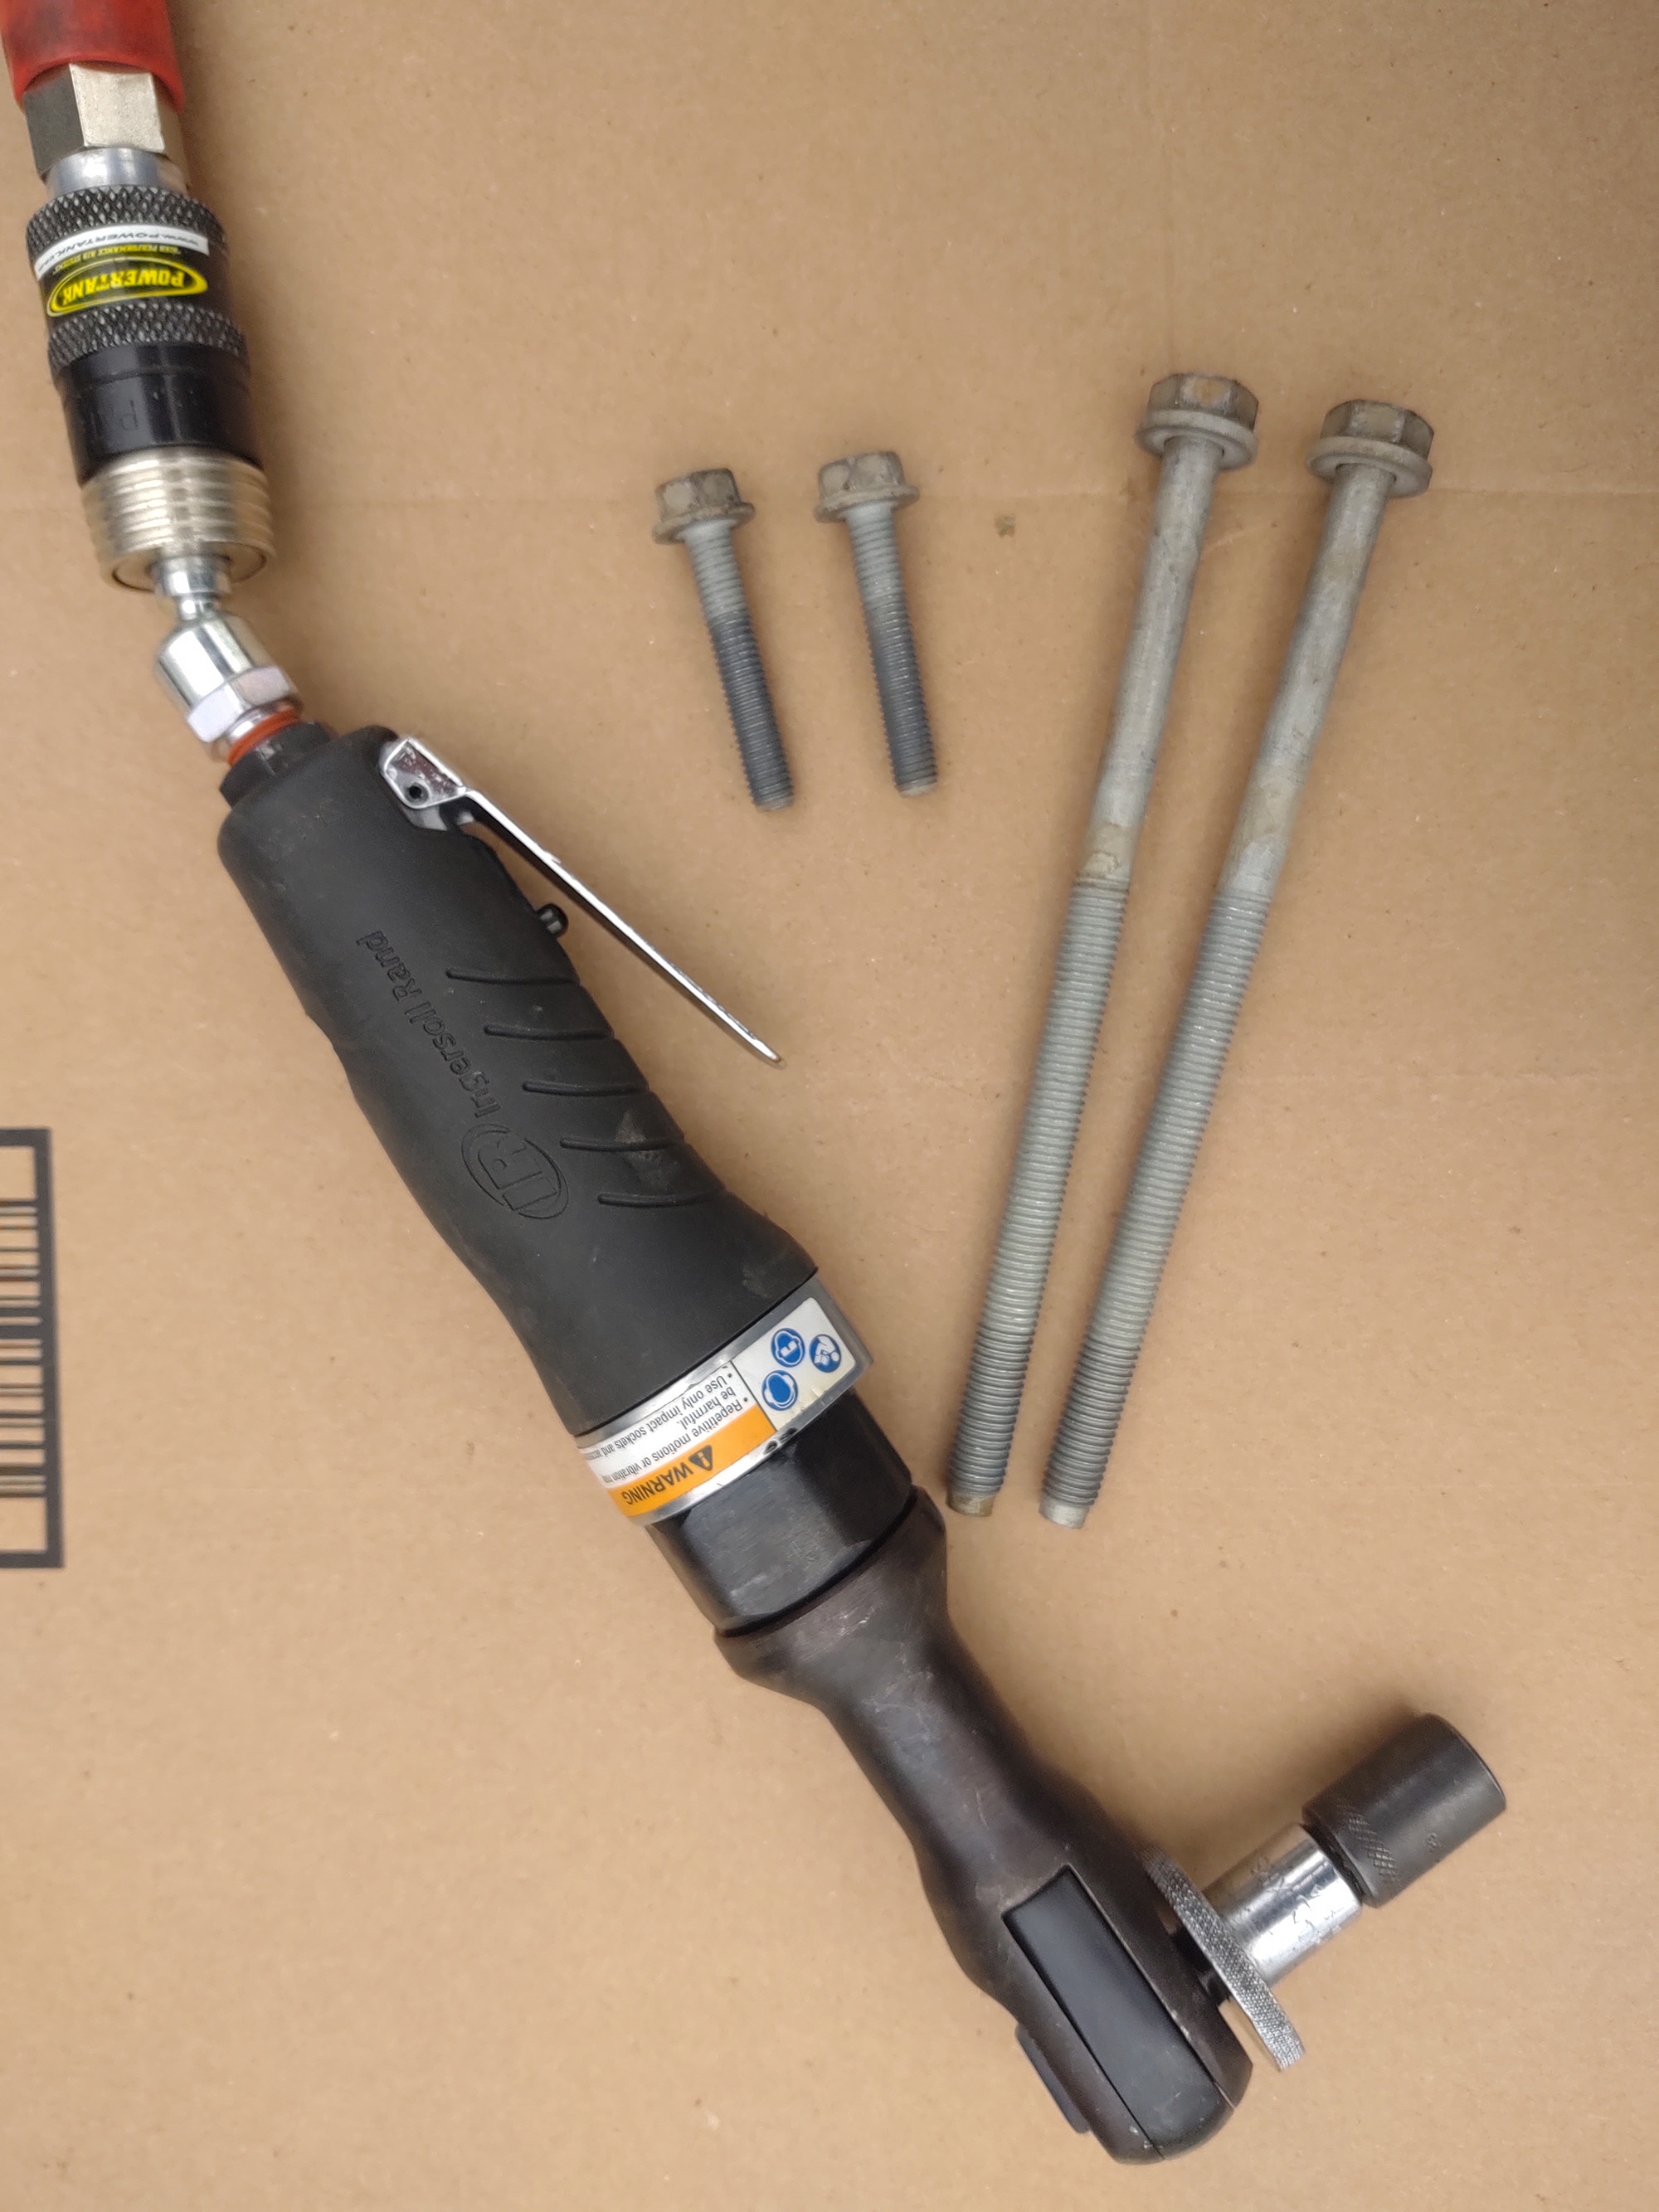
Using a 15mm socket, remove the two top mounting bolts. These bolts have a fine thread pitch and are quite long, so using an air ratchet to remove them will save you a lot of time.
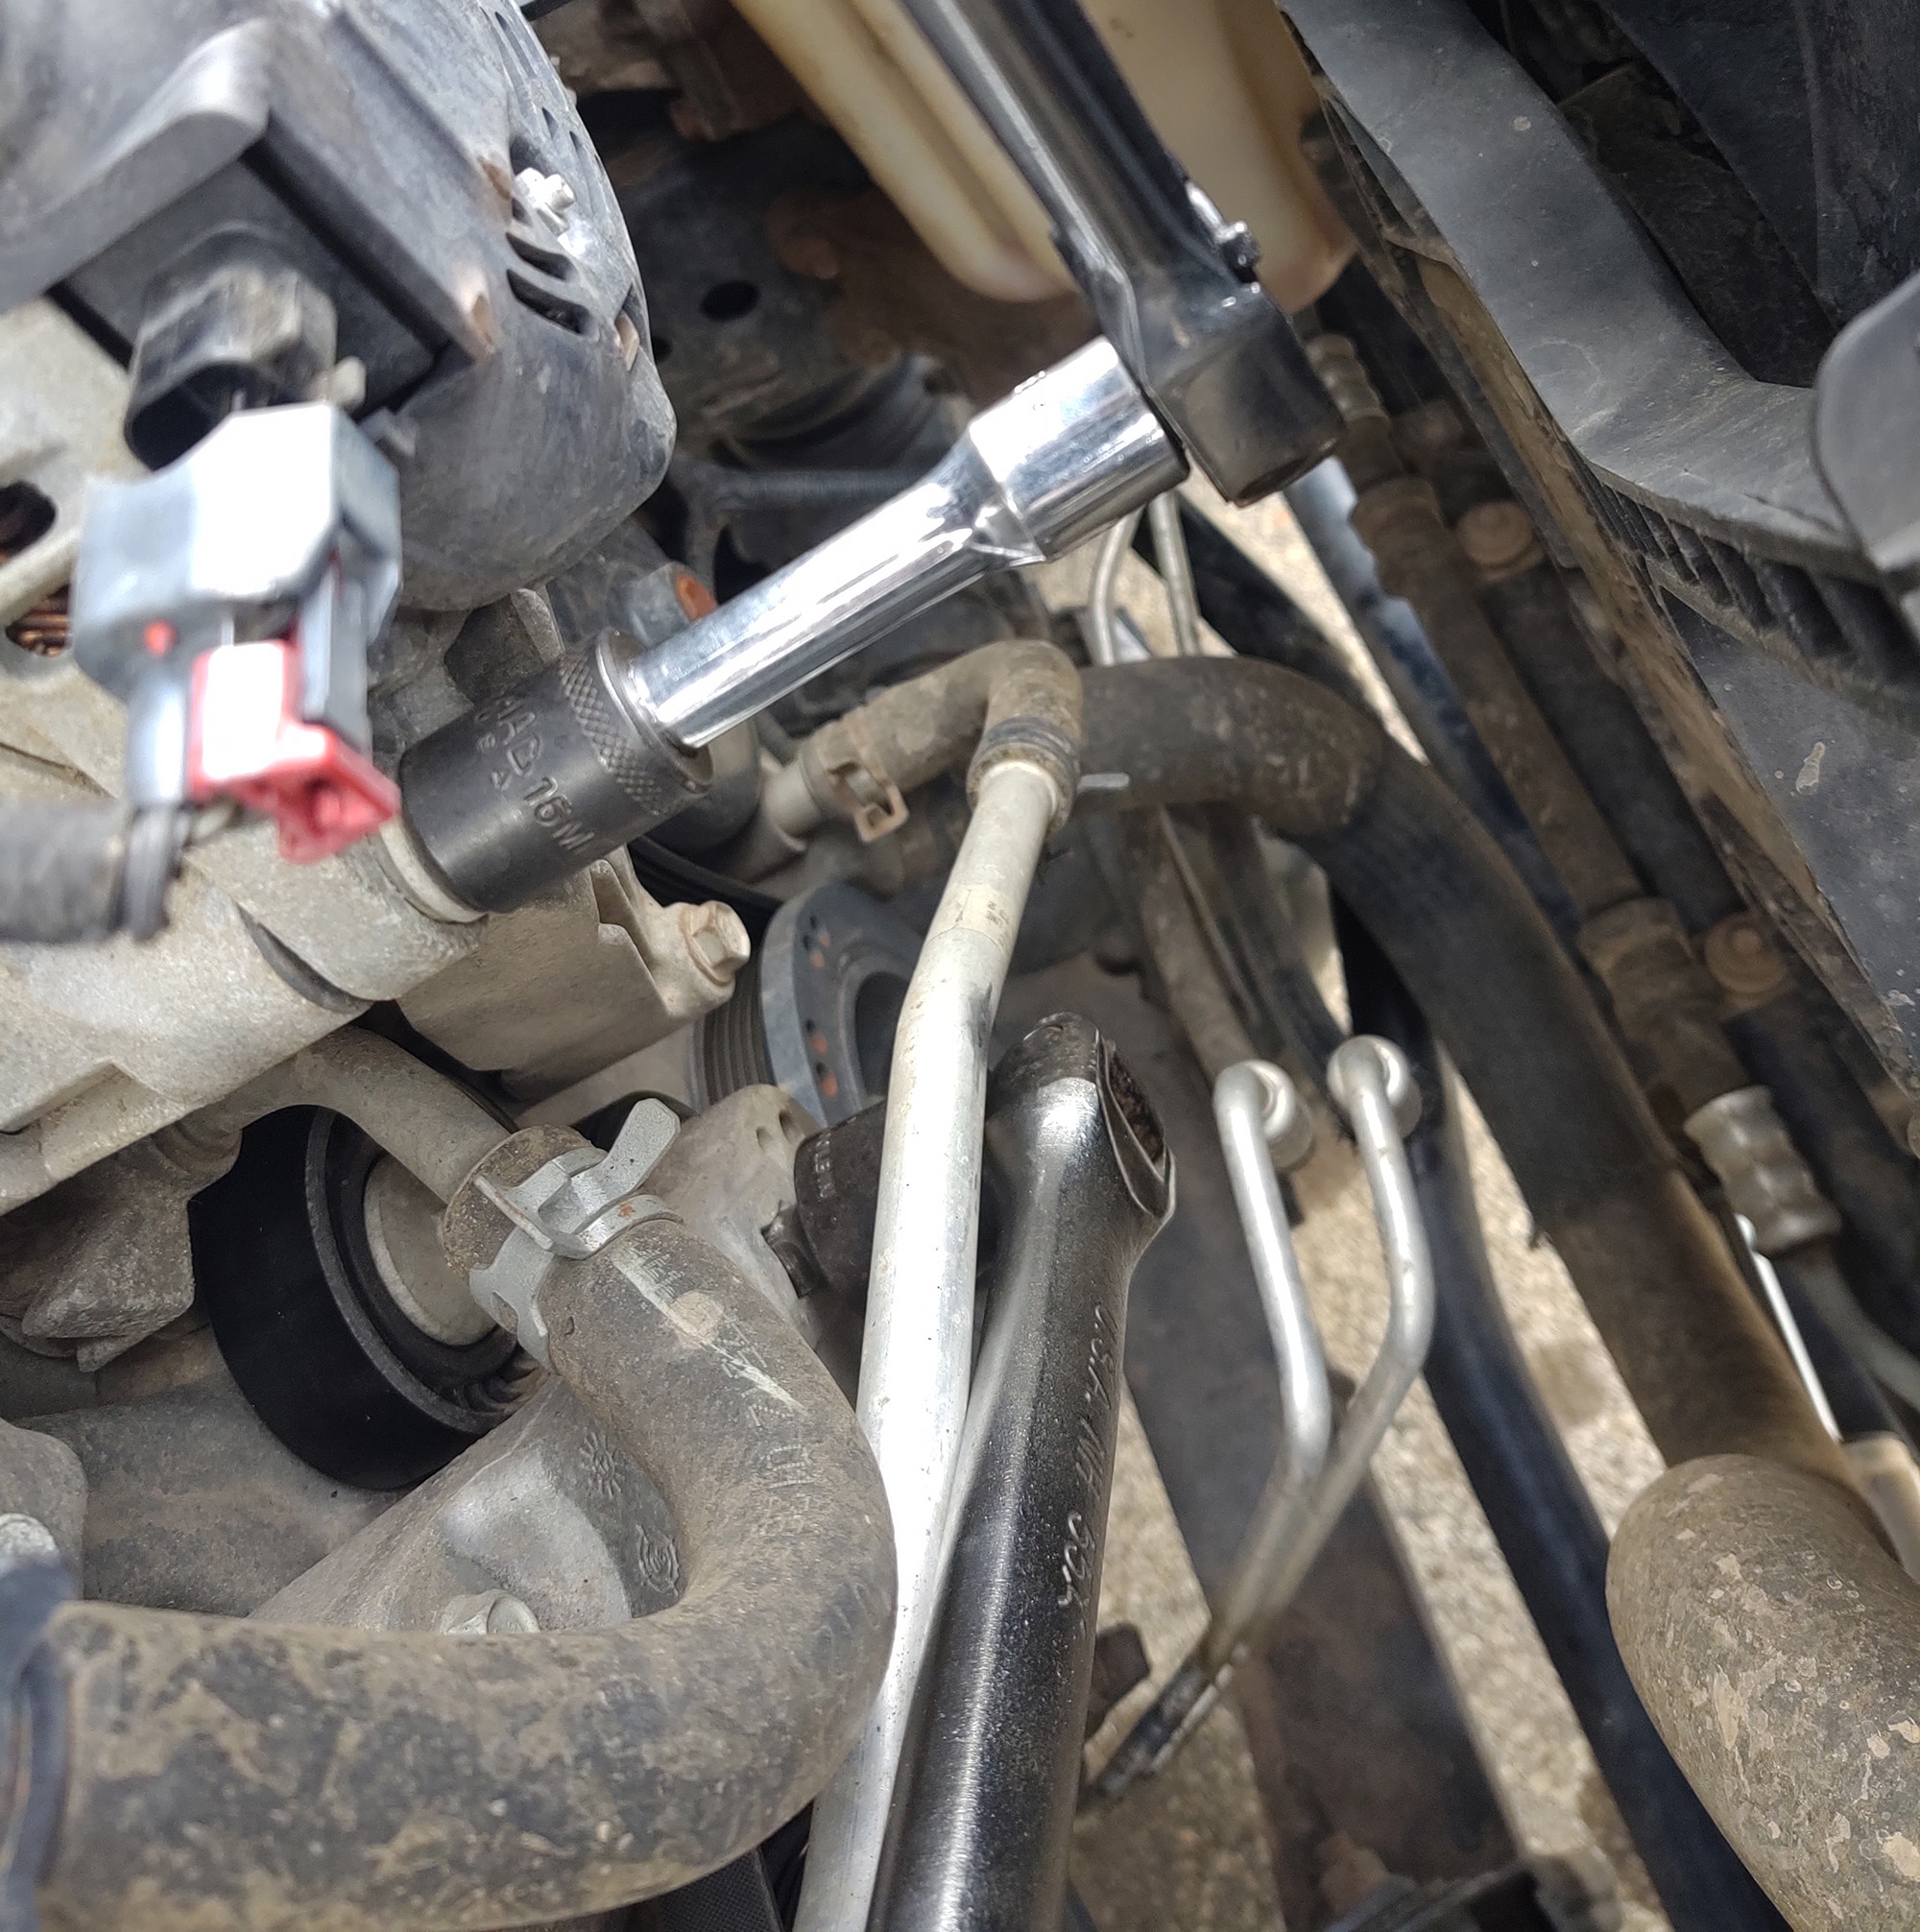
Next, use a 13 mm socket to remove the bottom bolts.
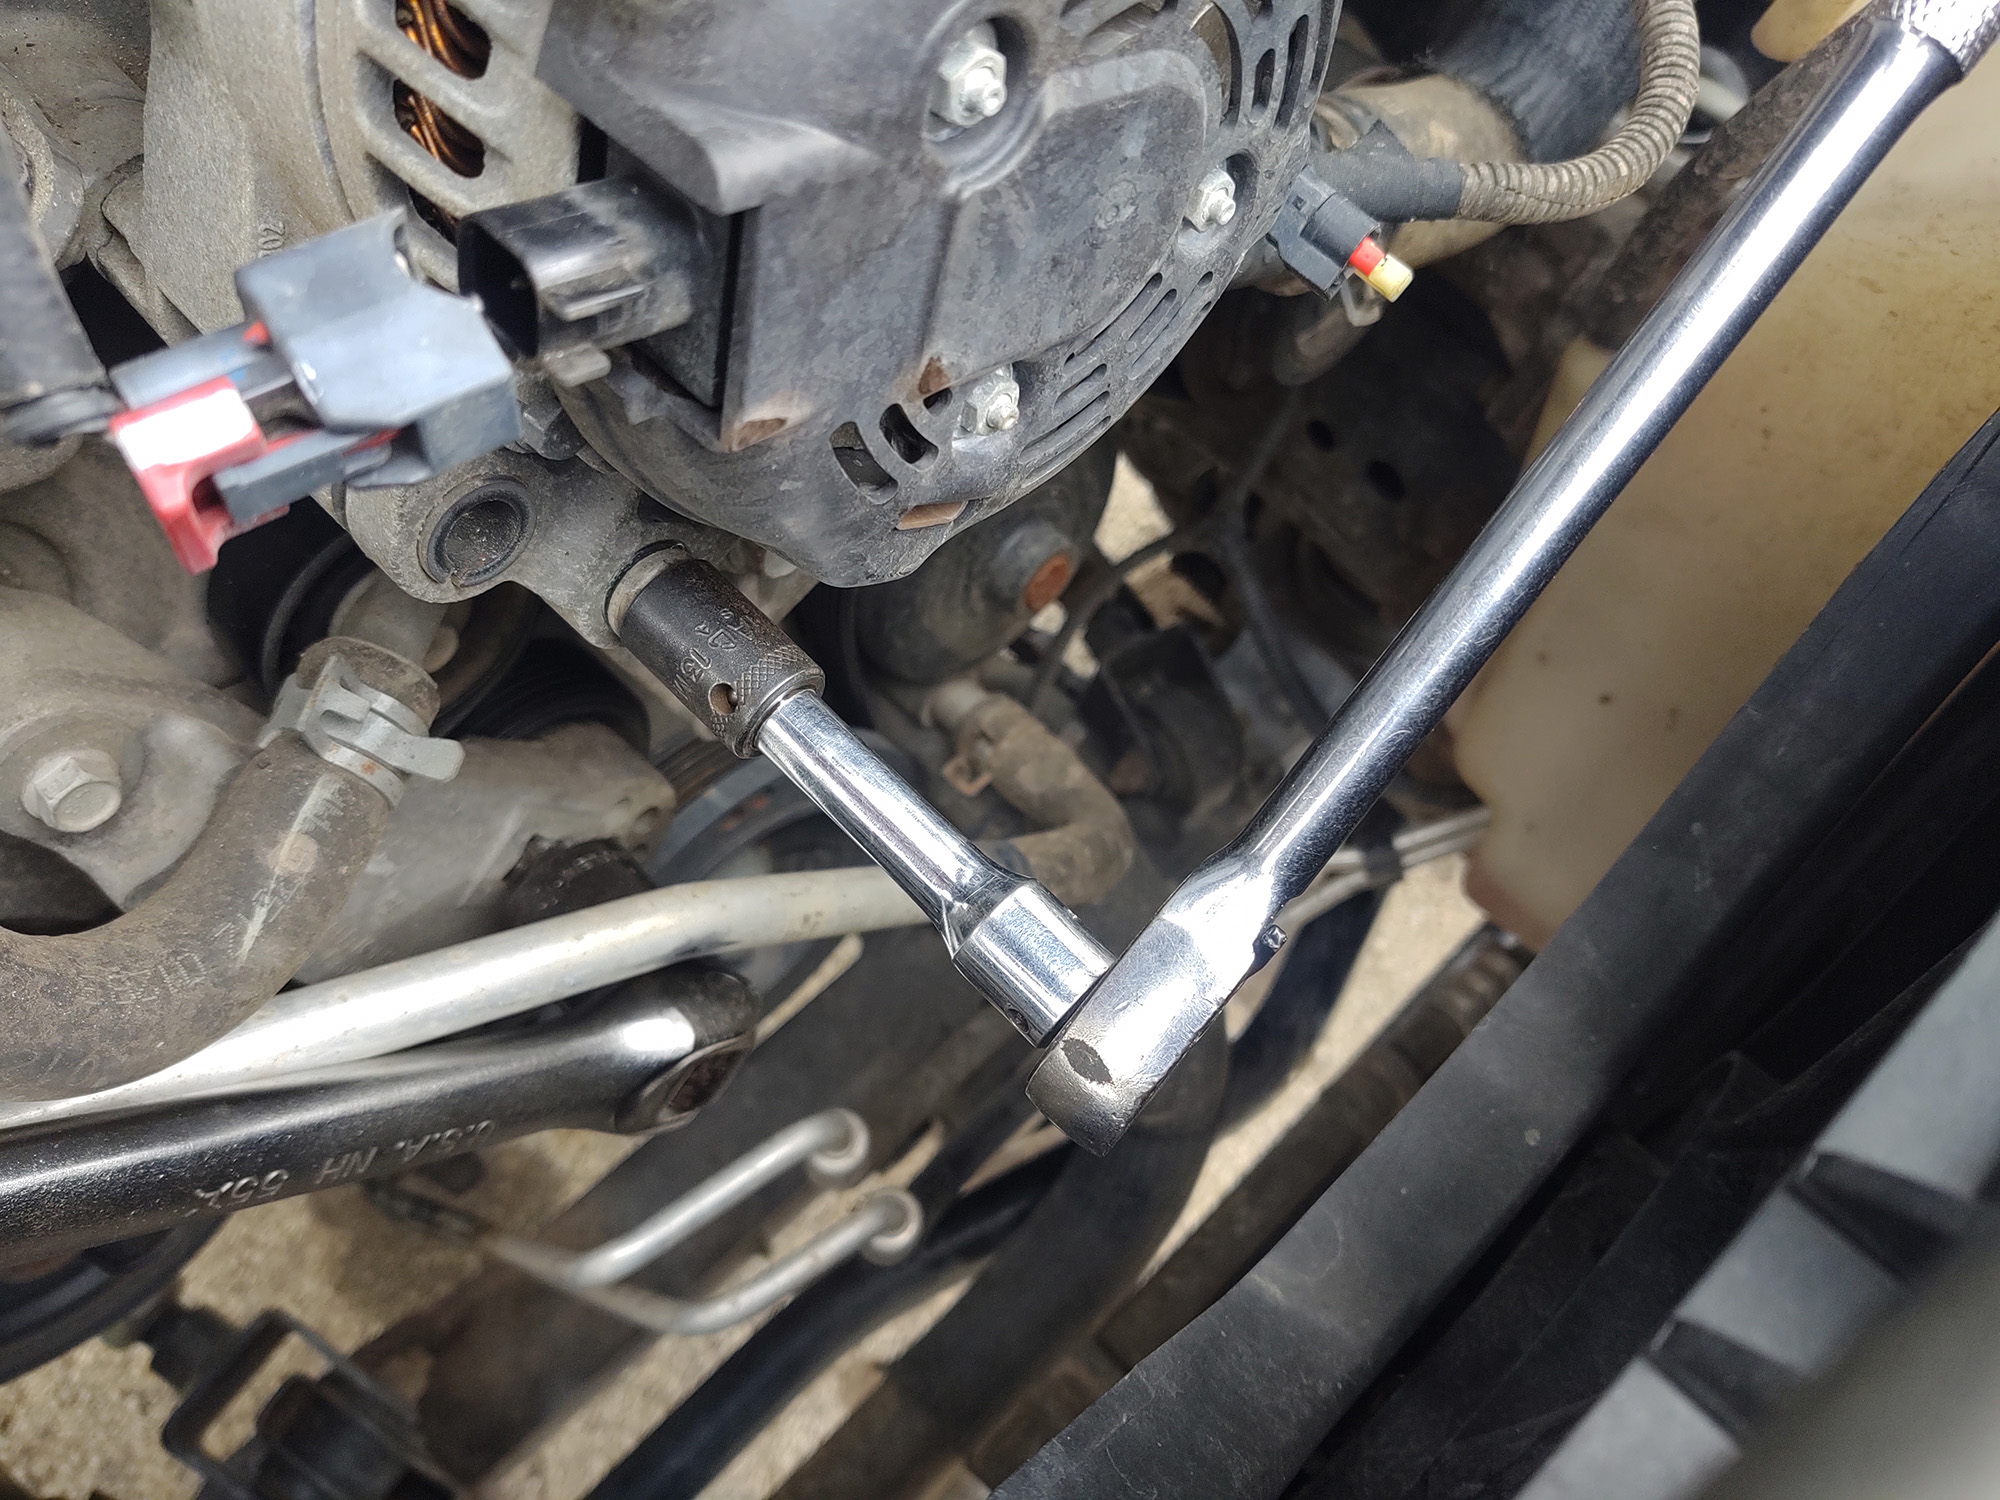
The factory alternator can now be removed.
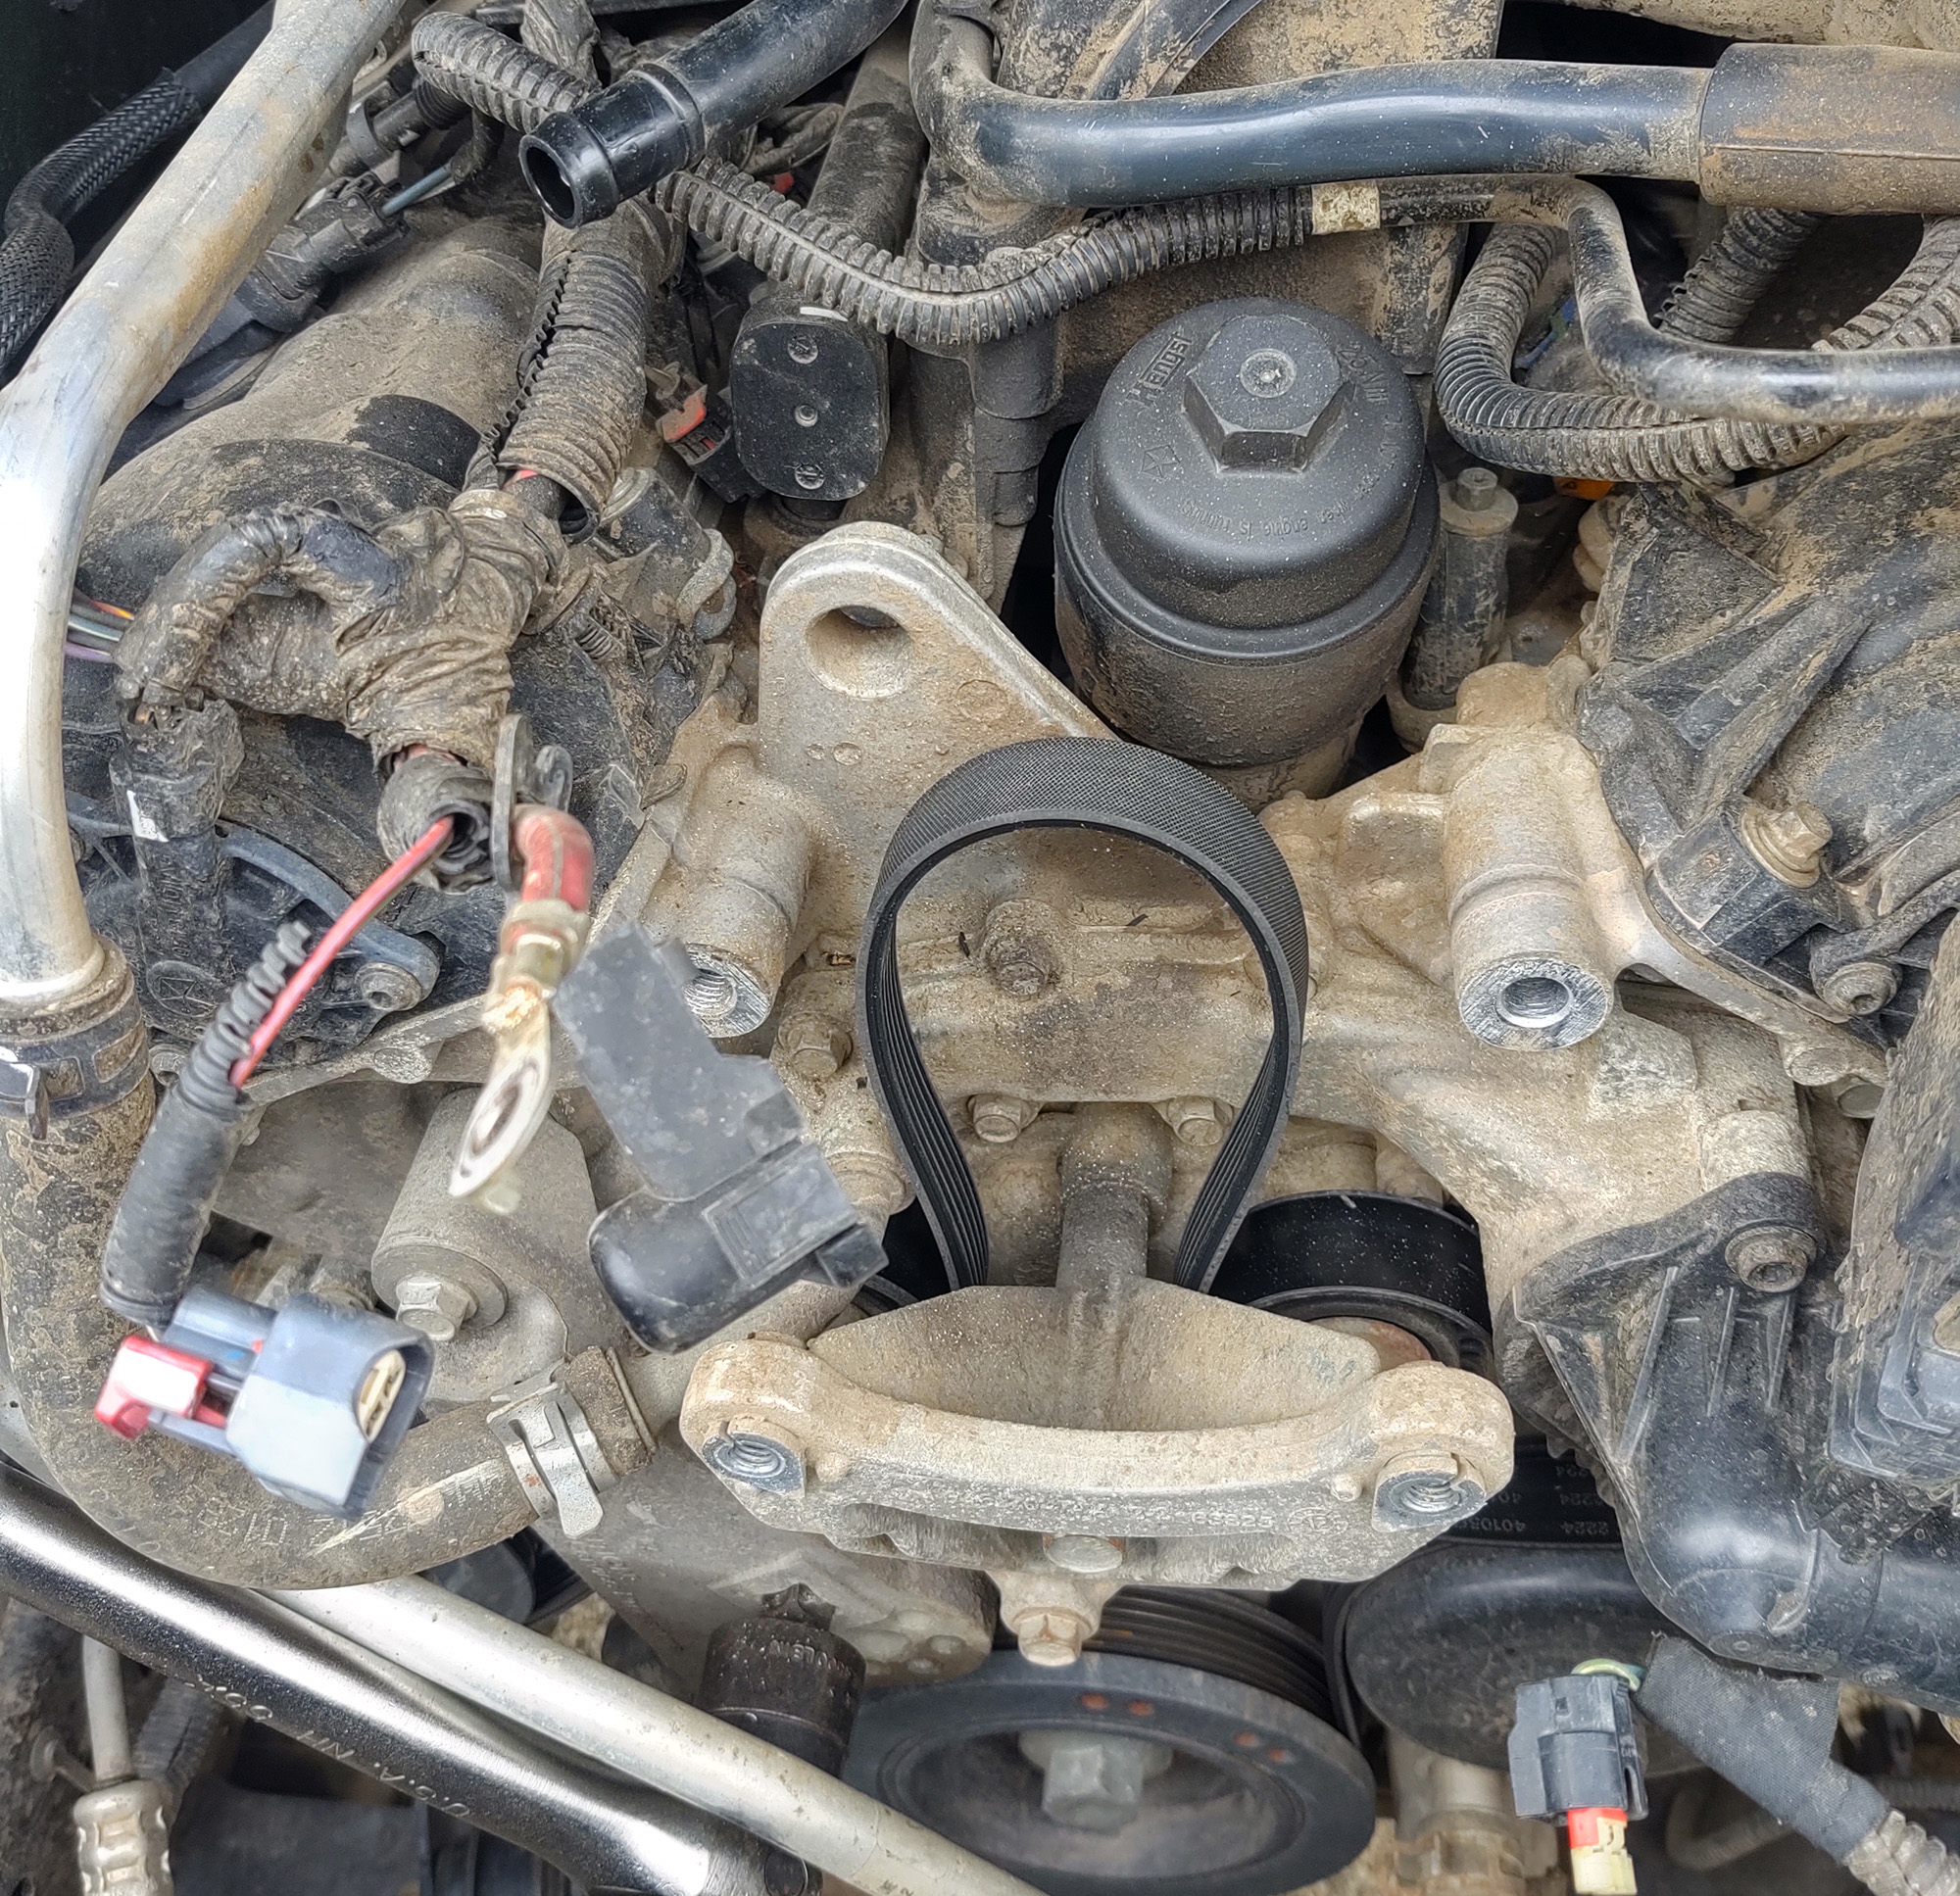
The detail and finish work on the Tuff Mudder really is beautiful. The powder coat is among the best I’ve seen in terms of an even coating.
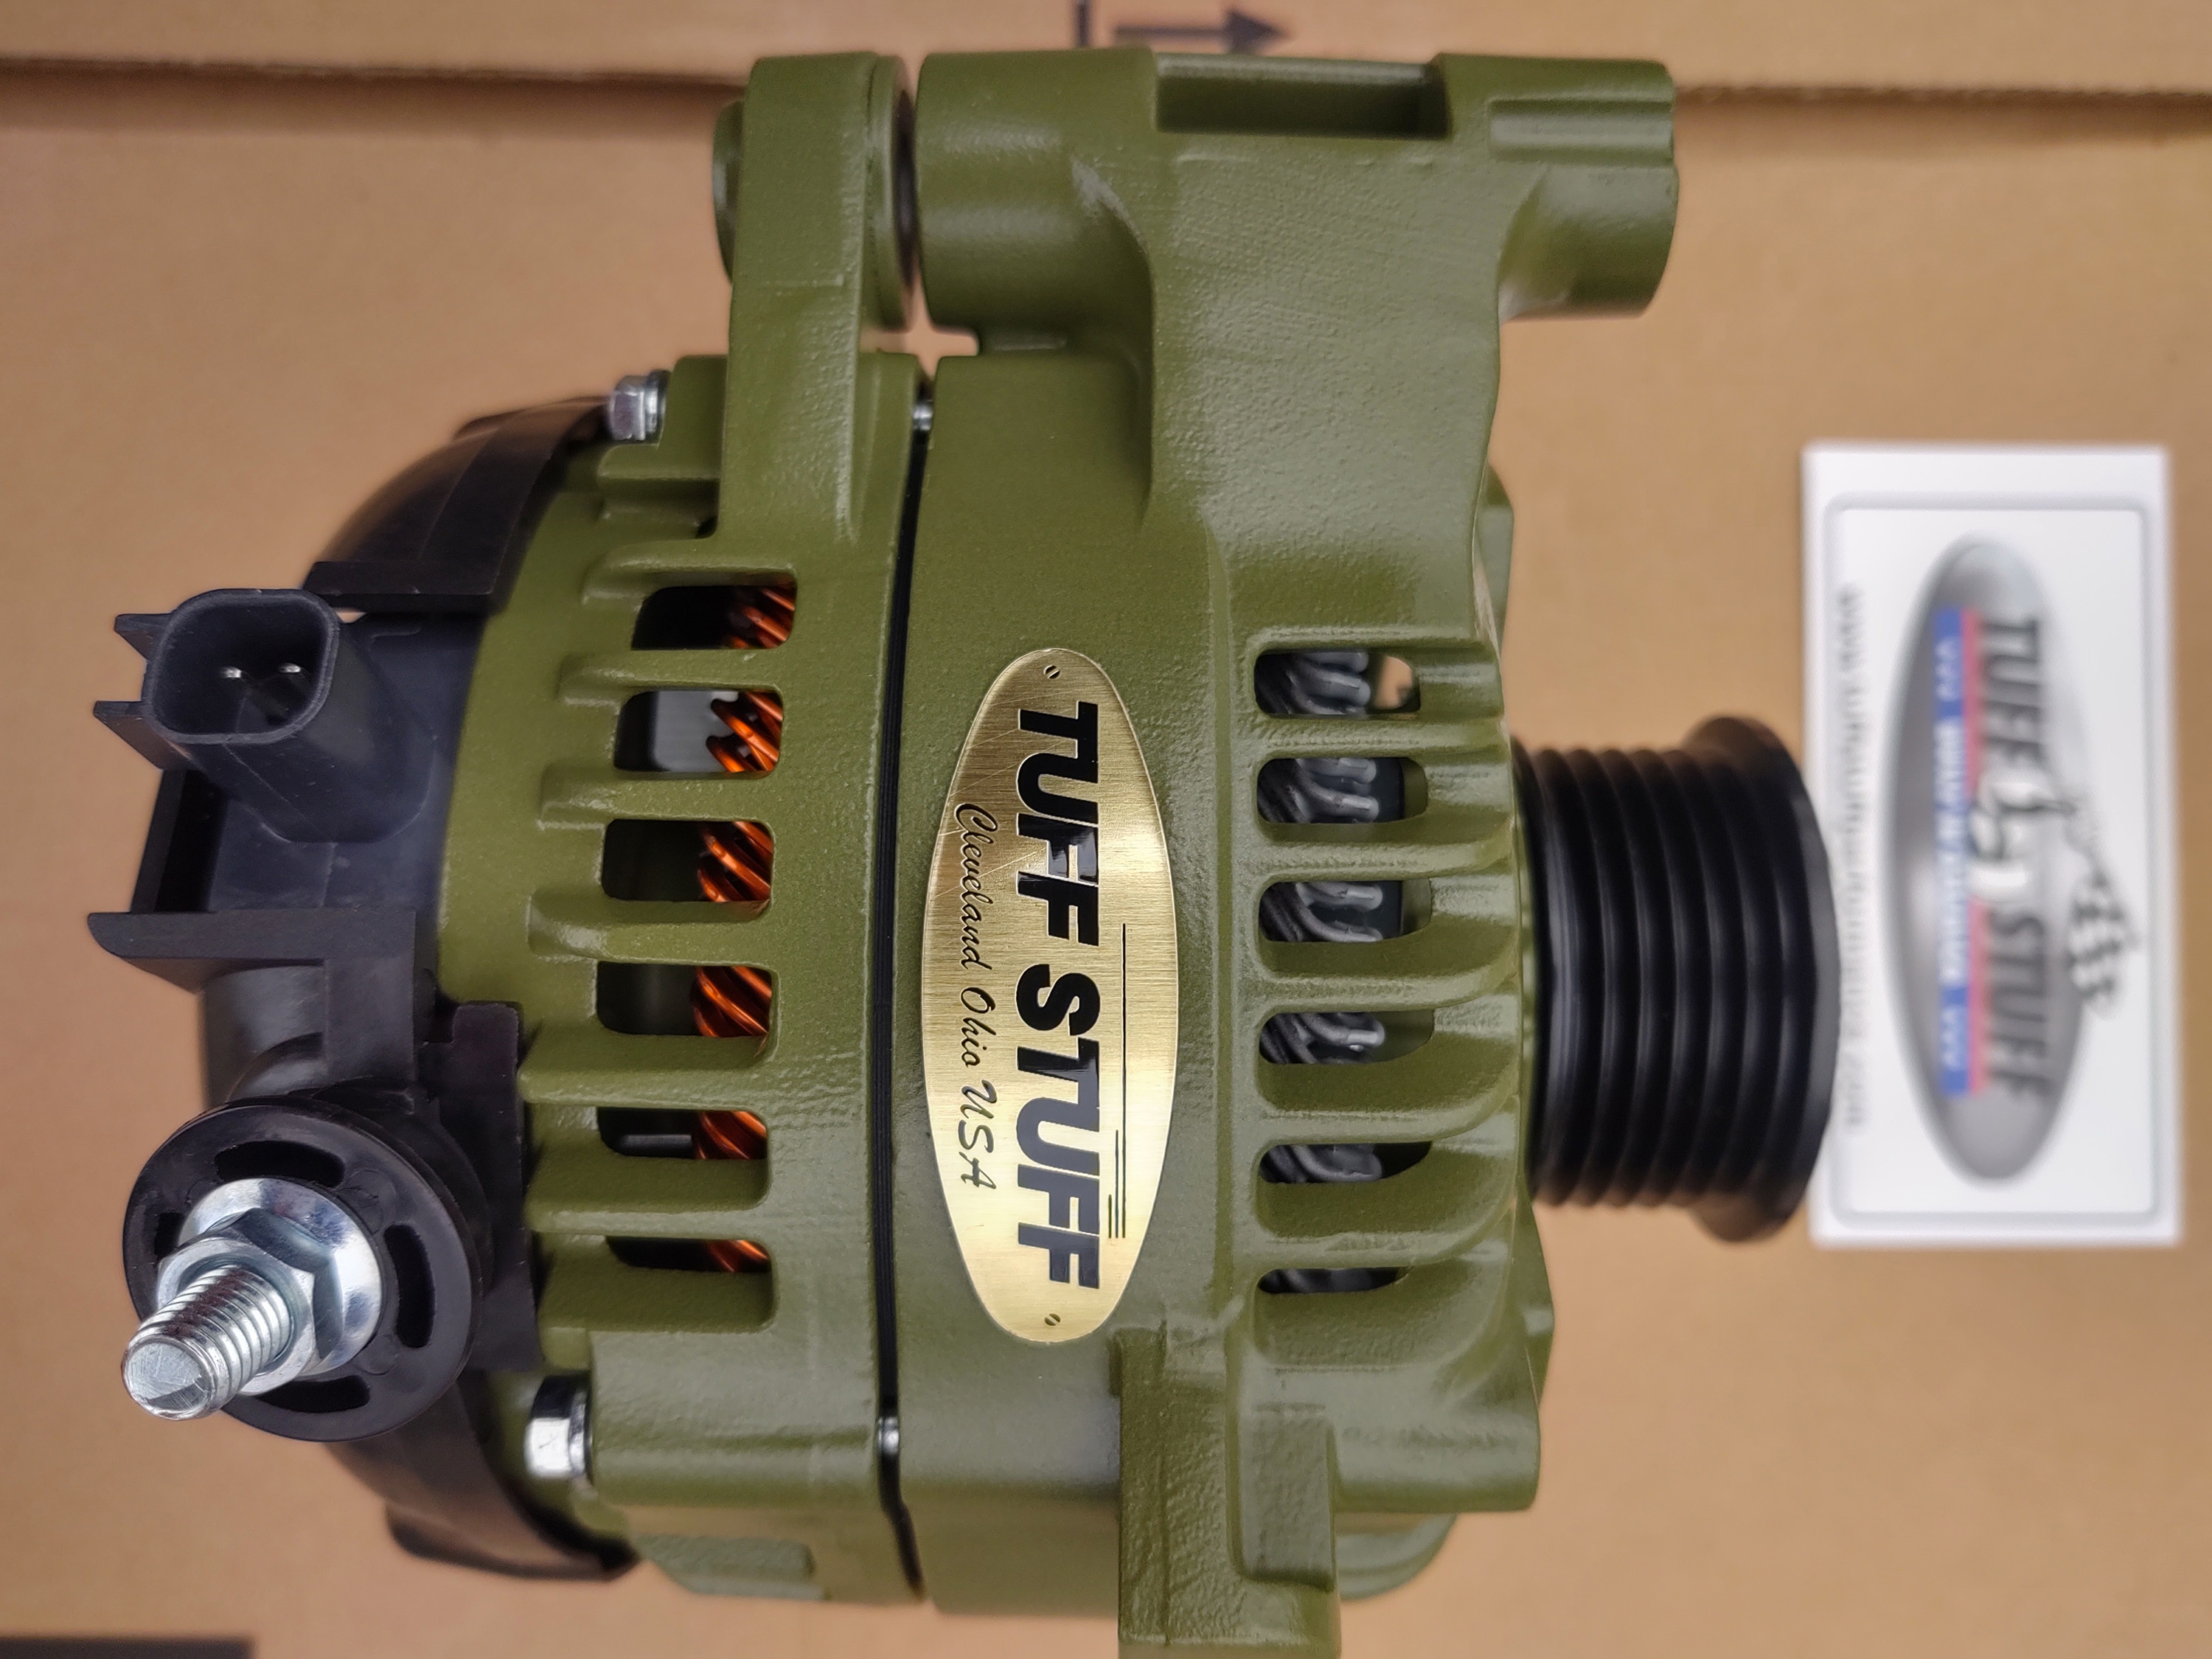
Here is what one of the upgraded cooling fans inside looks like.
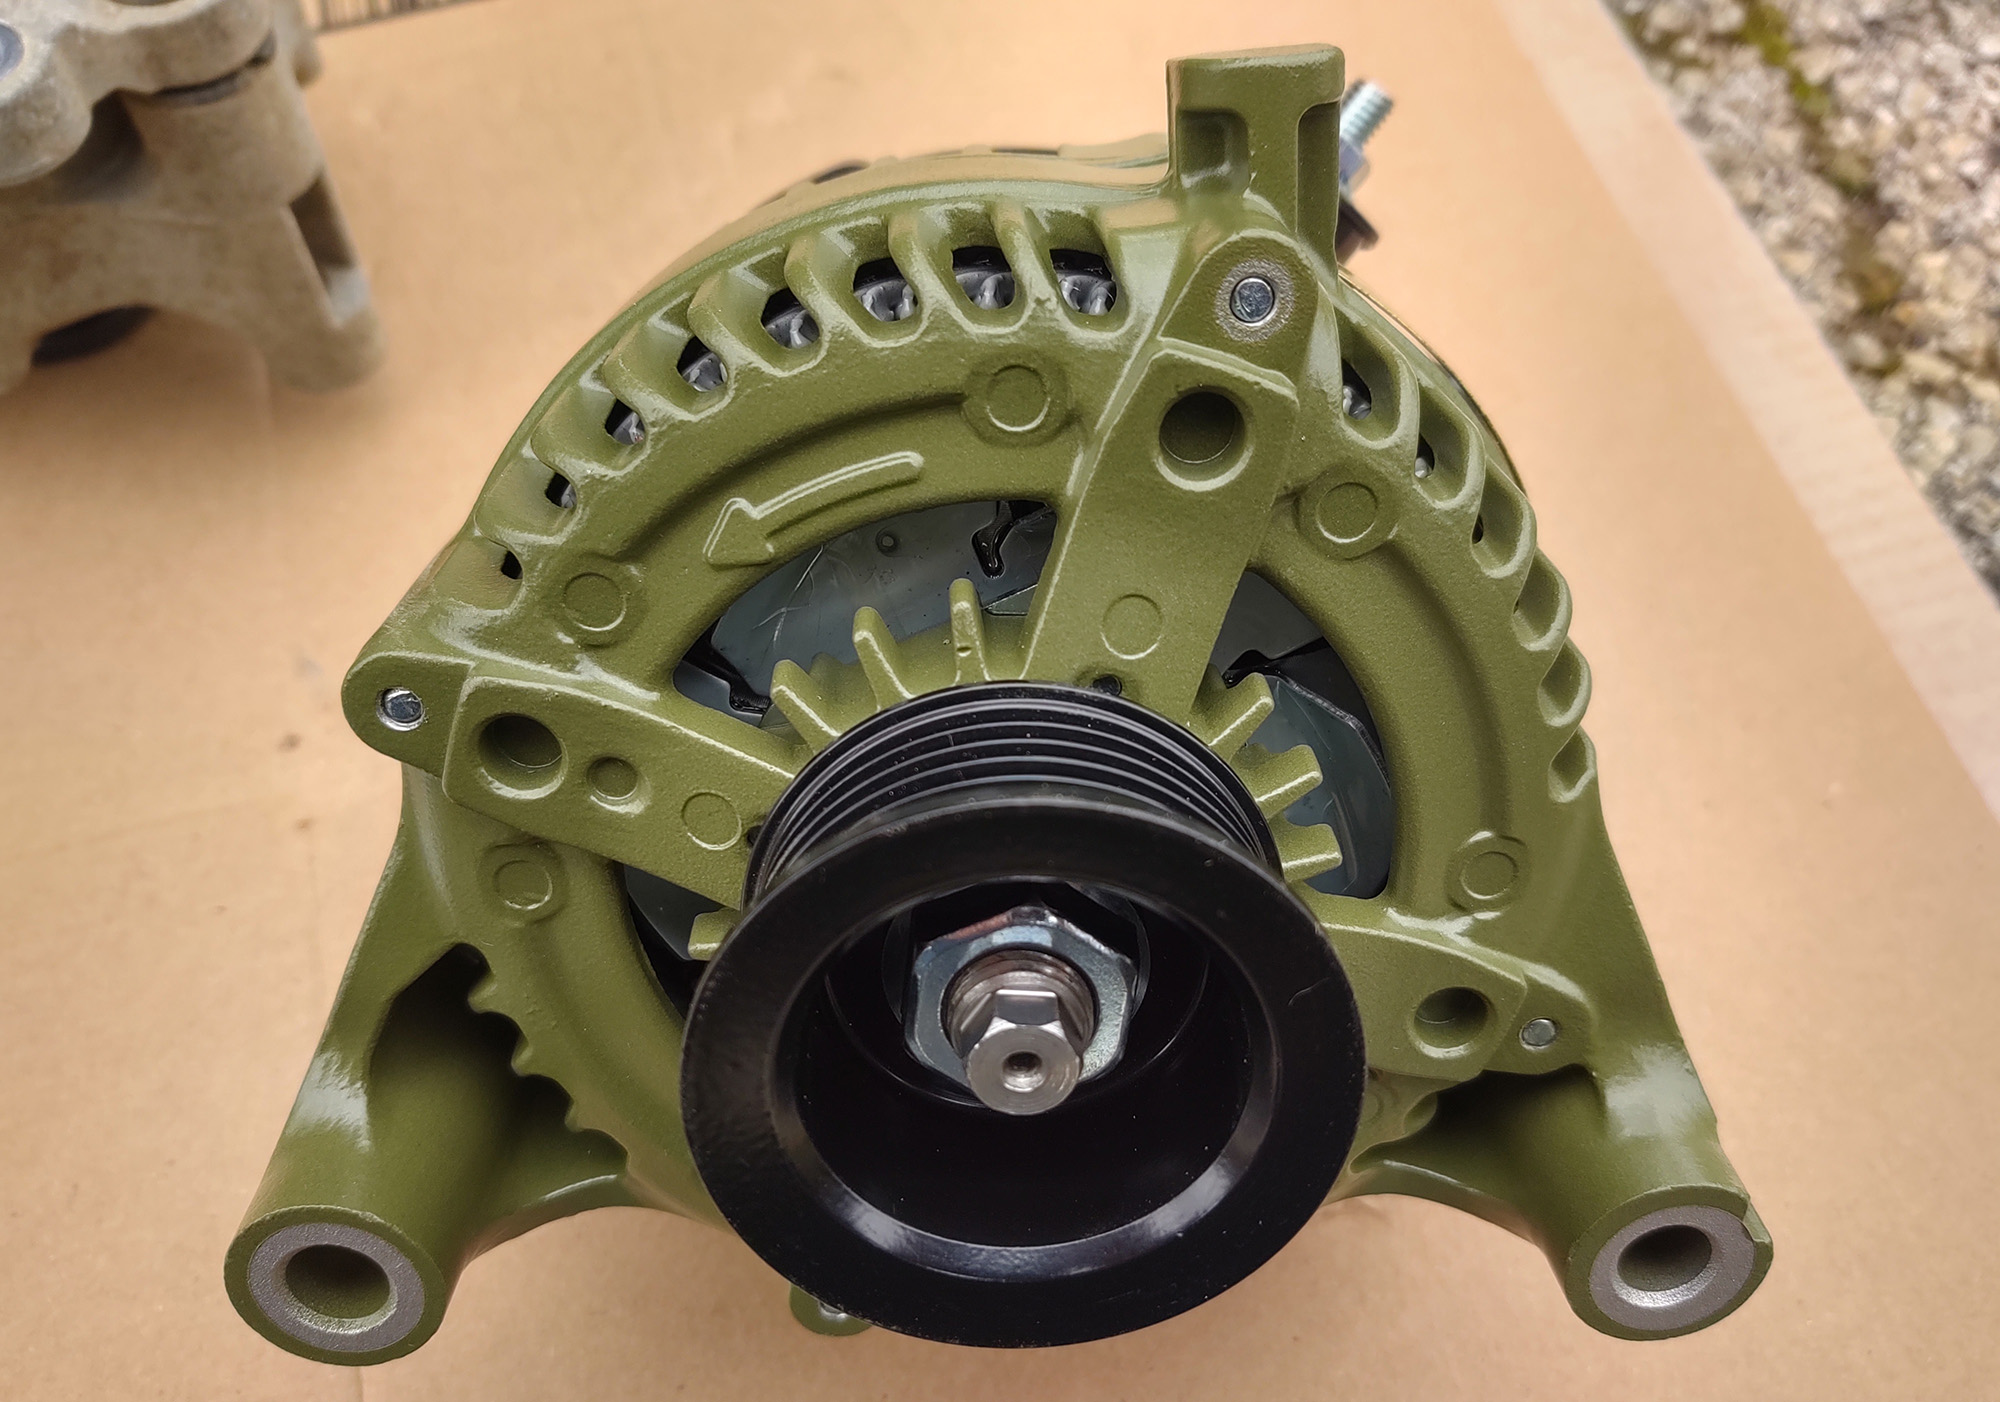
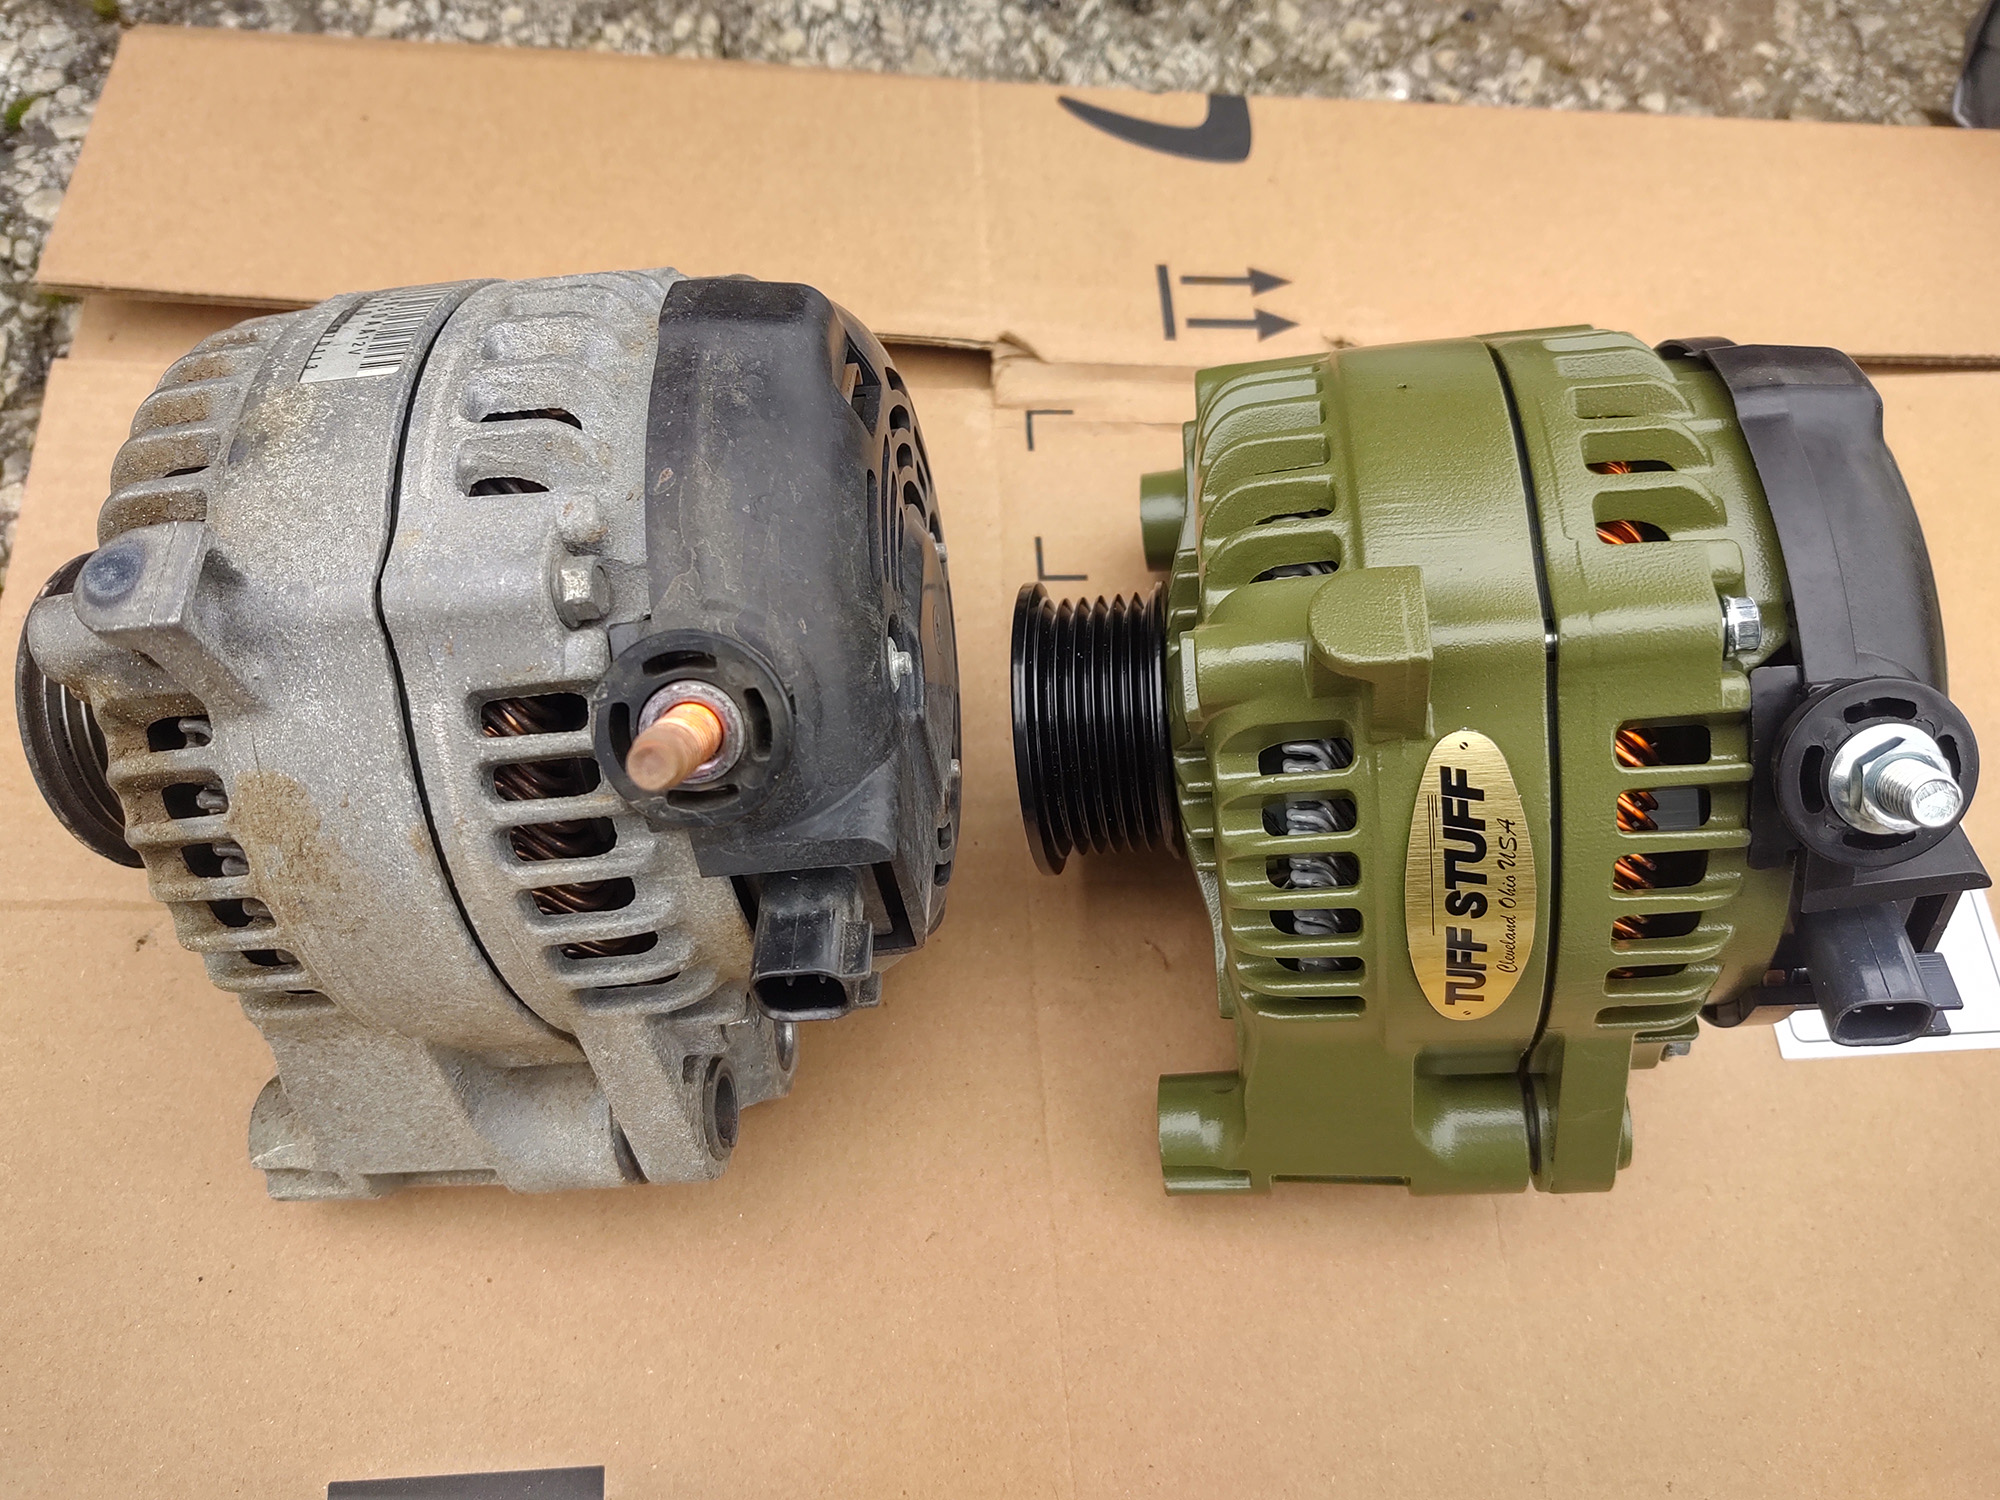
Also, as I stated earlier, dimensionally the alternators are exactly the same. The internals in the Tuff Stuff one are just a WHOLE lot better.
Reinstall the four mounting bolts by hand until the threads are engaged.
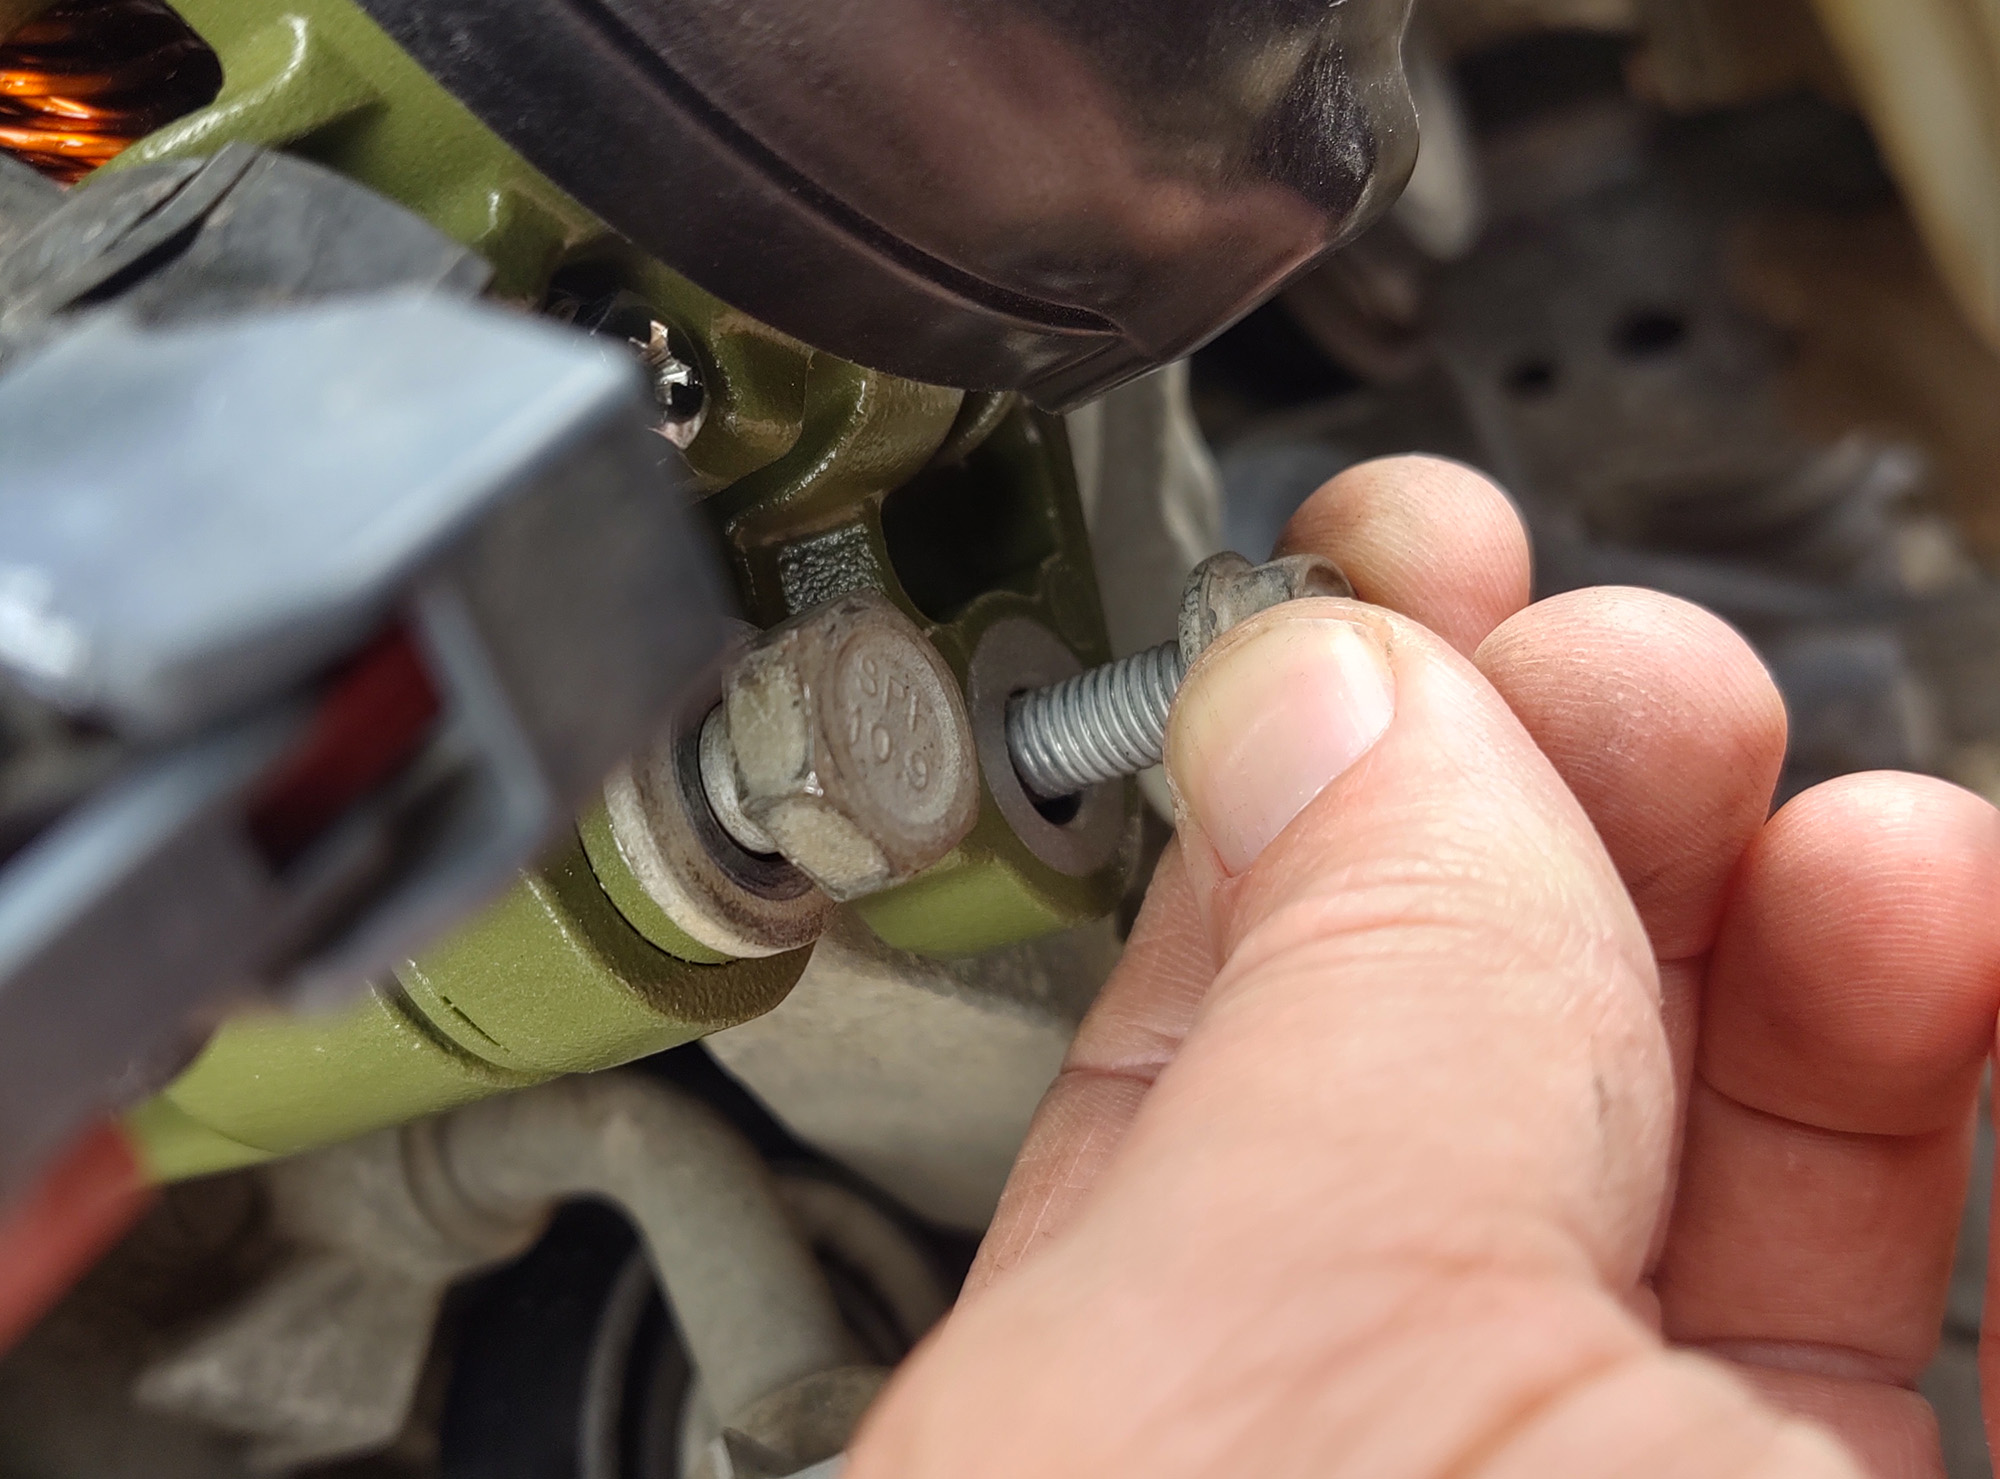
Tighten them down with the air or manual ratchet.
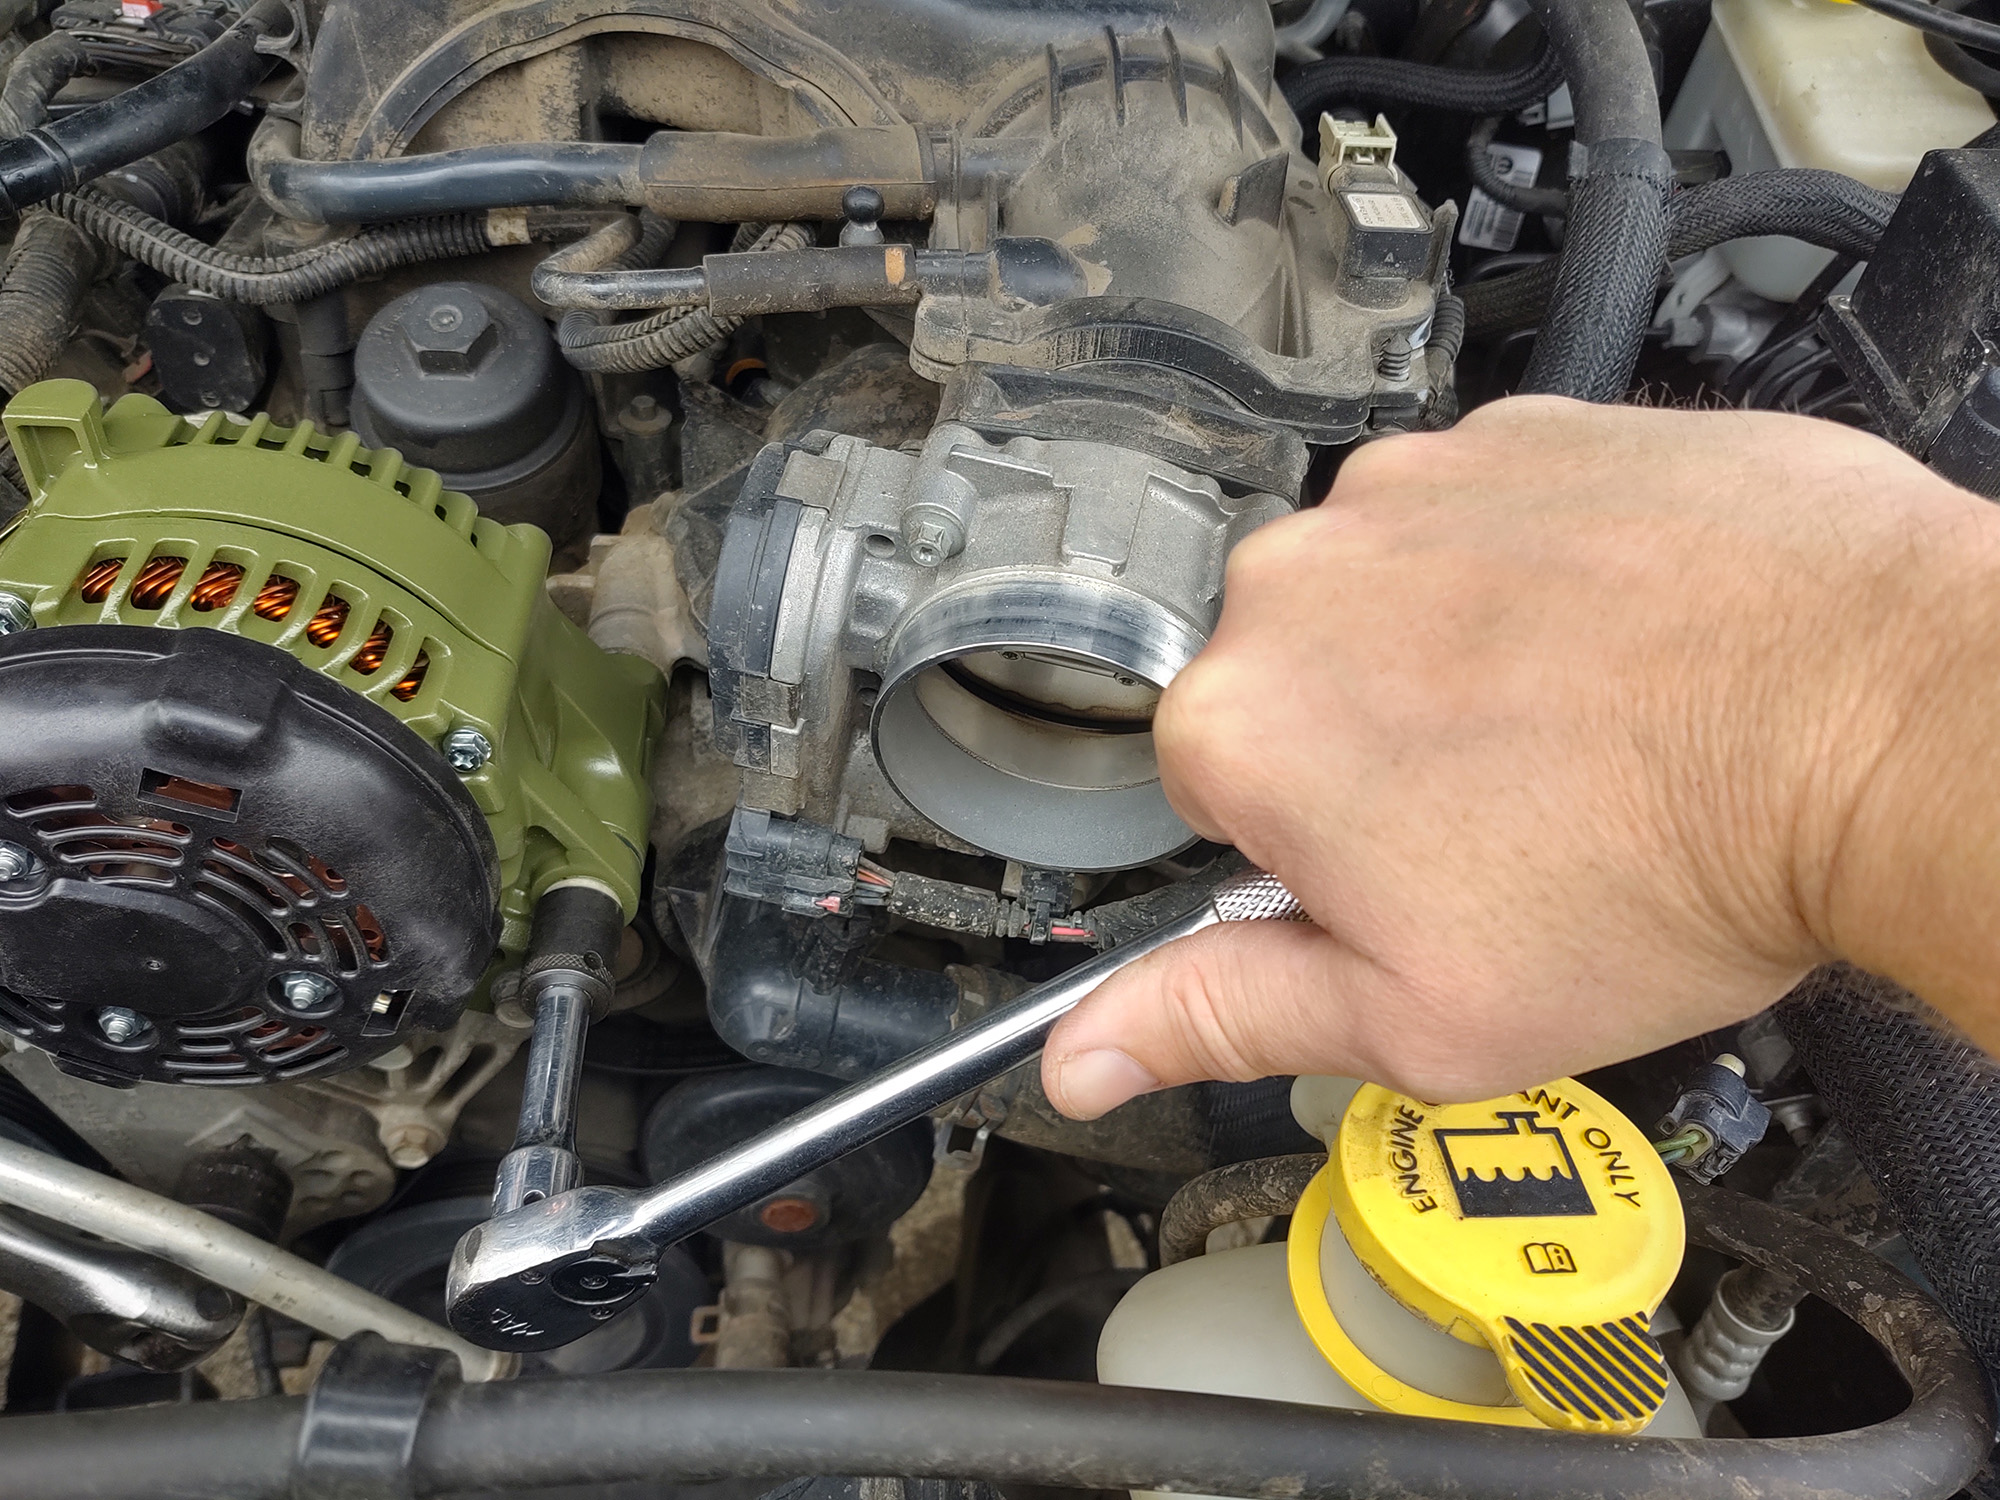
Once installed, torque the top mounting bolts to 43 lb-ft, and the bottom bolts to 22 lb-ft.
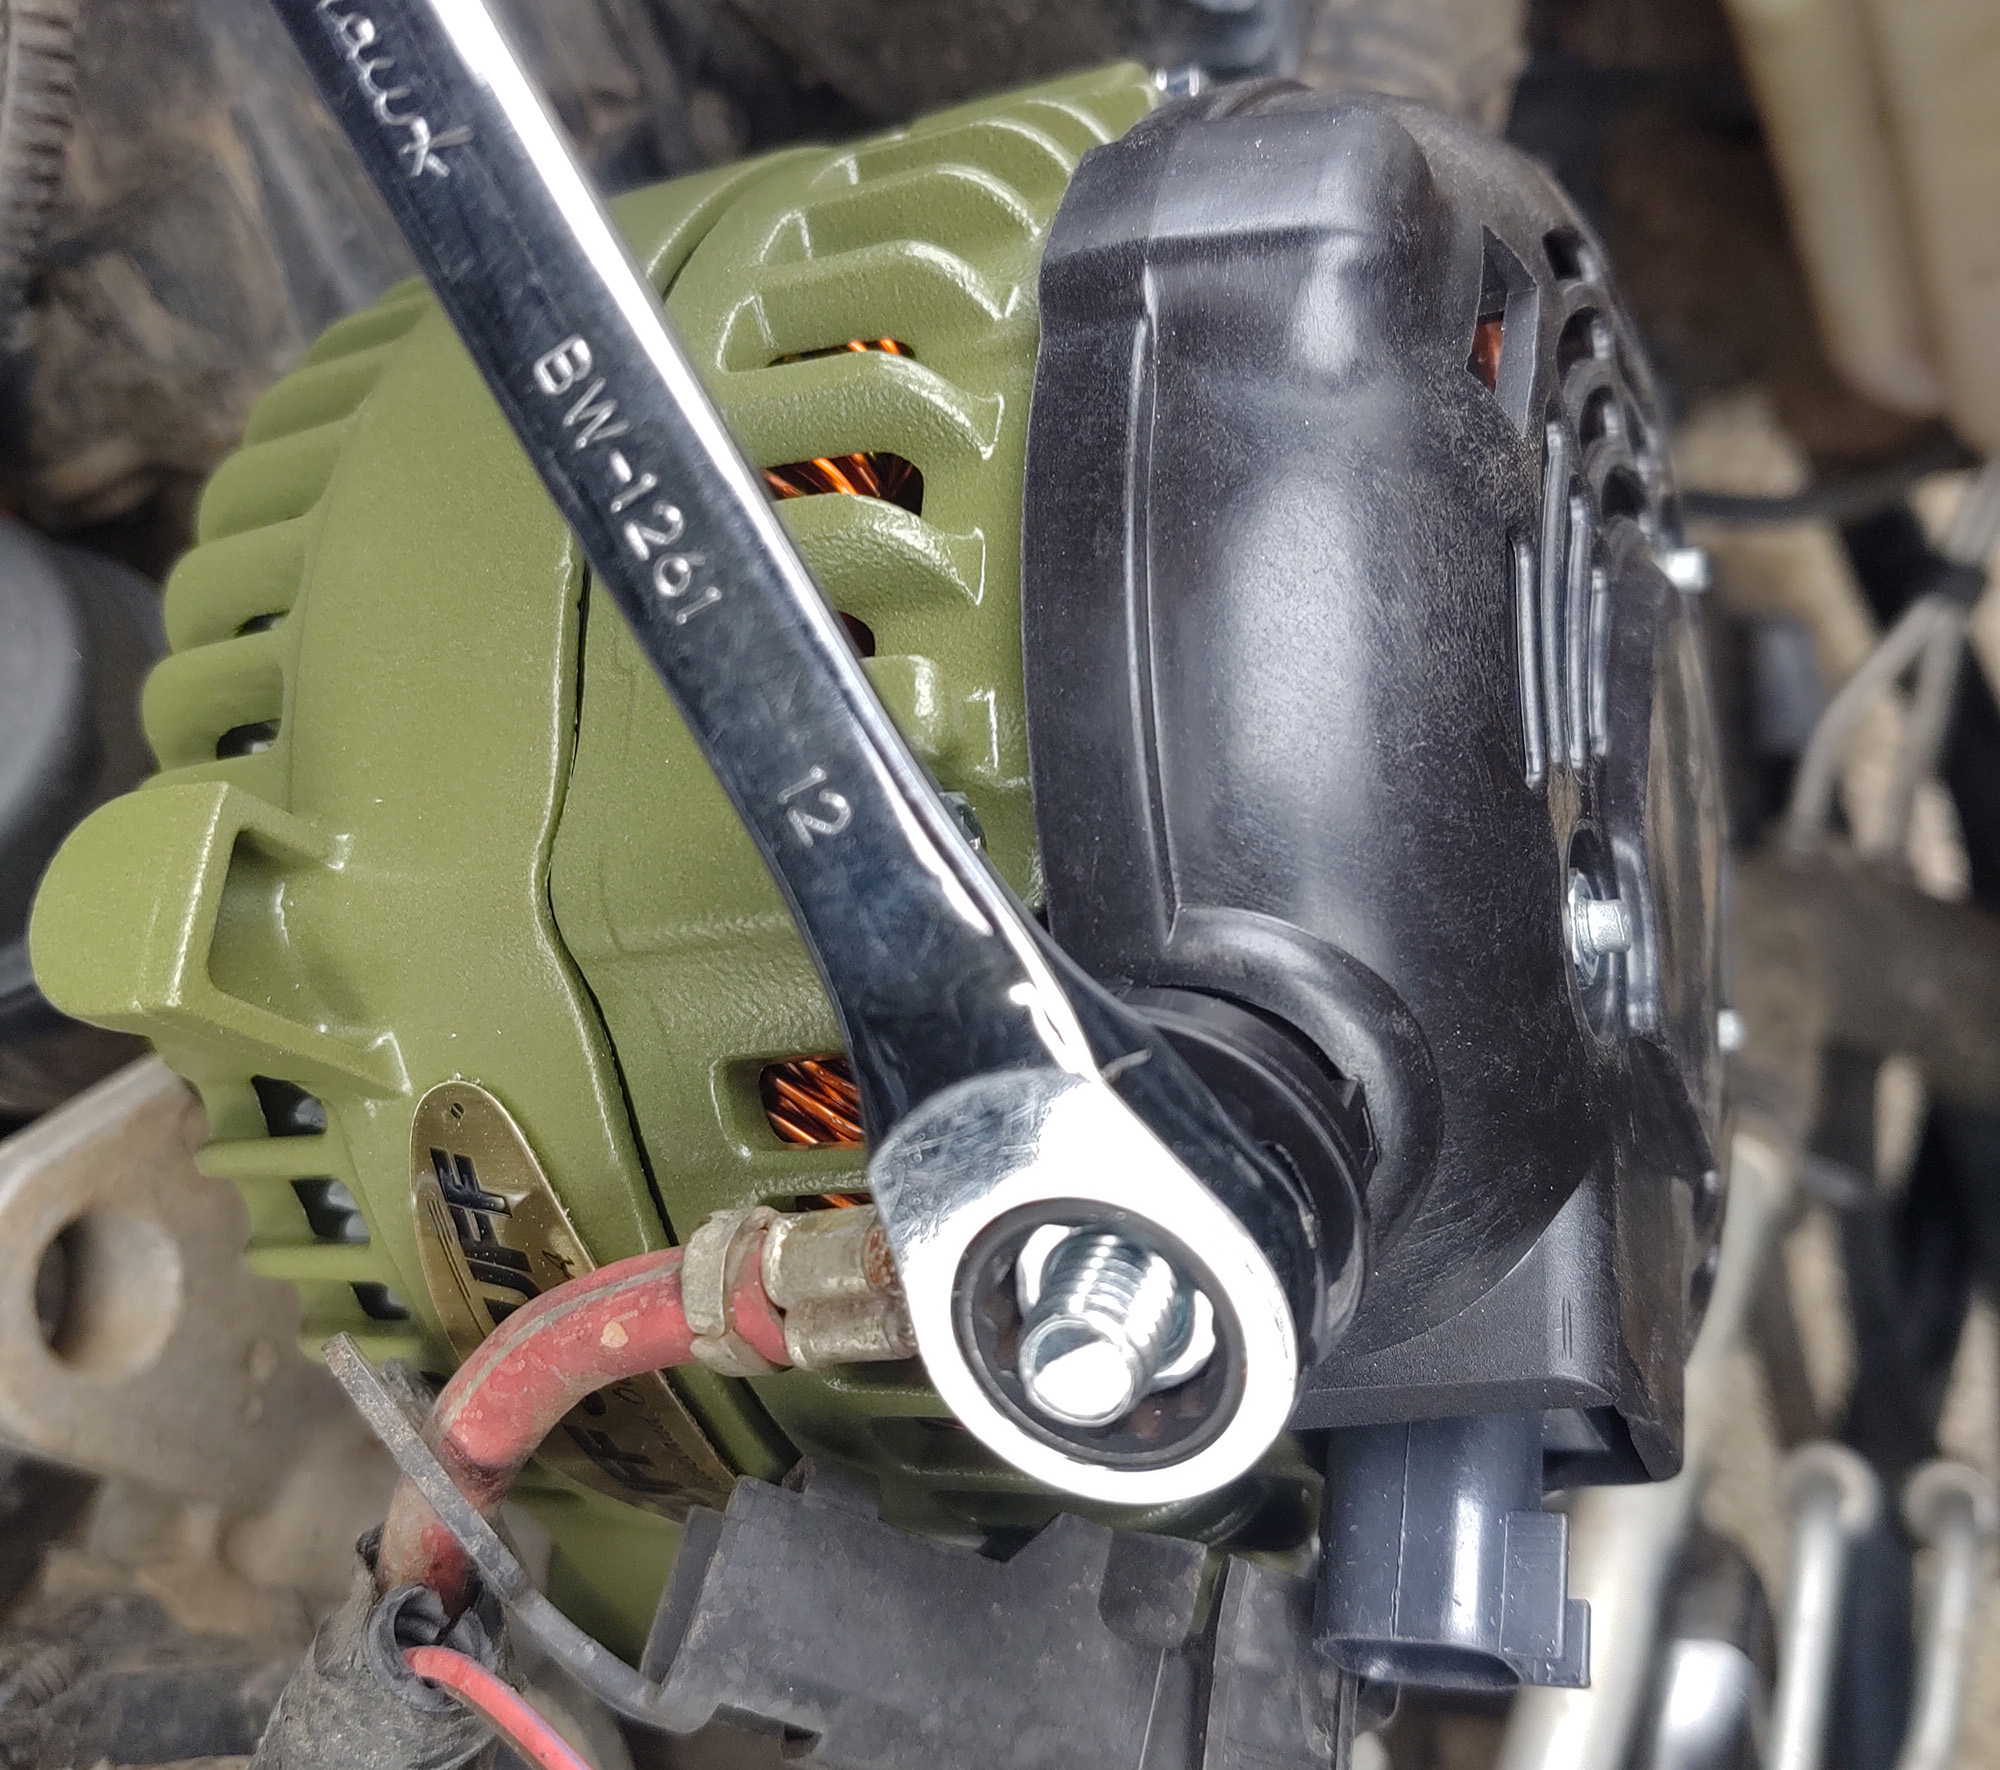
After that, tighten the new battery cable nut with a 12mm wrench, and torque the battery cable to 13 lb-ft, then clip the wiring plug back into place.
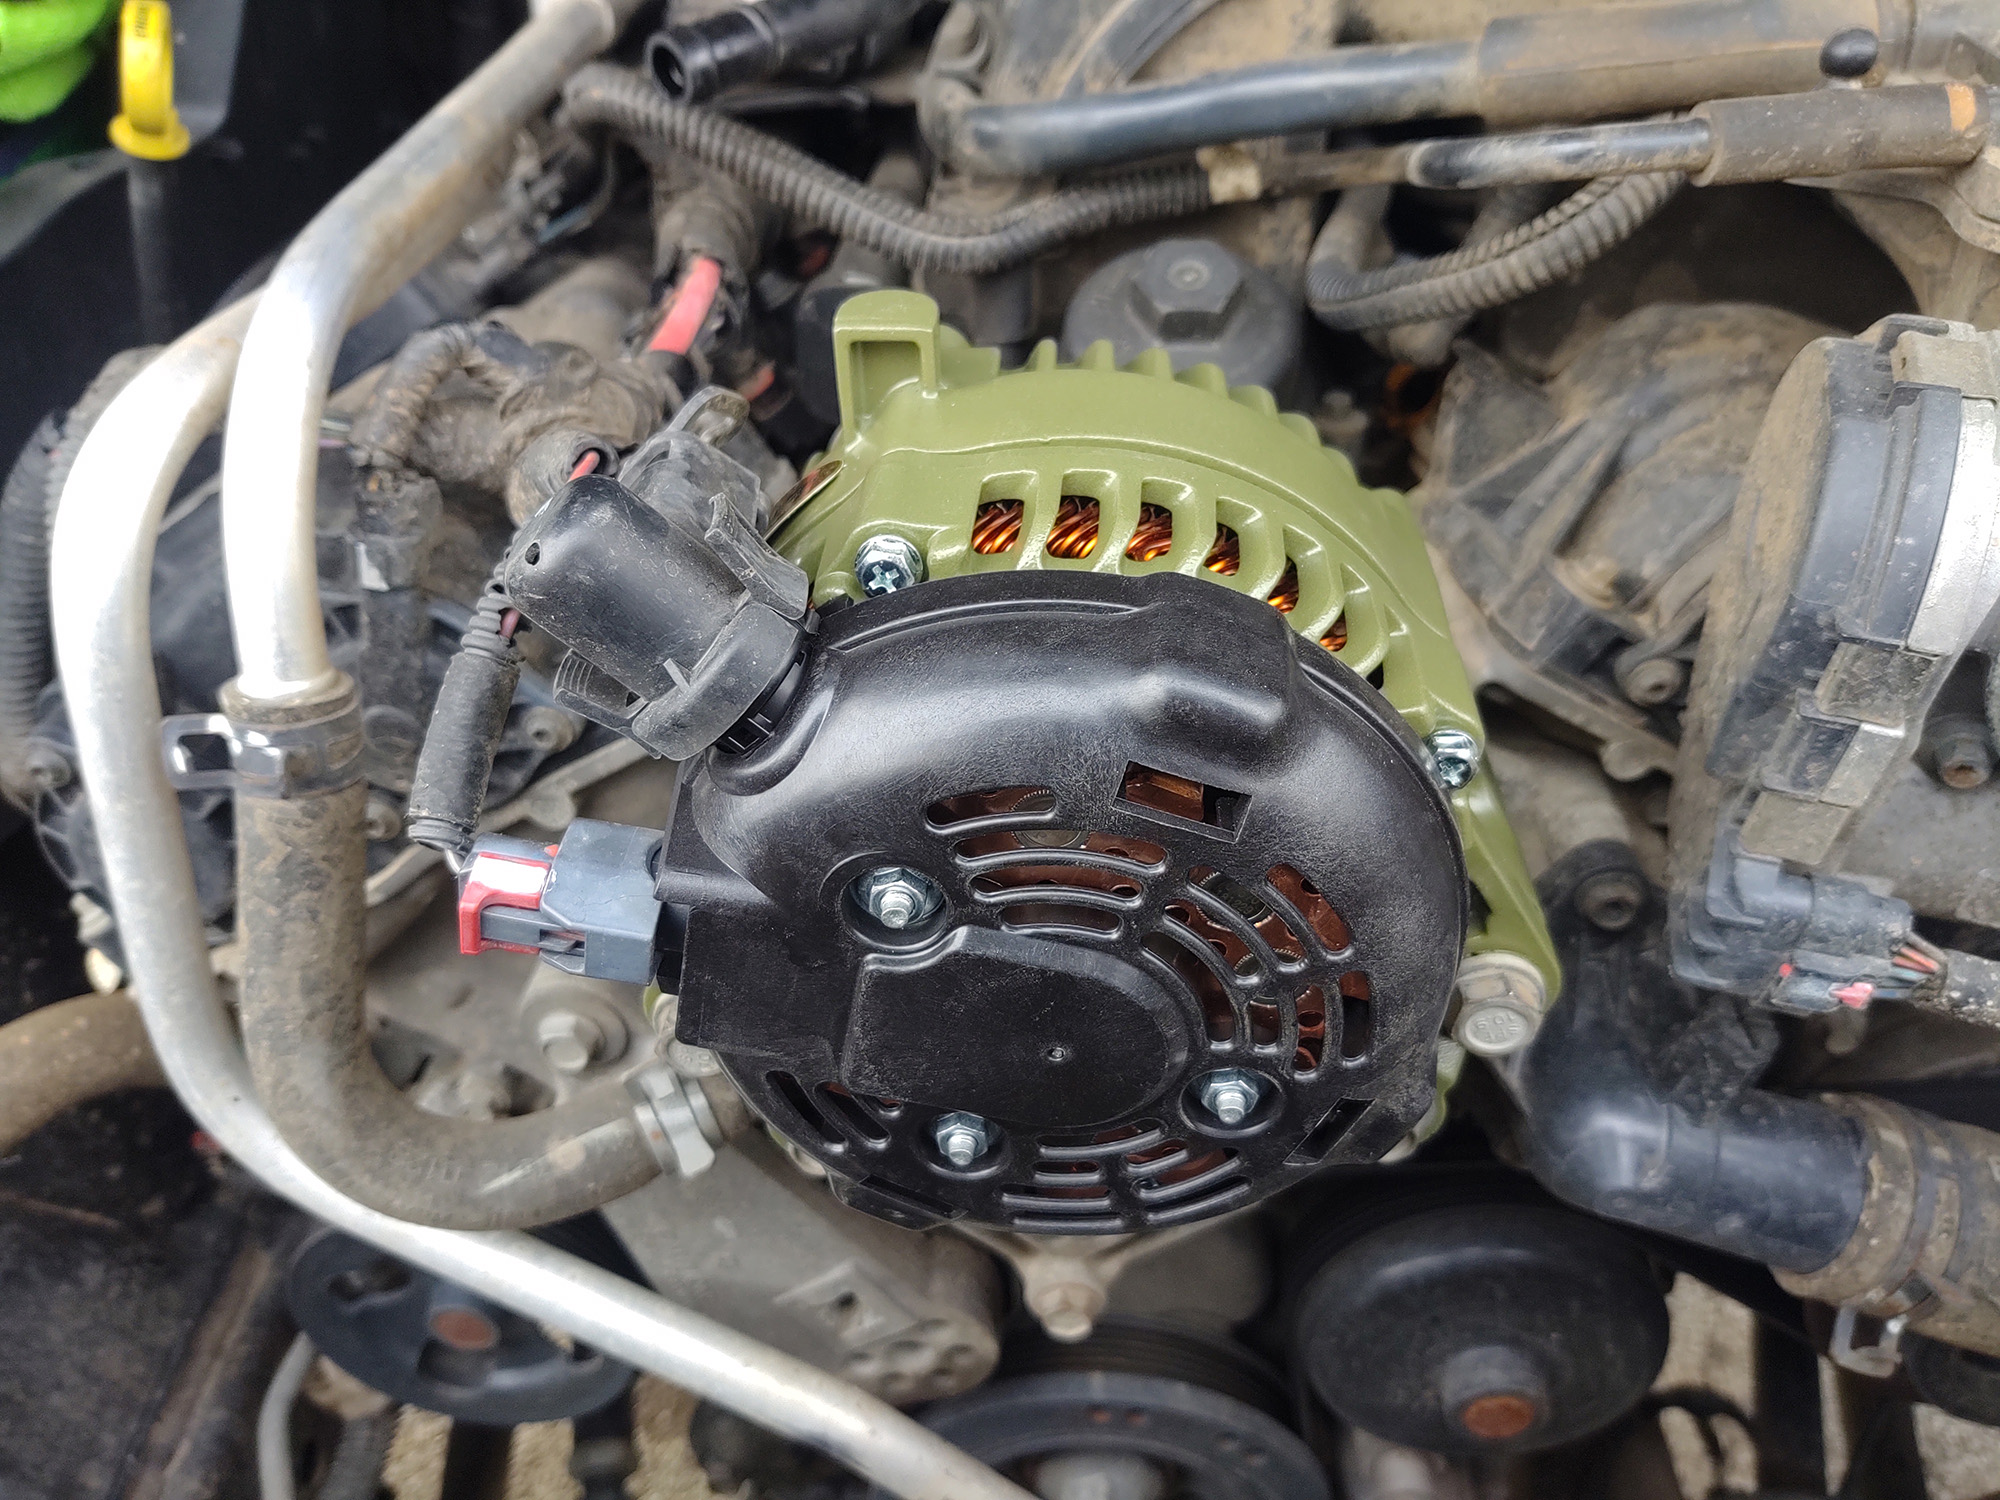
Reinstall the intake system exactly as you removed it, checking for clearance between intake components and the alternator body.
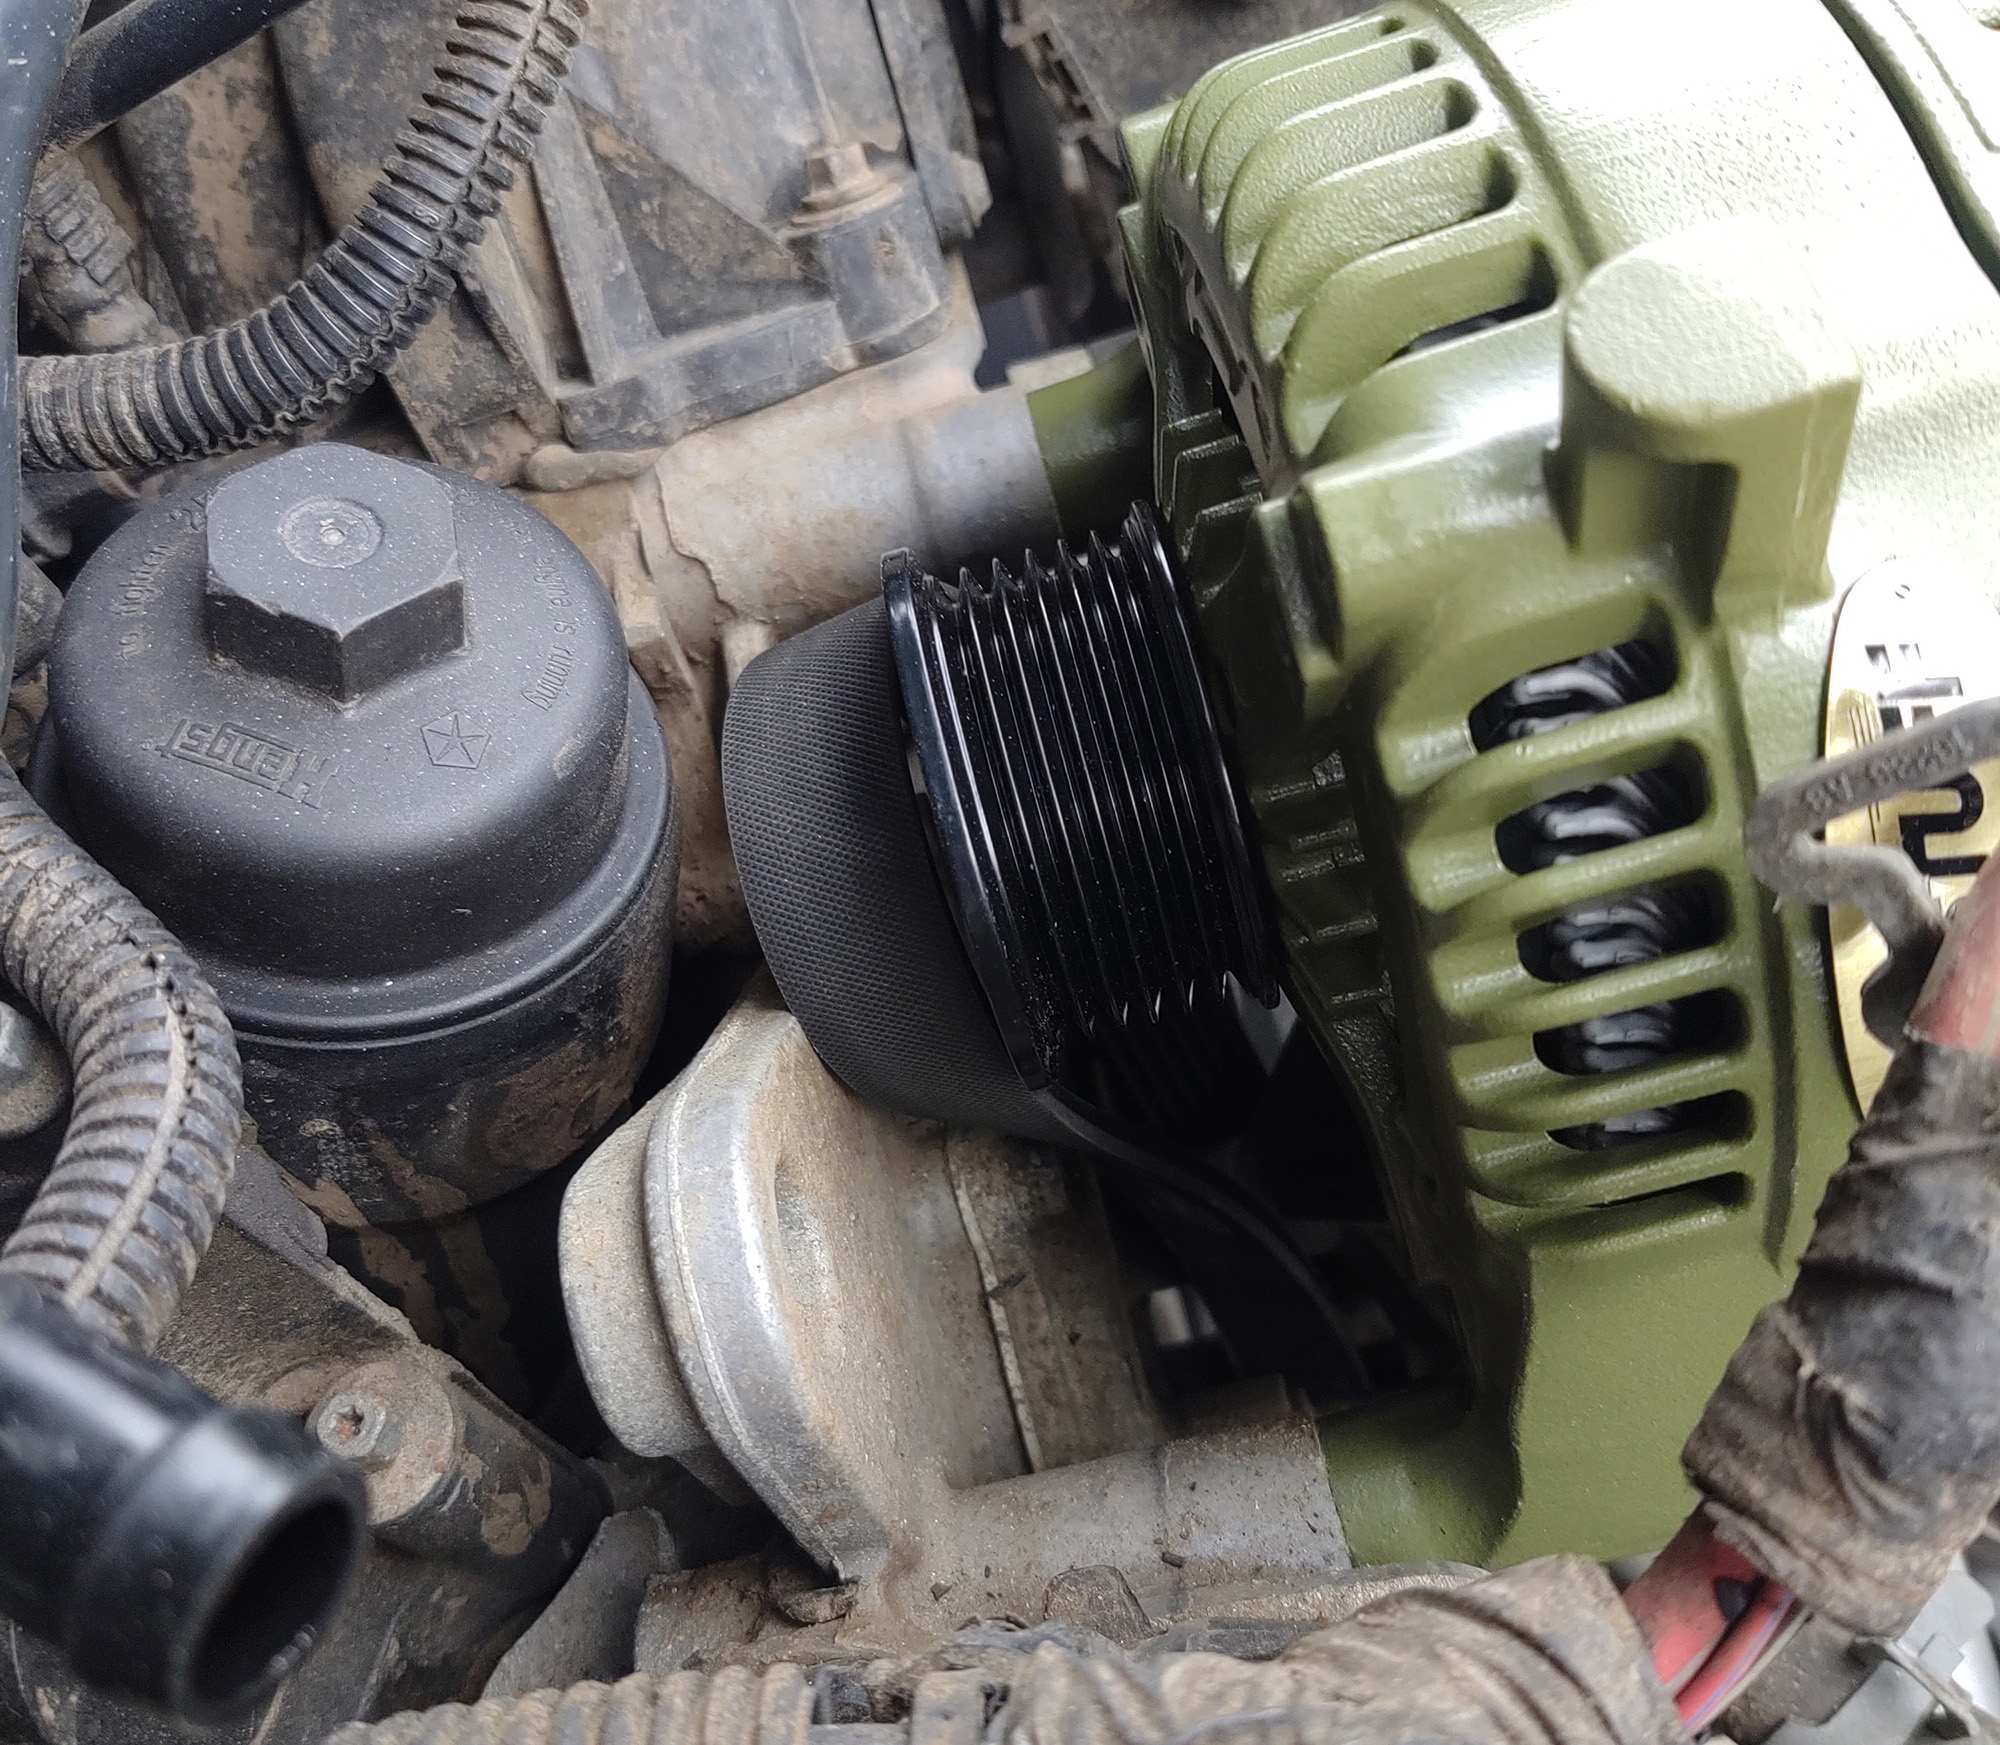
Finally, compress the hydraulic tensioner arm and center the belt on the pulleys, double checking the other rollers and pulleys for correct alignment as well.
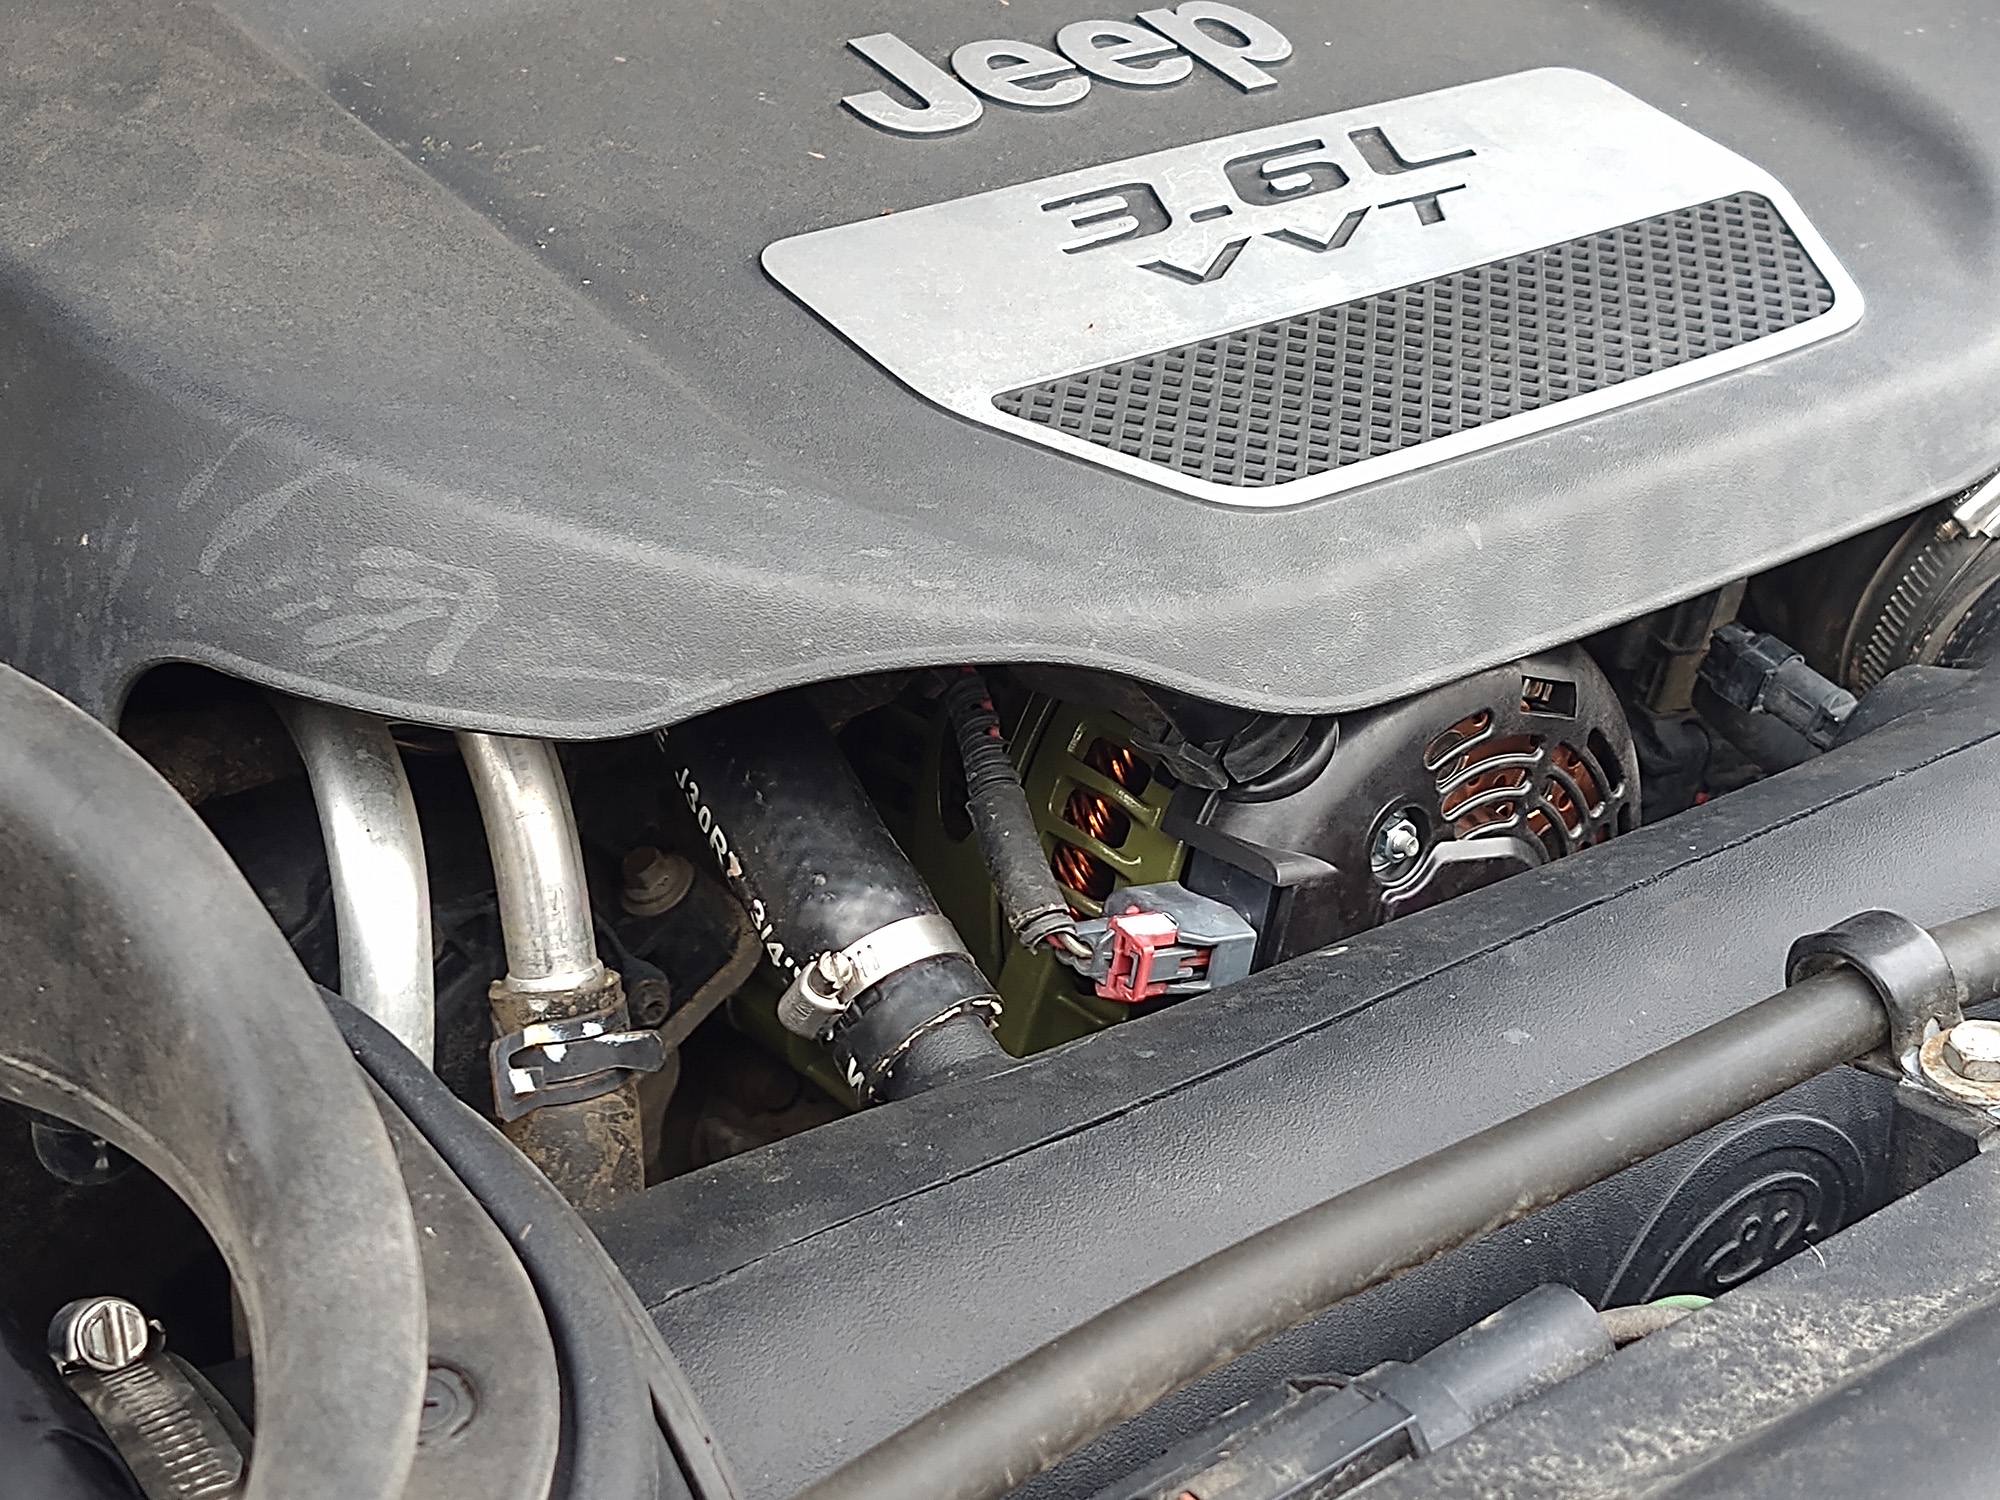
It is almost a shame that the new alternator is hidden almost entirely by the engine cover, but I know it is in its proper place and cranking out that extra power Project Rattler craves, day after day. It has now been about five months since installation, and I haven’t once had a low voltage issue with the battery after running lots of amperage-hungry accessories on the trail. This also means I’ve successfully staved off having to install a dual battery system in my vehicle … for now. But I know when that time comes, my charging system is up to the task thanks to the Tuff Mudder alternator.


