Featuring Premium Parts from
by Scott Ammerman
Quadratec Channel Correspondent
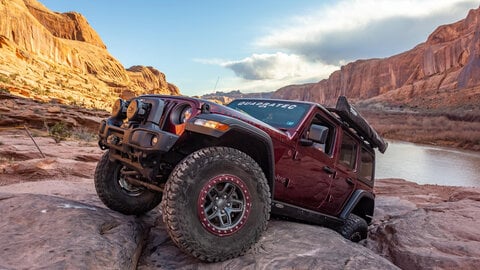
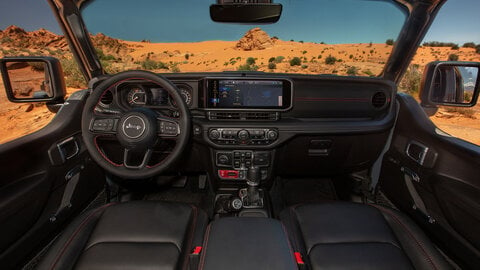
When I bought Project Snake Eyes, a 2008 Wrangler Unlimited Rubicon, I decided to tackle many modifications before they were actually needed, whether that was maintenance things or product upgrades.
In one case, however, there was something important that was a little overdue by the time it received attention.
The driveshafts.
We all know the factory versions are fine for every day use, but over time these guys on my Unlimited were really starting to show their age. Yes, they could have been removed and reconditioned, which would have prolonged their life a bit, but at nearly 150k miles—and some trail abuse that was starting to escalate—they could no longer be trusted to remain durable.
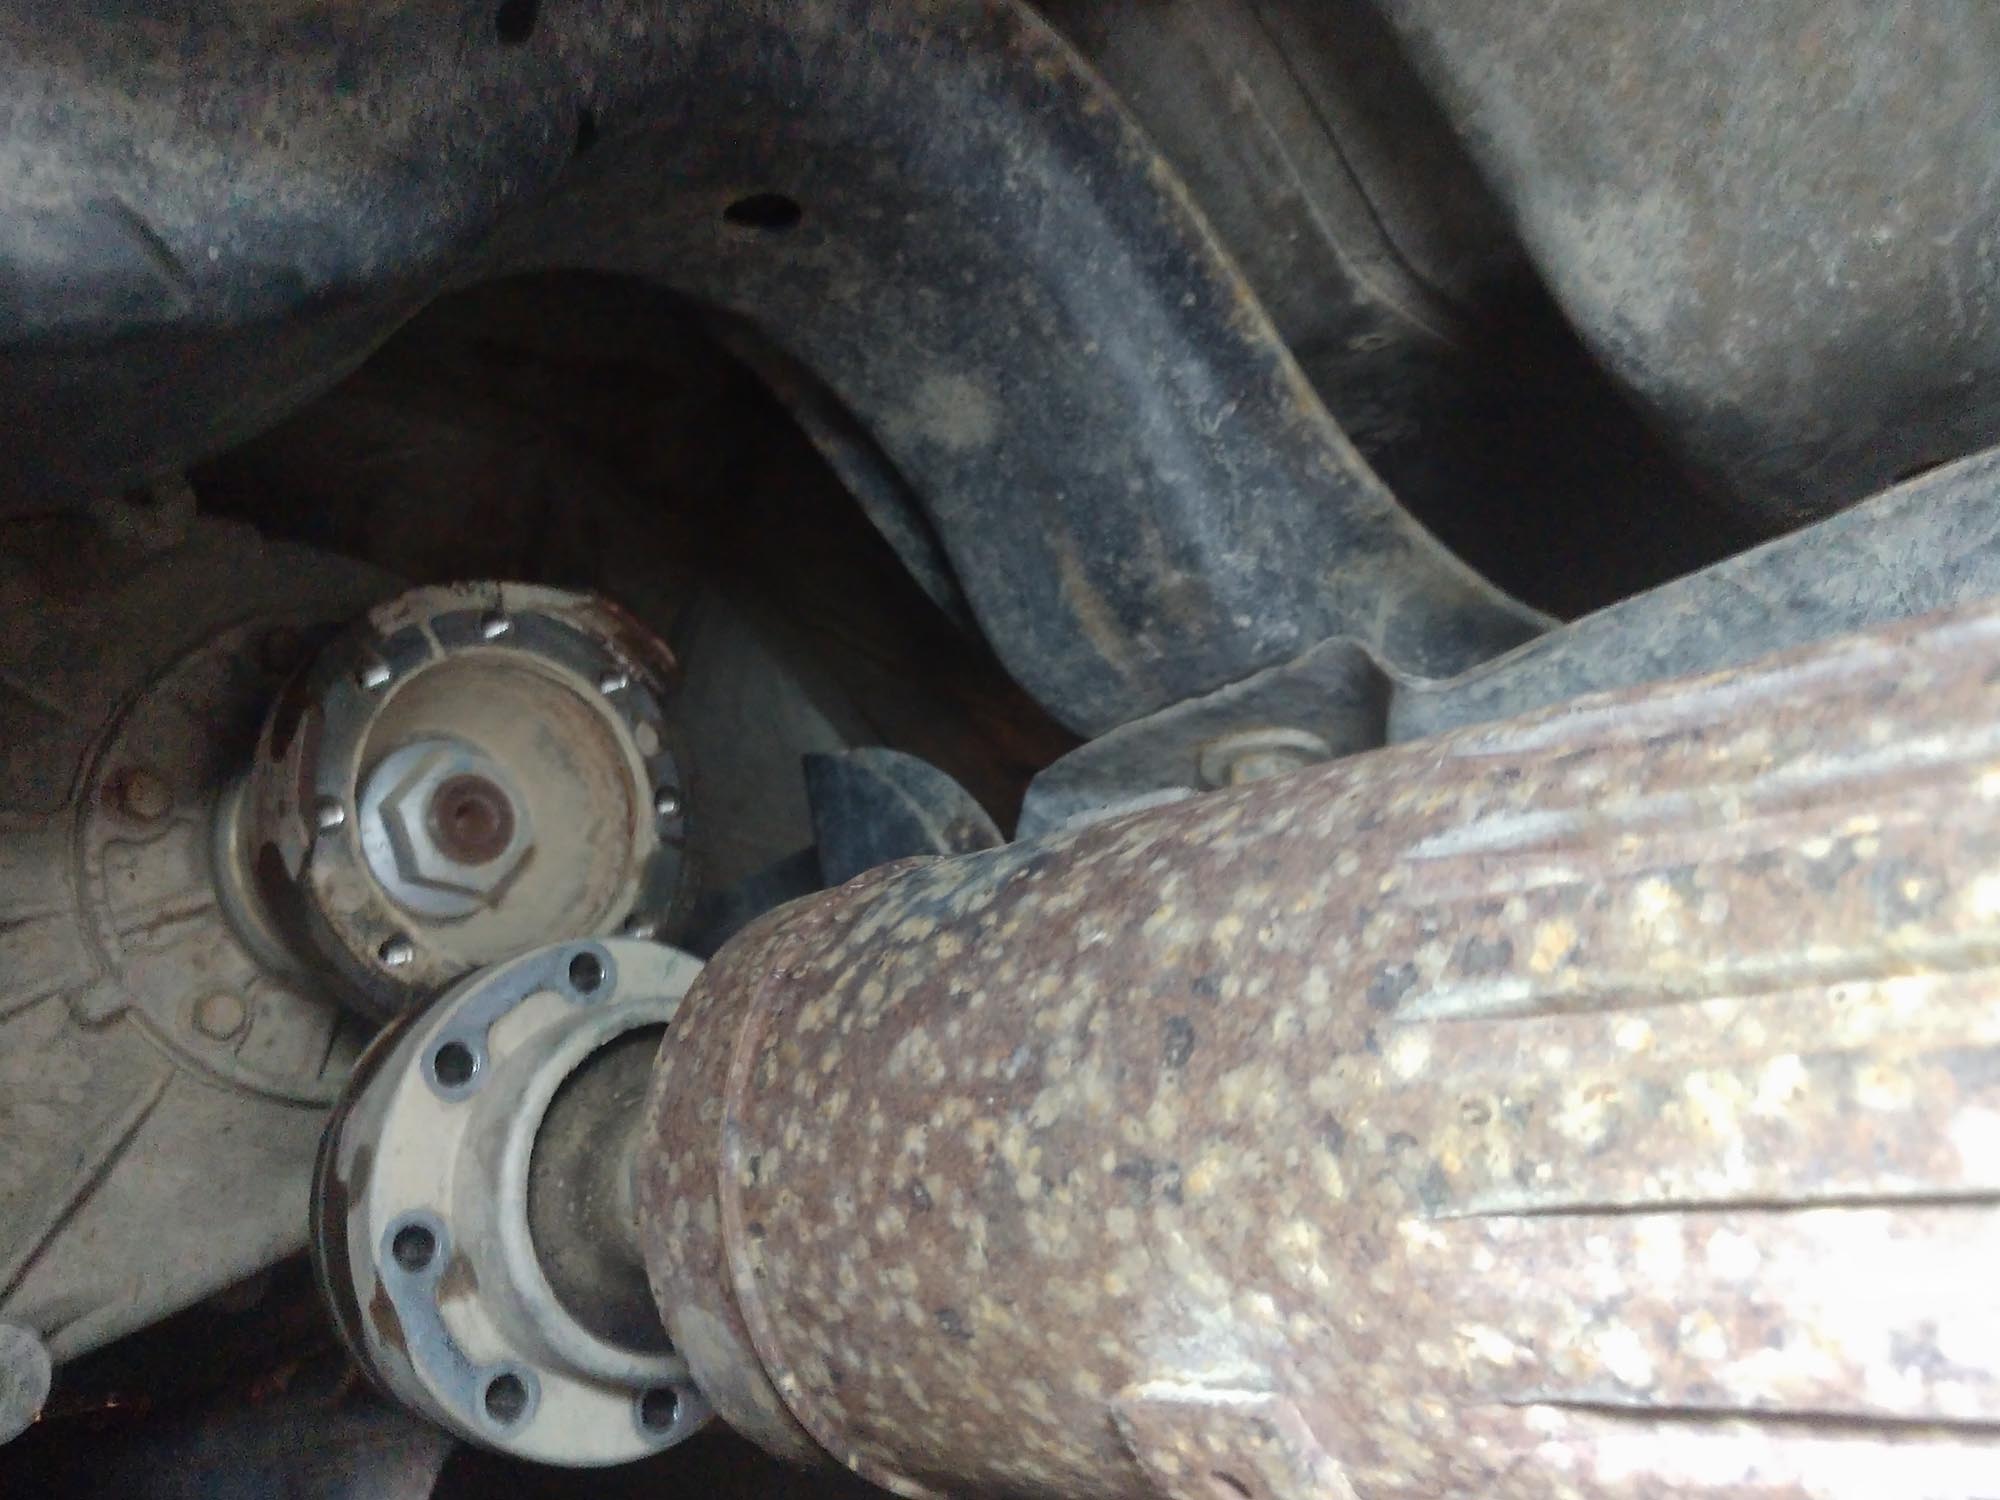
The front died a little before the rear, making a loud clacking noise with four-wheel drive engaged. The grease boot over the CV joint had disintegrated, and all of the grease had washed out of the joint. Without sufficient lubrication (and the introduction of some ‘high-grade’ Pennsylvania coal dust), it literally ground itself to death, and would only make noise when actually under load. Of course, an hour into my trail day was a bad time to make this discovery. And not to mention, I now started to see many other rubber parts in this 2008 start to fail as well.
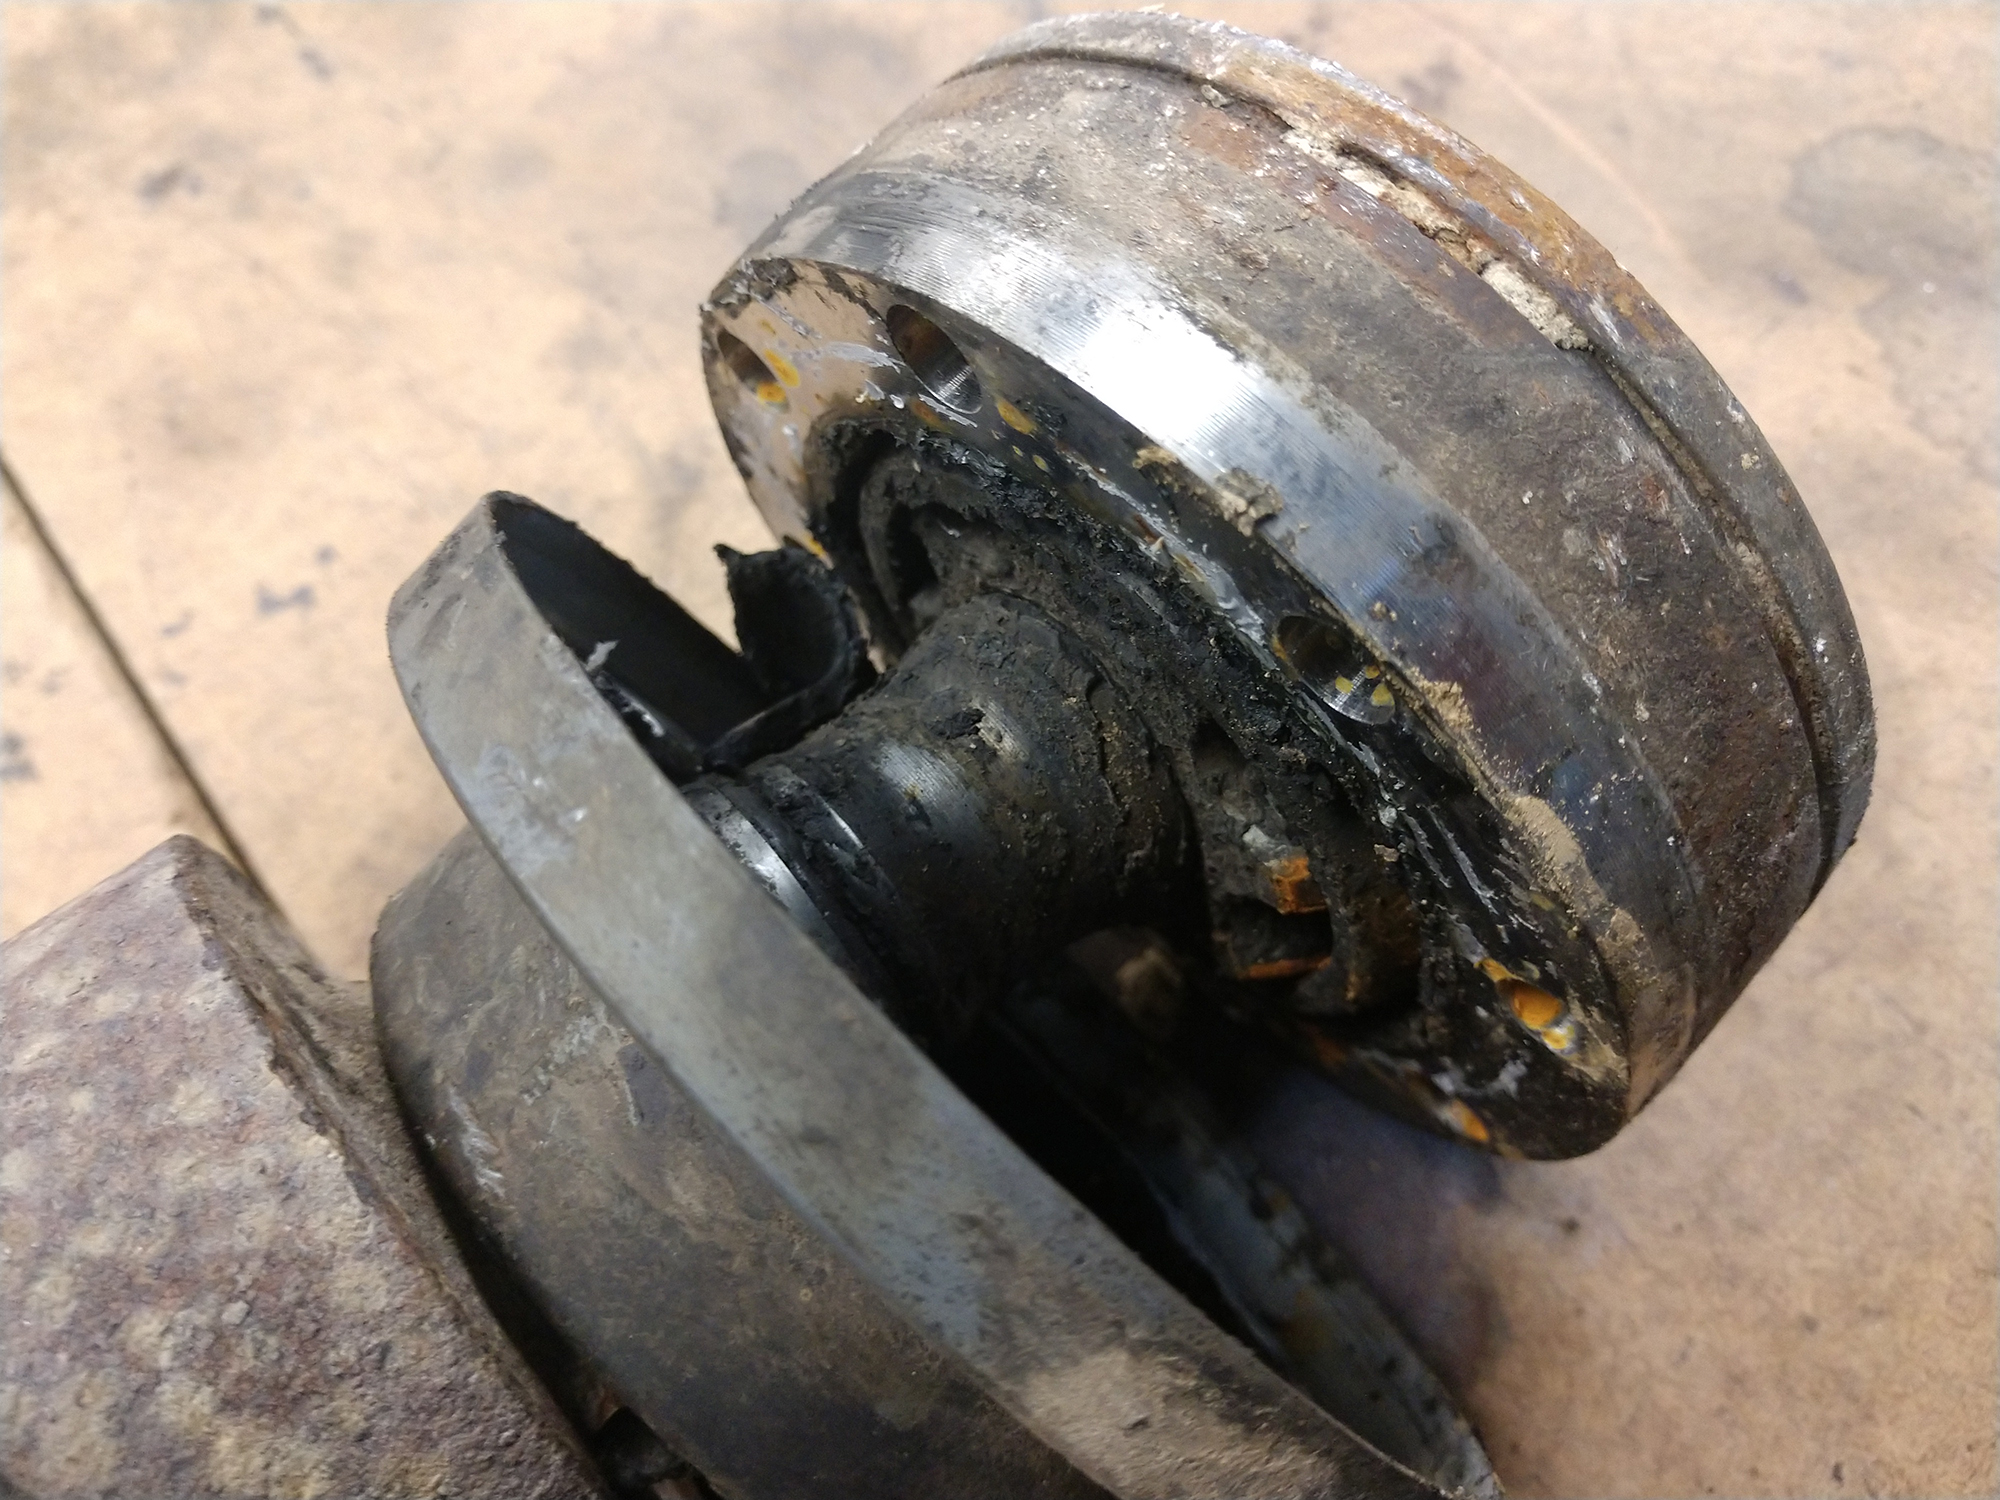
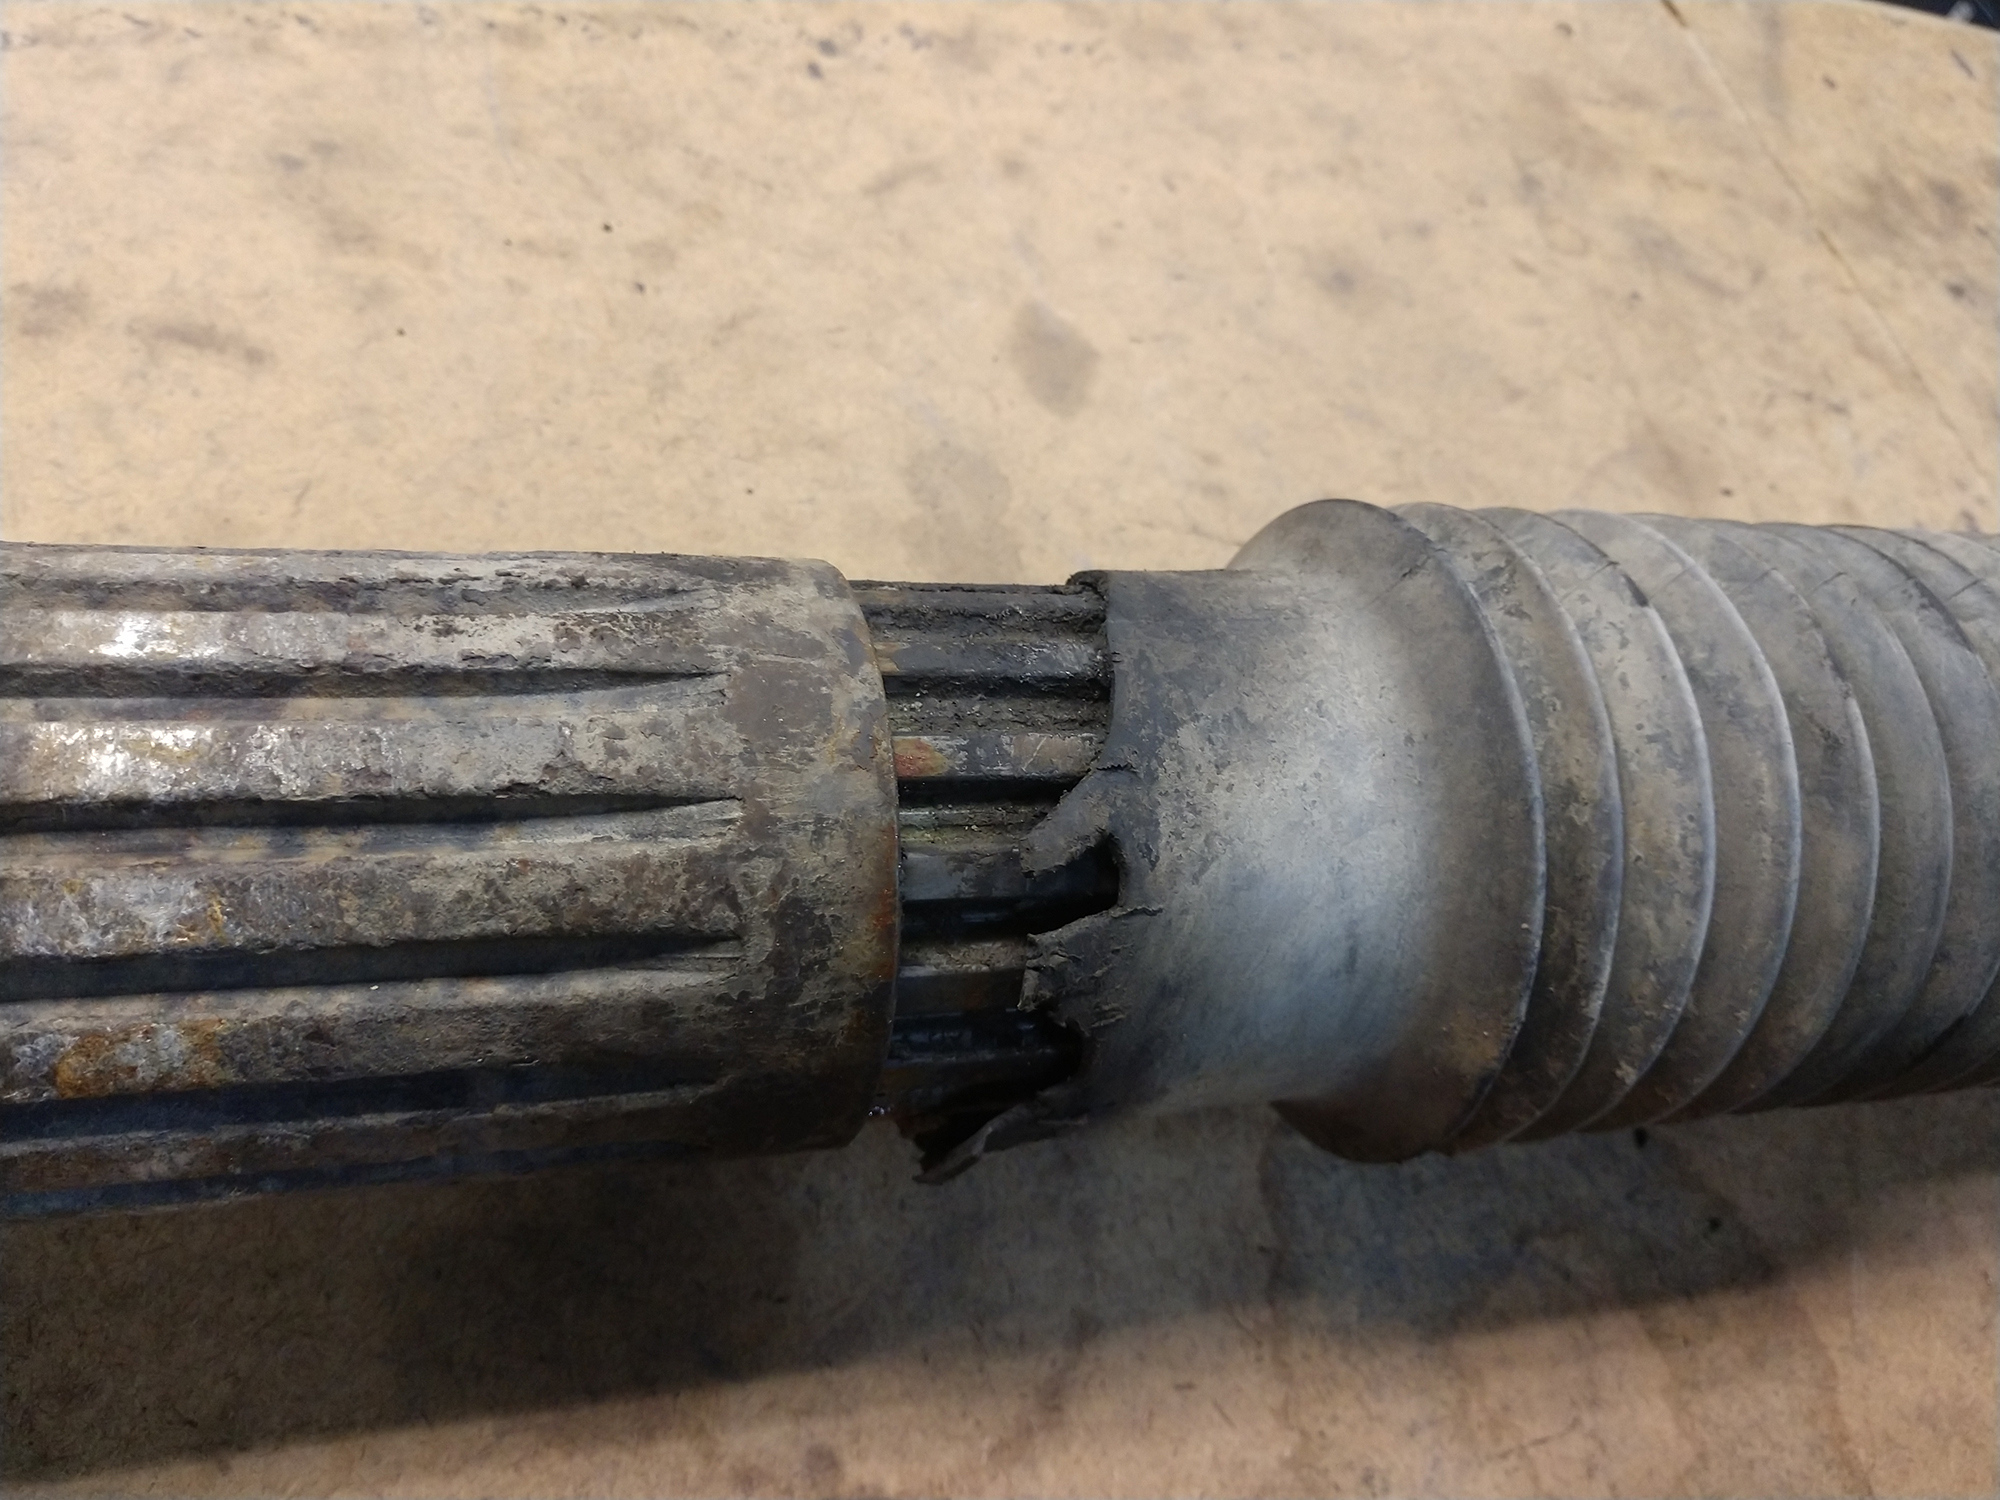
Besides the boot over the CV joint, the dust boot over the front drive shaft slip joint had fallen apart on the trail. The same gritty coal dust nonsense had crept into that connection as well, and it was very difficult to move.
Rebuild kits would replace both of these boots and the CV joint, and things would be almost new again once everything was cleaned and lubed thoroughly. Unfortunately, this kind of rebuild does nothing to increase durability beyond the factory specification. Since the operating angles have increased from a Rock Krawler 2.5” mid-arm suspension, the load on the factory components has pushed past what they can be reliably expected to handle.
With 35” tires now on the vehicle, and a plan go even bigger in the future, this original driveshaft was in definite need of an upgrade. The rear boot over the slip joint was also torn by an obstacle on the trail, but was otherwise functional.
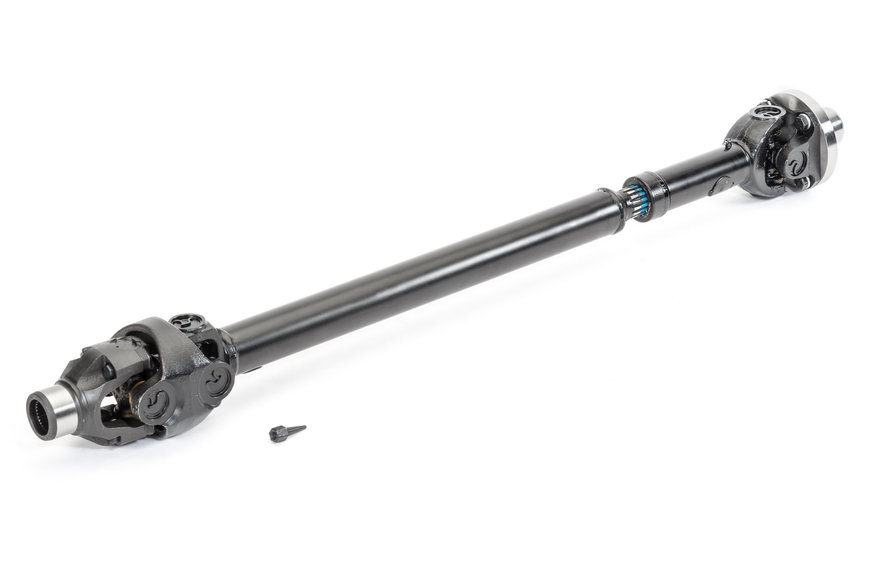
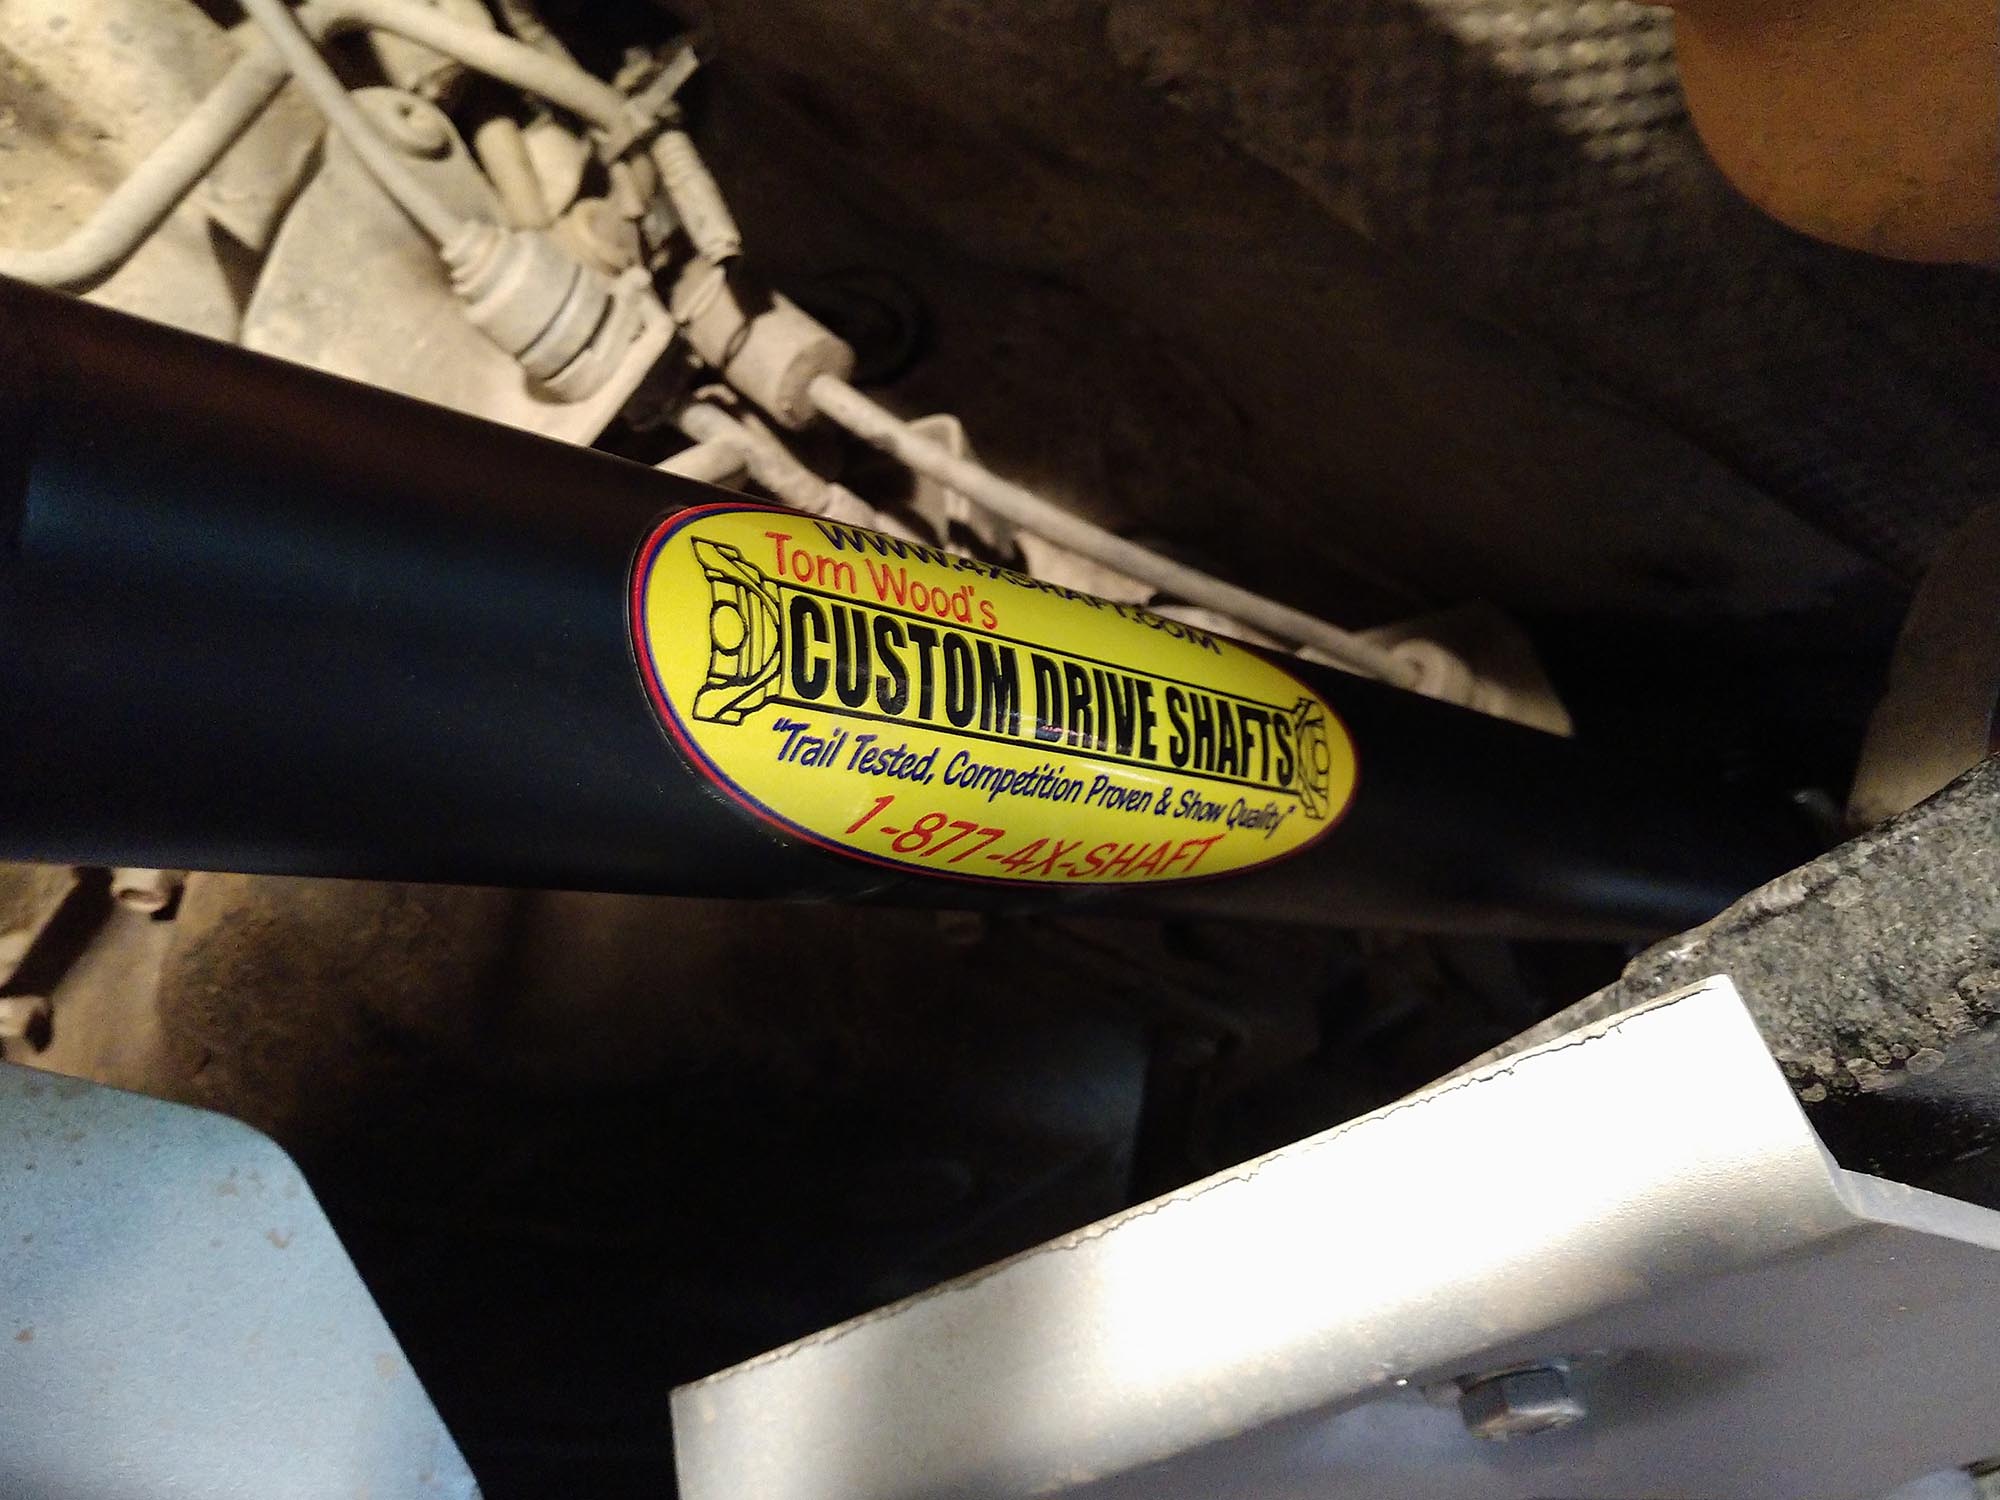
So we gave Tom Woods a call to determine which version of their ‘off the shelf’ JKU upgraded shafts would best suit our needs for this particular project. With the rather abusive trail miles getting more frequent, we decided the 1350 version (versus the less costly and more standard 1310 model) seemed wise. Keep in mind; the stronger joints may not be the best answer for you, as they are considered to be the “fuse” in the driveline preventing more costly damage. This article from Offroad Consulting's Kyle Buchter is full of really good advice on this subject.
Since stronger axles, more lift and larger tires are in my future plans (and the Rubicon’s lower 4:1 transfer case gearing), it made sense for me to go with the 1350s. For many other modified or stock applications, a 1310 Tom Woods drive shaft is a perfect application, and will be fine protection to keep much more expensive components out of harm’s way. Again, there is no right answer and only you can make that decision.
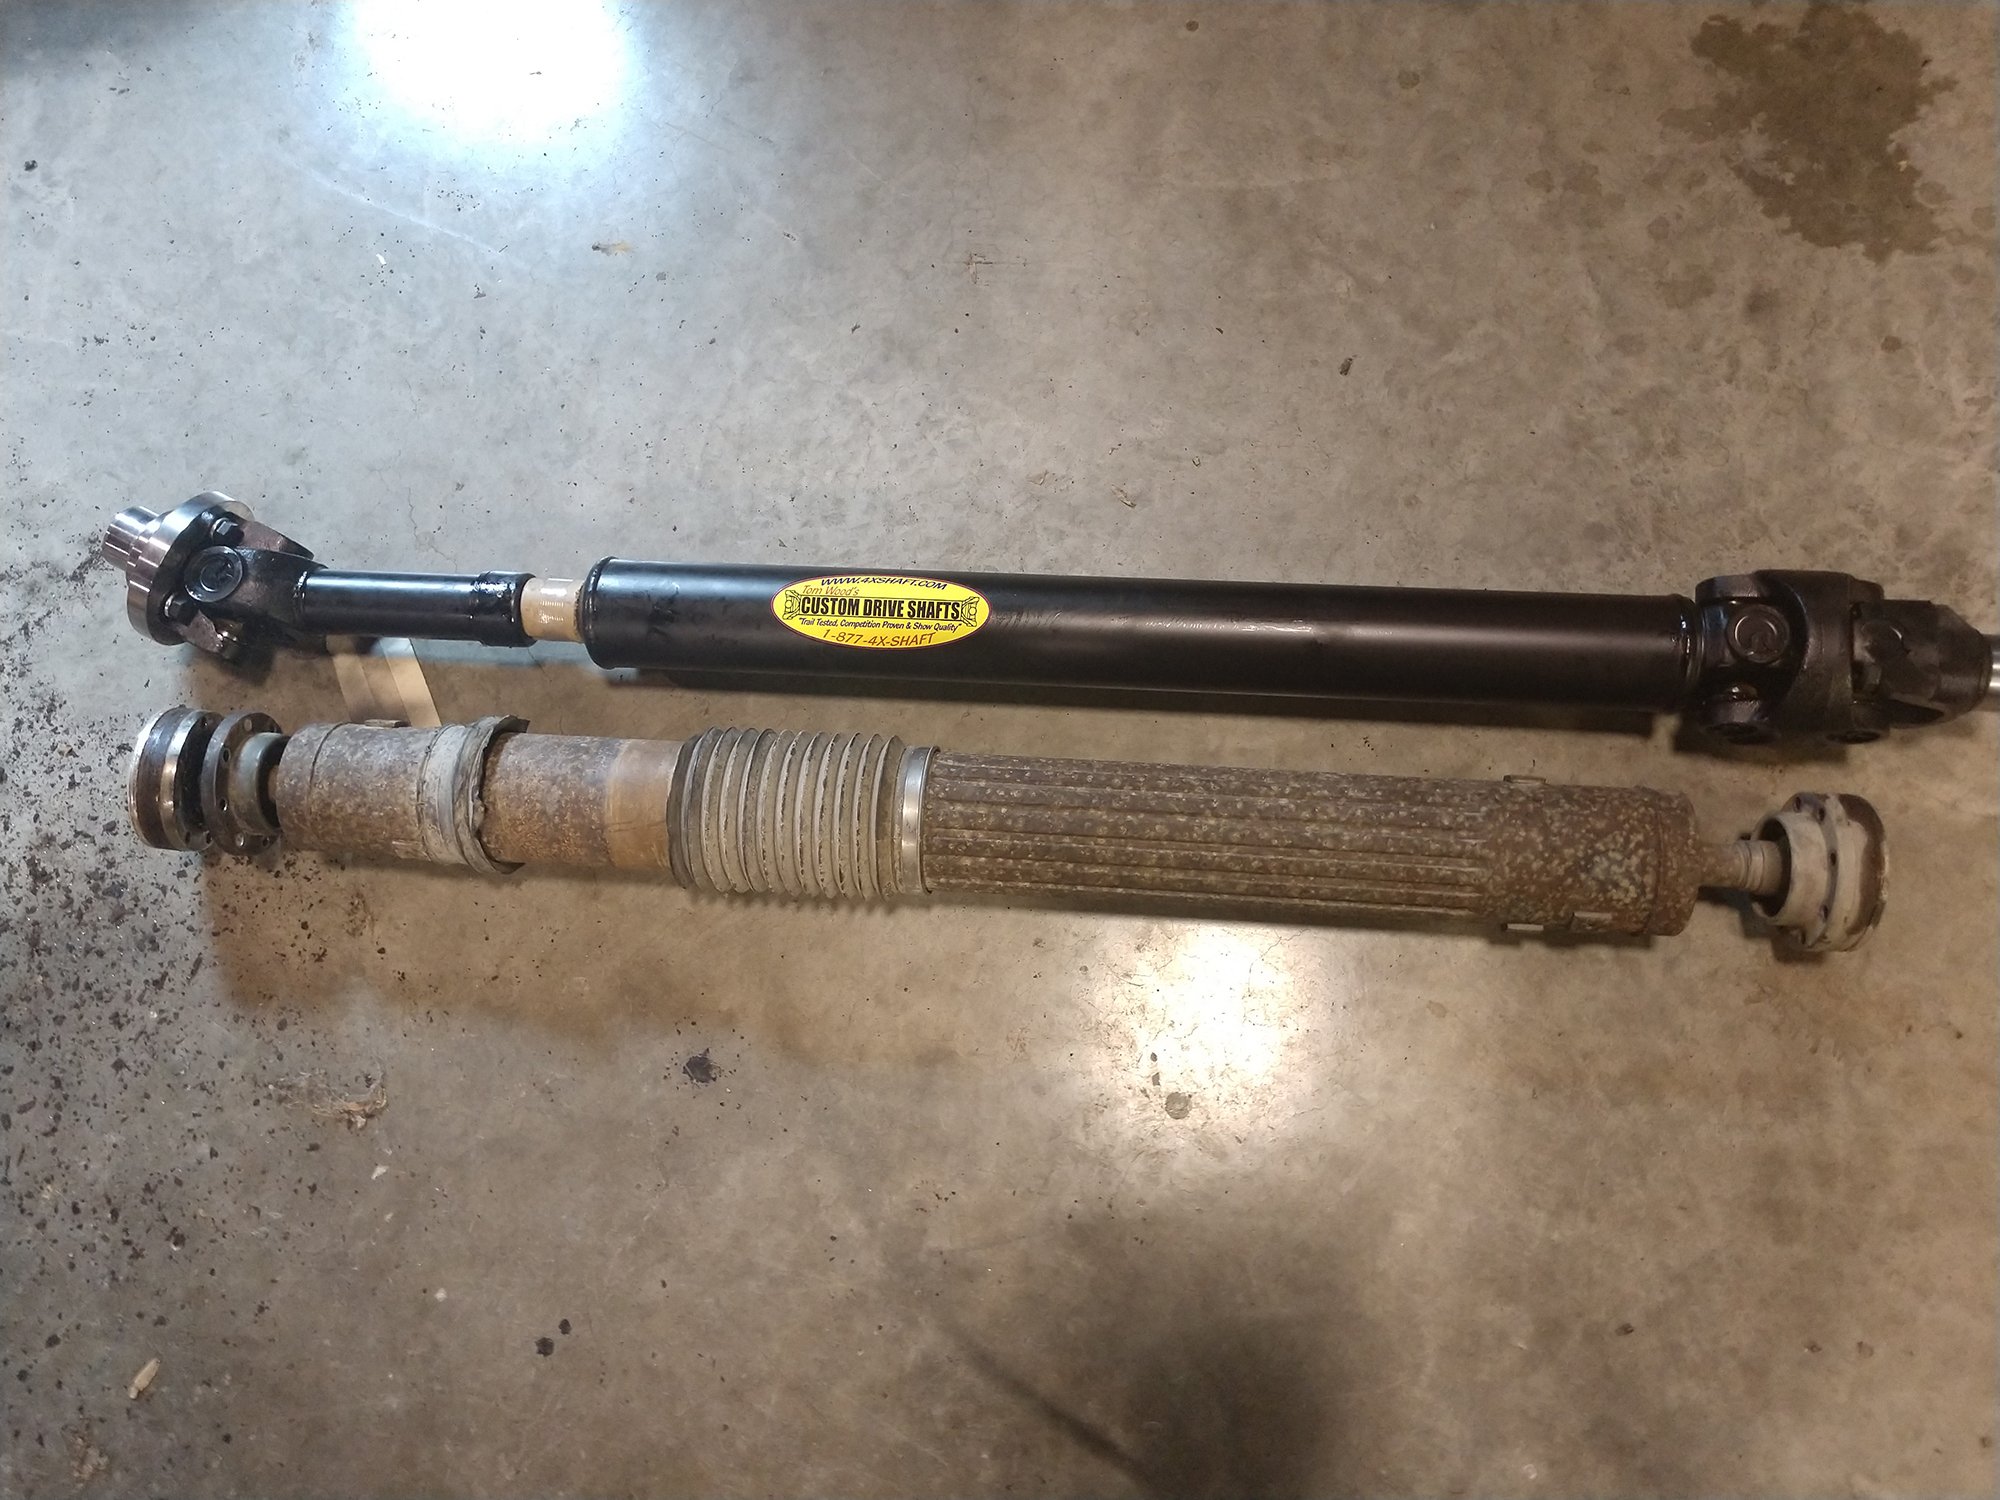
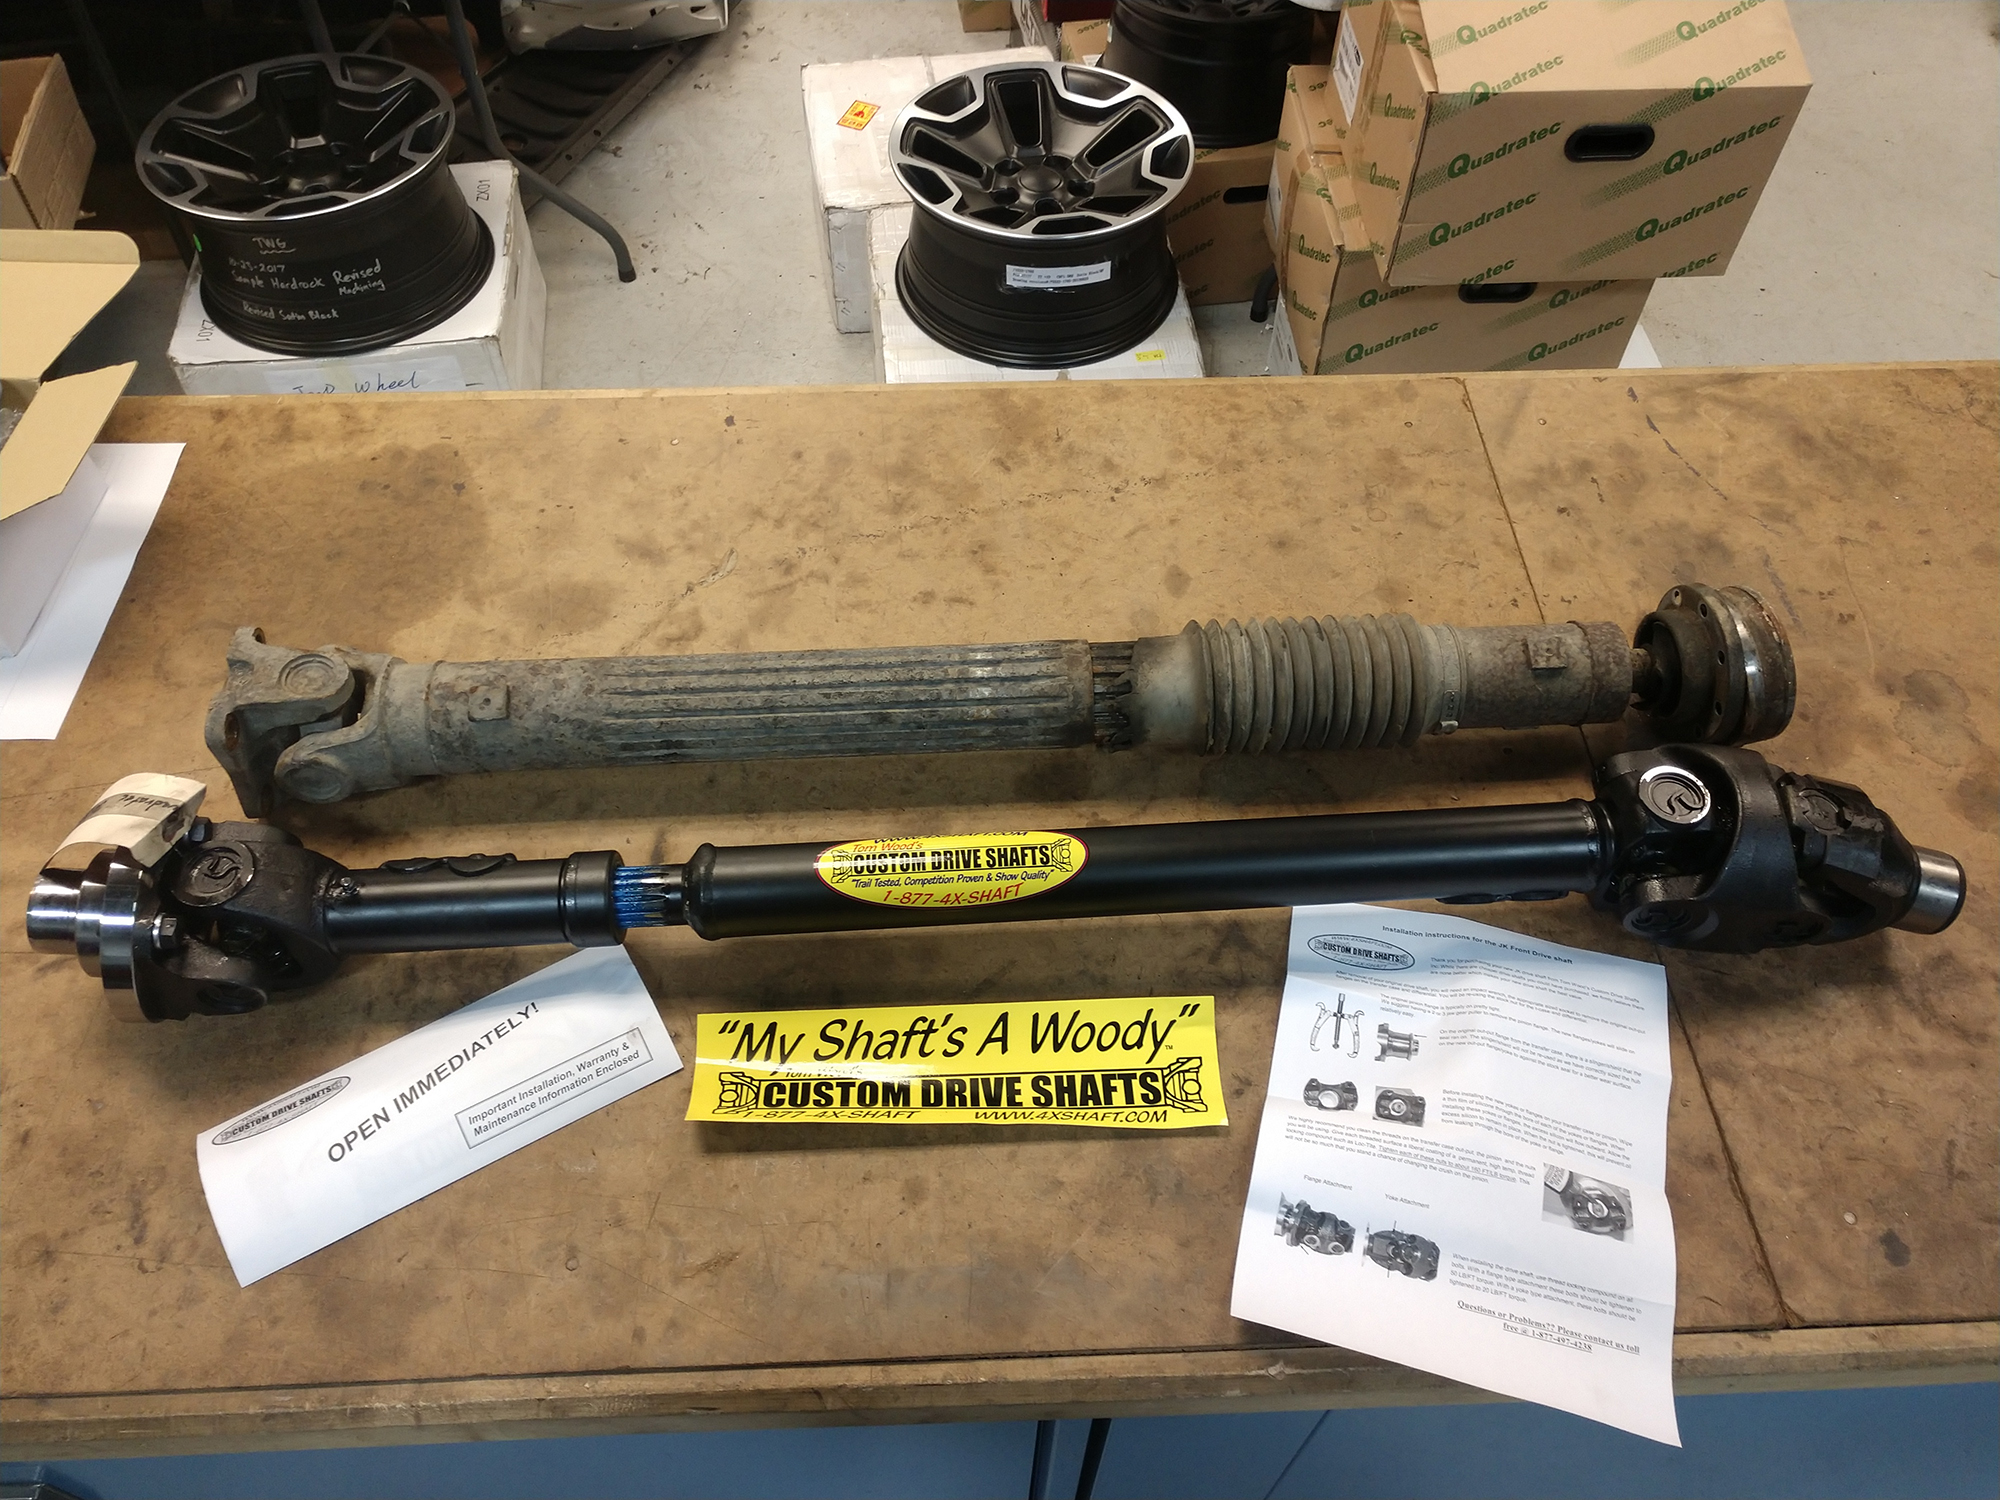
As with the front, the double CV joints of the factory axle are replaced with a 1350 U-joint on the pinion side, and another double cardan CV on the transfer case side.
Instead of reusing the factory drive flanges, Tom Woods' front and rear driveshafts come with new components that I’ll highlight a little later. This will require removal of the original flanges on both the transfer case and differential sides, but a ½-inch impact gun and the proper size sockets make this easy.
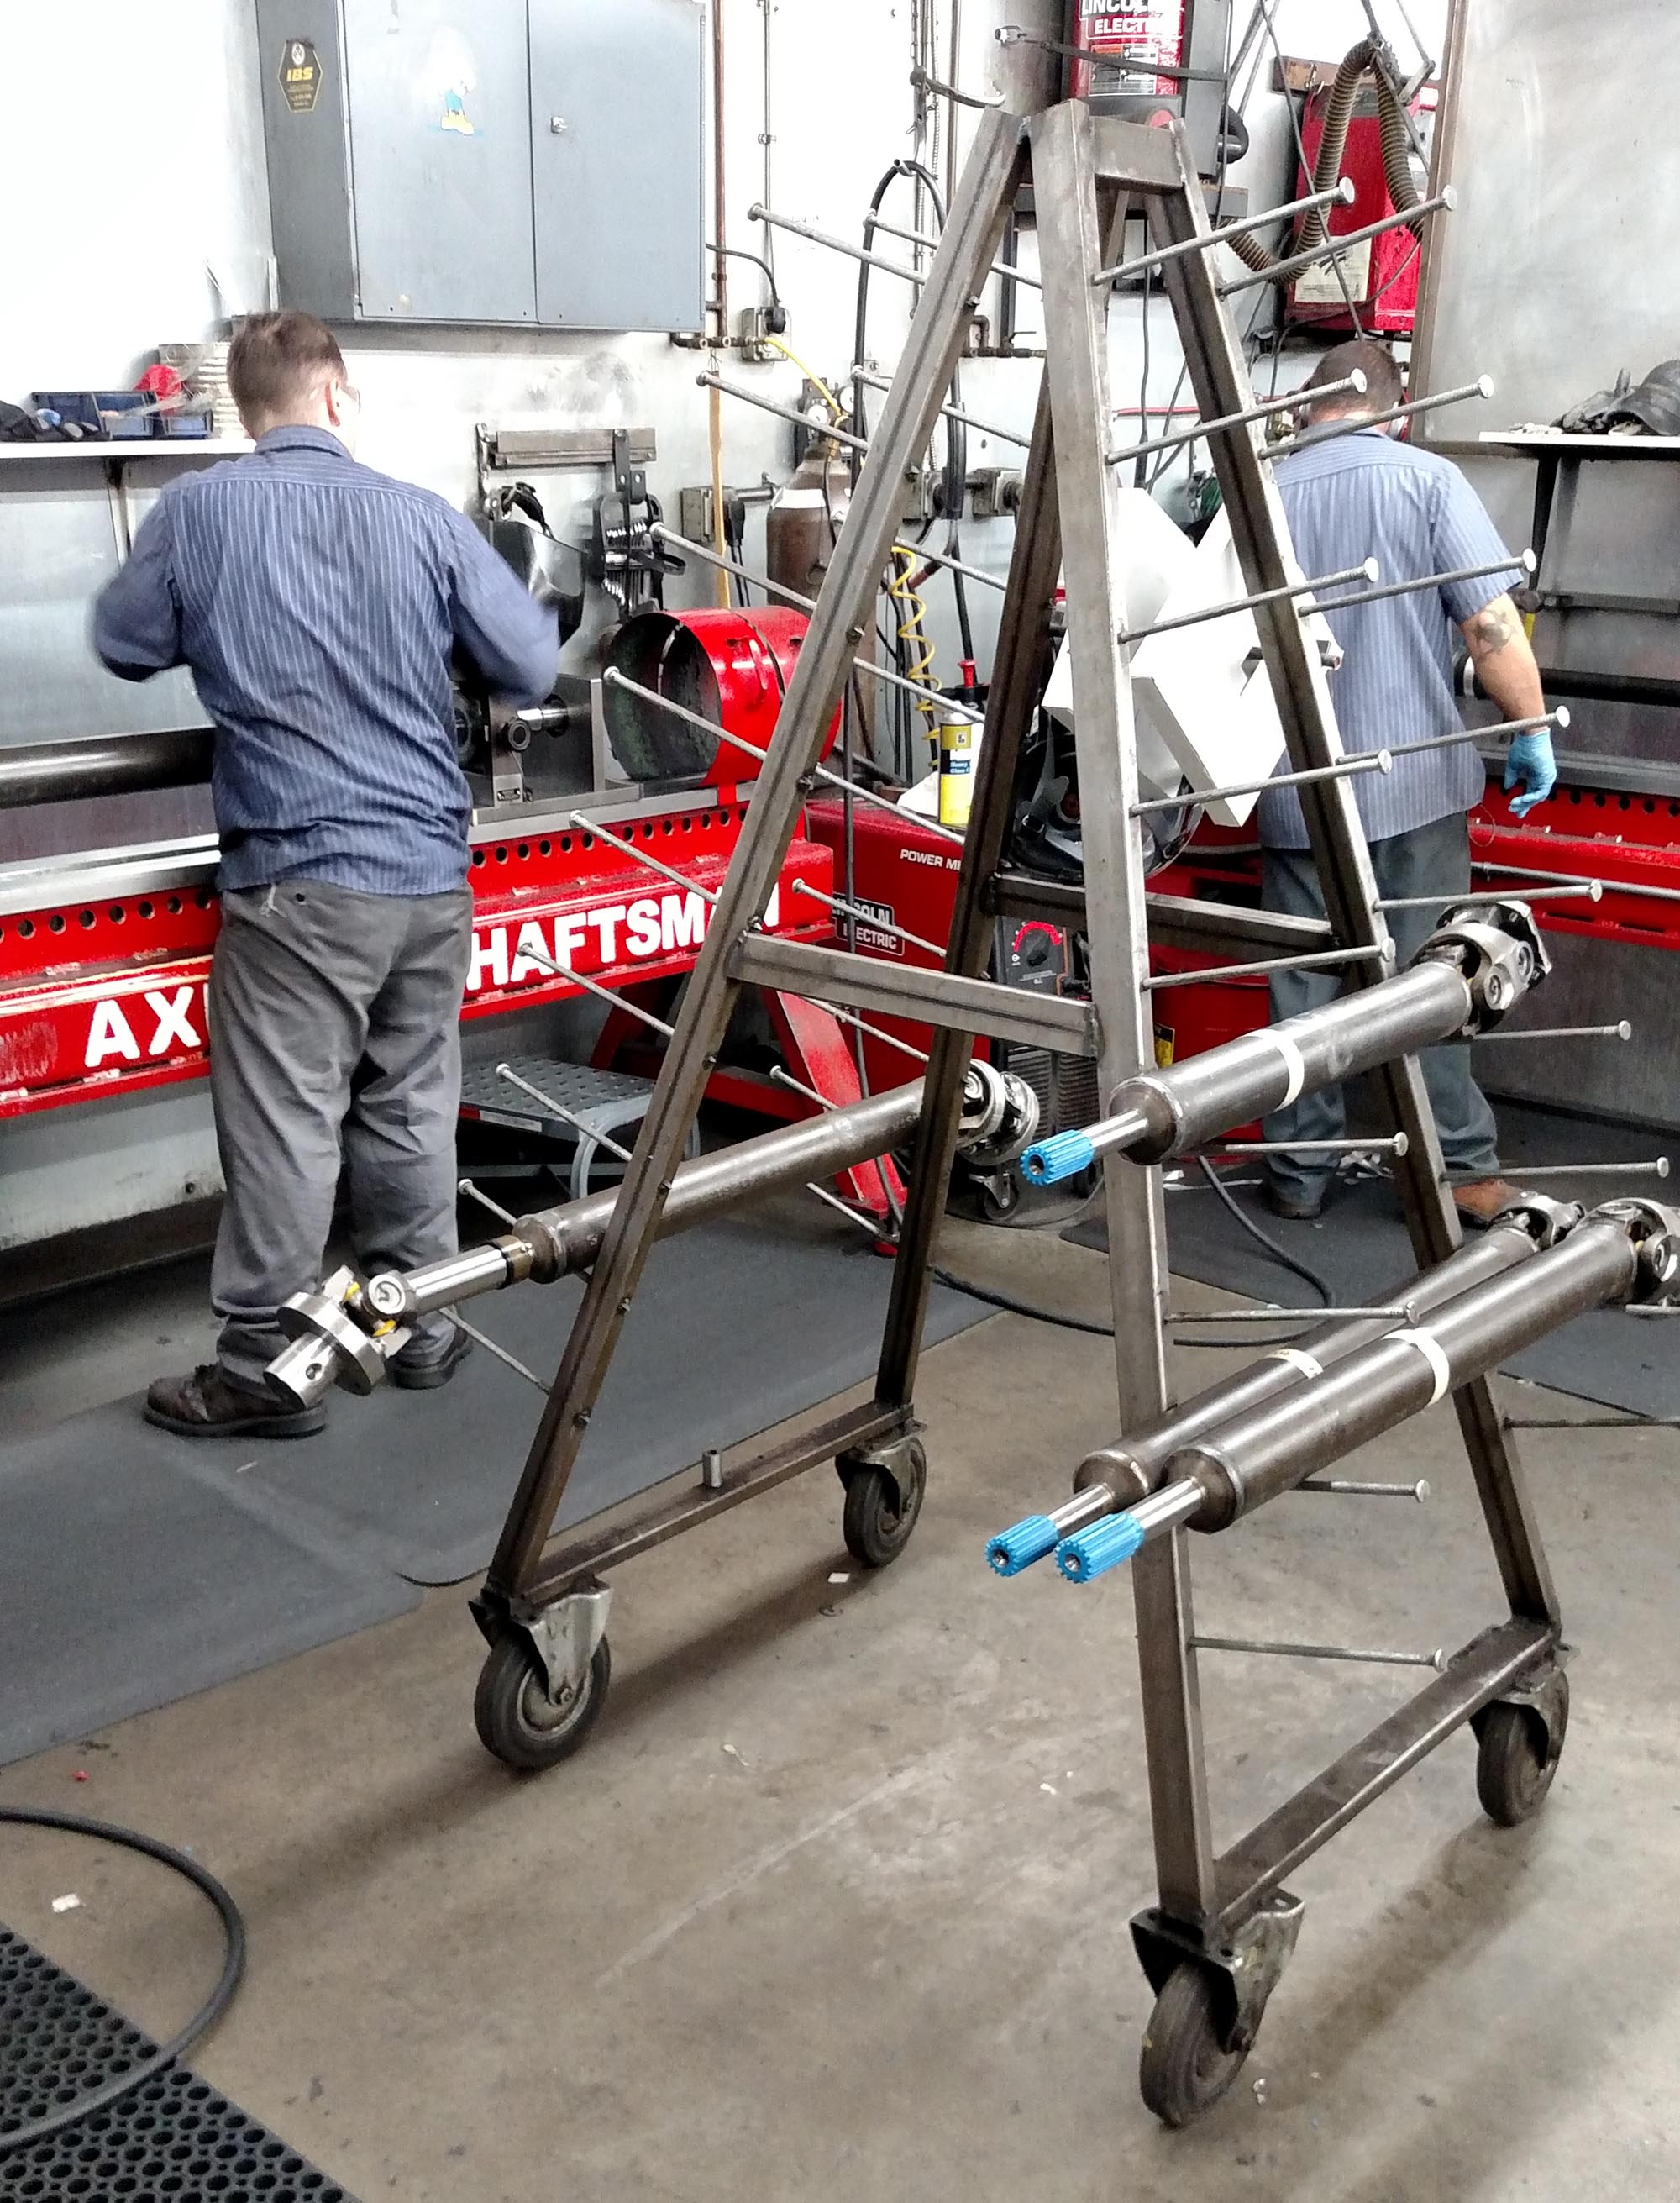
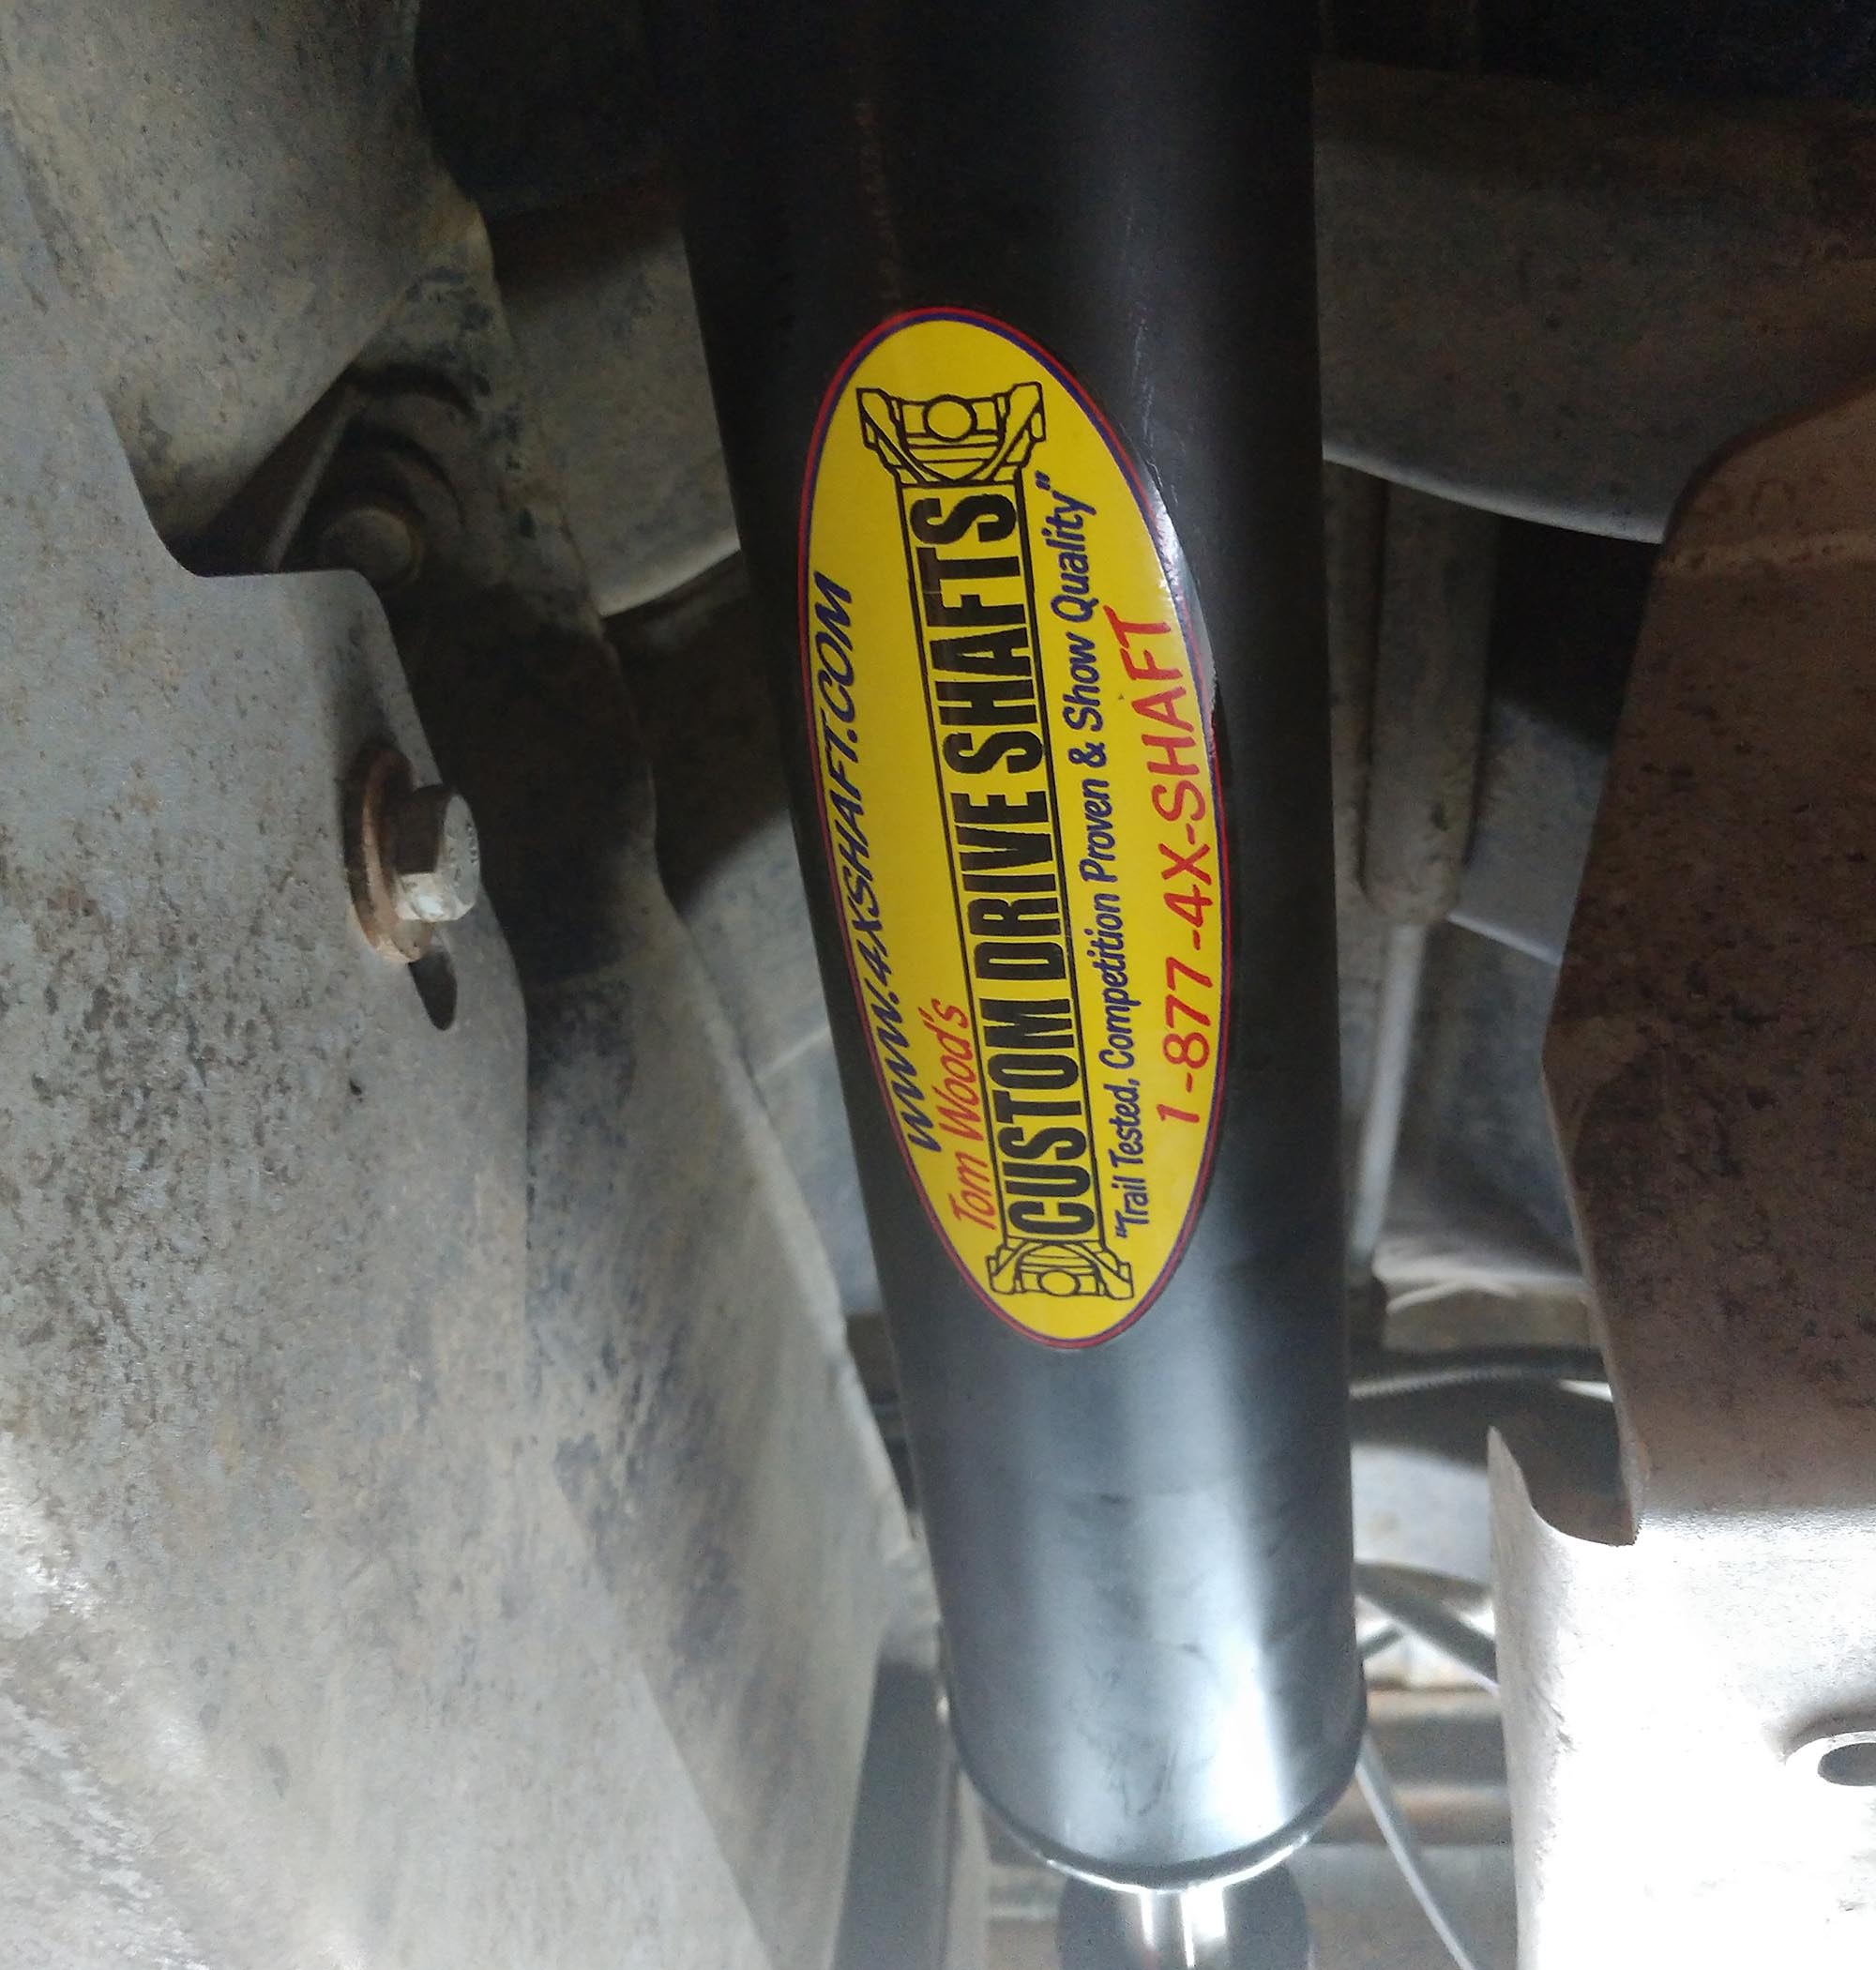
Before we get into the installation procedure, just a few notes on what makes Tom Woods a premier name in performance driveshafts. Twenty years ago, Tom launched his one-man operation in a small rented garage. Today, that enterprise has grown to require a 4800-square-foot facility in Ogden Utah, employing a solid crew of professionals. They specialize in four-wheel-drive components, and can easily accommodate custom specifications for all types of vehicles.

All of their driveshafts are manufactured from American Domestic Steel DOM tubing, and semi-robotic MIG welding equipment is used to ensure precise tolerances. The slip yokes are made from forged components for durability, and all moving parts are fully greasable. This simple component can mean the difference between having a great day in the woods, and getting towed home. I know I want the best parts I can get under my ride so that I’m driving home at the end of the day.
The Tom Woods exclusive Gold Seal universal joints used in their JK driveshafts have a lifetime warranty against breakage, as well as damage to shaft components as a result of that breakage. These are precisely manufactured Tom Woods' incredibly high standards, and are designed to exceed load, life and strength requirements.
All drive shafts are precision balanced in house at 3400 RPM, ensuring vibration free performance right out of the box. They also come pre-greased and ready for installation.
Required tools:
- 8mm socket, 8mm box/open wrench
- ⅝” socket, ⅝” box/open wrench
- ½” socket, ½” box/open wrench
- Impact gun with around 200 ft/lb reverse power
- Torque wrench that can handle 20-160 ft/lb (many stop at 150, check yours)
- 1-5/16 socket for Dana 44 pinion nuts
- 1-¼ socket for transfer case drive flange nuts
- ⅜” and ½” extensions
- A rubber mallet or dead blow hammer
- Flat-bladed screwdriver or small pry bar
- A two arm adjustable puller
- Silicone RTV
- Quality threadlocker compound (red is recommended)
- An extra person (not required, but a real time saver)
- A rolling creeper or something to go between your back and ground
One other nice thing about installing these items is that you really should not need a lift. If your Jeep sits high enough to need 1350 drive shafts, you can probably crawl around under it fairly easily.
Front driveshaft replacement procedure:
Before doing anything, put the Jeep in gear and set the brakes. Then, block a wheel or two in both directions. Use a 15mm socket or wrench to remove the four bolts on the differential side.
With the front loose, you can shift the Jeep into four-wheel drive on the transfer case to lock the other end in place. An 8mm tool will be required to get to these bolts, and depending on the way your wrench is shaped, you might prefer a socket. You’ll have to spin the driveshaft part way through (possibly more than once) to get to all the bolts—this is where a second person can really help. Shifting the transfer case out of four-wheel drive will let you spin it by hand, and then lock it back in to loosen the bolts.
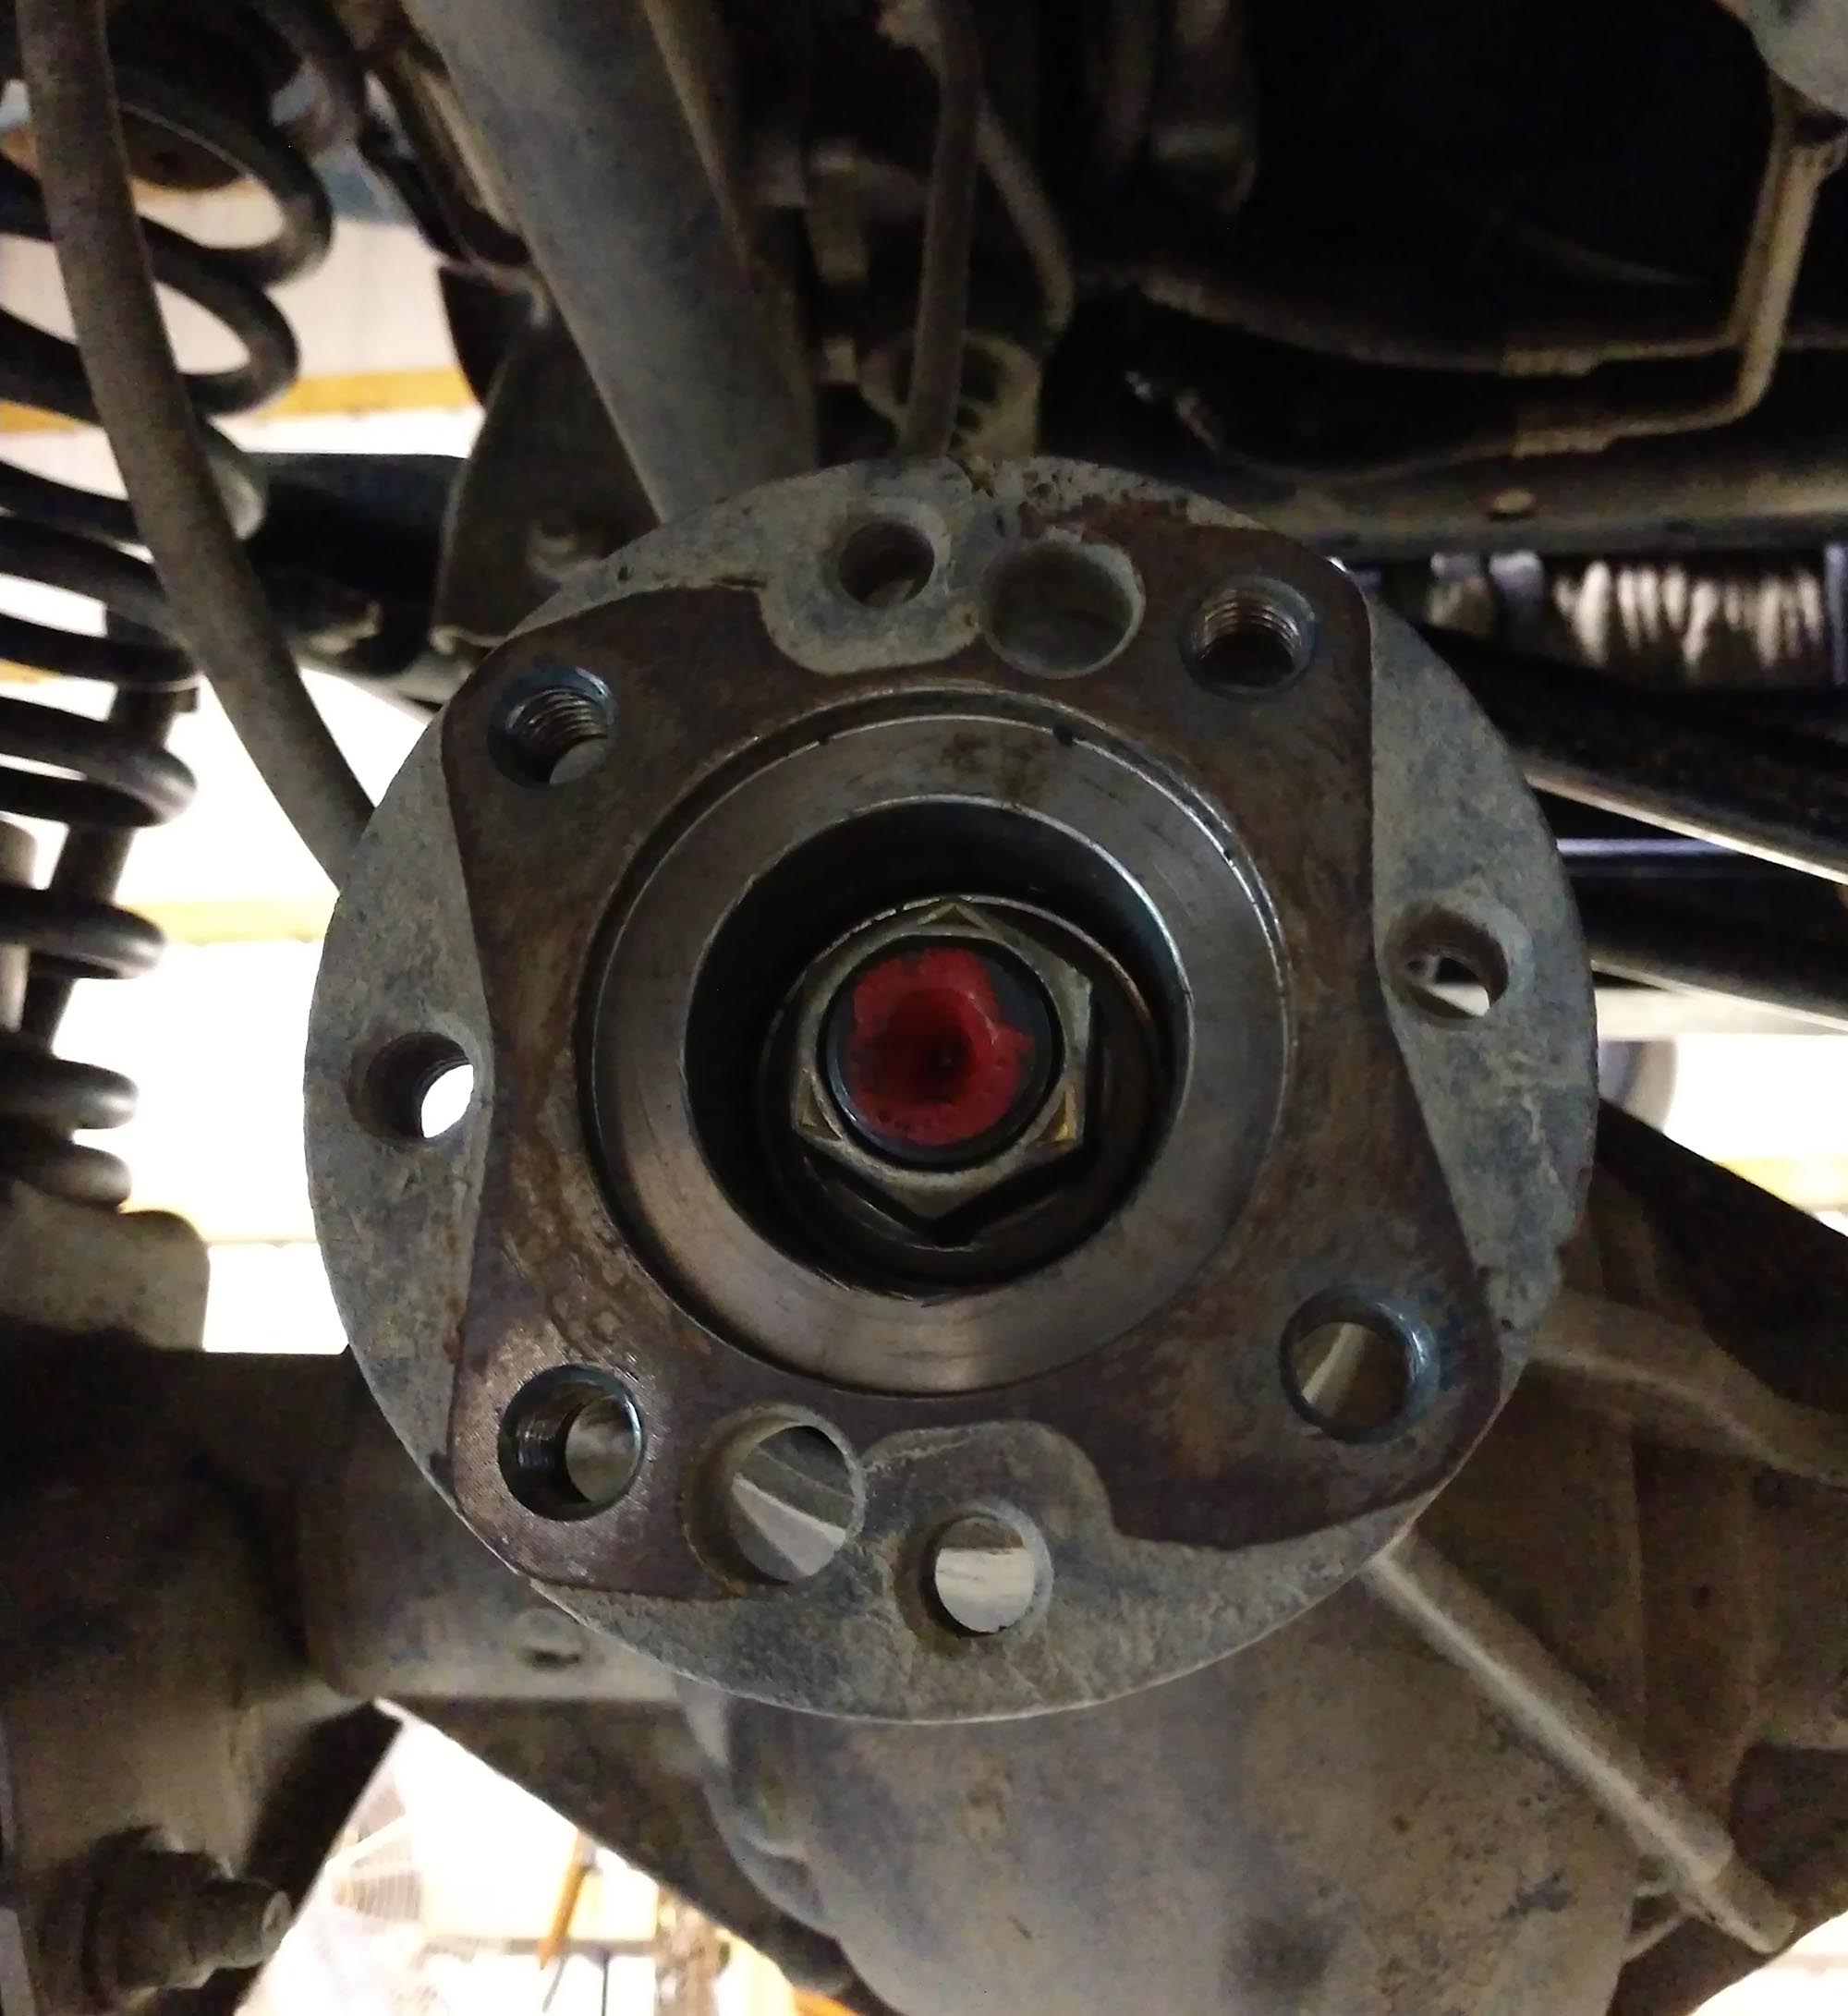
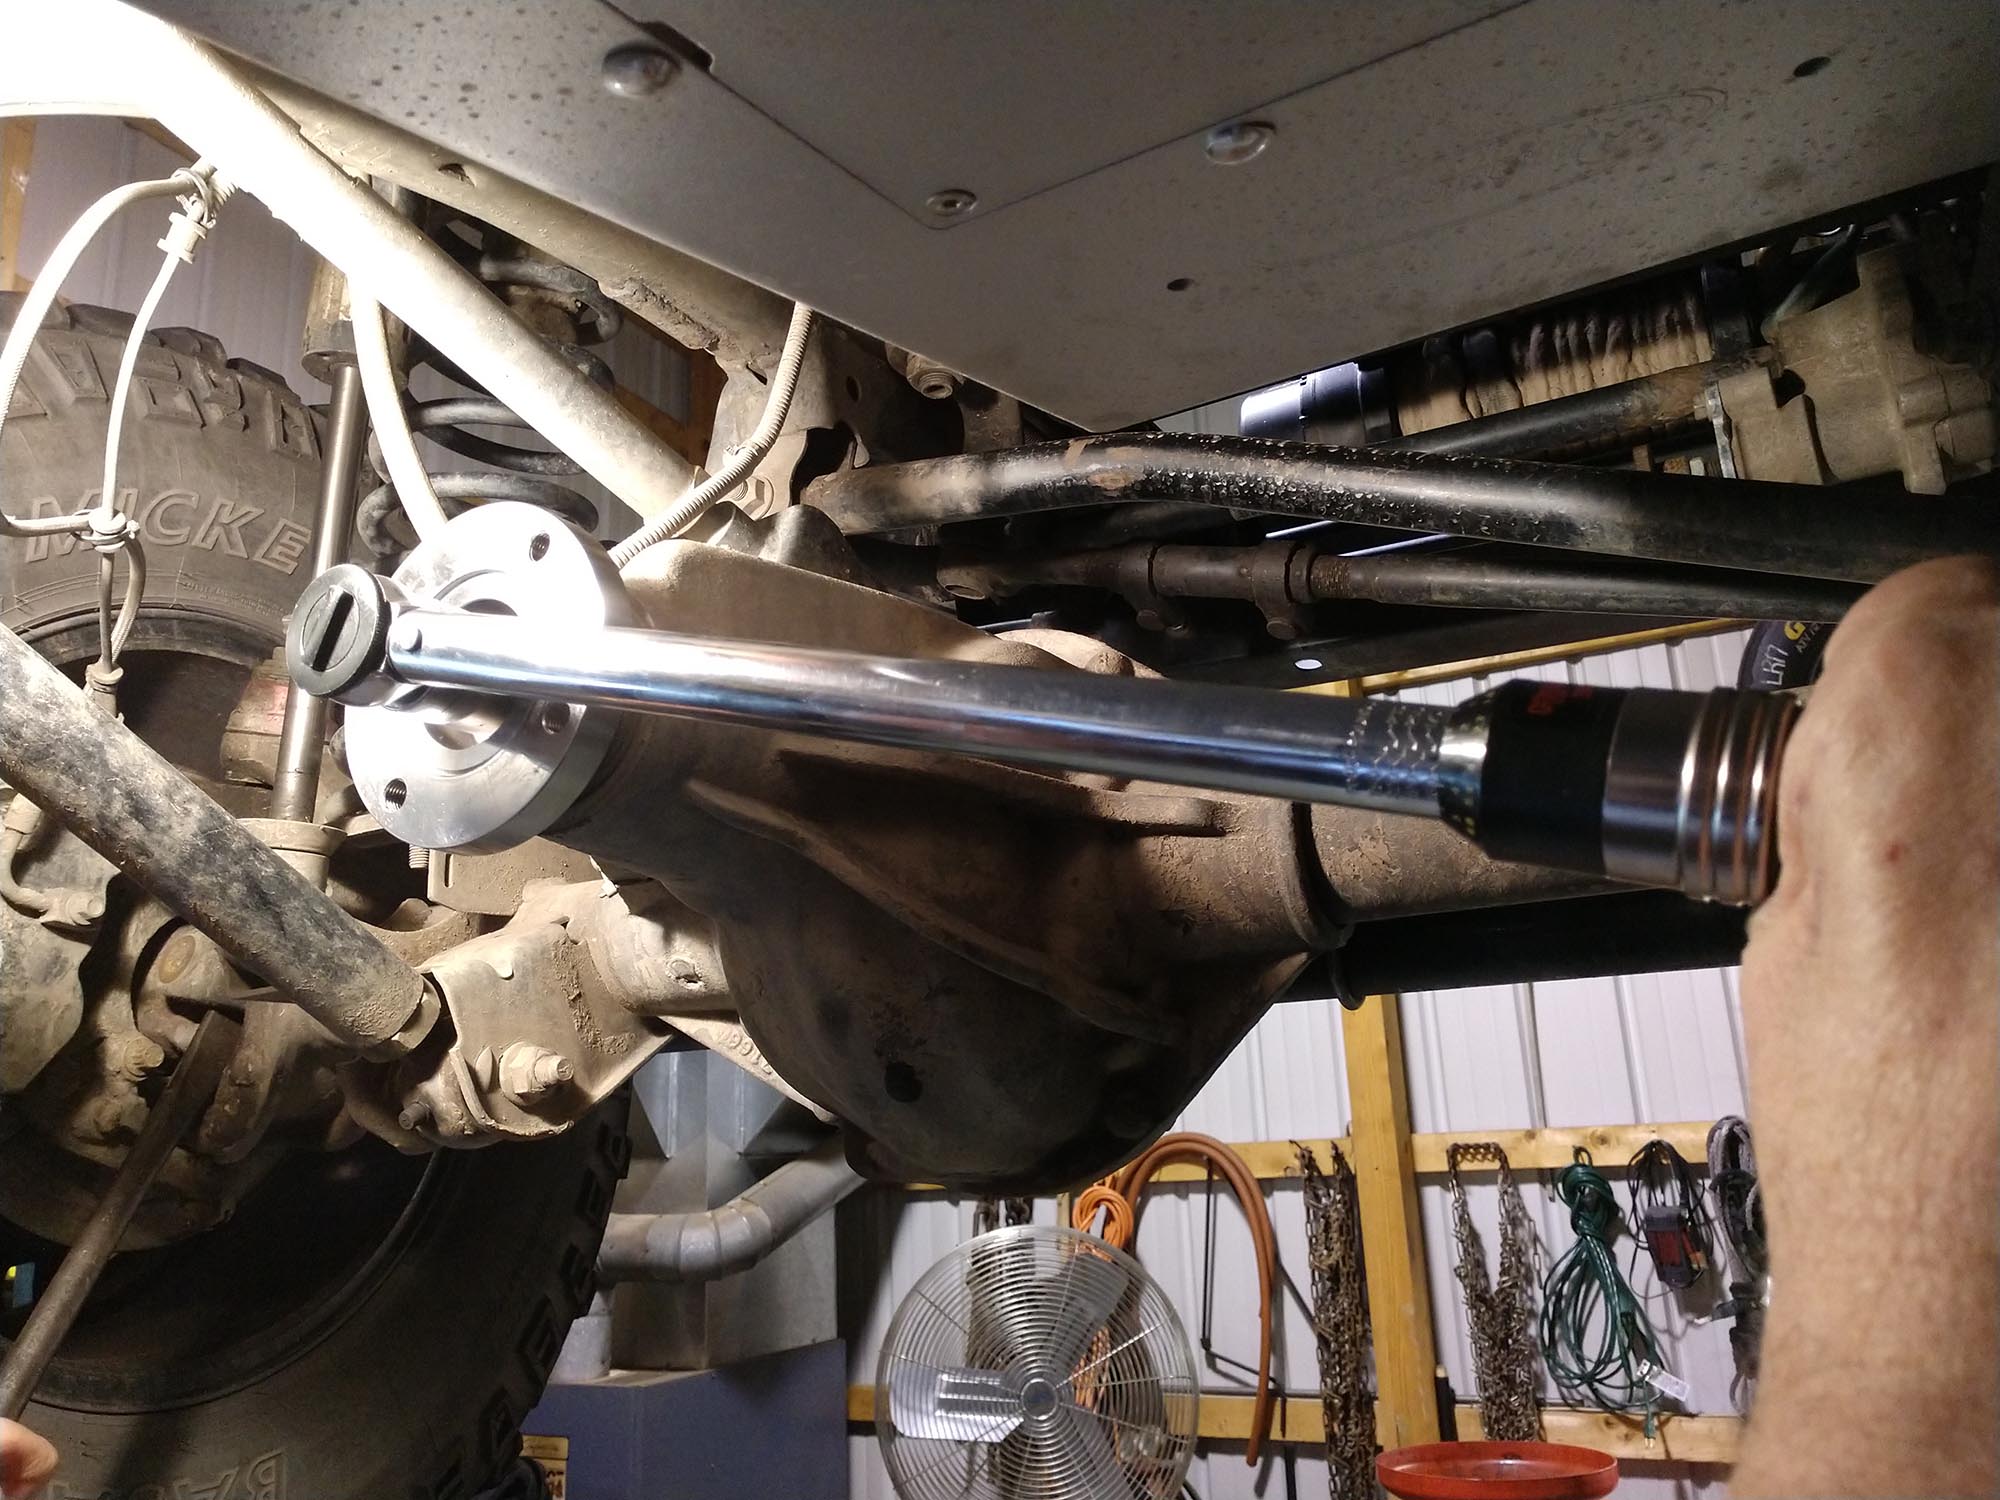
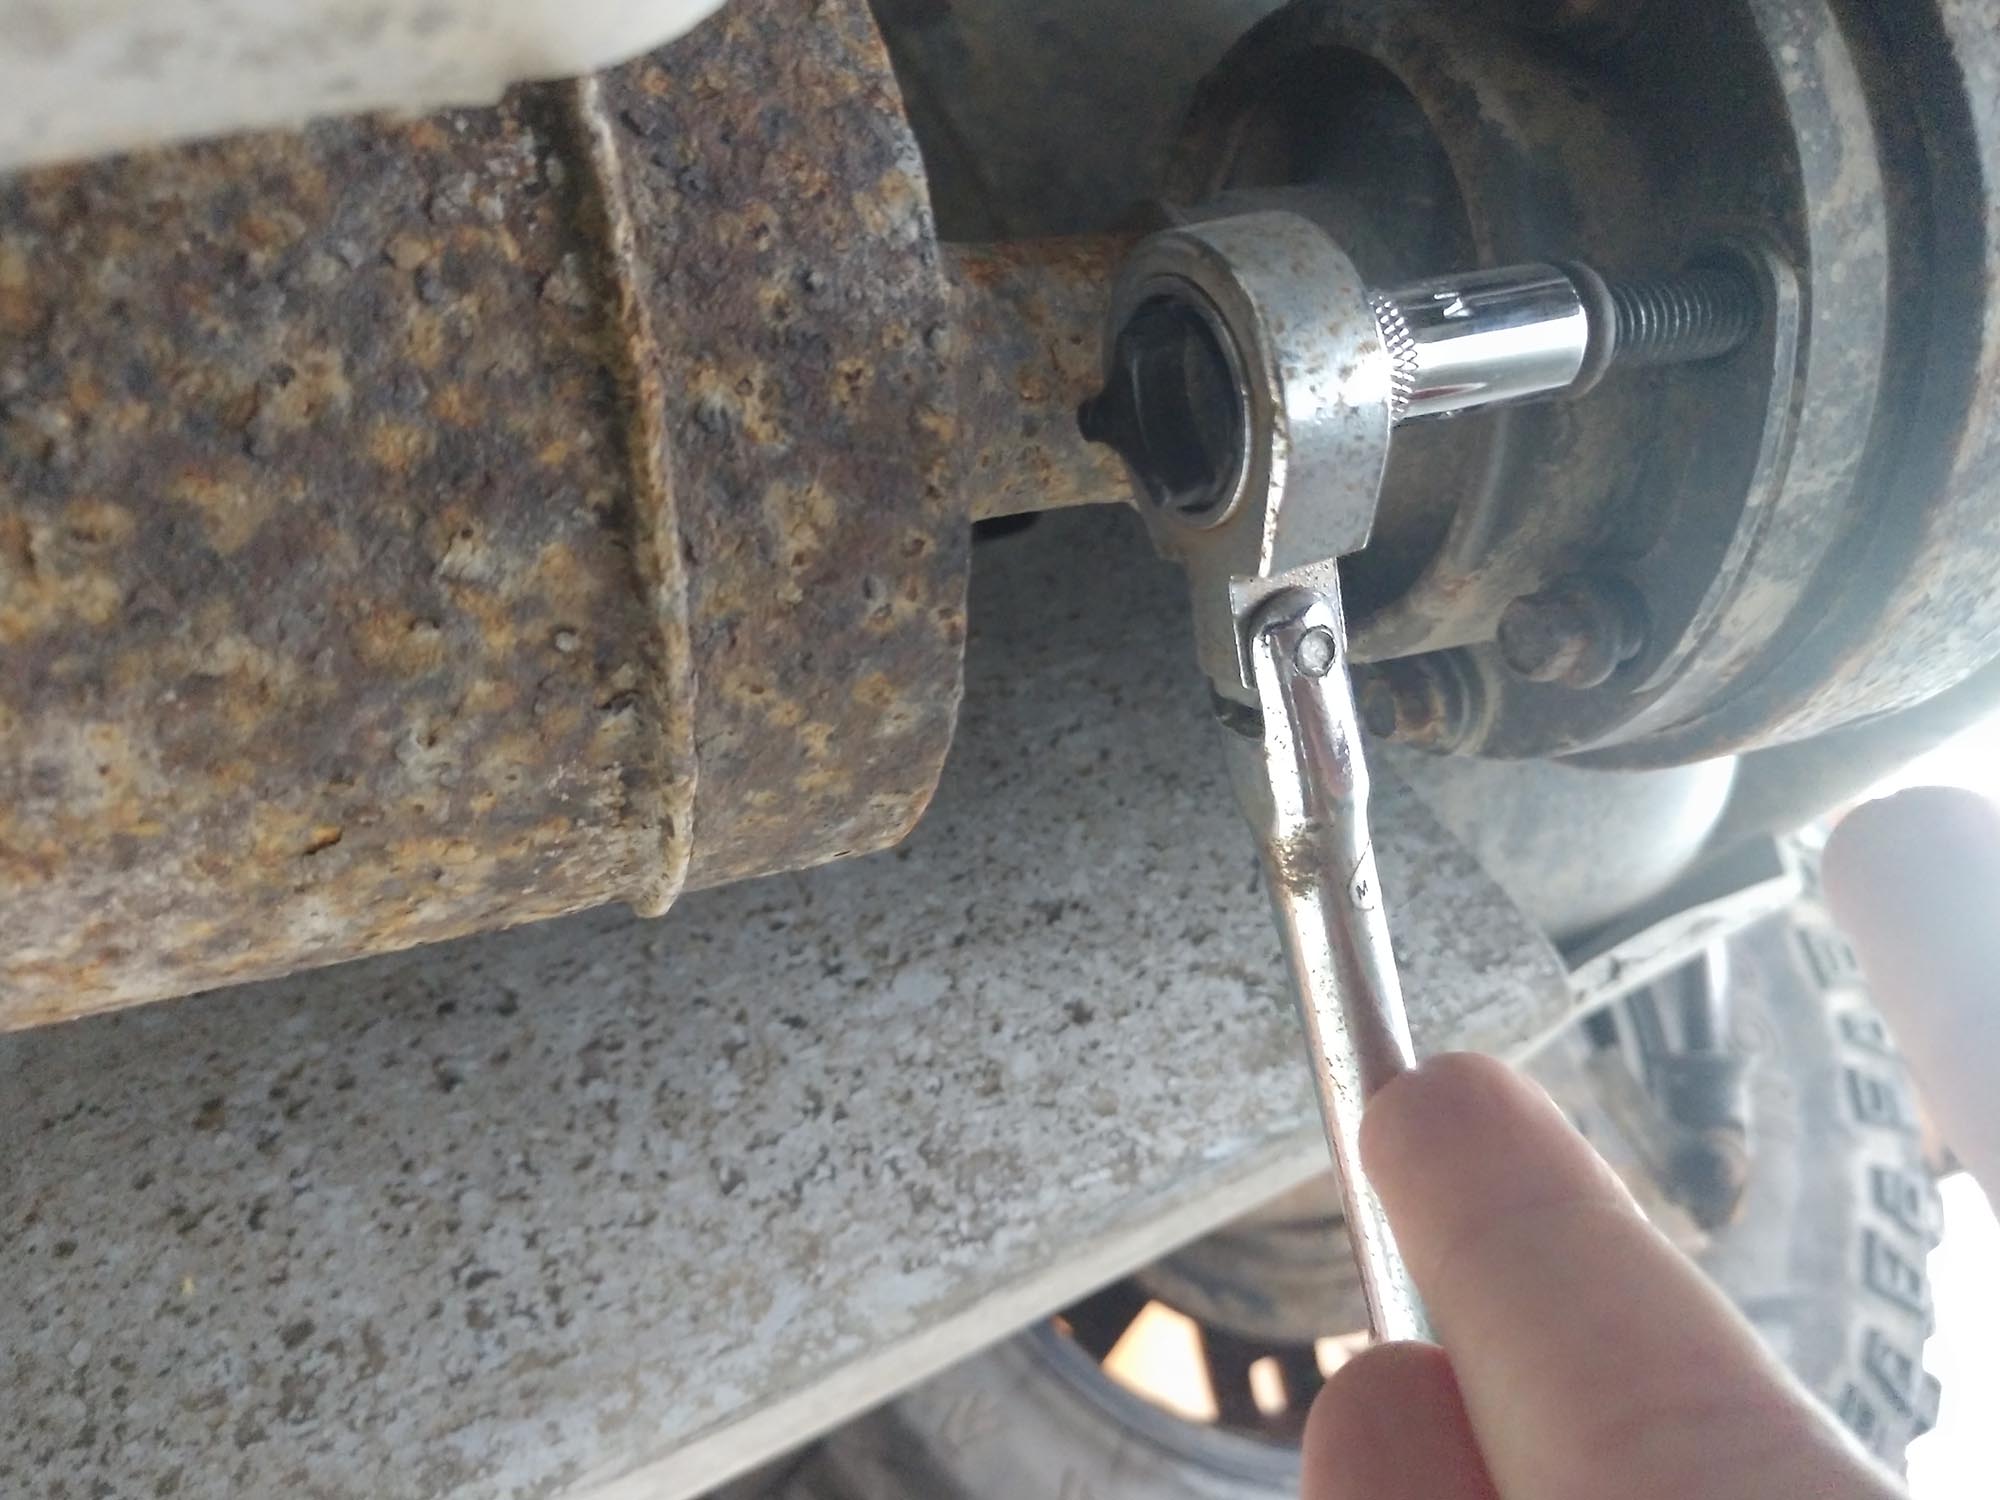
Using the impact socket and the 1-5/16” socket, take the nut off the front drive flange. A two arm puller may be required to remove the flange—in my case a little penetrating oil and 10 minutes of waiting allowed me to lightly tap it free with a dead blow hammer. You don’t want to smack it hard, this will not make your pinion bearing very happy. If it seems stuck, use the puller.
Next, make sure the transfer case is engaged in four-wheel drive, and use the 1-¼” socket and impact gun to remove the nut on the transfer case drive flange.
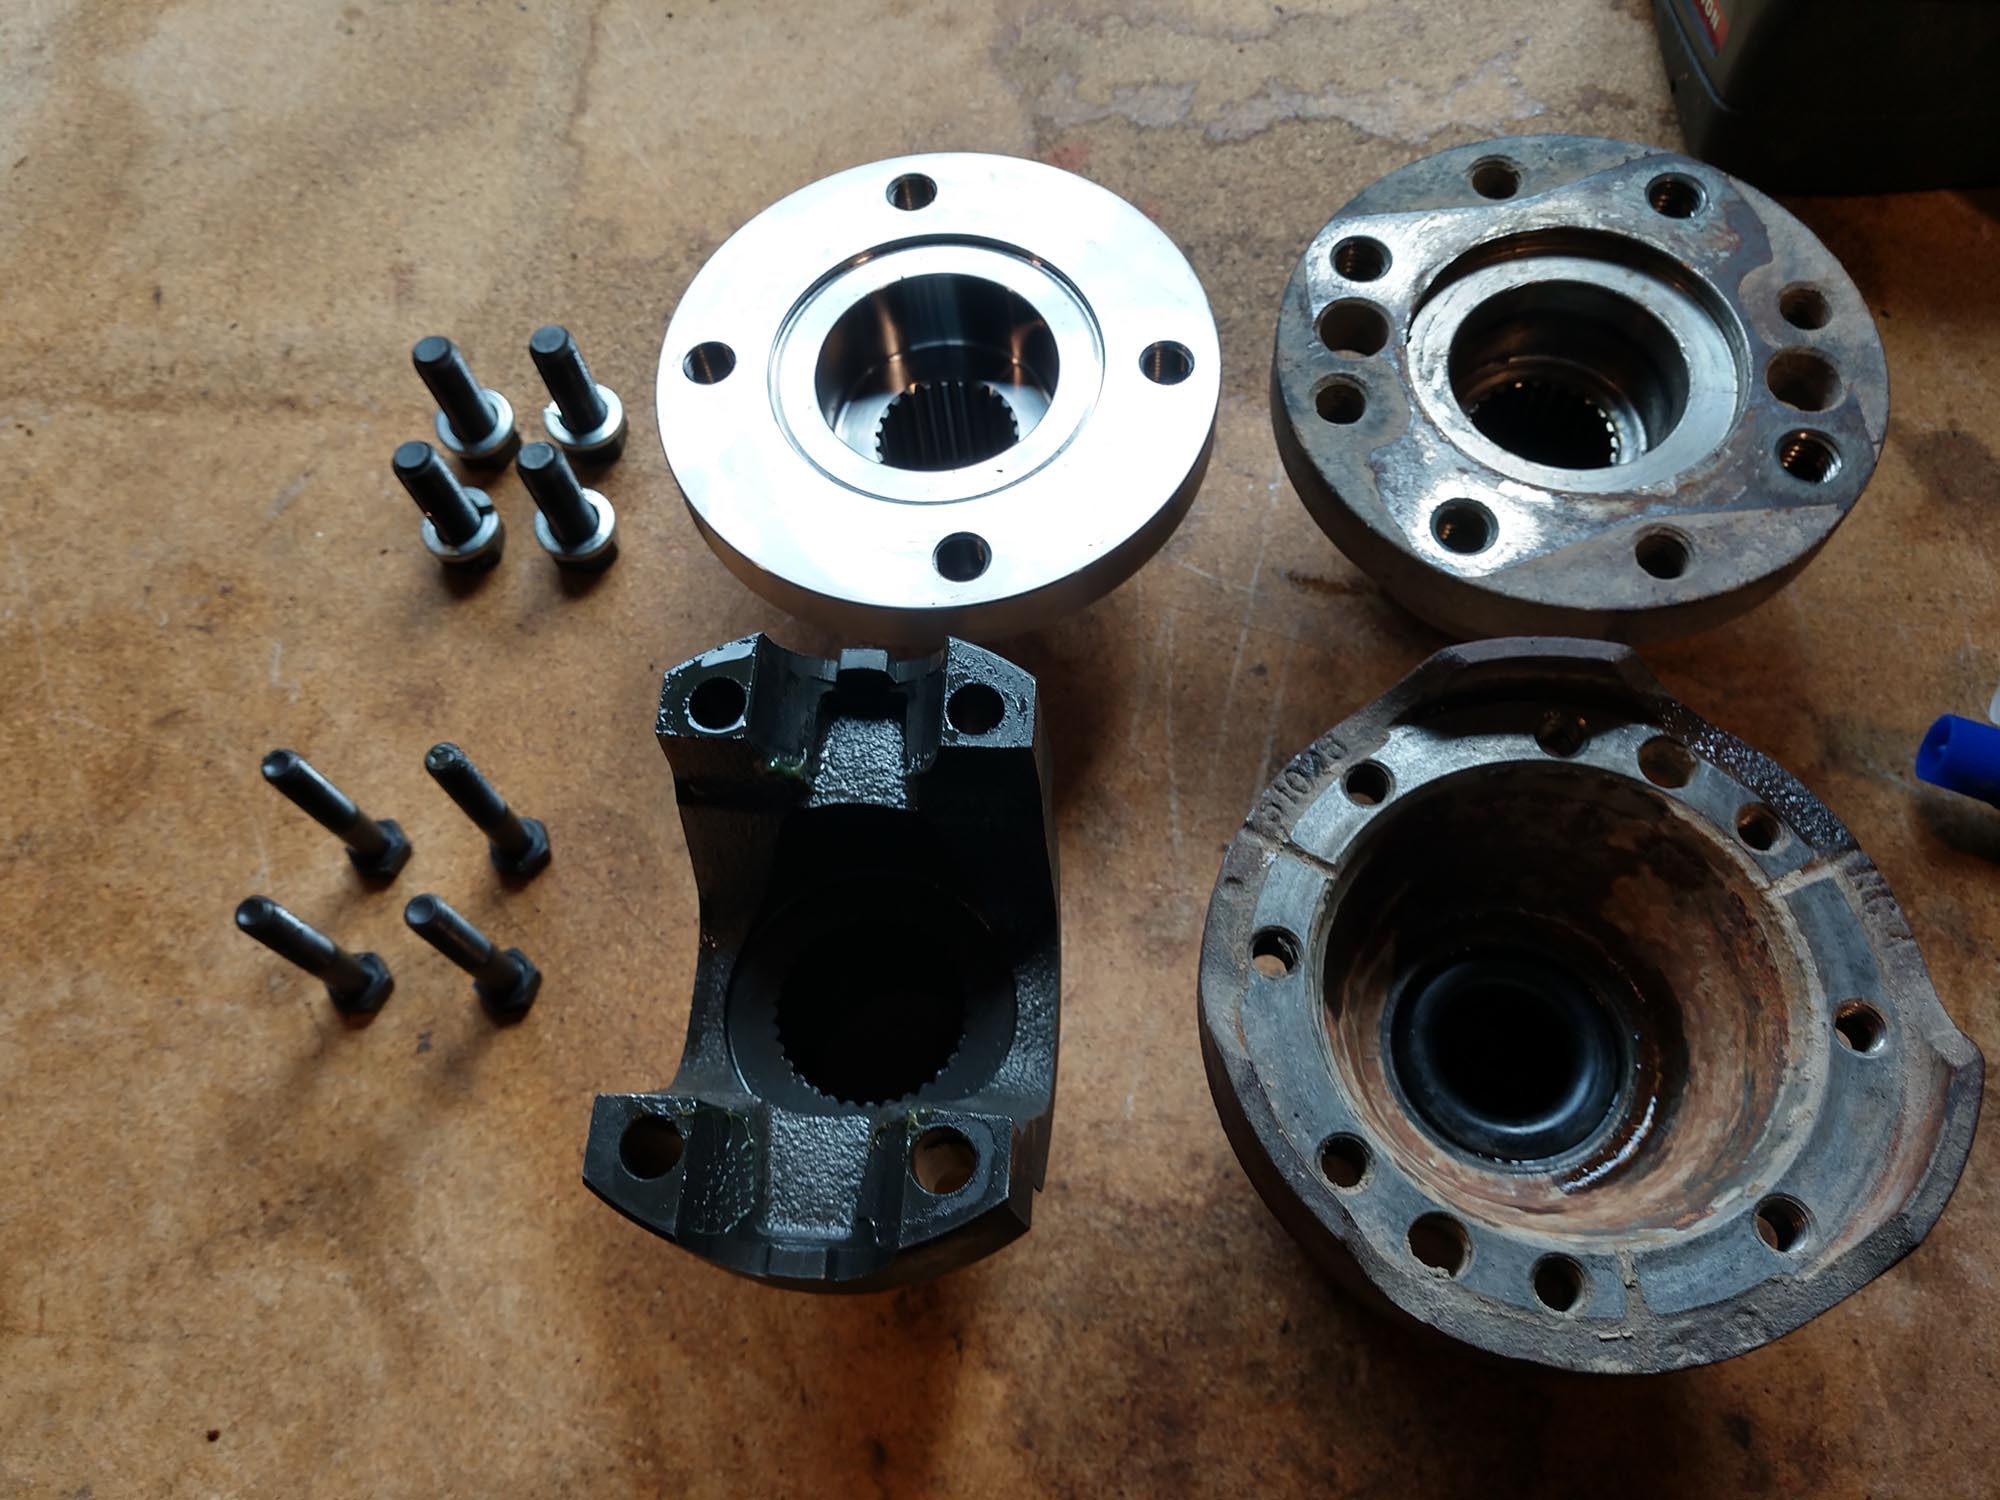
Comparing all the old mounting points with the new, you’ll notice that the transfer case side flange is replaced with a yoke, as the mounting point actually contains the rearmost U-joint. One of the reasons for this is to keep the primary angle as small as possible—rather than having a joint attached to a flange and losing a little bit of durability due to increased leverage.
This simple line drawing from Tom Woods shows how their upgraded shafts create less severe angles across the board, while adding durability for those times the angles change over technical obstacles.
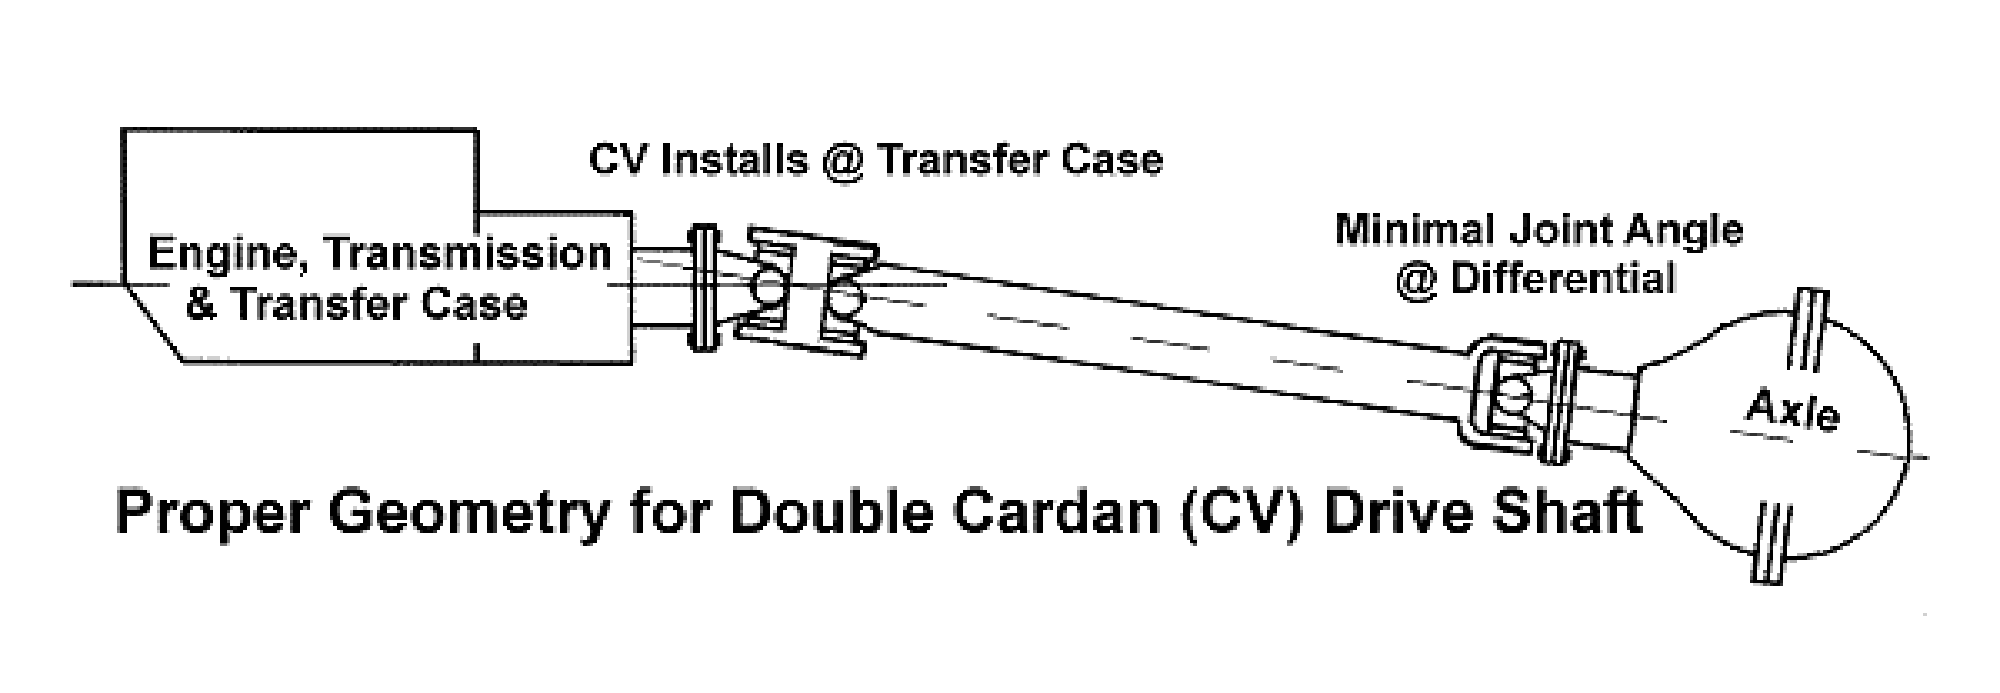
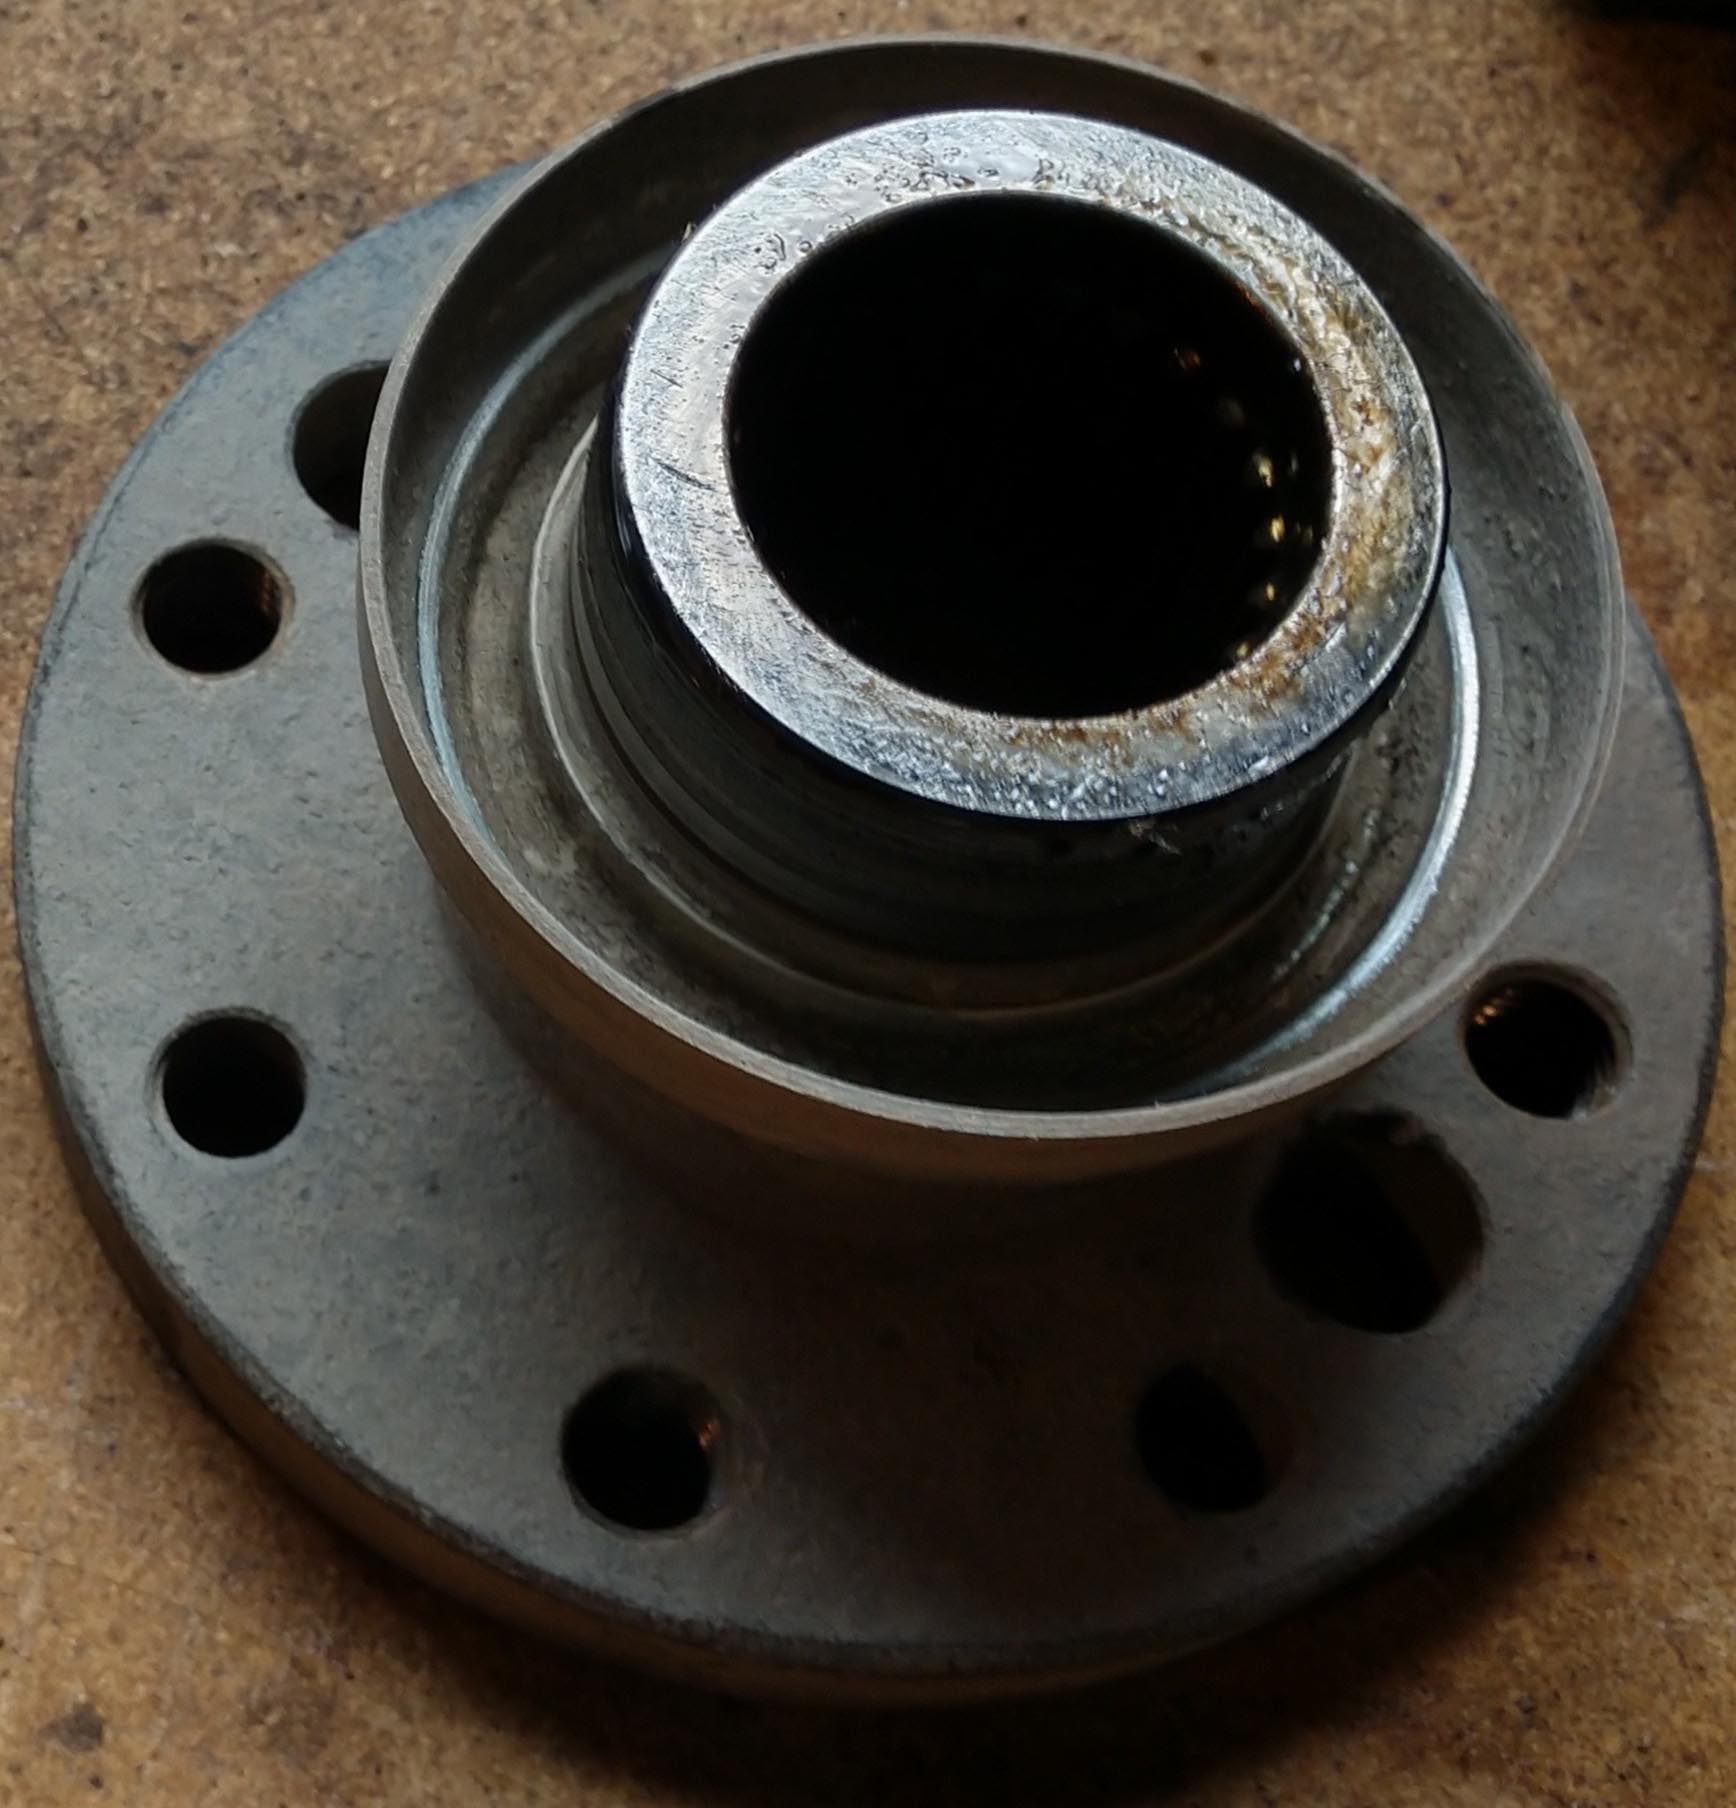
There is also a slinger shield on the original transfer case drive flange that is unnecessary on the new installation, as the hub of the new yoke is properly sized to interface with the factory seal.
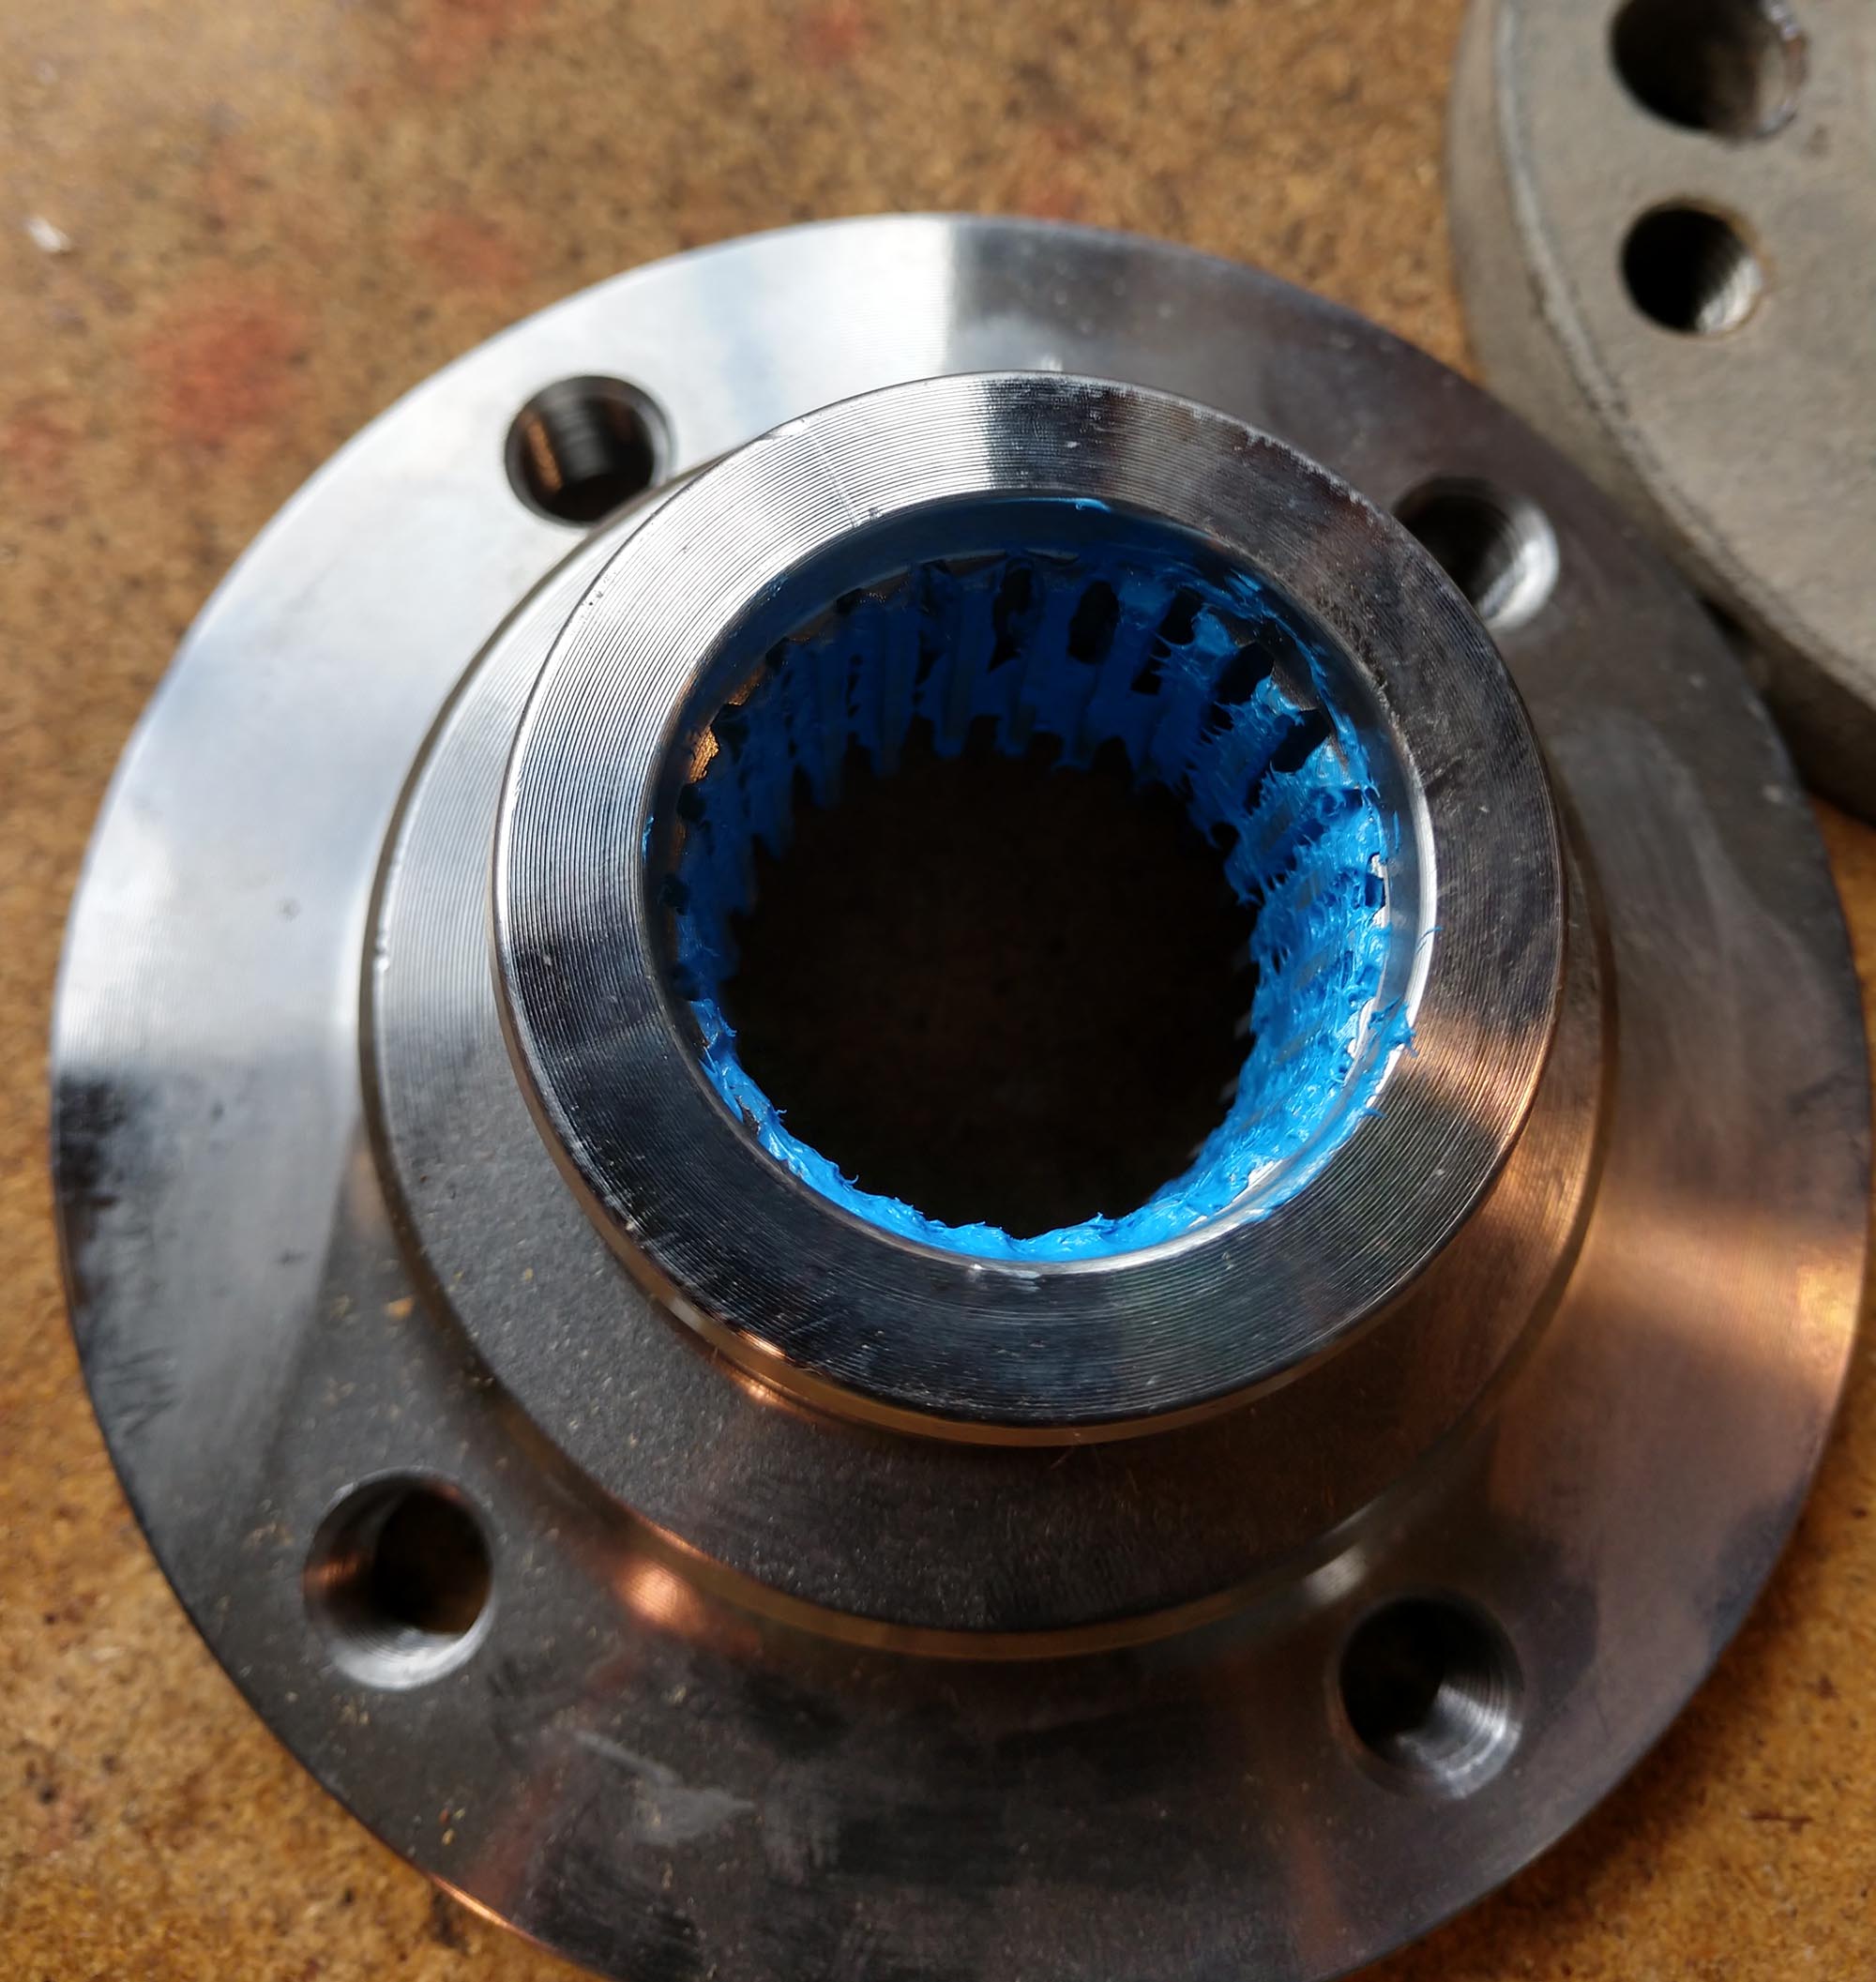
Prepare the splines of the front drive flange and yoke by smearing the RTV into the internal splines.
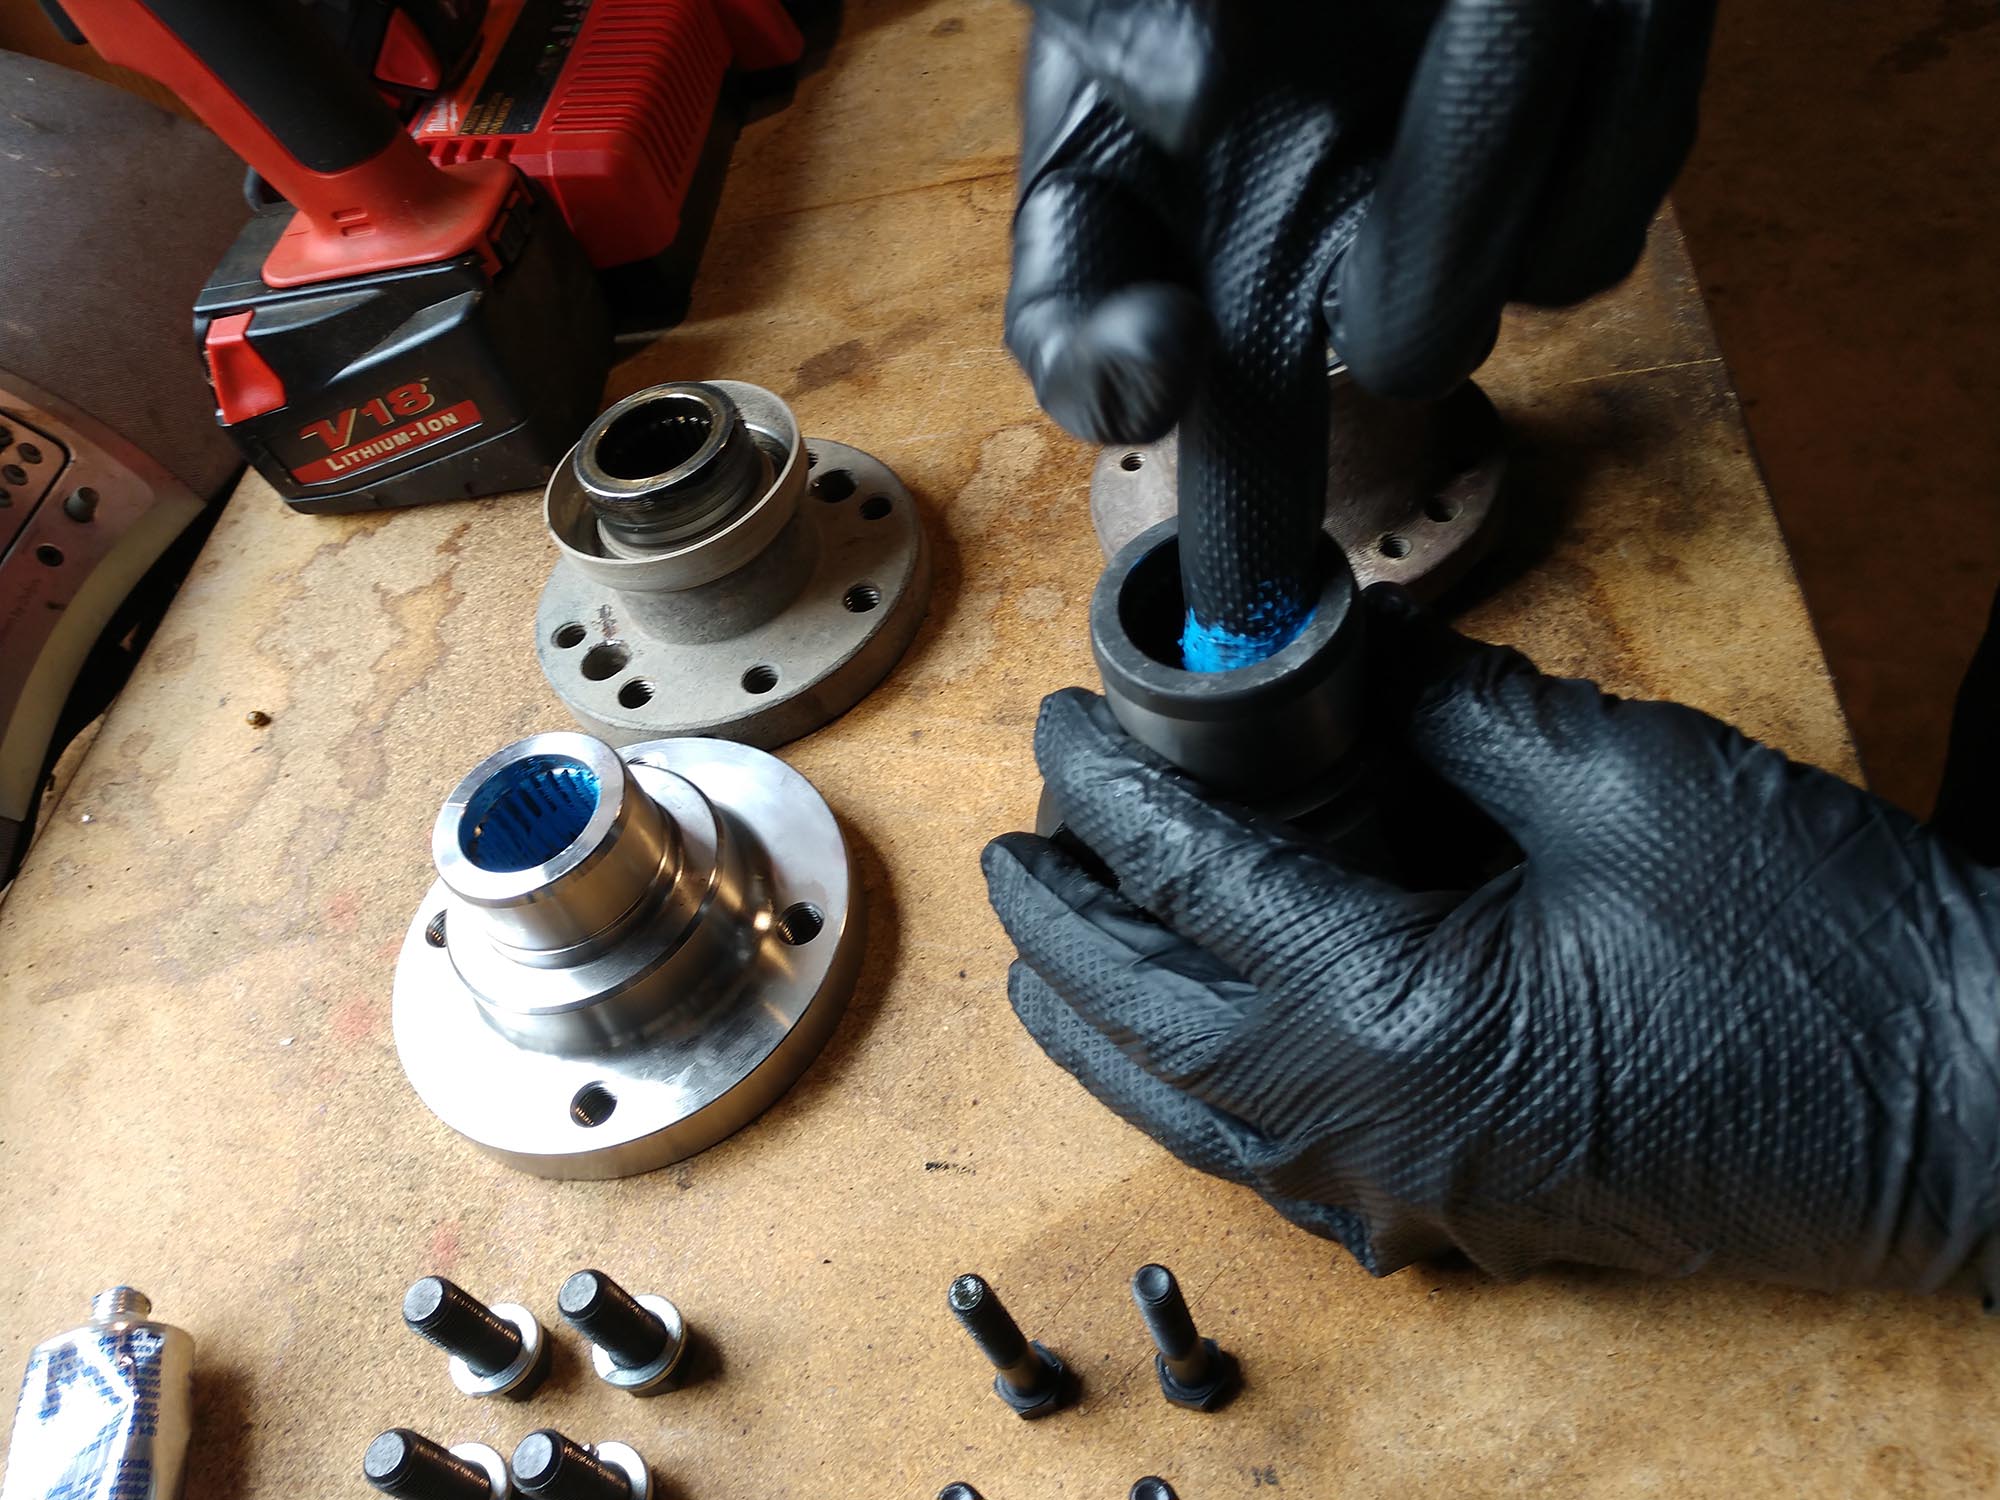
This will seal the splines and prevent any fluid loss through the splines without having to use an additional seal.
Clean the threads well on both the transfer case and pinion shafts, as you will be using threadlocker on them when the nuts are reinstalled. Put the drive flange on the pinion side and the yoke on the transfer case side.
Using the original nut, apply some thread locker to the inside threads, and torque the front pinion drive flange down to 160 lb-ft—it is useful to have your helper step on the brakes during this step, as that much torque is enough to move the wheels.
Repeat this step with the same application of threadlocker compound and torque specification for the transfer case yoke.
You will notice that the new Tom Woods driveshafts are substantially heavier than the factory units, so having your assistant help you here is a good move. Support the shaft and get the rear bolts started first, applying a small amount of threadlocker on each as you go. Once you have a couple of bolts in, have your helper shift the transfer case out of four-wheel drive to allow you to turn the shaft by hand. These bolts must be torqued to 20 ft/lbs, so don’t go crazy.
On the pinion side, the bolts have lock washers—use threadlocker on them as well, and tighten all four with a ⅝” wrench, then final torque to 50 ft/lbs.
Note: it is a good idea to double check the torque on all of your fasteners at this point, before the threadlocker sets up.
Rear drive shaft replacement procedure:
I found the rear to be the easier of the two shafts to replace. On both the pinion side and the transfer case side, you’ll use an 8mm tool to remove the bolts. Spray the mating surfaces with penetrating oil before you start, and it should have time to work while you get the bolts out.
![]()
I was able to get a full size ratchet to work on this side, and was able to get to all the bolts without having to rotate it. With all the bolts removed, gently pry with a flat-bladed screwdriver or a pry bar.
![]()
I rested the drive shaft on a Quadratec skid plate support that I ended up having to remove in the next step. You could leave this together for the time being if you don’t have something to provide support.
Look at all the different flavors of rust I’ve collected!
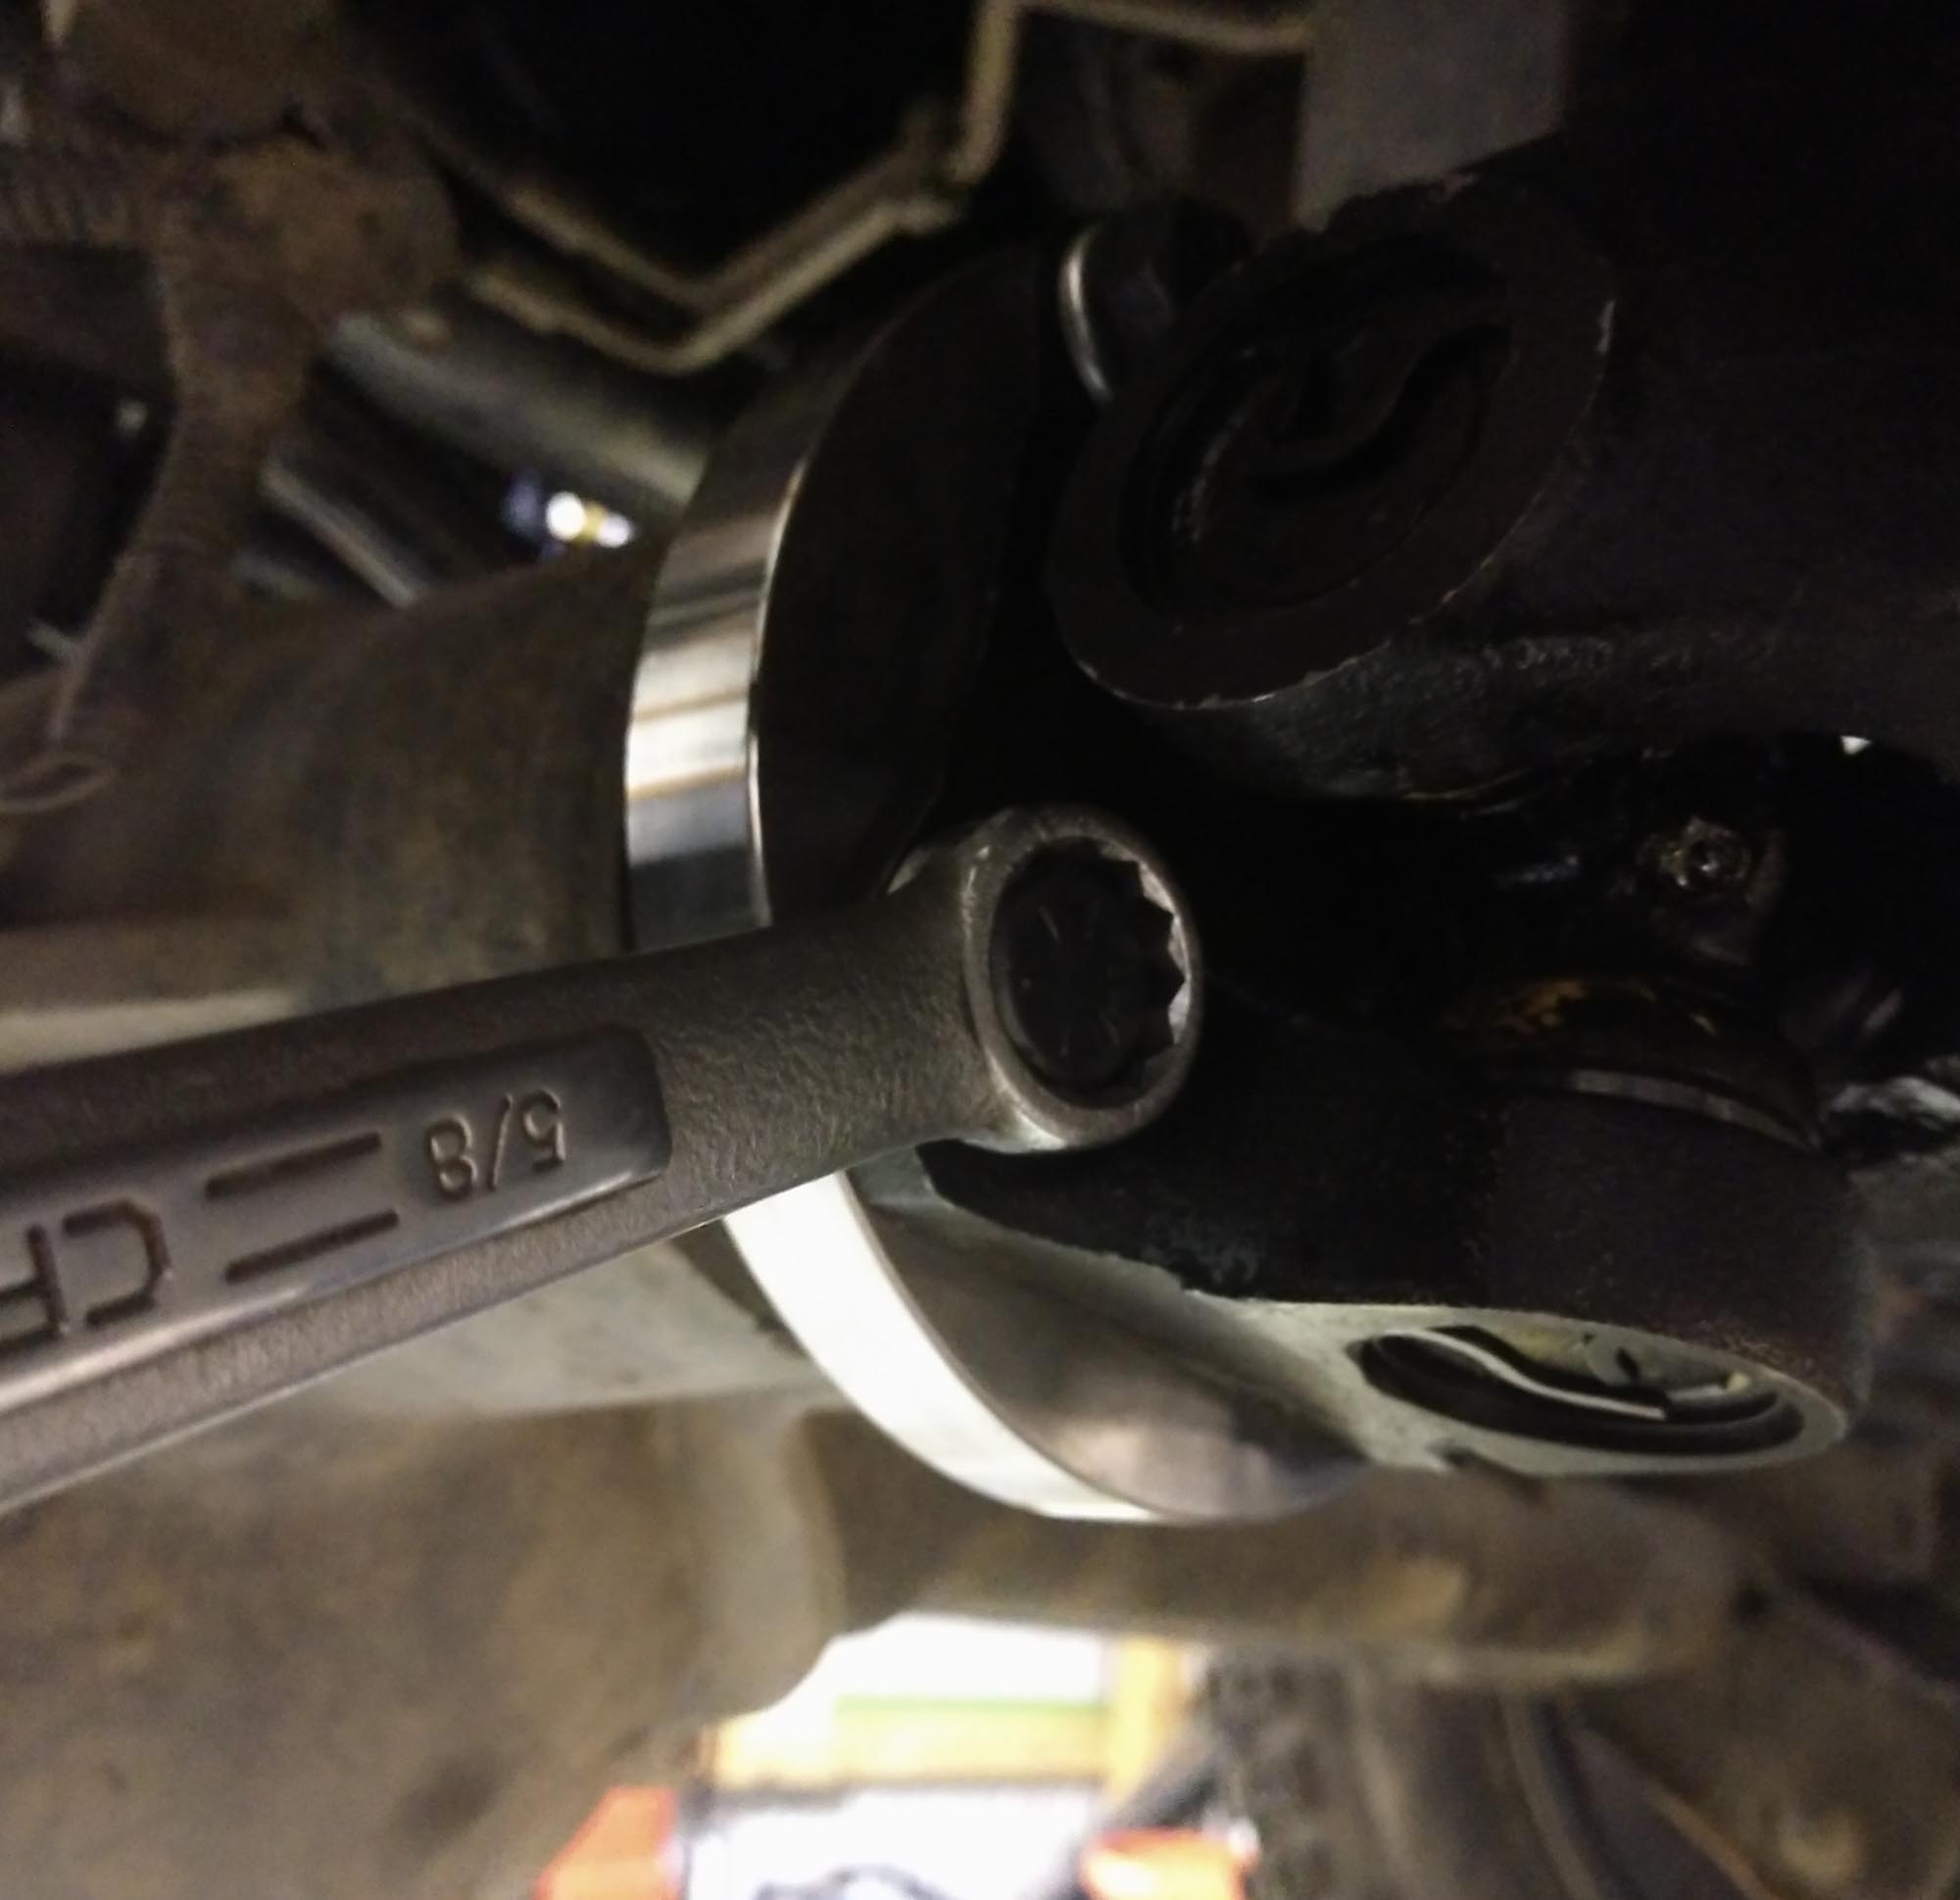
The pinion side bolts are also 8mm, but I had to use a cheap ¼” drive ratchet to get them all loose because of clearance issues. With more time and effort, a wrench would have also worked.
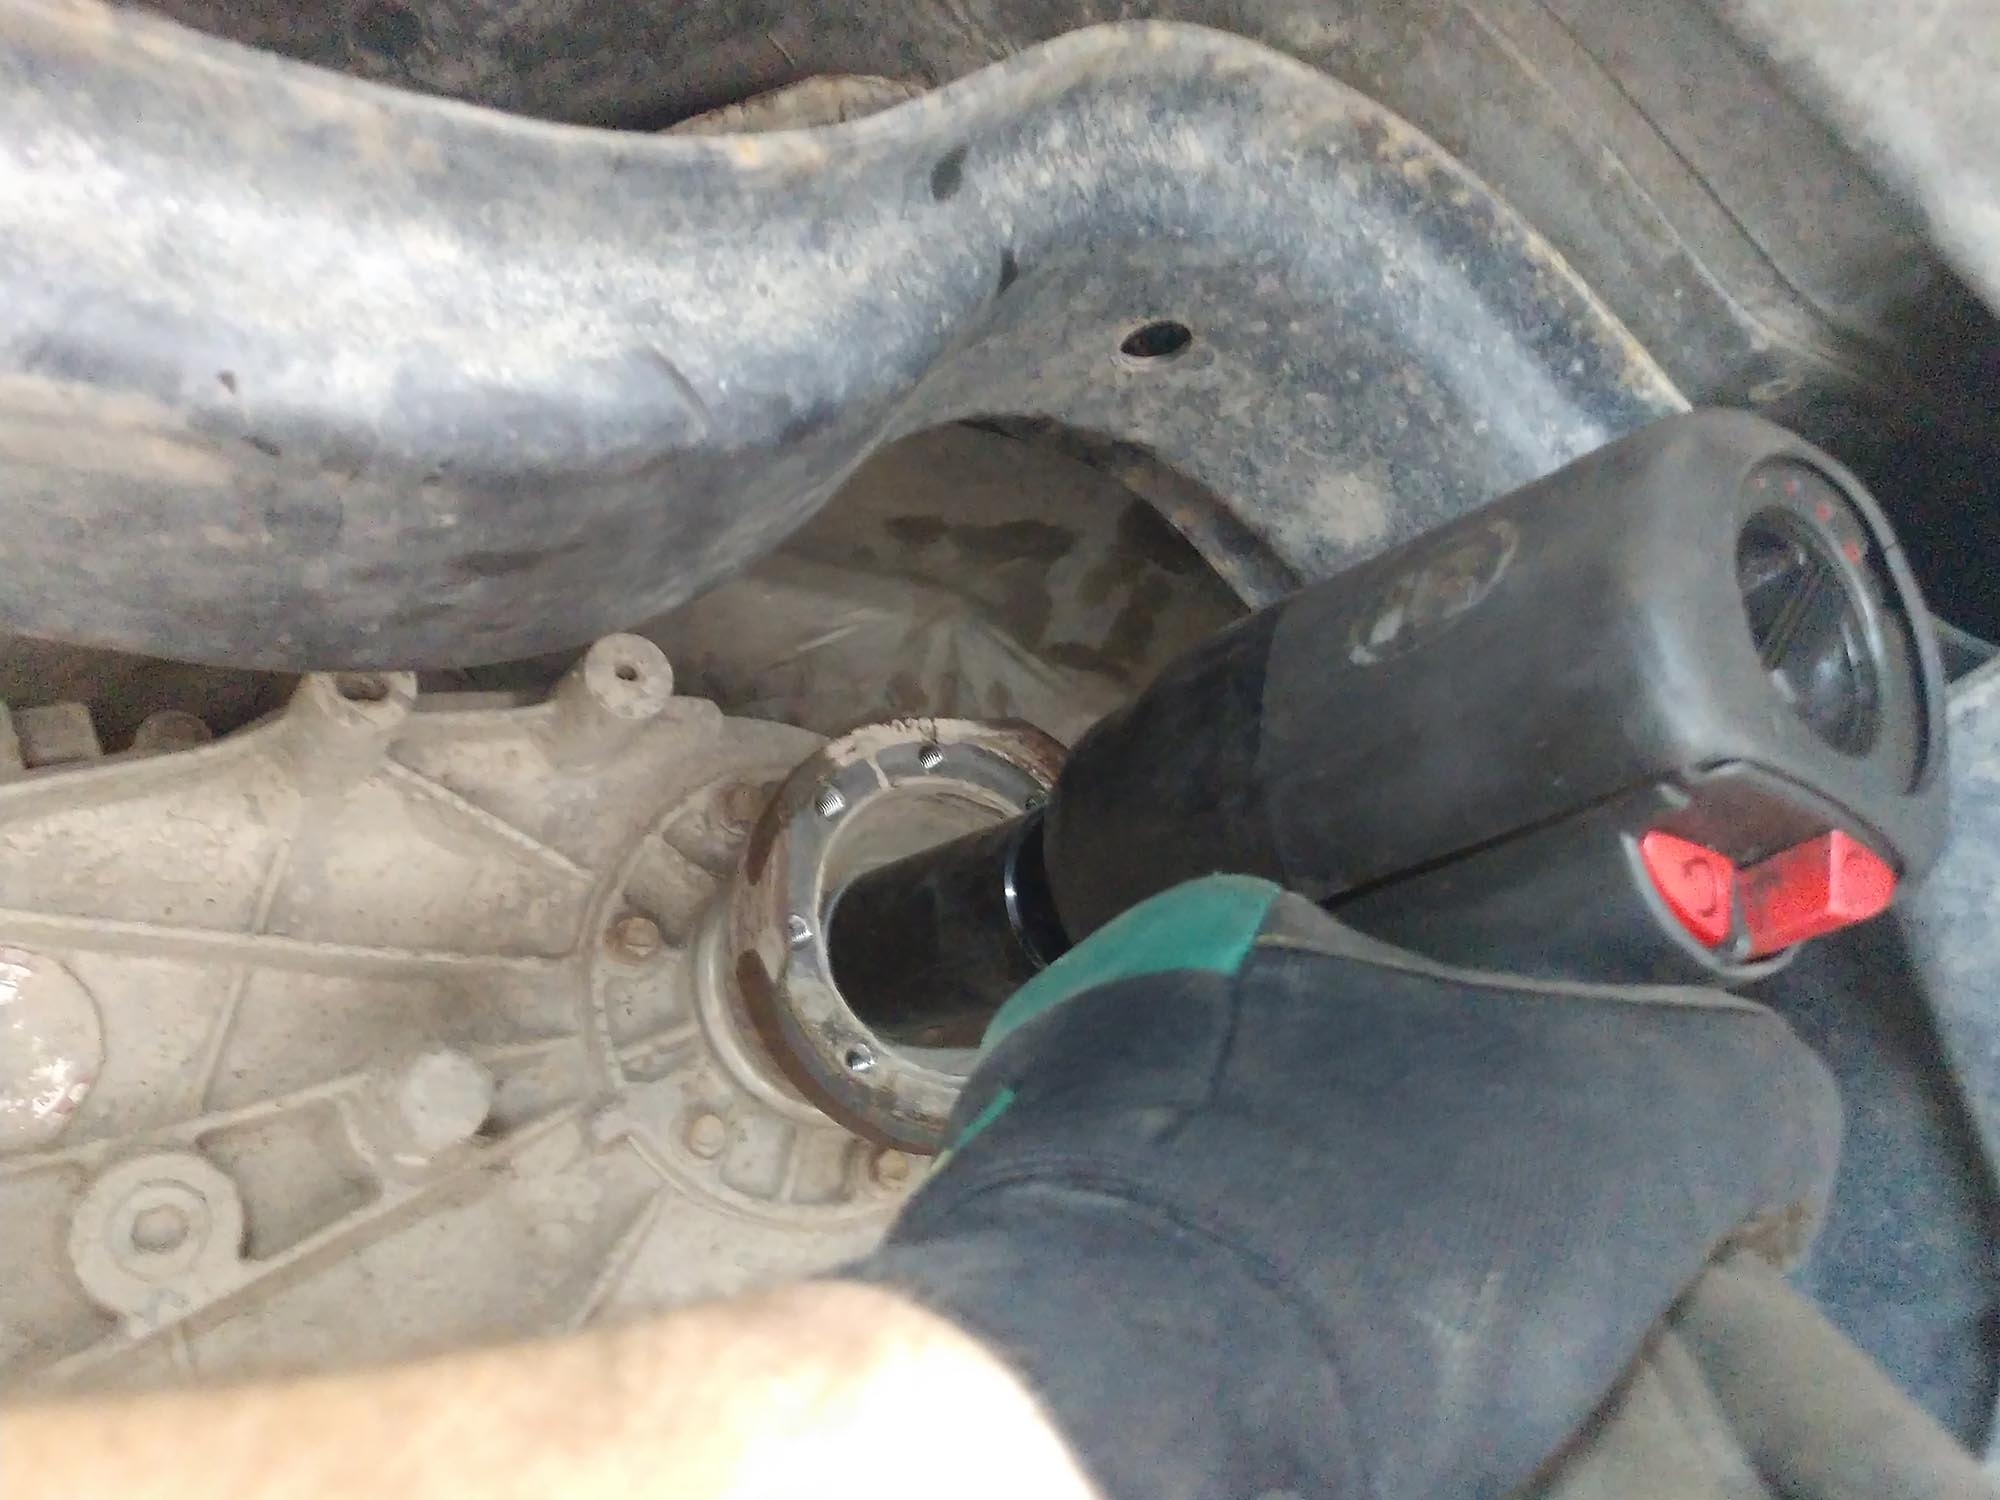
As I said before, I had to remove the skid plate support to get this next step done, because tapping it with the mallet wasn’t getting the pinion joint loose. I jacked up the rear of the Jeep at the differential (level surface, front wheels chocked) so I could move the entire shaft back and forth as I tapped—while moving the rear tires with my feet. At this point I was wishing my assistant wasn’t out buying stuff, but hey, these things happen.
After a few minutes and liberal application of colorful language, the rear flange popped apart. You can tell that corrosion was making it more difficult than all the other joints.
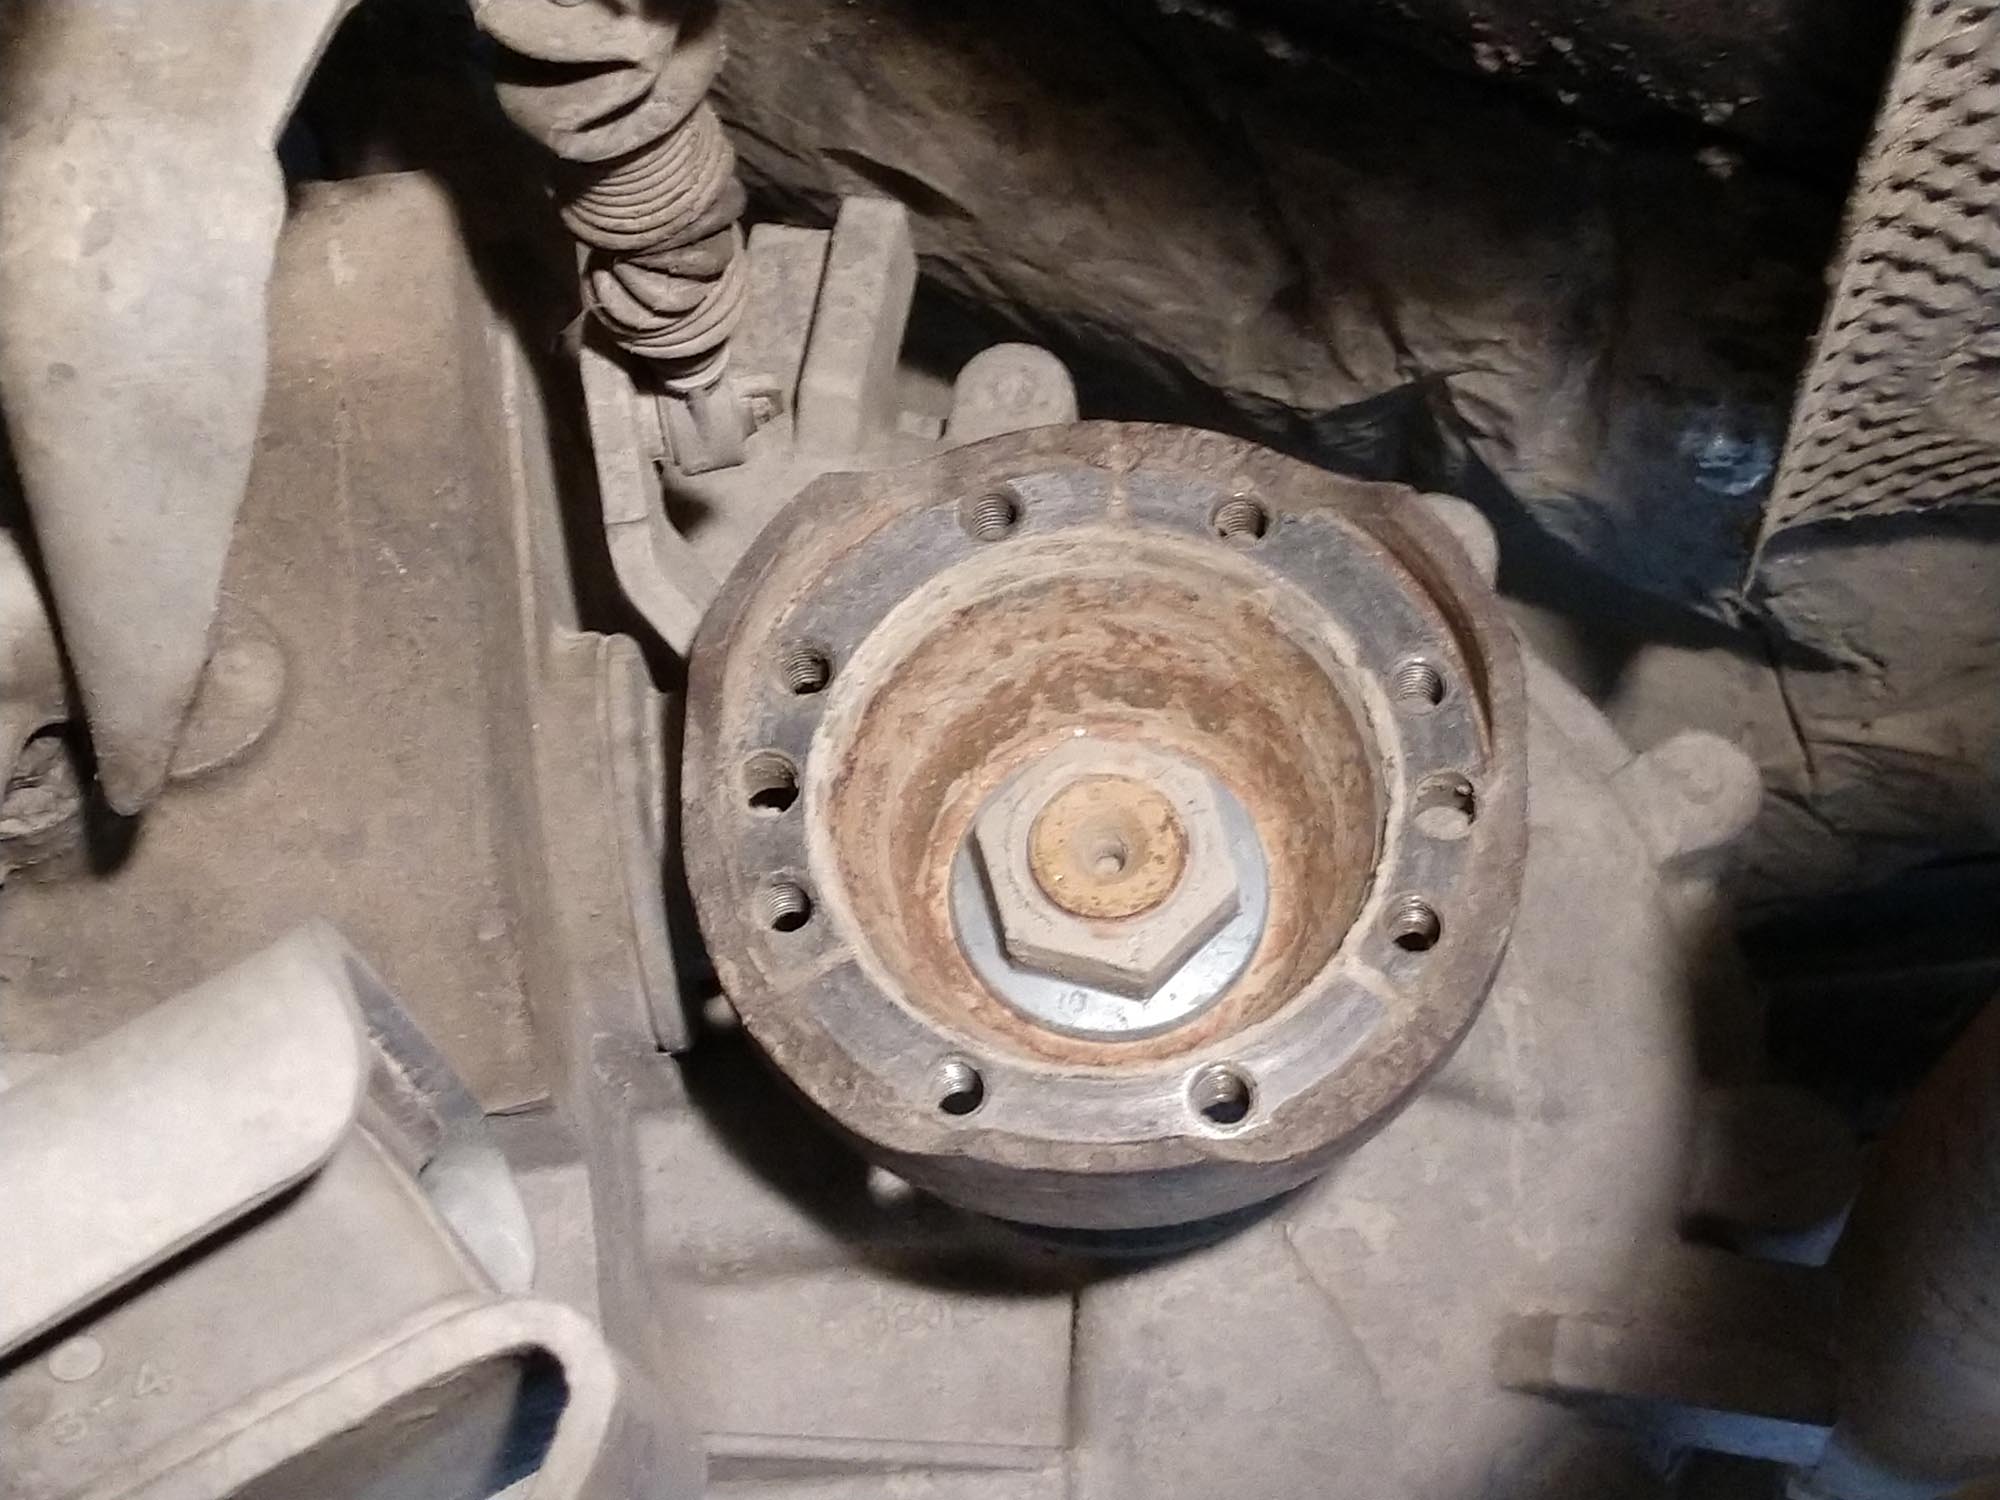
With this part removed, grab those two big sockets and the impact gun again. The nuts are the same size as the front ones, and a puller may be required to get the flanges off.
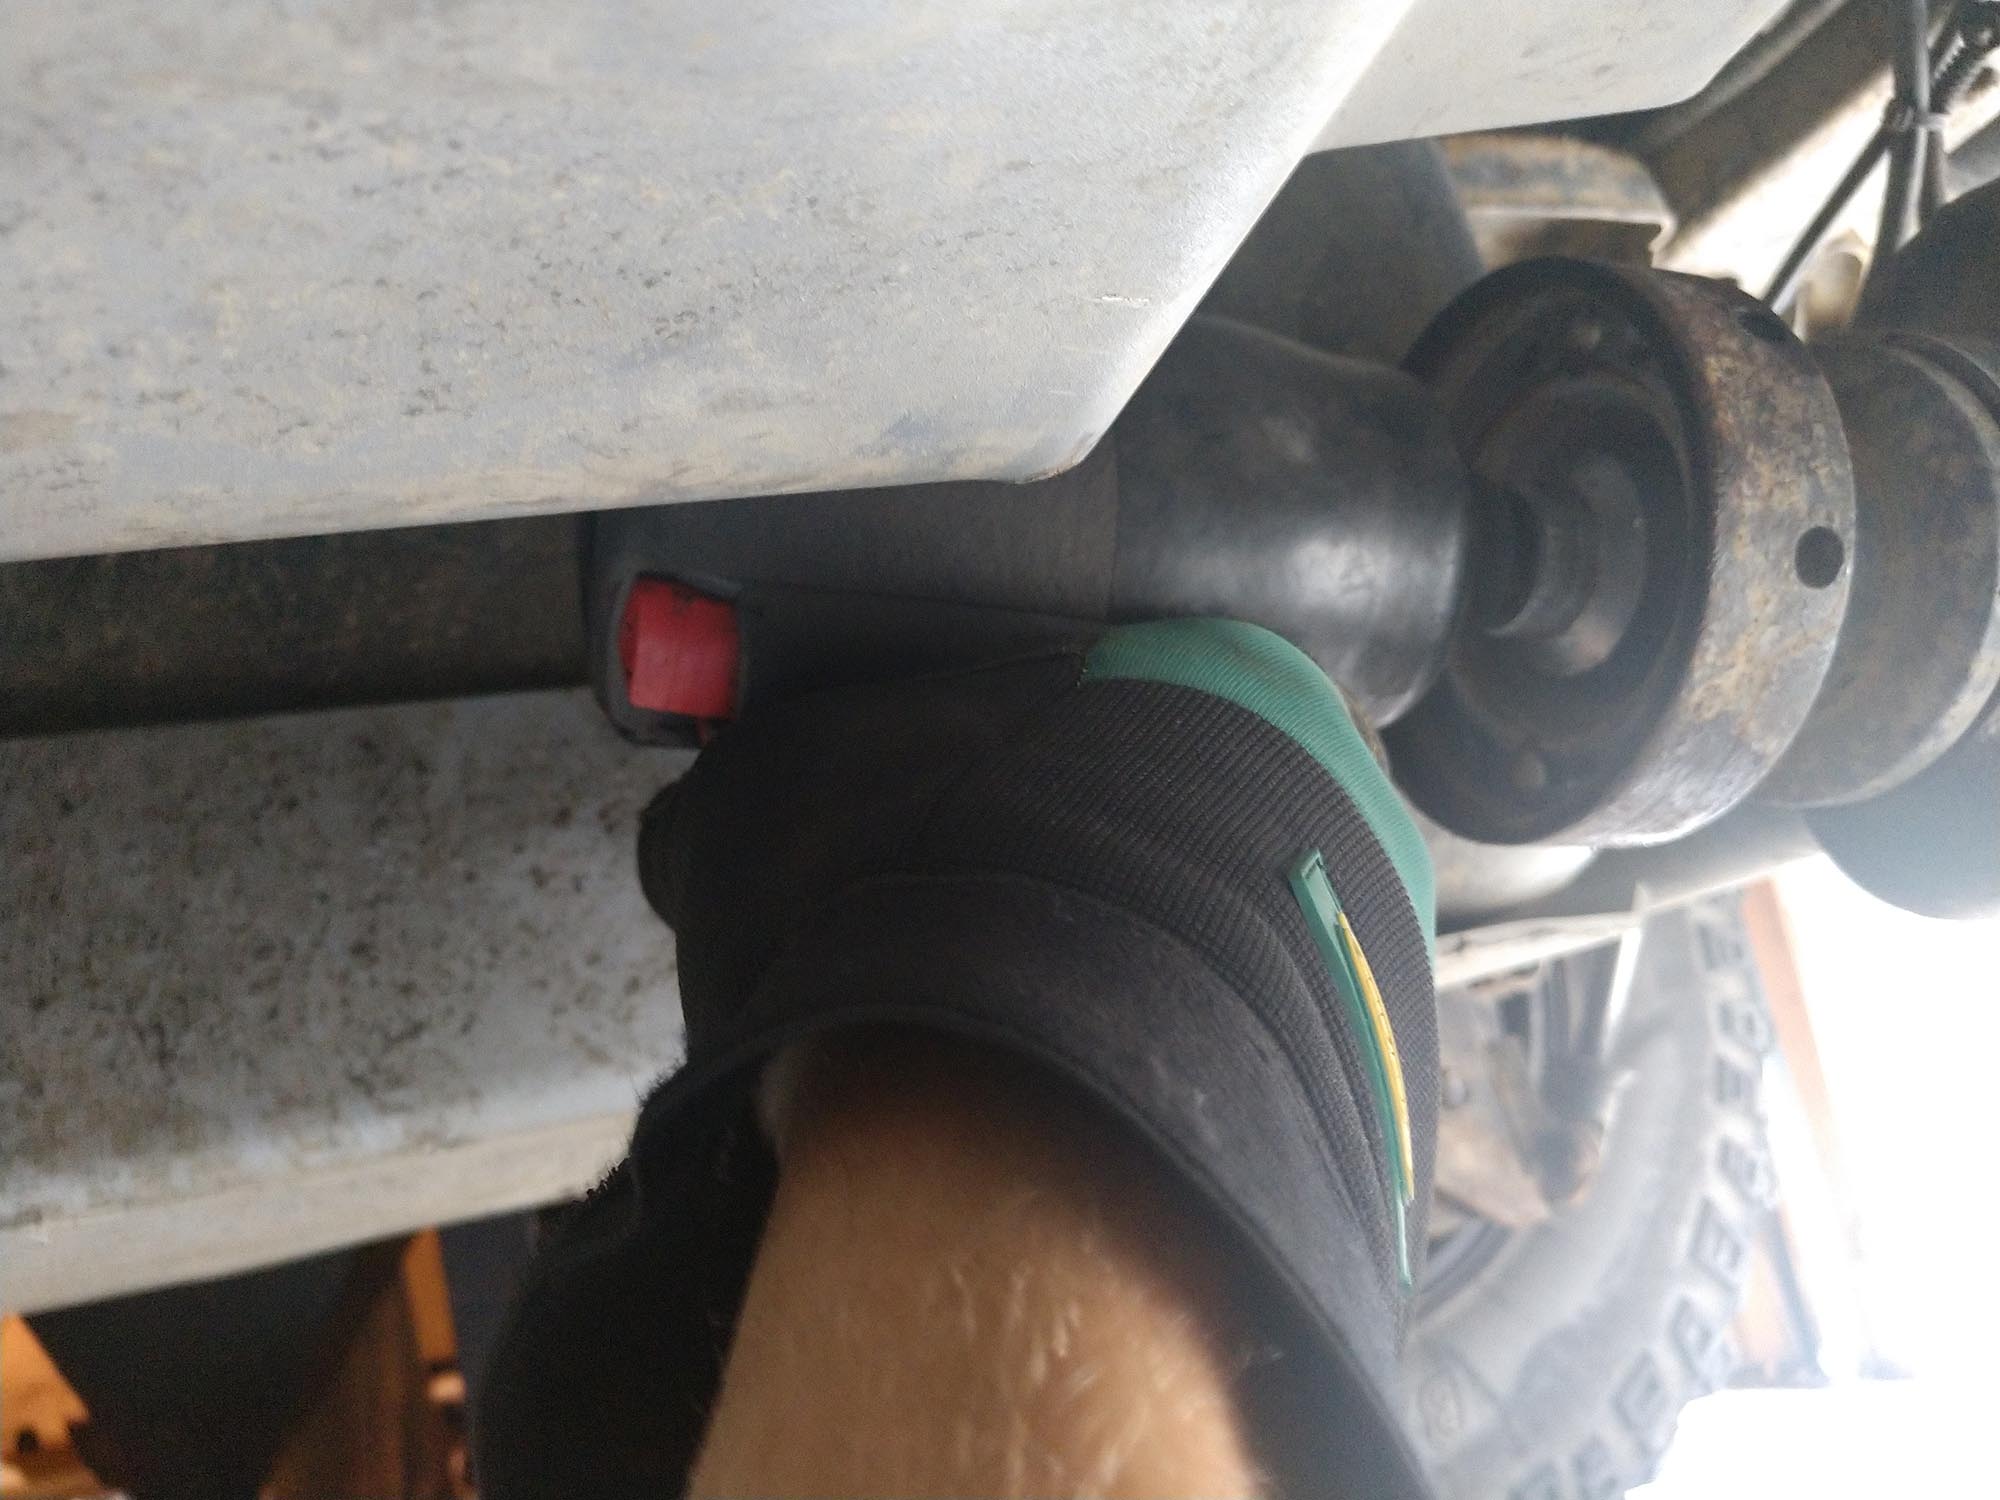
As with the front shaft installation, you’ll want to spread some RTV in the internal splines on both the pinion drive flange and the transfer case yoke. Here is a shot of what happens when you install those parts after the RTV is inside.
Spin those original nuts back onto the cleaned up shaft threads (with threadlocking compound) and tighten both to 160 lb-ft. By now, I imagine much of this is going to sound VERY familiar.
I promise we’re almost done.
Lift the new Tom Woods 1350 driveshaft back into position, and loosely bolt into place, again using threadlocker. Final torque is 20 lb-ft on the transfer case yoke bolts, and 50 on the drive flange bolts for the pinion; just as with the front.
Now, a note on maintenance:
With any rotational part, especially one built to insanely high tolerances, maintenance is required. These drive shafts are no exception.
Many other designs will showcase a ‘maintenance free’ aspect, including the factory non-greasable drive shafts. These may hold on to the first load of lubricating grease for a little while longer, but if the boot is torn then joint won’t last very long.
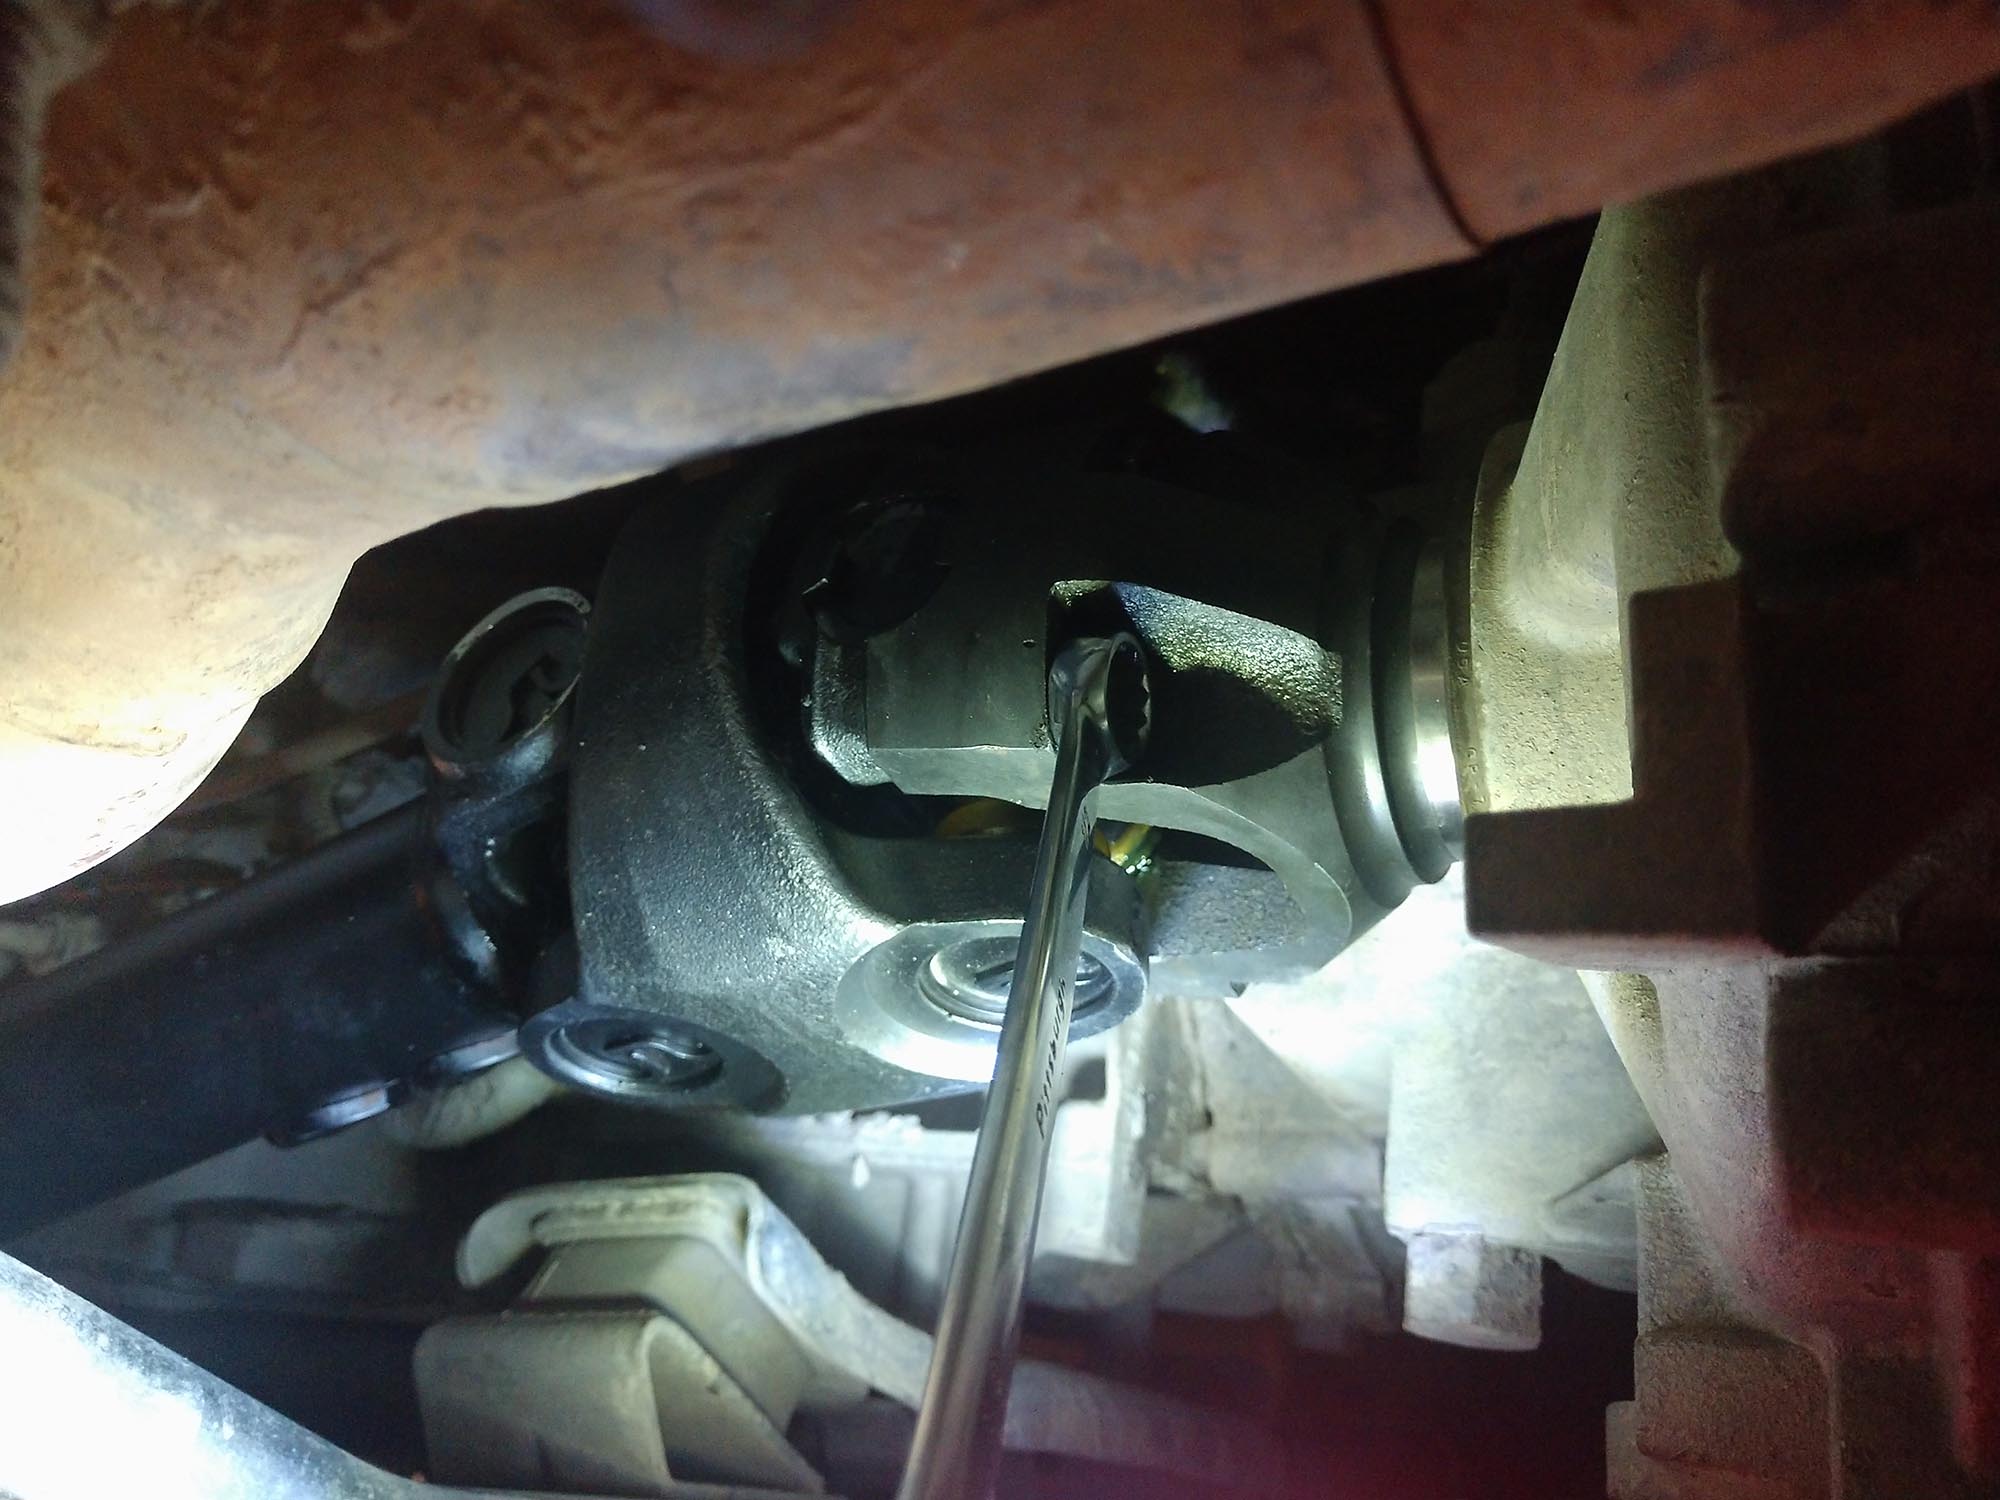
There are quite a few grease fittings on the Tom Woods 1350 driveshafts, but I promise they are not that hard to maintain. Each slip joint has a zerk fitting, and most of the U-joints do as well. These aren’t that hard to get to, and can be greased rather easily at each oil change interval.
There is one more thing you need to be mindful of after installing these new Tom Woods driveshafts —with the great power of the double cardan joint also comes great responsibility. There is a ball INSIDE the double cardan cv joint that requires grease to operate.
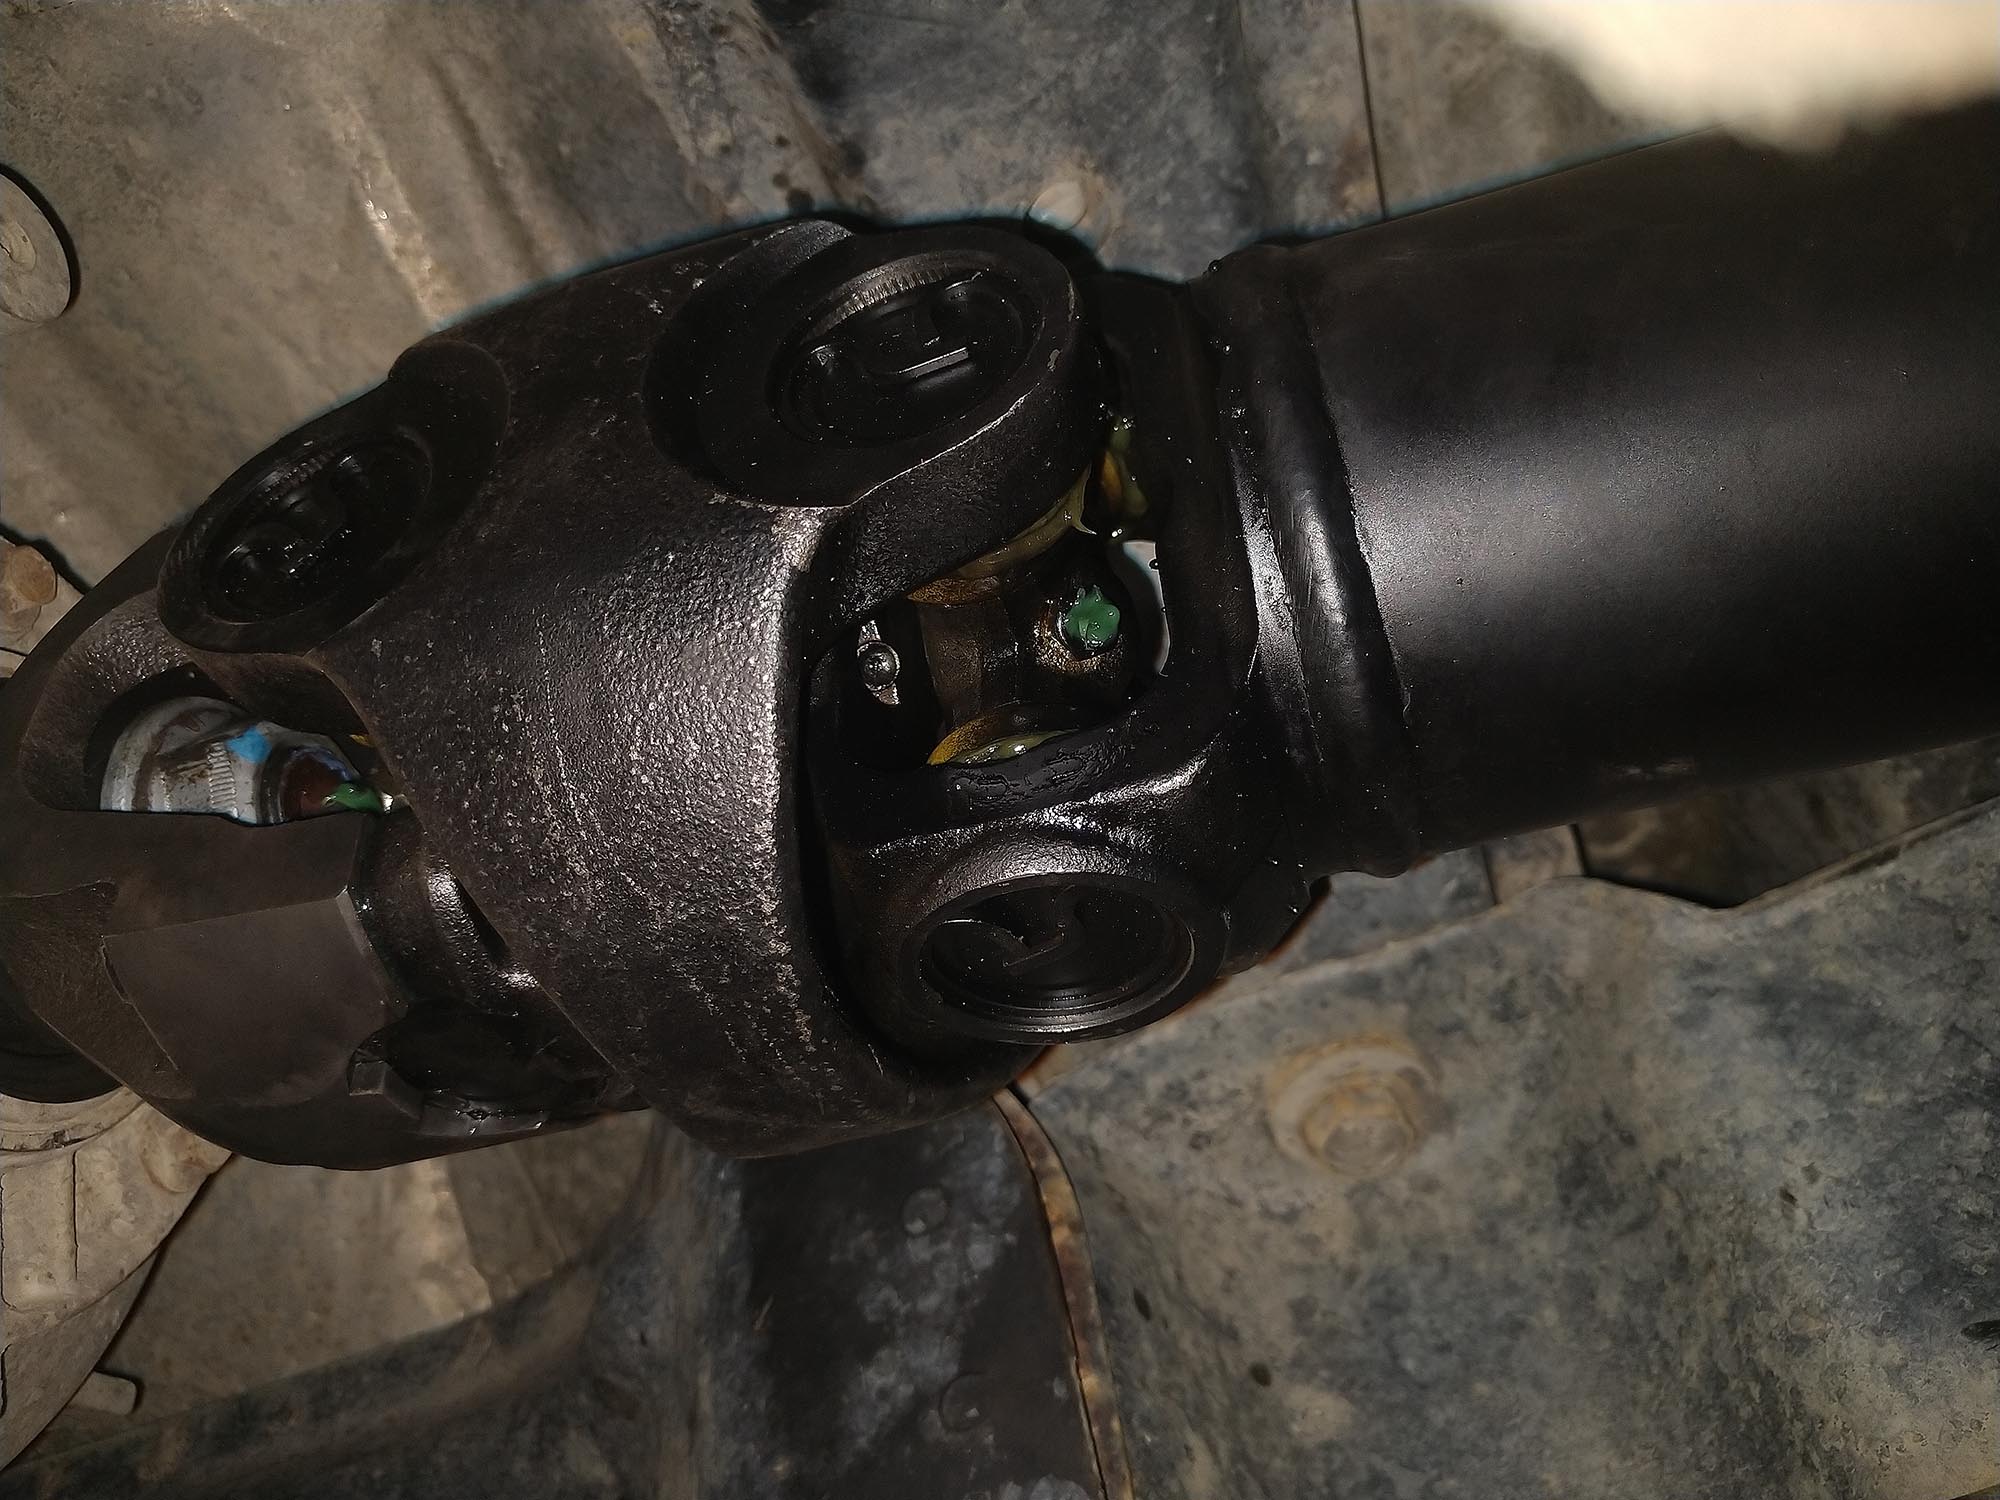
In this picture you can see the two fittings with green grease on them, and in between them is a center ball fitting. This must be greased about every 6-12 months; depending on how much abuse you put on the driveline. A special service tool is required to get inside there, but each driveshaft came with one so remember to keep it in a safe place.
One caveat to the whole above statement though—if you often drive in really deep mud, through stream crossings, or through coal silt ponds (like I do)—it is more important to apply this regularly. Adding fresh grease will help to push any of the contamination out. If you don’t, all that nasty stuff can shorten the lifespan of these rotational components. So it is a good idea to give the entire assembly a fresh load of grease any time you subject them to this type of environment.
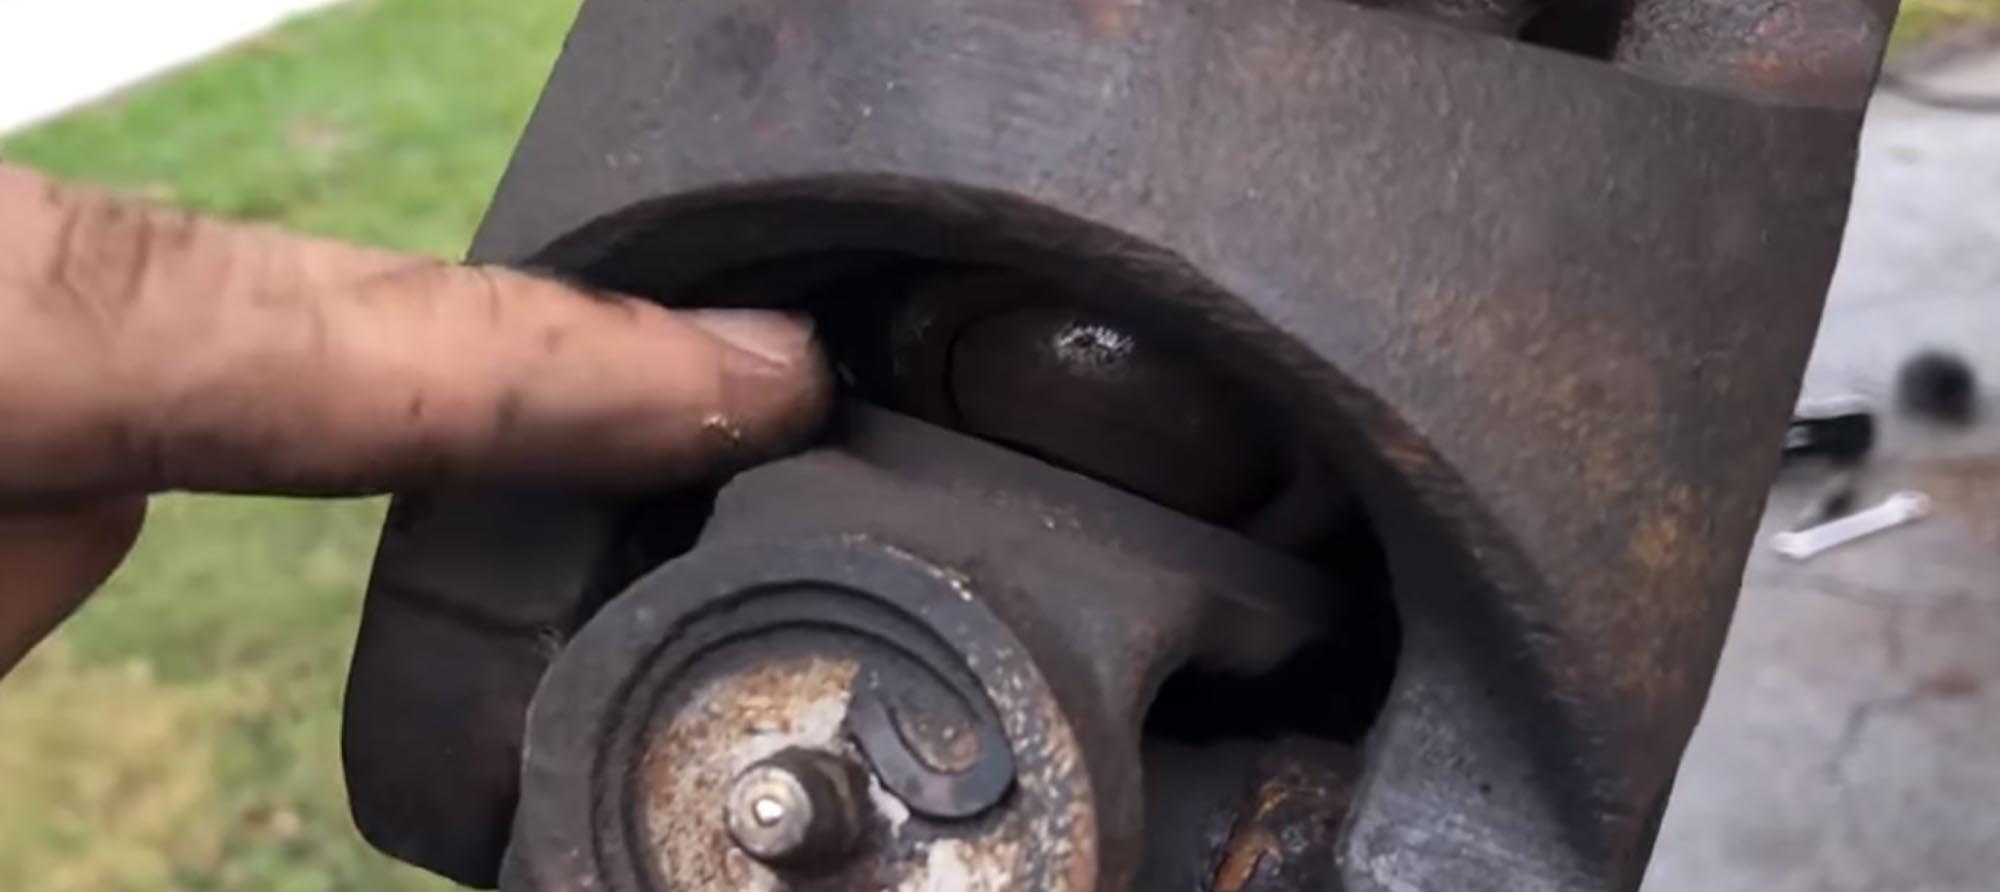
One additional note, the folks over at CRAWL TV on YouTube had the distinct displeasure of having the center of the double cardan wear out due to lack of lubrication. This is a screenshot of their video after discovering the failure. Their JKU Rubicon was driven for a few months after being fully submerged at an offroad park, also causing their engine to take on some water in the process. This was actually a 1310 drive shaft, but the parts are similar. Subscribe to their channel if you get a chance, they do good work.
Keeping this critical part lubricated will mean it continues to do its job for many years.
With proper care, these drive shafts will most likely outlast your Jeep, and do everything you need them to along the way.