Featuring Premium Parts from
by Scott Ammerman
Quadratec Channel Correspondent
When you tell most people during a normal conversation that you’ve purchased a new hood for the Jeep and are getting it painted, the typical reaction is “Oh no, what happened?!”.
Of course, the response to that same statement among a group of Jeep people will be much different. Kind of like “Oh yeah? Which one?”
That’s because modifications can happen at any time, for no real reason. And there are plenty of customization options and seemingly endless upgrades for Jeep vehicles, which—be honest—is one of the biggest reasons we got into these vehicles, right?
At Quadratec, there are currently 11 different styles of upgraded hoods for the JK and JKU models to really transform the look of your vehicle, and add some better functionality as well. In addition to an upgraded suspension and wheels, an aggressively styled hood does a lot more than just cover the engine—it adds a striking upgrade to the Jeep’s appearance that lets people know you’ve put a lot of work into your Jeep.
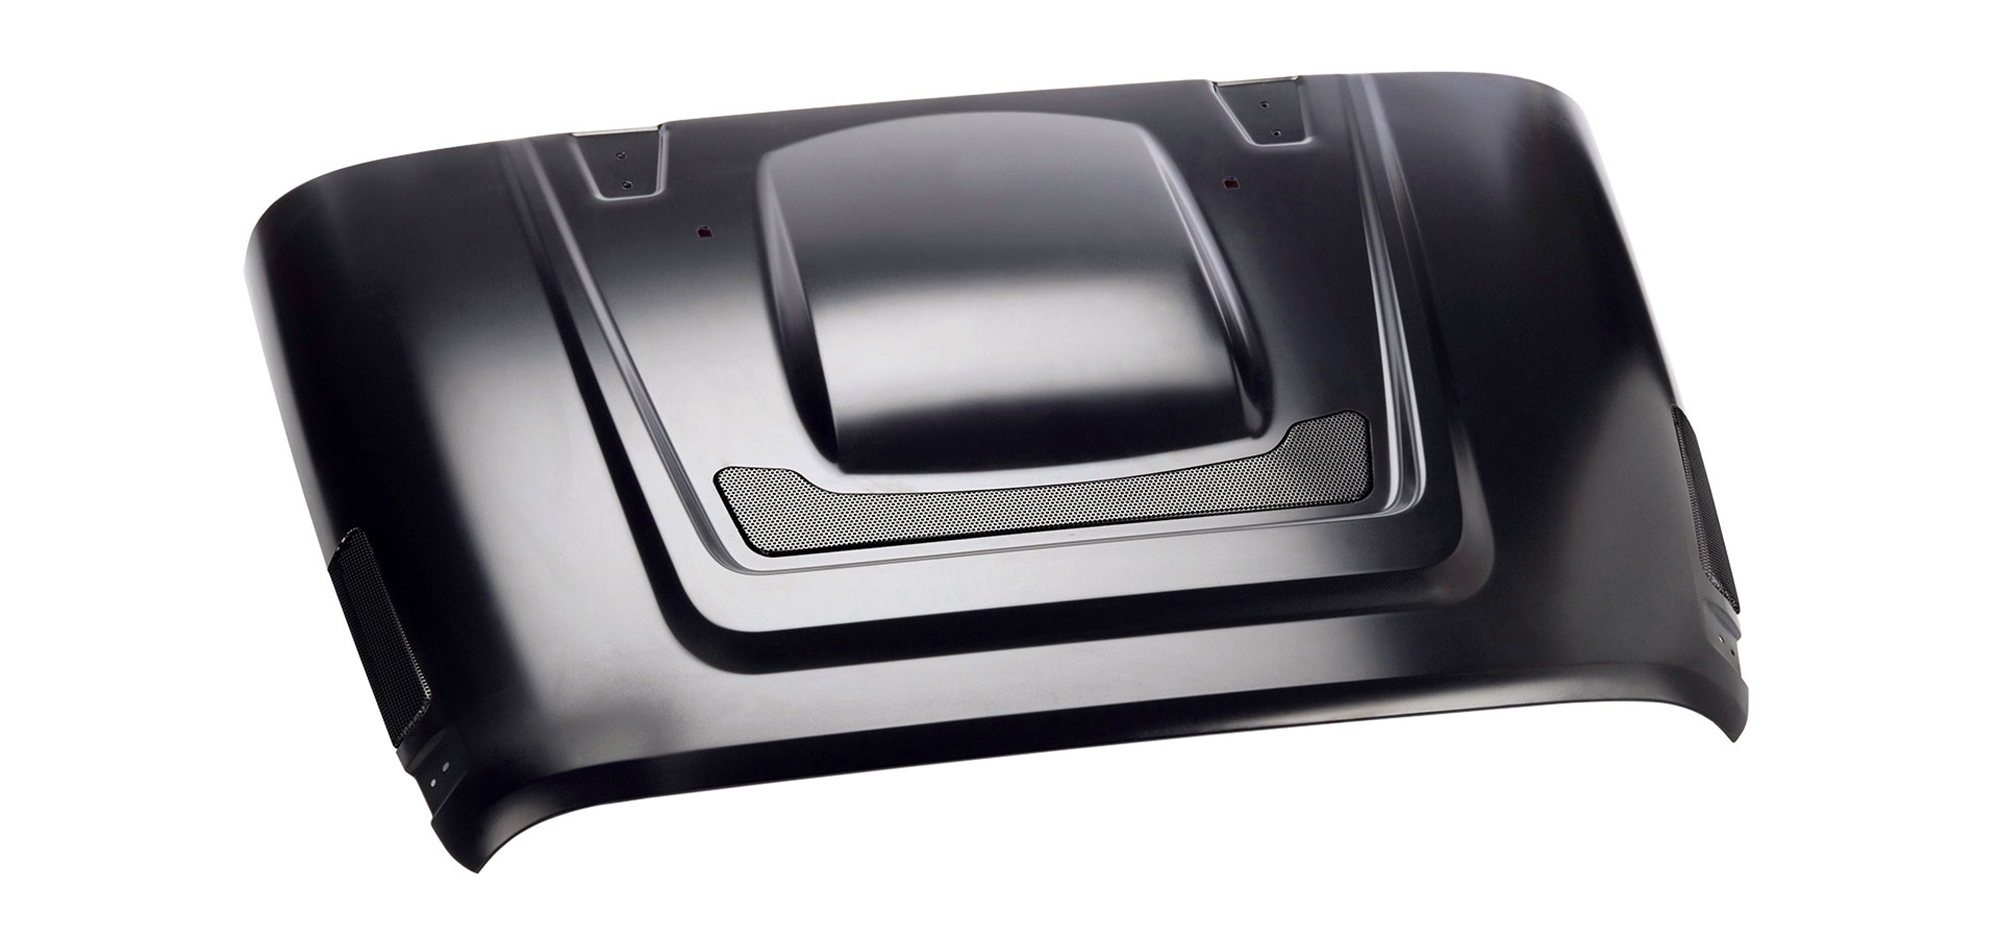
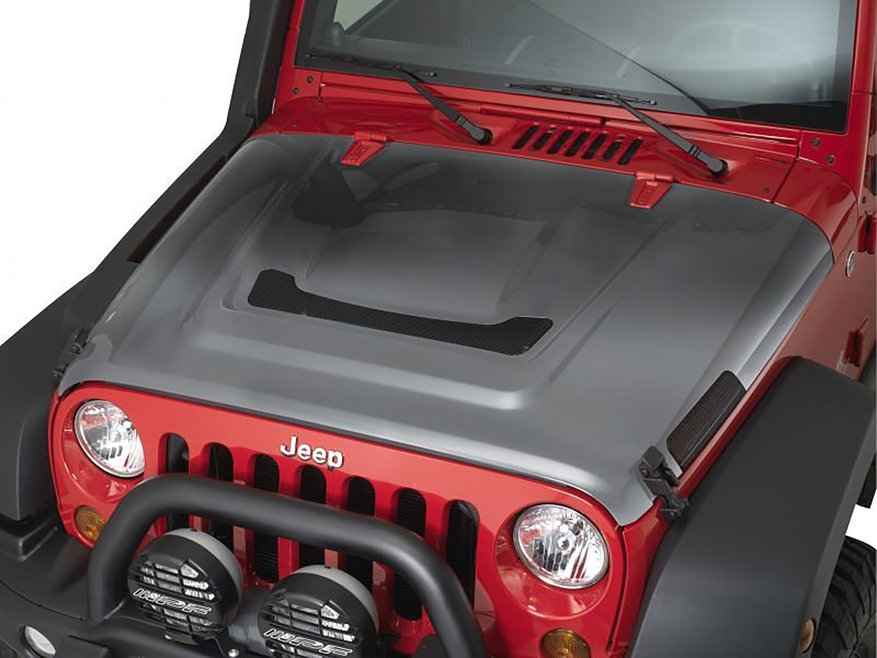
In my case, Project Rattler (a 2013 Wrangler Unlimited) received a new AEV Heat Reduction Hood with Black Mesh, but not because there was something wrong with the original. The factory hood was fine, but somewhat boring and lacked the 'punch' of an aftermarket version. In addition to its aggressive looks, the AEV Heat Reduction Hood has strategically placed vents to allow heat to escape faster than a factory hood at lower speeds. It also helps actively evacuate that hot air during highway trips—especially while towing.
From AEV’s FAQ:
We designed the hood to be aesthetically pleasing, but we also put a lot of fluid analysis into the location of the vents. There is a low-pressure area created at the front edge of the hood when the vehicle is in motion, and we placed the central vent of the hood in a position to take advantage of this. Since air likes to move from high pressure to low pressure areas, the placement of the center vent causes cooler outside air to be sucked through the radiator and up through the hood to fill in the low-pressure area.
As they said, a lot of engineering went into this hood as well as some extensive abuse testing AND wind tunnel testing by both AEV and Fiat Chrysler. These hoods are also manufactured exclusively in Detroit, Michigan and exported all over the world. This very same hood is used in many of AEV’s hand-built Jeep JK conversions.
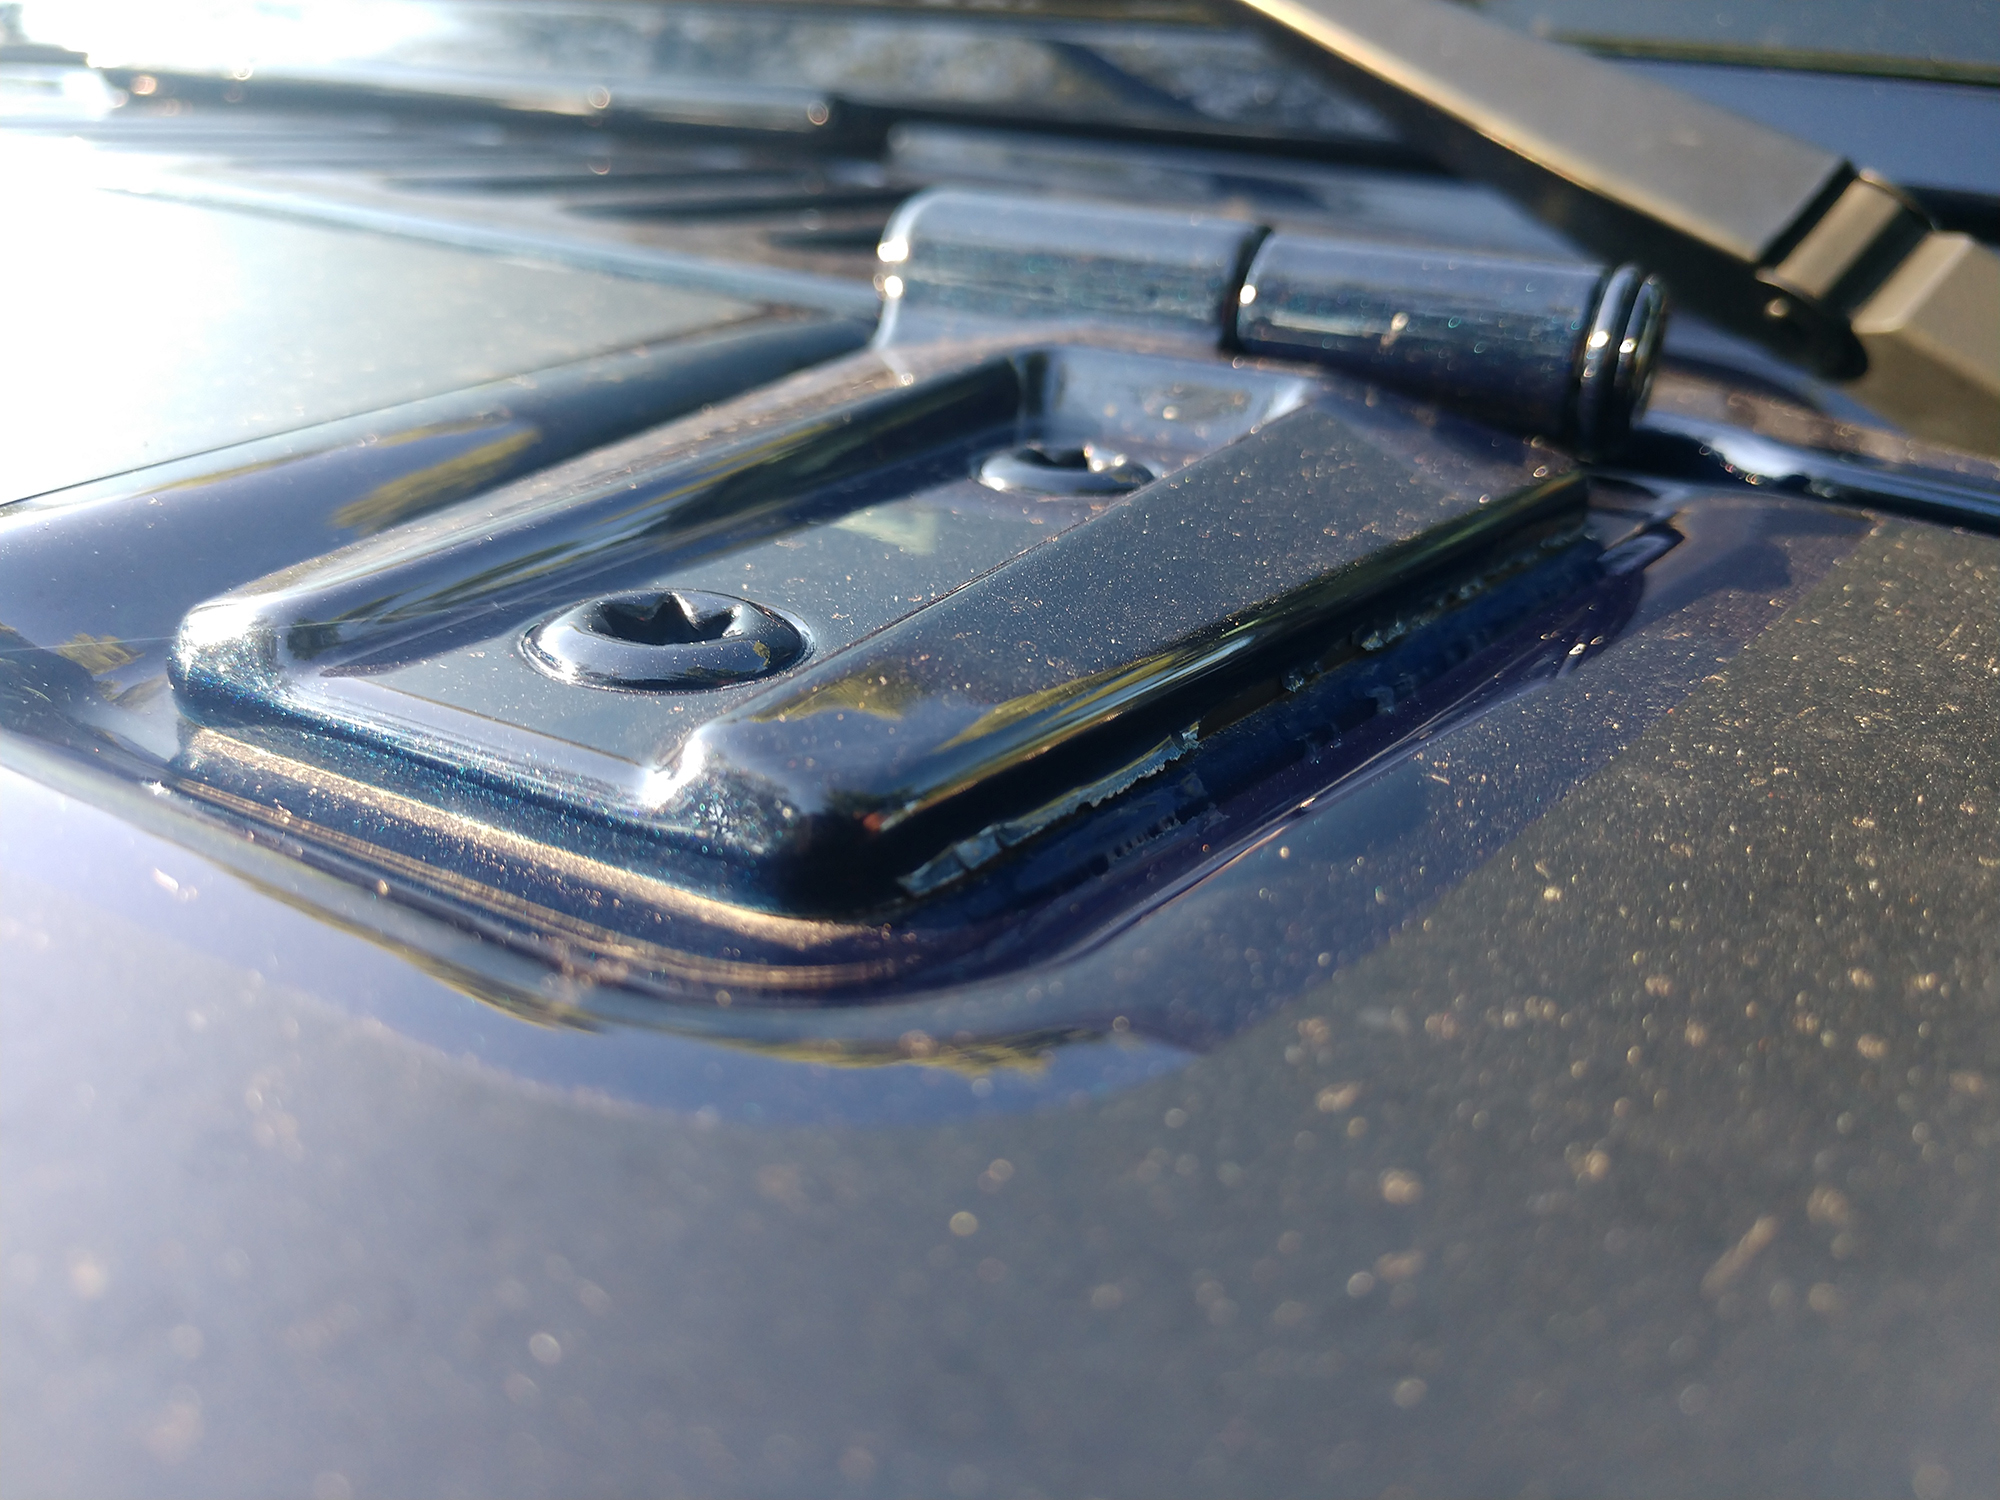
There are a few parts I absolutely recommend you pick up for any hood upgrade or replacement. From the factory, your hood hinges (in addition to all the other body hinges) are painted when mounted to the vehicle. This makes it very hard to get any type of a decent coating, and creates a small crevice where rust can form between the hood and hinges. The paint at this seam will eventually start to flake away, and eventually the untreated metal beneath will push even more paint away from the hinge. The back part of the hinges didn’t even get a full treatment of top coating.
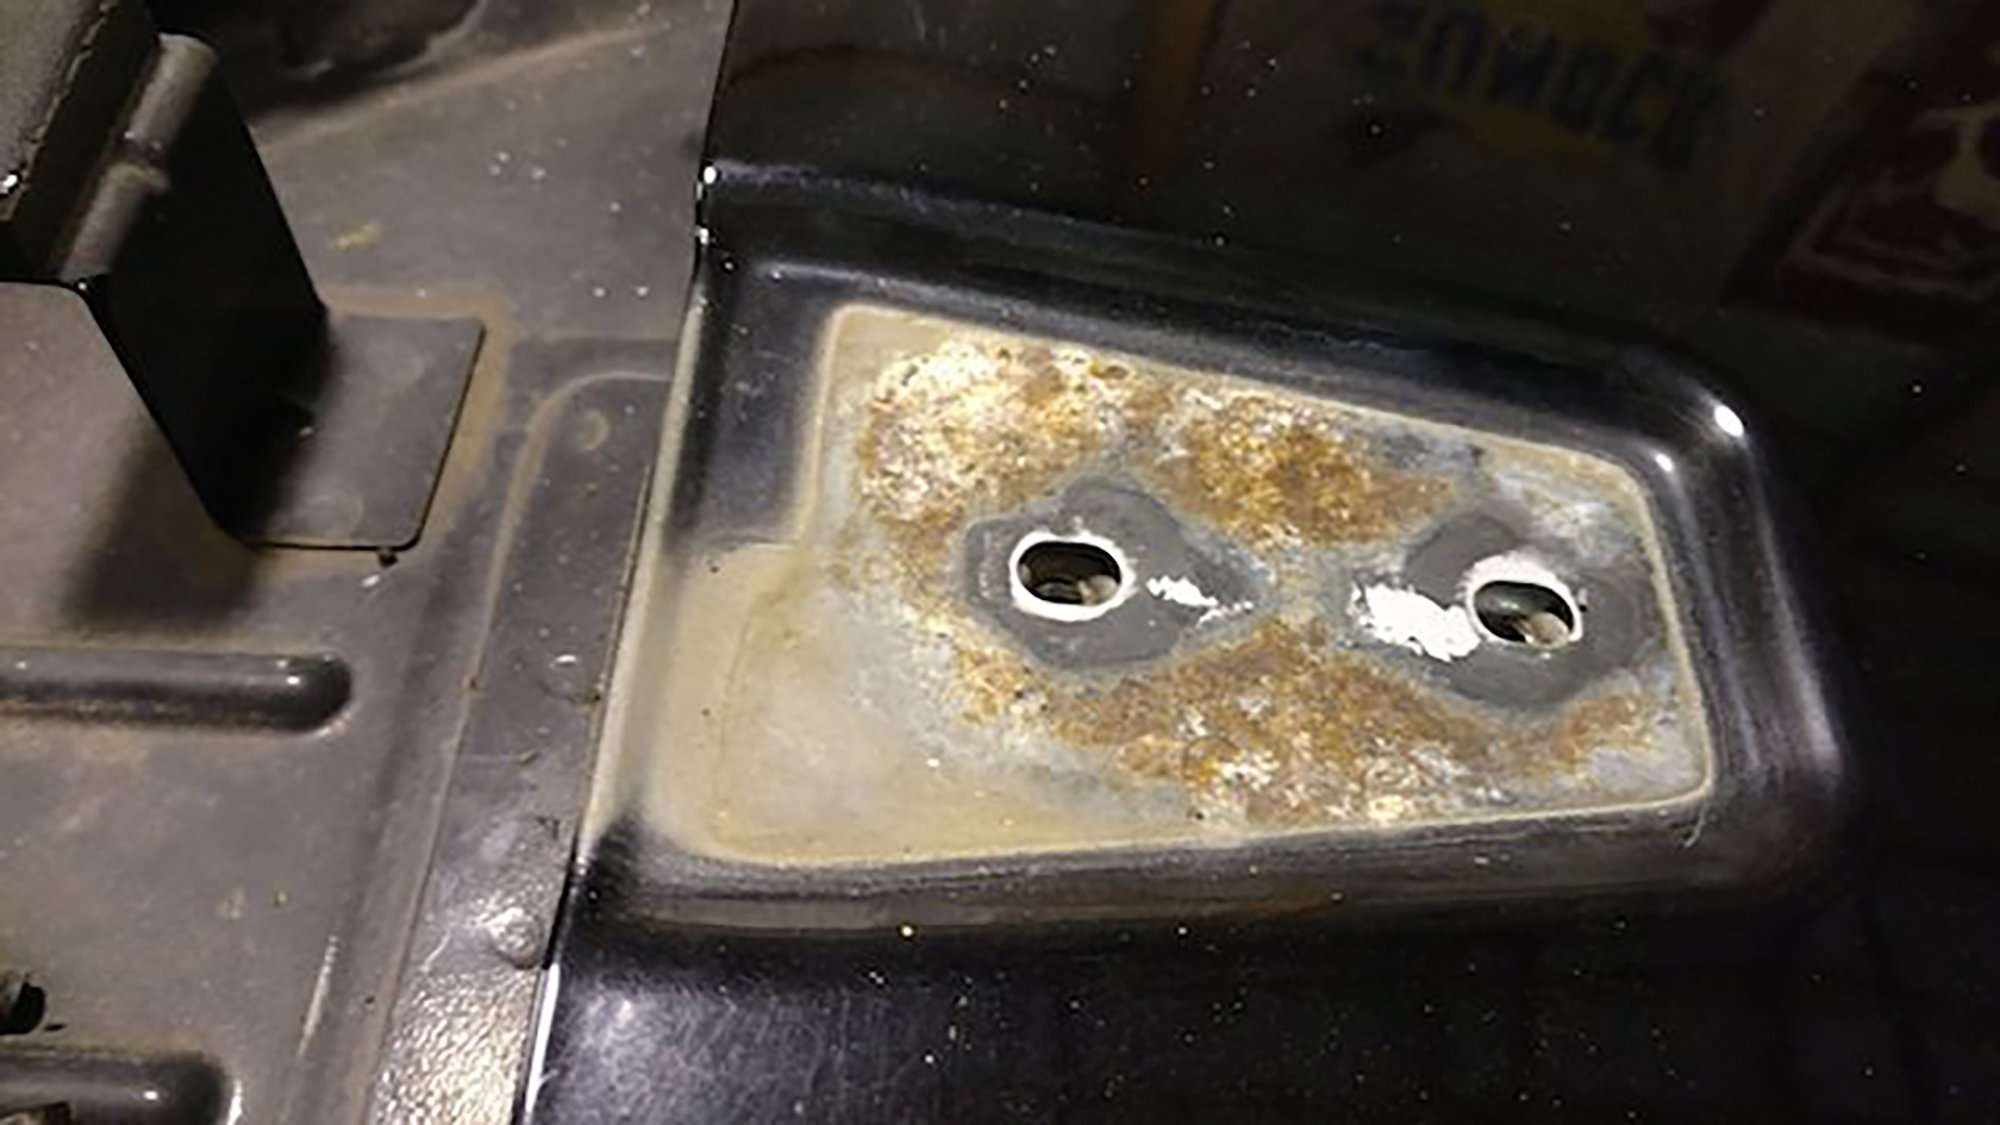
While I did not remove the hinges from the hood during this installation, this is what was lurking under the hood hinges on my 2008 Rubicon—Project Snake Eyes.
As with my previous Jeep, these hood hinges are getting replaced with top quality stainless steel Kentrol versions. Last time I went with black powder-coated units, but since this new hood requires paint, I wanted a set of Kentrol Stainless Steel Hood Hinges in a paintable finish.
.jpg)
These precision manufactured hinges are made from T-304 stainless steel to prevent corrosion, and come in a sand-blasted finish that is ready to prime and paint. Since they have a lifetime warranty, you can rest assured you’ve installed the best built, and hand-inspected hinges, you can get for your Jeep. If you don’t feel like having them painted (or doing it yourself), these hinges are also available in a polished finish, as well as two different black power-coated textures.
Dropping these hinges off at the body shop, along with the new hood for prep and paint, saved me a lot of time and kept me from having to reuse the beat up older factory hinges. Bolting my new beautifully painted AEV hood up to those beat up fellas would have been a sad moment.
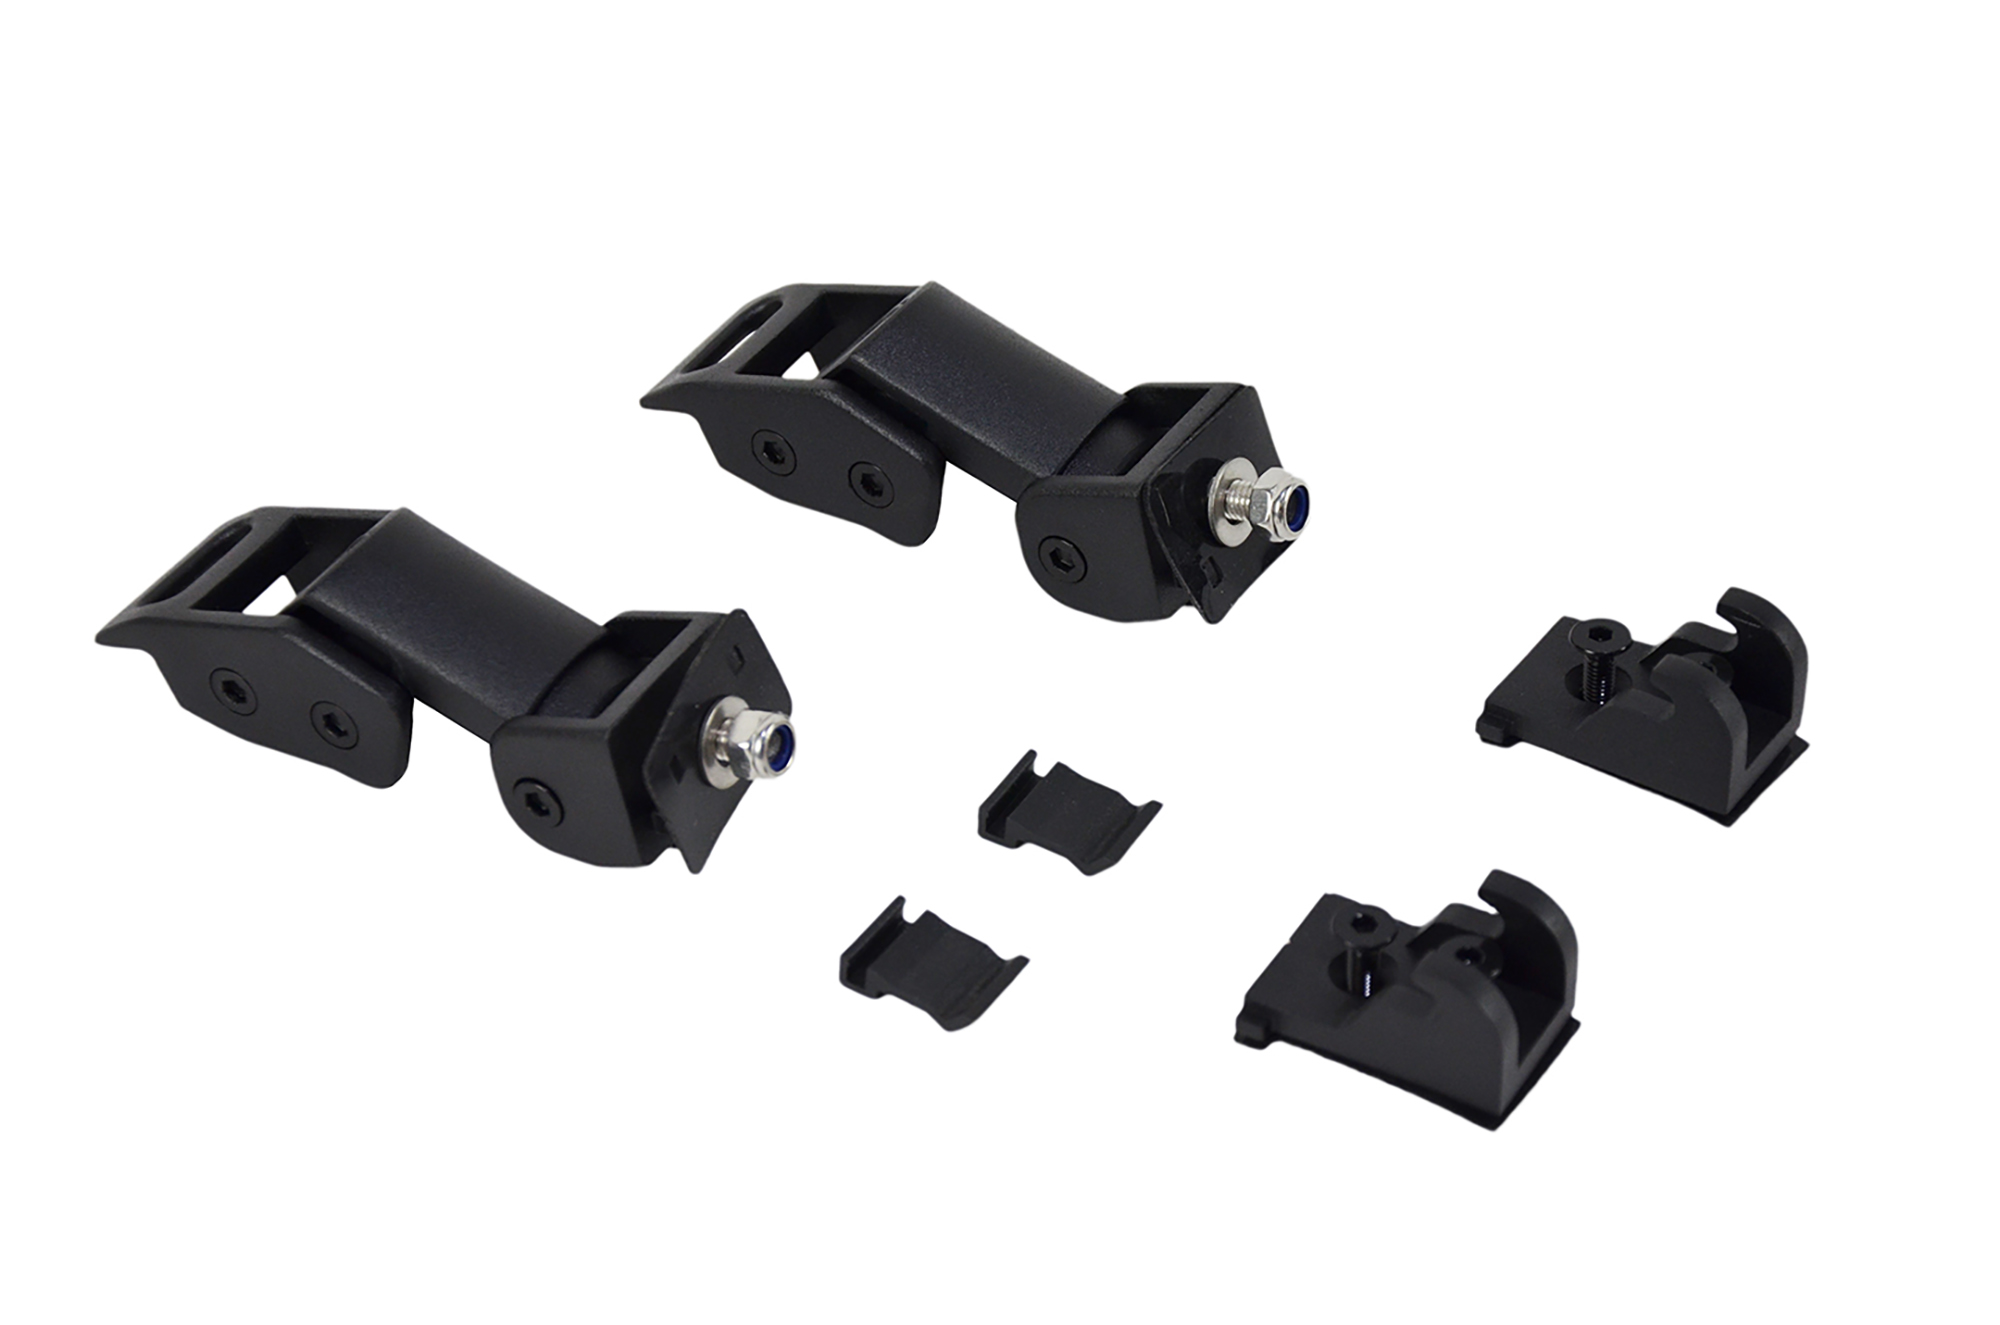
A few years ago, I installed a Kentrol Mechanical Hood Catch Kit on Project Snake Eyes, and worked up an installation article. This led to several others at Quadratec also employing these latches—including Project Grey Wolf, Overkill and now Rattler. It is a running joke that I’m the ‘in house Kentrol hood latch installer’ at Quadratec.
Now that I have six installations under my belt, I’ve trimmed the time down to around 15 minutes for the total process. Your install time may vary, but these are one of the best parts you can add to your Wrangler if you have the JK hood flutter issue—or you are looking for something with more functionality. I have recommended them to anyone who would listen, to the point of installing them for free if they buy them. While I still haven’t received my commission check from Kentrol, I’m sure it's coming any day. Maybe they’ll pay me in stock options? No?
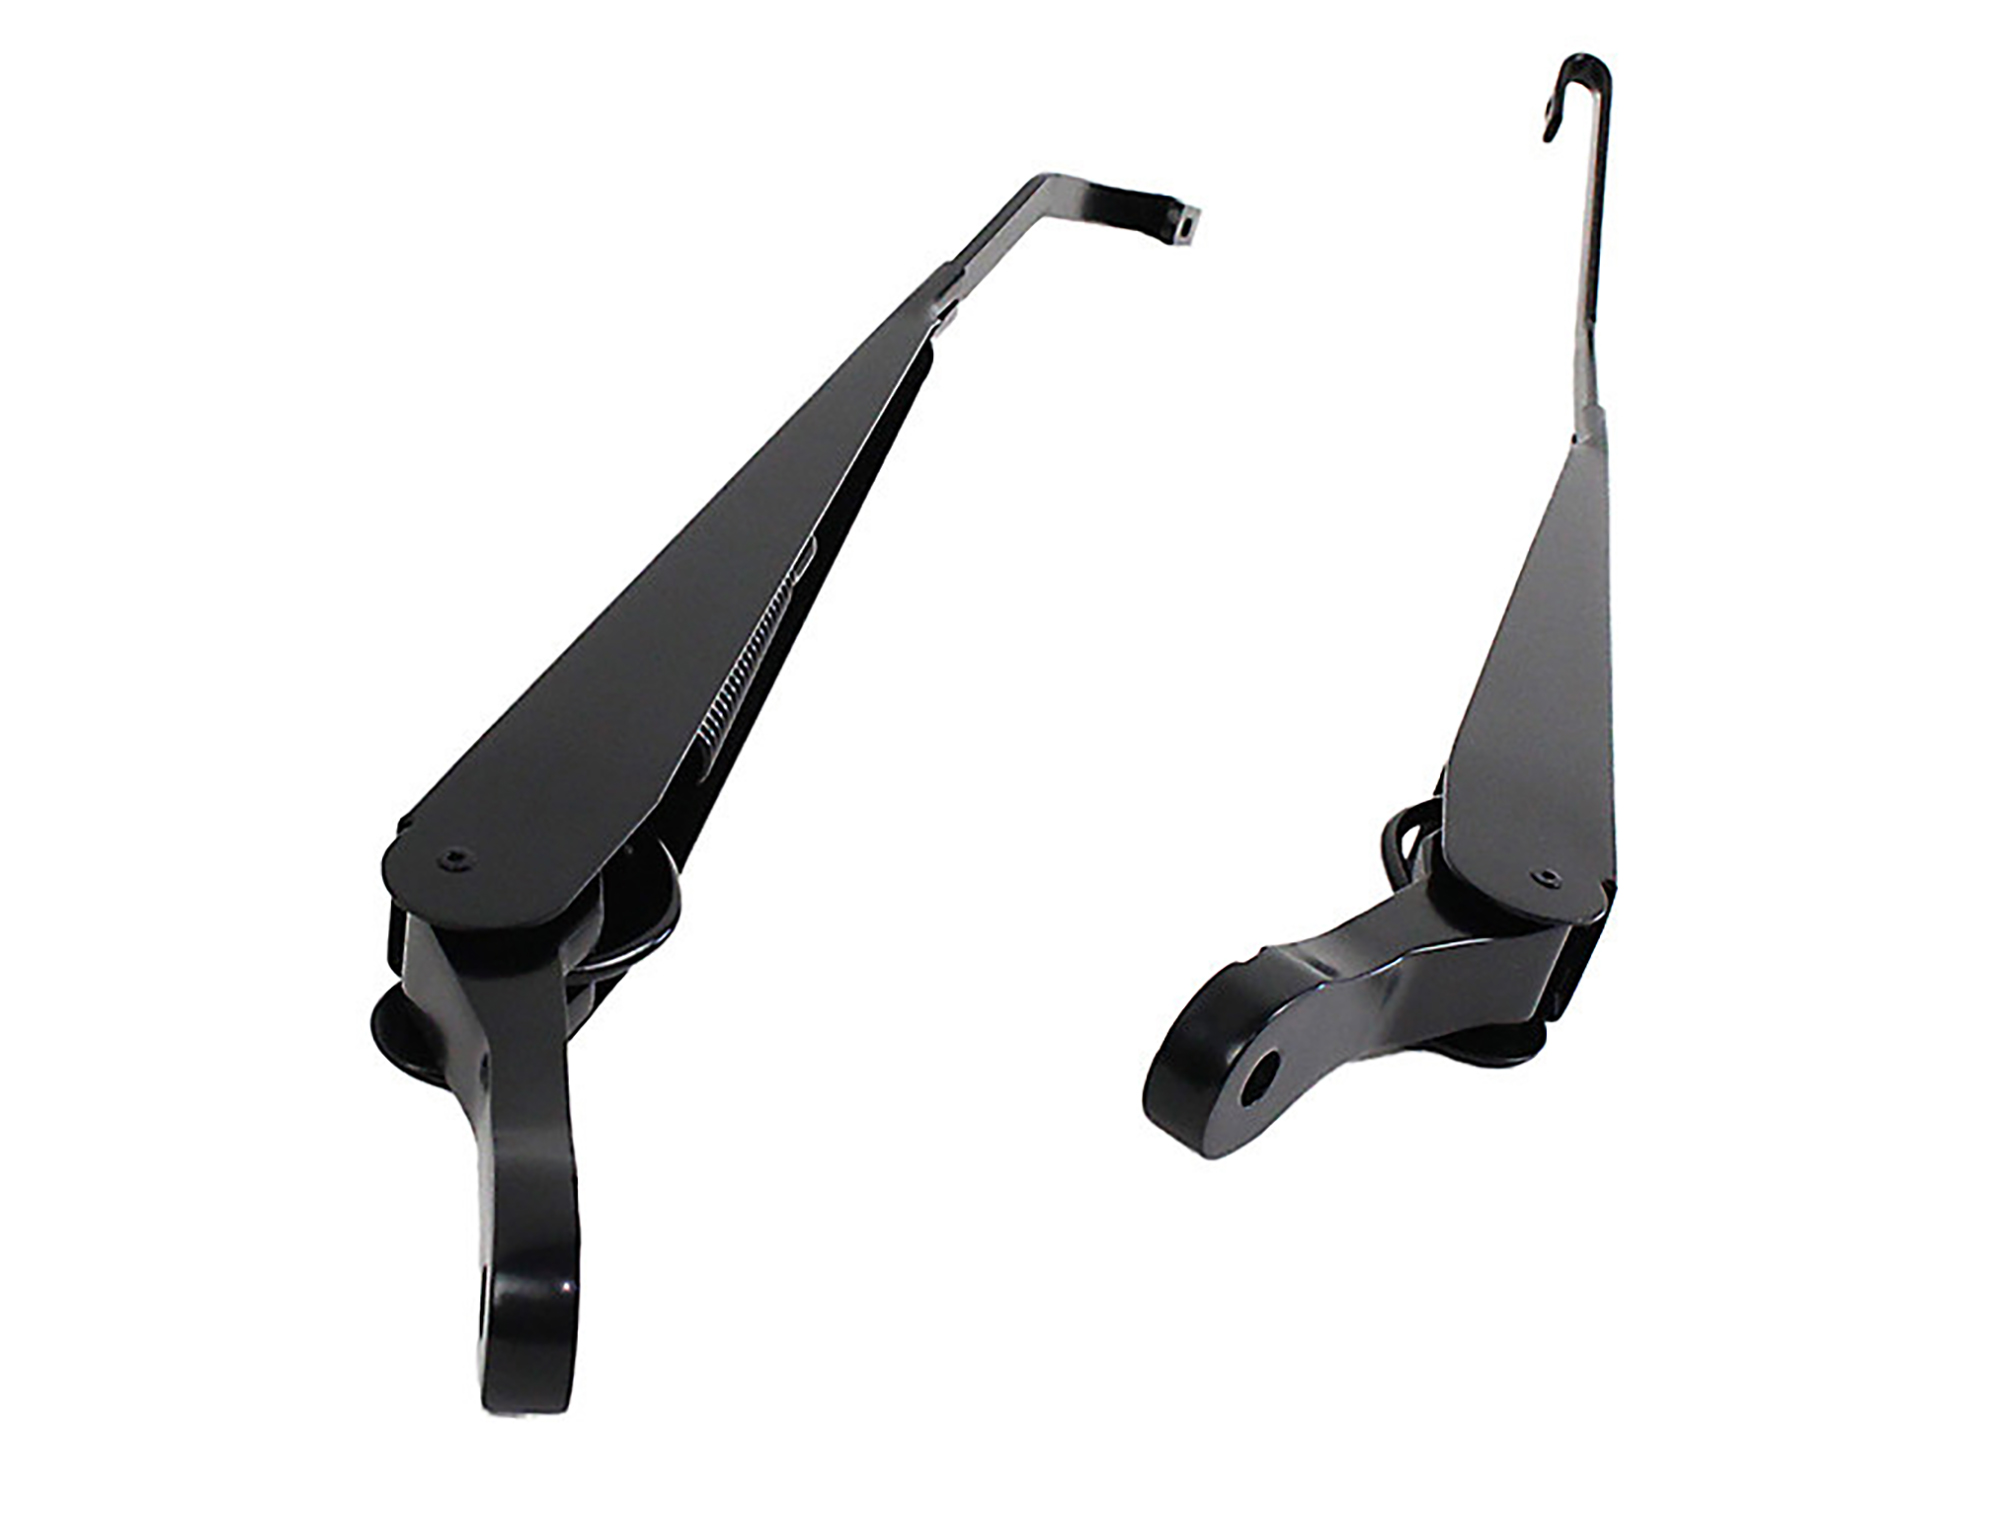
When installing the AEV Head Reduction Hood, you are going to be removing your wiper arms very early in the process. If your wiper arms are looking stone-pitted and rusty (as they sometimes do), it may be a good time to buy some replacements. Kentrol has your back on this item as well, thanks to their high quality stainless steel black power coated arms. They are actually less expensive than the factory units, and will not rust up like the originals. They even have a limited lifetime warranty. If black stainless isn’t your thing, then you can choose a set of these in polished stainless.
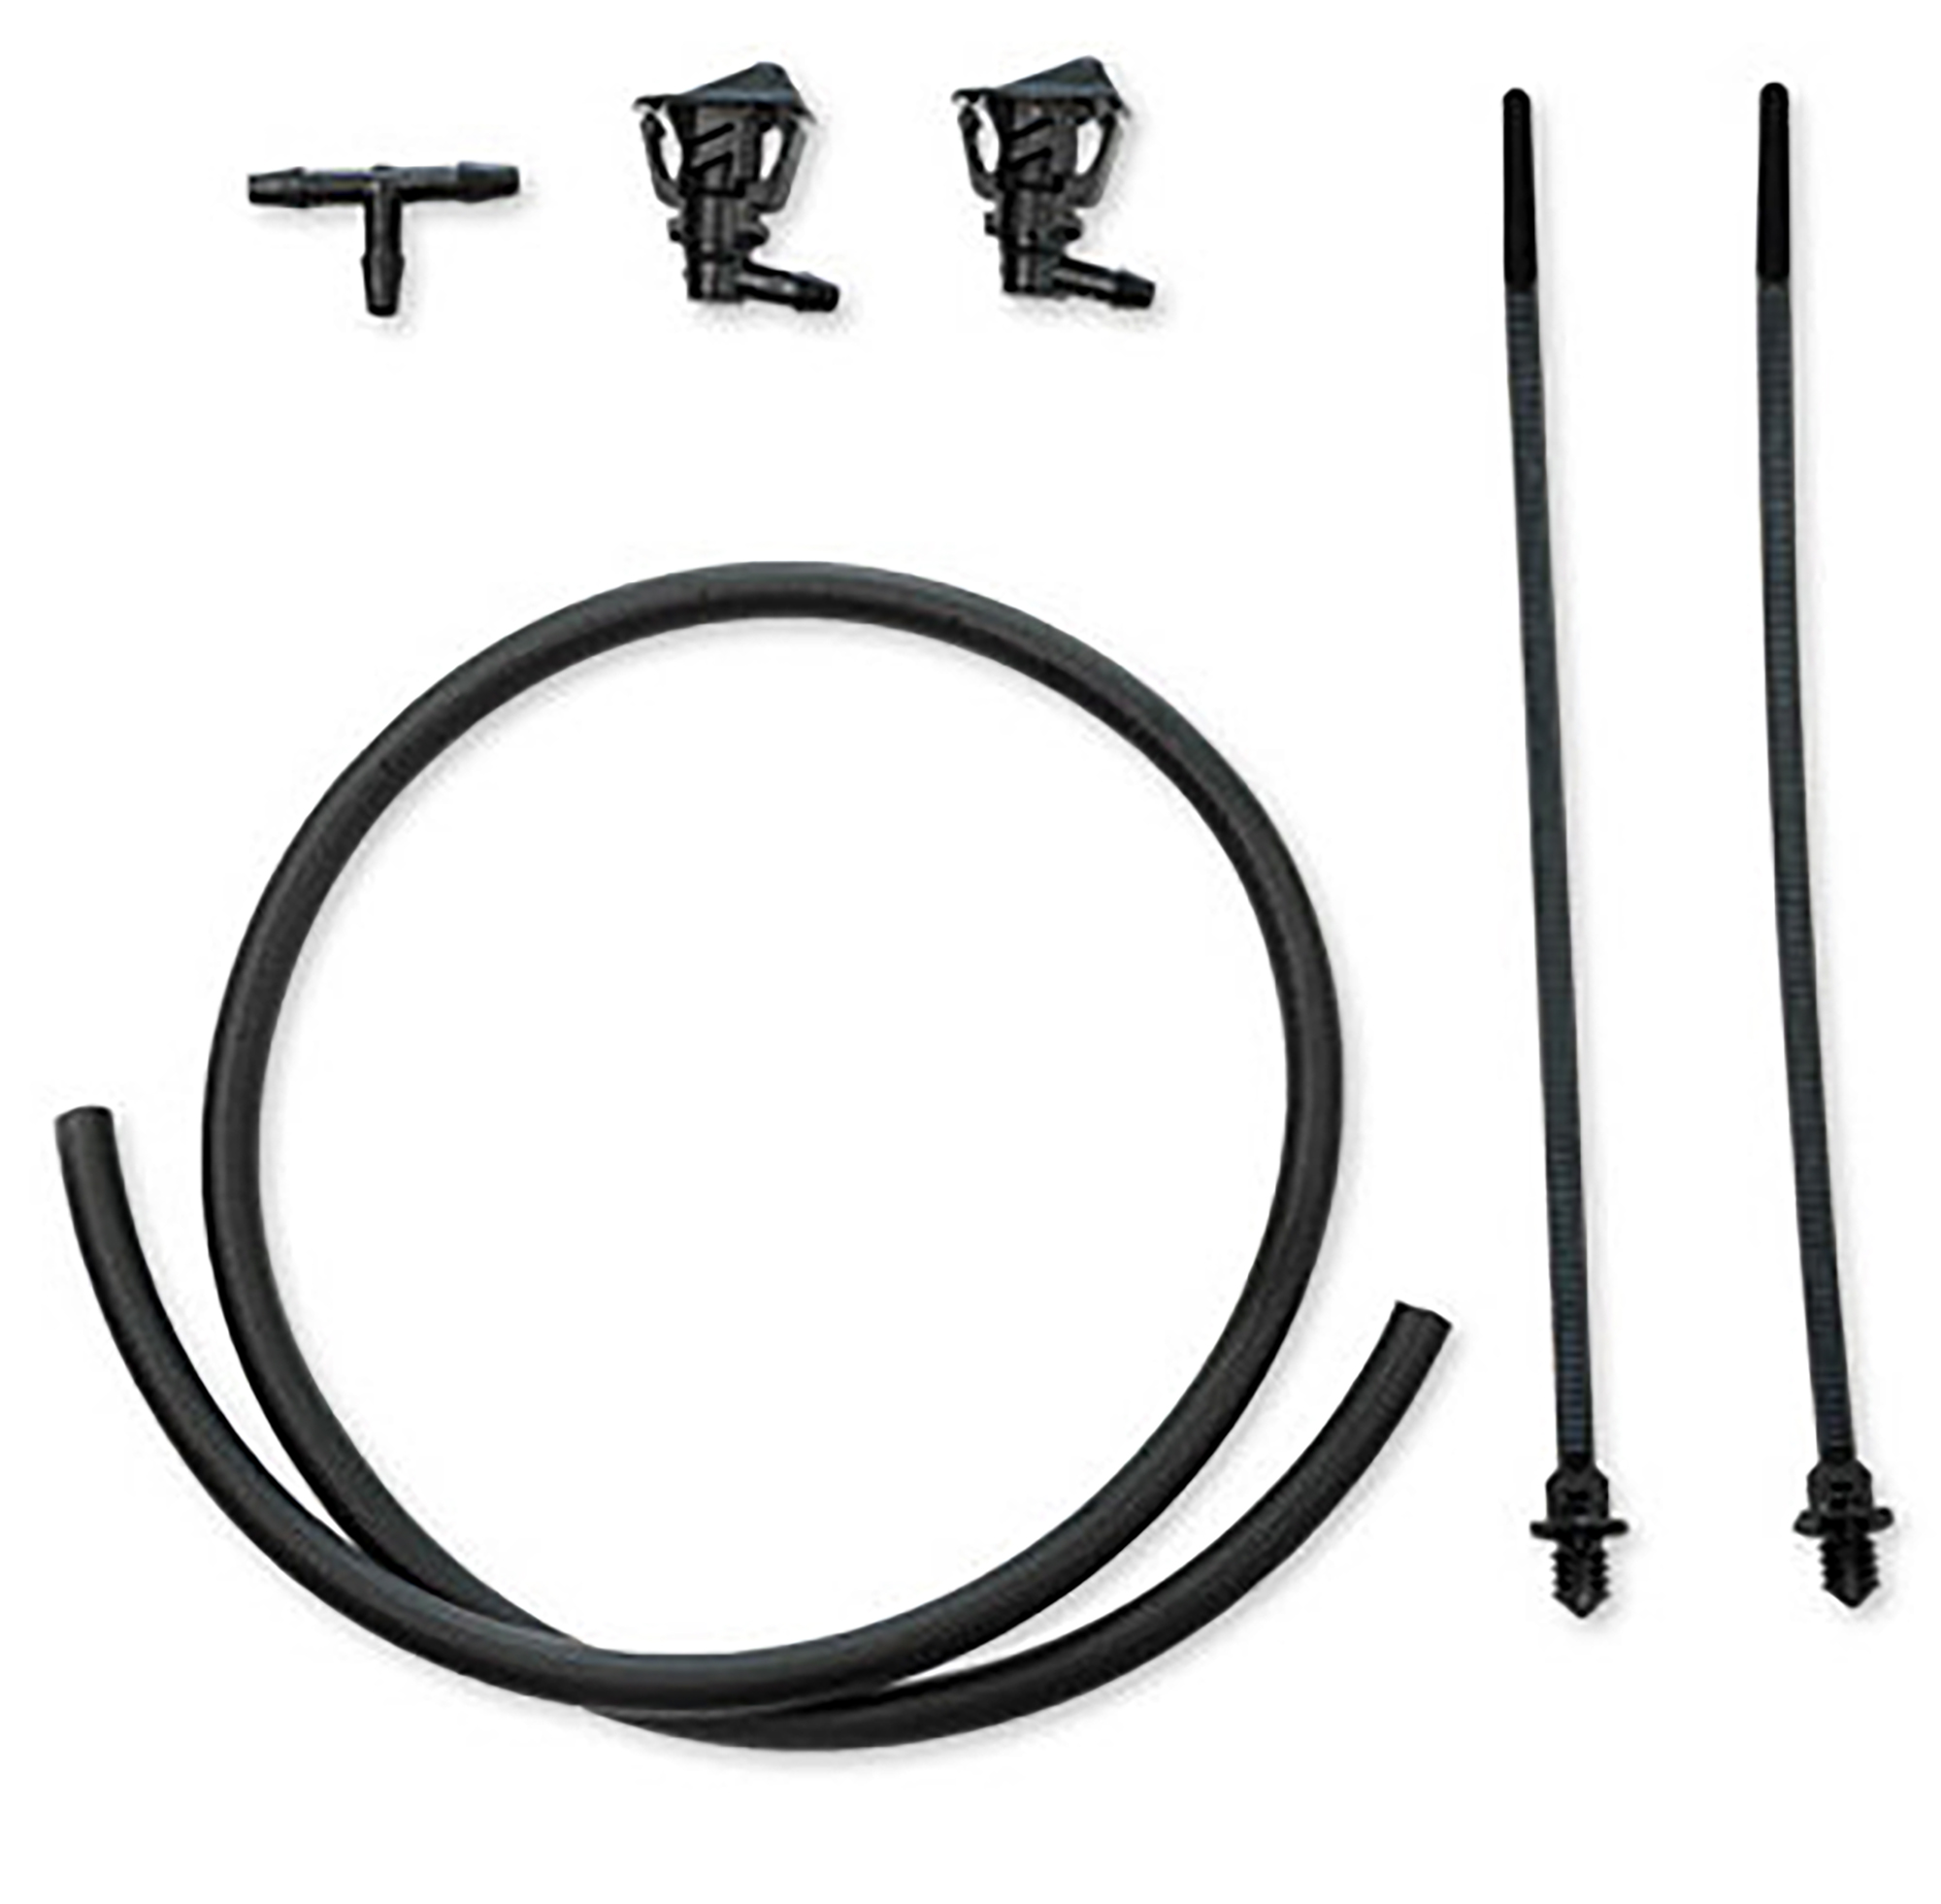
Lastly, if you have an early Wrangler JK with one washer nozzle then you’ll need a few additional parts to install this hood. AEV bundles everything you need into one product in its AEV Dual Washer Nozzle Kit. This also includes a couple of special fasteners to secure the washer hose, a length of hose and a new t-fitting. For the money, this might be the best route for you.
If you already have a dual washer equipped Jeep (I did), then you should consider purchasing a couple Mopar Windshield Washer Nozzles at the very least, because underhood temperatures tend to make the factory originals very brittle. I anticipated this and had a couple on hand, and sure enough one of the nipples broke clean off as I tried to remove the hose. I didn’t even try to get the nozzle itself out.
Now, on to the fun stuff.
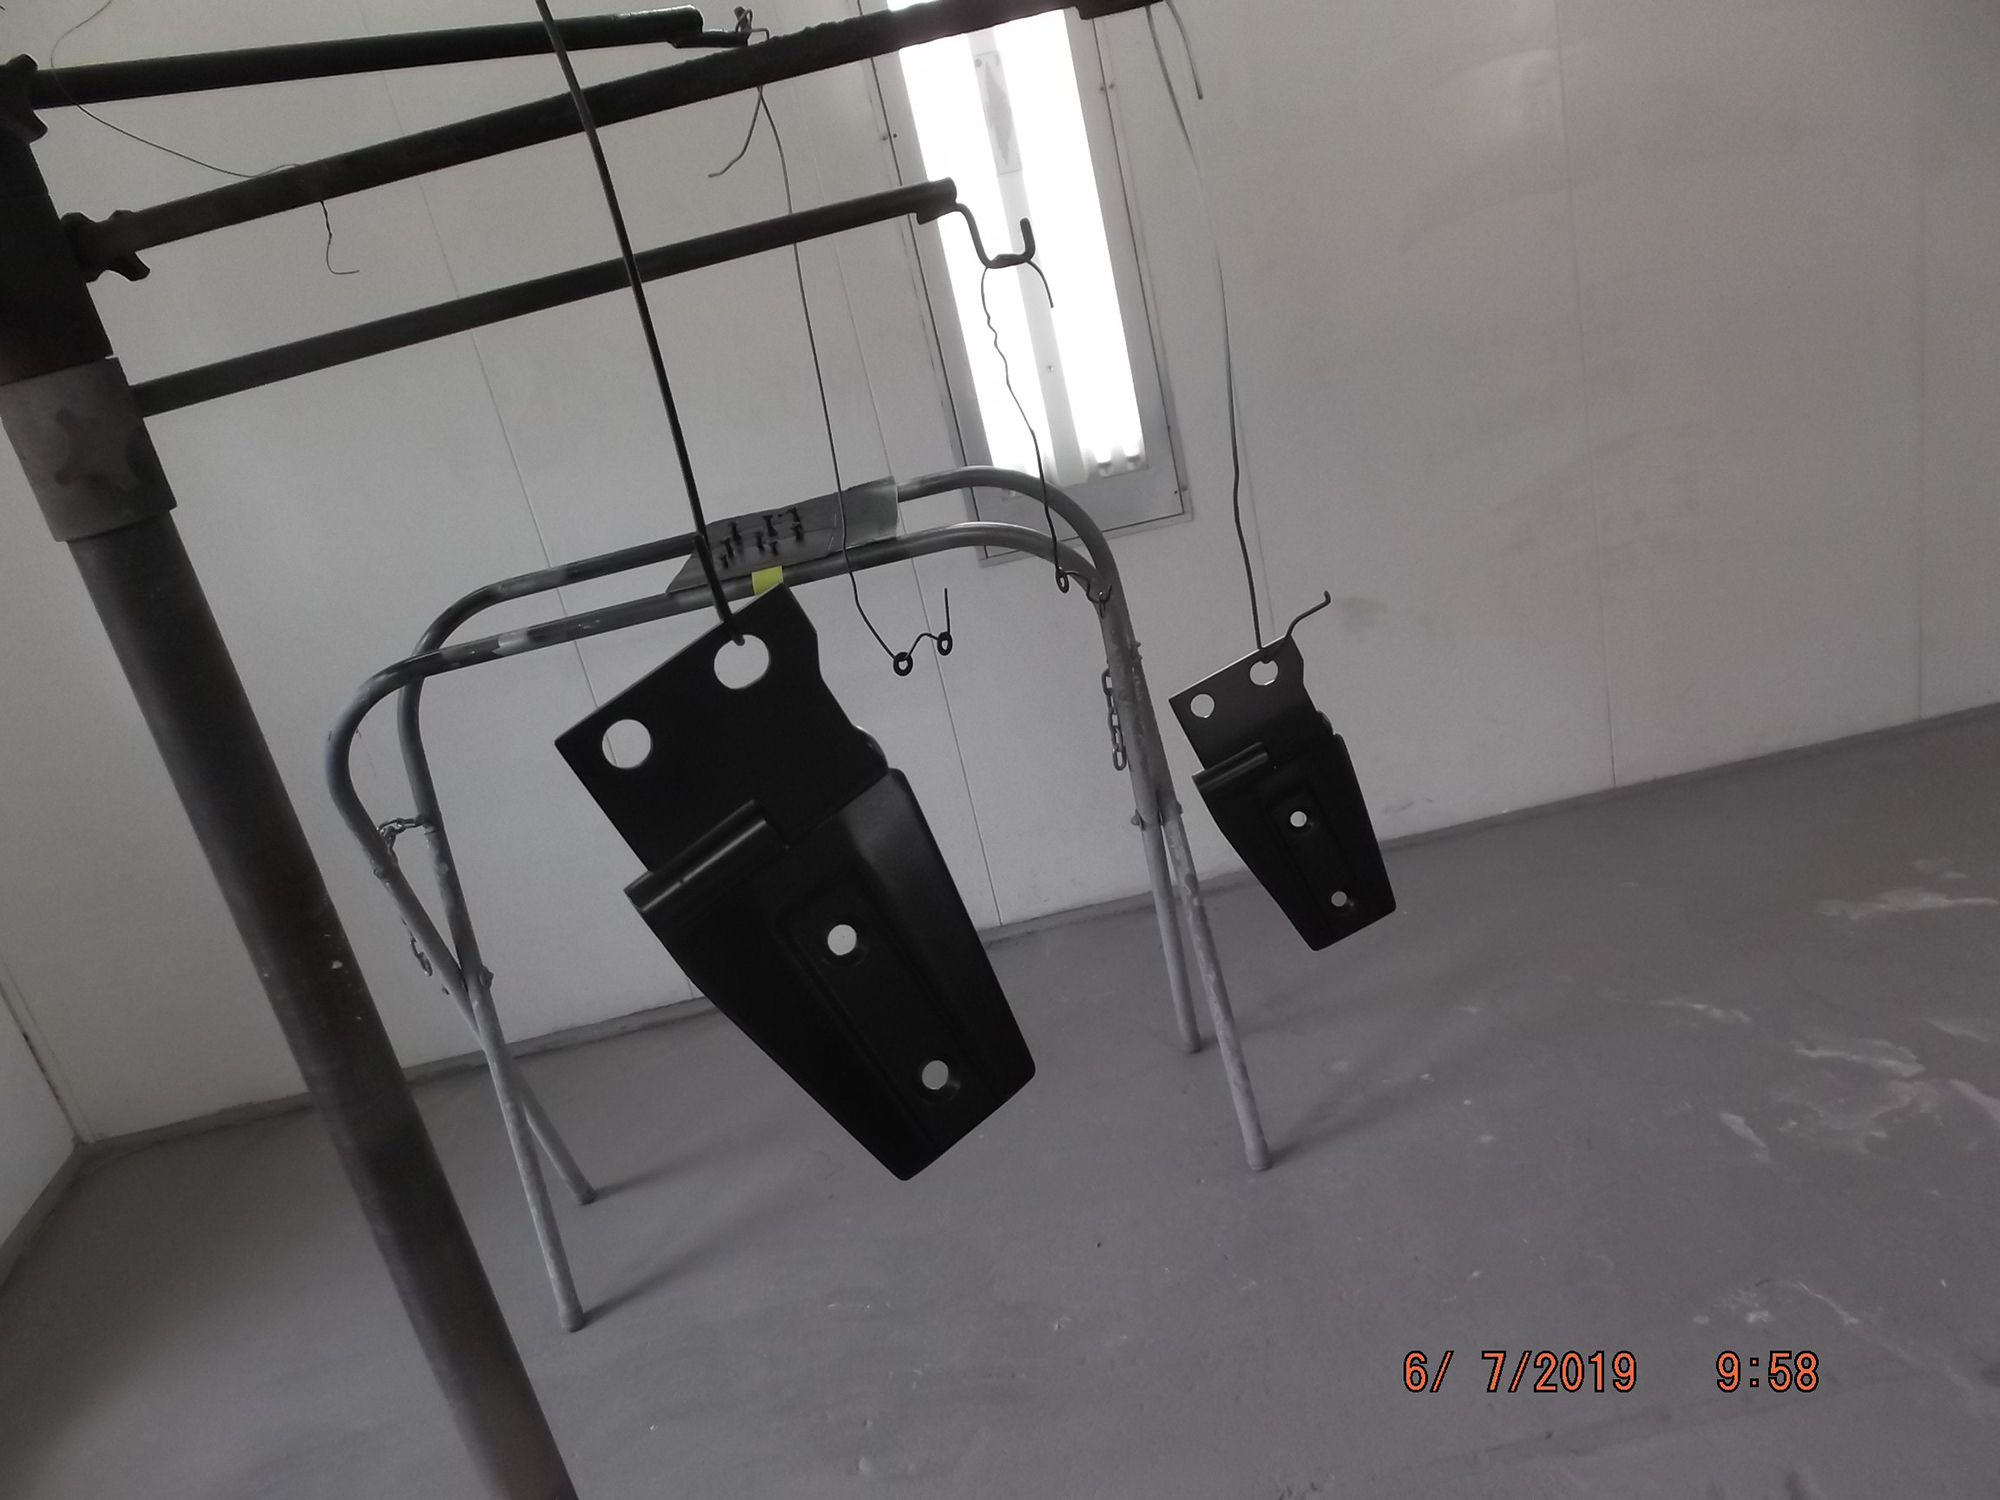
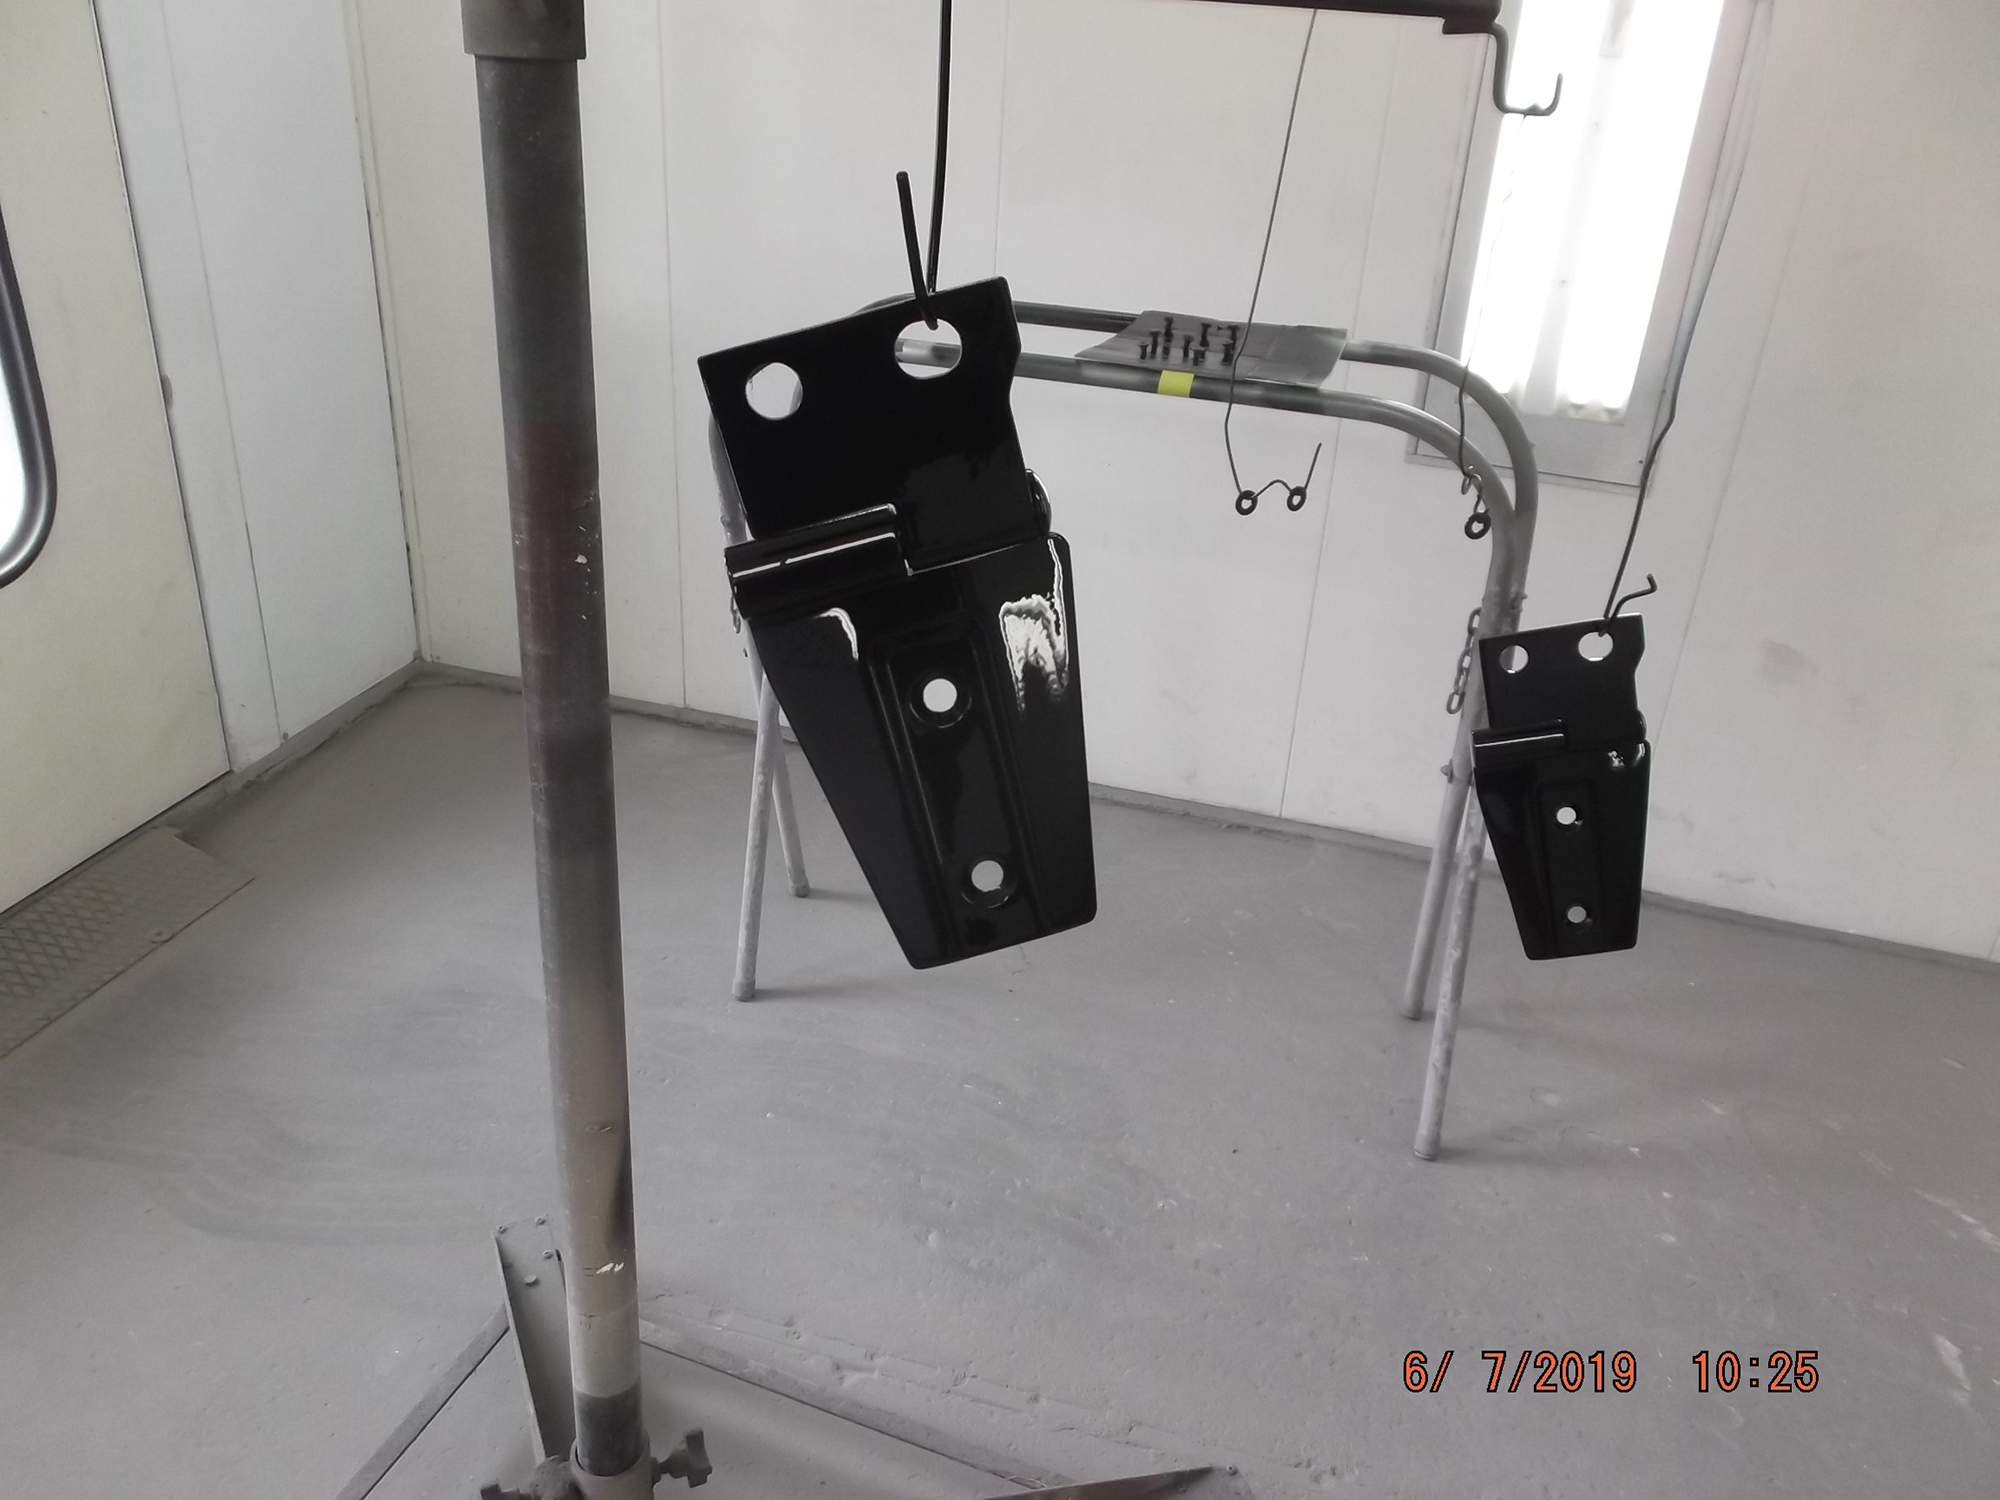
The hood and hinges were delivered my preferred shop in the Philadelphia, Pennsylvania western suburbs—Ott’s Auto Body Shop in Phoenixville PA. They were set up to get painted, and the shop sent me pictures of the progress along the way.
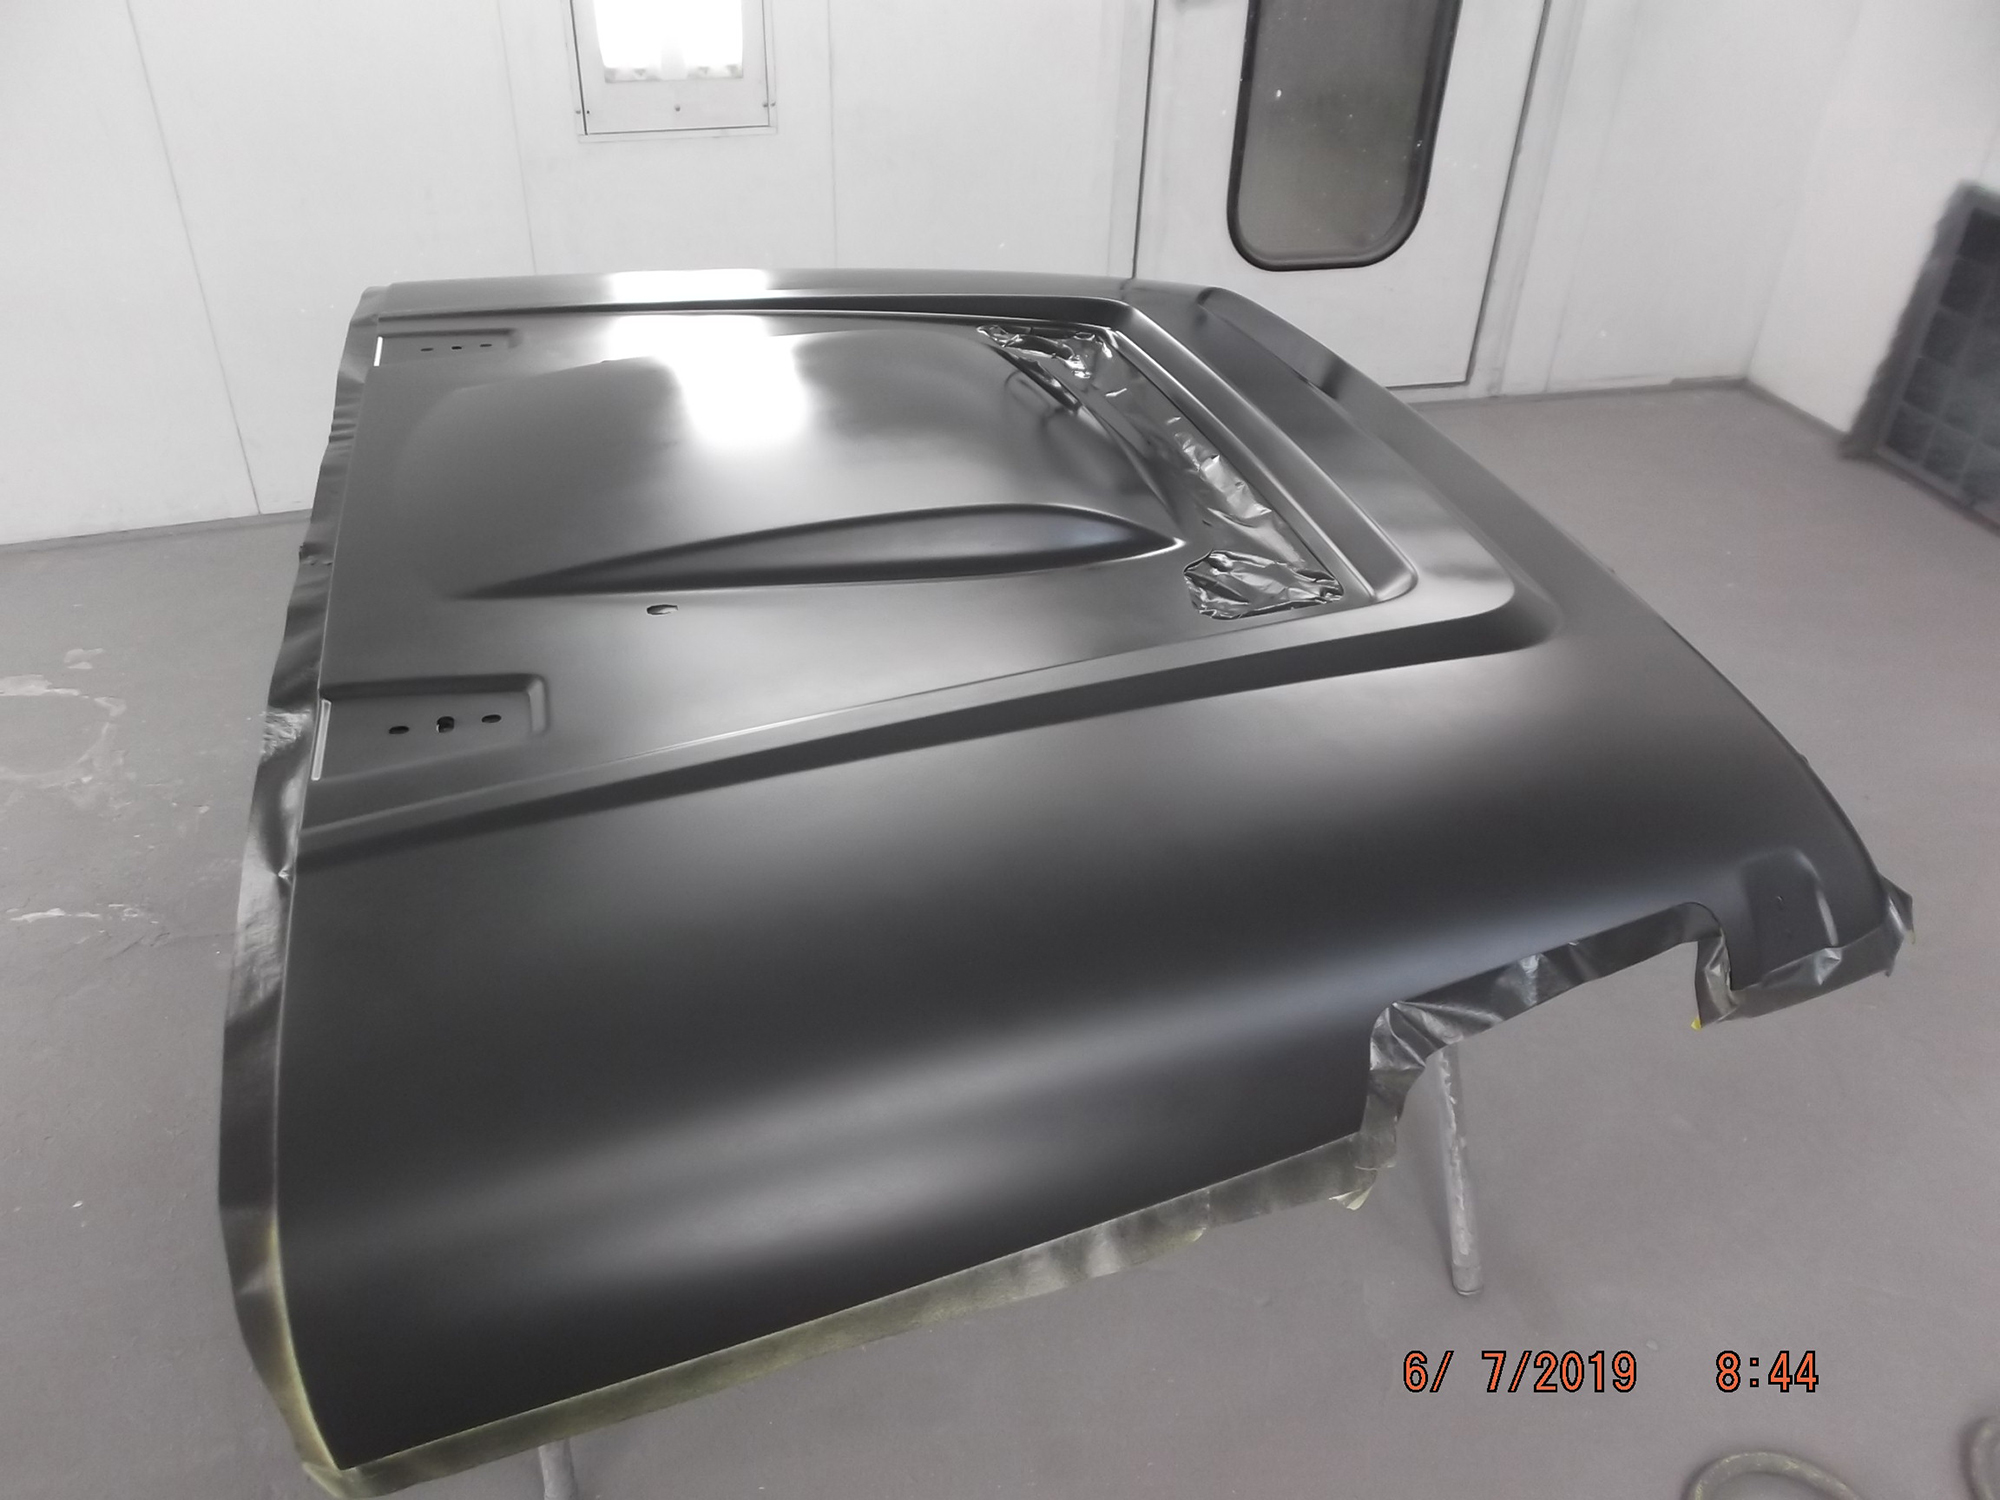
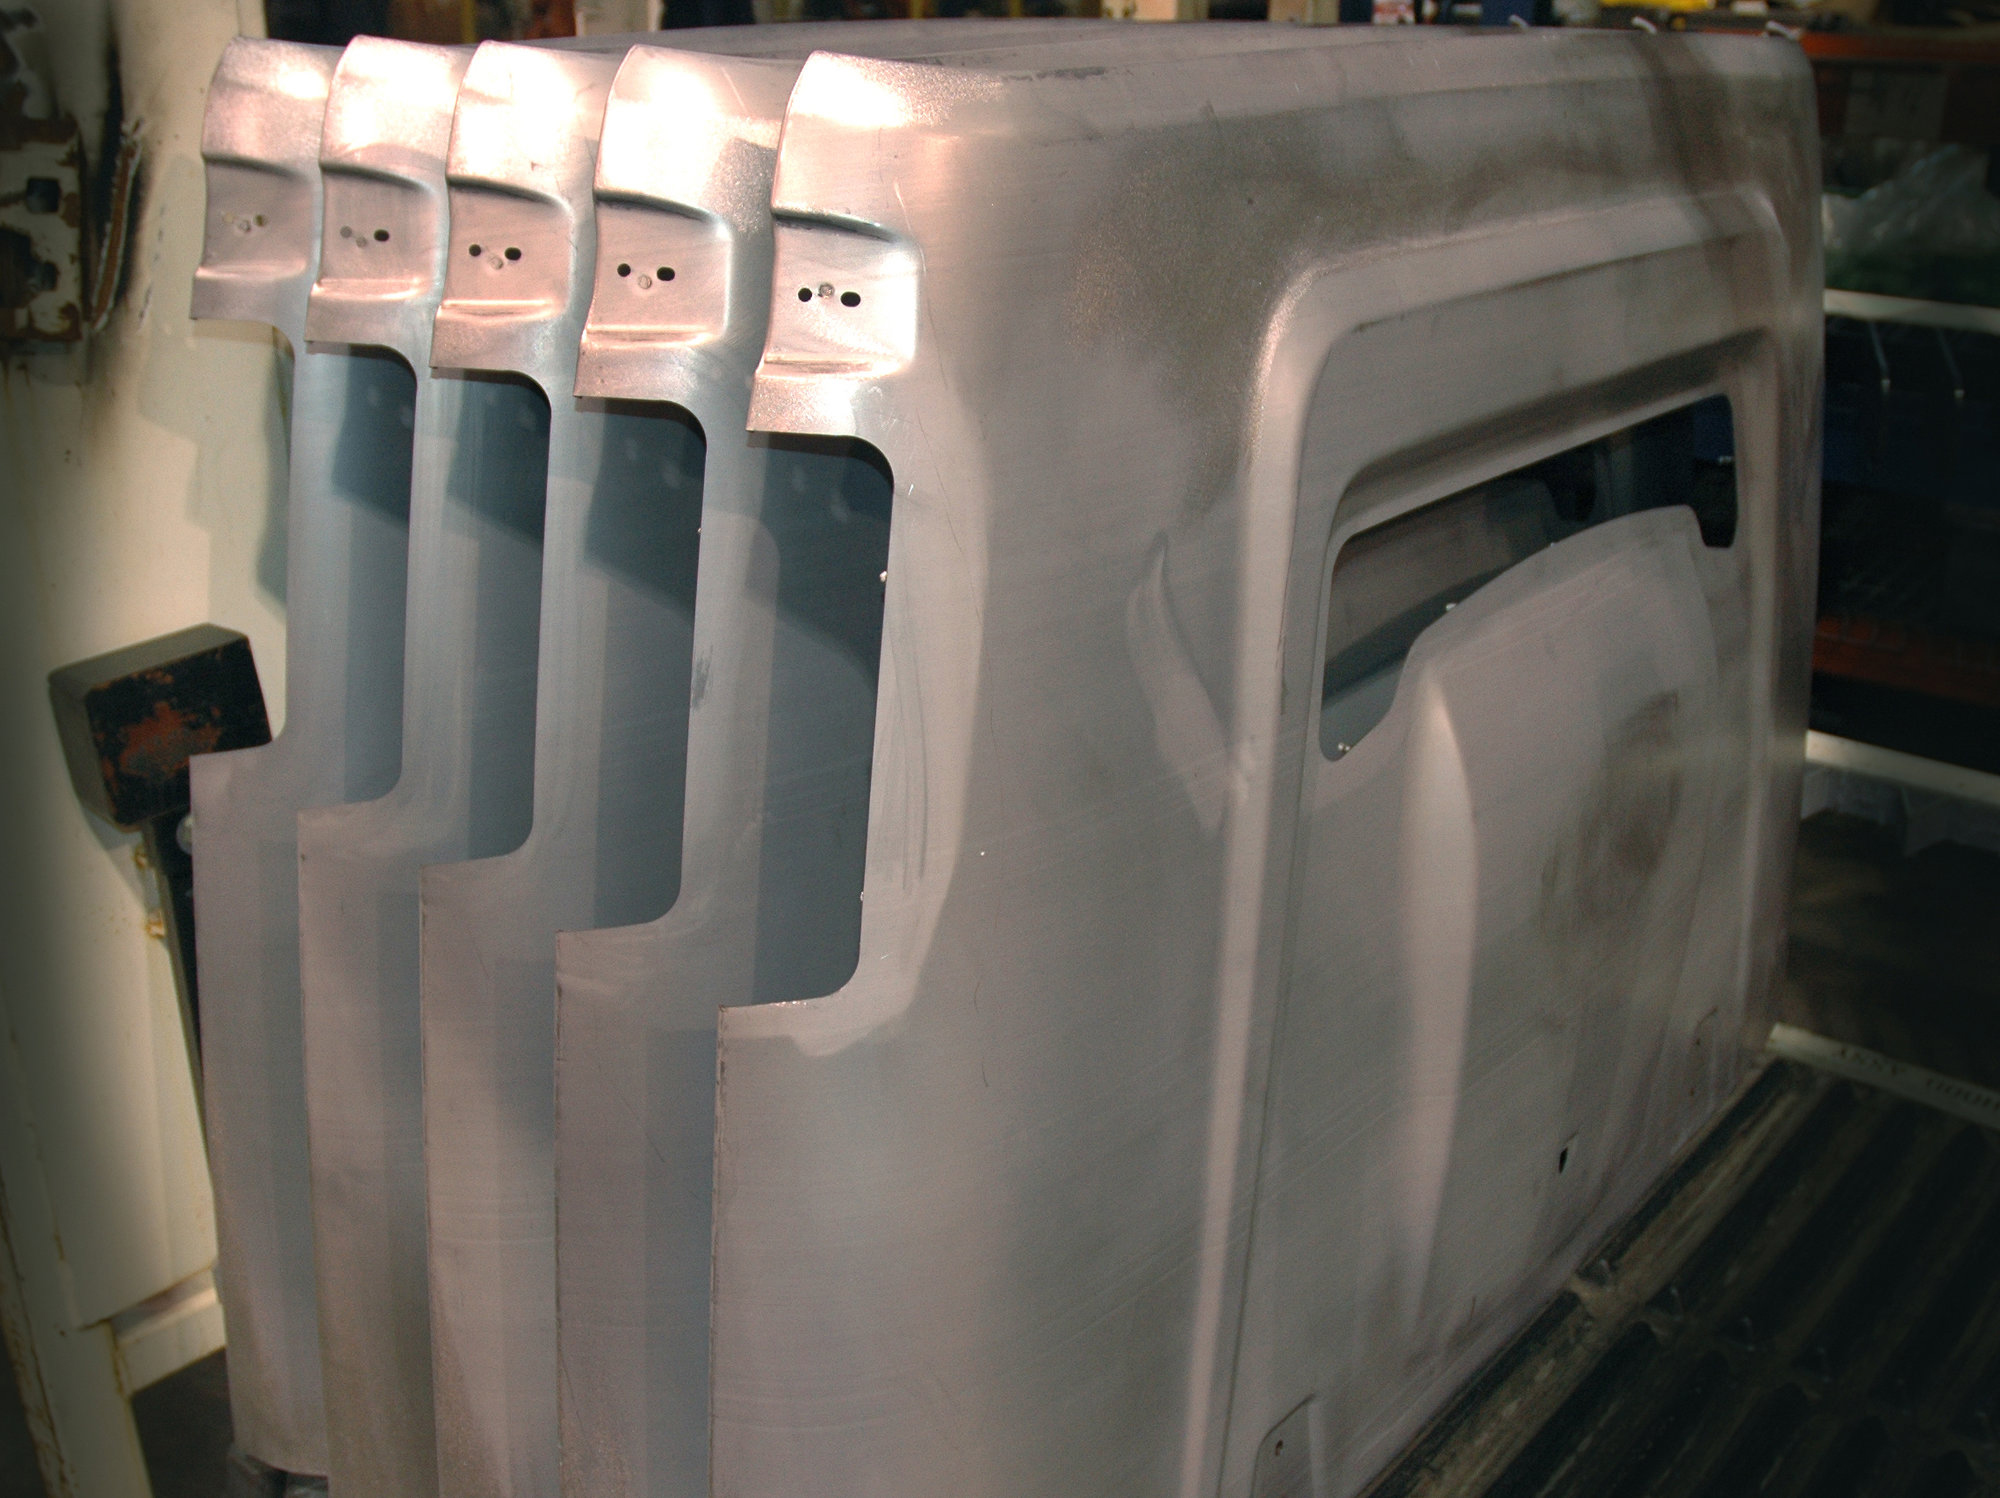
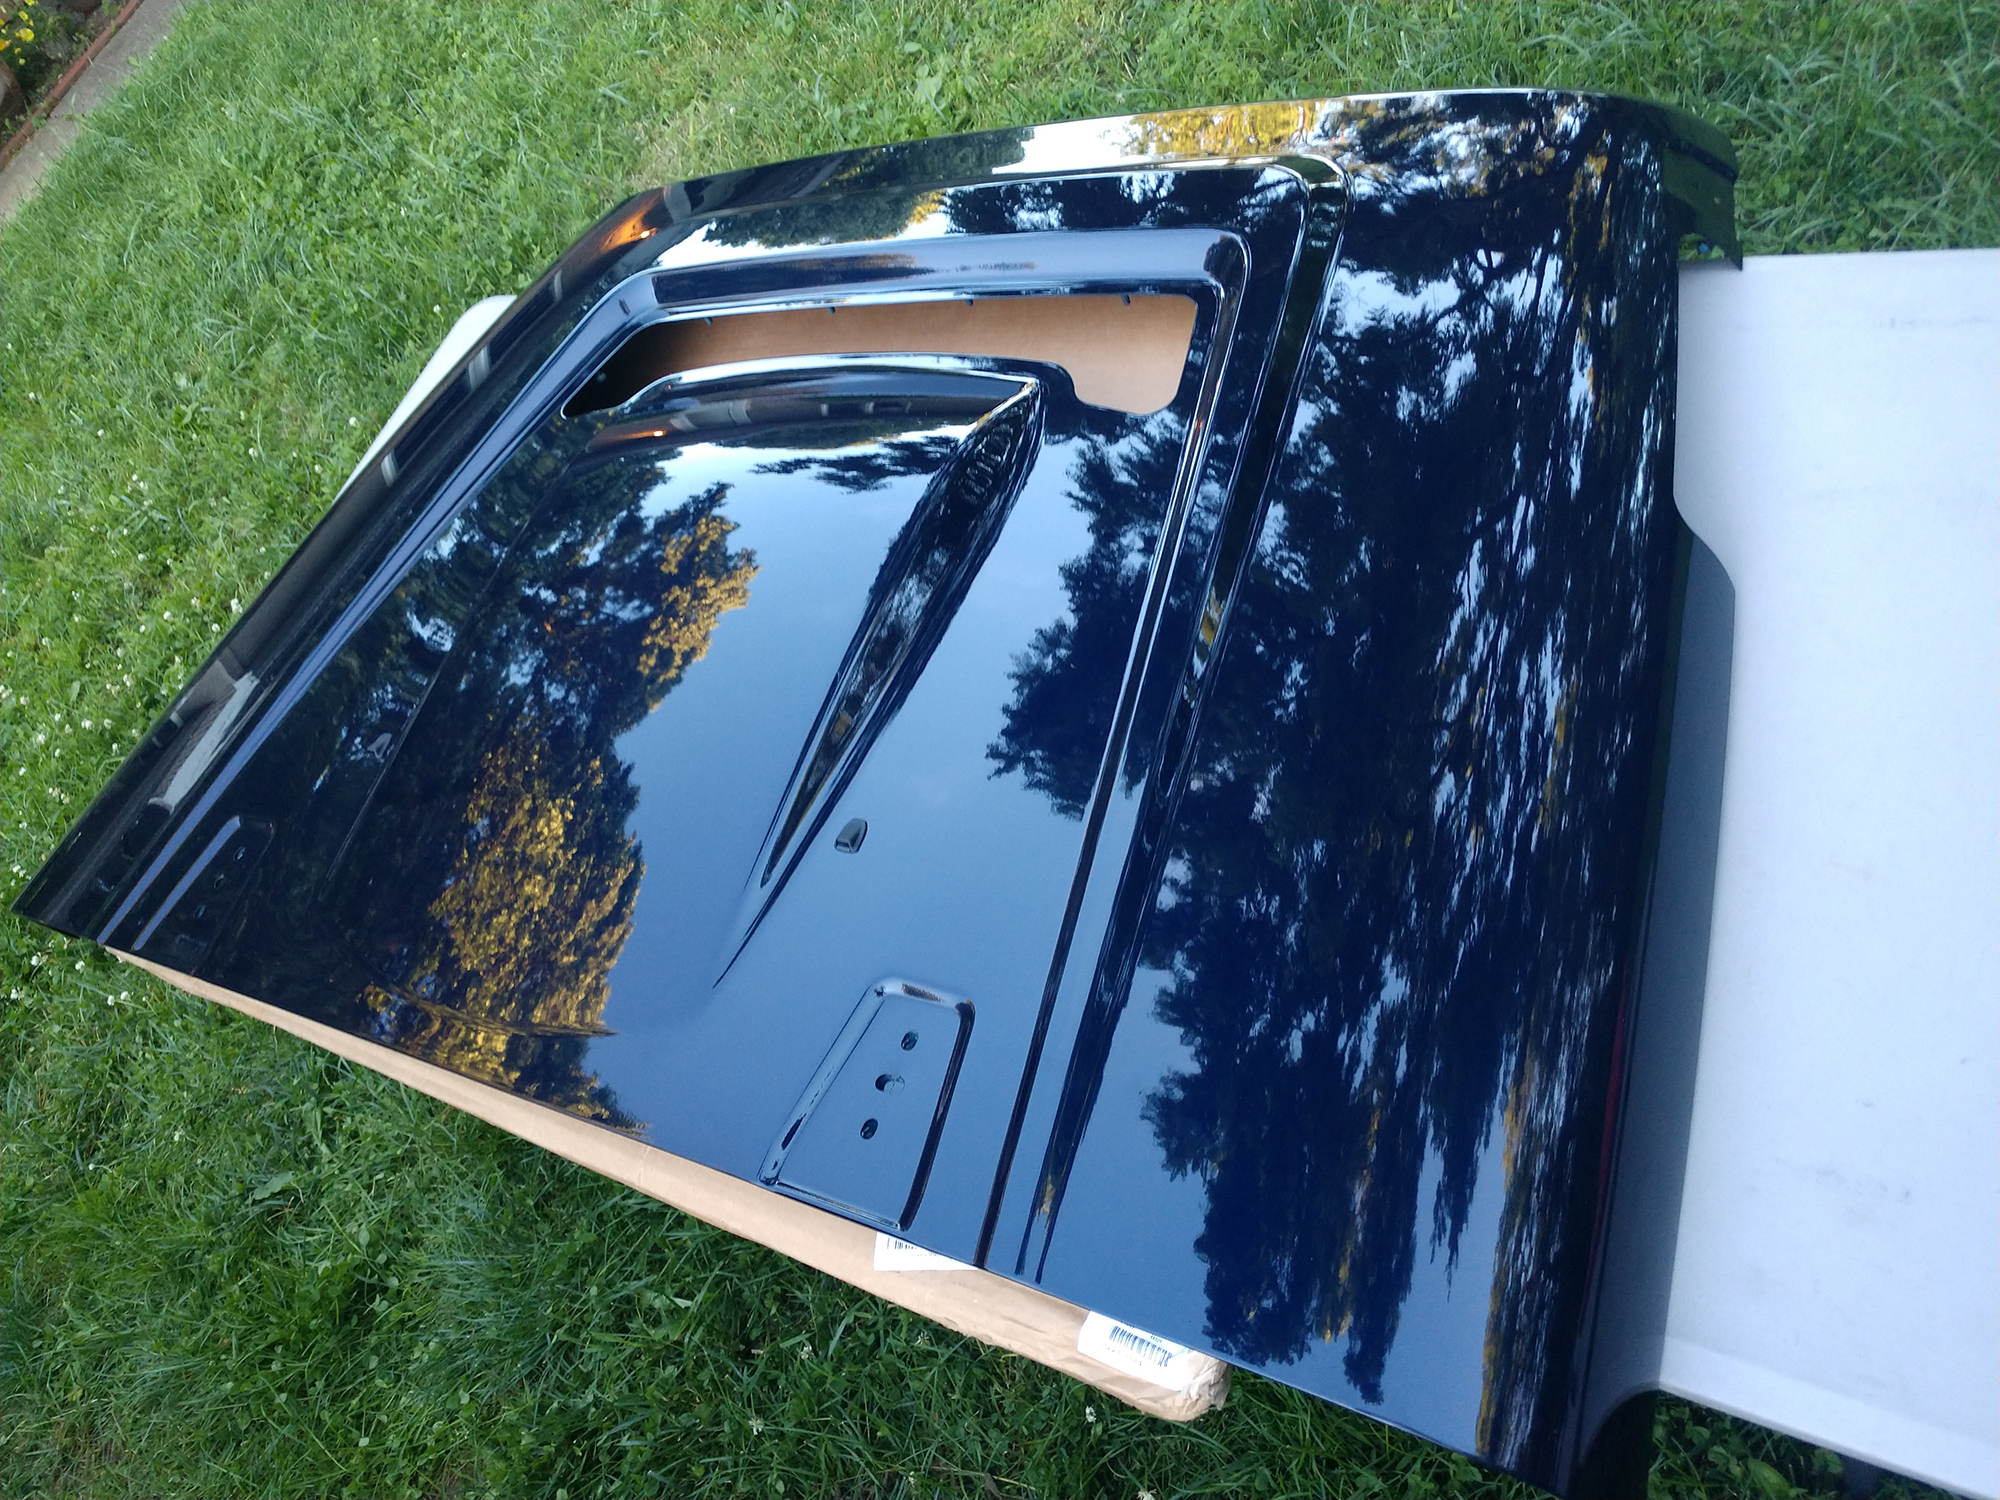
The AEV hood comes in e-coat primer, but did require some slight additional prep before a full primer coat. During this stage, the hinges and hardware were also primed.
True Blue, to match Project Rattler’s body color, is a factory three-stage paint, and the color is augmented by metal flakes as well as a pearl coat. This makes matching it particularly tricky, but thankfully Ott’s was up to the task.
In a few days I had the hood back in my hands and ready to install. I was also very pleased with the results, so if you’re in the Chester County, Pennsylvania area, consider them for any of your paint or collision work.
Now, for the installation procedure.
You do not need many tools for this installation, but you will need a few Torx and hex bits that are fairly common JK Wrangler sizes.
Required tools and supplies:
- 13mm wrench or socket for wiper arm nut and body side hinge bolts
- 8mm wrench or socket for spring retaining bolt
- 10mm socket for catch bolt and hood latch brackets
- 5mm hey key or bit for Kentrol hinge installation
- T-30 Torx bit for wiper cowl removal
- Anti-seize lubricant
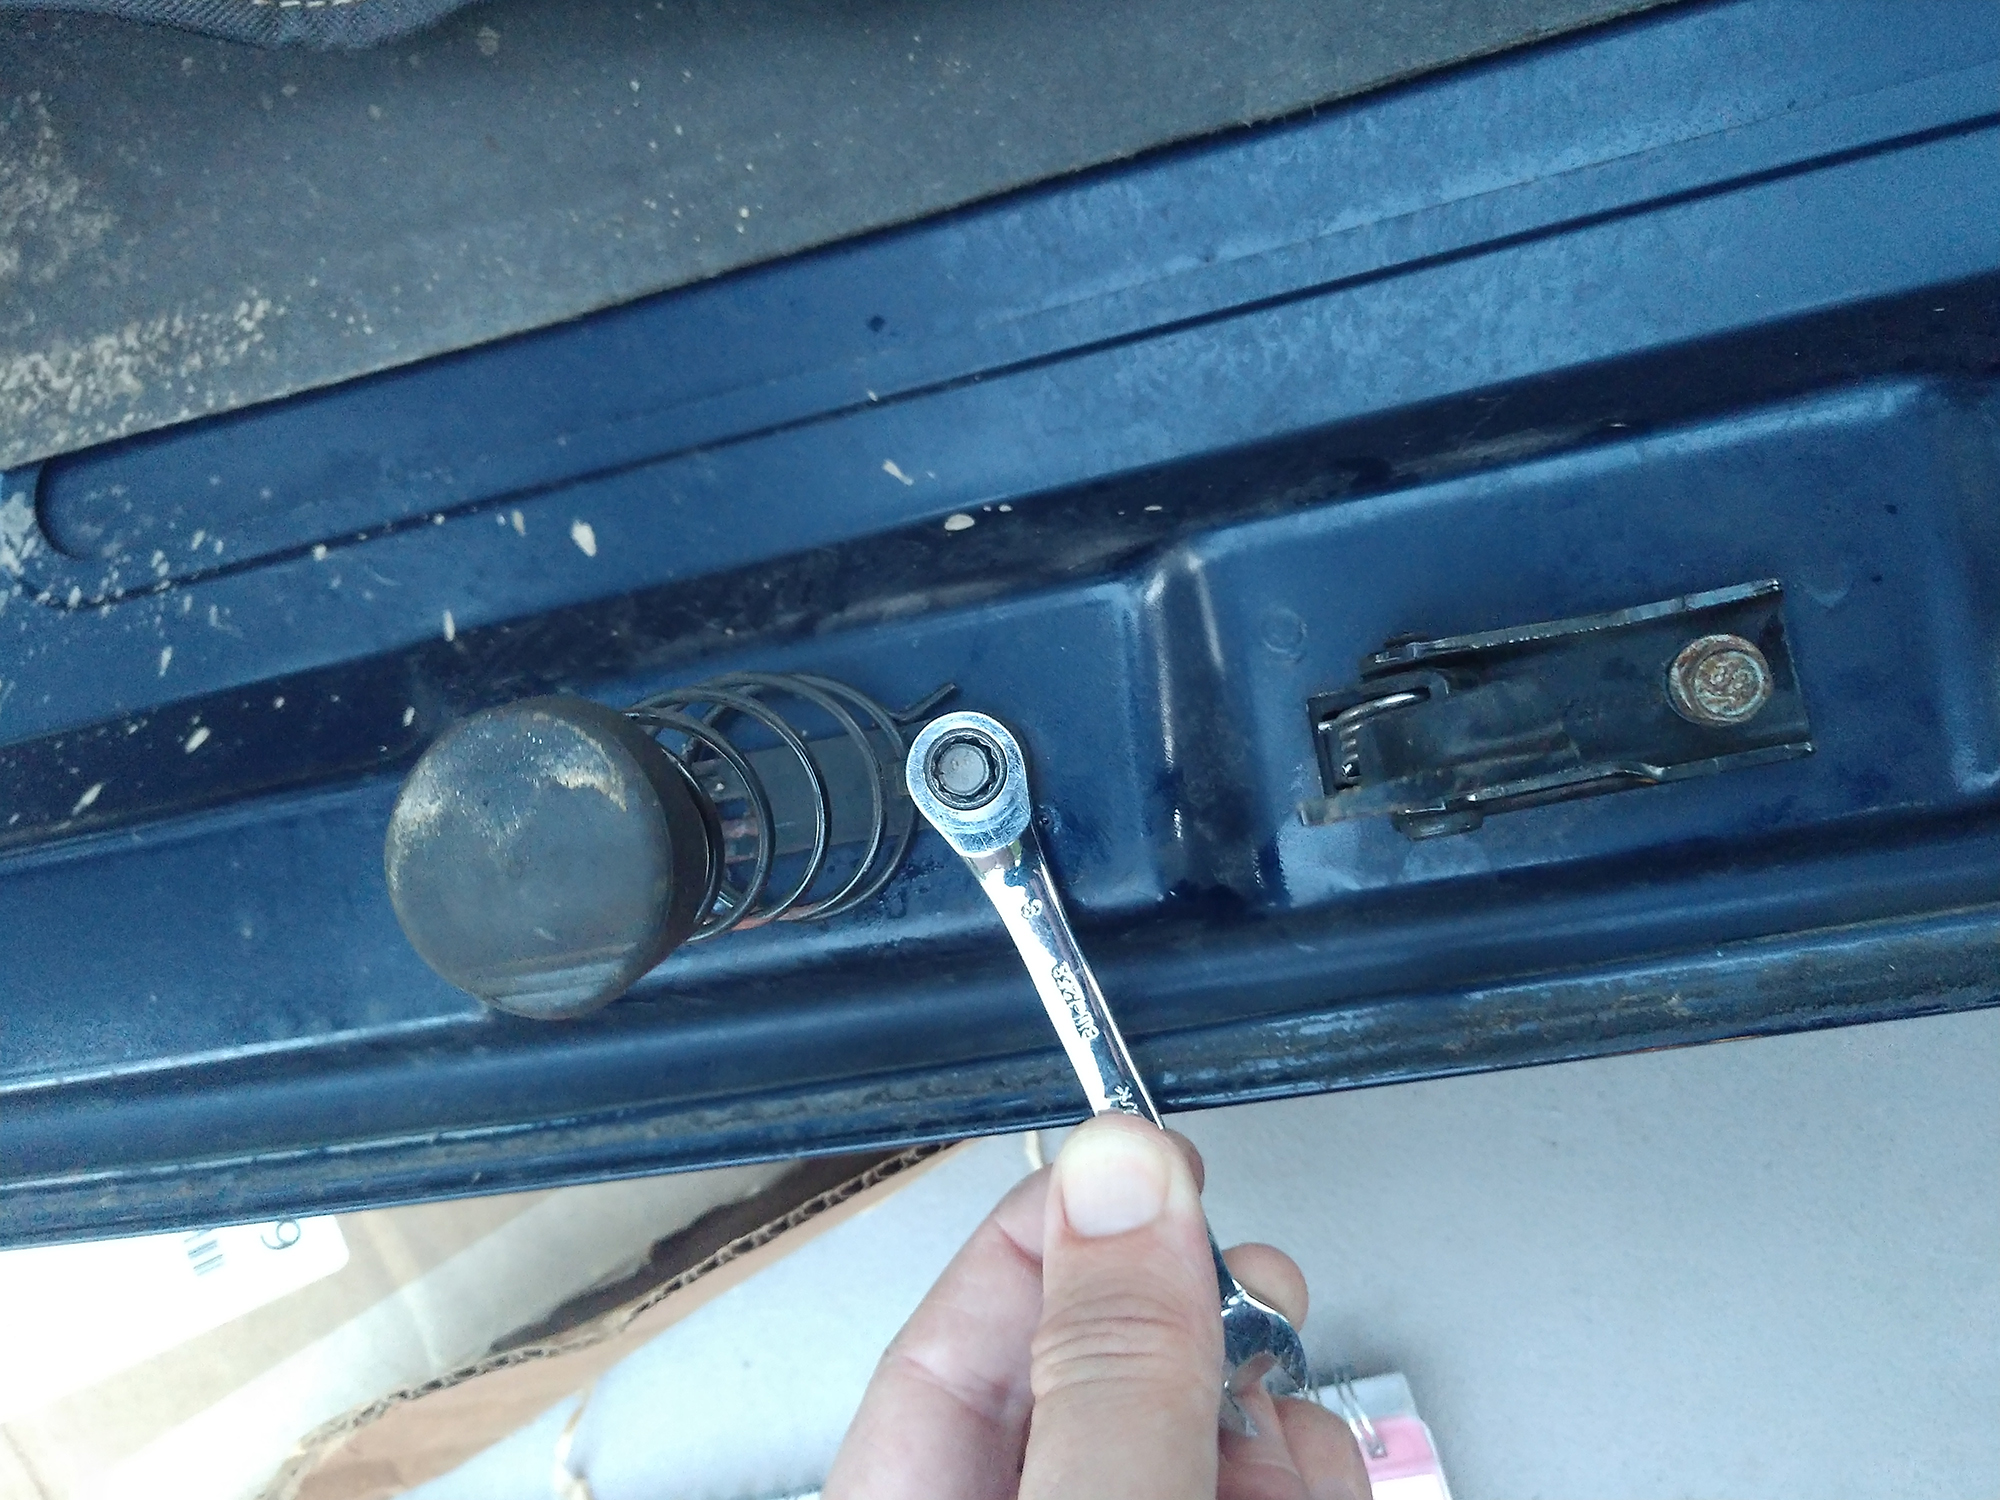
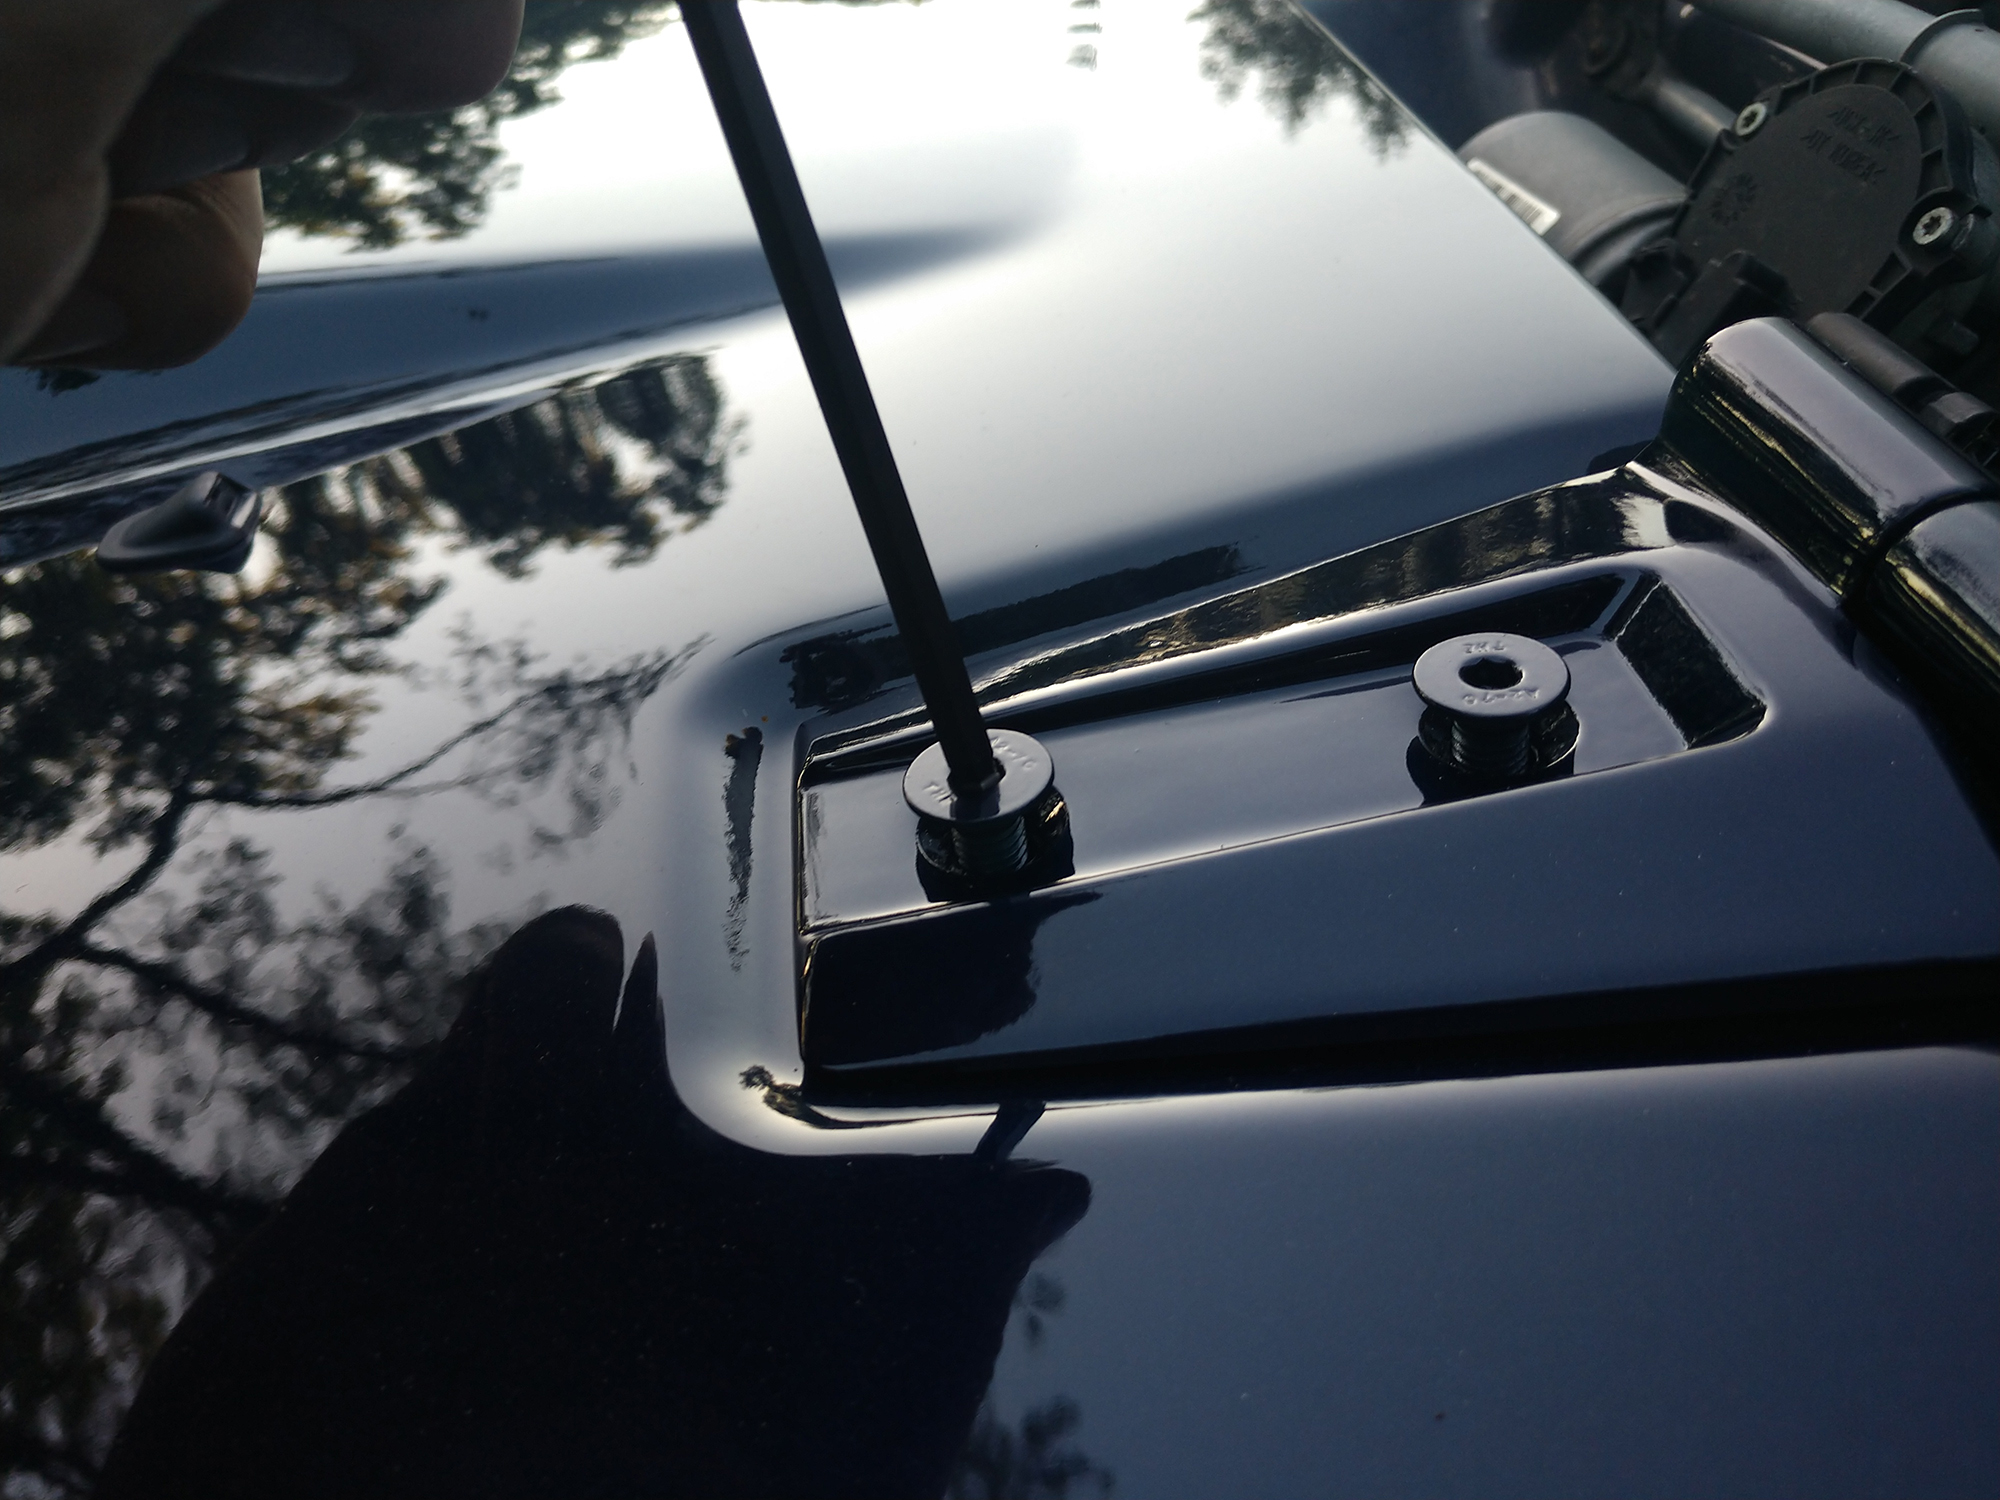
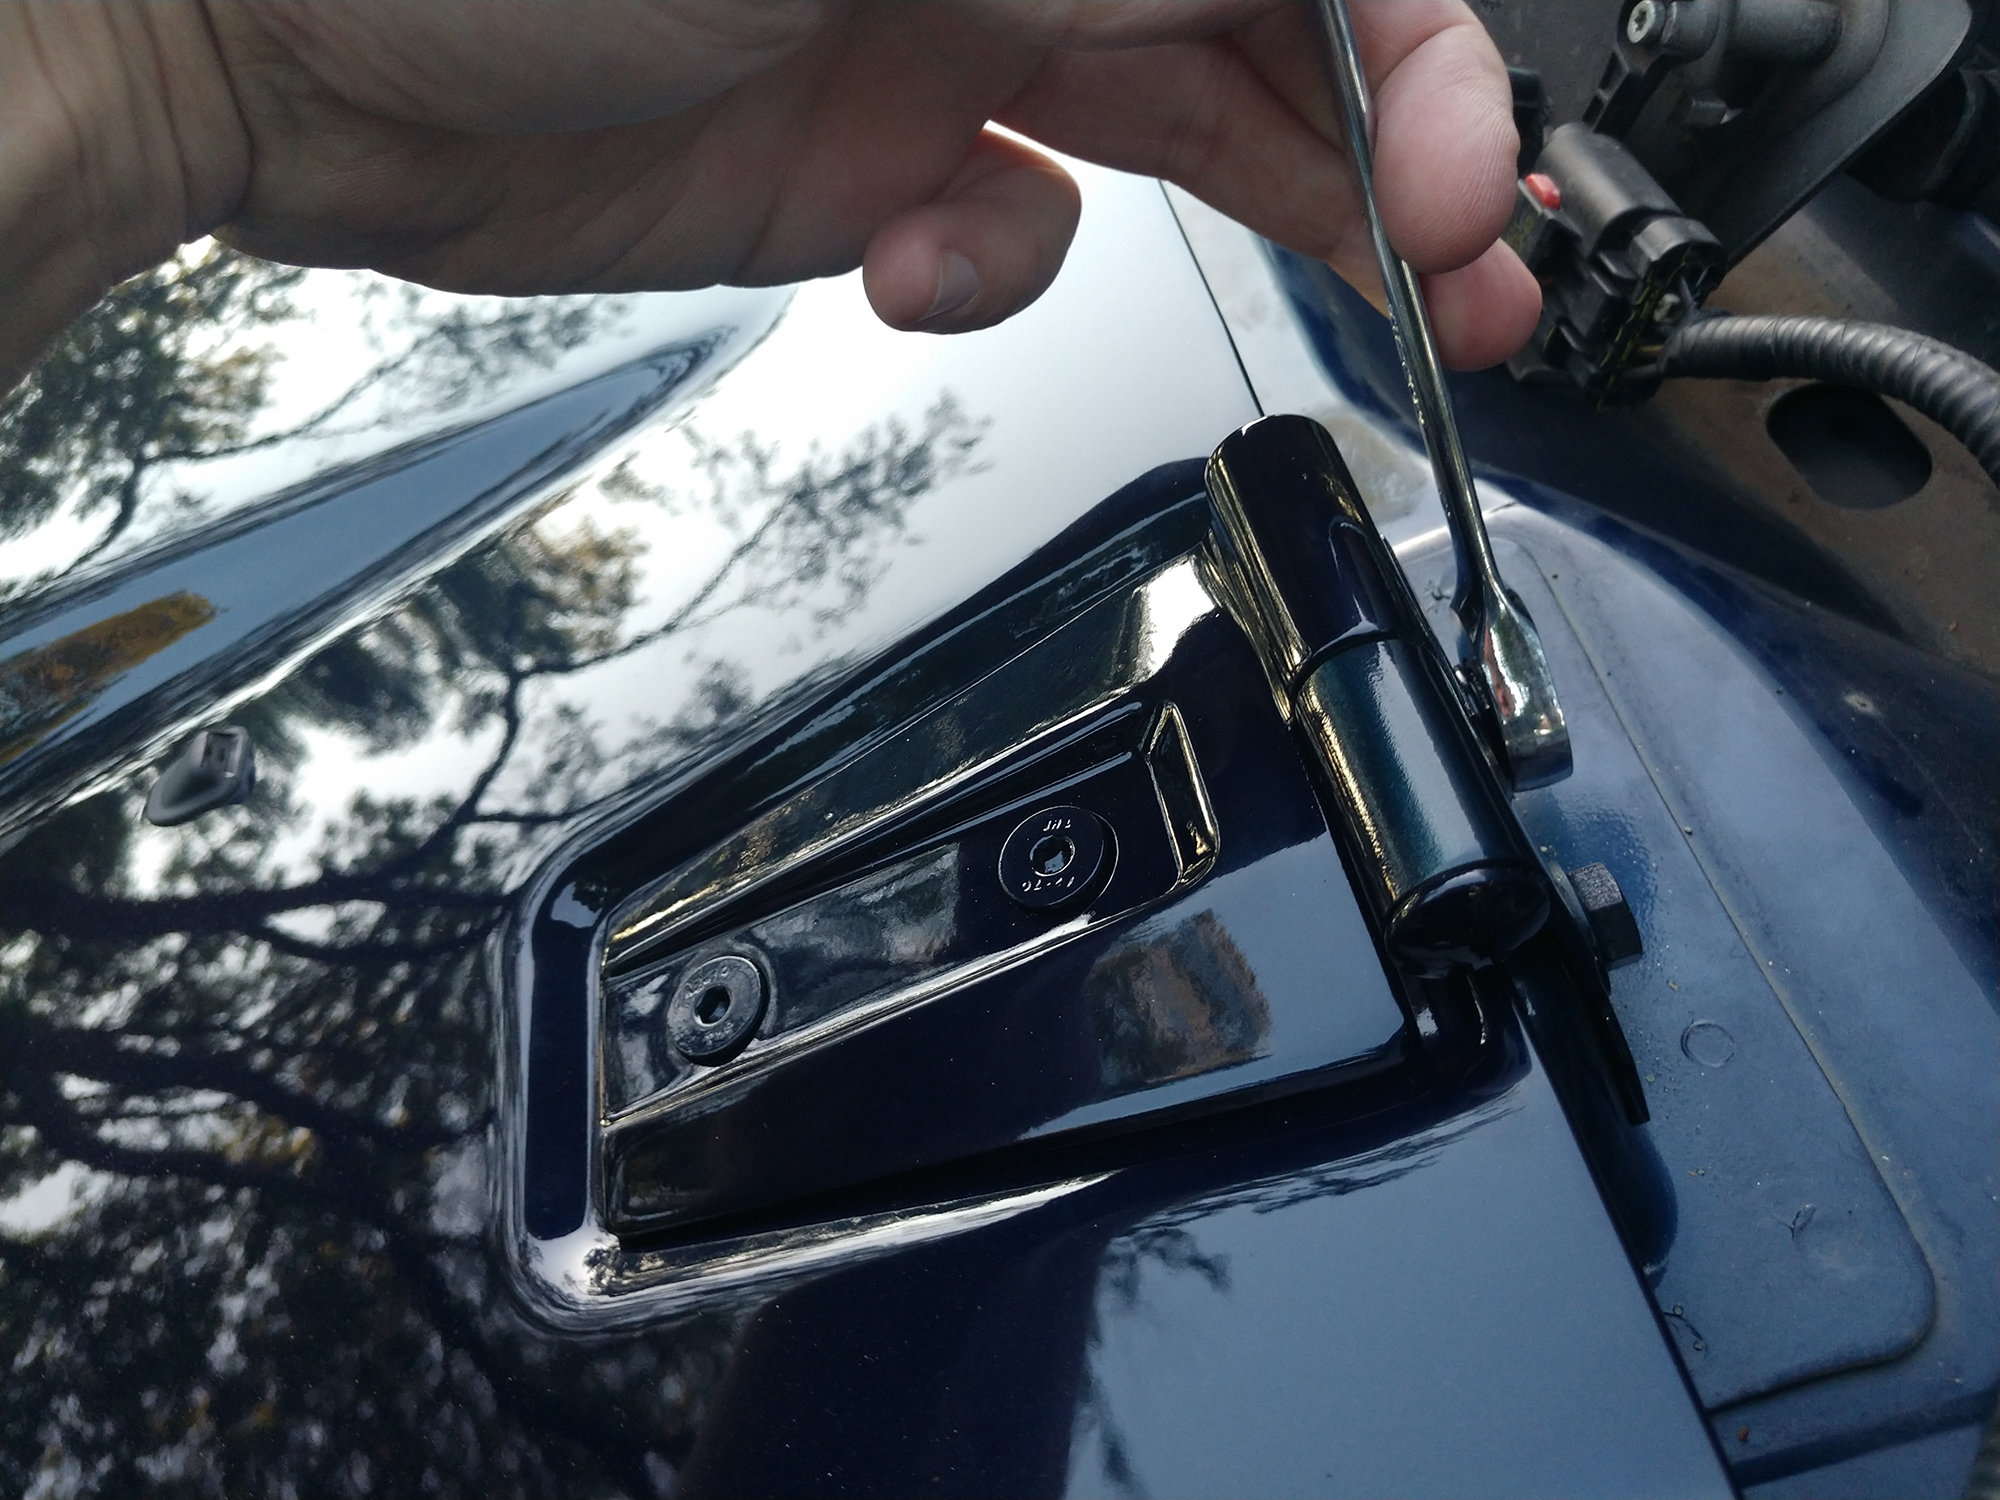
First, remove the wiper arms—these can be easy to take off or may be locked in place with corrosion. To access the nut, the cover at the end of the arm is flipped up and towards the blade.
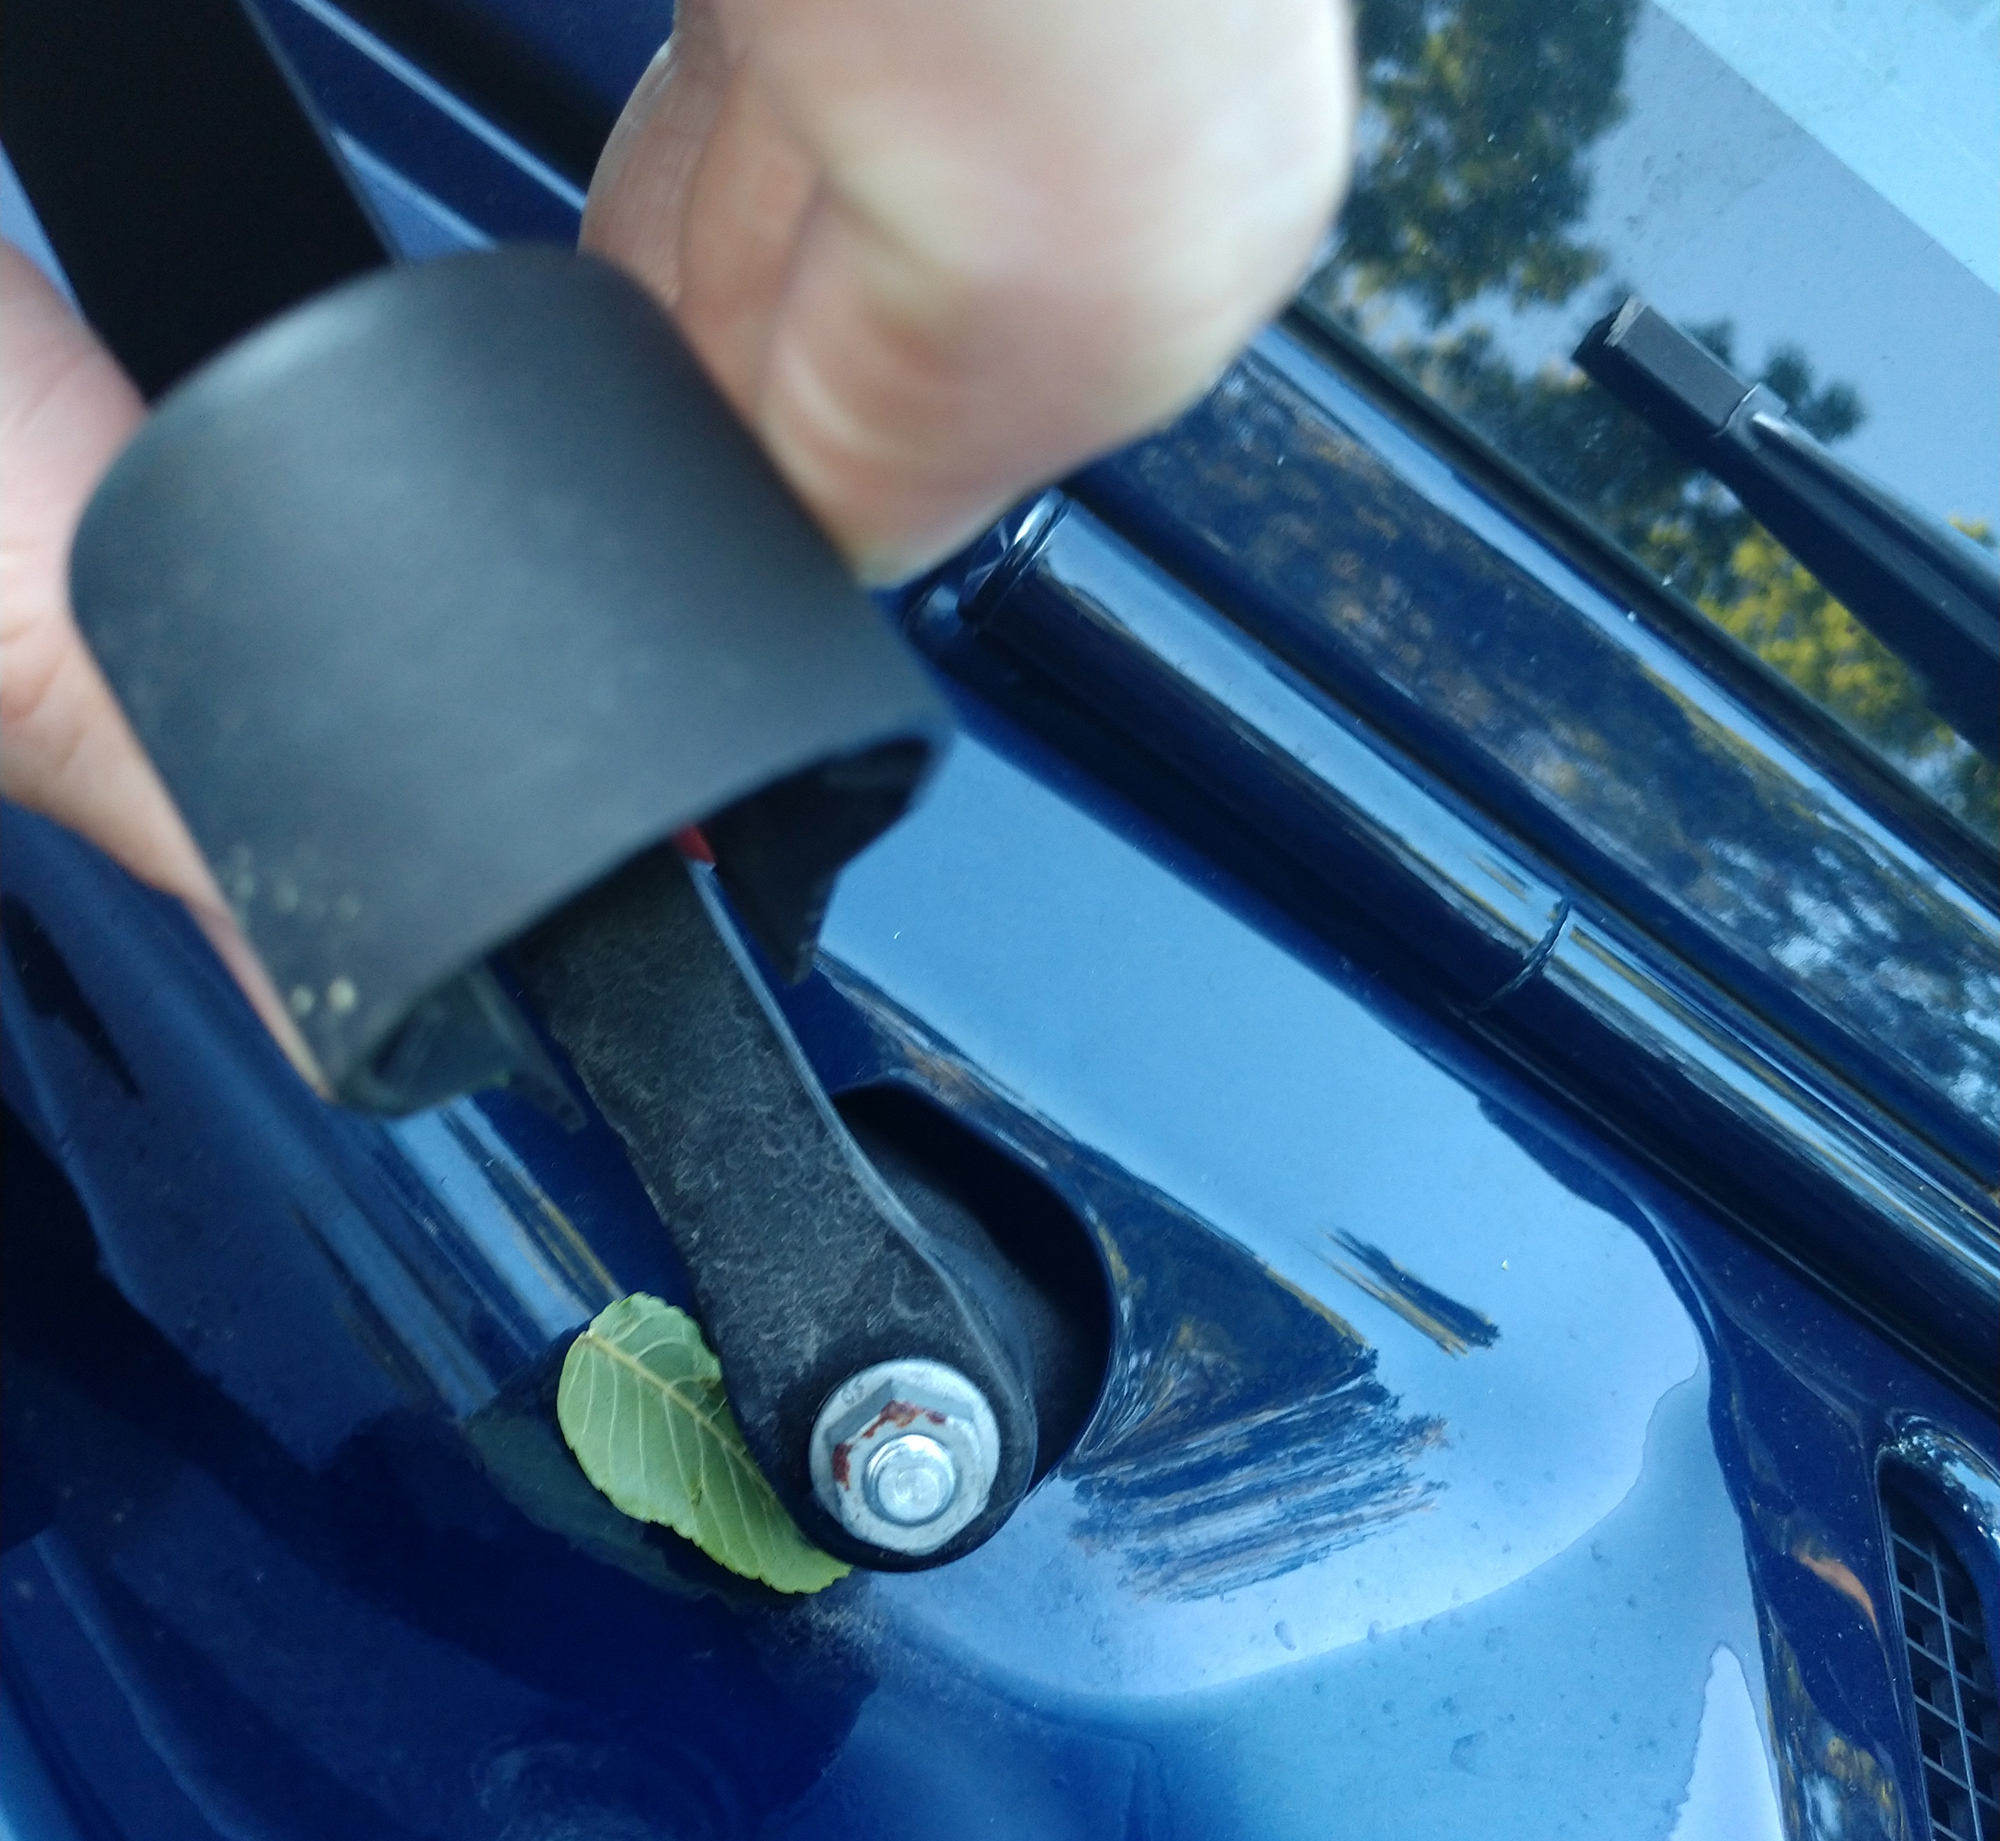
A 13mm wrench or socket should be all you need, but using a little bit of penetrating oil should allow the wiper to release from the splined shaft. On both my JKUs, these were removable without having to use a wiper arm puller by wiggling them back and forth (GENTLY!) while applying pressure upwards. This is a really quick thing to remove.
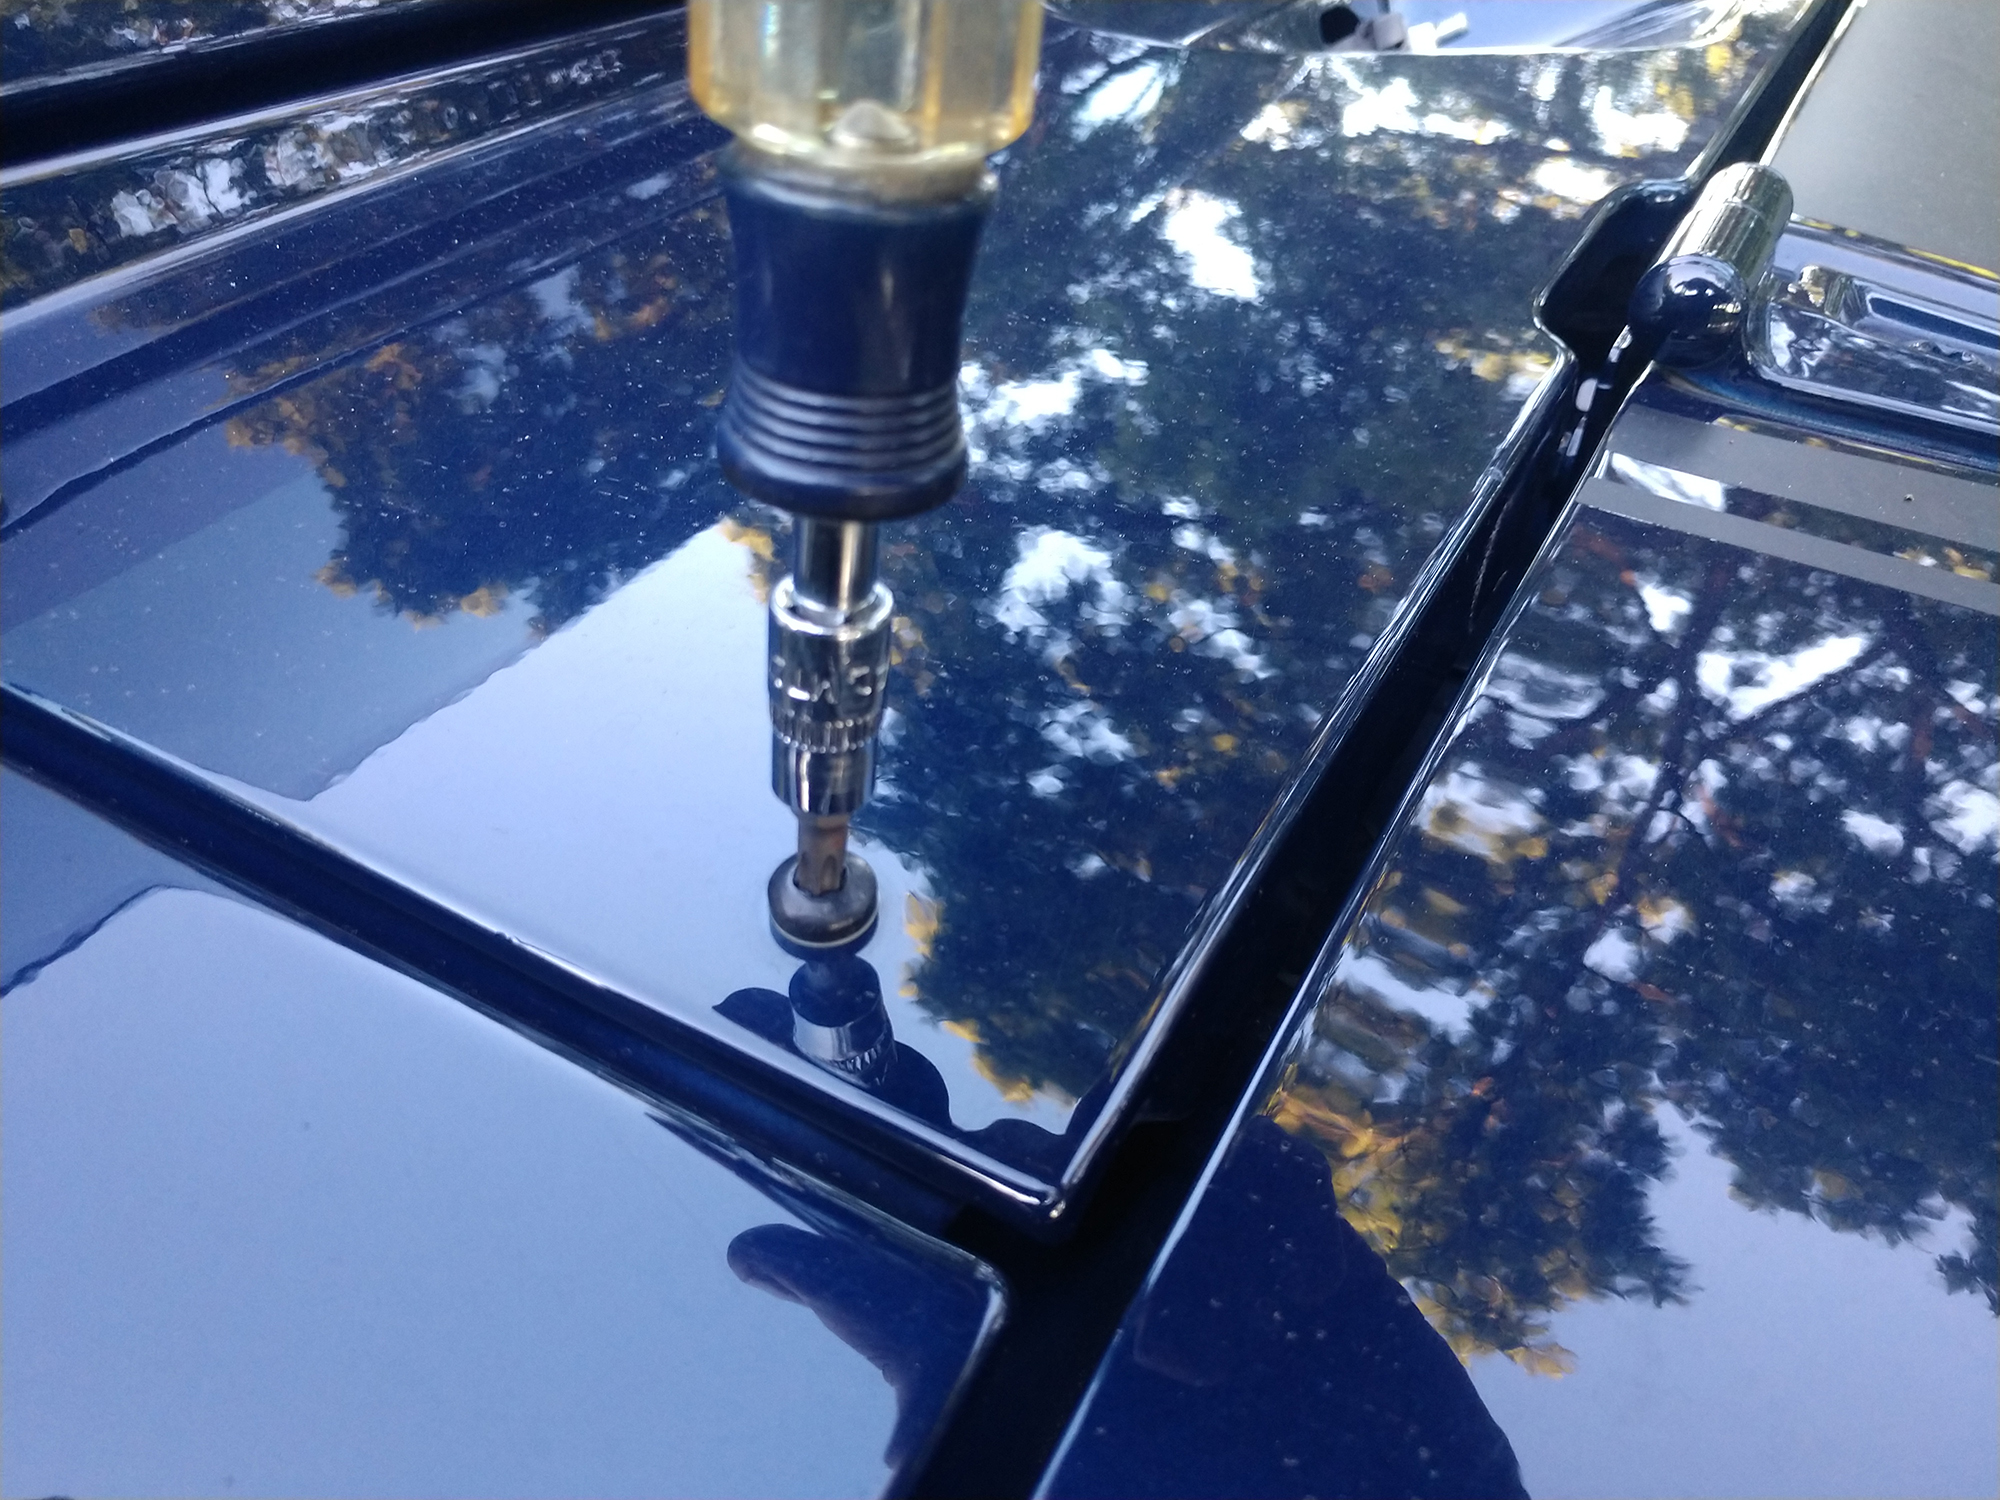
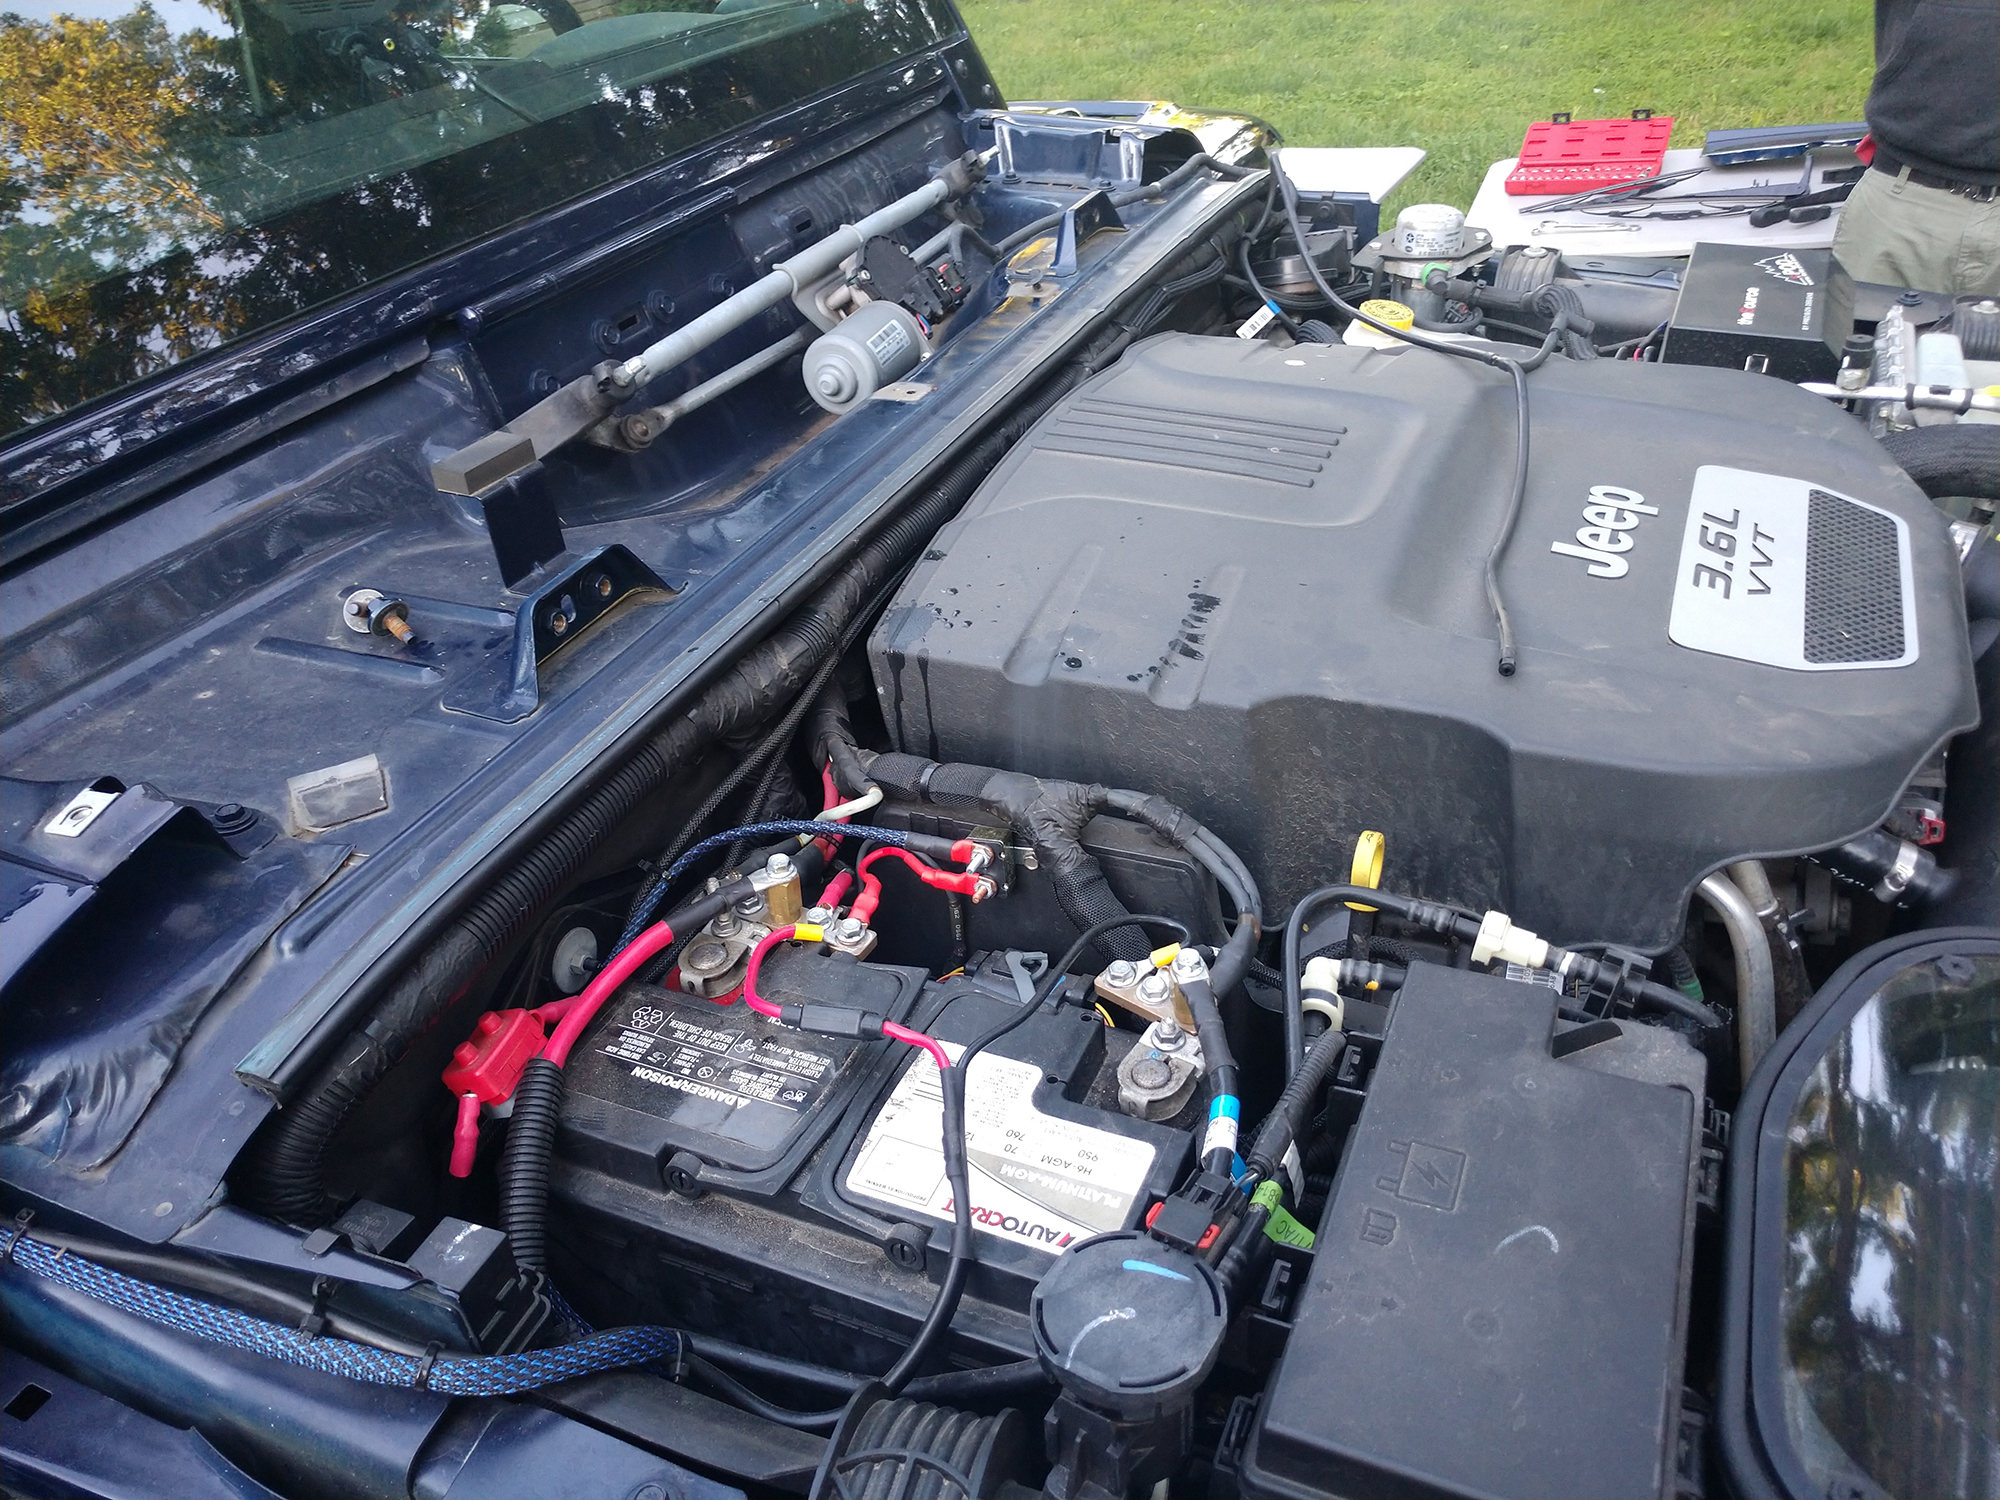
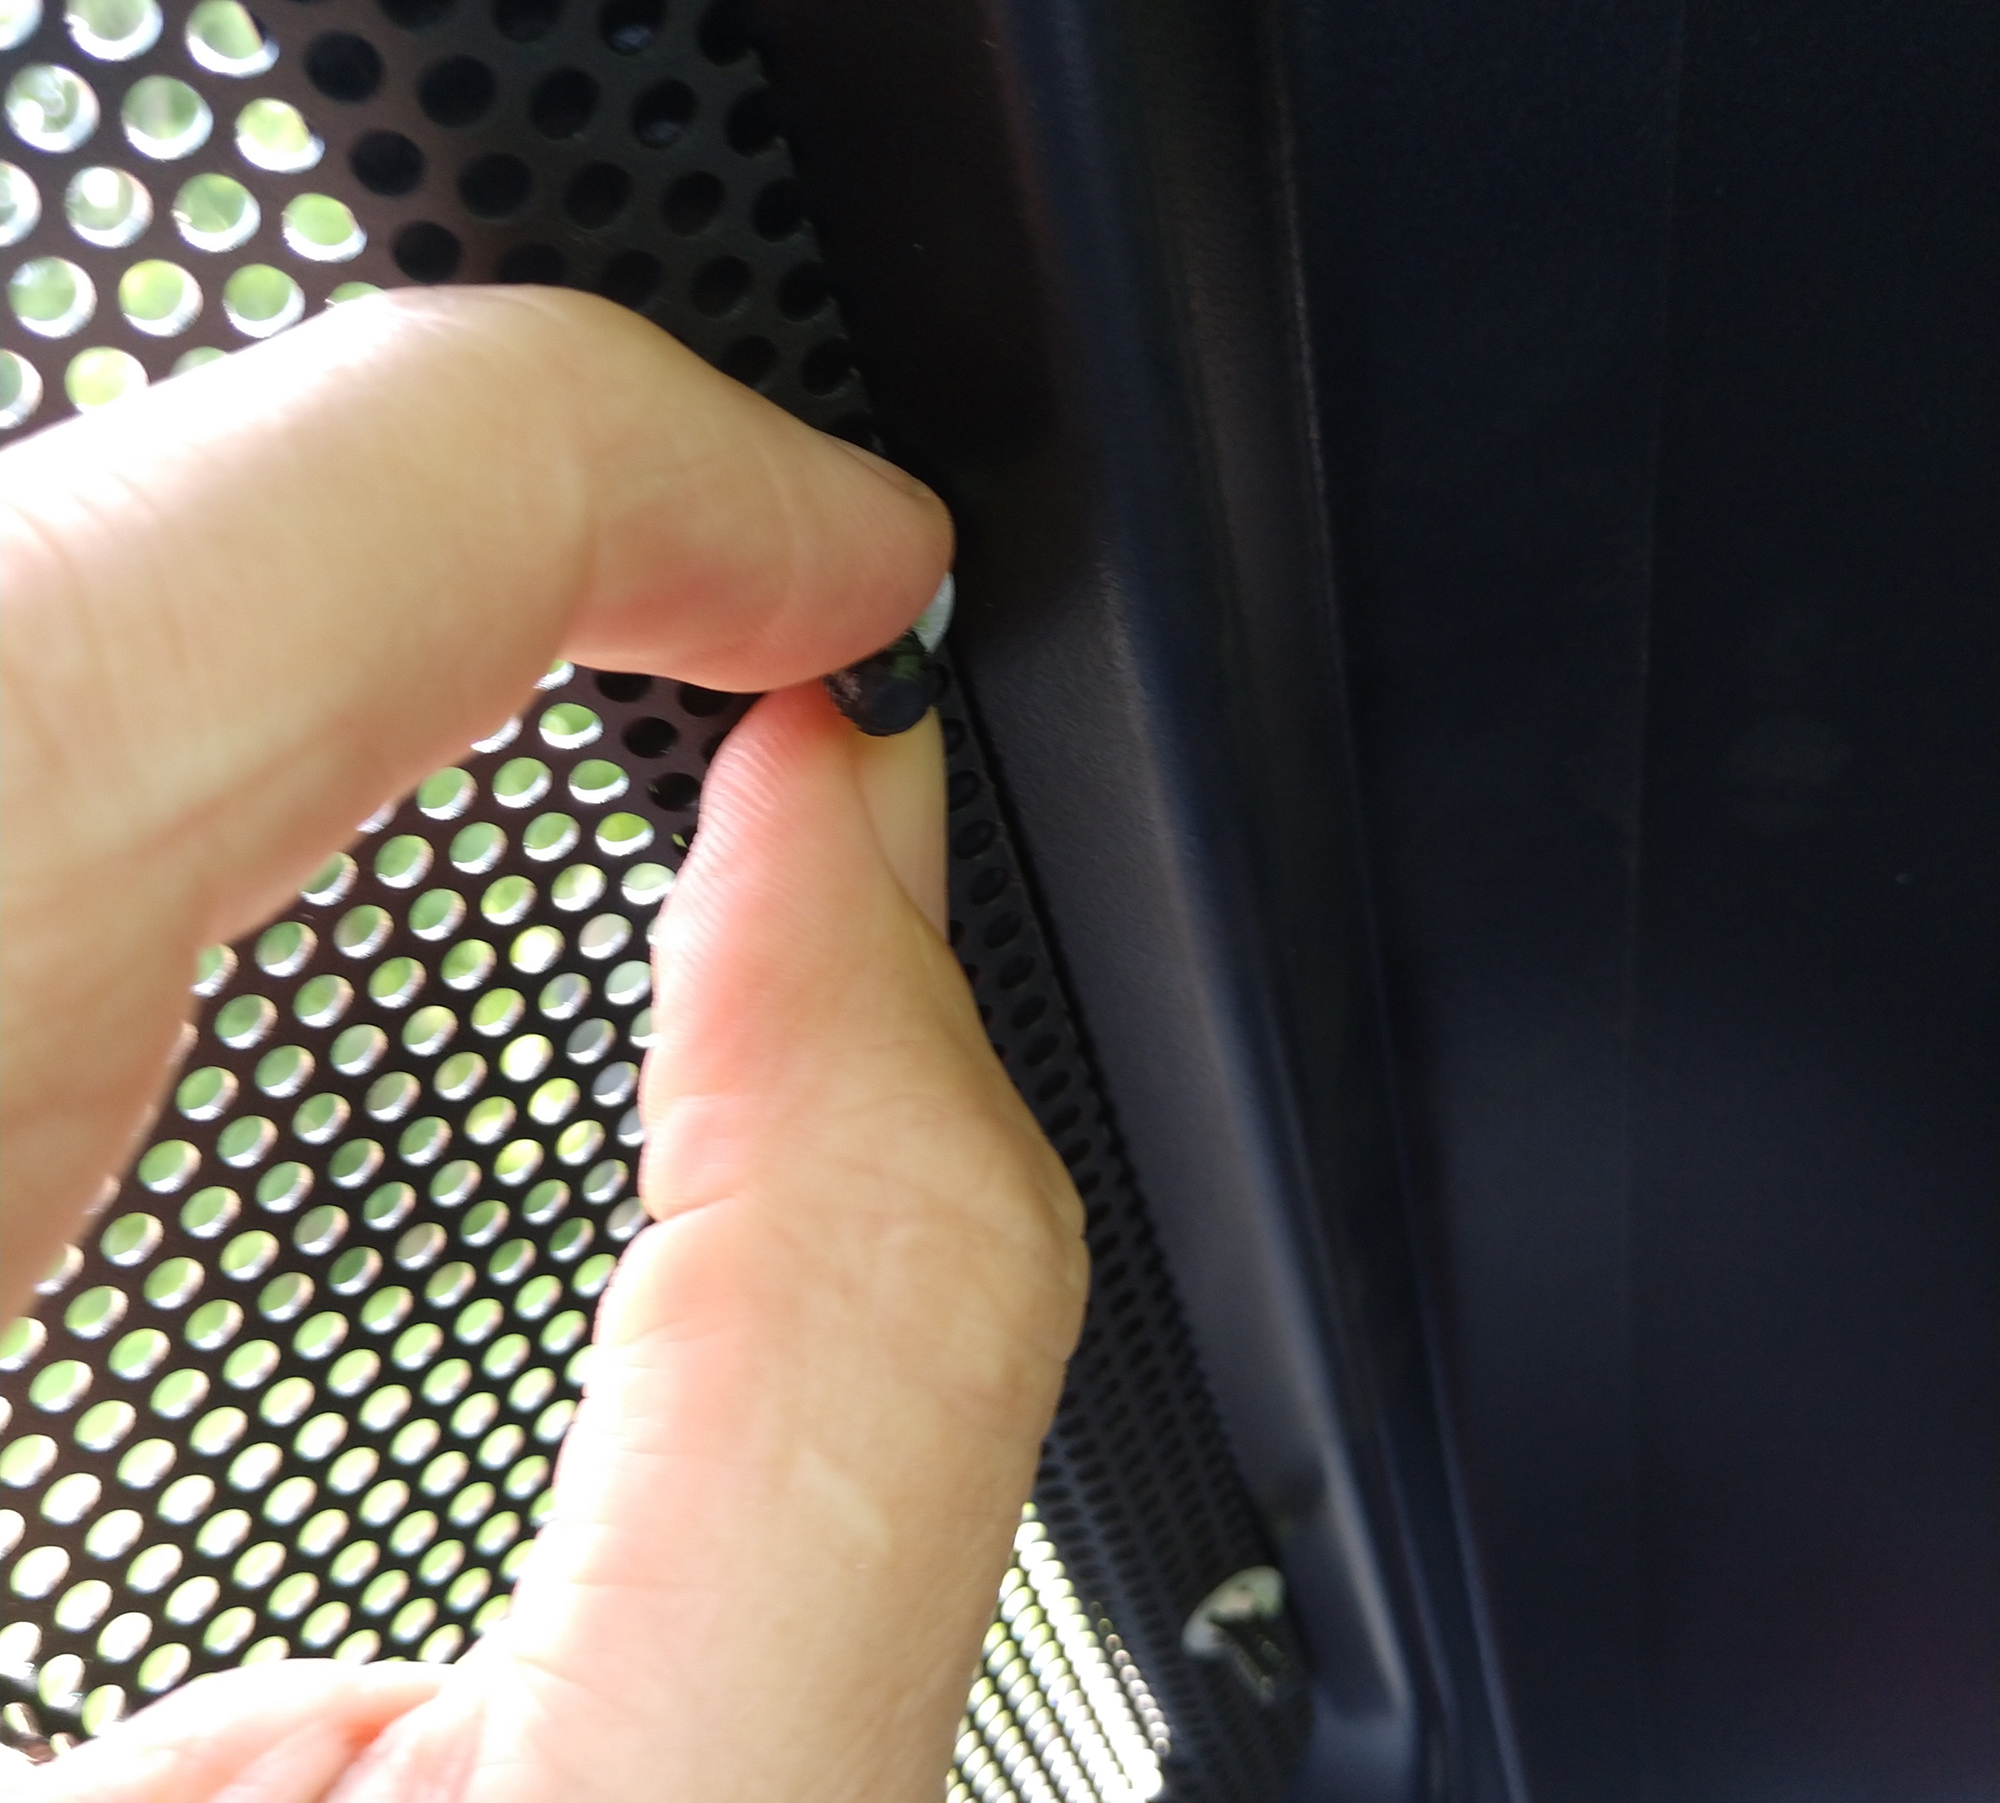
Once both wiper arms are off, the four T-30 bolts can be removed to loosen the wiper cowl panel. There are also two plastic body clips in the back of the engine compartment that need to be detached so the cowl panel can be fully removed.
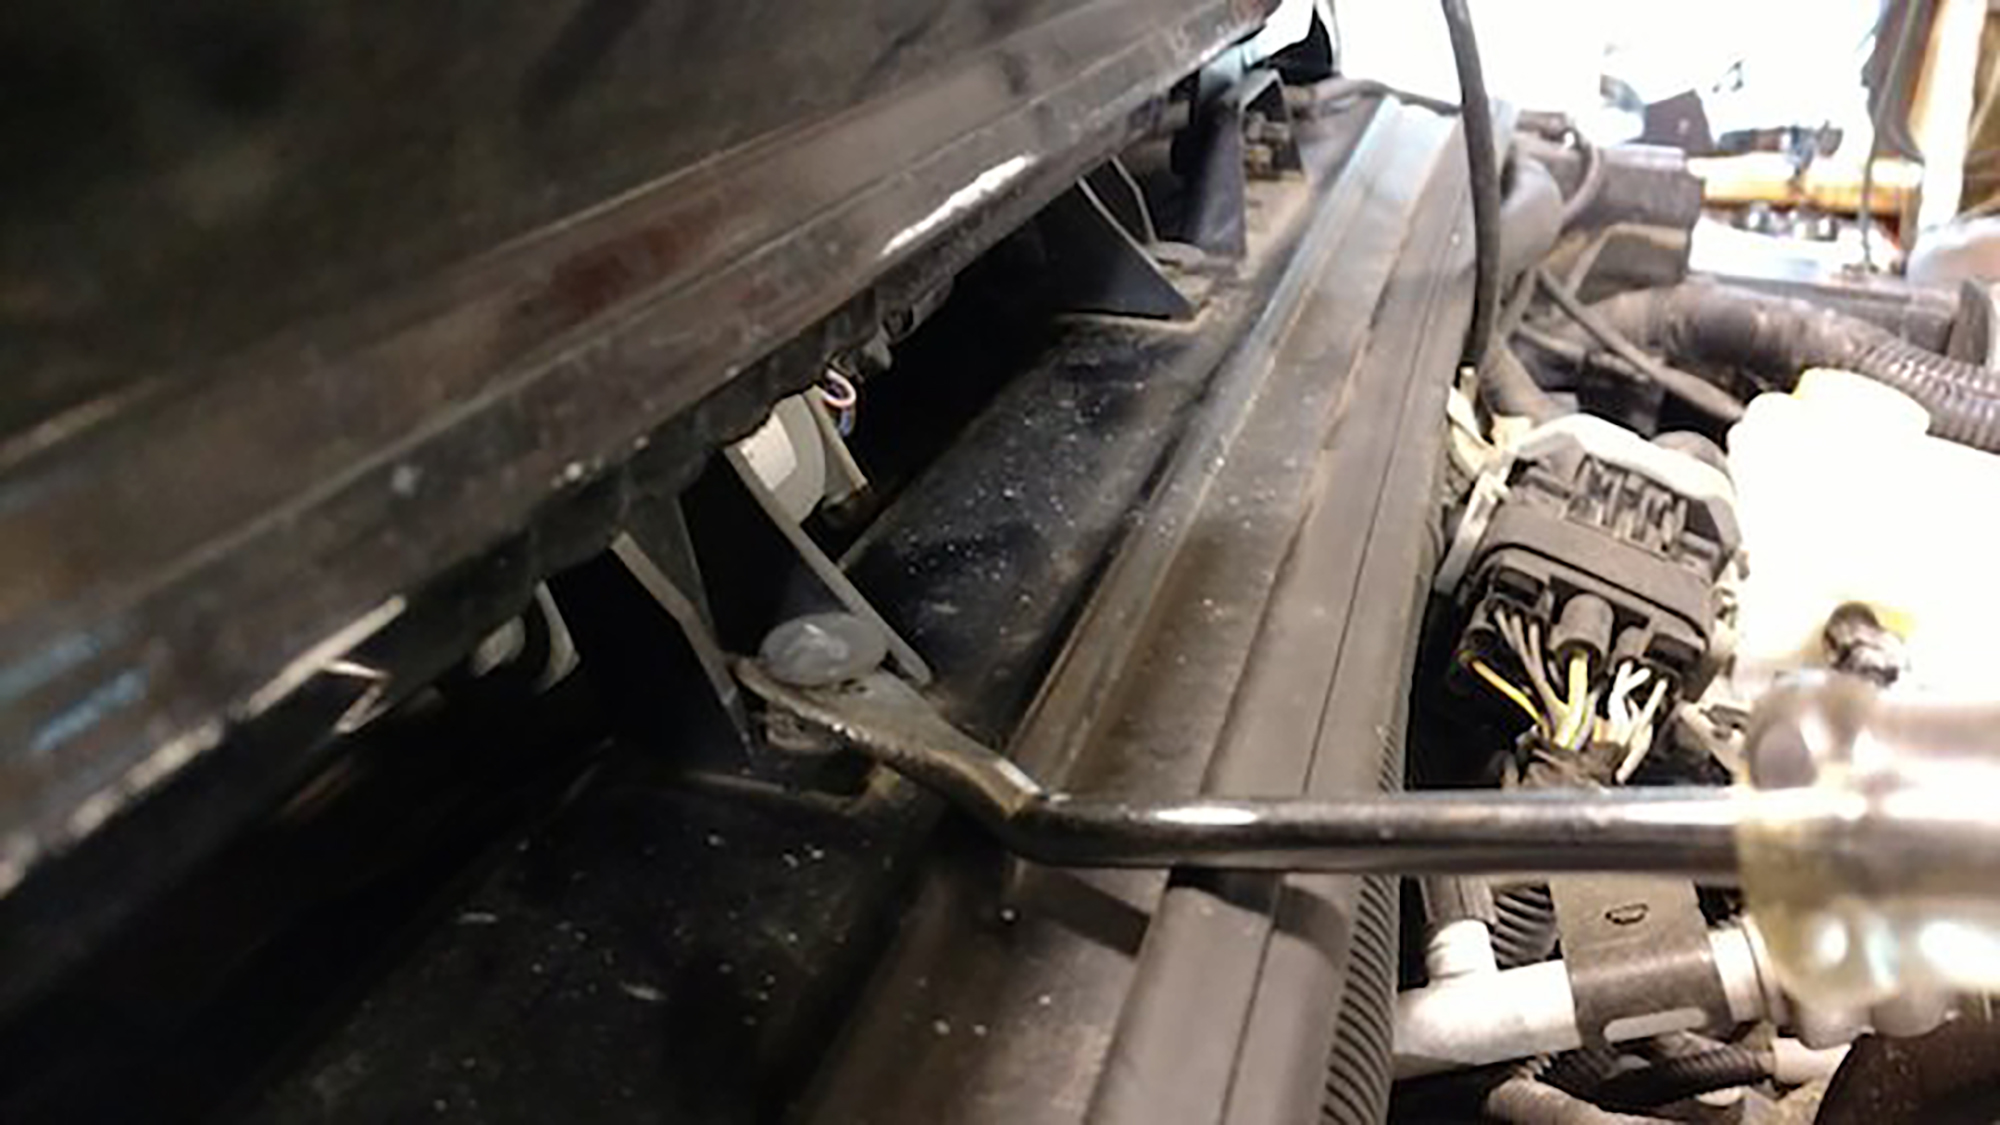
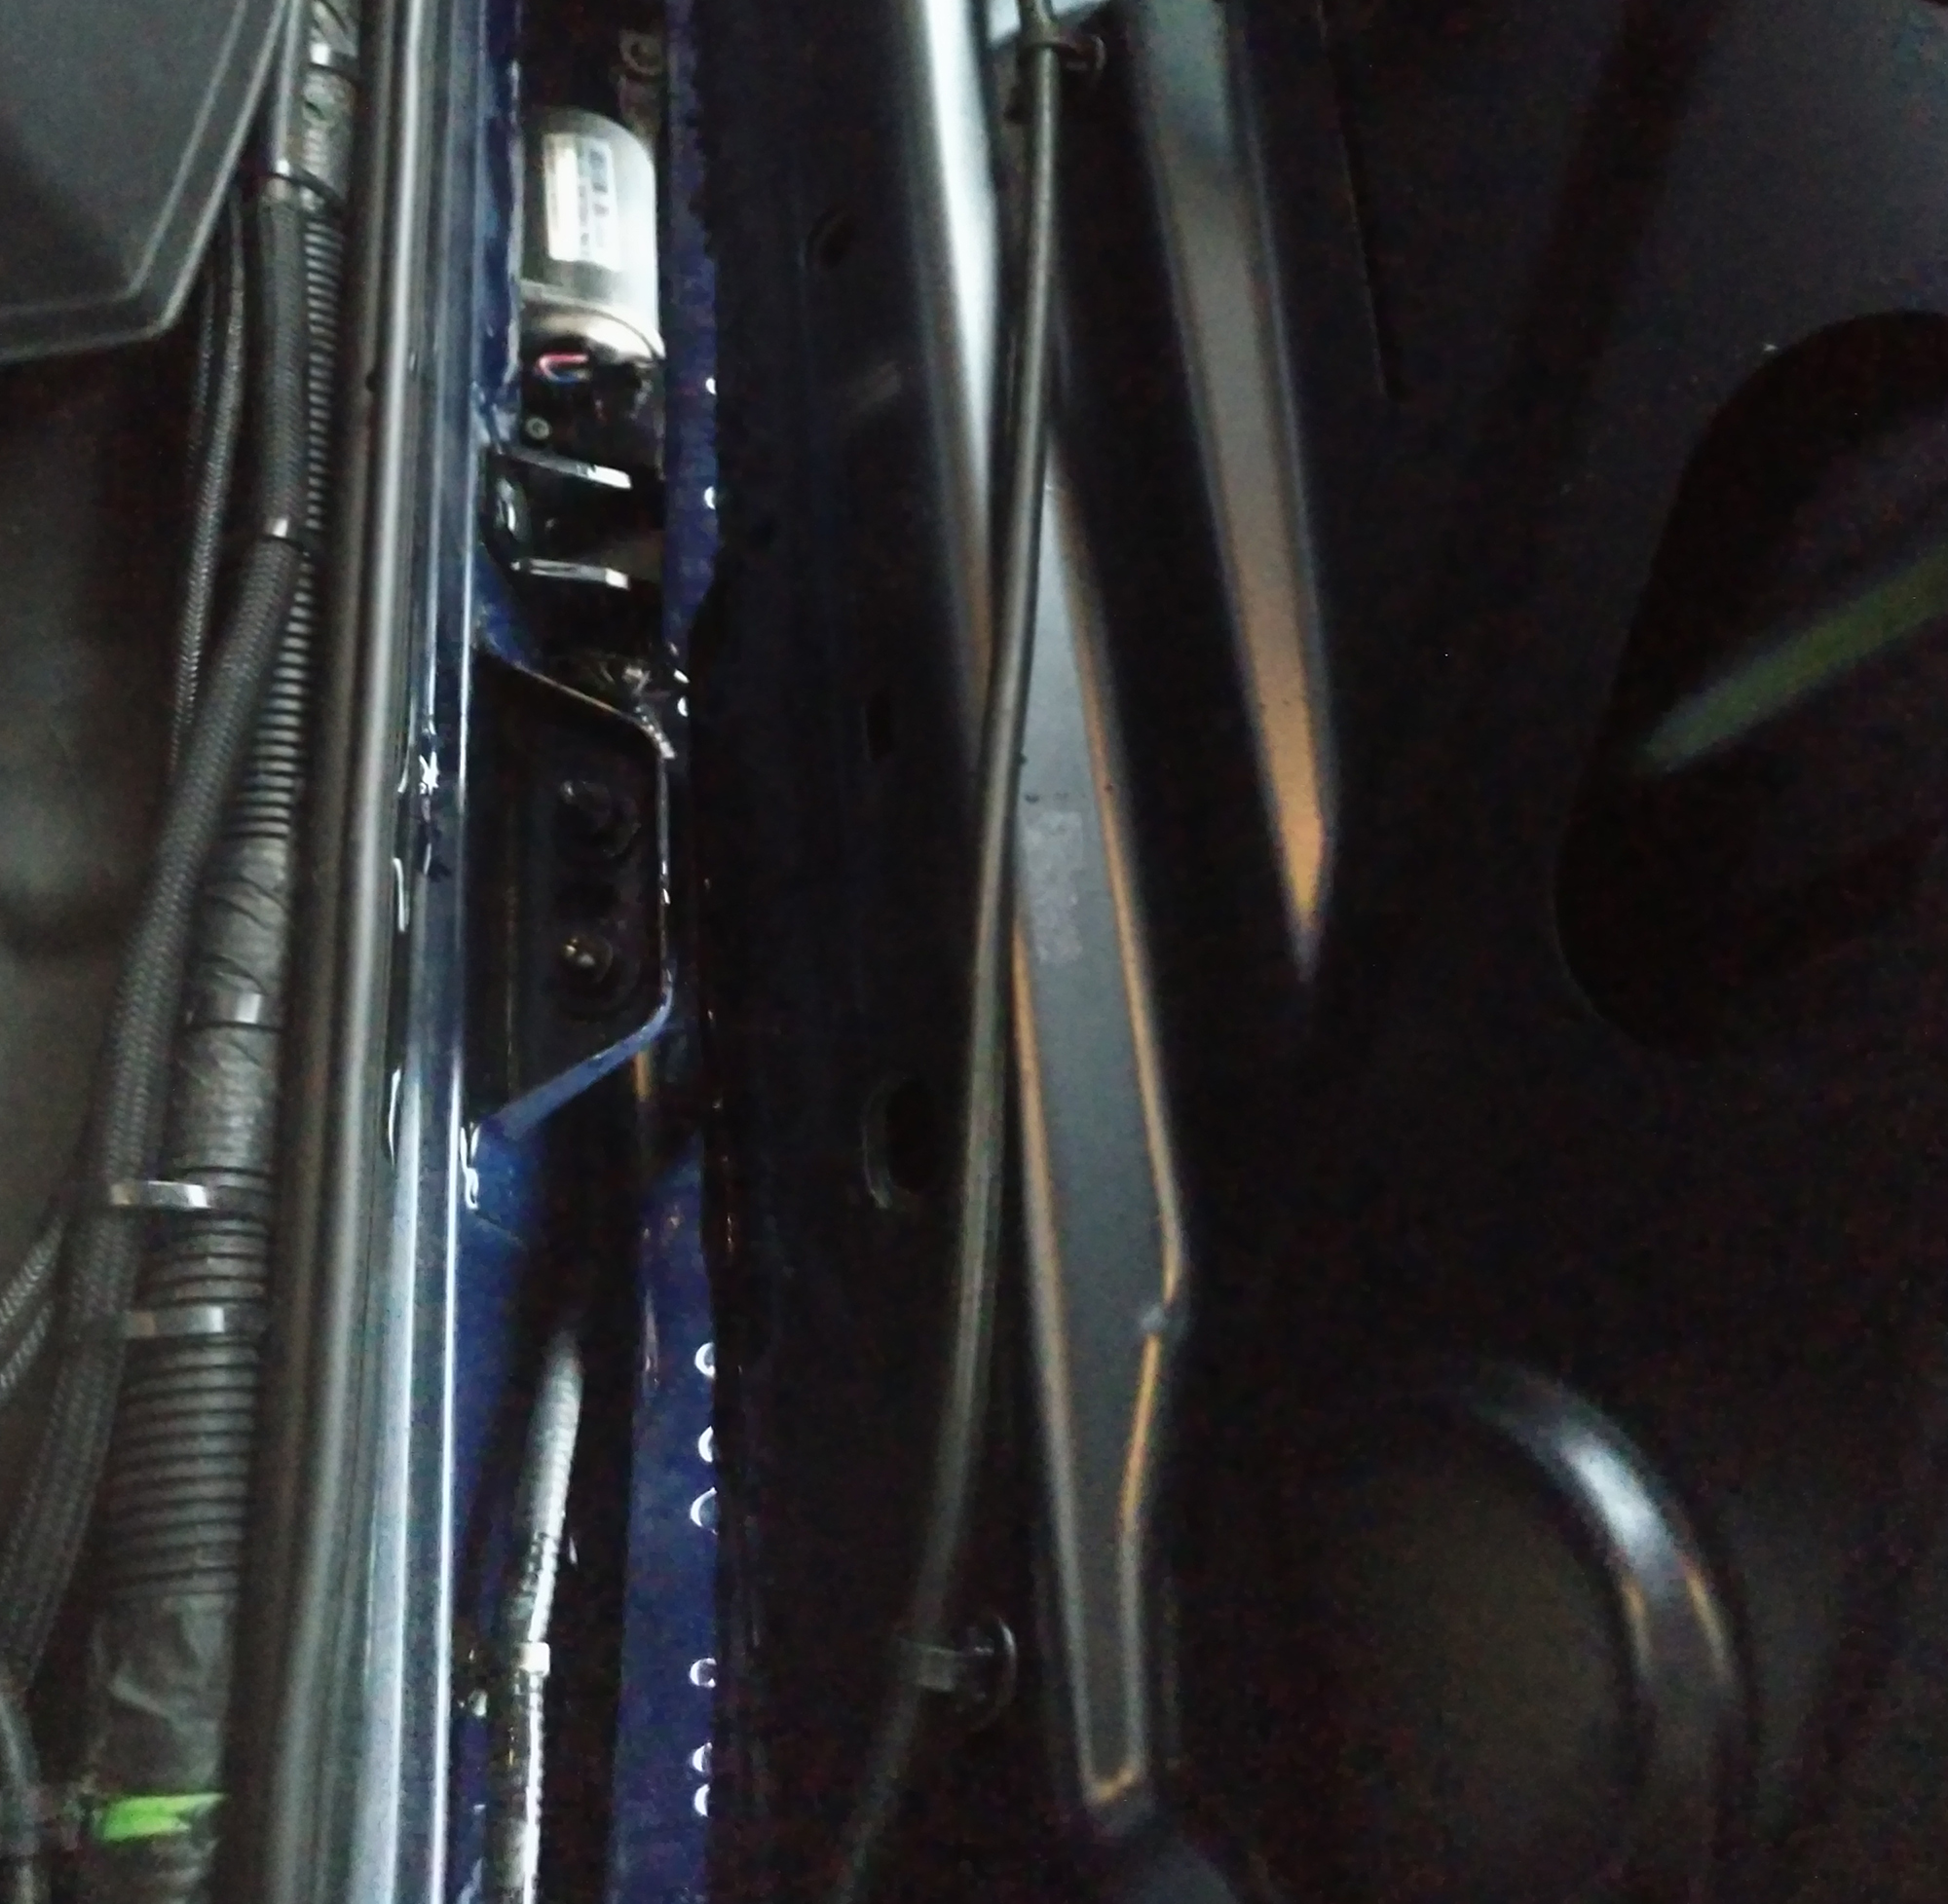
After the two clips, there are two additional tabs holding the panel in place. They’re not easy to see with it installed, so here’s a picture with the panel removed for reference:

The cowl must first slide forward, then out one of the sides. Keep in mind, this panel is very thin and not very reinforced, so don’t muscle it too much or you’ll have a wavy mess to reinstall with your new hood.
I found that with the hood completely vertical, the panel could be pulled towards the front of the Jeep to free it from the last two clips, then pulled out the side after getting it past the windshield hinge. I wouldn’t want to try this with one pair of hands, so this is the step you’ll want to employ the help of a buddy.
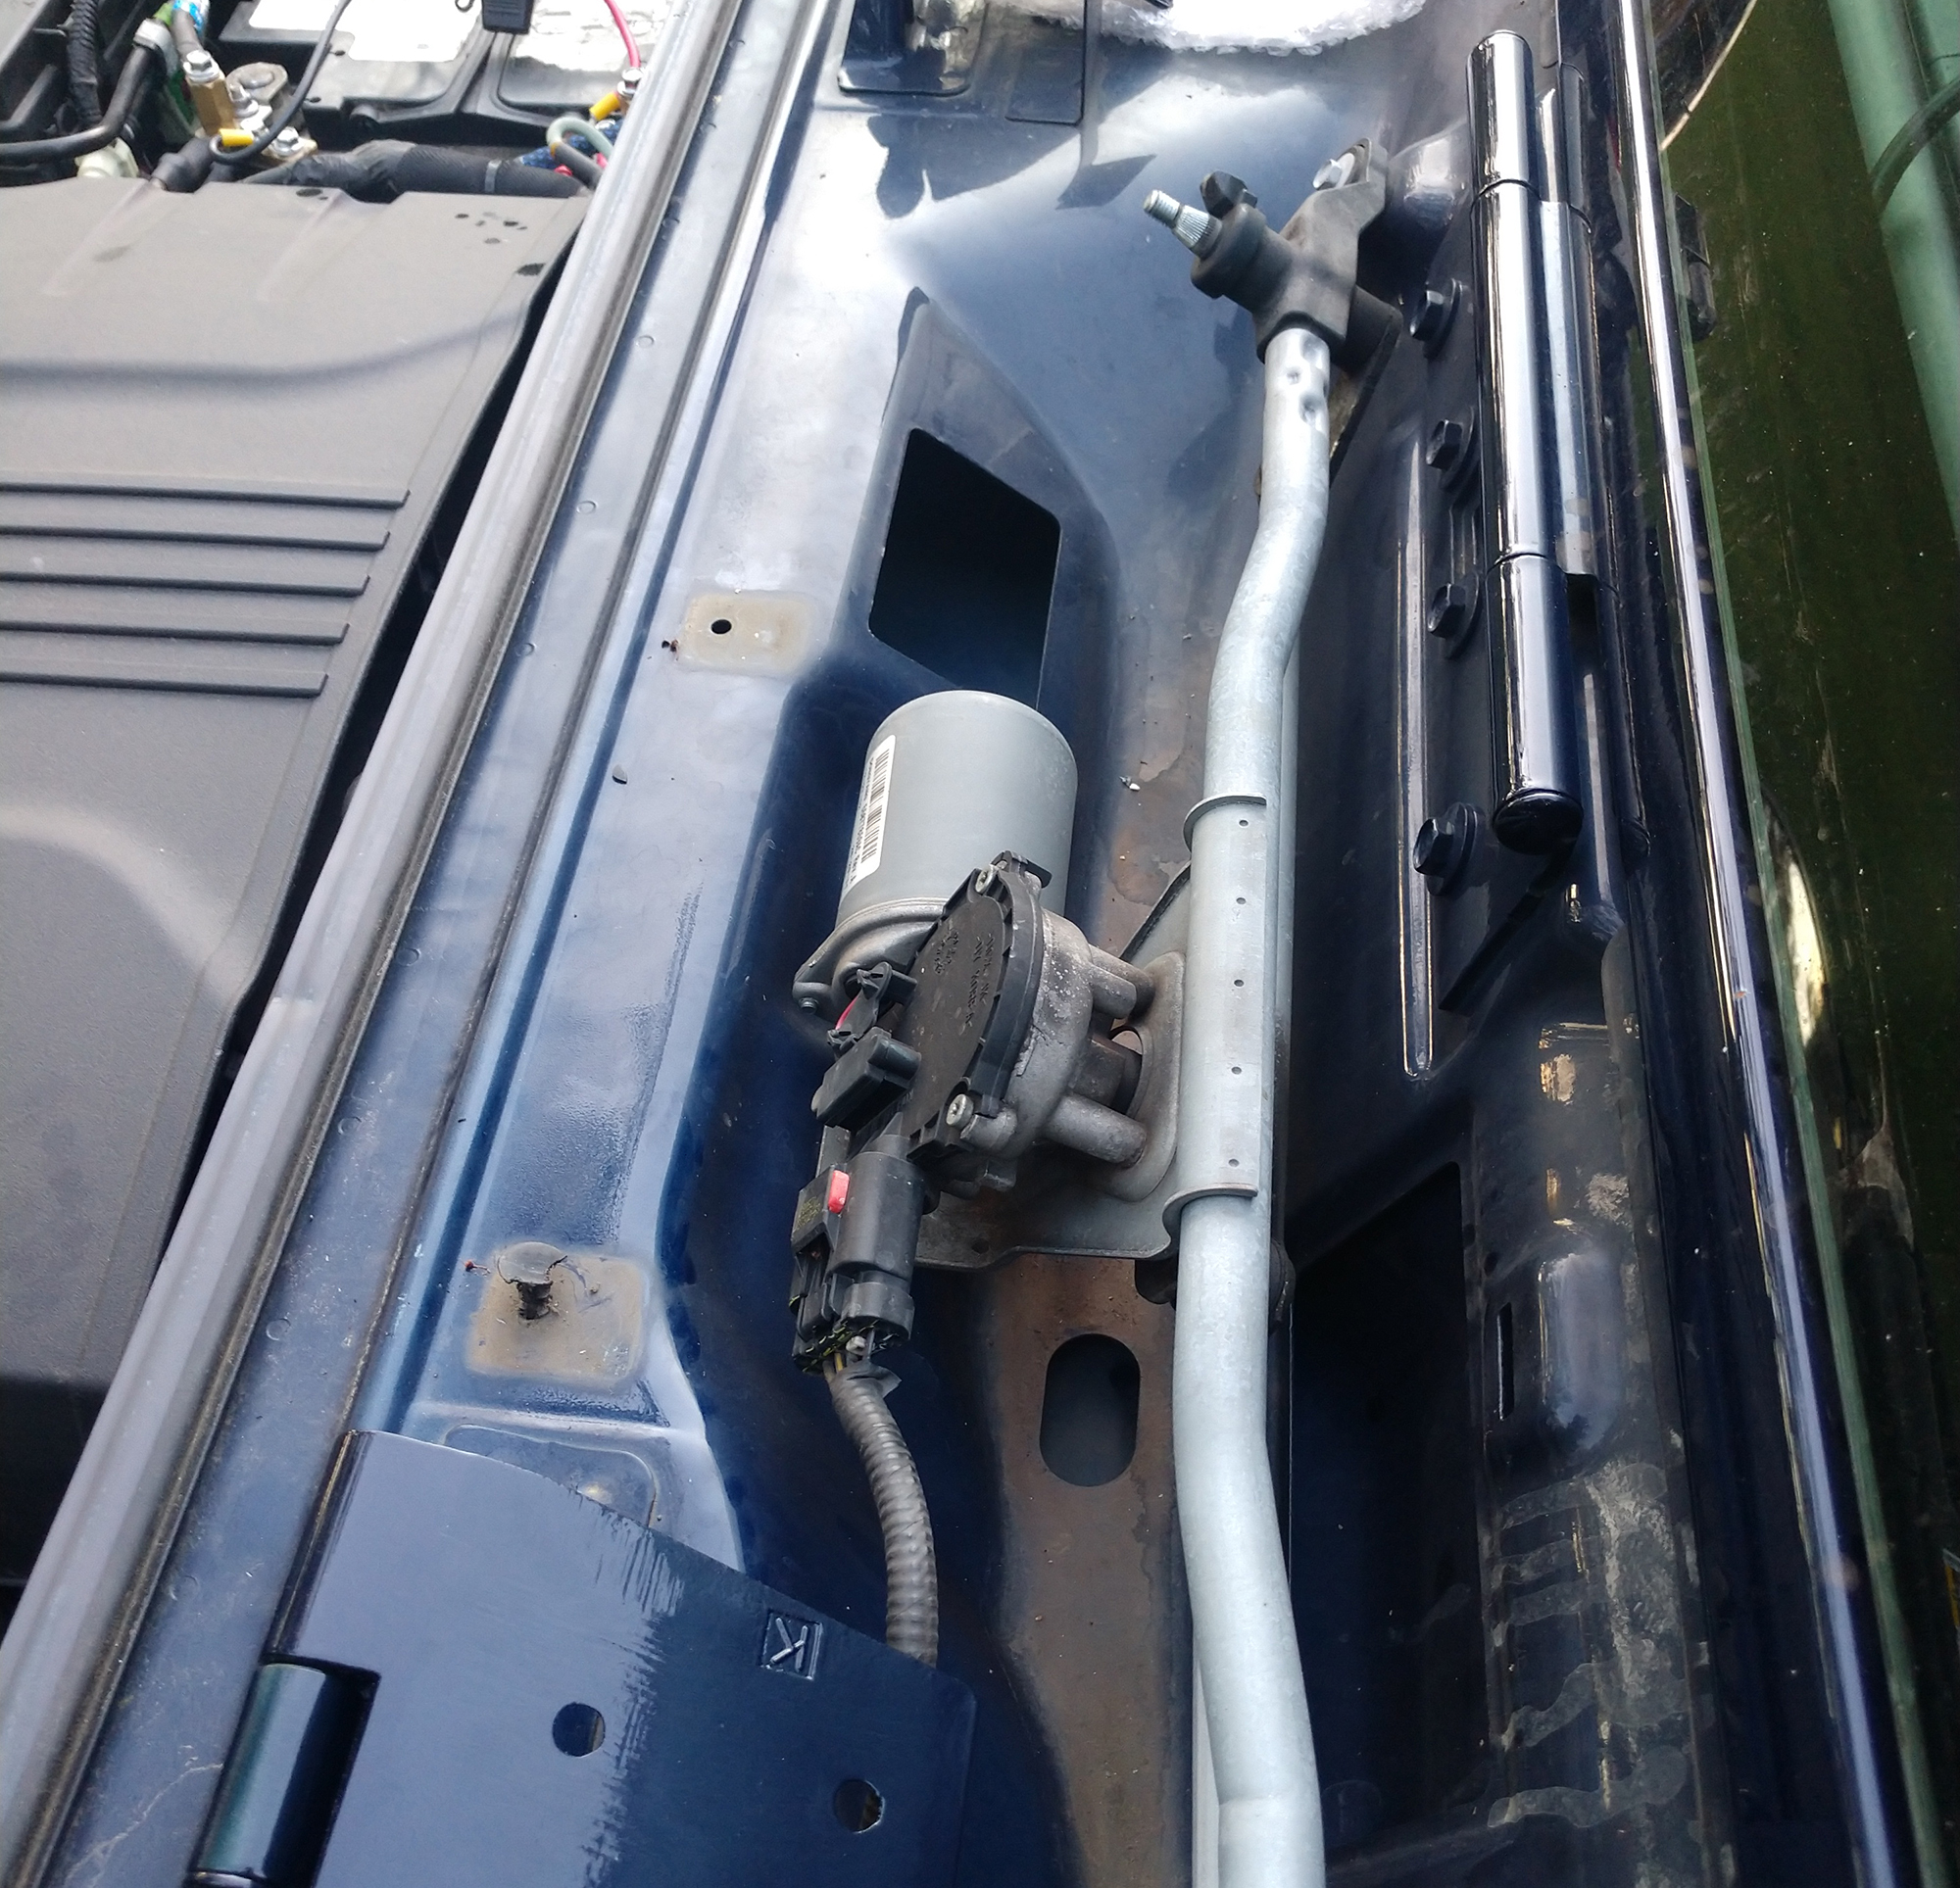
While you’re in that section of the engine compartment (and before you awkwardly lift the hood with them attached), pull your washer hoses off of the hose barbs. These are usually pretty brittle from being cooked by your engine, and may break. Don’t panic. You did order spares, right?
Also take this time to remove the 8mm bolt holding the spring retainer down at the leading edge of the hood, as well as the 10mm bolt holding the catch. Set both of these aside for installation on your new hood. While you have the 10mm bolt out, remove the hood latch catches from the hood and add them to the pile.
With that panel out of the way, use a 13mm wrench or socket to remove the four rearwards-facing bolts holding the hinges to the Jeep’s body.
.jpg)
Now that those are out of the way, have that buddy help you remove the entire hood and set it somewhere safe.
Start with reinstalling the nozzles in the new hood. New nozzles? Even better. They just pop in.

Since the new AEV hood was painted separately from the hinges, there is no bare metal where they install. The holes are oval, and the bolts thread through the skin of the hood into a centering plate.
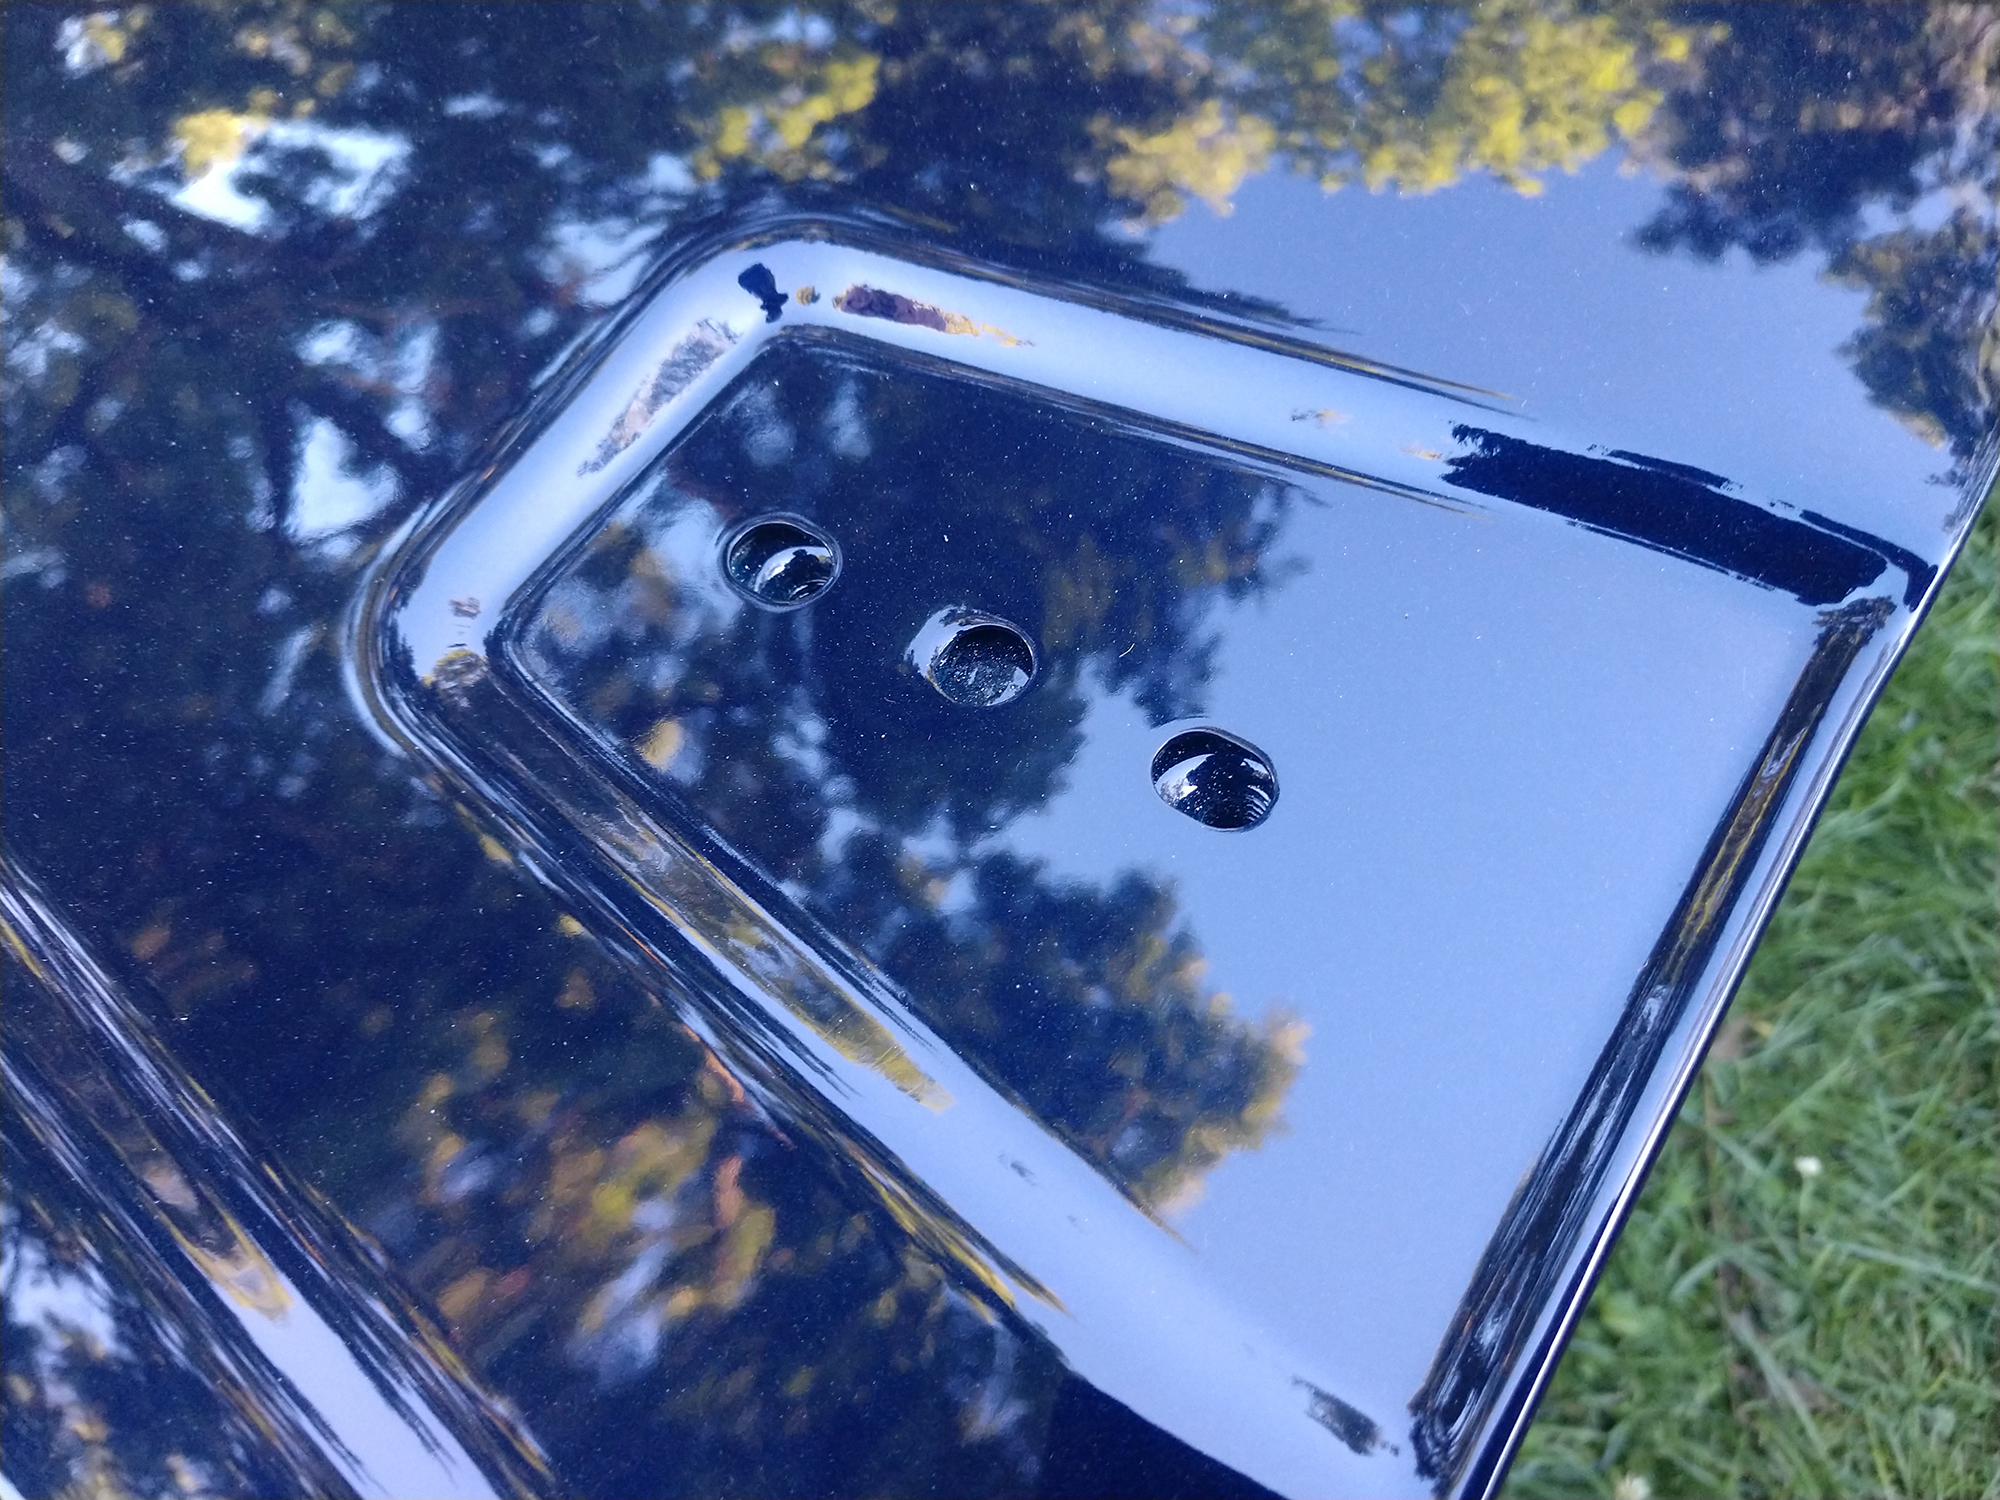
This allows fore-to-aft adjustment once the hood is installed. Normally, the original hood would be removed, then the hinges attached to the new hood. Once that adjustment was perfect, the rear hood bolts would be removed and the whole thing painted. This is one of the reasons I’m using new hinges, as the original paint was already flaking off around the perimeter. The bolts at the rear of the hinge allow height as well as side-to-side adjustment with their oversized holes.
Using a little bit of anti-seize lubricant, install the 13mm bolts and washers back where the factory hinges were—only tighten to ‘slightly less than snug’. You need to be able to move the hood to adjust, but have the hinges stay put as you do.
Set the new hood in place with the help of your buddy. This is not something you want to drop or bang into the body of your Jeep. Seriously. Wait for help.
With a little more anti-seize, install the 5mm counter sunk hex head bolts to hold the hinge to the hood, at about the same tension as the back bolts.
Adjust the hood until the gaps seem even all around, and tighten the bolts to snug one side at a time, then double check your work. If everything seems good, tighten them fully.
With everything in place, let’s move on to the next part.
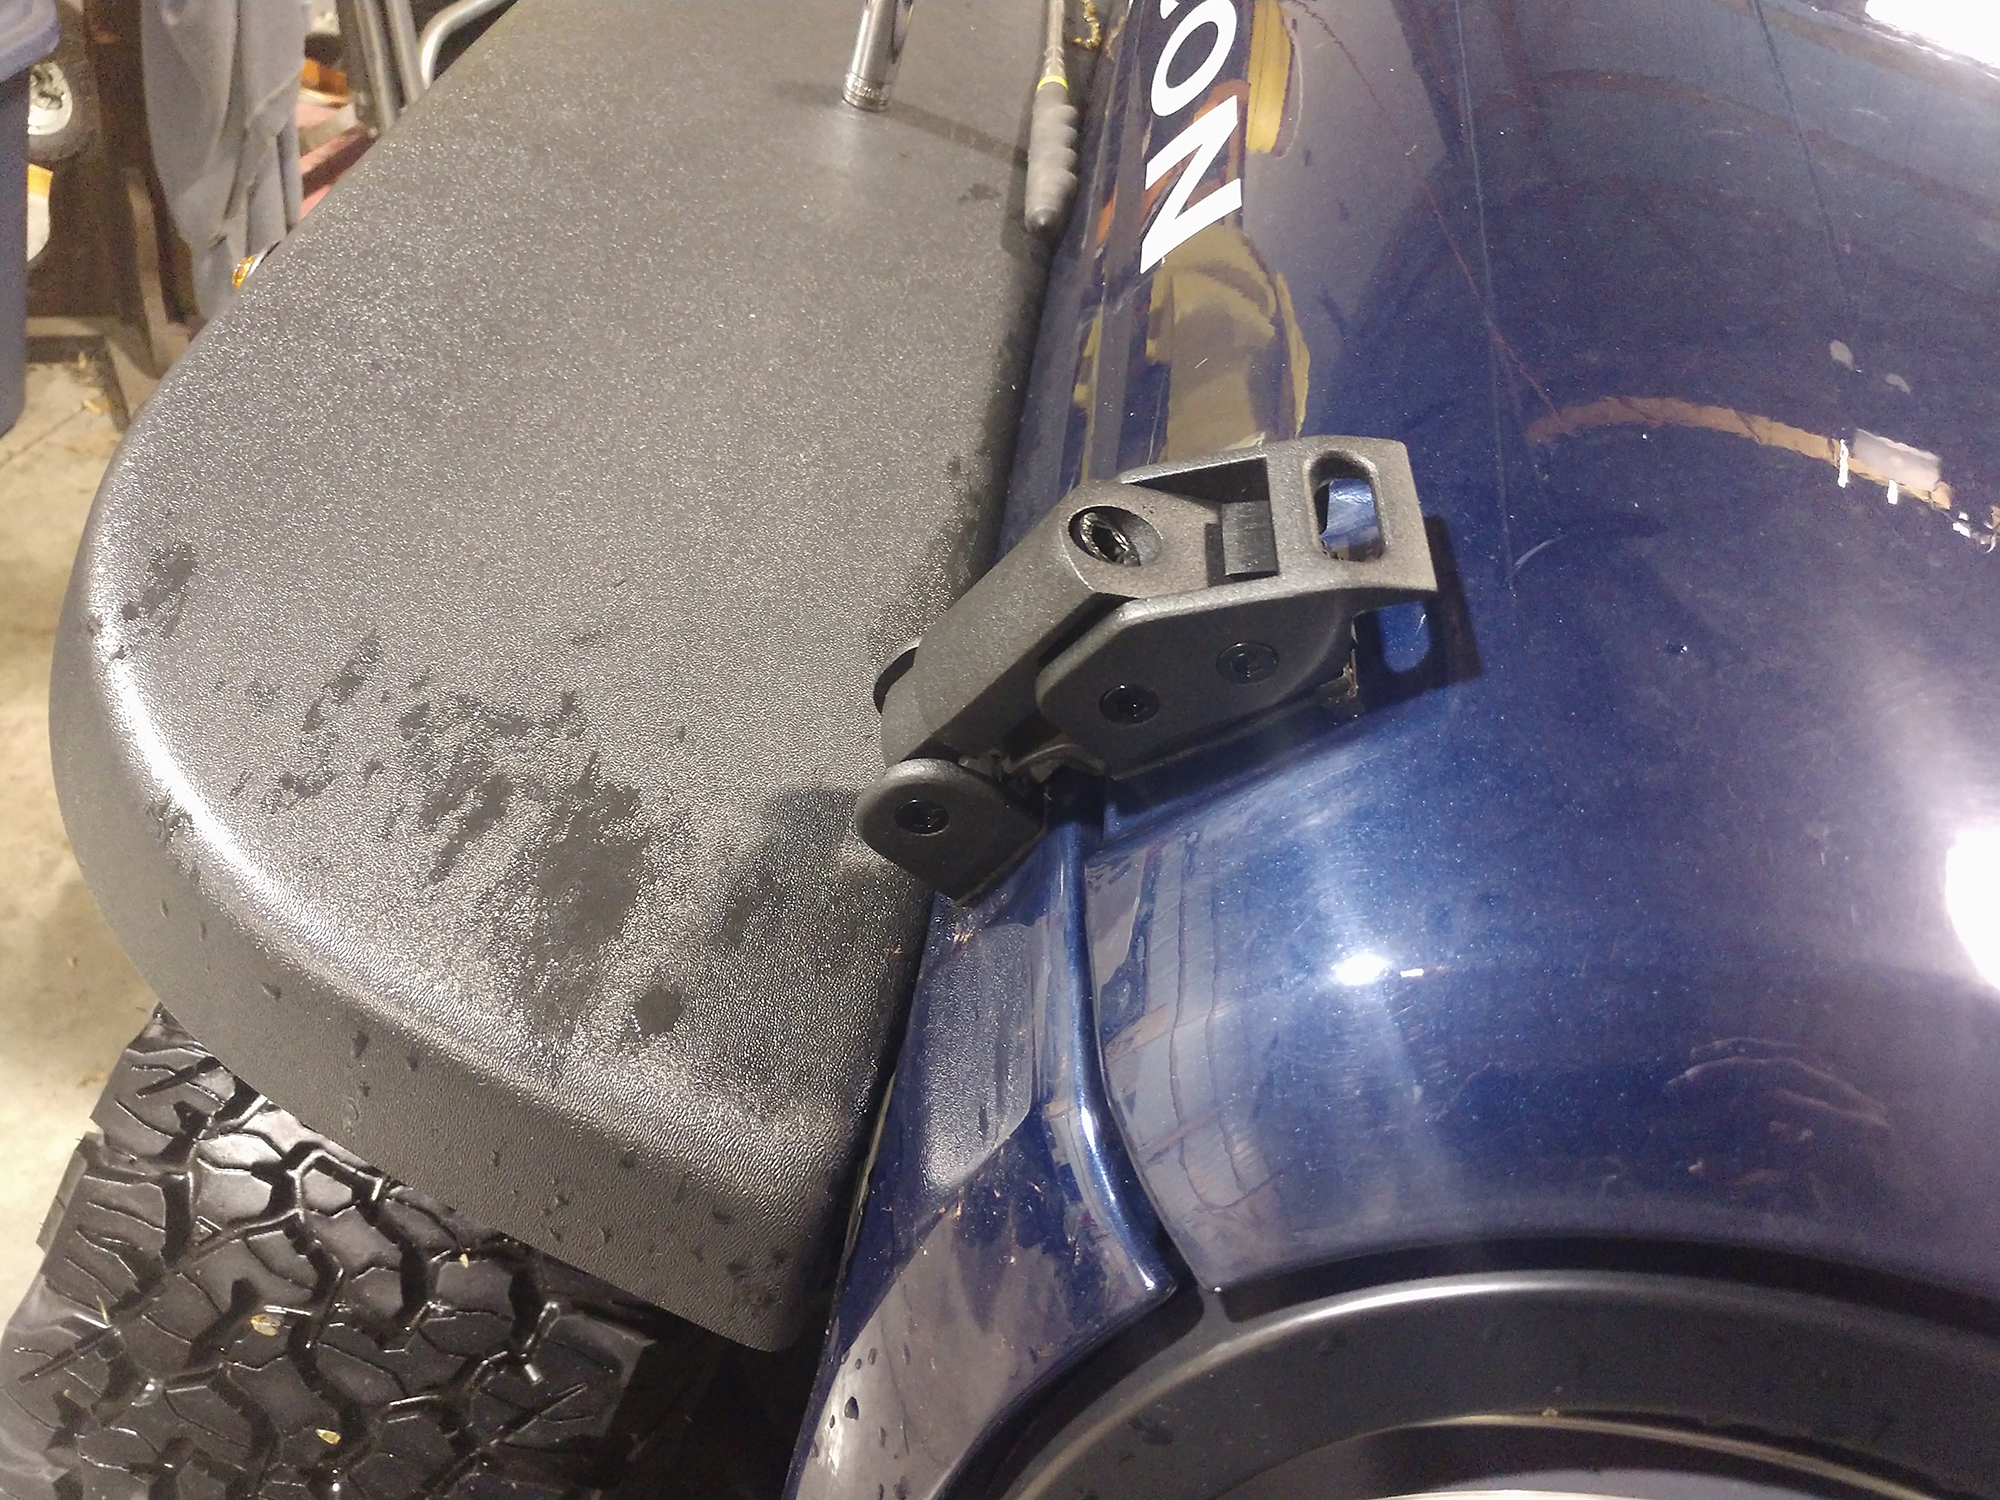
Prop up the hood using the factory prop rod. Then install the factory hood spring and catch, as well as the side latch catches, just as they were on the original hood.
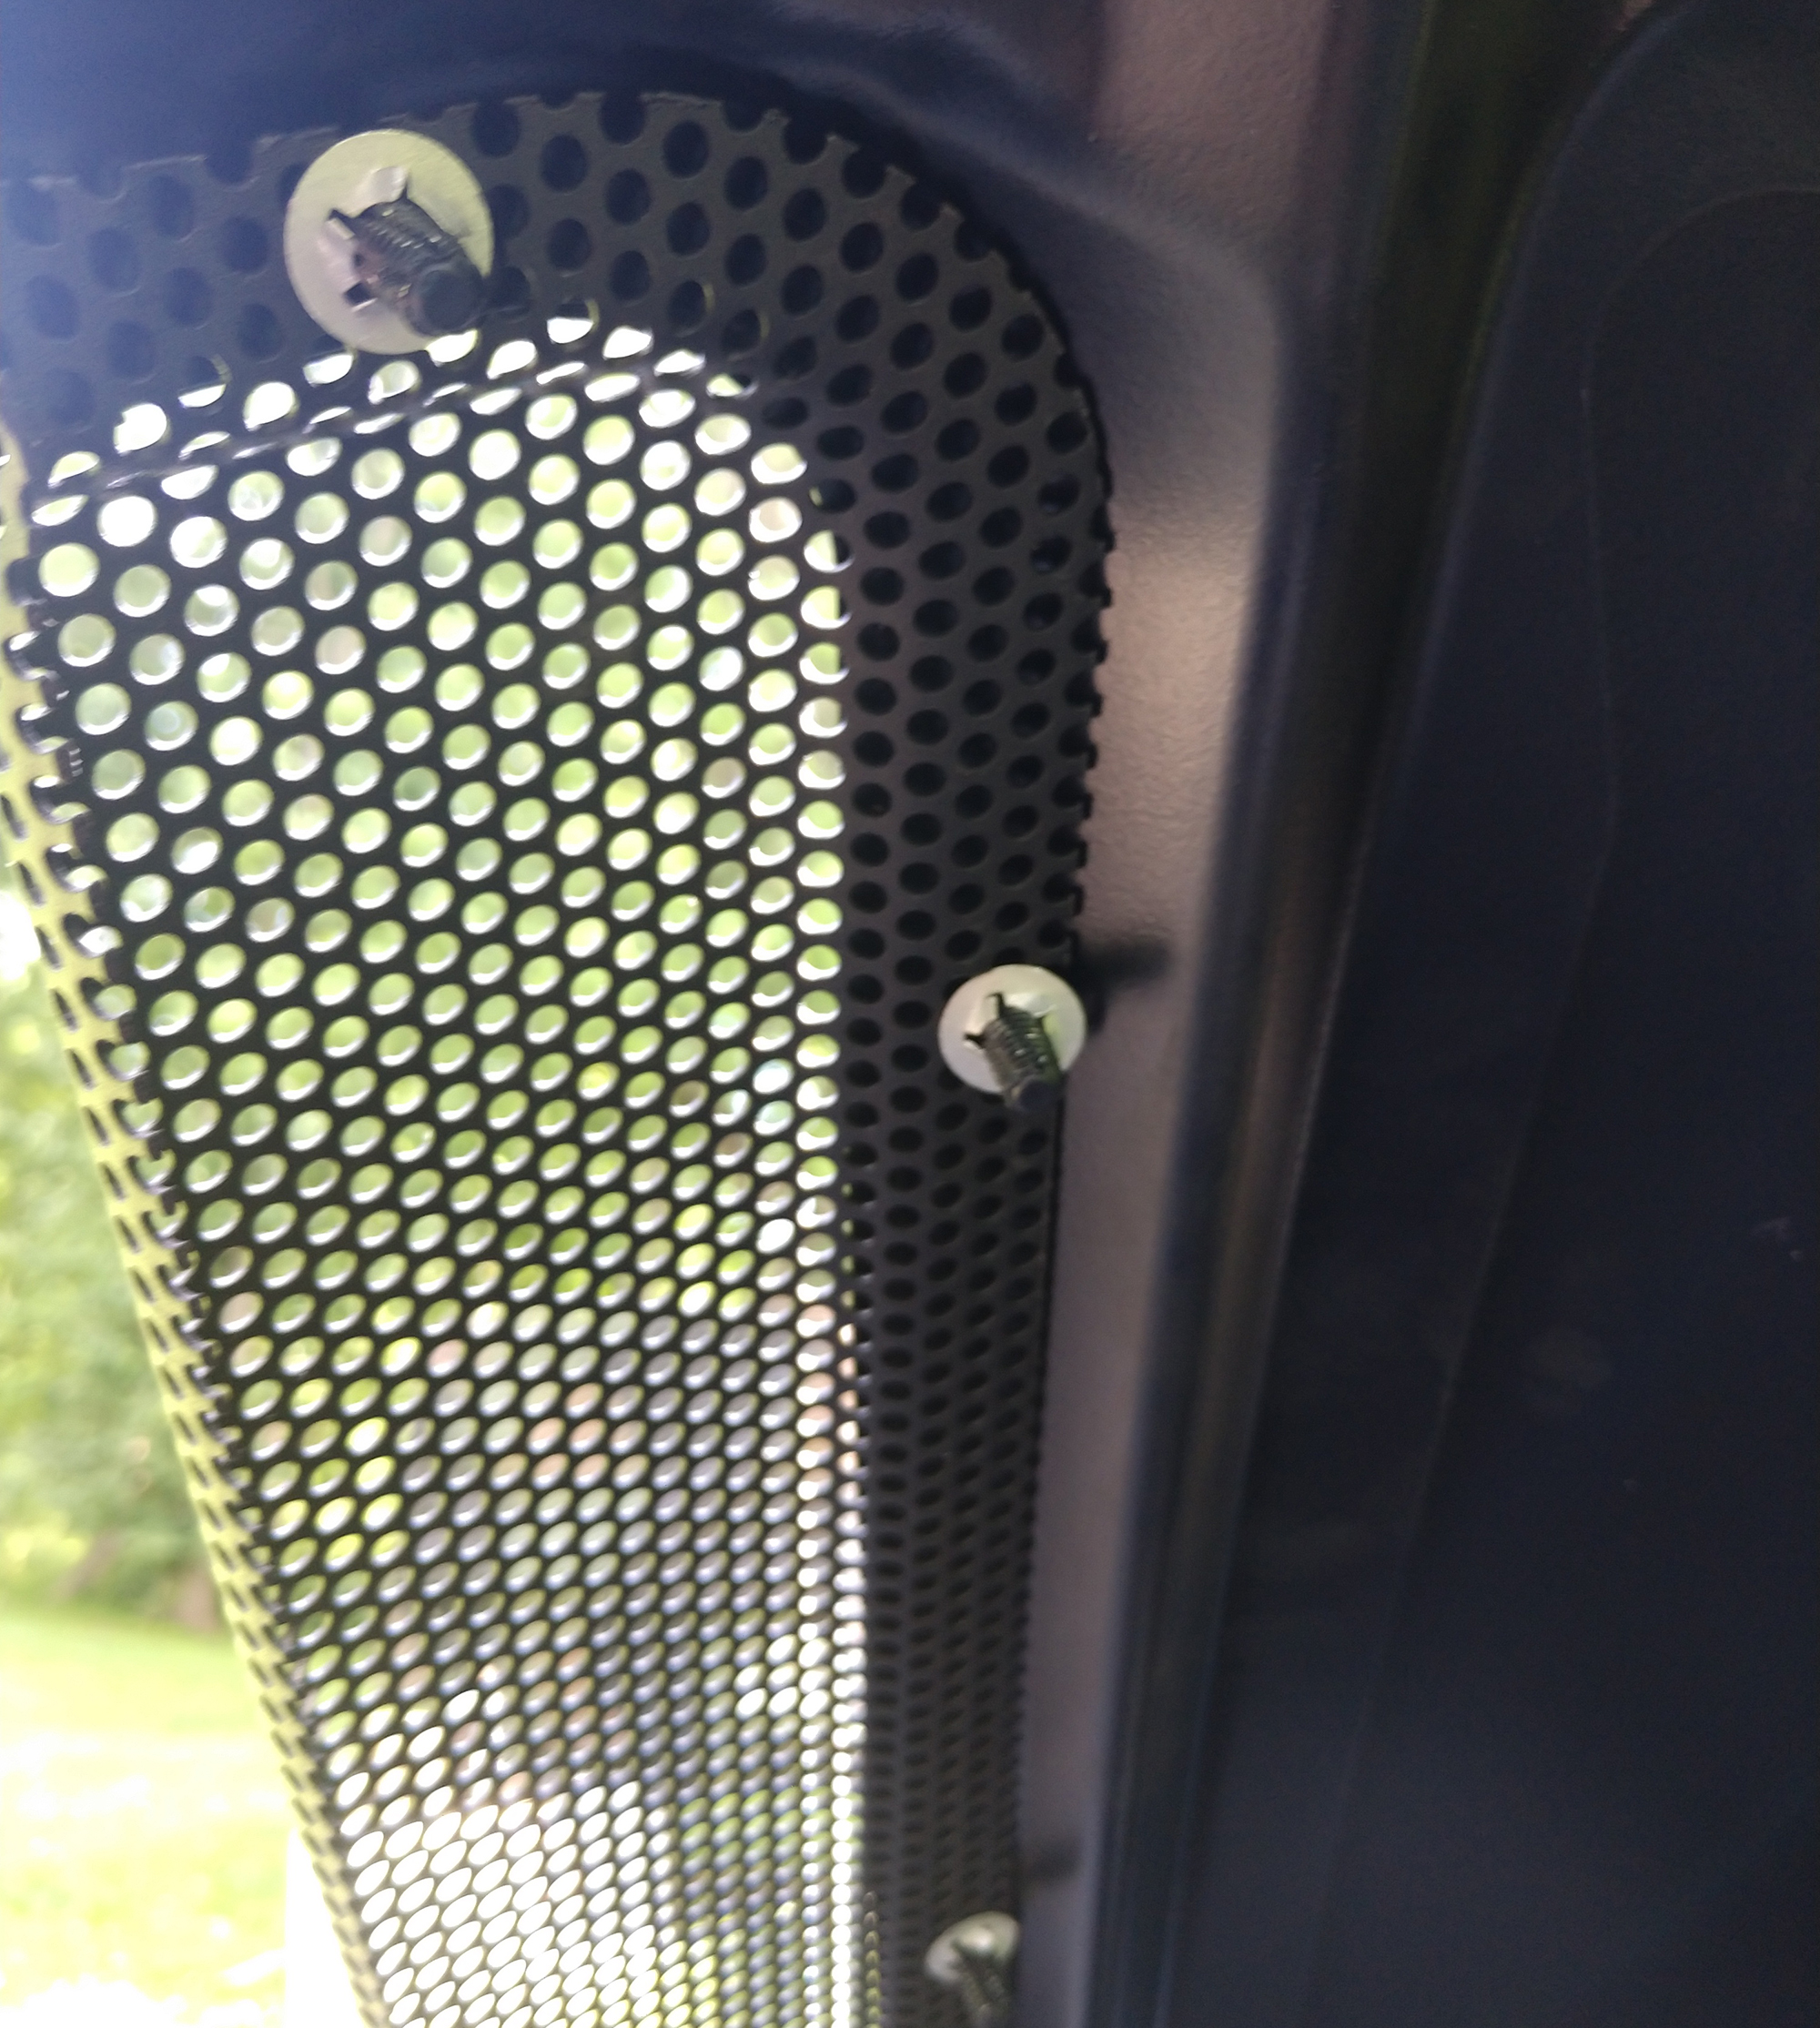
In addition, with the AEV hood, the three matte black powder coated stainless vent panels must be installed using the supplied spring clips. Each post gets a spring clip, and a tool (I used a deep ¼” socket) may be useful to press some of them in place.
The AEV dual washer kit has extra washer hose, as well as two ‘fir tree cable ties’ that push into holes on the underside of the hood, and keep the hose from draping over the engine. Install these now.
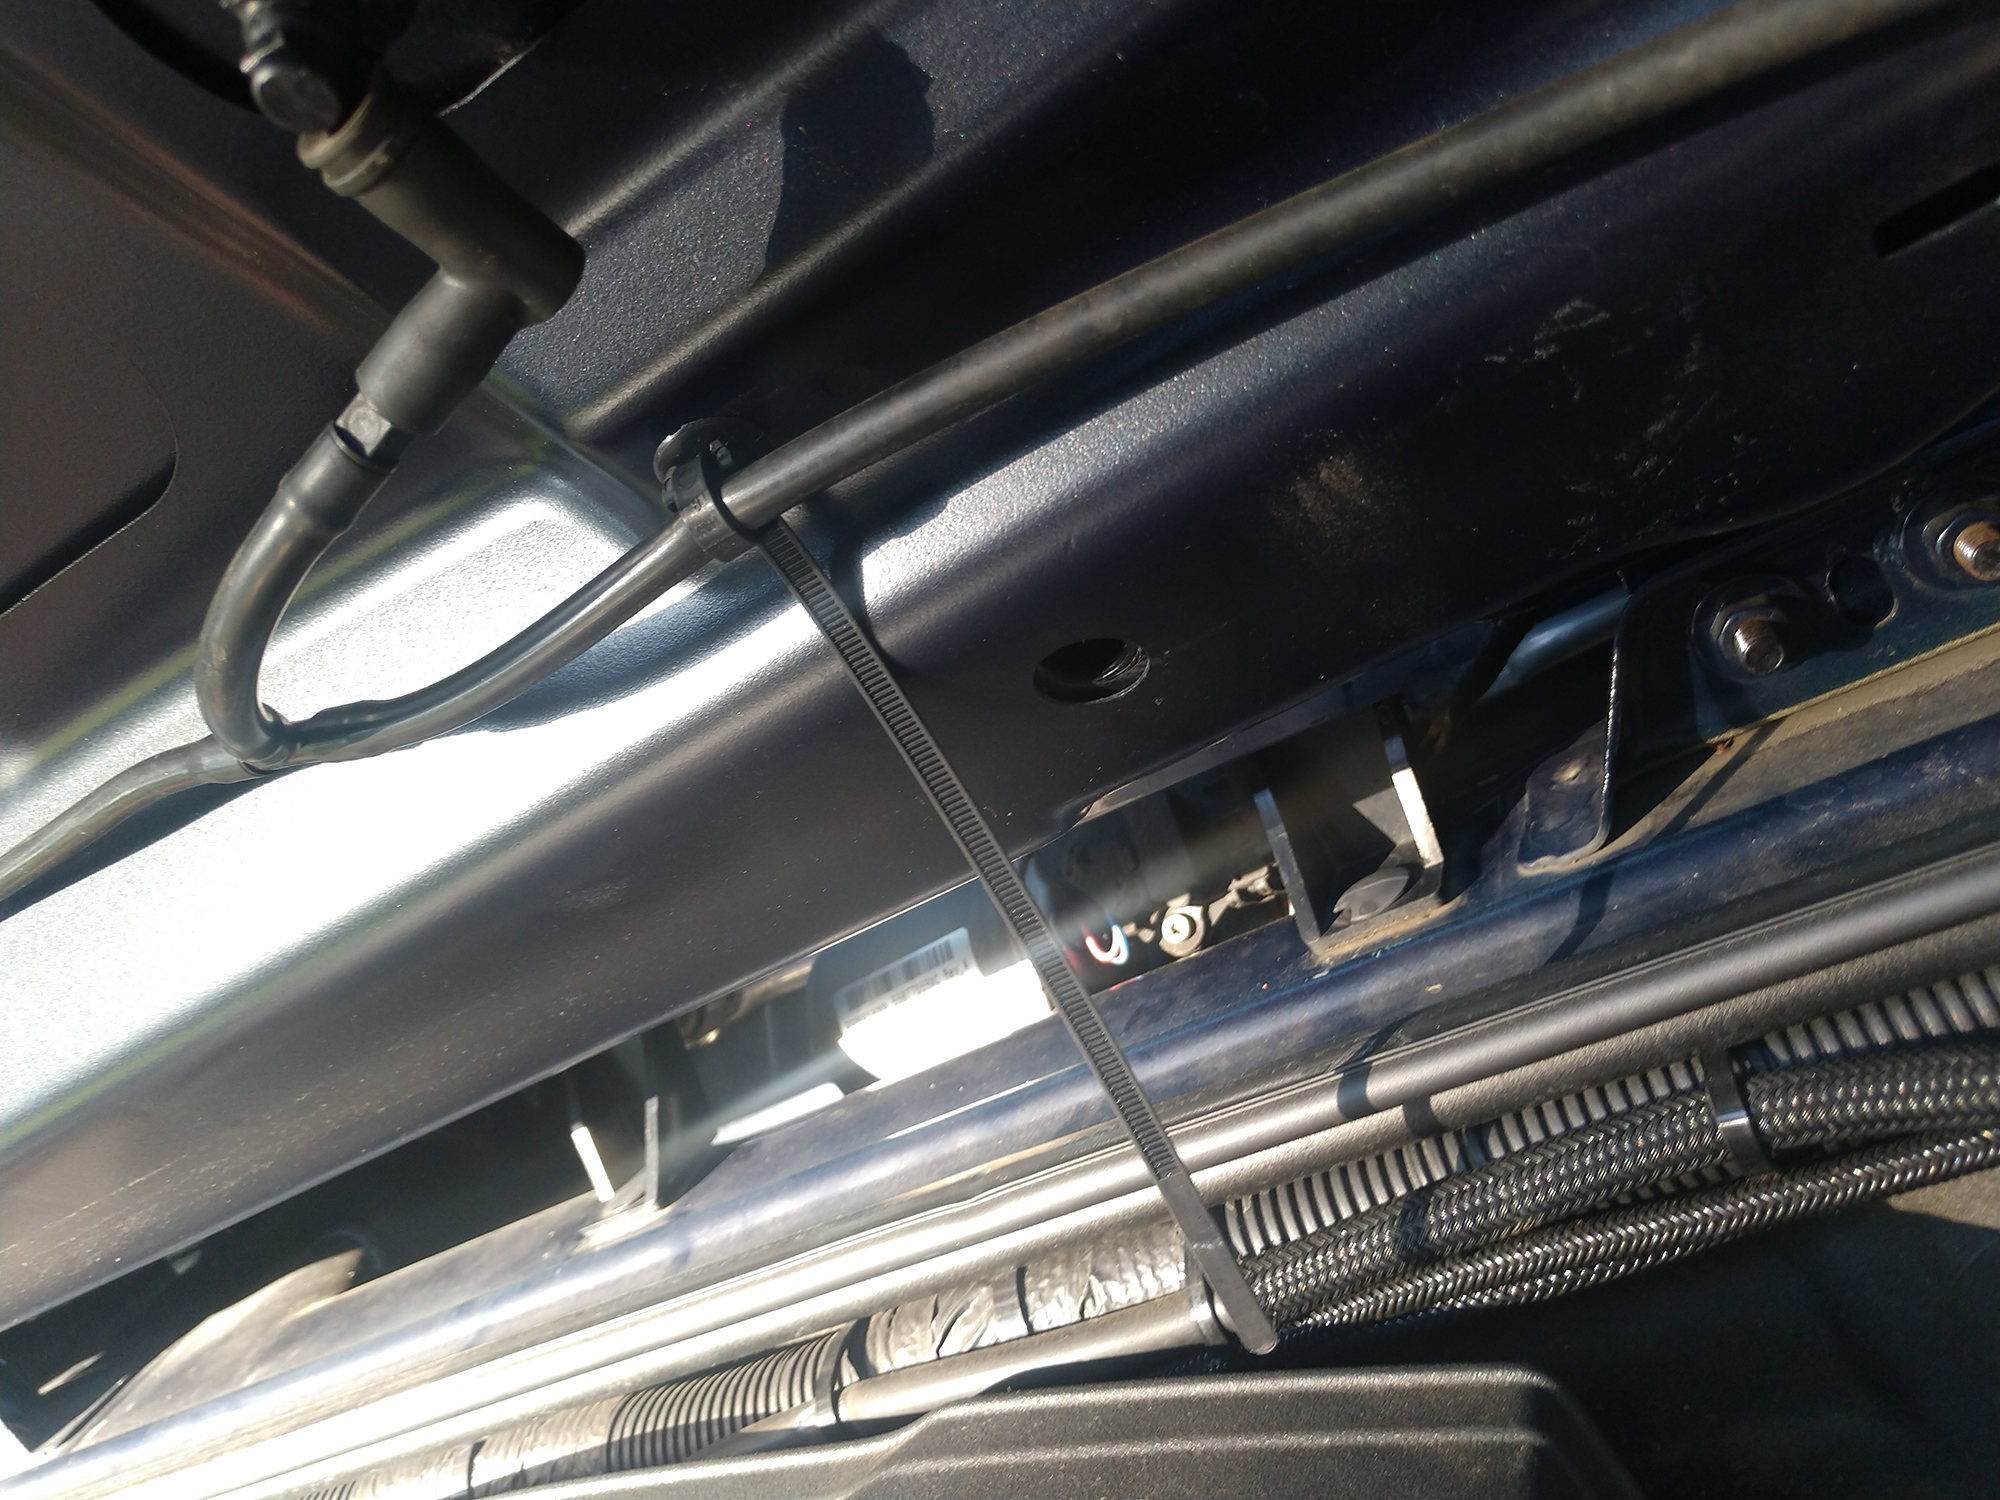
I had a few of those ties left over from another wiring project, but most auto parts stores will have something that will work. If you are not in the shopping mood, this is another reason to consider that AEV hardware kit when compiling all the items.
With all these parts reinstalled, double check the adjustment and gaps between the hood and body. If everything looks correct, you’re all done. Now you’ve removed one of my least favorite features on the JK models: the boring ‘factory-flat-hood’.
.jpg)
I’m planning on getting a reduced length “Rubicon” decal made, as the original is simply too long for the AEV hood with the side vents. I have noticed during our recent heat wave here in Pennsylvania, that the electrical cooling fan doesn’t seem to cycle on nearly as much as before changing hoods. The Kentrol stainless hinges also look sharp, and I know they won’t bubble up with rust after a few salty winters. The Kentrol Mechanical Hood Catches work perfectly for this hood application, too.
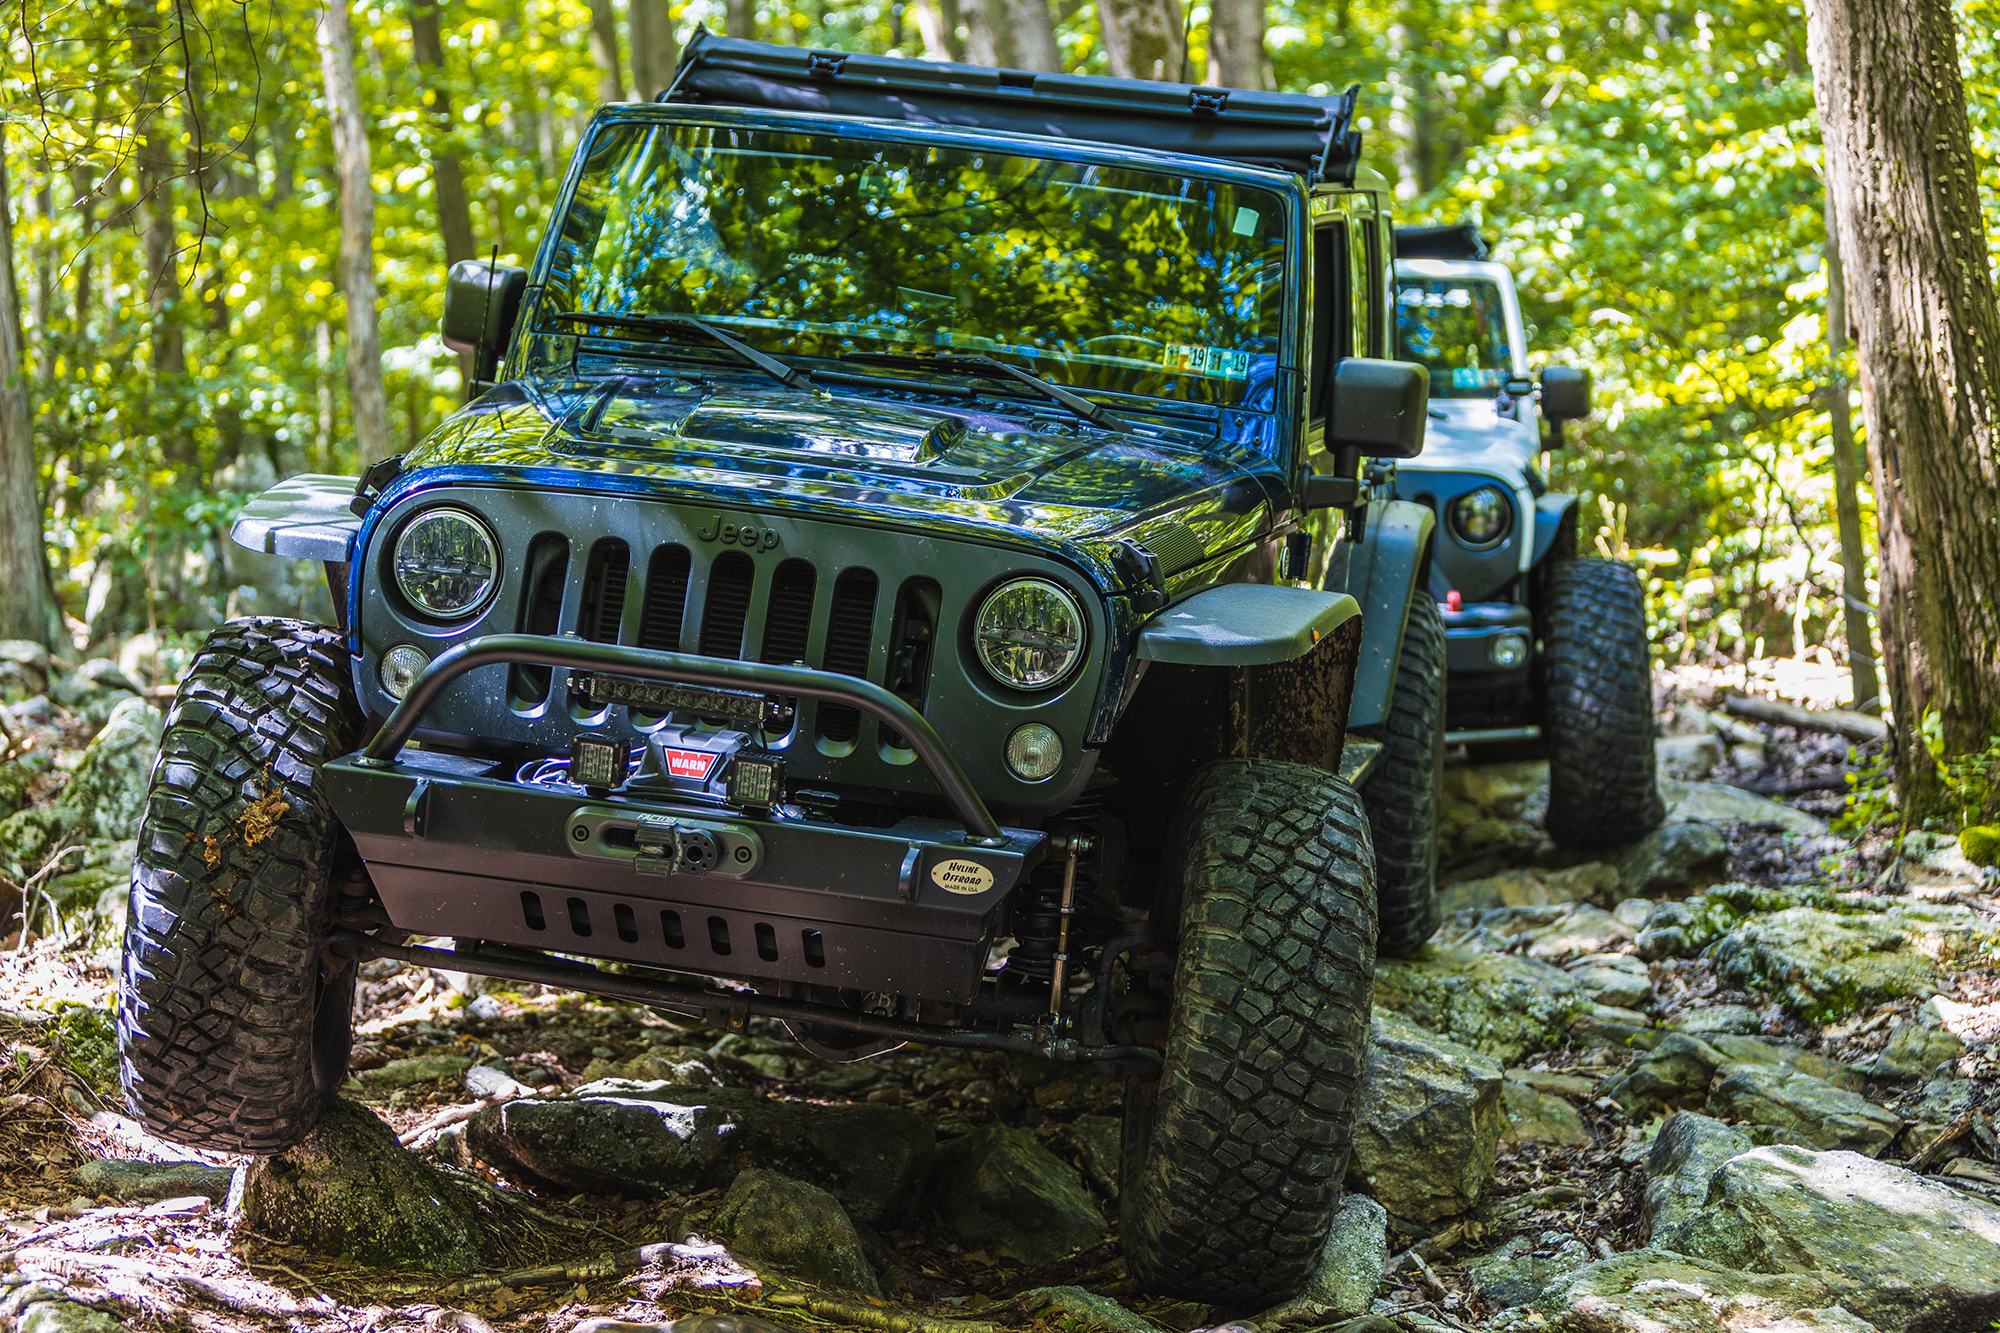
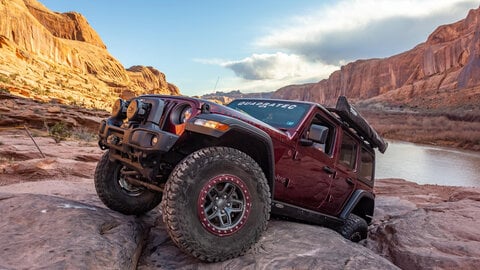
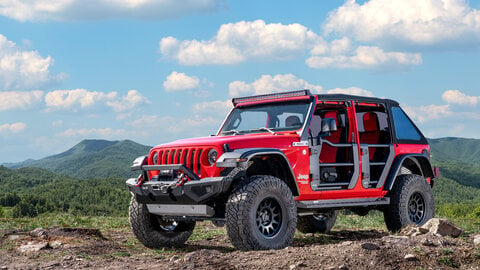
This AEV Heat Reduction hood was installed the same day as a Rock Krawler 3.5” X-Factor Mid Arm Suspension and 37” BFG KM3 tires, and it is amazing how much different the Jeep can look in just a total transformation time of 24 hours.